I happened across some incredibly fresh and beautiful green beans yesterday that were also ON SALE, so I just had to have them. The lemon butter treatment is my absolute favorite way to prepare green beans. The creamy butter with the bright freshness of lemon pairs so perfectly with the tender-crisp green beans. This is truly one of those “goes with anything” side dishes, so learn how to make them and make them often! :)
All recipes are rigorously tested in our Nashville Test Kitchen to ensure they are easy, affordable, and delicious.
See this recipe in my Easy Thanksgiving Dinner for Beginners meal plan.
The “Perfect” Green Bean
The trick to making these green beans out-of-this-world good is to not over cook them. The beans should still have quite a bit of “tooth” to the texture, without having that raw flavor. The color should be a bright vibrant green rather than a dull olive color. This is how you do vegetables right.
How Long Do you Steam Green Beans?
The total cooking time will vary quite a bit with the size of the green beans, the type of cooking vessel you’re using, and other factors, so this is something that you want to keep an eye on and check often. I find that I usually have to steam my green beans for about 3-5 minutes once the water starts boiling. It goes quickly!
Do I Need a Steaming Basket?
While using a steaming basket can help, I don’t bother using them anymore. I use an inch or two of water in the skillet and place my green beans right in the water. They kind of half-steam, half-boil. As long as you don’t over cook them, it doesn’t matter if they are actually in the water or just above the water getting hit by steam.
Add Lemon Butter Sauce to Other Vegetables, too!
This “lemon butter treatment” works well with other vegetables, too. Give it a try with broccoli, asparagus, kale, peas, and carrots!
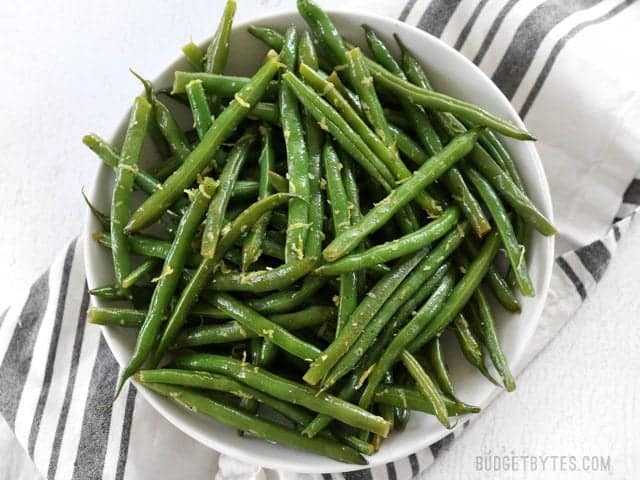
Lemon Butter Green Beans
Ingredients
- 1 lb. green beans ($0.98)
- 1 Tbsp butter ( $0.09)
- 1 lemon ($0.59)
- Salt and Freshly Cracked Pepper to taste ($0.05)
Instructions
- Use a microplane, zester, or small-holed cheese grater to remove the thin layer of yellow zest from the lemon. Set the zest aside. Remove the stems from the green beans and, if you prefer shorter pieces, snap them in half. Place the green beans in a colander and rinse well with cool water.
- Transfer the rinsed green beans to a deep skillet. Add about one inch of fresh water (the water will not cover the beans). Place a lid on the skillet and turn the flame on to medium-high. Allow the water to come up to a boil. Let the beans simmer and steam for 3-5 minutes, or just until the beans are bright green and just slightly tender. Test the texture with a fork.
- Once the green beans are bright green and slightly tender, turn off the heat and drain them in a colander. Return the drained green beans to the still-warm skillet with the heat turned off.
- Add the butter, about 1/2 tsp of lemon zest, a quick squeeze of the lemon juice (about 1 tsp), a pinch of salt, and some freshly cracked pepper. Toss the green beans to distribute the seasonings and allow the residual heat to melt the butter.
- When the butter has melted fully, taste the green beans and add more salt, pepper, lemon juice, or lemon zest to your liking. Serve immediately.
See how we calculate recipe costs here.
Nutrition
How to Make Lemon Butter Green Beans – Step by Step Photos
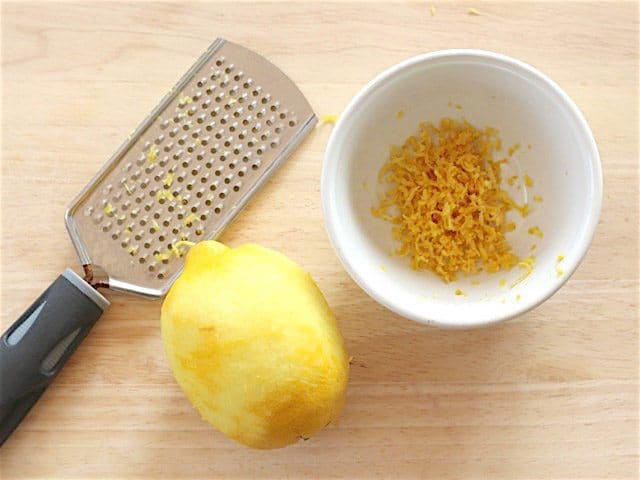
Use a microplane, zester, or small-holed cheese grater to remove the thin layer of yellow zest from the lemon. Set the zest aside.
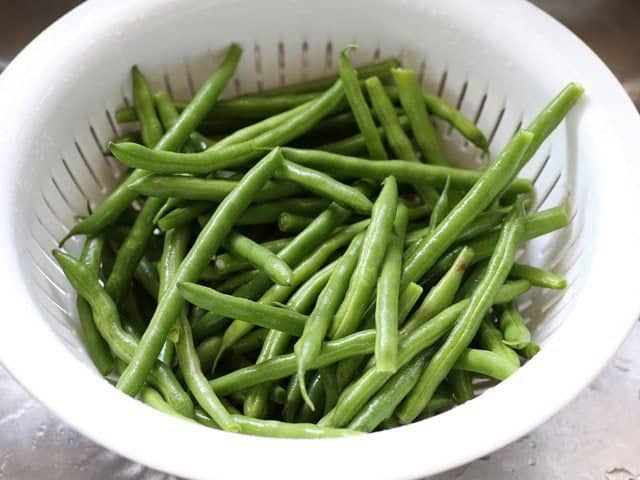
Snap the stem ends off of one pound of fresh green beans. If you like smaller pieces, you can also snap each bean in half. Place the beans in a colander and rinse with cool water.
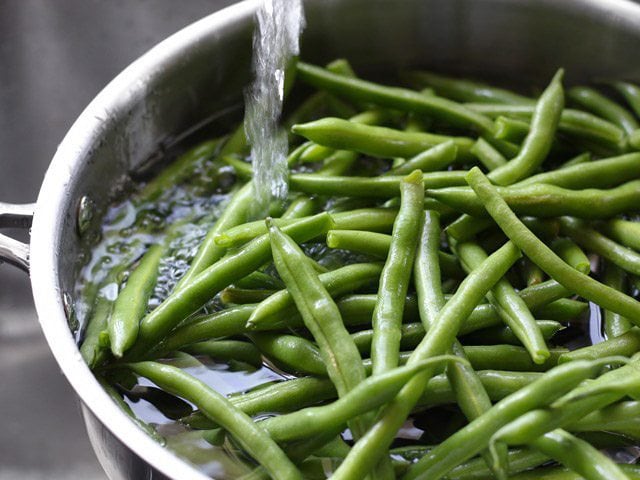
Add the washed green beans to a deep skillet and add about one inch of water. The water should not cover the beans. The water is just there to generate steam. You can use a steaming basket, but I find it unnecessary. The cooking time is so brief that the beans at the bottom that are IN the water don’t seem to cook any more than the beans on top that only get steam.
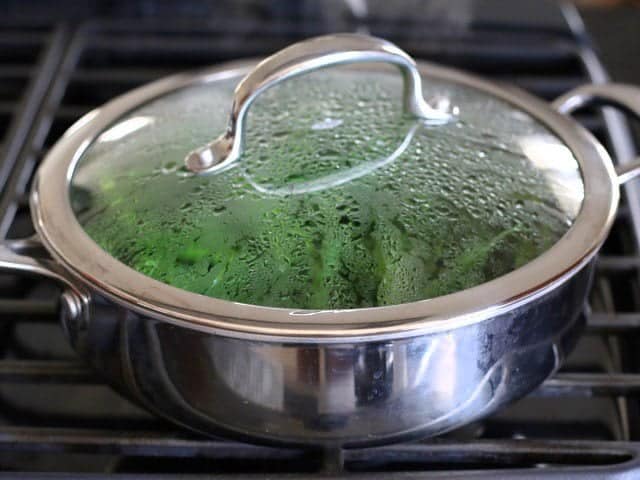
Place a lid on the skillet and then place it over a medium-high flame. Let the water come to a boil, then let the beans continue to simmer/steam in the skillet for 3-5 minutes, or until they are bright green and just barely tender.
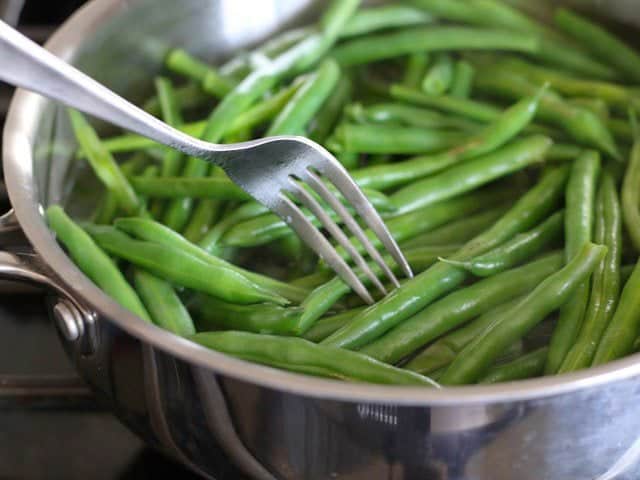
Test the texture with a fork. They should be slightly softer than the fresh beans, but still have quite a bit of “tooth” or crunch. You don’t want to over cook them here because they will continue to cook a bit from the residual heat. The color should be bright green. If they’re a dull olive color, they’ve cooked too long.
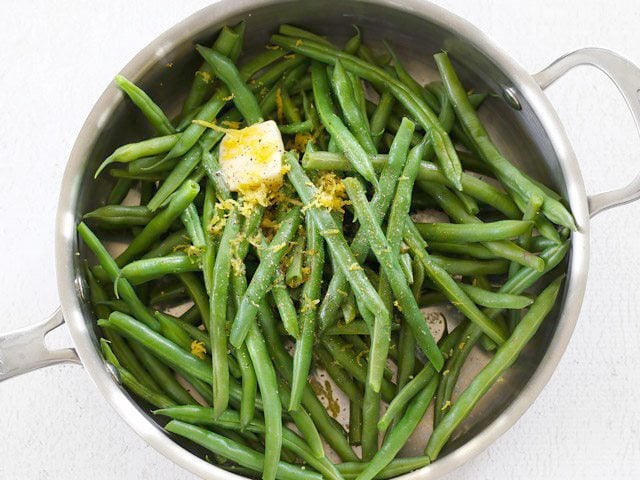
Drain the cooked beans in a colander and then return them to the skillet with the heat turned off. The beans and skillet should still be quite warm, though. Add 1 Tbsp butter, about 1/2 tsp zest, a squeeze of the lemon juice (about one teaspoon), and some salt and freshly cracked pepper.
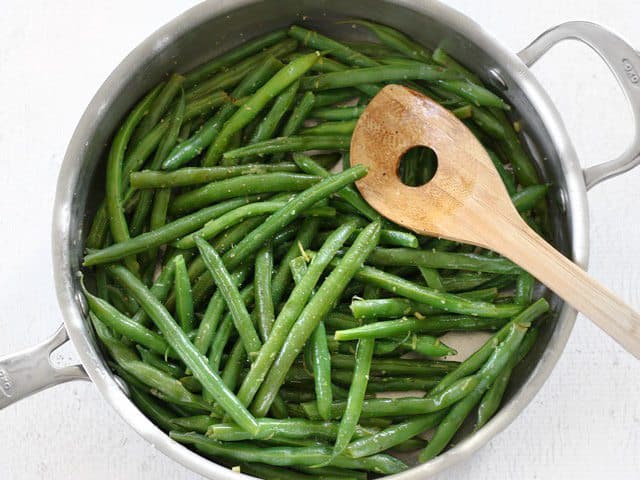
Toss the beans to distribute the seasonings and to allow the residual heat to melt the butter.
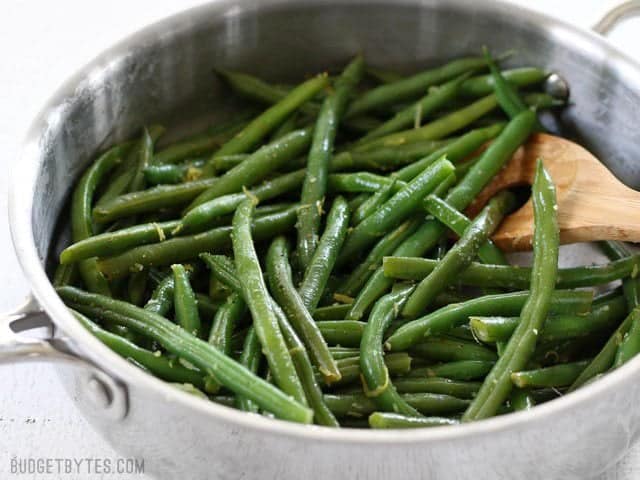
Taste the Lemon Butter Green Beans and add more lemon juice, zest, salt, or pepper to your liking.
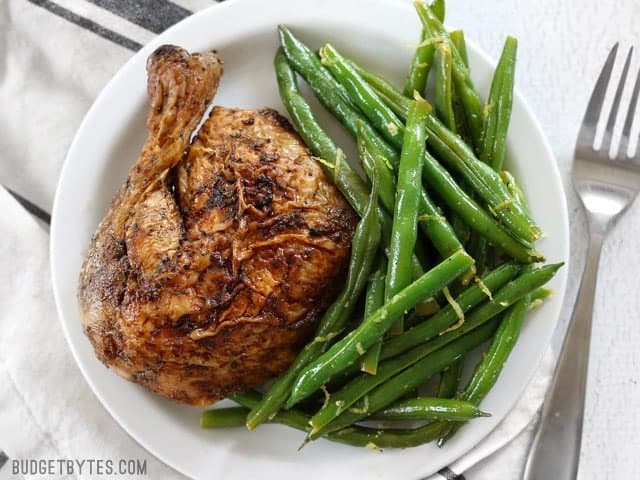
Serve immediately and enjoy their fresh, vibrant, and snappy flavor and texture. ❤️❤️❤️ My fav!
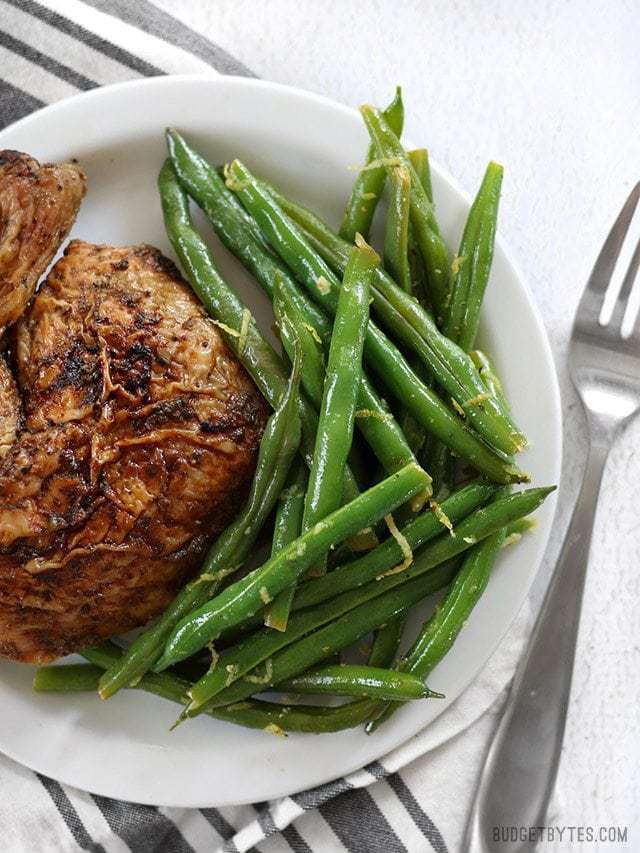
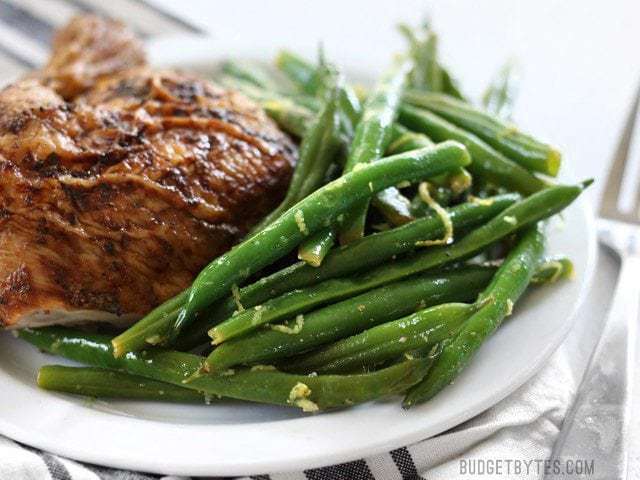
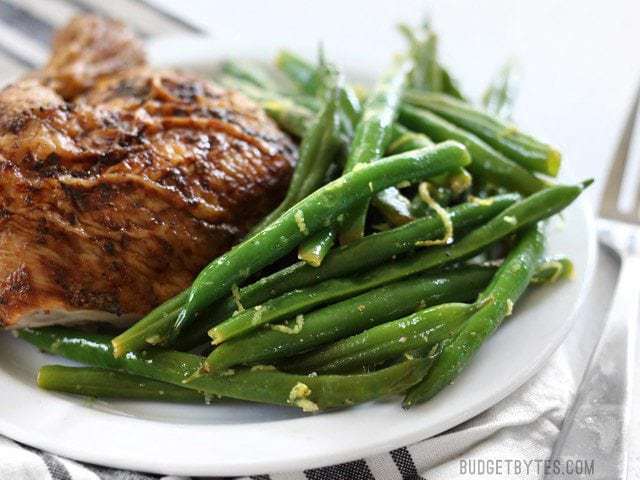
(And I know you’re going to ask about that chicken… It’s part of a rotisserie chicken that I impulse bought, so sorry, don’t have the recipe for that one! BUT I do have a recipe for Oven Roasted Chicken Legs that are quite good. )


These are so simple but SO tasty.
I will try this! I’ve never known how to cook these! I’ve just winged it with butter and garlic salt and they either over cook or cook unevenly.
These turned out great, and even my picky 8 year old was eating them up! I grew up hating green beans, but as an adult I realized I just don’t like canned, mushy green beans! These are so good I’m making them again tomorrow night, because I have a 2 pound bag of green beans!
Tried this recipe today and NOT disappointed !!! These were perfect ❤️Thank you!!
How convenient! I was just wondering what to do with my green beans this evening and was just going to give them my usual balsamic treatment, but I’m going to go with this instead. It seems so wonderfully fresh! Which I need with the teasing weather. Come on already, spring!
I’m in love with the southern green beans style (simmered with bacon and smoked meats, YUMMMM), but totally making this tonight with fresh green beans cause it’s a heck of a lot quicker and healthier/fresher!
Hi! These look exactly like what I was hoping to do for a grad party this weekend. If I make them that morning do you think they will hold up in a chafing dish over a few hours to keep them warm? Thank you!!
Hmm, I think if they sit in a chaffing dish they risk over cooking and turning that darker olive green color. I’m not sure how the fresh lemon flavor will hold up. It might not be as punchy after sitting in the heat for so long.
Good to know, I’ll keep looking – thanks!
hi Beth, if i cooked this ahead how many days can i store in the fridge?
And can I freeze them? thank you.
This one probably isn’t good for the freezer, but you can keep them in the fridge for 3-4 days. The color and texture will change a bit when stored in the fridge and then reheated, though. The flavor should still be great. :)
Hi, if I buy beans in bulk I rinse, dry and freeze them until later. Then only defrost a little, cut the bottom parts of and cook as usual. No damage done!
Yum! What an easy way to take veggies up a notch! :)
http://odessadarling.co
I love fresh green beans! Well any green beans but fresh just have that extra something special. So excited to start seeing them around more!
Lemon and butter (or olive oil or both) make nearly everything good.
Beth, these photos are outstanding. Way to go!
I LOVE green beans. :-)