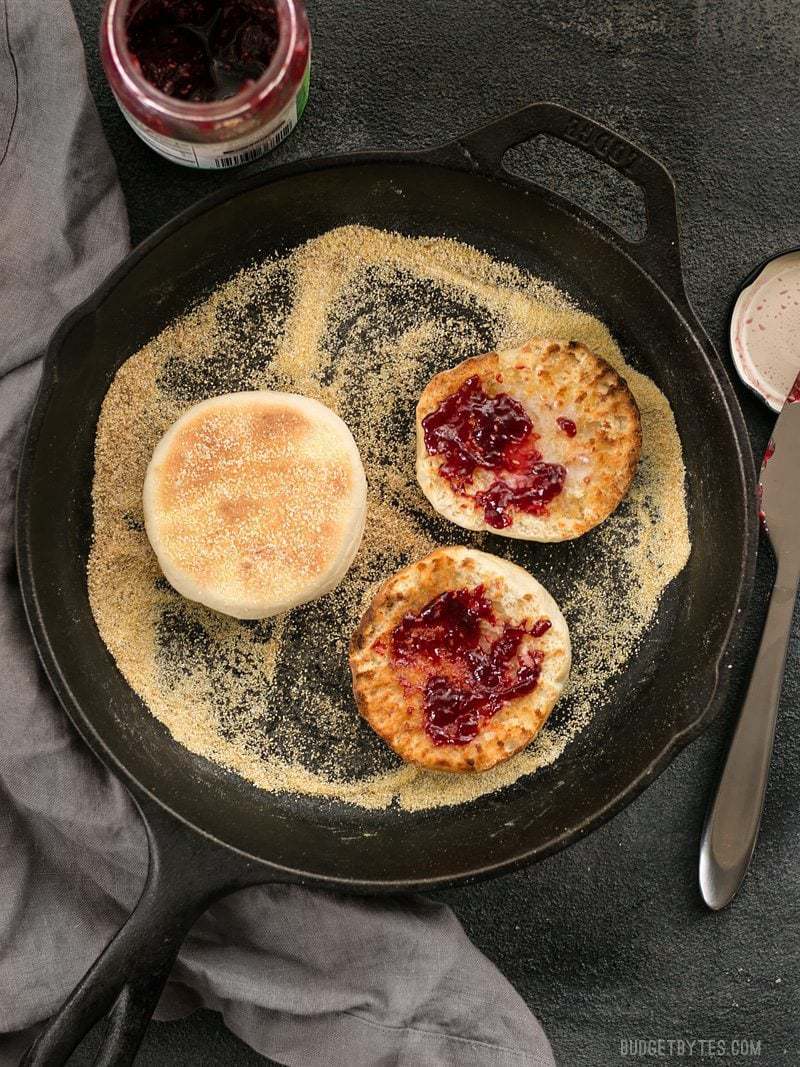
I’m an English Muffin fanatic. They’re complete breakfast heaven to me, especially when turned into a breakfast egg sandwich. I vaguely remember baking my first batch eight or nine years ago and as far as I remember, they turned out pretty good. So, now that I have time and space to do some baking again, Homemade English Muffins were on the top of my list.
All recipes are rigorously tested in our Nashville Test Kitchen to ensure they are easy, affordable, and delicious.
Recipe Inspiration and Adjustments
After looking at a good 20+ recipes, I decided to work off of this one on allrecipes.com. After reading a bunch of reviews, I made a few changes.
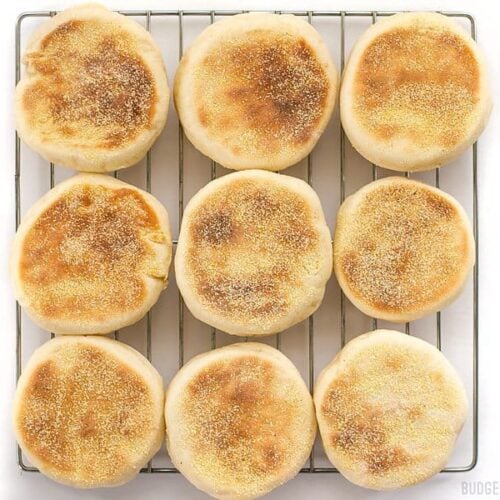
It seems that there are two keys to getting an English Muffin with the classic “nooks and crannies” they are famous for. First, make sure the dough stays soft and loose. This means not adding too much flour during the kneading process and kneading for a shorter length of time (about 5 minutes). Second, letting the dough rise only once (as opposed to the usual two for most breads) allows giant gas bubbles, rather than small uniform bubbles, to form. The muffins turned out nice and light with a decent amount of nooks and crannies. There weren’t enormous pockets like the store bought muffins but I’m willing to trade some of that for a muffin that only costs seven cents (and is pretty fun to make).
Serving Suggestions
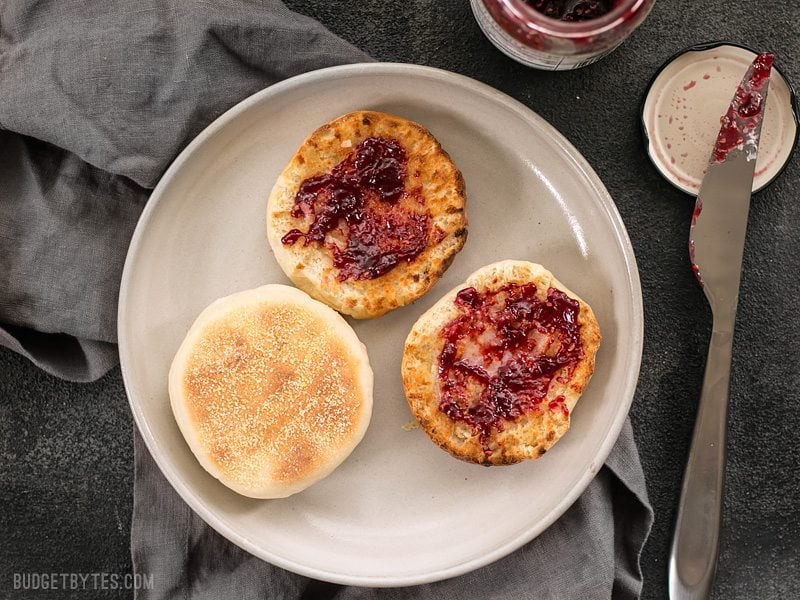
English muffins are great for more than just eating toasted with butter and jam…although they would taste amazing with homemade Pumpkin Butter! I also love to make mini-pizzas with them, or my make-ahead breakfast sandwiches. I also love to smear them with a little hummus and add a fried egg for a different sort of savory breakfast sandwich.
How to Store English Muffins
After baking your English Muffins, make sure to let them cool completely. Once they are cooled, you can either freeze or refrigerate them. When refrigerated they’ll keep for about a week. If frozen, they’ll keep for months. When freezing, make sure to use a heavy duty freezer bag to keep air out and prevent the muffins from drying out. They should thaw quickly at room temperature, or if pre-sliced, can go straight from the freezer to the toaster.

Love making homemade bread? Check out our Bread Recipes category!
Homemade English Muffins Recipe
Ingredients
- 1 tsp active dry yeast ($0.10)
- 1 Tbsp sugar, divided ($0.05)
- 1/2 cup warm water ($0.00)
- 1/2 cup milk ($0.15)
- 2 Tbsp butter ($0.27)
- 3 cups all-purpose flour, divided ($0.36)
- 3/4 tsp salt ($0.05)
- 1/4 cup cornmeal ($0.06)
Instructions
- Dissolve the yeast and half of the sugar into 1/2 cup warm water in a large bowl, and let it sit for about 5 minutes, or until it has developed a thick foam on top.
- While waiting for the yeast, combine the milk, butter, and the rest of the sugar in a measuring cup or microwave safe bowl. Microwave on high for 30 seconds, then stir until the butter is dissolved. Add an additional 10 seconds if needed. You want the milk warm enough to melt the butter, but not scalding.
- Once the yeast is foamy, pour the milk and butter mixture into the bowl, along with 1 cup of the flour, and the salt. Stir until the mixture is mostly smooth. Add the second cup of flour, about 1/3 cup at a time, stirring to combine each time. Finally, begin to add the third cup of flour, 1/3 cup at a time, until you can no longer stir it with a spoon. At that point, turn the dough out onto a lightly floured surface and knead for about 5 minutes, dusting with small amounts of flour as you go. Once finished kneading, you should have used 2.5-3 cups flour total.
- Let the dough rest for 15 minutes, then roll it out to about 1/2-inch thickness. Use a cookie cutter or sharp edged drinking glass to cut several discs out of the rolled dough. Cut them as close to each other as possible to leave few scraps. When you can cut no more circles, ball the scrap dough up, flatten it once again, and cut a few more. Place the cut muffins on a baking sheet coated with a liberal layer of cornmeal.
- Let the muffins rise in a warm moist area for about 1.5 hours, or until they are slightly more than double the size. (I placed a casserole dish full of steaming water on the bottom rack of my oven and placed the baking sheet on the top rack to keep the muffins moist as they rose.)
- When the muffins are large and fluffy, it’s time to cook them in a skillet. Heat a cast-iron or non-stick skillet over medium low heat. Once the skillet is preheated, carefully use a spatula to lift 3-4 muffins from the baking sheet and slide them into the skillet, along with some cornmeal. Let the muffins cook 3-4 minutes, or until lightly golden brown on the bottom. Carefully flip the muffins and cook for 3-4 minutes on the second side. The muffins will puff further as they cook in the skillet. Once the muffins are golden on both sides and sound hollow when tapped, transfer them to a wire rack to cool.
- Once completely cool, split the muffins with a fork and toast in a toaster or the oven. Or, transfer the cooled muffins to an air-tight container and keep in the refrigerator for up to one week, or the freezer for up to three months.
See how we calculate recipe costs here.
Equipment
- Cast Iron Skillet
- Wire Cooling Racks
- Mixing Bowls
Nutrition
Scroll down for the step by step photos!
How to Make Homemade English Muffins – Step By Step Photos
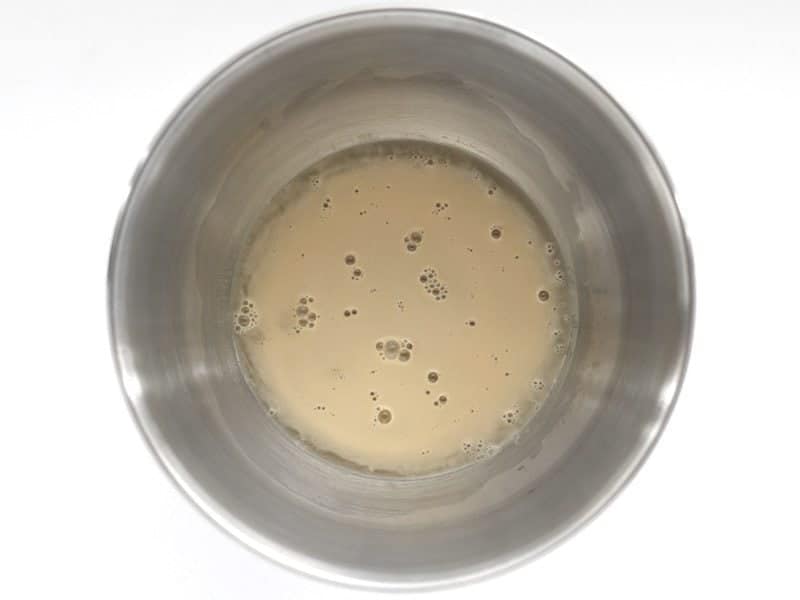
Begin by combining 1/2 cup warm water with 1 tsp yeast and 1/2 Tbsp sugar. Stir to dissolve, then let them sit until a thick layer of foam develops on top.
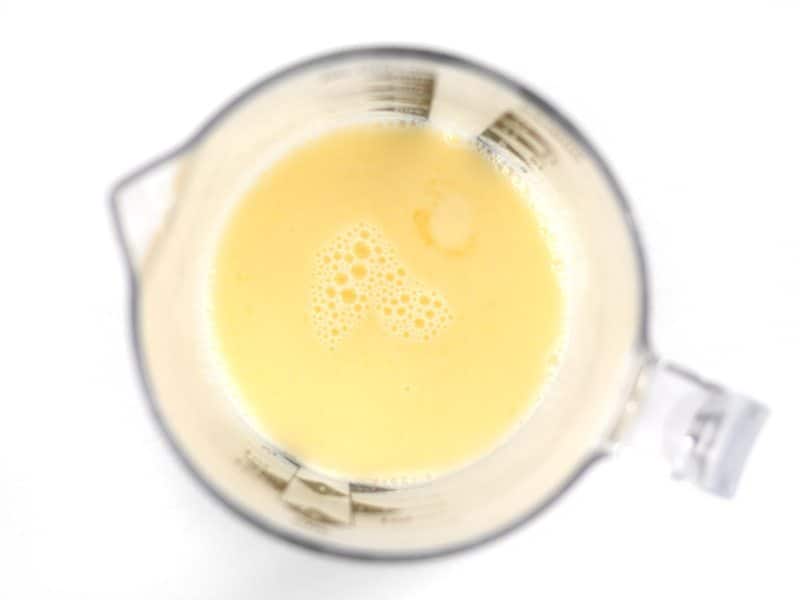
While waiting for the yeast to foam, combine 1/2 cup milk, 2 Tbsp butter, and the second 1/2 Tbsp sugar in a measuring cup or microwave safe bowl. Microwave for 30 seconds, then stir until the butter melts. You can do an additional 10 seconds in the microwave, if needed, but try to get the milk just warm enough to melt the butter, not scalding.
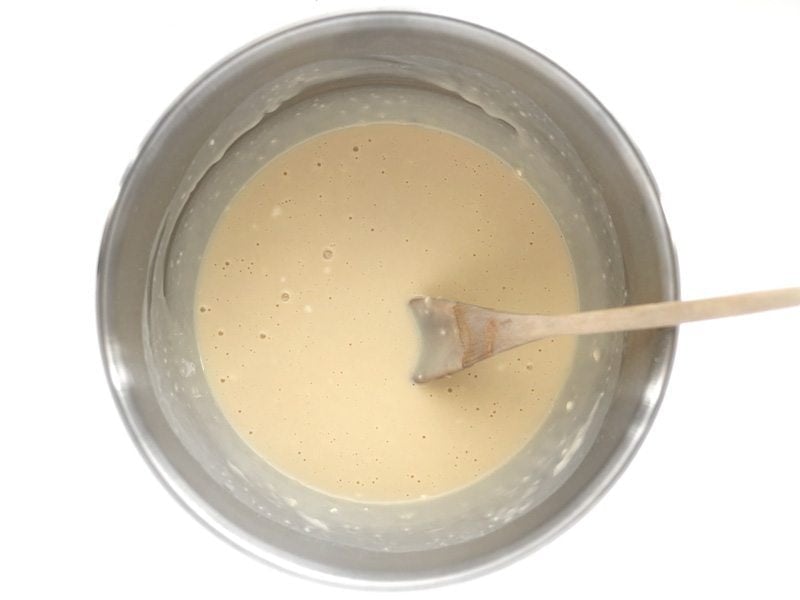
Once the yeast is foamy, pour in the milk mixture, 1 cup flour, and 3/4 tsp salt. Stir until the mixture is mostly smooth.
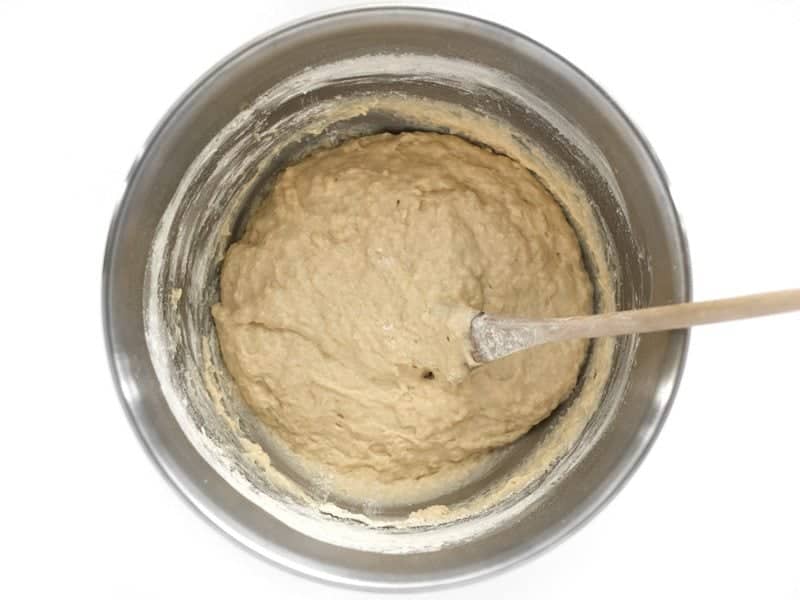
Stir in a second cup of flour, about 1/3 cup at a time, stirring until incorporated before adding more.
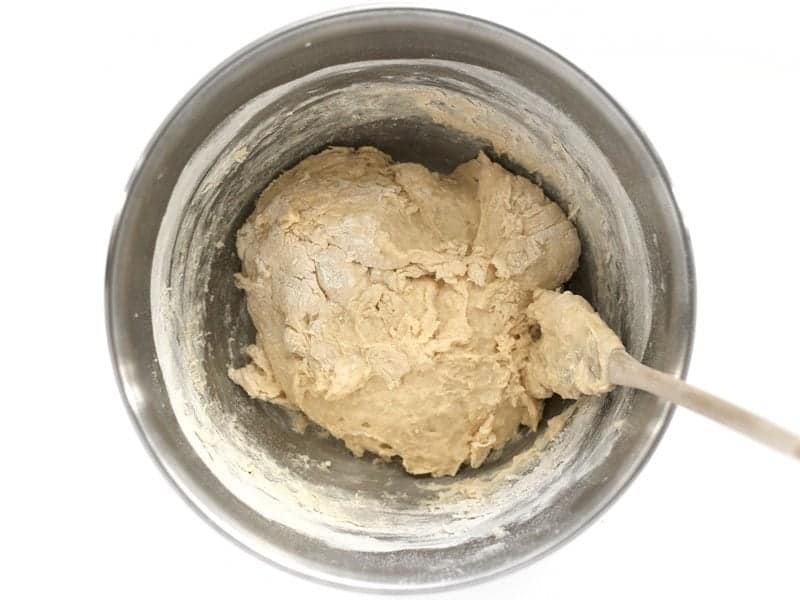
Finally, begin to add a third cup of flour, again a small amount at a time, until you can no longer stir it with a spoon. At that point, turn the dough out onto a floured surface and knead for about 5 minutes, adding small amounts of flour as you go. Only add enough flour to keep the dough from sticking, as adding too much can cause the dough to get stiff.
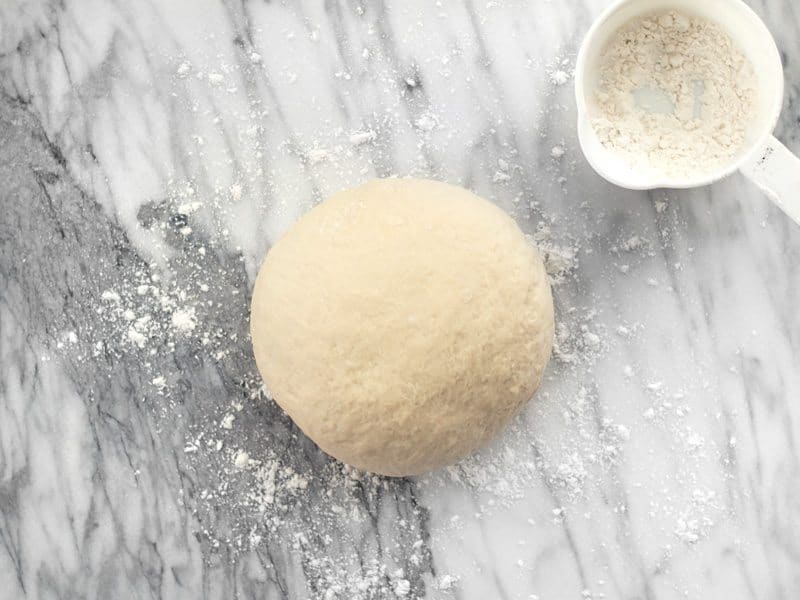
After kneading, you should have used somewhere between 2.5 to 3 cups flour. Let the dough rest for 15 minutes.
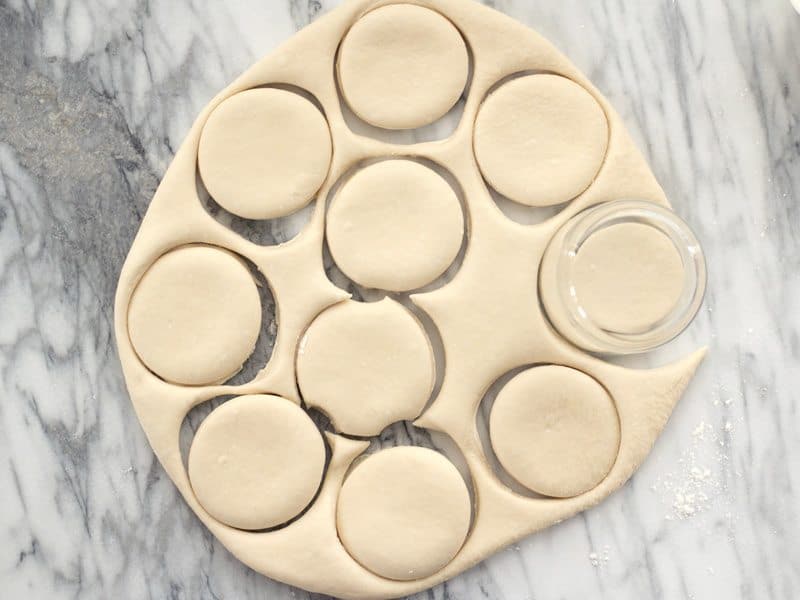
Roll the dough out to about 1/2-inch thickness, then use a cookie cutter or sharp-edged glass to cut as many circles into the dough as possible. Cut the circles close to each other to leave as little scrap dough as possible. Gather up the scraps, form them into a ball, press the dough out once more, then cut a few more circles.
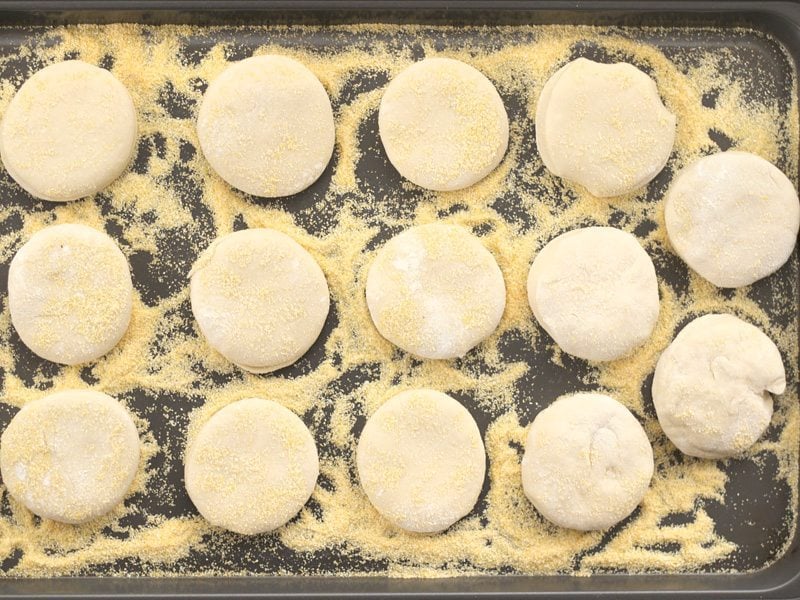
Cover a baking sheet liberally with cornmeal (this is 1/4 cup of cornmeal spread out on a large baking sheet). Arrange the muffins on the cornmeal, pressing one side into the corn meal, then flipping them over and pressing again, making sure there is plenty of cornmeal under each one to prevent it from sticking as they rise.
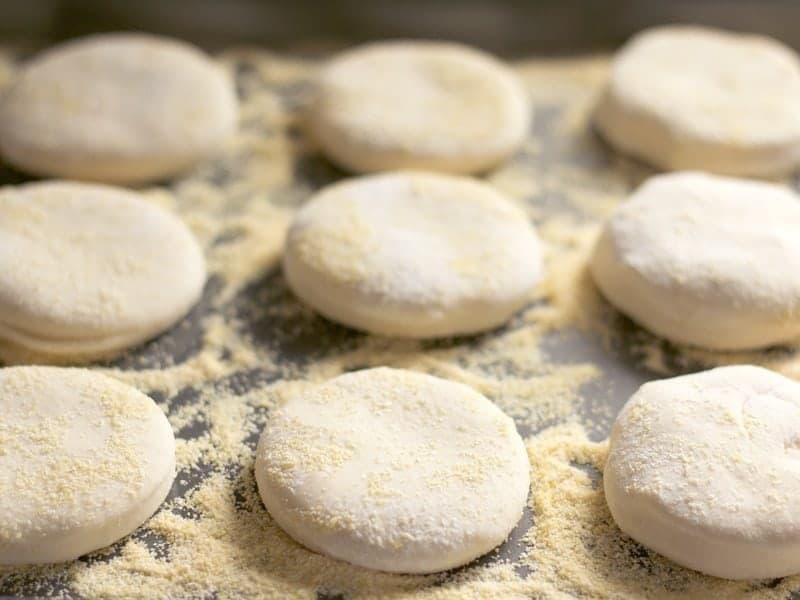
For reference, here is a side view so you can see how thin they are. Let the muffins rise in a warm, moist area for about 1.5 hours or until they’re slightly larger than double their size. I put a casserole dish with steaming water on the bottom shelf of my oven and placed the baking sheet with the muffins on the top rack (oven turned off) to create a nice warm environment for them to rise.
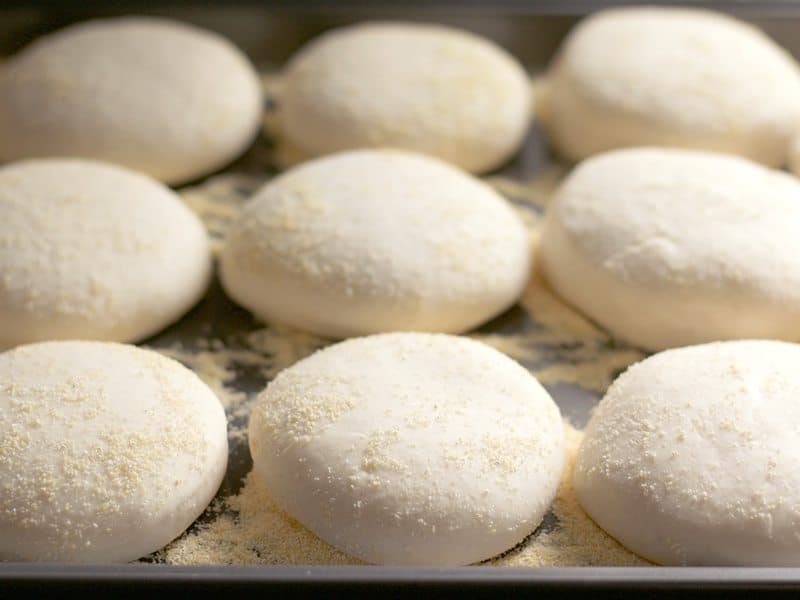
The Muffins should be very large, fluffy, and delicate after rising. Make sure they’re not touching each other because pulling them apart could cause them to deflate.
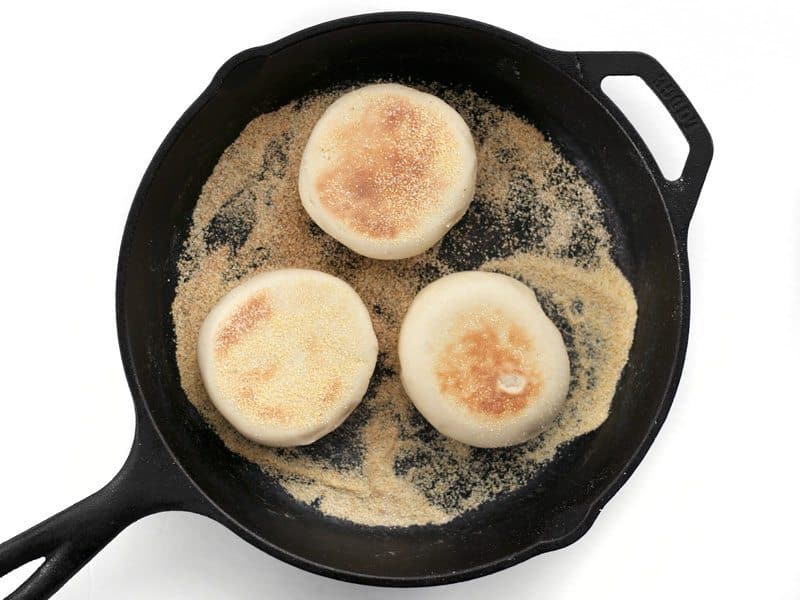
Once risen, it’s time to cook them in a skillet. Heat a cast iron or non-stick skillet over medium-low. Once preheated, use a spatula to carefully lift a few of the muffins off the baking sheet and onto the skillet, along with some of the cornmeal. Cook on each side until golden brown (3-4 minutes per side). The cornmeal will keep the muffins from sticking (the cornmeal in the skillet in the photo above is after 3-4 batches, each batch adding more to the skillet). The muffins will puff even further in the hot skillet.
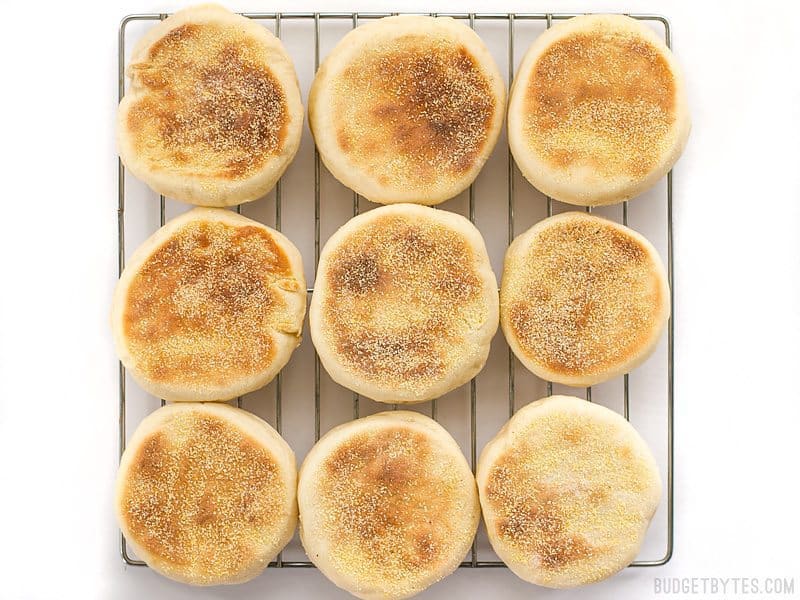
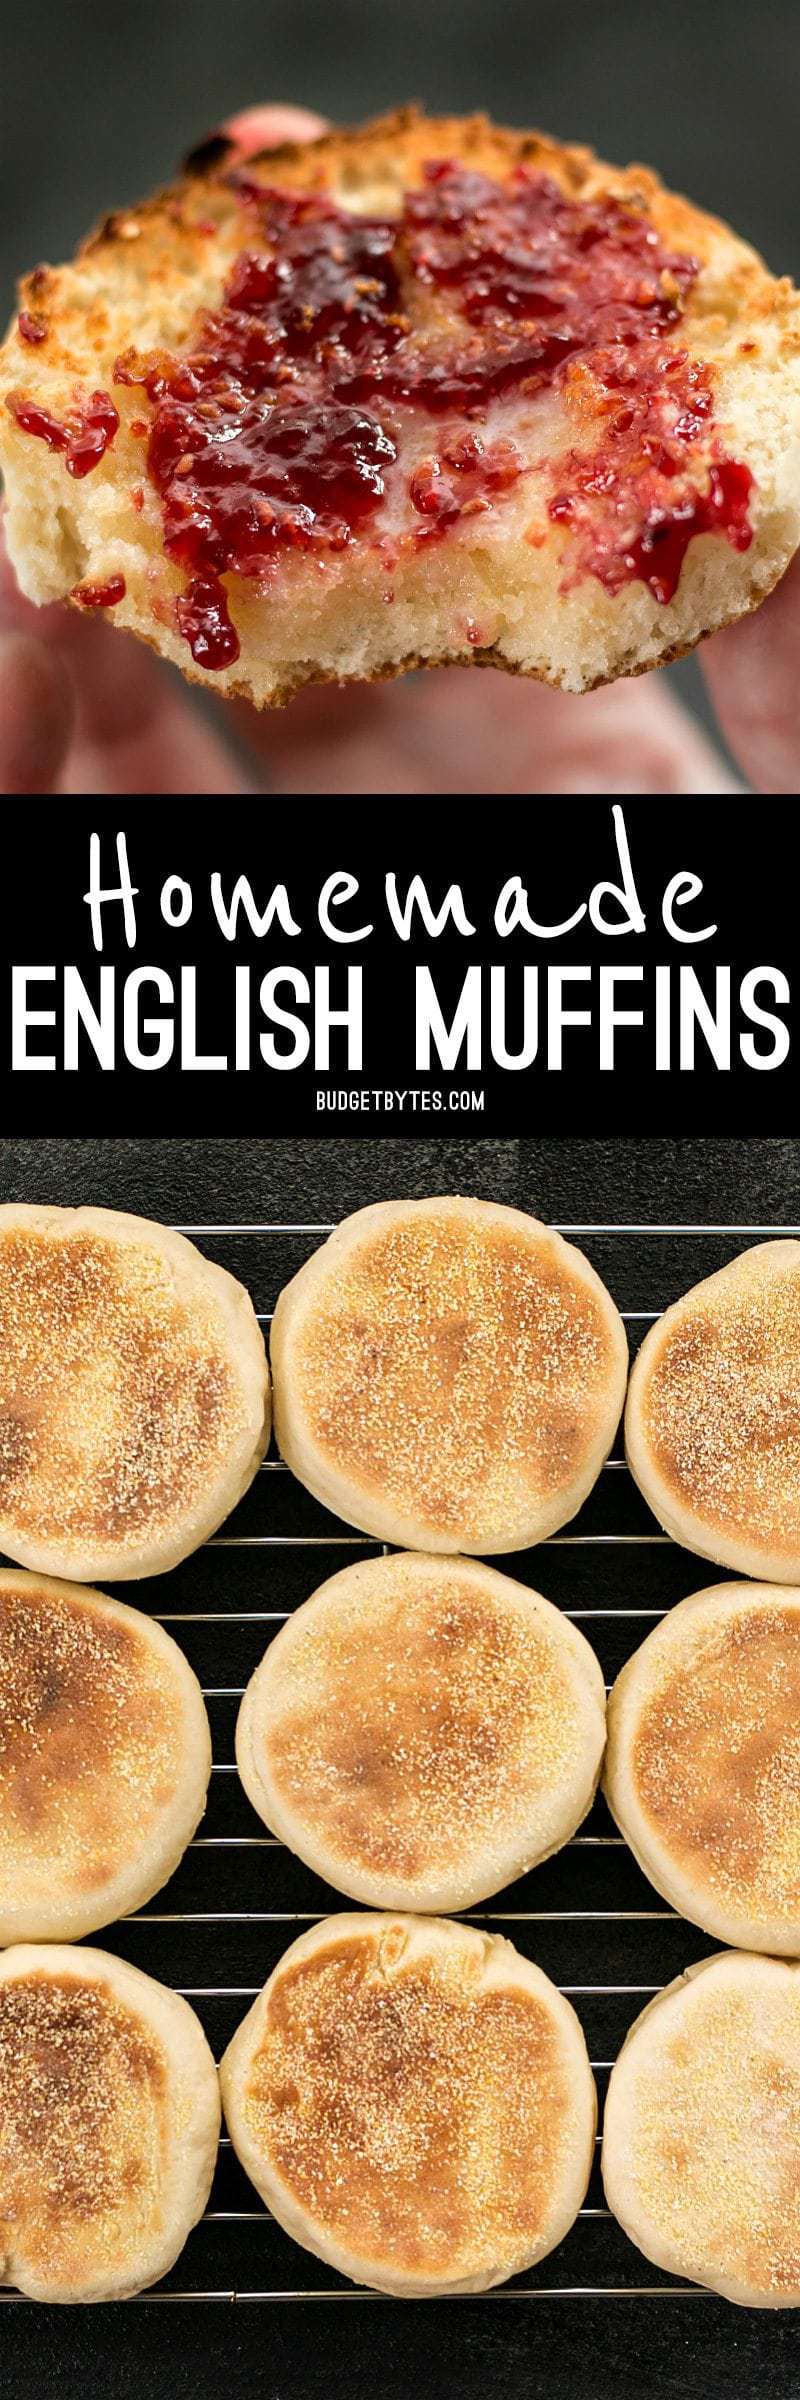
Transfer the cooked English Muffins to a wire rack to cool.
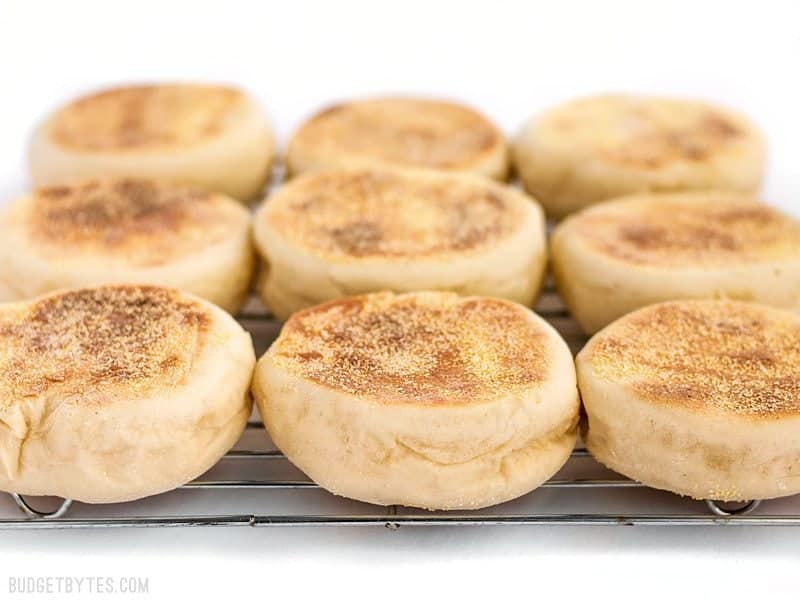
Once cool, either split with a fork and toast, or transfer to an air-tight container (like a gallon-sized freezer bag) to store in the refrigerator or freezer.
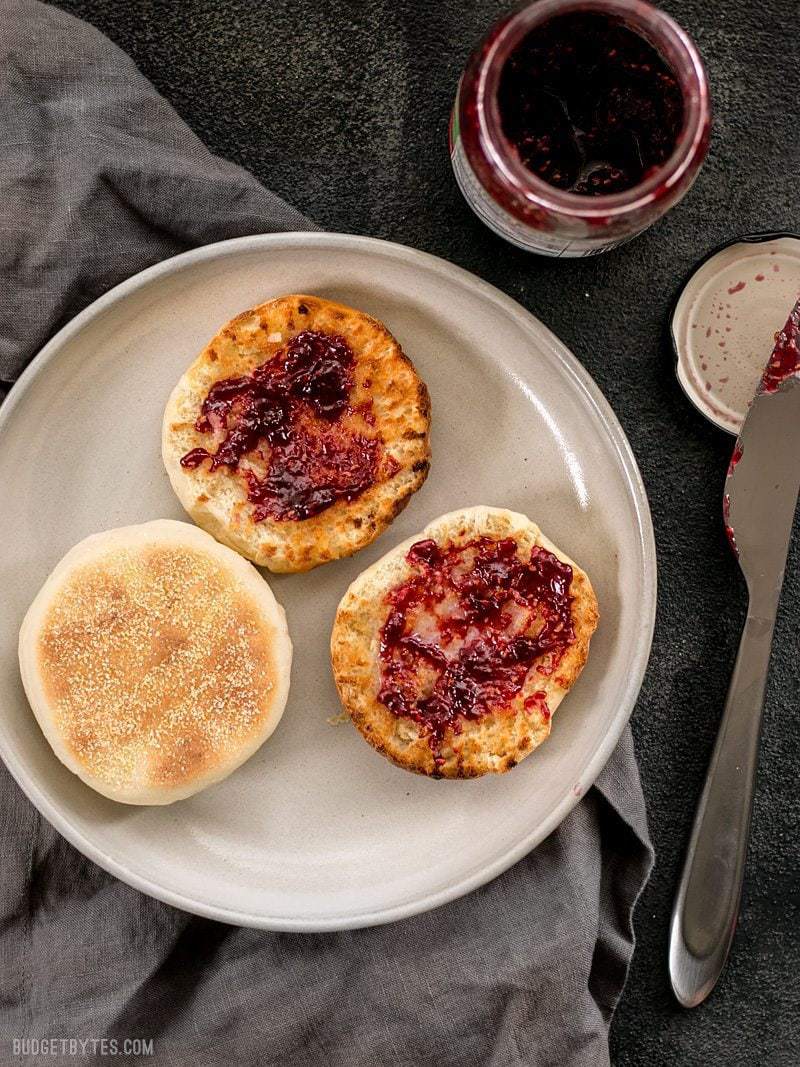
These Homemade English muffins are absolutely to-die-for with butter and jam! Light and fluffy, with very crispy edges and crunchy cornmeal bottoms!


Super yummy! Made a double batch today with no issues. A family favorite!
My daughter hooked me up with this recipe..so easy and delicious
Would be nice to know the size of cookie cutter
6cm
This was great, tasty and well written. Thank you !
Absolutely love this recipe! Any tips on how to have an even size on both sides? Mine get very dome shaped when they rise so one side tends to have a smaller area that touches the pan.
Try placing them on the skillet top side down first (the side that is slightly domed when it’s rising). Maybe the weight of the muffin will help flatten that side out before it stiffens enough from being cooked in the pan.
Love the recipe but mine turned out more like a tea biscuit consistency. I suppose I over kneaded/worked the dough?
I haven’t had a tea biscuit, so I can’t say for sure what the issue might have been without a texture reference. But if it was dense and tough there’s a good chance it was either too much kneading, too much flour, or both.
Would a regular skillet work? I don’t have a cast iron one.
Yes, a regular skillet will also work just fine! ~ Marion :)
I would like to add fresh cranberries to the recipe. How much should I add and do I need to change anything else if I do this? Thank you.
Since we haven’t tested this recipe to add any fresh ingredients, I’m hesitant to give you any specific suggestions because I can’t promise that the result would be equally successful. Typically cranberry English muffins are made with rehydrated dried cranberries because, as they cook, fresh cranberries will release a significant amount of moisture (although it’s a lot less than other types of berries) which may throw off the balance of wet/dry ingredients. I would suggest only adding 1/4 cup of berries (coating them with flour) and seeing how it goes — potentially adding more the next time. Good luck! ~ Marion :)
how would I go about freezing these?
Hi, there! Beth answers your question in the blog post under the header called “HOW TO STORE ENGLISH MUFFINS.” If you have any follow-up questions, feel free to reach out! ~ Marion :)
To make things go a little faster, could I use my electric griddle instead of cast iron pan and be able to take care of that step all at once?
Hi Sarah, We have not tested the muffins on an electric griddle and cannot say what the results will be. If you want to use an electric griddle, make sure it heats evenly and retains that heat (like cast iron does). Also, remember that it has no sides and will not trap steam. So your results might be different than those pictured. But I would def try it! XOXO -Monti
So much easier and faster to make than other recipes I’ve been seeing. They turn out so well I was accused of buying them and saying I made them.
I assume this is unsalted butter?
I use salted butter for all my recipes. :)
Will this work if I substitute 1 C whole wheat flour for the white flour?
Yes, that should work alright. Usually you can substitute up to 50% of AP flour with WW without too much of a texture difference.
I’ve made these several times, and they’re so easy and a favourite in our house. The hardest part is the ‘down time’ while they rise. Making a batch today and plan to gift to a special birthday fella!
🤠🇨🇦ON
Thank you I live these muffins.