I know it may seem like I’m a super woman who does everything herself (read: sarcastic) but I get busy and stressed out just like the rest. The other day I was SO tired in the morning that I couldn’t even bring myself to take the Veggie Pasta Bake out of the fridge and scoop some into a container to take for lunch.
Pretty pathetic, right? So I ended up buying a bagel and cream cheese for lunch and I paid an astounding $1.70 for it. That’s just too much for a little old bagel. Too much!
So, I came home and decided to do some therapeutic baking. I baked my own batch of bagels, 10 total, for less than a dollar. $0.09 per bagel is way more my speed.
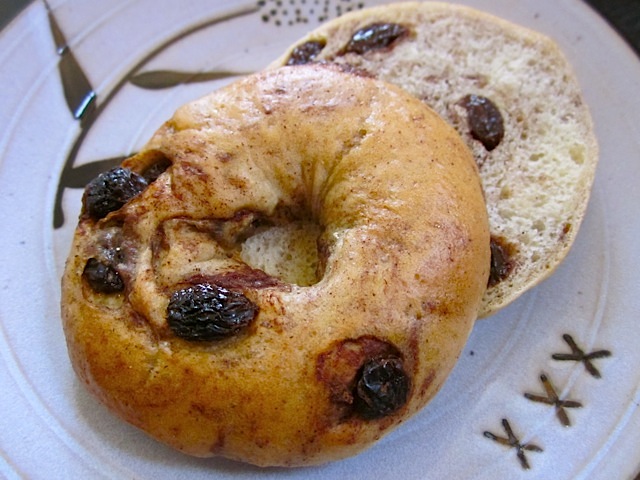
I split the recipe in half and made half cinnamon raisin and half sesame seed. The cinnamon raisin turned out so good that I decided to dedicate the whole post to them. If you want plain, sesame or any other topping bagel, just leave out the cinnamon and raisins then add your topping prior to the final bake. Further instructions will be in the step by step photos.
One more note: Most recipes just say to boil then bake the bagels but I remember having trouble with my bagels getting soggy and disintegrating in the water while boiling. So I started broiling my bagels briefly prior to boiling so that they wouldn’t turn into goo. Just broil the bagels for one minute on each side before boiling then they’ll still have that nice chewy skin AND hold their shape. It’s up to you whether or not you want to add the broil step; no one else across the world wide web seems to have had the dissolving problem.
Cinnamon Raisin Bagels
Cinnamon Raisin Bagels

Ingredients
- 4 cups flour ($0.24)
- 1 1/2 tsp salt ($0.05)
- 1 Tbsp honey or sugar ($0.10)
- 1 1/2 tsp yeast ($0.14)
- 2 tsp cinnamon ($0.10)
- 1/2 cup raisins ($0.31)
Instructions
- In a small bowl combine the honey, yeast and 1.25 cups warm water. Stir to dissolve and let sit for five minutes or until the surface is covered with foam.
- In a large bowl combine 2 cups of the flour and the salt. Stir to combine. Add the frothy yeast water and stir well until everything is evenly mixed. Continue adding flour 1/2 cup at a time until it is too hard to stir by hand (about one cup later). Turn the dough out onto a well floured surface and continue adding flour a little bit at a time and knead in until you have reached 3.5 to 4 cups total (depending on the humidity). You can stop adding flour when it becomes fairly stiff but still pliable enough to knead. Knead the dough for 8 minutes total.
- After kneading, flatten the dough slightly and add the cinnamon and raisins down the center. Fold the dough over and knead a few more times until the raisins are even throughout the dough and the cinnamon has given the dough a swirly appearance. The raisins and cinnamon may “break out” of the dough while you knead it in but just keep going and let the dough pick it back up as you knead.
- Form the dough into a ball, loosely cover and let it rise until double (about 45 min.). Punch the down down, form it into a log and cut it into 10 pieces (for medium bagels). Form each piece into a ball by pulling the dough back and under itself. When you have a smooth ball, pinch it in the center to make the hole then carefully stretch the hole until it is a couple inches across. Make the hole about 3x larger than you think it should be because the dough will puff up quite a bit during cooking and close the hole off. Form the rest of the bagels in the same manner.
- Place the formed bagels on a baking sheet covered with parchment paper and cornmeal or non-stick spray. Let rise until double in size (about 45 minutes). Preheat your broiler near the end of the rise time.
- Put a large pot of water on to boil. While you wait for it to boil, place the tray of bagels under the broiler for one minute. Pull the bagels out, carefully turn them over then place them back in to broil on the second side. Every oven is different so watch the bagels closely. You do not want them to brown just turn slightly dull on the surface.
- Once the bagels have broiled on both sides, turn the oven to 375 to preheat. When the water has come to a full, rolling boil, drop the bagels in a few at a time. Boil the bagels for one minute, flip them over and boil for another minute on the opposite side. I found that a long chopstick works well for flipping them in the boiling water.
- As the bagels come out of the water, let them drain on a wire cooling rack so the bottoms don’t get soggy. After draining for about 5 minutes, place them on a baking sheet and bake for about 30 minutes or until the surface is golden brown.
See how we calculate recipe costs here.
Notes
Nutrition
Step By Step Photos
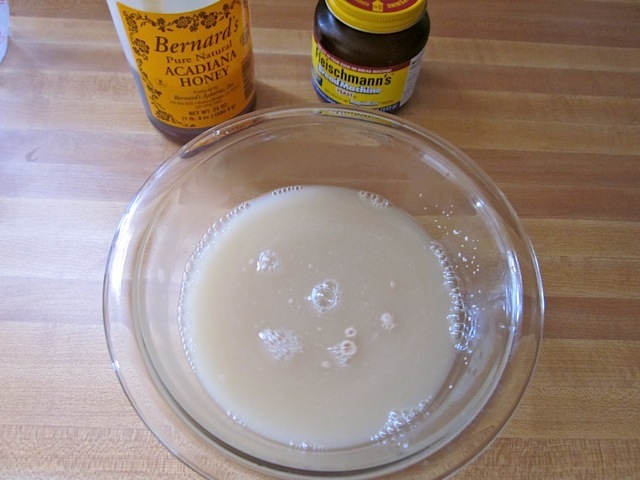
Combine the yeast and honey with 1.25 cups of warm water. Stir to dissolve.
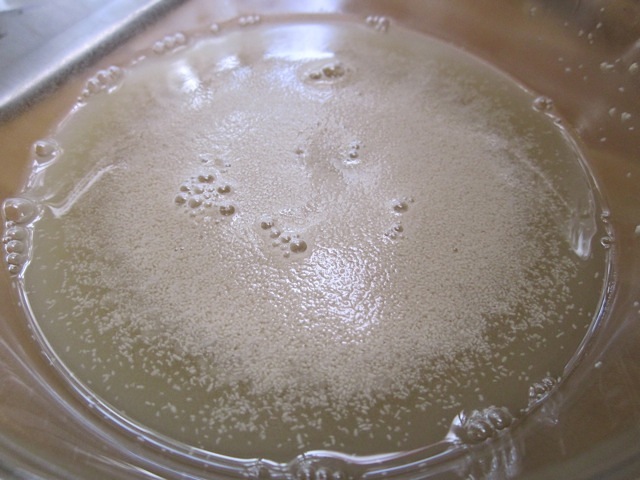
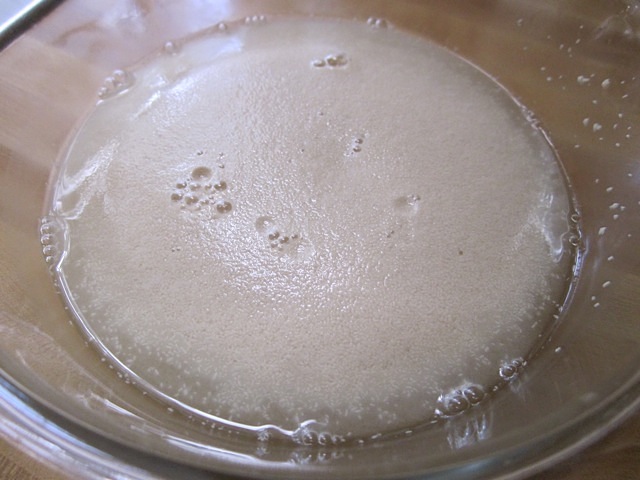
Let the yeast water sit and it will begin to foam. When the surface is mostly covered in foam, it’s good to go.
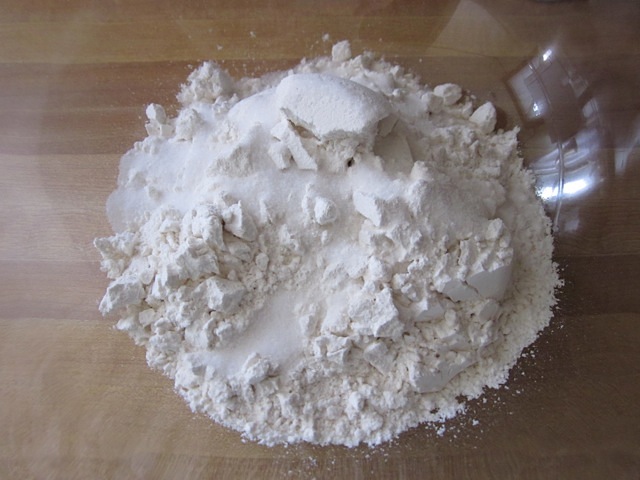
While you’re waiting for the yeast to do it’s thing, combine the salt and 2 cups of the flour in a large bowl. Stir until they’re all mixed together.
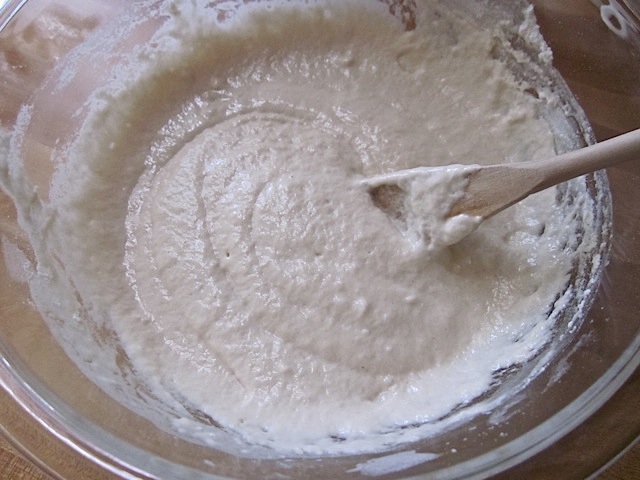
Add the foamy yeast water to the flour and salt then stir it up until everything is wet and mixed together (as pictured). Continue adding flour a half cup at a time until you can’t stir it by hand anymore (about one cup later).
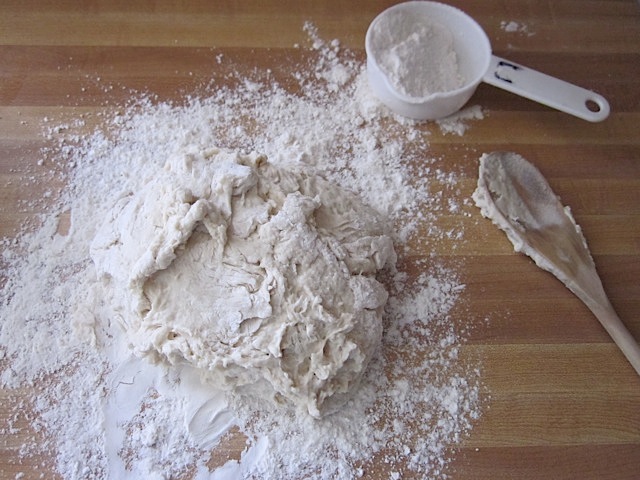
At that point, turn the ball of dough out onto a well floured surface and begin to knead. Continue adding flour a little at a time as you knead until it is a fairly stiff but still pliable dough (about 3.5 cups to 4 cups total flour… including the first two cups). Continue kneading until you’ve kneaded for about 8 minutes.
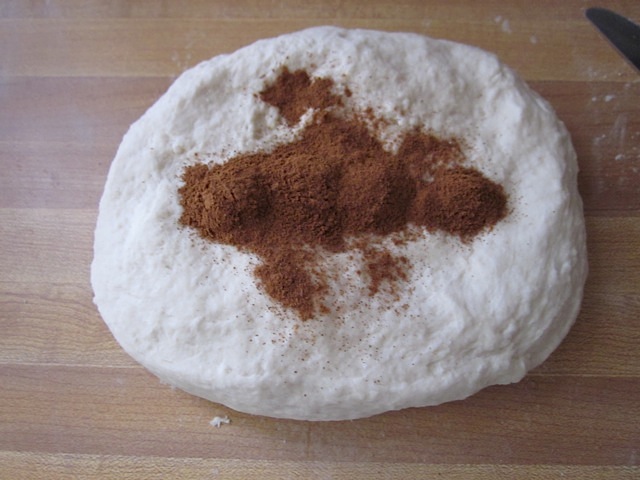
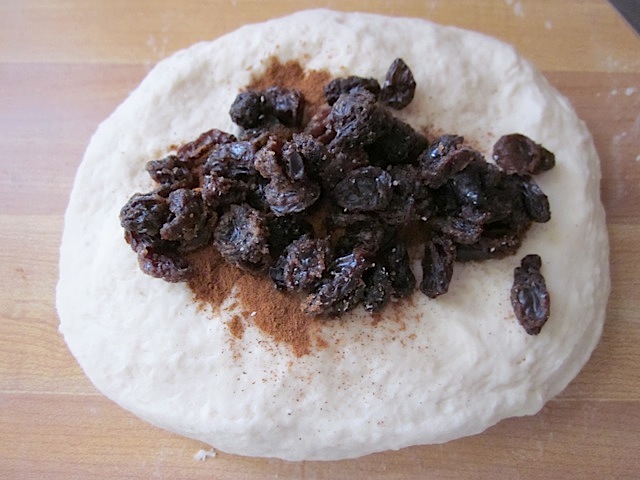
Flatten the dough out slightly and add the cinnamon and raisins down the center. Make sure to break the raisins up so there are no clumps.
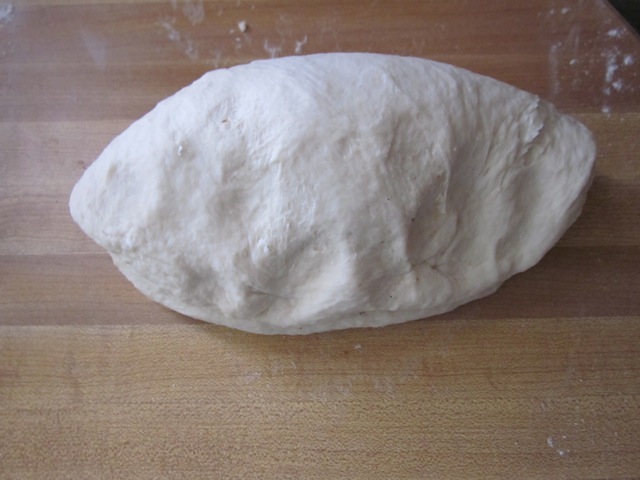
Fold the dough over (as pictured) then knead a few more times to incorporate the raisins and cinnamon.
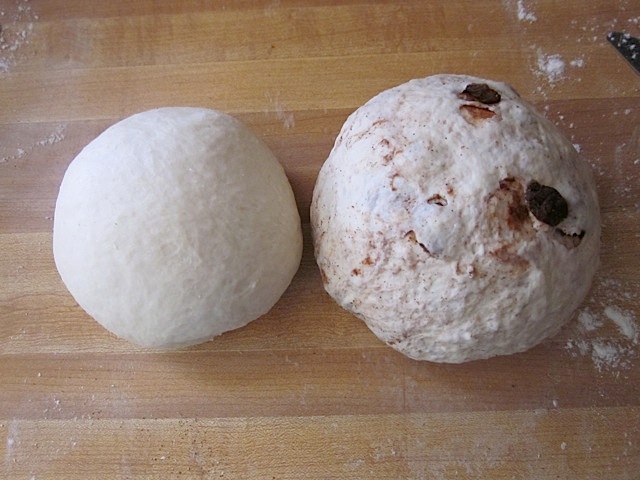
Form the dough into a ball, loosely cover and let rise until double (about 45 min). I split my batch in two and only made half cinnamon raisin (on the right).
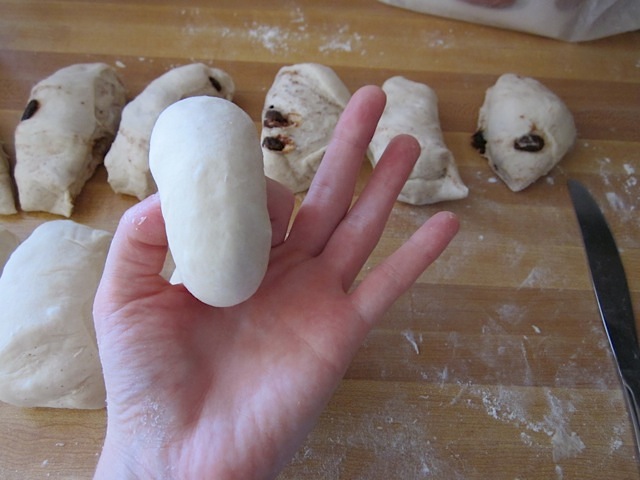
After the dough has risen, punch it down and form it into a log. Cut the dough into pieces about the size of a small lime. My cinnamon raisin ball was larger than the plain so I made four plain and 6 cinnamon raisin. Dough scrapers make dividing dough very easy… I keep meaning to buy one.
Form each piece of dough into a small, smooth ball. The more perfect, smooth and even these balls are the more perfect looking your bagels will be. I wasn’t too concerned with perfection.
Pinch the ball in the center to make the hole.
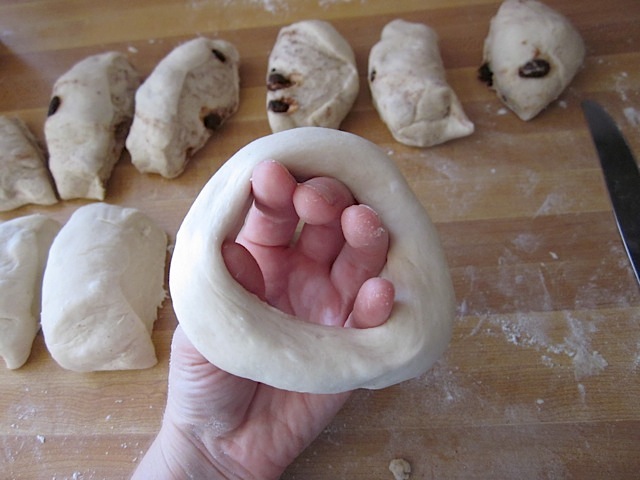
Carefully and evenly stretch the hole to about 3x the size that you think it should be (it will shrink as the dough gets bigger).
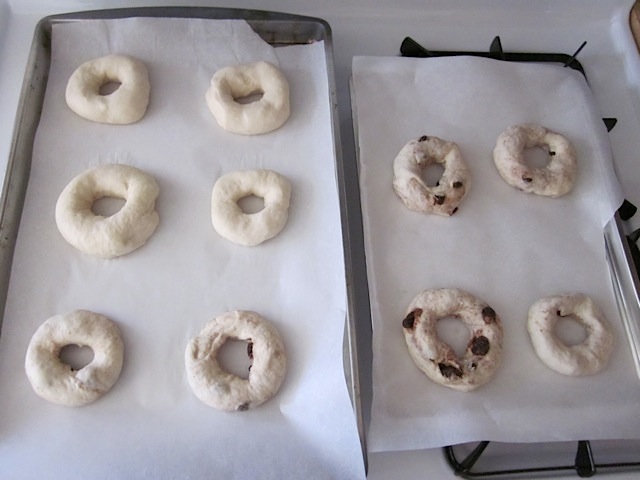
Place the shaped bagels on a baking sheet with parchment paper. I learned the hard way that you will want some corn meal or non-stick spray on the parchment paper so that you can easily lift the fluffy unbaked bagels off without them sticking. If they stick to the parchment they will deflate as you pull them off (very very bad).
Once they have risen to twice the size, you can broil them quickly (1 minute) on each side. This picture is after they have been broiled. They will poof up and get kinda dull looking on the surface when you broil them.
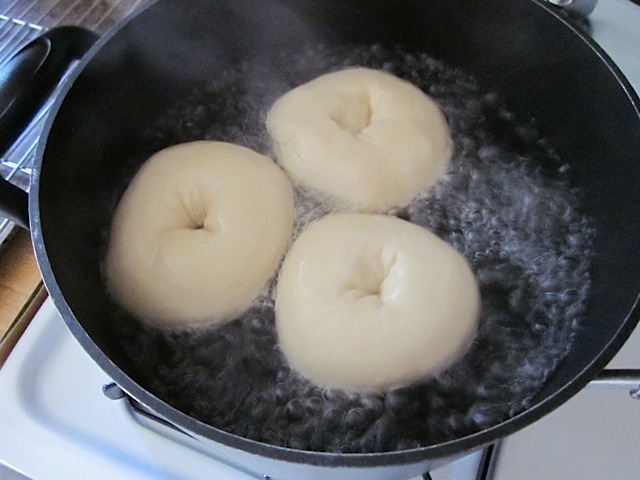
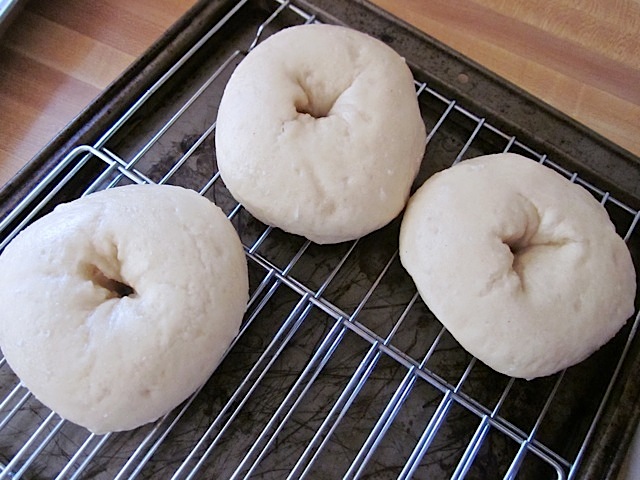
Next is the boiling step that gives bagels their characteristic chewy skin. Make sure the water is a full boil before dropping them in. Boil for one minute on each side then let drain on a wire cooling rack so that excess water can drain away.
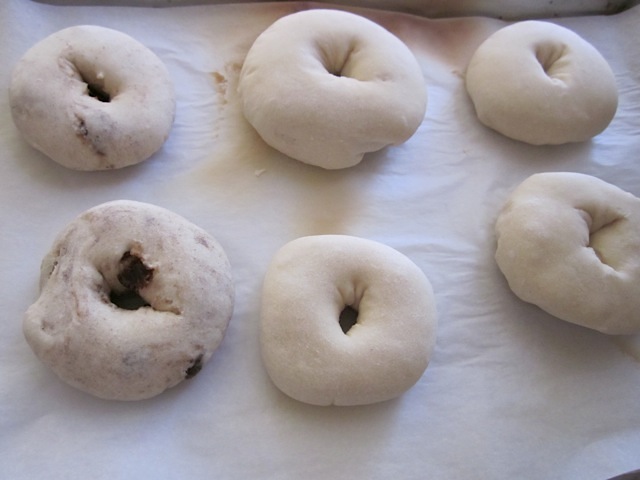
Here are the bagels draining off… they get even BIGGER as they boil. Now you can see why they need to be so small to begin with. Also notice how small the holes are now compared to when they were first formed. I should have stretched them more.
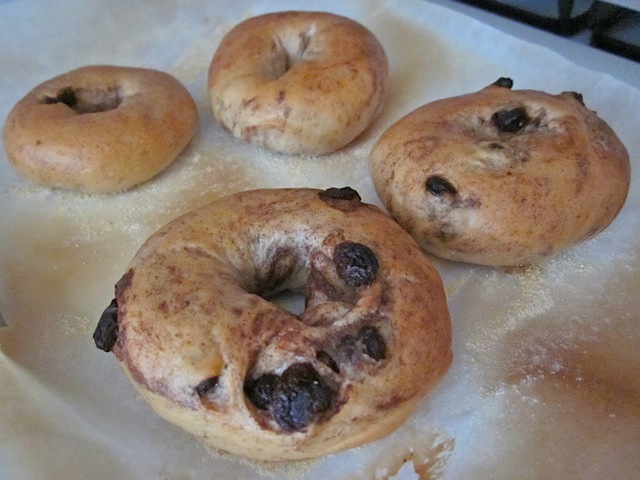
Bake the bagels for about 30 minutes at 375 degrees or until they are golden brown on top. You can use the same parchment lined sheets as before.
If you want to add toppings, do so before baking them. I thought the surface of the bagel was sticky enough from baking to hold the seeds but you really will need to brush them with a beaten egg to make them stick. Mine fell off as soon as I touched them.
I know that it seemed like a lot of steps and it may have taken a long time to read through but these were really easy to make… and strangely fun. I was able to do a lot of other work while they were rising and baking so it’s not like making a batch of bagels will steal three hours of your life away!
If you like a sweeter bagel, you can increase the honey or sugar in the dough. I basically took a plain bagel recipe and just added cinnamon and raisins. I don’t like super sweet stuff so I relied on the raisins for sweetness. I know some store bought cinn. raisin bagels are rather sweet so you might consider it if that’s how you like ’em!
Just Broil, Boil then Bake!
This post may contain affiliate links which won’t change your price but will share some commission.






Bagels turned out great! Will definitely make these again!
Hi! I’ve been loving all of your recipes and wanted to try this one out but had a question. Did you use instant yeast or active dry yeast for this? Thank you!!
I have been wanting to make bagels for a long time. My wife loves your reciepes and sent this to me. My 3 year old I made then and they turned out great! So yummy and chewy! I am a bagel snob so I dont know if I will be going out for bagels again because these rock! Thanks!!
Can I replace the raisins with frozen blueberries?? I have been craving a blueberry bagel!
(Also I LOVE your site and recipes. I have made so so many over the past few years and the ONLY one that didn’t turn out so good was the smoky black bean soup! I always recommend your recipes to friends and family :))
Thanks for the kind words Christina! Yes you could swap for blueberries, but I would toss them in flour before so they don’t sink to the bottom of the bagel. Enjoy!
These were fun to make! It did take me like all morning but they are worth it! Simple, easy recipe!
How do I store these?
Worth the time! You can store them in an airtight container or bag. You can also freeze them if you’d like!
My recent batch turned out really chewy and tough and I can’t figure out why. I’ve made them many times before without this issue. I’ve moved to a higher elevation since the last time I made them, would that effect them or am I just out of practice?
To be honest, I’m not sure if it’s the elevation or if you’re just out of practice. haha! I’m not experienced with high elevation cooking and I don’t know how high your elevation is, so it’s hard to say what the effects would be there. Toughness can also be caused by kneading in too much flour, too. So perhaps being out of practice the dough got a bit too dry?
This recipe turned out really well. My bagels fell a little bit, but that might be because I made them larger than recommended. Tasty, though!
I wonder if the broiling step could be omitted by letting the shaped bagels rise uncovered in the fridge for an hour. This is the strategy I used for lye-dipped pretzels.
You can certainly give it a try Mel! Can you let us know next time you make it if you try it that way?
Your printing needs work! I will never print another recipe from this site! I ended up with 20 or more pages of pictures and then the freaking comments too! I wanted a freaking recipe not the whole damn site! I never had a problem with my printer and it even jammed my printer up somehow? It was trying to keep up with all the crap this site was sending! Now possibly the jam was not your fault but it has never happened in all the time I’ve had it which is a few years now! But I will NEVER print another recipe from this site so I probably won’t ever come back to this site! You need to fix something when it comes to printing and allow for a more printer friendly recipe! I don’t need 20 pages of pictures and comments! And there was nothing to indicate that was going to happen! I have printed many recipes from other sites and never had such a miserable experience! And I get a 1 or 2 at most page print out of the recipe!
This is ABSURD!
I’m sorry for the printing troubles Richard. I’ll look into it further. However you should always have the option on your computer to do a print preview where you can see the pages to print prior. Then you can just simply select the first page to print. Or when you are down in the actual recipe, you can hit the printer icon and it should just print the ingredients and instructions.
Hey Richard,
Perhaps you could try wording your concerns a bit more politely. Don’t forget that although you’re on the internet, there is a real human being on the other side… And in this case, that real human being is someone who is working very hard to help people like you and me to eat delicious food.
Be nice!
-GP
I never knew that I could make bagels at home, but we’ve made these twice now and they are excellent! Our second batch came out a better/softer than the first – we opted skip the broil the second time. Our four-year-old loves helping out – especially when it comes time to make the holes and stretch out the bagel. Great recipe, Beth!
I just wanted to pop over here to sing some praises for this amazing recipe. I was lazy with the rise times (went for a hike, put the kids to bed, etc.) and my innatention did not matter at all. These were perfect cinnamon goodies! I did make them a bit smaller (think store bought mini bagel size) so I reduced the bake time by about 5 mins. YUM! Thank you for this recipe!
I made this today and it turned out so great! I took out the cinnamon and raisins and made plain bagels! My family loved them! Thank you BudgetBytes for saving my night!
If you don’t have a wire cooling rack, what’s a good substitute?
Hmm, I can’t think of anything that would hold the bagels up and allow the excess moisture to drain and evaporate away.
I used the rack from my instant pot and a steamer basket.. worked just fine!
Dry Yeast
I have traditional or quick rise
Which would be best to use?
Thank you
I would use quick rise.
Best recipe hands down!! My batch just came out the oven and they’re delicious!!! Thanks for making this so easy1
I followed your directions, but my bagels never rose for a second time or poofed up while boiling. In the end they turned out flat and as hard as hockey pucks. Any thoughts on what happened?
Did your yeast foam up the first time? This sounds like the yeast was too old or ask killed too early in the process.