Reducing waste in the kitchen is one of the most important ways to keep your food budget in check. Tossing uneaten food into the garbage is just as good as throwing handfuls of cash in the trash, and I don’t know anyone who can afford that (if you can, feel free to throw it in my direction instead of into the garbage, k thx.). Freezing food gives you more time to find uses for your food before it spoils, so I’ve experimented with freezing all sorts of foods and ingredients over the years. After plenty of hits and misses, these are the 10 foods I freeze most often to save money and reduce waste in my kitchen.
This post contains some affiliate links, which means that we make a small commission off items you purchase at no additional cost to you.
But before I get into the foods that I like to freeze, here are a few general tips for freezing food.
Quick Tips for Freezing Food
- Exposure to air is the enemy because it causes moisture to evaporate from your food, which results in freezer burn. So, wrap food tightly, use heavy duty plastic, and remove as much air as possible from bags when possible.
- Chill hot food completely in the refrigerator before transferring it to the freezer. Placing hot or warm food straight into the freezer causes larger ice crystals, which will damage the texture of the food more.
- ALWAYS label and date your food. It’s preemptive strike against frozen mystery packages in the back of your freezer, which will undoubtably end up in the trash.
- Bookmark this chart of storage times for food in the refrigerator and freezer. This will help you determine how long to keep the items in your freezer. And here is a more extensive resource for best practices when freezing food.
10 Foods I Freeze to Save Money and Reduce Waste
1. Cheese
Cheese is always one of the more expensive ingredients I use, so I make sure not to waste a single crumb! Plus, it’s often much less expensive if purchased in a larger quantity, like 16 oz. block or a 2 lb. bag of shreds. Luckily, cheese freezes great! You’ll notice very little, if any at all, difference in the texture after freezing and thawing. Block cheese may become slightly more crumbly, so it’s not as good for making sandwich slices, but it’s still great for shredding, melting, and other uses.
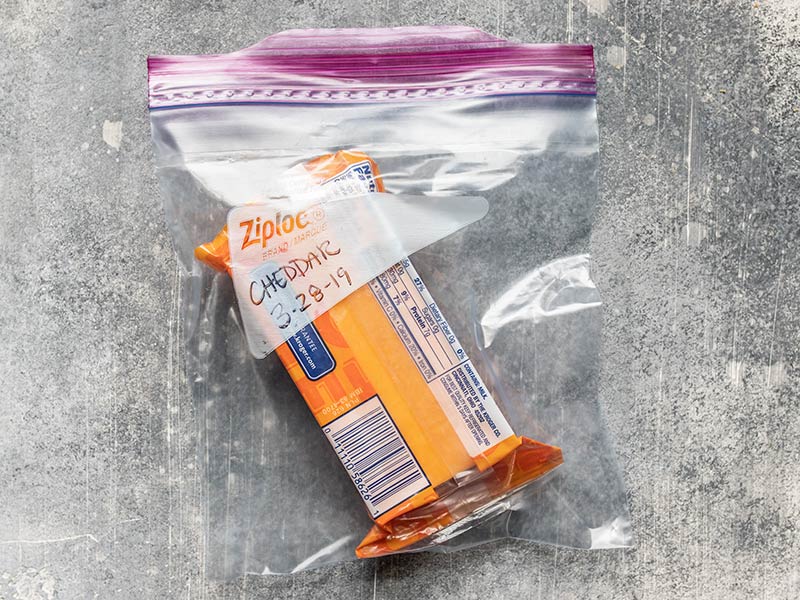
When I buy a large bag of shreds, I first divide it up into smaller portions, usually 2 cups, and freeze them individually. To thaw, I simply transfer them to the refrigerator one day before I intend to use them. I do the same for block cheese. If I buy a large block, I’ll first divide it into 8oz. portions, like the usual blocks for sale, wrap them tightly in plastic, then place them in a freezer bag. If I’m freezing a half block, like in the photo above, I’ll leave the original plastic on the cheese because it fits so tight and close to the cheese, then place the whole thing in a freezer bag.
Cheese varieties I’ve successfully frozen: cheddar (shredded and block), chevre (soft goat cheese), feta, swiss, Monterey jack/pepper jack.
2. Fresh Ginger
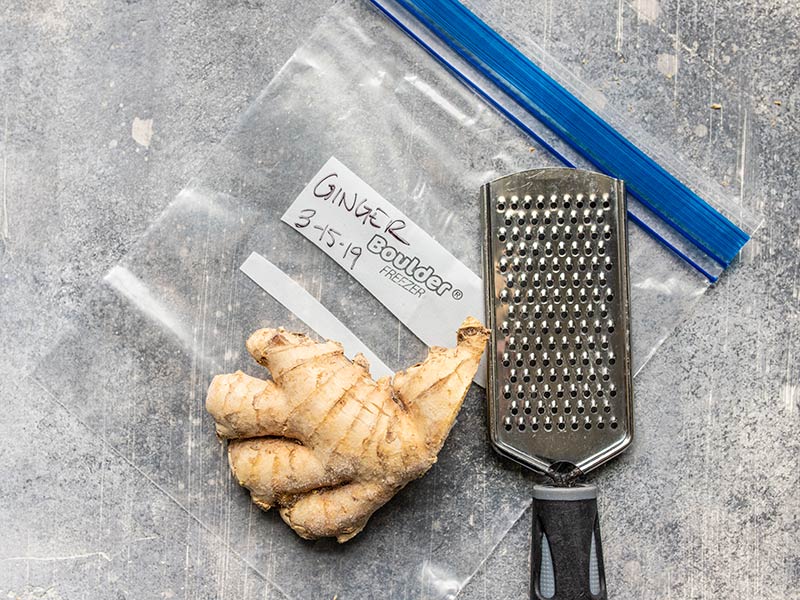
I cook a LOT with ginger, but it gets soft and rubbery pretty quickly in my refrigerator. The solution? Keep a knob or two in the freezer! The flavor is exactly the same and frozen ginger grates much easier than fresh, since the hairy fibers break easily instead of clogging the grater.
You don’t have to peel your ginger before it’s used, but I do suggest washing it well to make sure there is no dirt in the nooks. If you prefer to peel your ginger, peel it before freezing. I use my ginger so often that it doesn’t have much of a chance to get freezer burn, so I simply pop it into a freezer bag. If you use your ginger a little less often, you may want to wrap it tightly in an extra layer inside the freezer bag.
3. Fresh Spinach
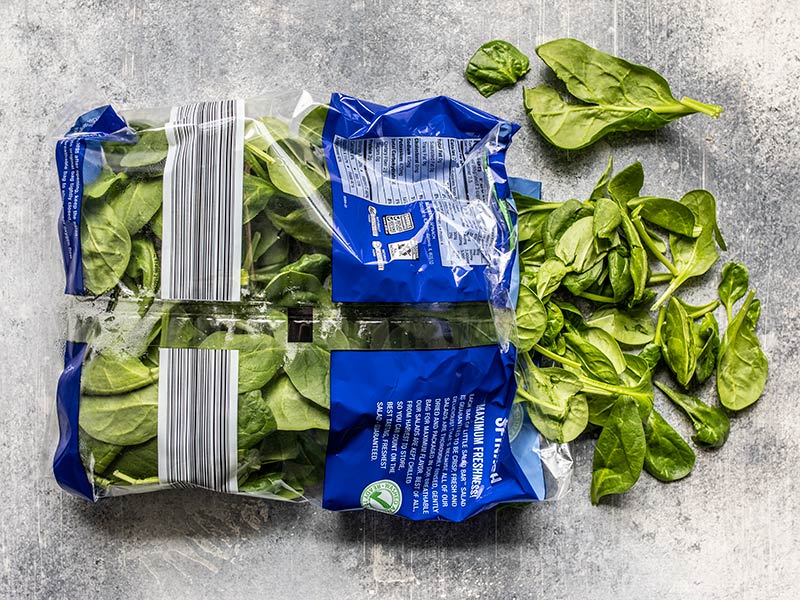
We’ve all done it. Ambitiously bought a bag of spinach only to watch it slowly wilt in your fridge. Try as I might, it’s not often that I successfully finish an entire bag of spinach before it gives up its life. So when I see the spinach starting to sputter out, I’ll just place the whole bag right into the freezer. Yep! No prep needed, just put it in the freezer (inside a sealable bag).
Obviously the frozen spinach isn’t good for salads, but it works perfectly for smoothies, adding to soup, sauces, or sautéing (because it wilts when cooked anyway, right?). And because the spinach is so delicate and not dense, I don’t even thaw it before adding to my meals. It goes straight from the freezer to the soup, sauce, or wherever it’s being used.
4. Tomato Paste
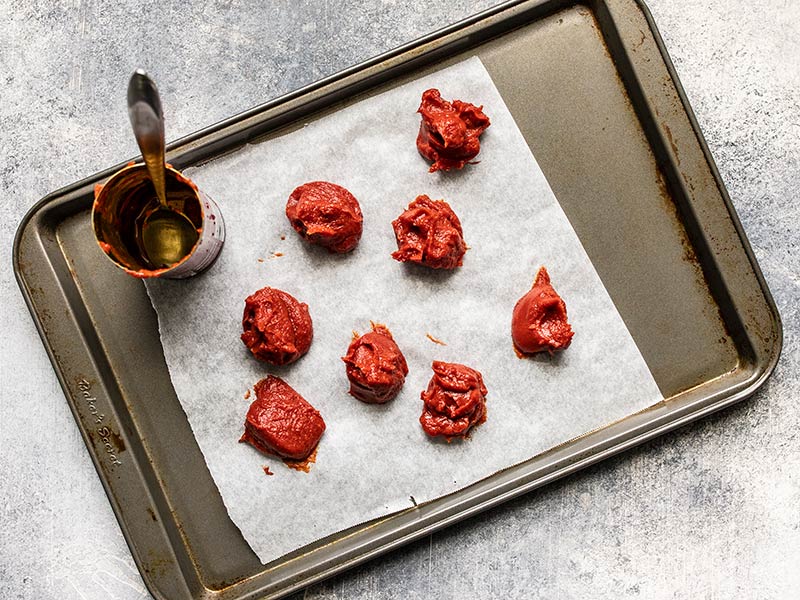
If you’ve been around Budget Bytes for a while, you probably already know that I freeze my tomato paste. But, since this one was such a game changer, I want to make sure anyone new here knows this trick. Most recipes only use one, or a few, tablespoons of tomato paste at a time, but one small 6oz. can of tomato paste has about 10 tablespoons in it. So what do you do with the rest? Well, you DON’T throw it away.
Portion it out into one tablespoon scoops, place them on a parchment lined baking sheet or plate, then freeze until solid. Once solid, transfer to a freezer bag. Then, whenever you need tomato paste for a recipe you can grab one, or however many you need. Again, because they’re so small, I don’t even thaw them. They go straight into my soup or sauce frozen. (See the full post: How to Freeze Tomato Paste)
5. Fresh Lemons and Limes
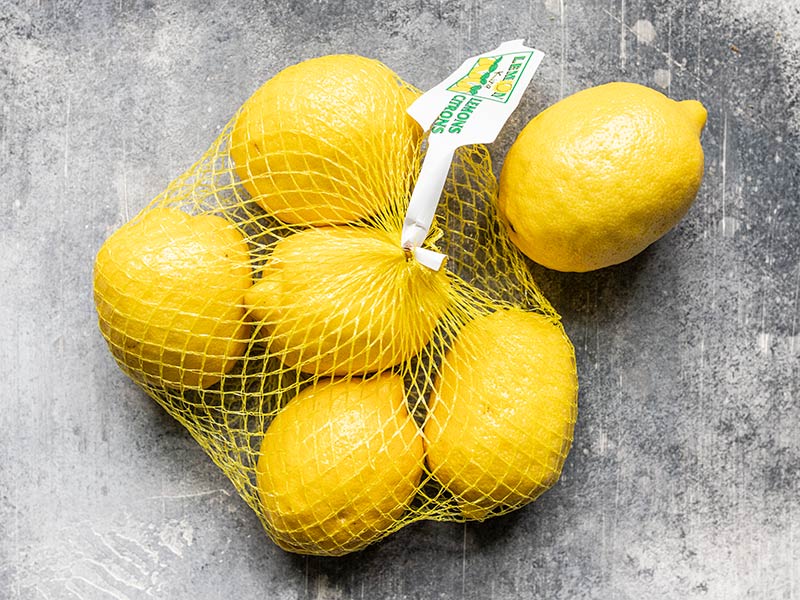
Okay, this one was a recent game changer for me as well. I love cooking with fresh citrus because it can absolutely transform a dish, but it’s also quite expensive. So when I learned that you can freeze whole lemons and limes for juicing and zesting later, I was finally able to take advantage of the steep discount offered when buying a whole bag instead of one at a time. The texture of the citrus does change once thawed, so you won’t want to use them for slicing or garnishing, but they’re absolutely perfect for zesting and juicing. For more detailed instructions and tips, read my post about How to Freeze Whole Citrus.
6. Bread and Baked Goods
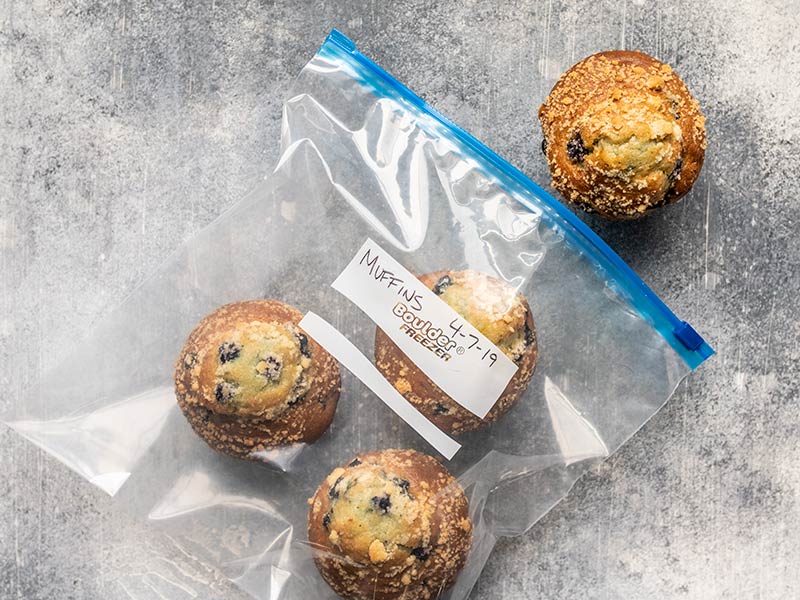
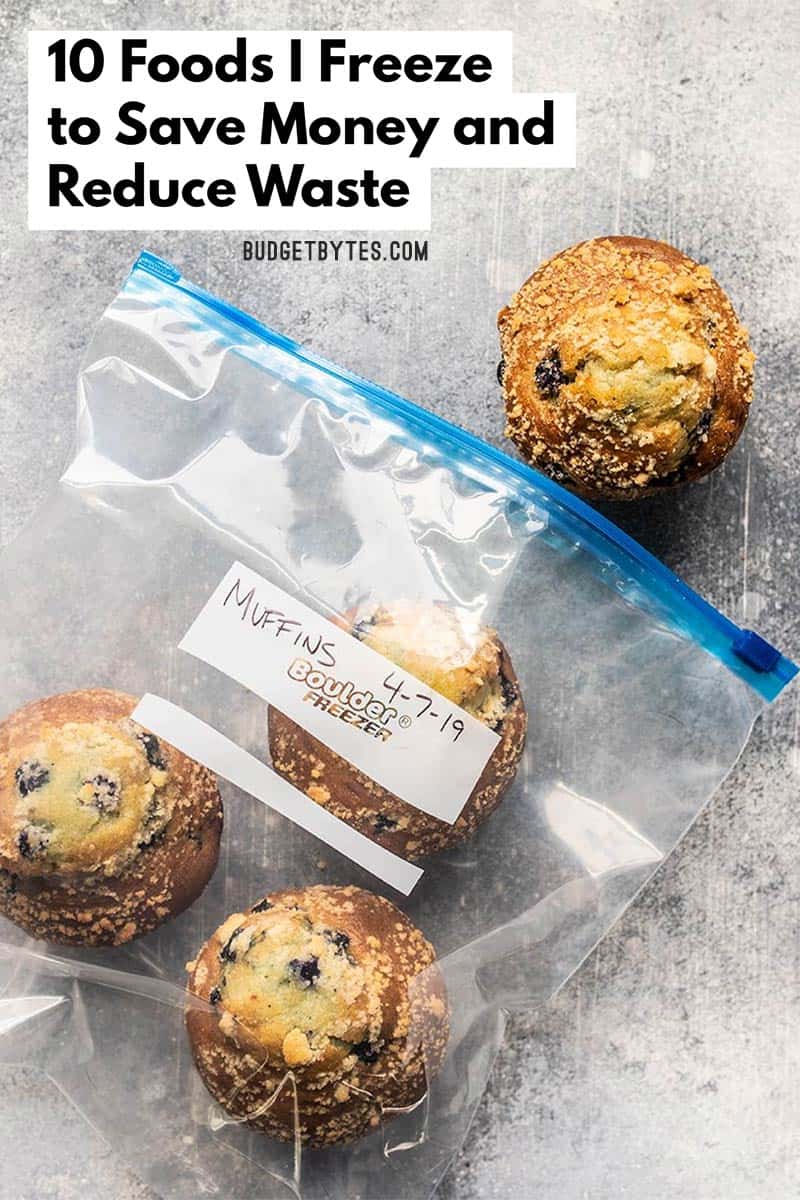
I freeze my bread and baked goods for two reasons: to slow it from molding and to slow me down from eating it so fast! 🤣 When I lived alone, freezing my loaves of sliced bread was a life saver. Instead of having to buy a new loaf every week, I could slowly work on one loaf all month long without it going moldy. Just take a couple slices out at a time, pop them straight into the toaster from the freezer, and you’re good to go. As long as the bread is not too delicate the slices separate quite easily when frozen. If you prefer the bread untoasted, just let it sit at room temperature for about 10 minutes.
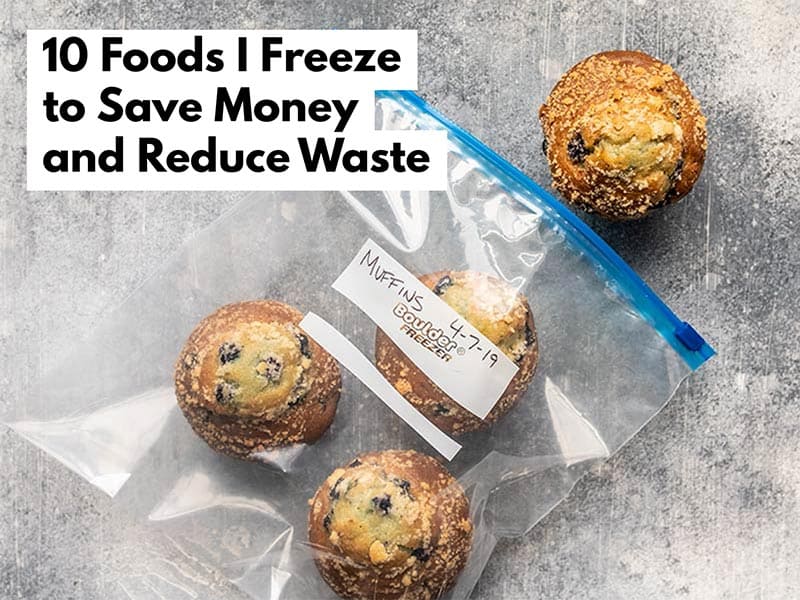
Dinner rolls, garlic bread, biscuits, muffins, croissants, quick breads (like banana bread or zucchini bread), tortillas, and just about any other bread item you can think of all freeze beautifully. There are no texture or flavor changes, and most thaw very quickly at room temperature. If your items are home baked, make sure to let them cool completely before freezing to prevent condensation and ice crystals.
7. Leftover Vegetables
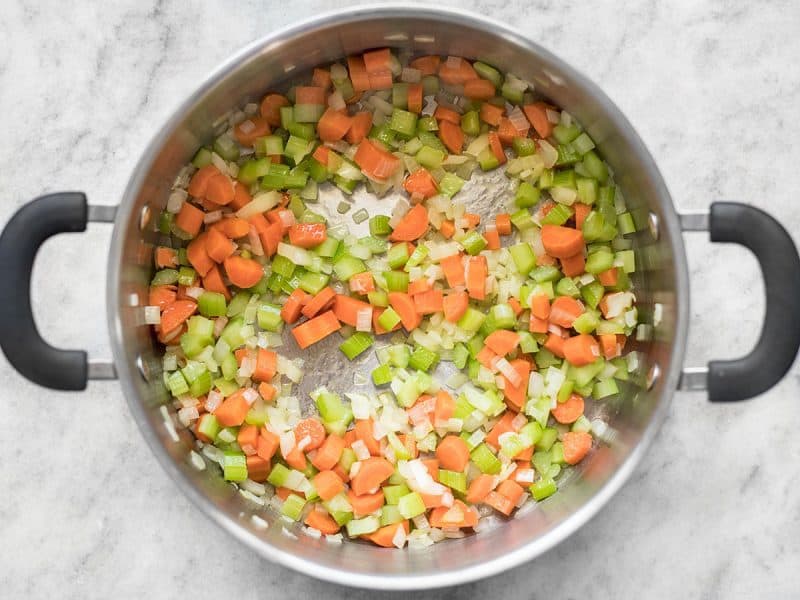
I don’t know if I’m the only one, but I always seem to have a half bag of carrots and a half bunch of celery in my fridge. Sometimes I chop them into sticks for snacks throughout the week, but the rest of the time I chop and freeze them to use in soup later. Many soups start with a mirepoix, or a mixture of onion, celery, and carrot. So it makes sense to pre-chop and freeze this mixture ahead of time, then you can just dump them into the soup pot later. Since the vegetables will get soft when sautéed anyway, the softening that occurs from freezing and thawing isn’t noticed.
This can also be done with a mixture of bell peppers and onions, which I like to sauté for use in omelets and sometimes pasta dishes. Or you can do a Holy Trinity mix (bell peppers, onion, celery), for use in Cajun style dishes.
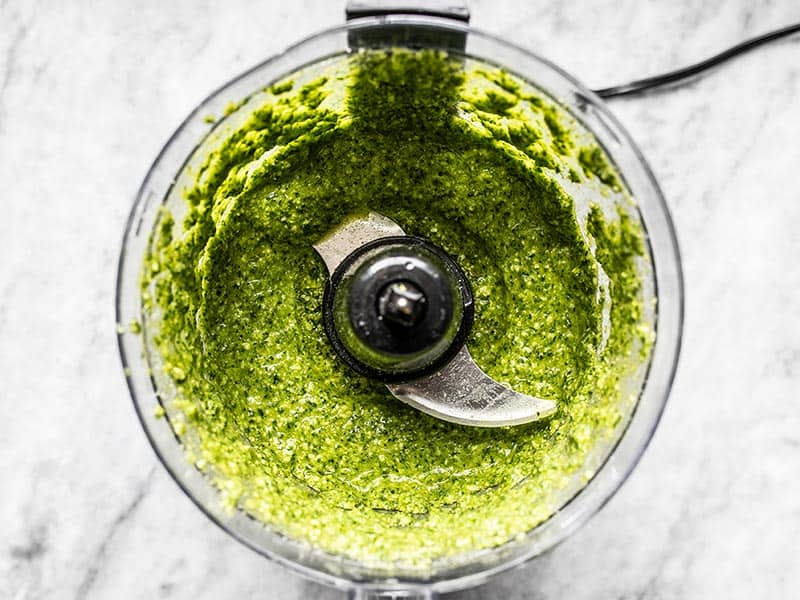
8. Pesto
Whether store bought or homemade, pesto freezes great! Which is awesome because it’s another one of those ingredients that is pretty expensive and seeing it go to waste is an absolute tragedy. To freeze your pesto, spoon it into an ice cube tray and freeze until solid, then transfer to a freezer bag for longer storage. Or, spoon it into a freezer bag, remove as much air as possible, and spread the pesto flat. Freeze it in a flat layer in the bag, then pieces can be broken off and thawed as needed.
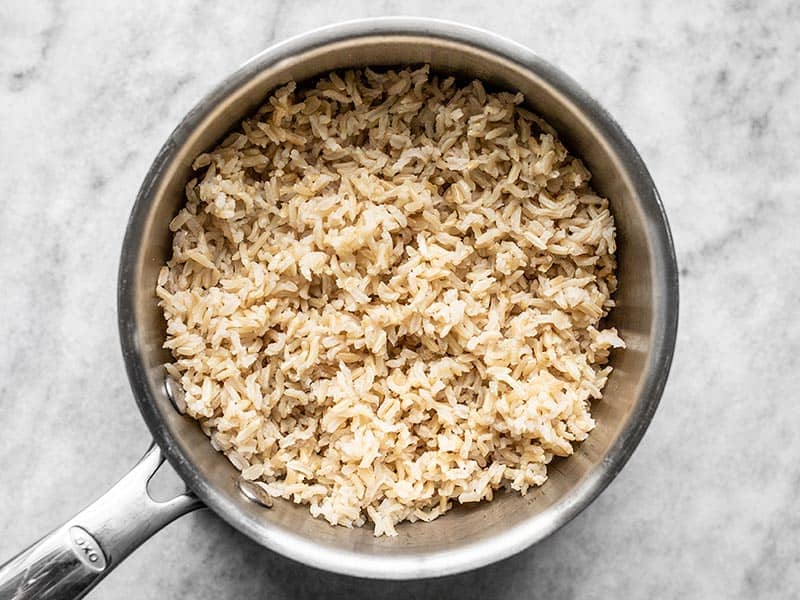
9. Cooked Rice and Grains
Batch cooking your grains, especially those with a longer cook time like whole grains, can save you a lot of time later. Cook up a large portion of rice, bulgur, quinoa, or whatever your favorite grain is, then divide into single serving portions, chill completely in the refrigerator first, then transfer to the freezer for long term storage. The frozen rice or grain thaws quickly in the microwave so you can make a fast bowl meal any night of the week!
The trick to keeping the cooked rice or grain safe is to cool it quickly and immediately after cooking. Dividing it into smaller portions before chilling ensures that it will cool fast and prevent bacterial spores from budding. I typically use quart-sized freezer bags to freeze my rice portions, again removing as much air as possible from each bag.
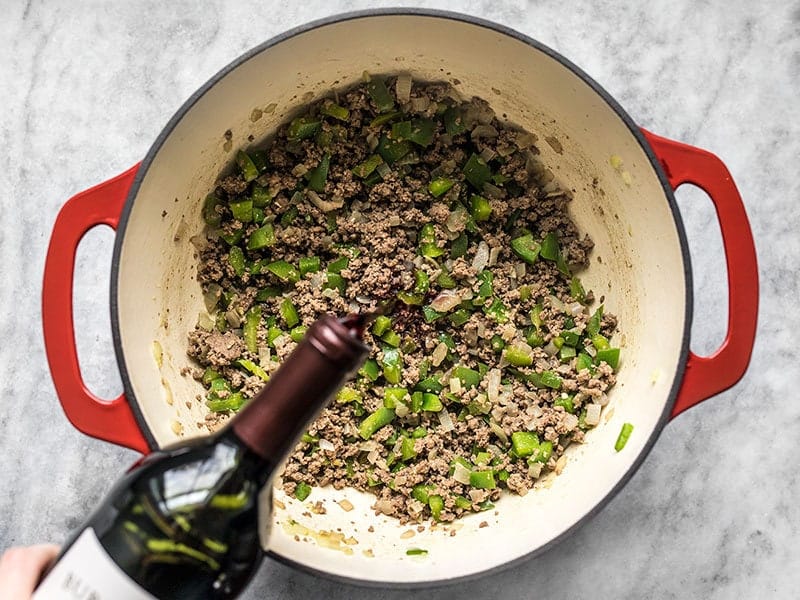
10. Wine
If you’re a lightweight like me and can’t finish a whole bottle of wine in one sitting, freezing the leftovers for cooking is a really smart trick. That way you’ll always have little portions of wine on hand for pan sauces or deglazing the pot when making stews and meat sauces. Wine creates absolute flavor magic in sauces, so if you’ve got it, don’t waste it! Pour it into an ice cube tray then transfer to a freezer bag once solid. You won’t be sorry!
What About You?
What are your favorite items to stash in the freezer for later? Share them with the group in the comments below so we can all learn from each other. :)


When I have herbs that are going south, I make compound butter by blitzing the herbs in the food processor with softened butter, citrus zest, garlic, citrus juice, etc. The butter I mold into a log, wrap tightly in waxed paper or plastic wrap, and put into a freezer bag. When I need compound butter to dot over fish, add to pasta or rice, melt over veggies, etc. I just take a log out of the freezer, whack off the amount I need, and store the rest.
All of these ideas I have used for years. Parsley is another item you can freeze and peppers. They take no prep though I usually cut my peppers so I can take out of the freezer what I need for the dish I am making
Chickpeas! I make a big batch on the weekend in the instant pot from dried. I then cool and separate into what is going in the fridge and the rest goes in little baggies in the freezer. For salads I might microwave for 30 seconds or if I’m making a salad to eat later I just throw in frozen.
I always use “Bouquet Garni” bundles (fresh herbs wrapped/tied in cheesecloth), when making soups and stews. It’s so much easier to retrieve a bundle from a recipe, than having to search for the herb stems.
To save prep time, I cut small portions of assorted fresh herbs (still on the stems) and wrap them in small cheese cloth bundles. The bundles are then tied with kitchen twine, placed in a gallon-size ziplock bag. All air is squeezed out before re-sealing the bag. I store the bag in the freezer door, for later use of the desired amount of bundles. Just drop the frozen bundle in the recipe and let the flavoring take its course. Storage takes up very little space and I always have fresh herb flavoring, year around.
My frozen bundles have retained natural flavoring for at least a year. In the next growing season, I discard any unused portions and replenish the supply with fresh herb bundles.
Written like a chef! I love that you freeze BG’s. xoxo -Monti
I always freeze Parmesan rinds for throwing in soup or pasta sauce, lemon, orange & lime zest, the dark parts of leeks for use in stock, soup, stew, chili etc, fresh Bay leaves, tomato paste, pureed (canned) chipotles, homemade applesauce, homemade simple fruit sauces, bananas for bread & muffins. I’ve got a drawer in my freezer dedicated to these “grab & cook” ingredients. I always have them on hand. I occasionally freeze homemade chickpeas in their cooking broth. Heck, sometimes I freeze just the broth from cooking them – it’s a delicious & inexpensive way to add flavour & stretch out my cooking stock. There are other things, but it’s late and I can’t remember any others! Lol!
Great suggestions here! Thank you!
Jodi, you are a cook after my own heart — so glad to have you in our community! These are all fantastic suggestions that I (and the rest of The B Team) do as well! ~Marion :)
I freeze milk products. Cream and half & half in ice cube trays to add to iced coffee or recipes; smaller portions of a gallon of milk since I rarely drink a gallon before it sours; buttermilk…
Love this tip! Thank you!
I freeze garlic. Have done so for years. Weirdly, I never see that tip anywhere, but it works.
To save freezer space, I usually zest lemons and limes, then juice them. I freeze the zest and the juice.
Any kinds of nuts or seeds and butter to avoid going rancid.
Since I’m usually only cooking for myself, I often have leftover chopped onions, etc. I freeze those. Not only are they not wasted, it saves me time later.
My use of ziplock bags has been drastically reduced. I use silicone bags and I also find they deter freezer burn better than the plastic bags. I do have a vacuum food saver that I use for meats if I expect them to be in the freezer for any length of time.
Whoa I’d never heard of freezing wine! You saved the best for last 🍷
I freeze bacon, black pudding slices, fried onions, home made ragu sauce, breadcrumbs, stuffing balls, chilies, pate, mozarrelo, butter and lots of bread products too!
I freeze nuts!! They are too expensive to go rancid!!
I freeze leftover fresh herbs. I cut up the herbs and put them in the ice cube trays and cover them with olive oil until frozen solid. I then move them to ziploc baggies or pint jars. Because oil melts at a lower temp than most other liquids, they require no thaw time and go directly into stir-fries, marinades, soup/stew/spaghetti sauce.
I chop and freeze peppers and onions for later use in chili, soups, etc. Bonus savings, by using reusable silicon bags or glass containers, I avoid continuously spending money on Ziploc bags.
I freeze SOS cleaning pads in zip loc bags after partial use.
Great idea! I have been cutting mine into quarters before using so I don’t waste them, but they are sometimes too small to handle. Freezing them seems like a better way to get full use out of them.
I did not know you can freeze citrus or cheese. This is mind blowing. Thank you, Beth, for continuing to educate me AND help me save money cooking :)
Stock/broth! We buy 32 oz cartons and lots of recipes call for 1-2 cups, so i freeze the rest in ice cube trays and put in a bag when frozen.