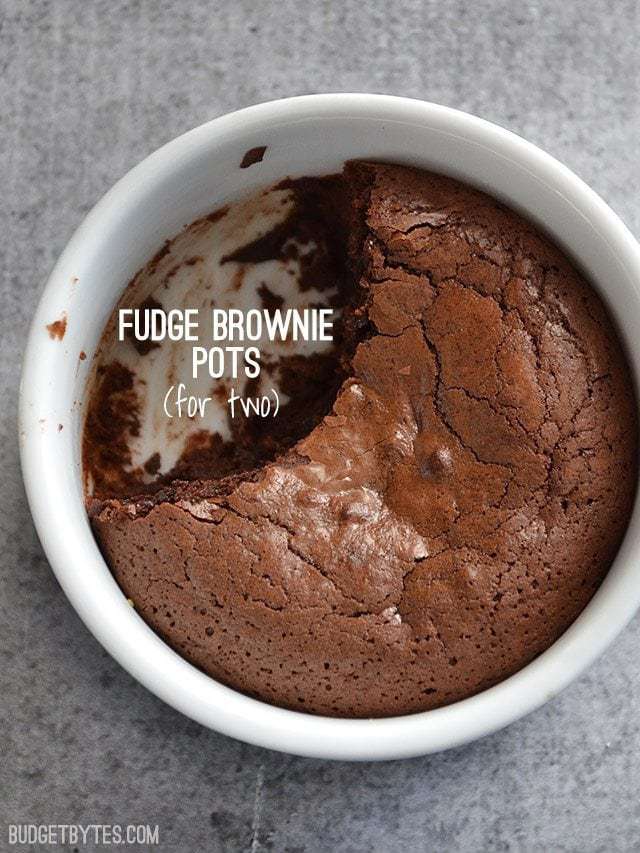
I made some awesome Black Bean Chili the other day and what goes great with chili? Chocolate! In the spirit of not wanting to “accidentally” eat an entire pan of brownies, I decided to make two little single-serving fudge brownie pots instead. Sure, I could have made a Chocolate Mug Cake and killed the craving in about 60 seconds, but I wanted an extra rich, oven-baked brownie this time. You know, the kind that has your whole house smelling like chocolate heaven?
All recipes are rigorously tested in our Nashville Test Kitchen to ensure they are easy, affordable, and delicious.
These fudge brownie pots are kind of smack dab in the middle of being fudgy and cakey. It’s a little more cakey on the outer edges and a little more gooey and fudge-like in the center. The cakey part is not dry, but compresses into a nice rich fudge texture. Okay, wow, I’m going to need to stop talking about this before things get too serious over here…
Oh, and be prepared. This dessert has a lot of butter and a lot of sugar, as all good brownies do. It’s the nature of the beast, my friends.
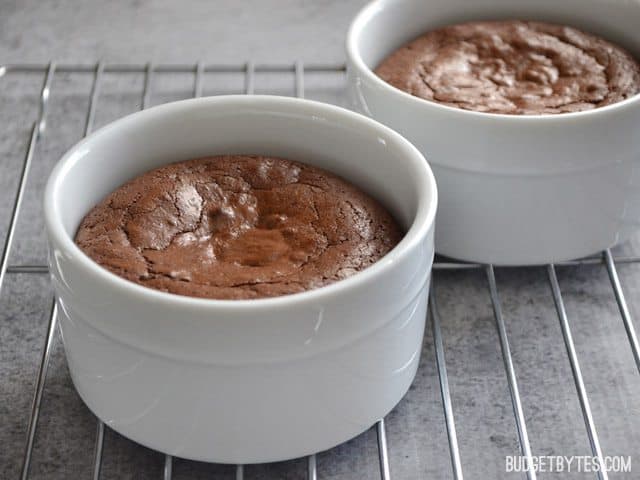
Fudge Brownie Pots (for two)
Ingredients
- 4 Tbsp butter ($0.40)
- 1/2 cup granulated sugar ($0.08)
- 1/4 tsp vanilla ($0.07)
- 1 large egg ($0.19)
- 1/3 cup all-purpose flour ($0.05)
- 1/3 cup unsweetened cocoa powder ($0.21)
- 1/4 tsp baking powder ($0.02)
- 1/8 tsp salt ($0.02)
Instructions
- Preheat the oven to 350 degrees.Cut the butter into chunks and place it in a large microwave safe bowl. Microwave on high for 30 seconds, then stir until the butter is fully melted. Add the sugar and microwave for 15 seconds. Stir again, then repeat the 15 second intervals until the sugar and butter no longer separate from each other after being stirred (about 30-45 seconds total).
- Add the vanilla extract and egg to the melted butter and sugar, then stir to combine.
- In a separate bowl, stir together the flour, cocoa powder, baking powder, and salt until well combined.
- Pour the bowl of dry ingredients into the bowl of wet ingredients and stir just until a smooth, chocolatey batter has formed. Pour the batter into two 8oz. ramekins.
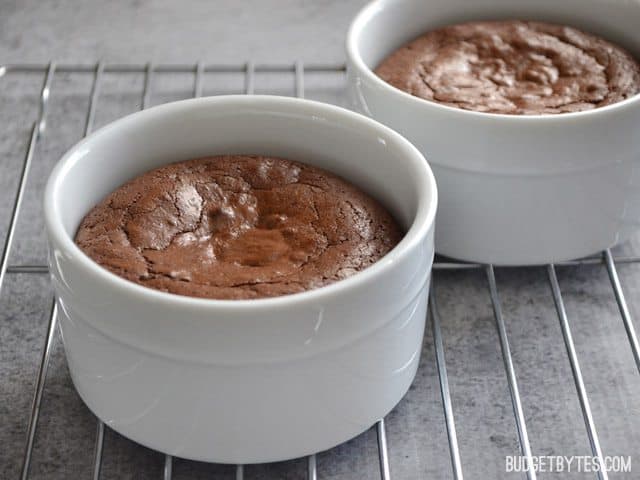
- Bake the brownies in the preheated 350 degree oven for 25-30 minutes, or until the center of each brownie has risen up into a dome and the surface looks glossy and cracked. Let the brownies cool slightly before eating.
See how we calculate recipe costs here.
Nutrition
How to Make Fudge Brownie Pots – Step by Step Photos
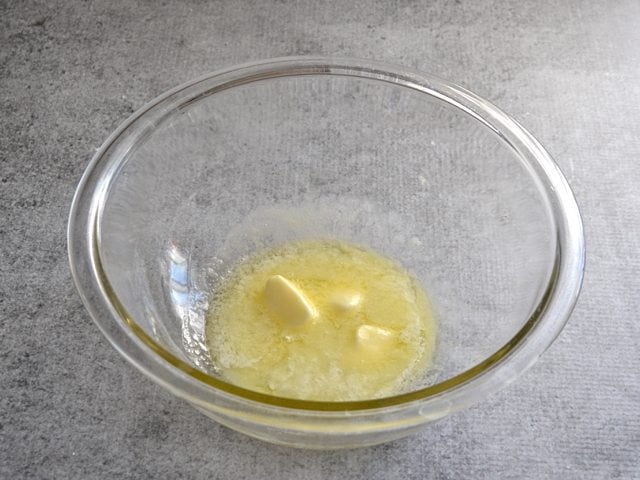
Start by preheating the oven to 350 degrees. Melt 4 Tbsp of butter in a microwave safe bowl. I usually microwave on high, then stir until the butter finishes melting. This and the next step can be done on the stove over low heat, if desired.
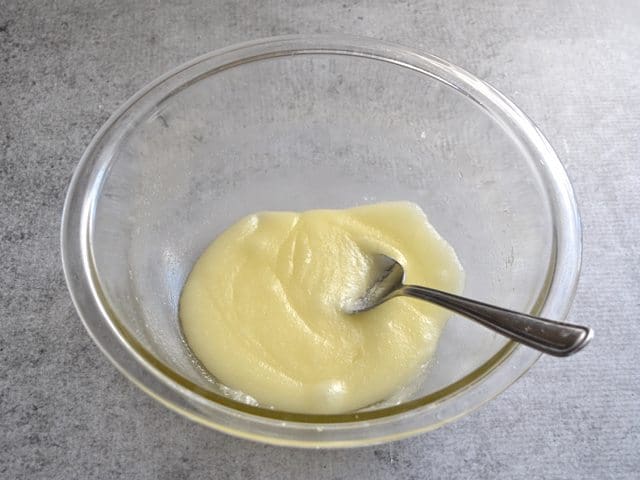
Add 1/2 cup sugar to the melted butter, microwave for 15 seconds, then stir again. Repeat the 15 second intervals until the sugar no longer separates out from the melted butter after stirring. This should only require 30-45 seconds total. (When you first add it, the sugar will look very granulated and the oil from the butter will seep out. After heating it a bit more, the sugar melts a bit and the two incorporate into a mostly smooth mixture. It may still looks every so slightly granular.)
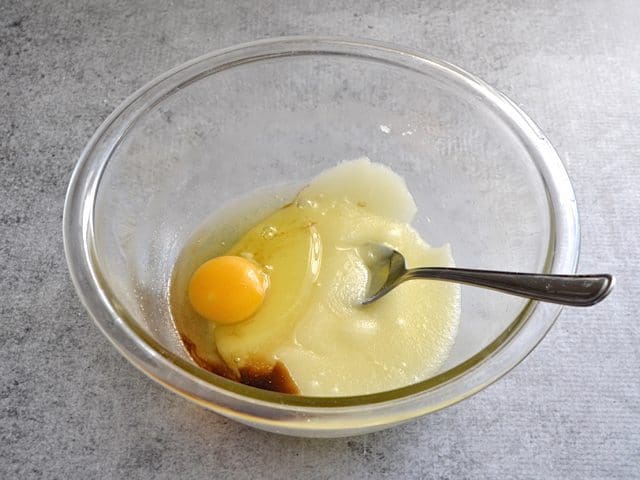
Add 1/4 tsp vanilla extract and one large egg.
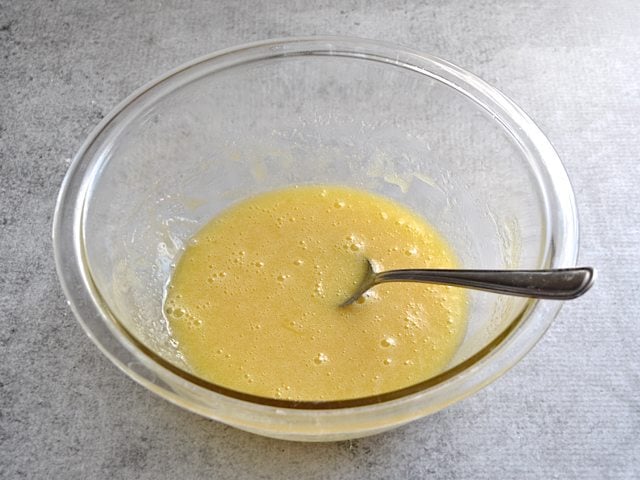
Stir those in until the mixture is smooth.
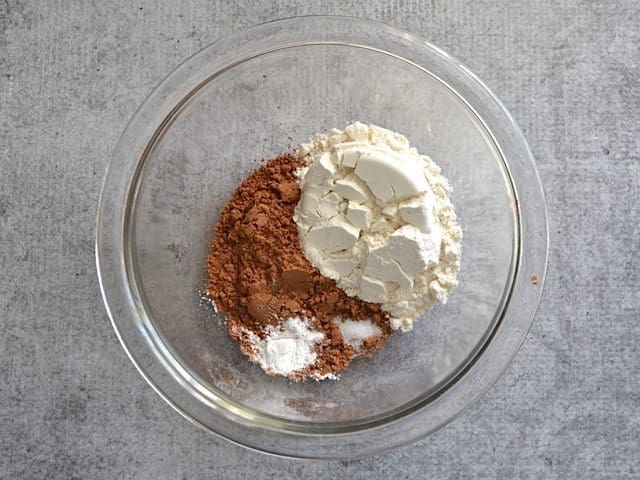
To a separate bowl, add 1/3 cup all-purpose flour, 1/3 cup unsweetened cocoa powder, 1/4 tsp baking powder, and 1/8 tsp salt. Stir until they are very well combined and no clumps remain.
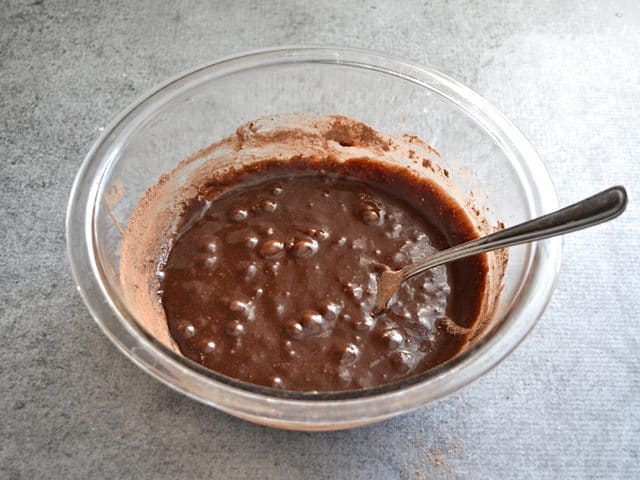
Pour the bowl of dry ingredients into the bowl of wet ingredients and stir until everything is combined and a smooth, chocolatey batter has formed.
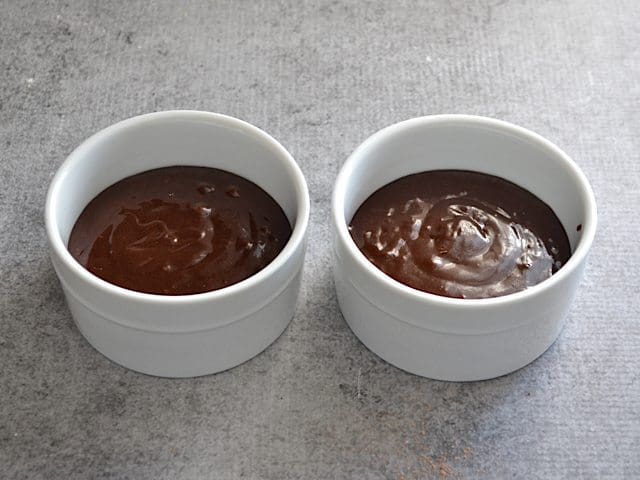
Pour the batter into two 8oz. ramekins.
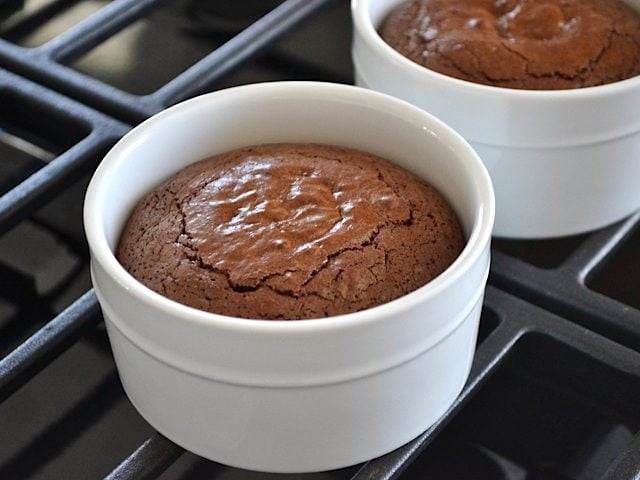
Bake the brownies for 25-30 minutes, or until the centers have risen up into a dome and the surface looks glossy and cracked. Mine could have gone for a minute or two longer because the center deflated a bit upon cooling, but I was okay with that because it just meant that the center was extra fudgey. Yessssss.
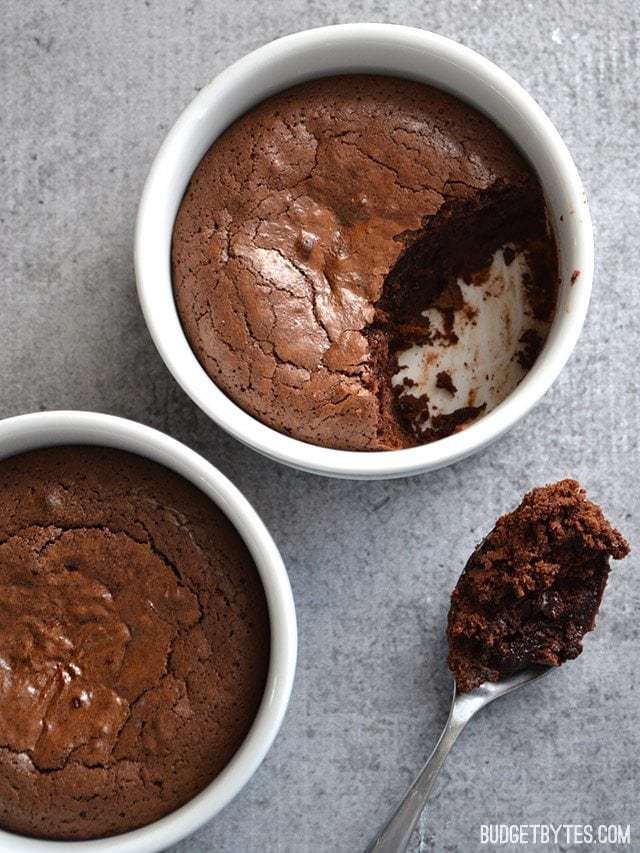
Let the fudge brownie pots cool for a minute so you don’t burn your tongue off, then DIG IN.
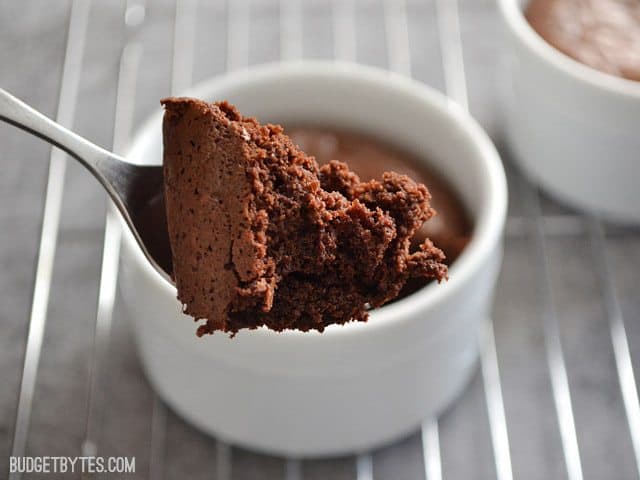
A little fudgey, a little cakey, a LOT of delicious.


If I may offer a suggestion in changing the order. I have made homemade brownies from scratch for years and years.
ALWAYS bloom your cocoa in the warm butter and let cool before you add the sugar and egg. So few recipes tell you this but it can be a game changer.
Several people mentioned it was dry…either back off the cocoa a smudge or add a tad of heavy cream or whole milk..or even and extra TBSP of butter.
This is such an easy recipe and very adaptable. I’ve made it several times and it has always been delicious. My husband and I do NOT need a full pan of brownies in the house.
I tend to bake it in a small 7 x 5.5 inch pan that I have. It gives 4 nice size brownies and I start checking it at 20 min as it cooks faster than the ramekins.
Great, quick dessert
Seriously delicious and so easy to make! I added a few chocolate chips (probably unnecessary as it’s rich enough as is, but hey, I was really craving chocolate!) but other than that followed the recipe exactly as is. My mini ramekins were 7 oz each and the mixture fit perfectly between those two mini ramekins. Will 100% be making this again in the future.
These are very good! I have to use gluten free flour and I want you to know there’s very few glutened desserts that I change to gluten free that taste really good and this is one. Thank you!😊😊
The recipe calls for two 8oz ramekins but mine are 6oz instead meaning I have to divide the batter further. How many do you suggest I use-3 or 4?
I recommend you use 3. Just remember a smaller amount of batter will cook faster, so adjust the time accordingly. As we have not tested it in smaller ramekins, all I can suggest is for you to keep an eye on it.
Too much cocoa; was very bitter tasting.
Thank you for the recipe. They were good . I ate it with Strawberry Cheesecake ice cream which I have never had, but that’s what the store had. I used King Arthur gluten free Measure for Measure flour.
How much chopped walnuts could be added to this?
did anyone else’s egg start cooking when added to the warm butter + sugar mixture 😅
Rebecca, next time, use a room temperature egg.
I’ve made this a couple of times, so this time I added peppermint extract, (and vanilla) measured by the heart. Which made it a bit more liquidy, so after adding the flour and coco powder, I added a touch more flour and 1/6 a cup of brown sugar. I didn’t include the baking power.
The fudgest version I’ve ever made. I crushed up a candy cane (I’m writing this in December) and added it on top before baking. The candy cane melted a bit, so it didn’t look nice. But it was delicious. It’s the best dessert I’ve made.
Do you think pre-making the batter and keeping it in the fridge to cook later would work?
Resting the batter (for up to 2 days) is actually a baker’s trick for a glossier, crustier top. It’s a great idea! XOXO -Monti
Exactly what I was looking for! All the other recipes I was finding required chocolate chips. Absolutely delicious, with a perfect combination of chewy and gooey. No change to the recipe necessary.
Great recipe! I was looking for something that could fit in my mini cast iron, and this fit perfectly! I added some molasses for brown sugar, oil, and chocolate chips like someone suggested, but I think next time i’d forgo the baking powder to make it fudgier, and add a bit more sugar. I think I might have over cooked it a bit, but great quick brownie!
I give five stars, even though I had to modify due to lack of ingredients, cause I can imagine how much better it would have tasted; mine tasting pretty good. I only had a quarter cup of cocoa and no vanilla so I used brown instead of granulated sugar and added a couple dashes of cinnamon for extra flavor.
How can you bake these is a convection oven? Should I just use a cookie sheet or them or water bath?
Unfortunately, I would need to test that first before offering a suggestion.
Very nice, but a little too dry and cakey for me. So I subbed half the sugar with brown sugar, made sure to temper the egg before mixing, added 1 tbsp oil and mini chocolate chips. Perfection. Not oily. Perfectly raised (no super high sides and doughy middle). Moist and fudgey. So good. The best Brownie from scratch and so easy. The mini chips melted into nothing, but that’s okay. Every bite was delicious.