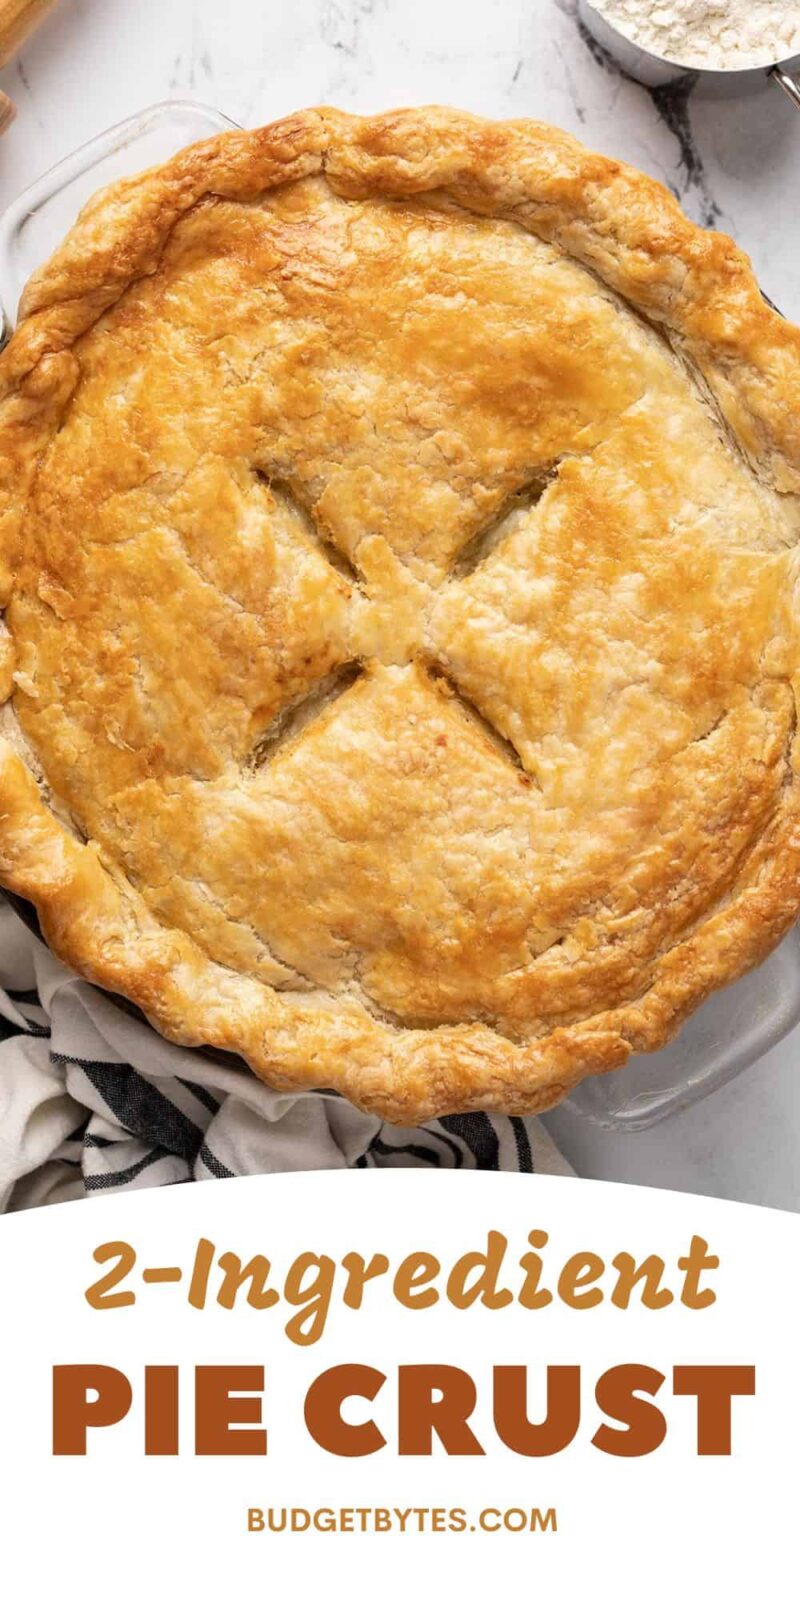
This scrumptious and super easy pie crust recipe comes together in minutes and has just three ingredients: flour, butter, and water. You don’t need any special tools to make it, just a little know-how. That’s right. Contrary to popular belief, making pie dough from scratch isn’t complicated or expensive. It costs under $3.00 to make two crusts, which is less than you can buy it for at the store.
All recipes are rigorously tested in our Nashville Test Kitchen to ensure they are easy, affordable, and delicious.
This is by far the easiest crust recipe I have tried and delicious! I’ve never had a crust turn out so well and be so flaky!
Maris
Pie crust is an essential tool for every baker, and this 3-ingredient recipe is the easiest and cheapest way to make it. I used all pantry staples (no fancy flours or European butter here!) to keep things simple and inexpensive. This is a recipe I recommend making a lot of and freezing for later because it’s just so useful!
Ingredients
Here’s what you’ll need to make 3-ingredient pie crust:
- All-Purpose Flour: This is the easiest flour to get your hands on, and I have found that it works just fine if you keep your ingredients cold and don’t overwork it.
- Salted Butter: I prefer using butter as opposed to other fats because it adds rich, creamy, nutty notes to the dough. You just can’t get that with shortening and other fats, which often leave a tasteless greasy film on the roof of your mouth. If you don’t have salted butter, add 2/3 teaspoon of sea salt to your flour.
- Water: This helps moisten the flour and bind the dough. I like to add a few ice cubes to the water to keep it nice and cold.
Recipe Tips
- The secret to a good pie is never to break the golden rule: keep everything cold. I won’t get too deep into the science of it all, but if you’re interested, check out How to make perfect pie crust with the power of science. I like to put all of my ingredients and tools in the freezer.
- I like to measure the flour using the spoon-and-level method (after sifting it!) to ensure I don’t add too much flour, which could cause the crust to become dry.
- I have found that grating the butter helps it incorporate the fastest without melting, but you can also cut it into small squares, chill it, incorporate it, and chill again.
- Don’t overmix the dough; it shouldn’t be particularly smooth but instead a bit craggy. Smooth dough is usually overworked.
- Because it only stays fresh in the fridge for 3 days, I keep WAY too much of this dough tucked into my freezer, where it keeps for up to 3 months. To prevent freezer burn, double-wrap it in either plastic or beeswax and then keep it in a freezer-safe container. Thaw it out in your fridge a day before you plan to use it.
- You can even use the scraps to make the most amazing little cookies, which I should totally share with my kid, but instead, I stash them away because every mom needs her secrets. (If you know, YOU KNOW.)
Serving Suggestions
This 3-ingredient pie crust is so versatile. You can use it to make a double-crust Apple Pie or a savory Turkey Pot Pie, or use half for a single-crust pie like our Pecan Pie. The dough is flexible enough for Sausage and Cheese Hand Pies and sturdy enough for a galette, like our awesome Blueberry Lemon Cream Cheese Galette.
Easy 3-Ingredient Pie Crust
Ingredients
- 2 3/4 cups all-purpose flour (plus some for dusting) ($0.34)
- 2 sticks salted butter, frozen (1 cup) ($2.00)
- 1/2 cup chilled water* ($0.00)
Instructions
- Sift the flour through a fine mesh sieve and then spoon 2 3/4 cups of flour into dry measuring cups. Use the back of a butter knife to level the flour before adding it to a large bowl. Place in the freezer to chill while you grate the butter.
- Grate the butter sticks on the box grater's large holes. When the butter becomes challenging to handle, chop what's left of it into dice-sized pieces.
- Add the butter to the flour. Use a spoon to toss the butter and flour like you would a salad. Work quickly until the butter is completely covered in flour and the mixture resembles a shaggy, coarse corn meal.
- Spoon four tablespoons of chilled, icy water onto the flour/butter mixture. Mix quickly with a fork, incorporating the flour gathered at the bowl's bottom.
- Continue to add water tablespoon by tablespoon, mixing between each addition, until you can lightly pinch the flour/butter mixture and it holds together in a dough.
- Use your hands to press the shaggy bits of dough into a ball quickly. Then, lightly flour your work surface and shape the ball into a flat disc, about six inches in diameter and three to four inches thick.
- Wrap the disc of dough tightly in plastic or beeswax. Let it rest in the fridge for at least two hours, preferably overnight.
- Use the pie dough in your favorite recipe or keep the pie dough in the refrigerator for up to three days or frozen for up to three months. This recipe is for a double crust.*
If Making a Double Crust Pie
- Slice the rested dough an inch above the center line and shape both halves into a disc. Place the larger half on a lightly floured work surface. Roll from the center up, down, left, and right. Lift the dough, rotate 15 degrees, and repeat the sequence until it’s 14 inches in diameter and the thickness of an ear lobe
- Place your rolling pin on the bottom edge of your crust and roll it onto your rolling pin. Place the pin on the top edge of a greased pie plate, centering the crust. Unfurl the dough towards you, then press it into the plate.
- To prevent steam from forcing the bottom crust to bubble up, use a fork to dock the dough, pressing the tines all the way through. Optional if using a liquidy filling: separate an egg and beat the white until frothy. Brush a thin layer over the bottom crust to seal the crust. Rest the pie plate in the freezer.
- Roll out the top crust to 11 inches in diameter. Take the pie plate out, add your filling, and brush water on the outer edges of the bottom crust. Place the top crust over the filling, fold the bottom crust over it, and pinch the two together to seal.
- Optional: Beat the remaining egg yolk with a tablespoon of cream or milk and brush it onto the top crust. This will help with browning. You can also use plain milk or cream.
- To prevent the pie crust from bubbling up as it bakes, cut steam vents into the top crust. Rest the pie in the freezer for fifteen minutes.
- Place your chilled pie on the middle rack of a preheated oven and bake according to recipe directions.
See how we calculate recipe costs here.
Equipment
- Grater
- Mesh Sieve
- Measuring Cups Spoons
- Rolling Pin
Notes
Nutrition
How to Make Homemade Pie Dough – Step by Step Photos
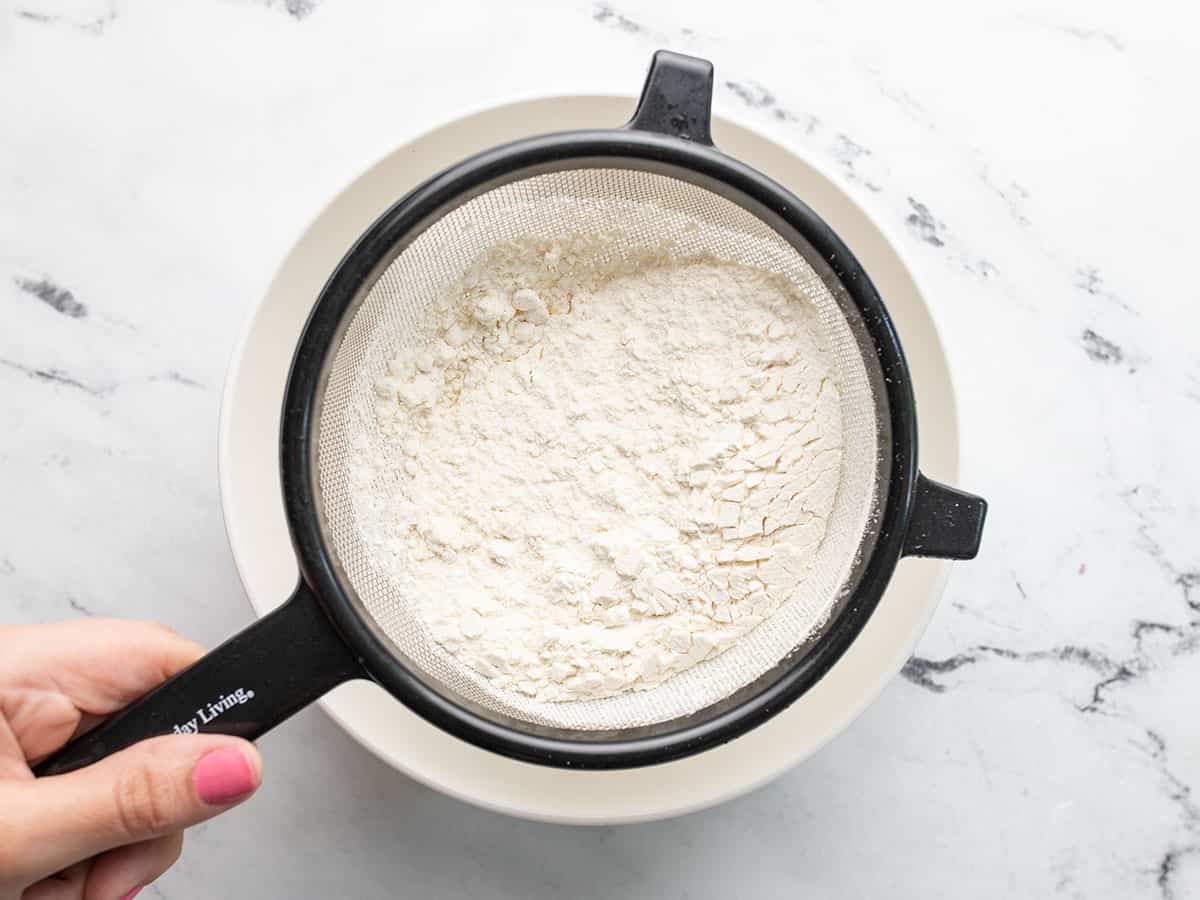
For an accurate measurement of volume, sift your flour, and don’t scoop it into your measuring cups. Spoon 2 3/4 cups of sifted flour into the cups, and then use the back of a butter knife to level it off. Place it in a large bowl and put that in the freezer while you grate the butter.
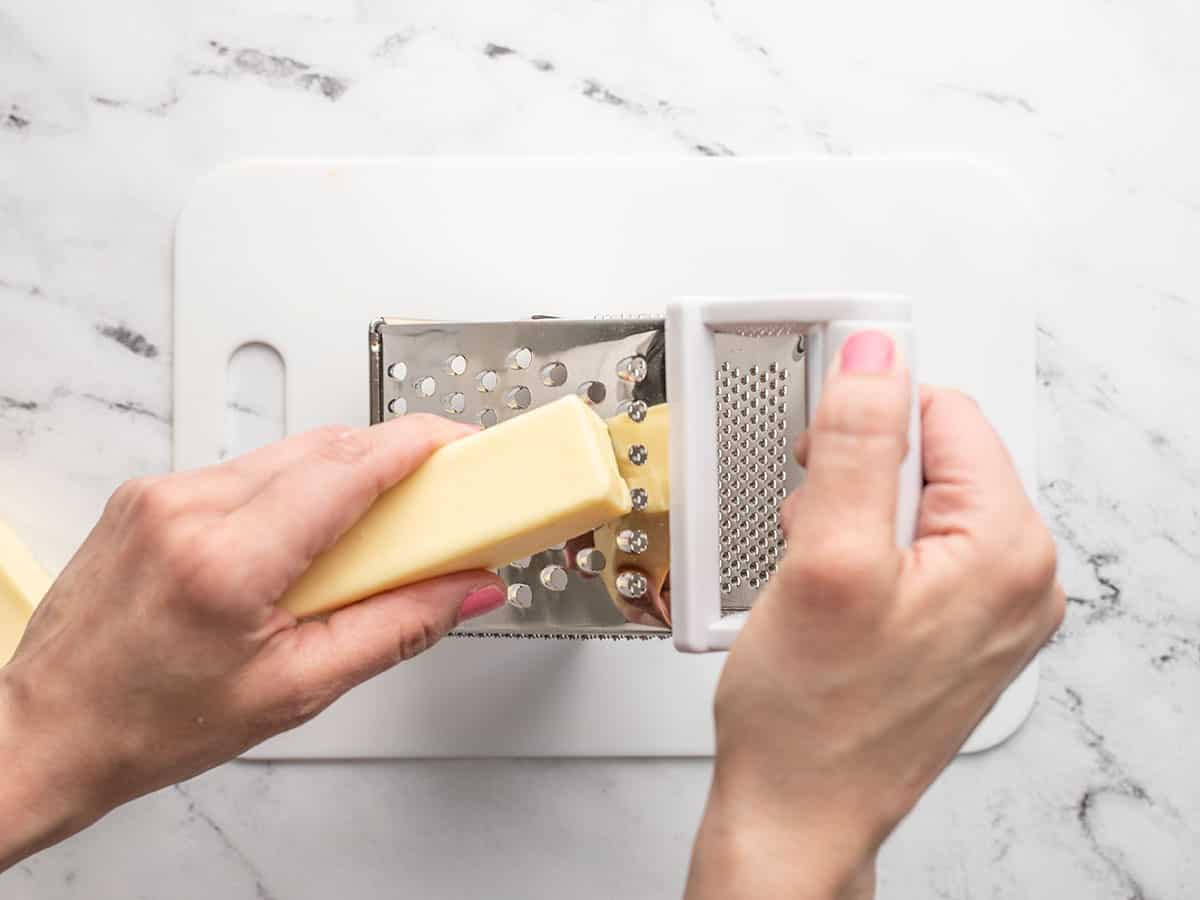
Grate two sticks of salted butter that have been frozen solid. When you get down to a three-inch knob of butter, and it’s getting tricky to keep your knuckles out of the party, chop the remaining butter into diced-sized pieces.
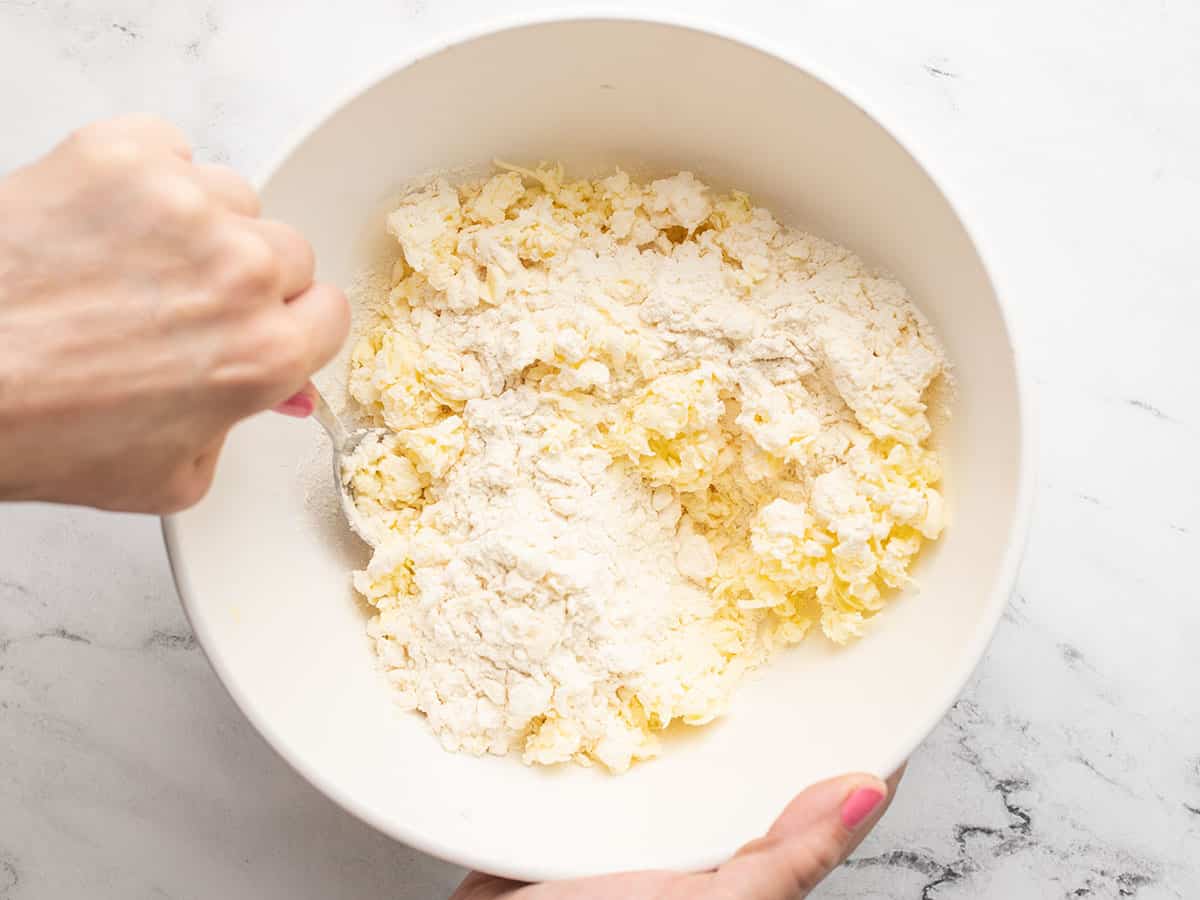
Take the bowl of sifted flour out of your freezer and add the grated butter. Use a spoon to mix the flour and butter as if you were tossing a salad. Mix until all of the butter is coated with flour.
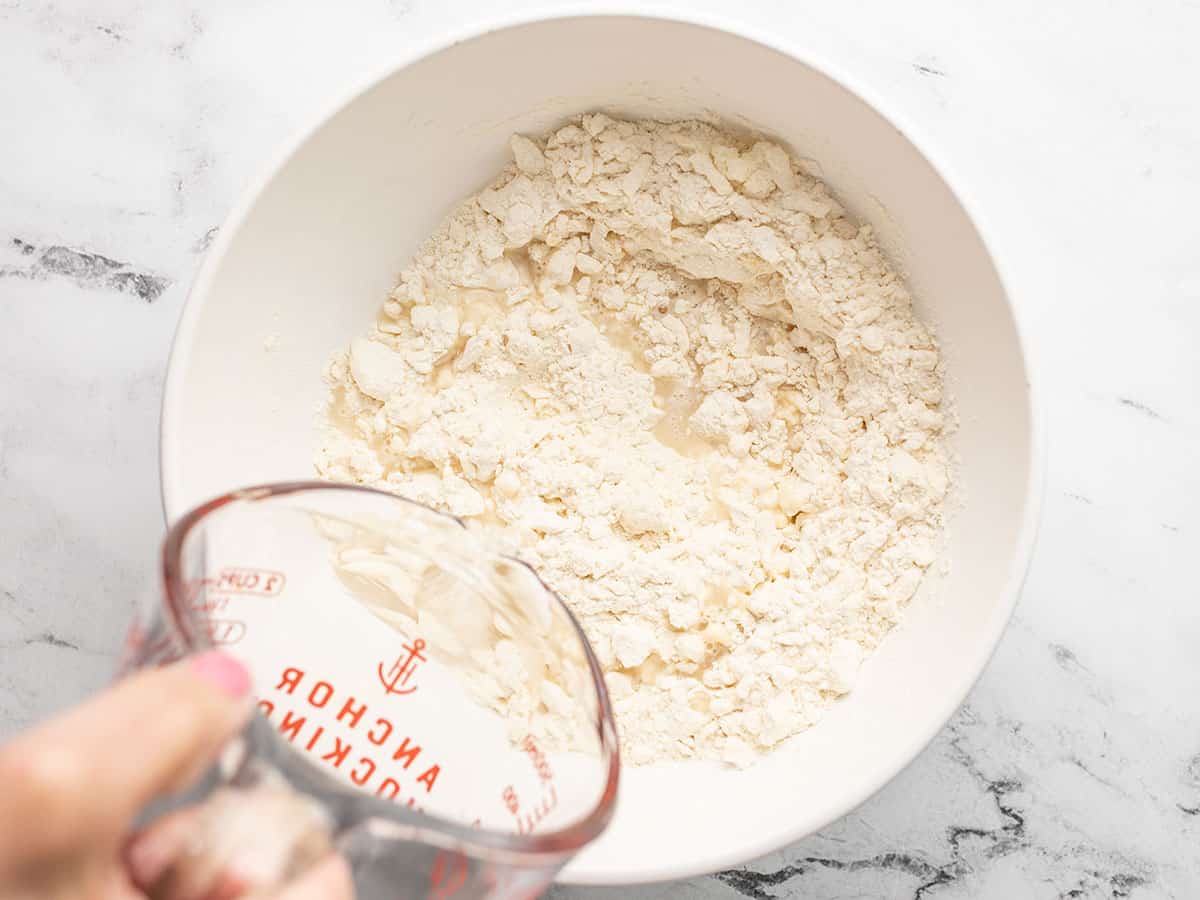
Add 1/4 cup of chilled water to the flour and butter mixture. Use your spoon to toss the mixture and incorporate the water. Continue adding water, tablespoon by tablespoon, tossing between each addition and incorporating flour that has shifted to the bottom of the bowl.
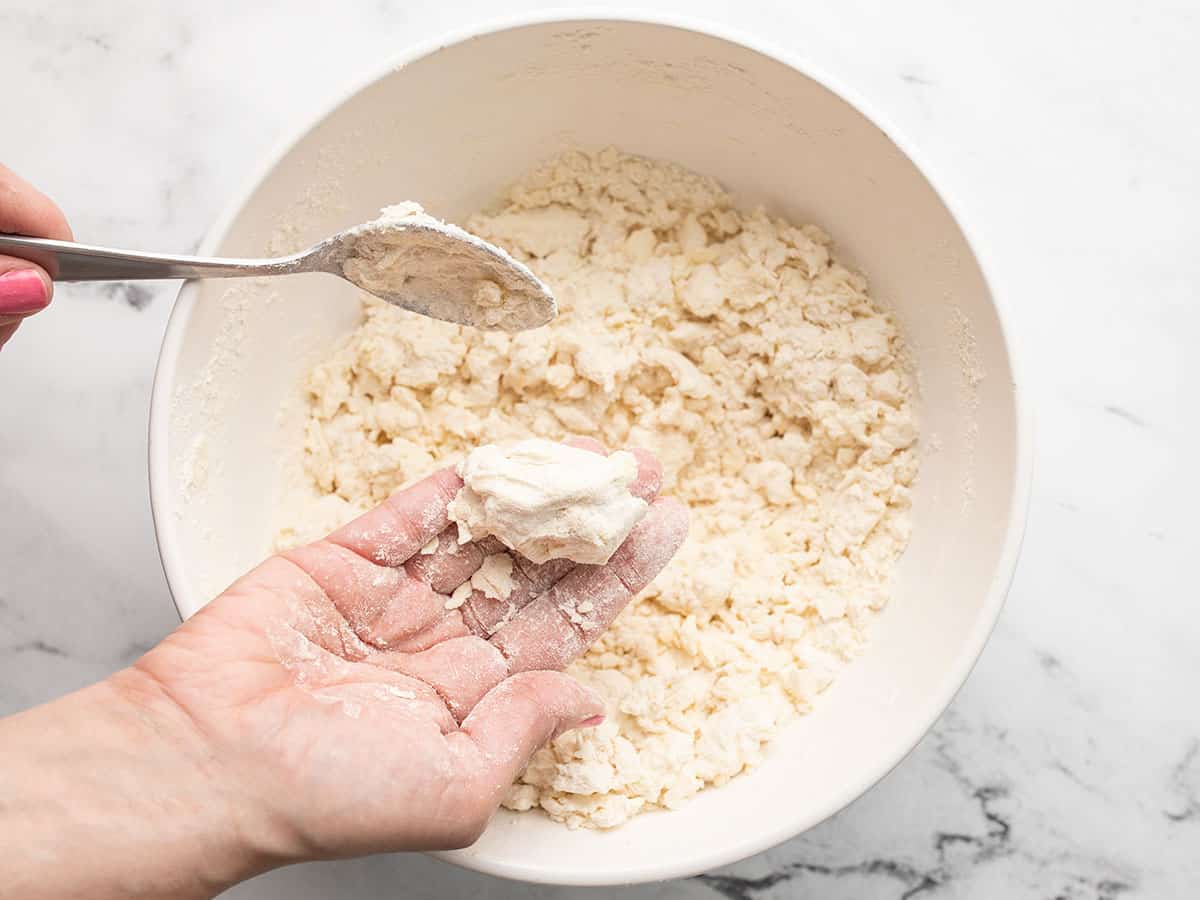
Once most of the flour has started to clump together with the butter, grab a bit and pinch it together. It should form a dough with a texture like play-dough, neither dry nor wet. If your dough is crumbly when you pinch it together, continue to add chilled water.
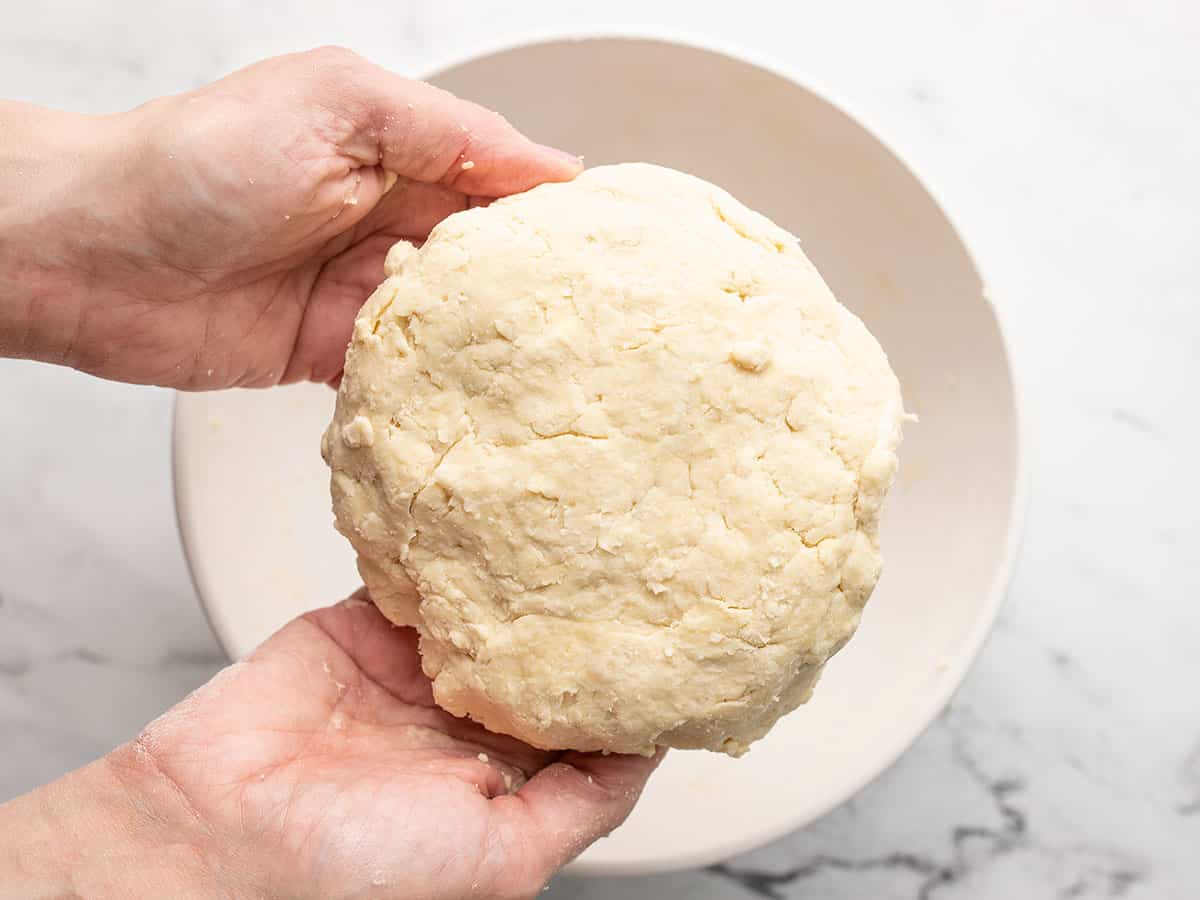
Press the bits of dough together into a ball and flatten it into a disc about 6 inches wide and three inches thick. Wrap it tightly in plastic or beeswax cloth and set it inside an airtight container. Let it rest in the fridge for at least two hours, preferably overnight.
How to Roll Out Pie Dough
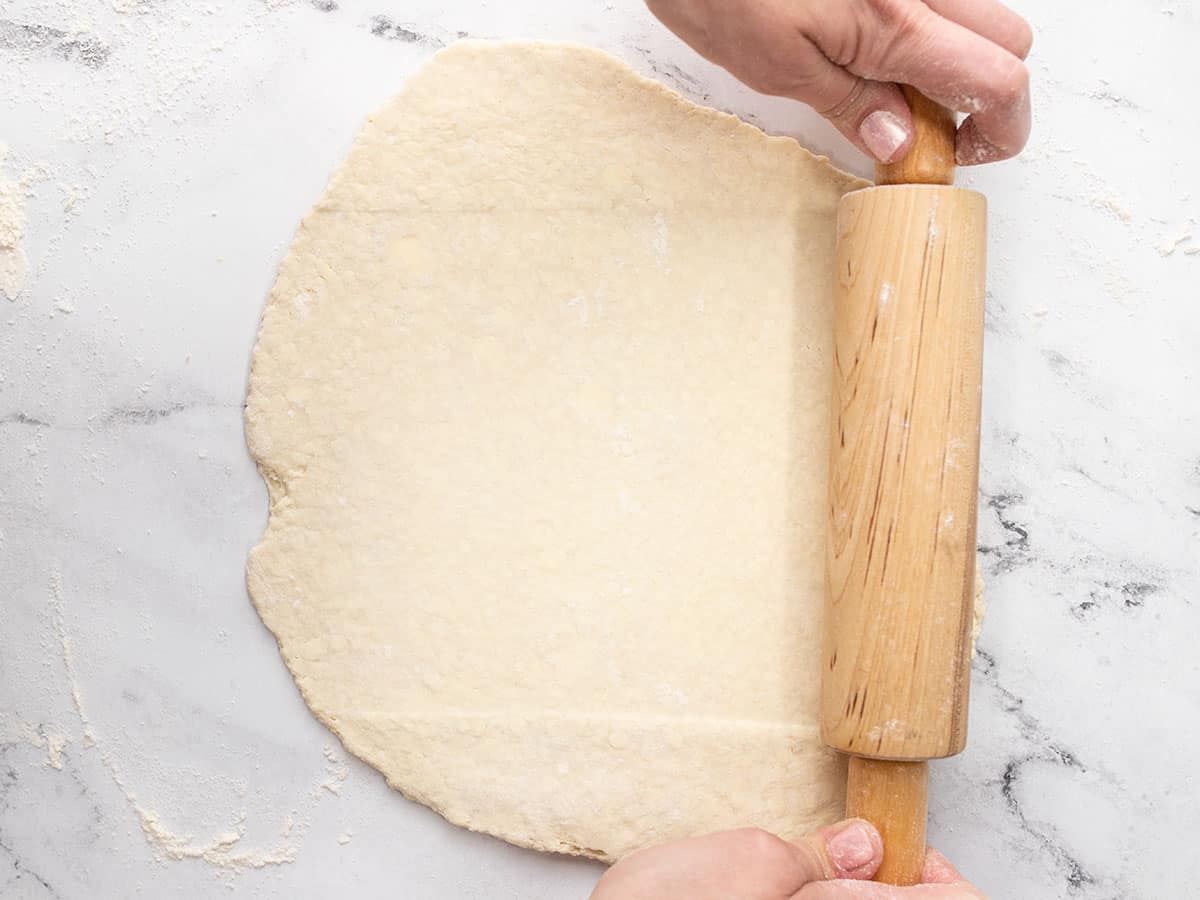
Slice the rested dough an inch above the center line and shape both halves into a disc. Place the larger half on a lightly floured work surface. Roll from the center up, down, left, and right. Lift the dough, rotate 15 degrees, and repeat the sequence until it’s 14 inches in diameter and the thickness of an ear lobe.
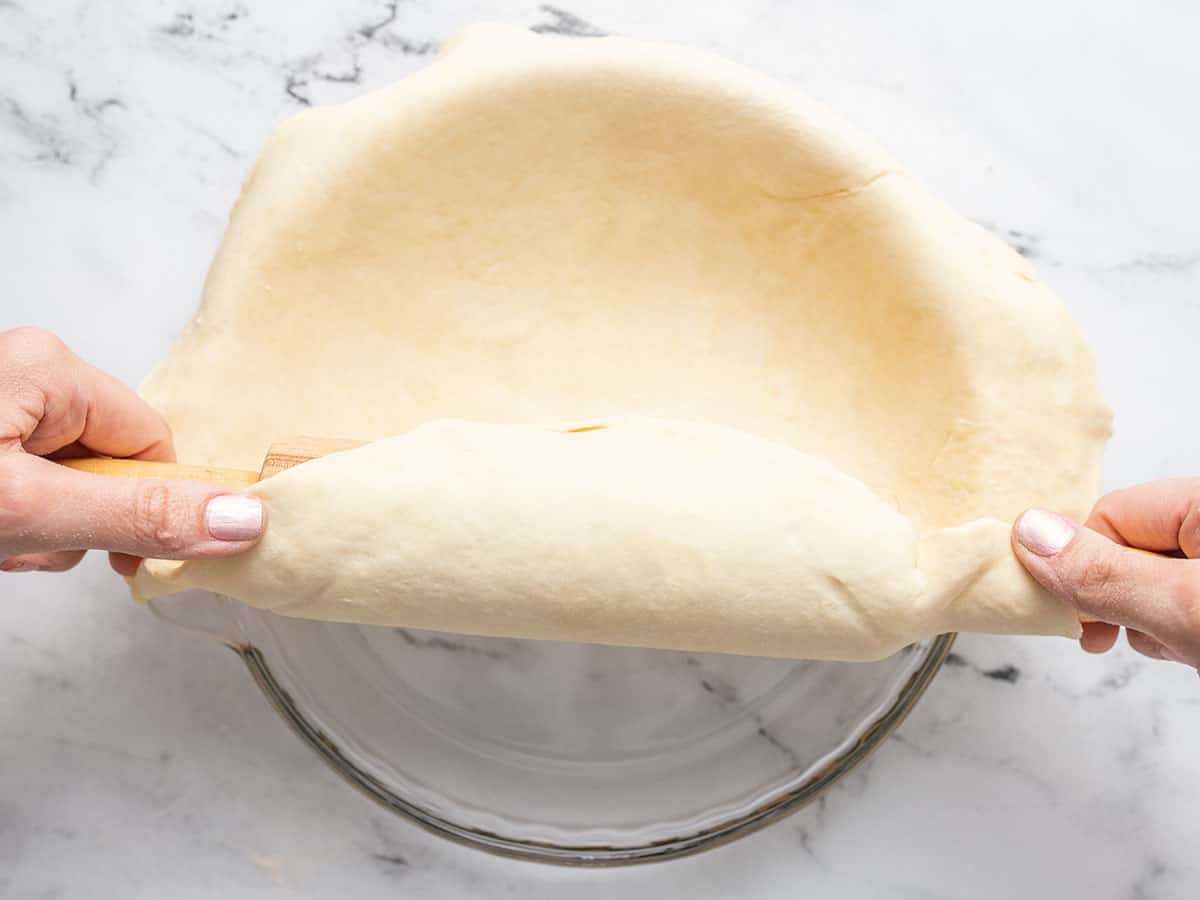
Place your rolling pin on the bottom edge of your crust and roll it onto your rolling pin. Place the pin on the top edge of a greased pie plate, centering the crust. Unfurl the dough towards you, then press it into the plate.
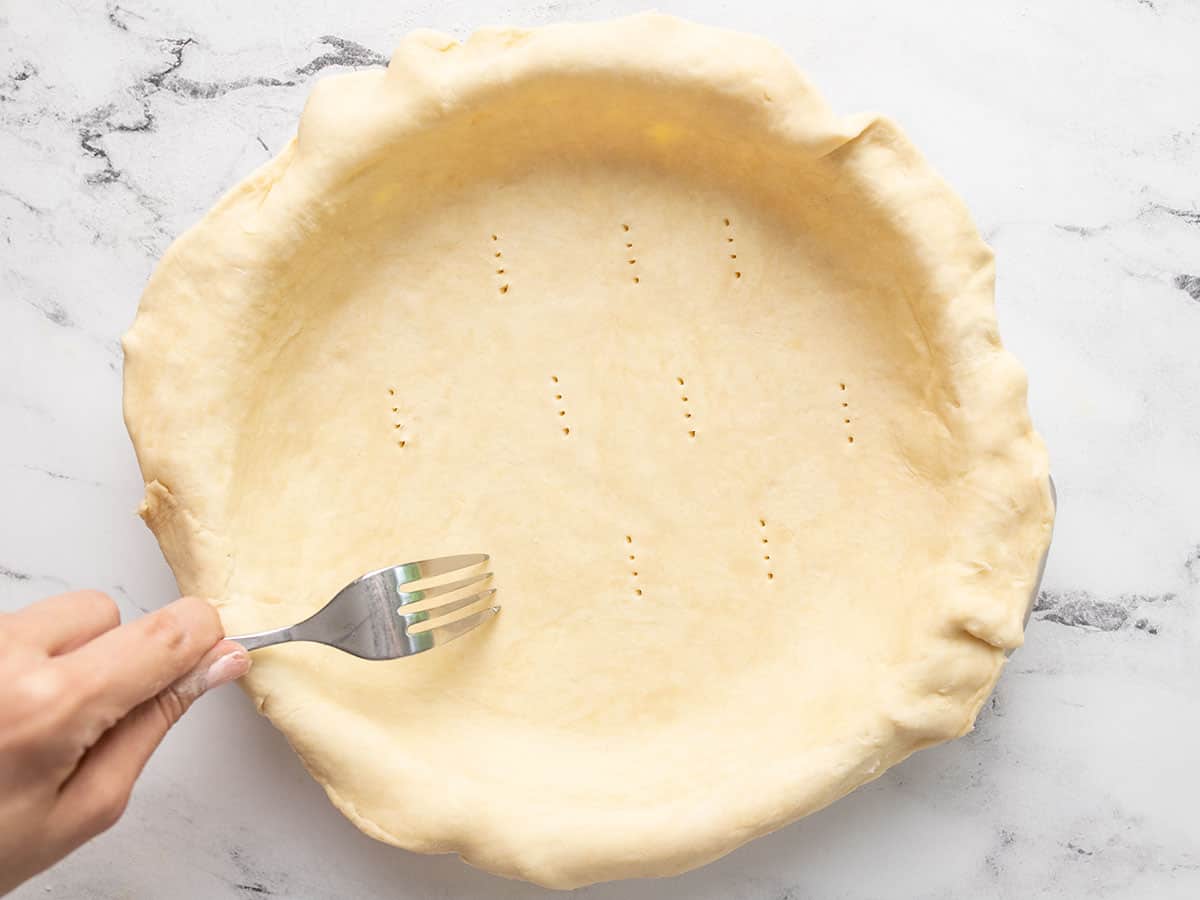
To prevent steam from forcing the bottom crust to bubble up, use a fork to dock the dough, pressing the tines all the way through. Optional if using a liquidy filling: separate an egg and beat the white until frothy. Brush a thin layer over the bottom crust to seal the crust. Rest the pie plate in the freezer.
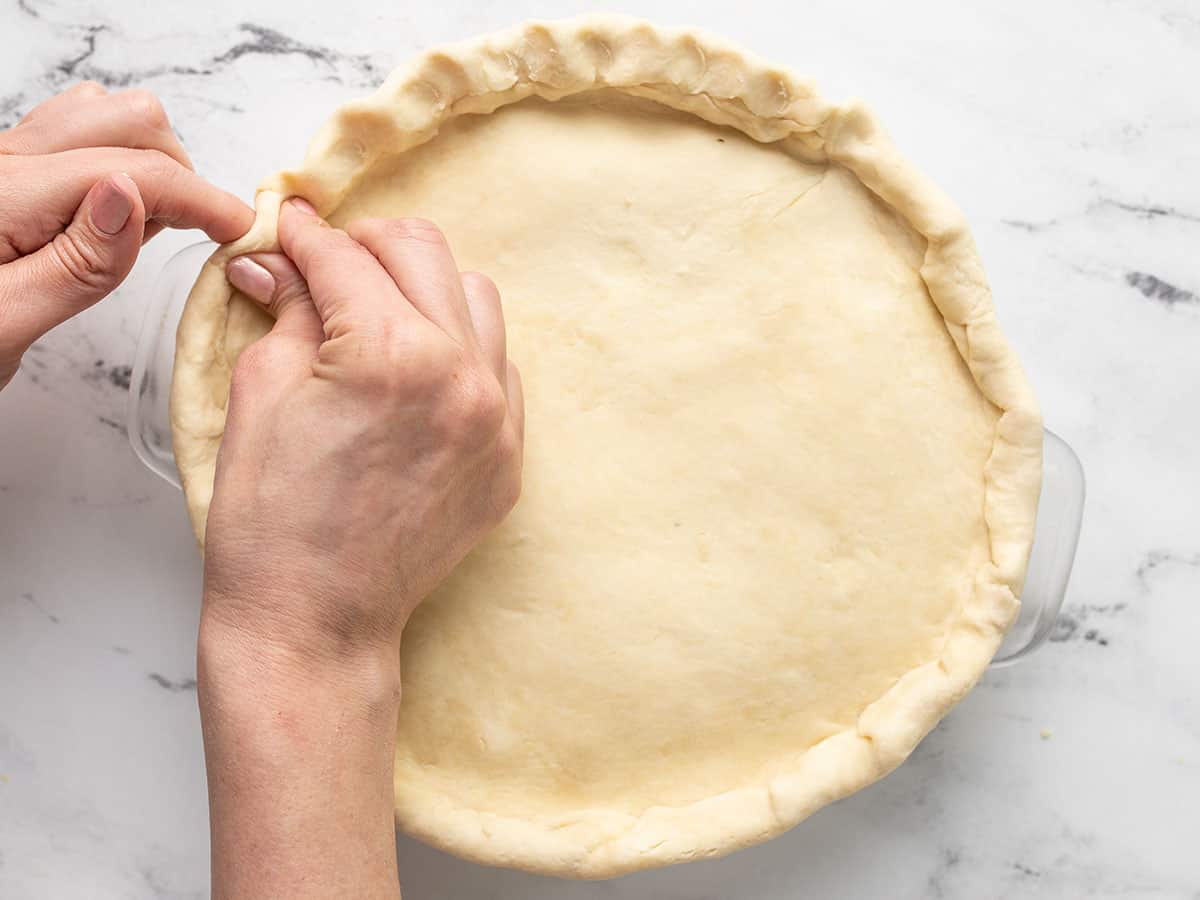
Roll out the top crust to 11 inches in diameter. Take the pie plate out, add your filling, and brush water on the outer edges of the bottom crust. Place the top crust over the filling, fold the bottom crust over it, and pinch the two together to seal.
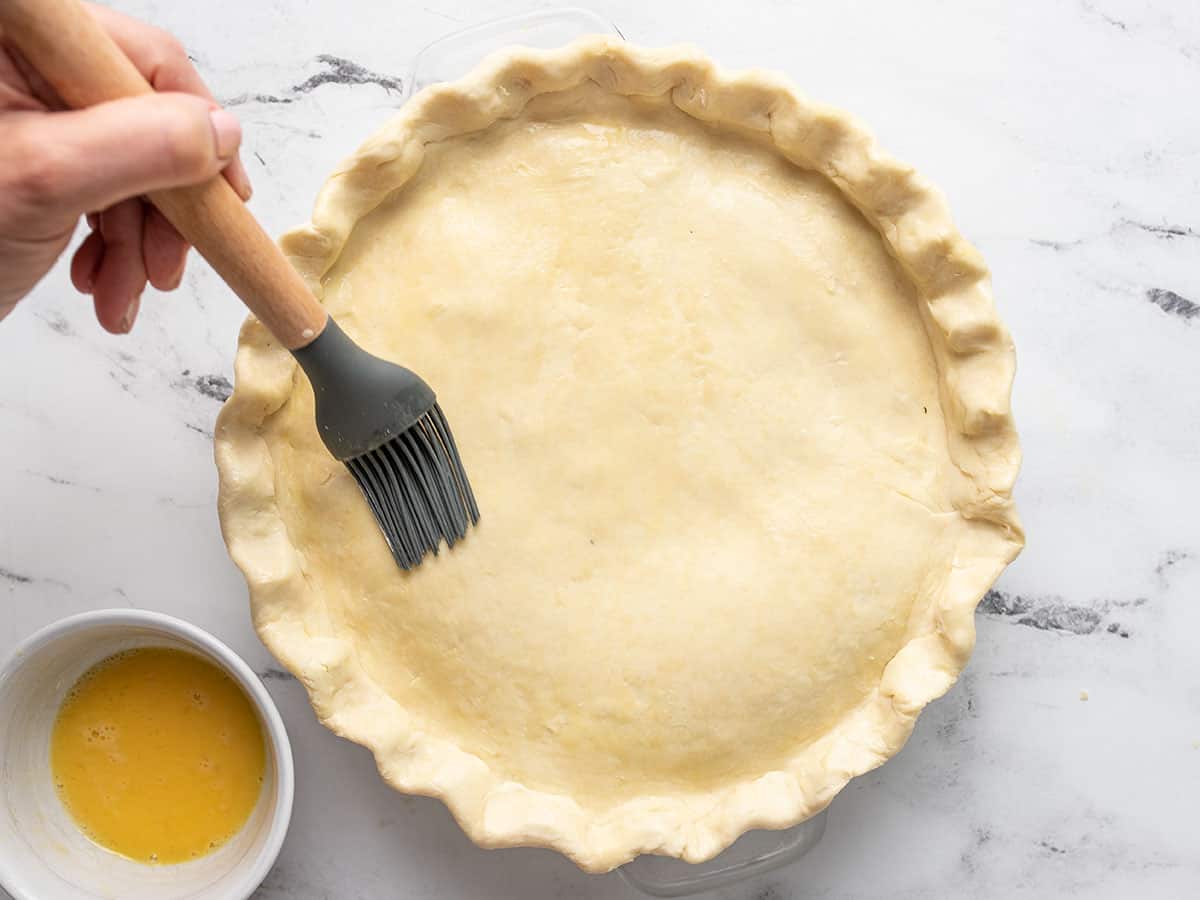
Optional: Beat the remaining egg yolk with a tablespoon of cream or milk and brush it onto the top crust. This will help with browning. You can also use plain milk or cream.
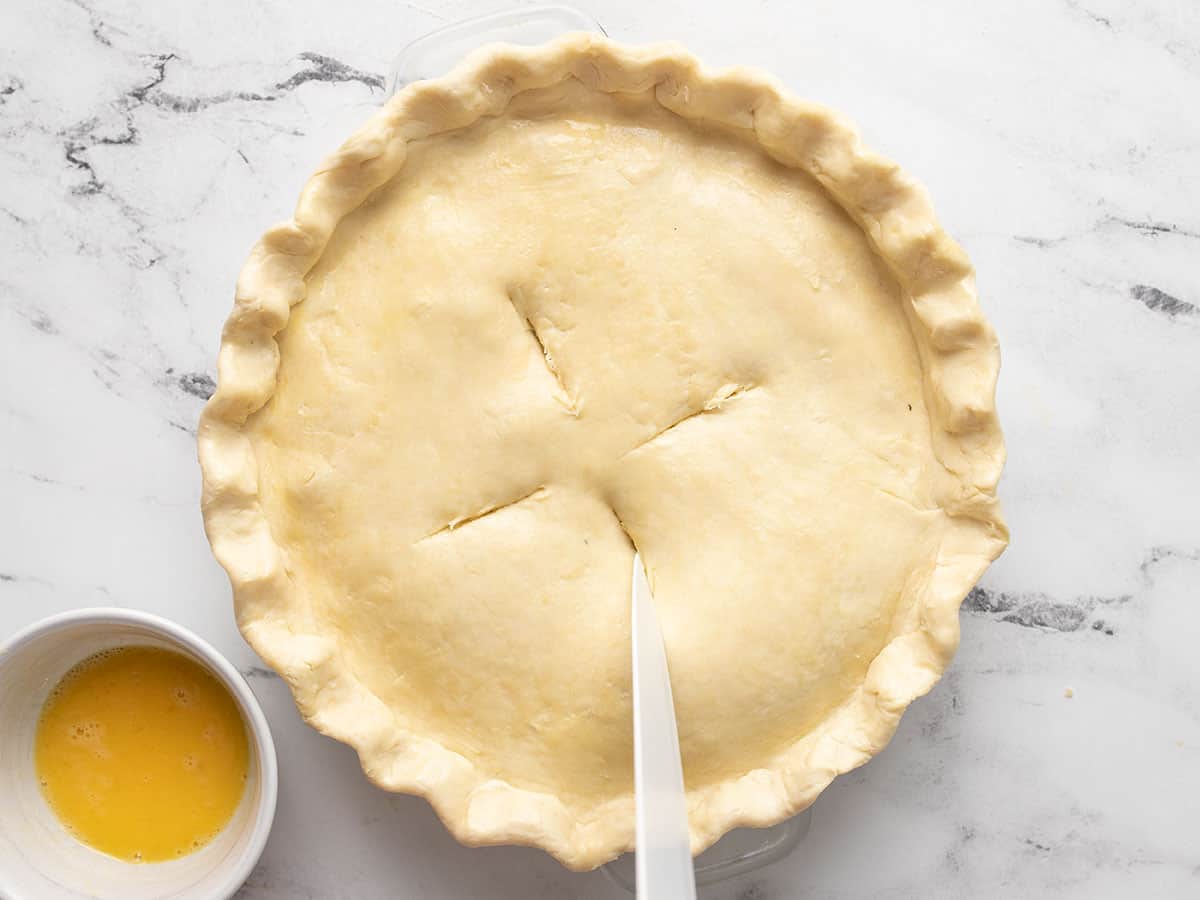
To prevent the pie crust from bubbling up as it bakes, cut steam vents into the top crust. Rest the pie in the freezer for fifteen minutes.
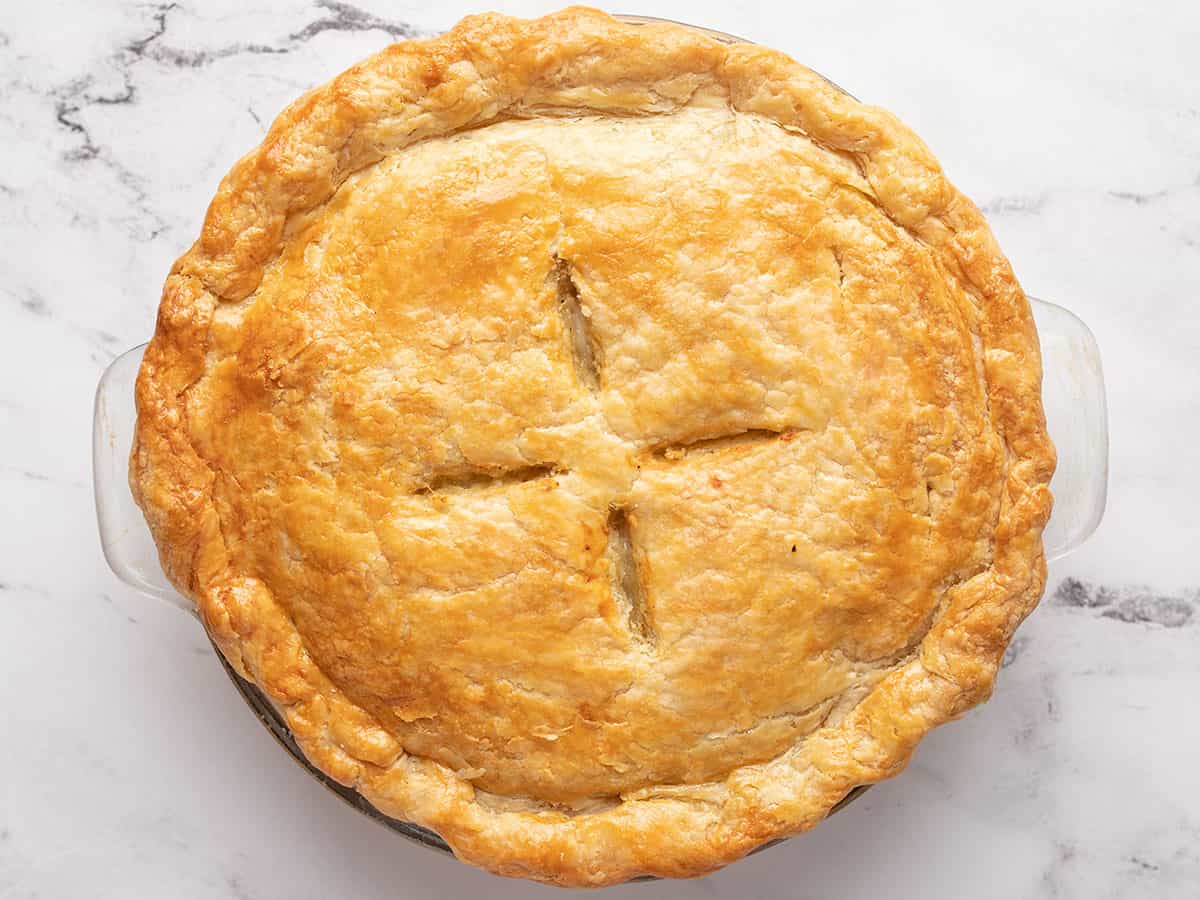
Place your chilled pie on the middle rack of a preheated oven and bake according to recipe directions.
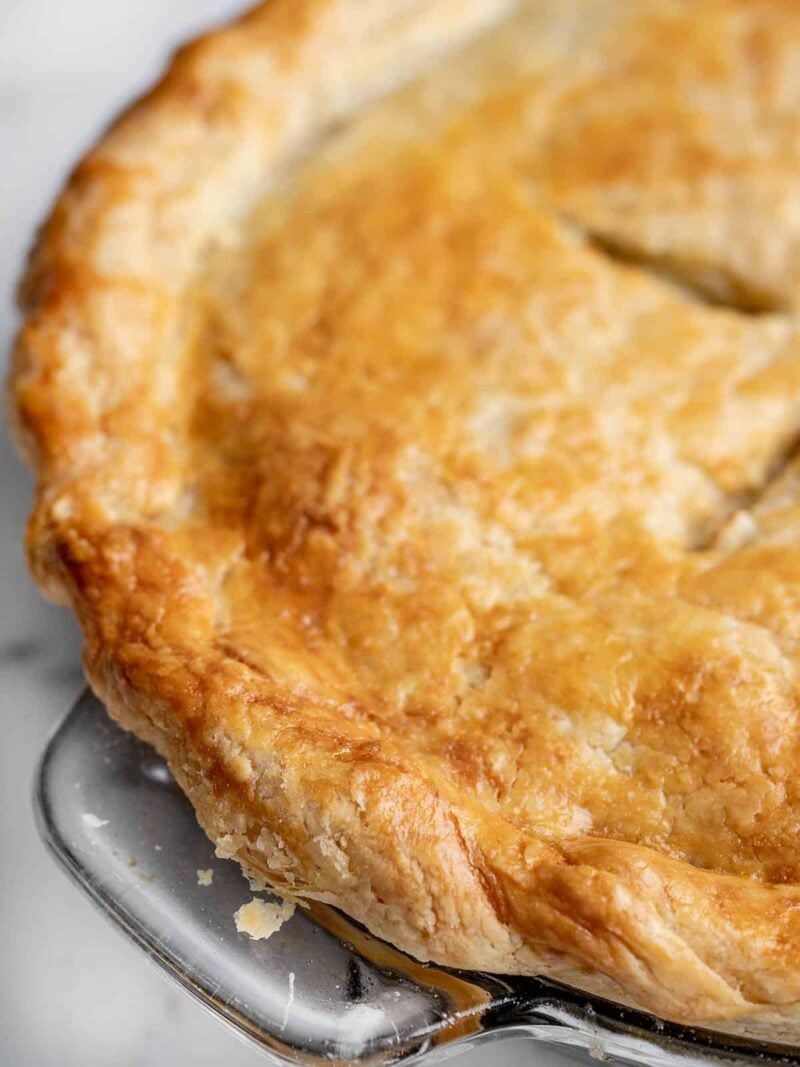
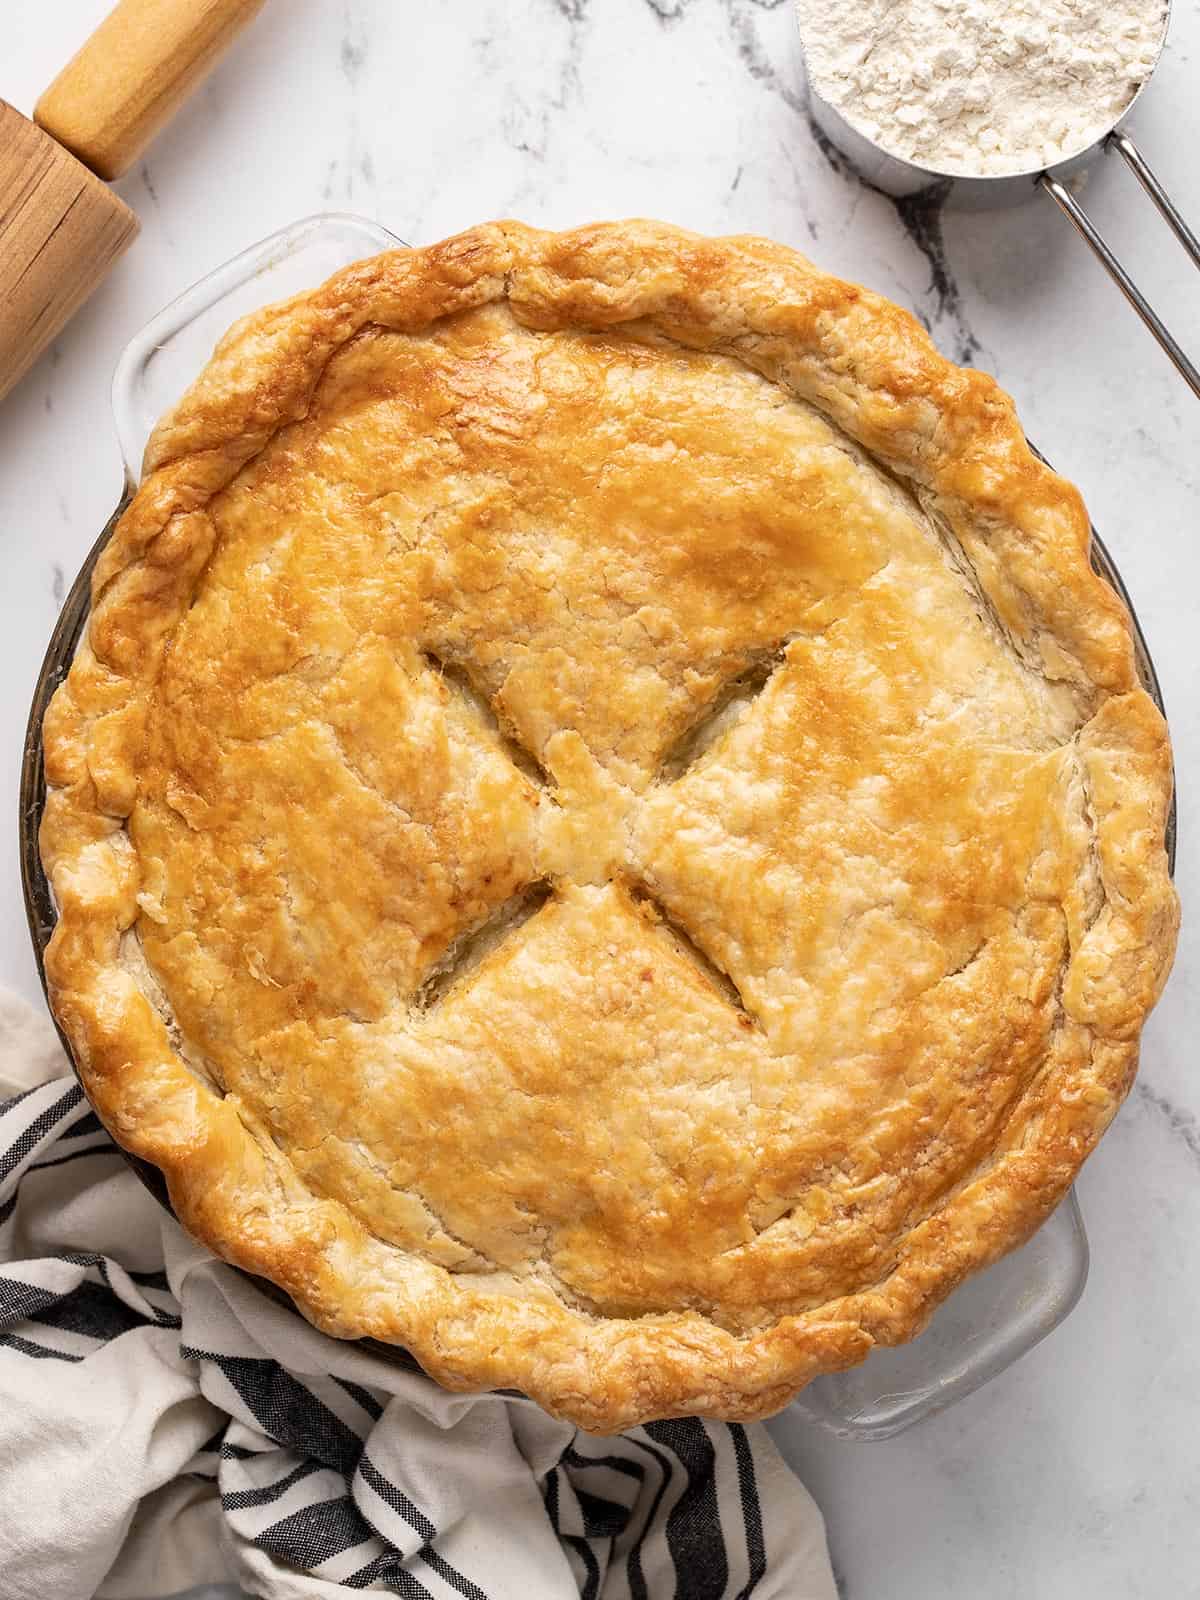
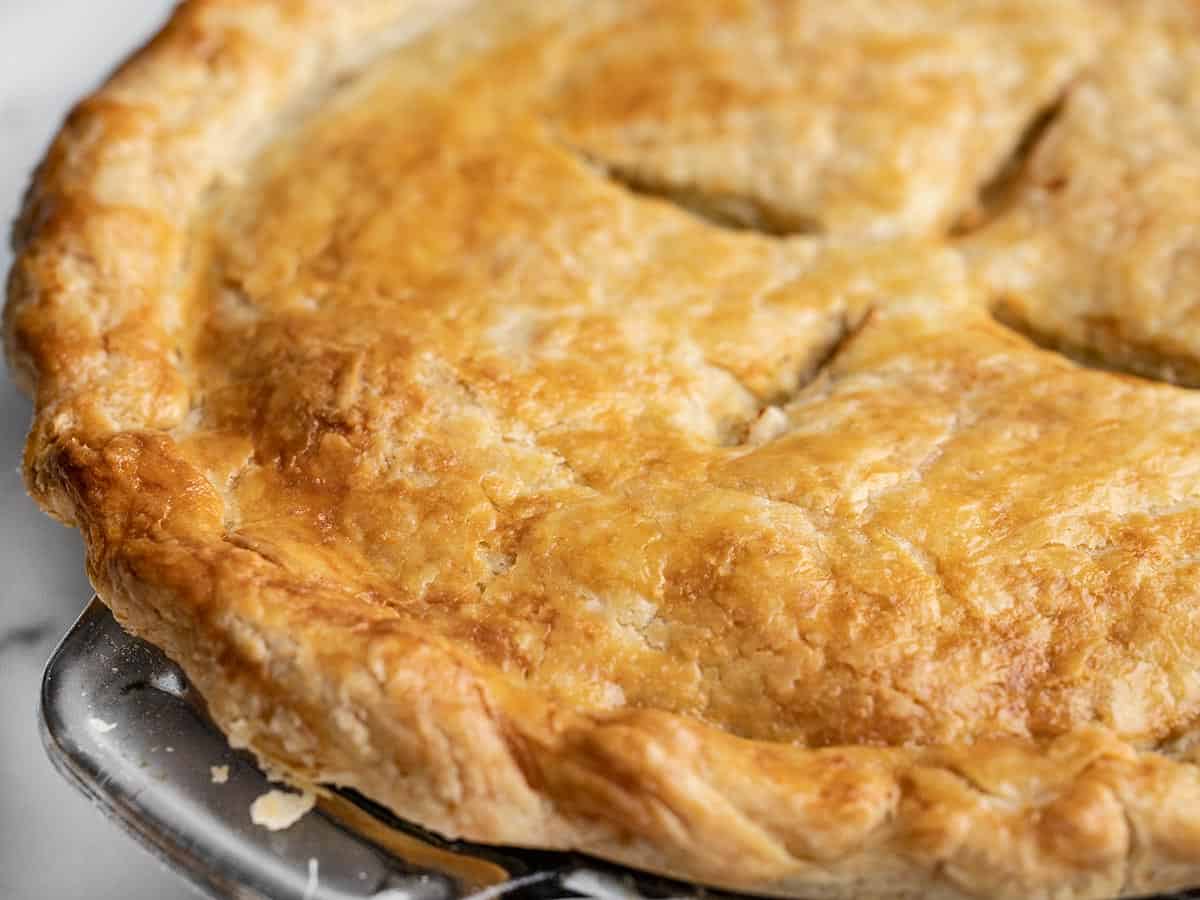
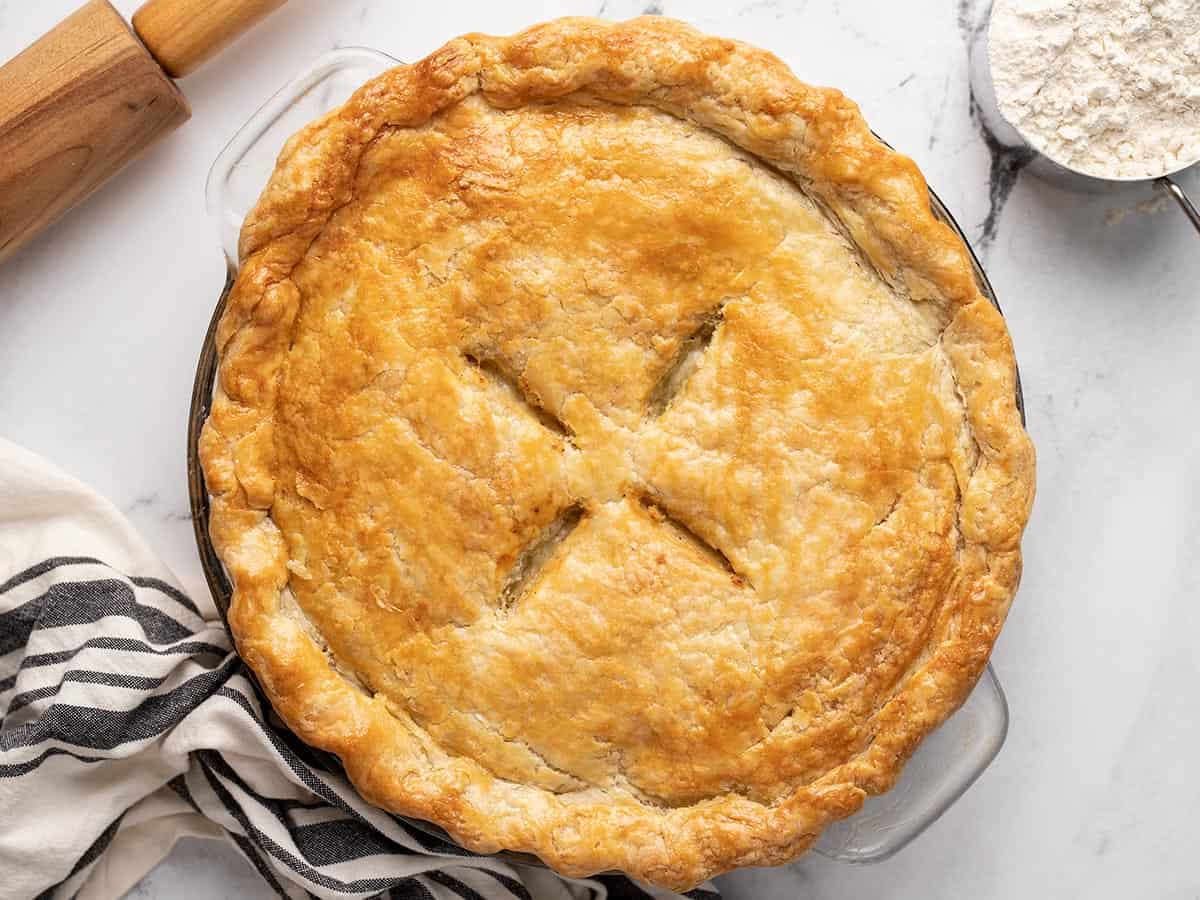
Look at all that flaky goodness for a little over a dollar! Yum!!


This is the best pie crust recipe I have ever used. The dough is easy to make and all the steps produce a lovely flakey light crust. The crust is also easy to roll out and work with.
I use this pie crust recipe whenever I make pies, and I always get compliments on the crust. This was super easy and helpful.
Do I cook the pie crust first before putting in the filling?
It depends on the specific pie you’re making! Most chilled pies you’ll blind bake the crust, but for some warm filled pies you don’t need to, but the instructions of the pie recipe you’re using should tell you!
I will certainly try this recipe,I have some homemade apple slices and sweet potato mixture and sure to use them both, Thanks
Love your recipes
Great tips for food love it 😍😍
I’ve must be overlooking the temperature to bake the crust. I apologize .
do you mind telling me the temperature and the time a crust should be cooked?
Thank You very much for your time.
Beverly
You can blind-bake this dough at 350°F for about 40 minutes. Make sure to use pie weights to prevent bubbling and a foil ring to prevent burning. If you are making a filled pie, temperatures and bake time will vary, depending on the filling and the thickness of the required crust.
This recipe turned out well and was easy to follow. My only suggestion would be including ingredient weights so that people could use a scale to measure.
THE best pie crust ever!
Very important the butter and flour are chilled. I made a fresh blueberry pie and it was dynamite.
Thank you for sharing
Eleanor in Spring City, PA
This is by far the easiest crust recipe I have tried and delicious! I’ve never had a crust turn out so well and be so flaky!
Life saver
I only had 2 butter sticks and needed a quick delicious recipe for my apple pie !
Its perfect flavor I added a pinch of salt and sugar and cinnamon because it was for a pie. Thank you
The results were good, a bit tough but I’m sure that was because I overworked the dough, rather than any fault of the recipe. I didn’t take any stars off for that. The reason for the low rating is because the written instructions stopped after refrigeration concluding with the unhelpful advice to ‘use the crust.’
I can’t tell you how frustrating that was for a novice like me who was using this recipe as a first foray into pot pie. I had glanced at the picture instructions (which actually do explain HOW to ‘use the crust’) on PC while searching for the recipe a few days before the attempt but didn’t think to scroll down when I realized I was screwed from a lack of instruction when actually in the midst of cooking the filling and prepping the pie. I assumed I must have been looking at a different recipe when I saw appropriate instructions and printed out the wrong recipe when the time came to make the pie.
You already wrote out the appropriate instructions on how to get the pie put together for the picture instructions. WHY did you not copy paste that into the written instructions. I’m sure there’s more people than just me who rely on those printed text instructions so they don’t have to touch a phone screen with dirty cooking fingers in order to see each successive step.
Please consider fixing that, because it doesn’t matter how good the end results are for YOU. If you cannot properly convey the instructions to produce those results to your audience, it is a bad recipe. End of story.
Hi Heather,
The pie crust can be used for dozens of different applications, from pies and cookies, to turnovers and pot pies etc. That’s why it is linked in those recipes. Unfortunately, there isn’t enough room in a recipe card to cover all of the ways it can be used. All you have to do is go the recipe card you are using the pie crust for (IE the pot pie), and instructions are there for you. Since you are a novice in the kitchen, reading this article on “10 Tips For Recipe Success” might also be helpful for you. https://www.budgetbytes.com/10-tips-for-recipe-success/
This is frustrating beyond words. I’m a novice to pie, not the kitchen, and I’m not saying that you should include all possible ways to use the crust recipe, just the information THAT YOU INCLUDED IN THE STEP BY STEP PORTION. Otherwise, information that people expect to be in the recipe will not be in the printed version, despite being on the webpage for the recipe. That’s just poor website design. That you’d choose to talk down to me, rather than fixing the problem is both frustrating and baffling.
Hi Heather, Sorry for the confusion. I had originally instructed Monti to not include the rolling and shaping instructions in the recipe card because, as she had mentioned, you can use pie dough in several different ways. I understand where you’re coming from so I’ve added that information into the recipe card. :)
Very good
This recipe is currently making a buttery mess out of our oven, which is just so frustrating. :( I followed all of the instructions and comments: grated frozen butter, kept the flour in the freezer while grating, refrigerated for several hours (roughly 7), used icy water, docked the bottom crust…and still, I had to put another baking sheet under the pie pan, and I’m pretty sure my pot pie is going to be ruined.
The only thing I can think is that me taking the crust out and rolling it 10-15 minutes before filling my pie and baking it may have made the dough too warm. But if that’s the case, I think it should be added to the instructions that the dough shouldn’t be removed/rolled until RIGHT before baking. 15 minutes is not a long time.
Hi Renee,
You were correct in your analysis. When you roll out pie dough, you must let it rest in the pie pan for at least an hour in order for the butter to solidify again before baking. I’m sorry you had a rough go of it. XOXO -Monti
This was the easiest and best pie crust I have ever made! Honestly, I will never buy a frozen crust again – I followed the directions and it was perfect. Thank you!
I’ve made this pie crust three times. Twice with a chicken pot pie and once with an apple pie. I am a terrible baker but this turned out amazing all times. Buttery, flaky and delicious. I did have some chunks of butter in the dough but it once baked, these went away. It’s pretty easy to throw together with so few ingredients.