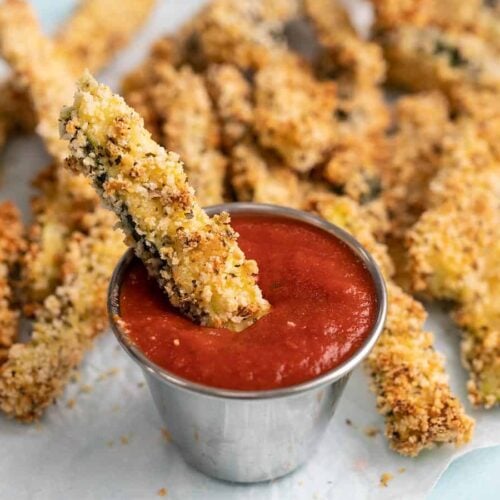
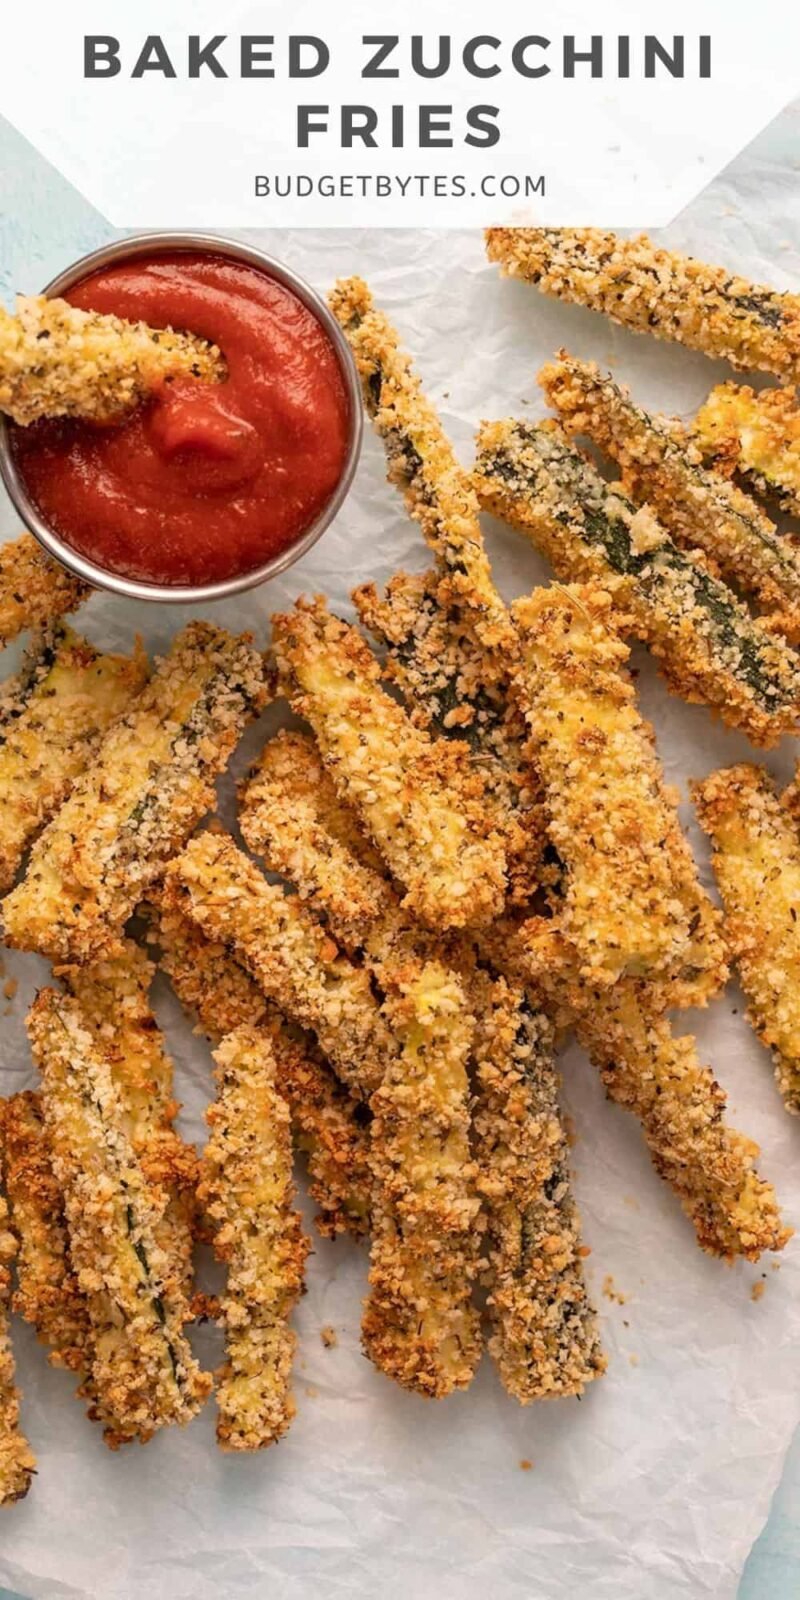
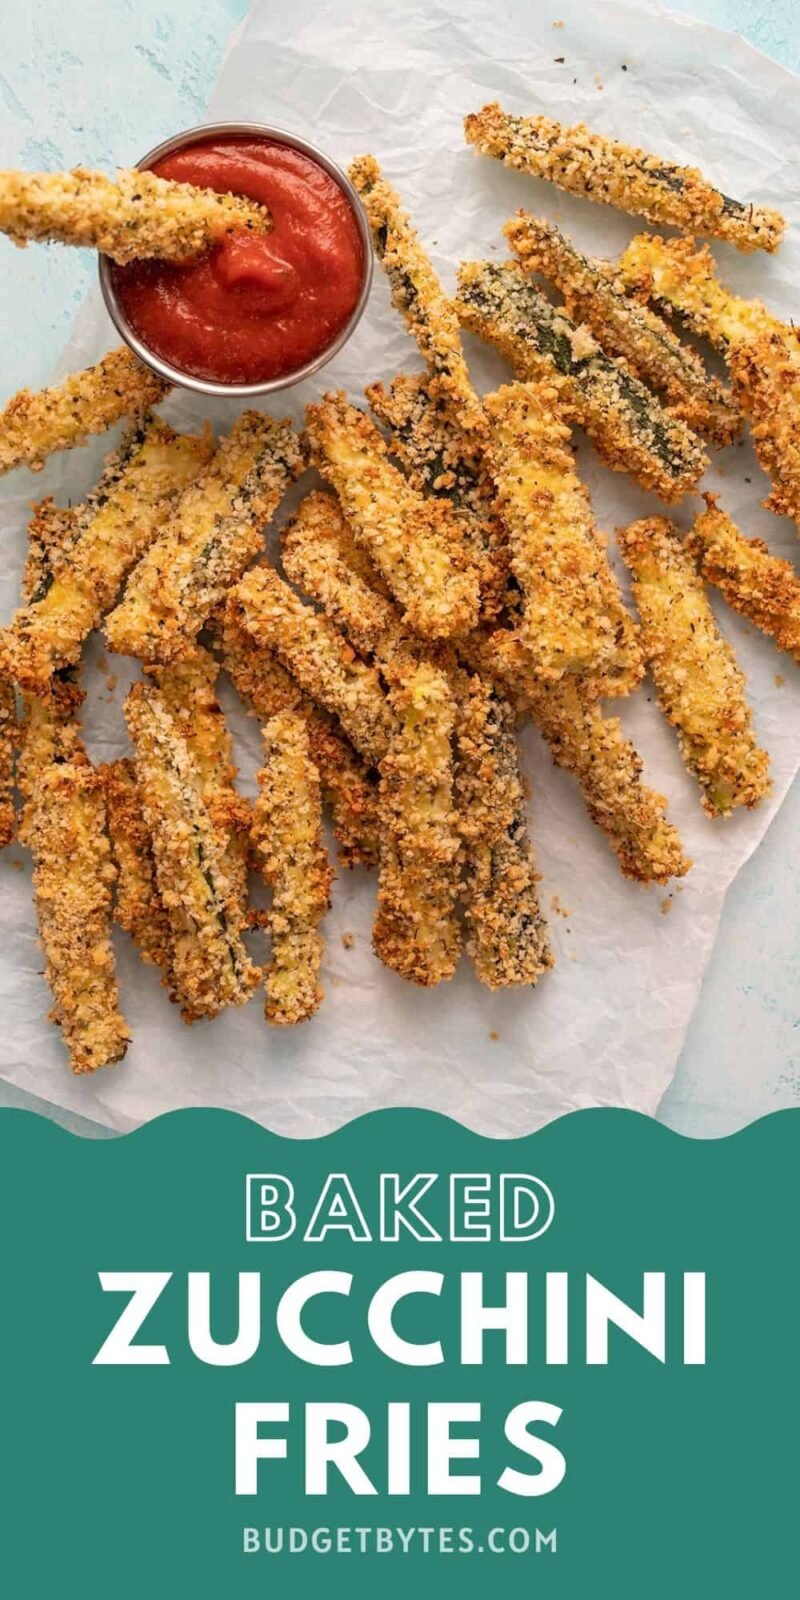
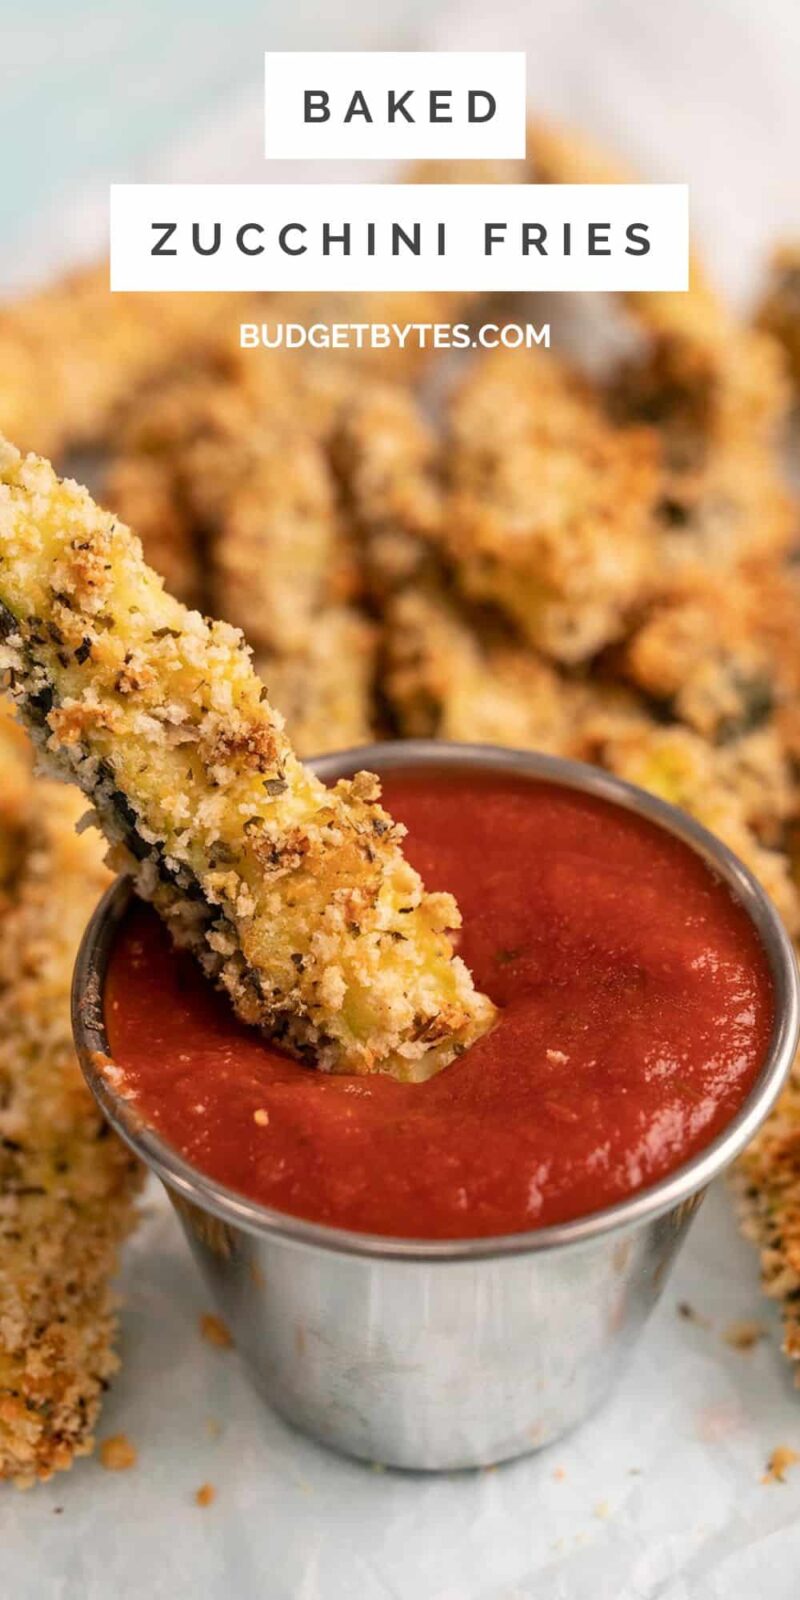
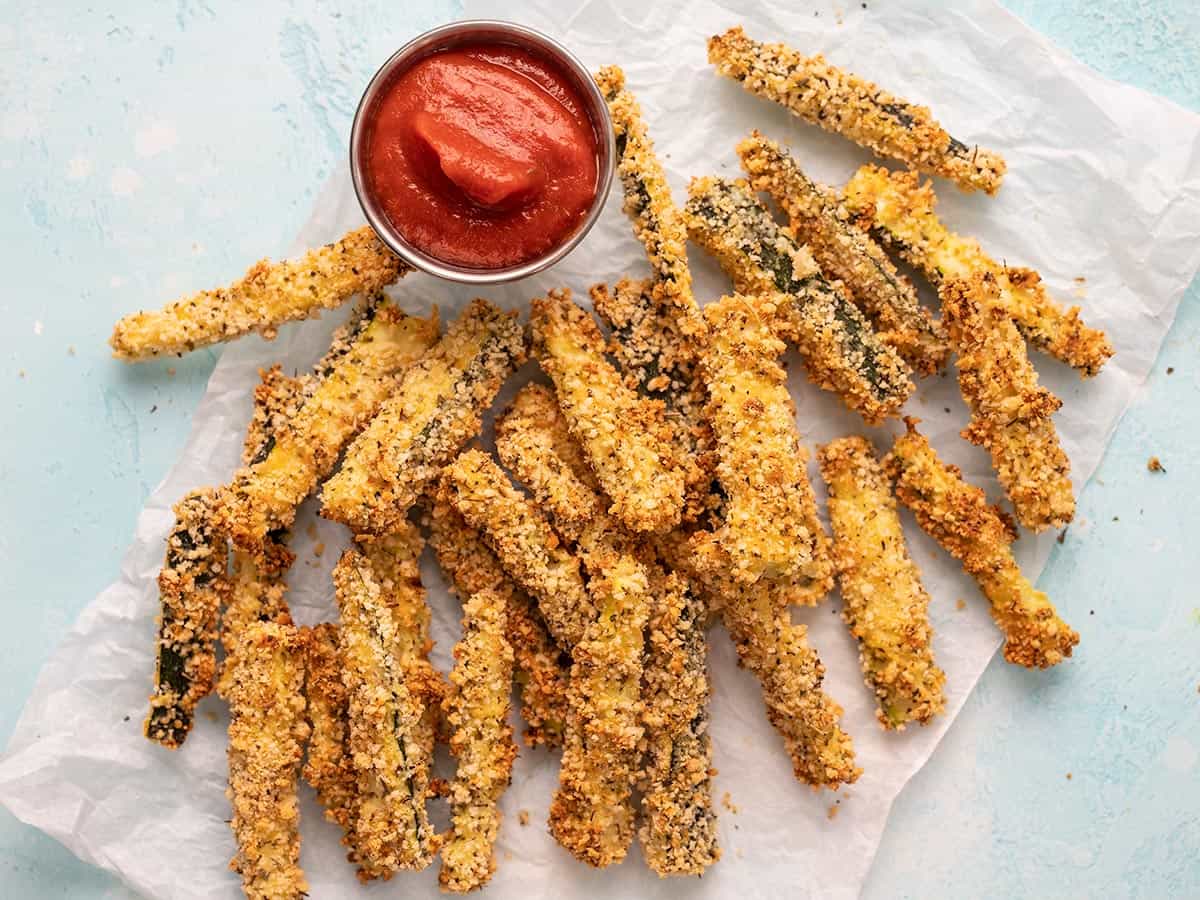
Zucchini is one of my favorite summer vegetables. It’s cheap (especially if you have a friend or neighbor who is growing it), versatile, and totally delicious. So if you’re looking for extra ways to use up your summer zucchini, you’ve got to give these Baked Zucchini Fries a try. They’re crispy on the outside but creamy and delicious on the inside! Eat them plain or dip them into your favorite pizza sauce or marinara sauce.
Originally posted 7-28-2012, updated 8-12-2022.
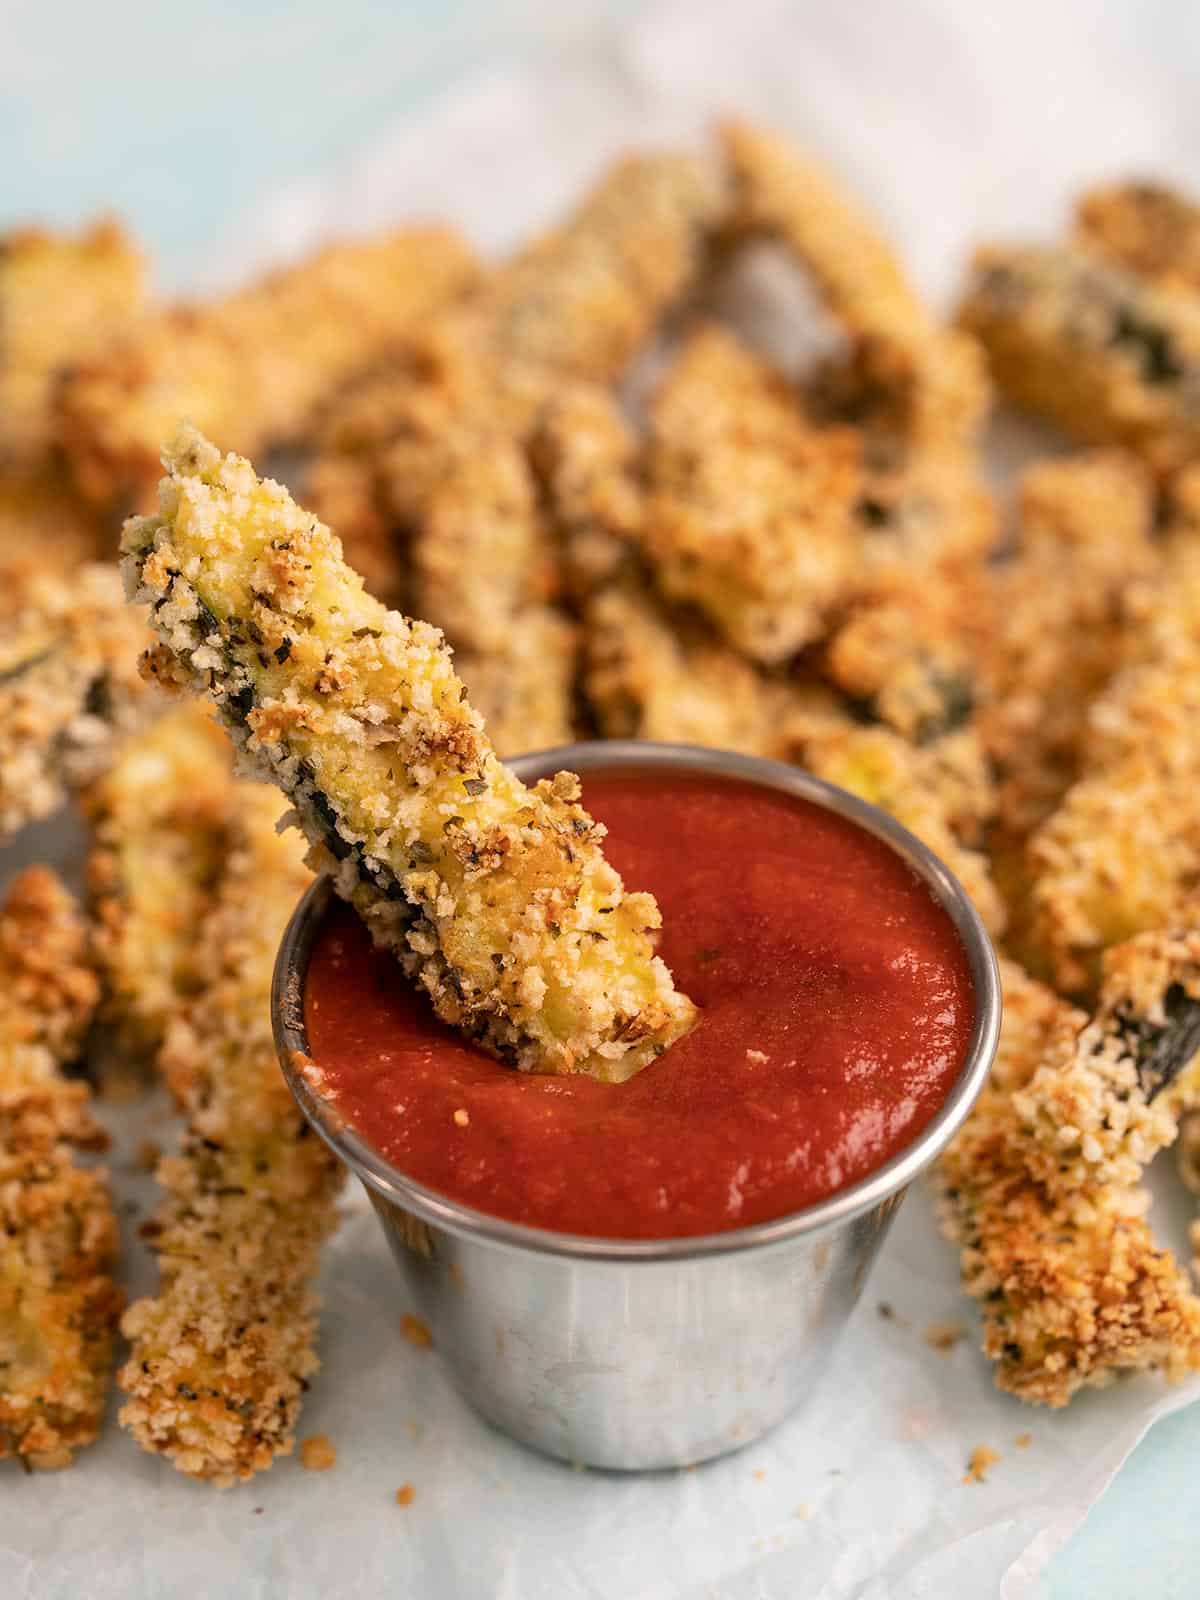
Are Zucchini Fries Crispy?
Zucchini is a high water content vegetable, so it tends to get very soft when cooked. To counteract that, we’ve cut the zucchini into smaller pieces to allow for more evaporation and coated the fries in a crispy combination of panko breadcrumbs and Parmesan. The result is a zucchini fry that is crispy and tasty on the outside, but soft and creamy on the inside.
Do I Have to Use Panko?
I highly suggest sticking with panko breadcrumbs here instead of regular breadcrumbs because their light texture and larger pieces help make the zucchini fries extra crispy. Regular breadcrumbs tend to be smaller pieces and a bit more dense, which will produce a harder shell rather than a light, crispy coating.
Make Them Gluten-Free
To make these zucchini fries gluten-free you’ll need to make two swaps. Use a 1:1 gluten-free flour, potato flour, or arrowroot flour to dredge the zucchini before the eggwash, then use gluten-free panko crumbs for the final coating. I do not suggest using almond flour or coconut flour in place of the all-purpose flour because they will not absorb moisture as well as the all-purpose flour.
How Are the Leftovers?
The one caveat with these Baked Zucchini Fries is that they’re definitely best right when they come out of the oven. After they’re stored in the refrigerator the breading will absorb moisture and become soft. That’s not to say that I wouldn’t still totally gobble them up after reheating, but you definitely won’t get the same texture experience.
Baked Zucchini Fries
Ingredients
- 1 lb. zucchini ($1.69)
- 2 large eggs ($0.39)
- 1 cup panko breadcrumbs ($0.50)
- 1/4 cup grated Parmesan ($0.36)
- 1 Tbsp Italian seasoning ($0.30)
- 1/2 tsp salt, divided ($0.03)
- 2 Tbsp all-purpose flour ($0.04)
- 1/2 cup pizza sauce (for serving) ($0.50)
Instructions
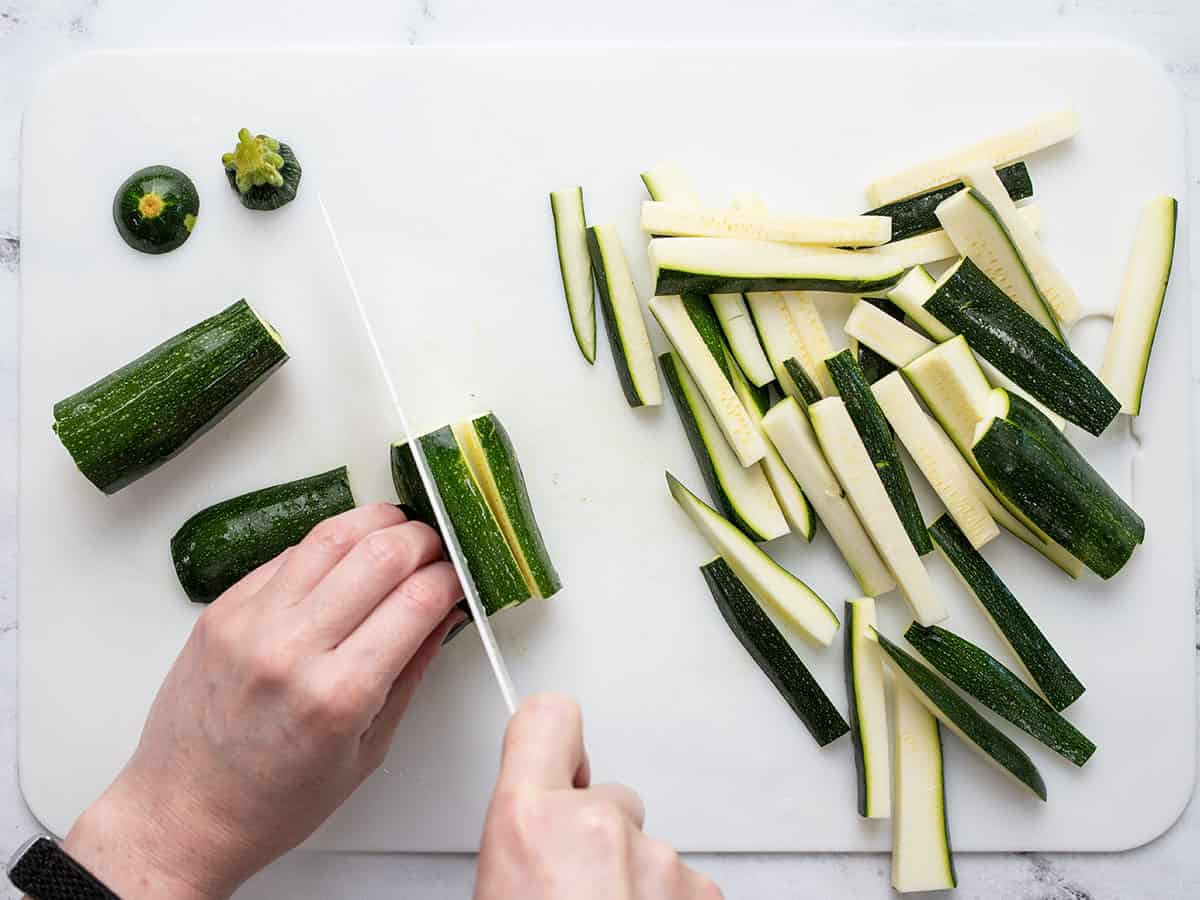
- Preheat the oven to 425ºF. Slice the zucchini into matchsticks that are ½-inch wide and 3-inches long. Set the zucchini aside.
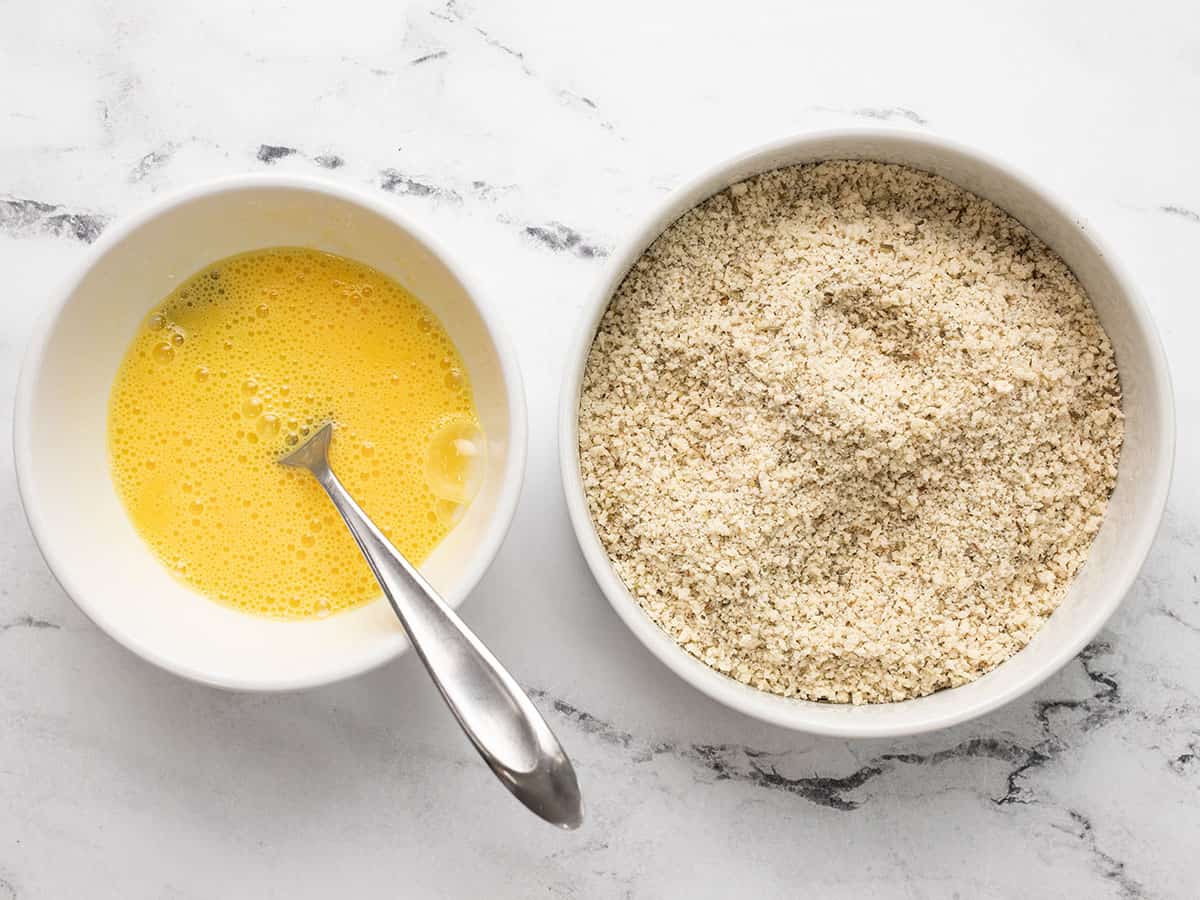
- Whisk the eggs in a bowl. In a separate bowl, stir together the panko, Parmesan, Italian seasoning, and ¼ tsp salt.
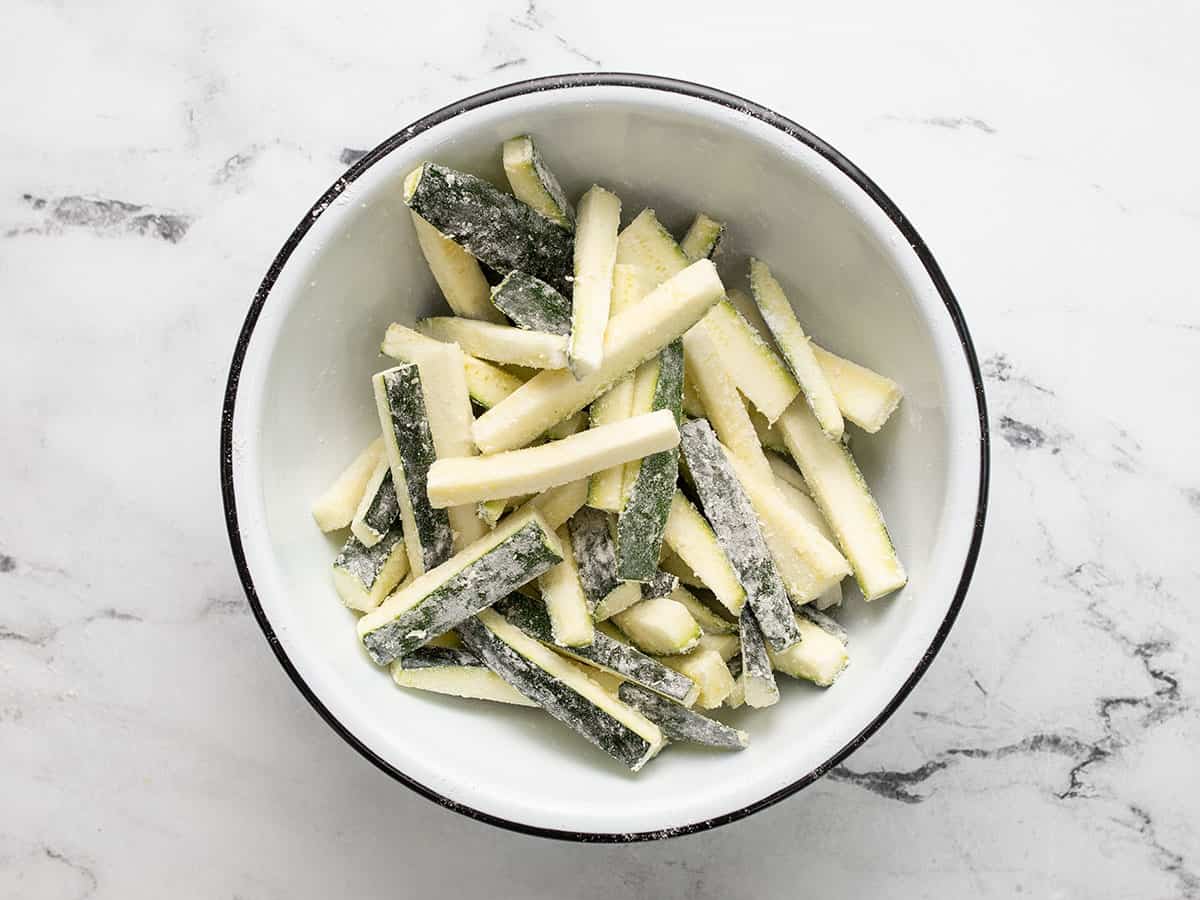
- Add the sliced zucchini to a large bowl. Sprinkle the all-purpose flour and remaining ¼ tsp salt over the zucchini. Toss the zucchini until they are evenly coated in flour.
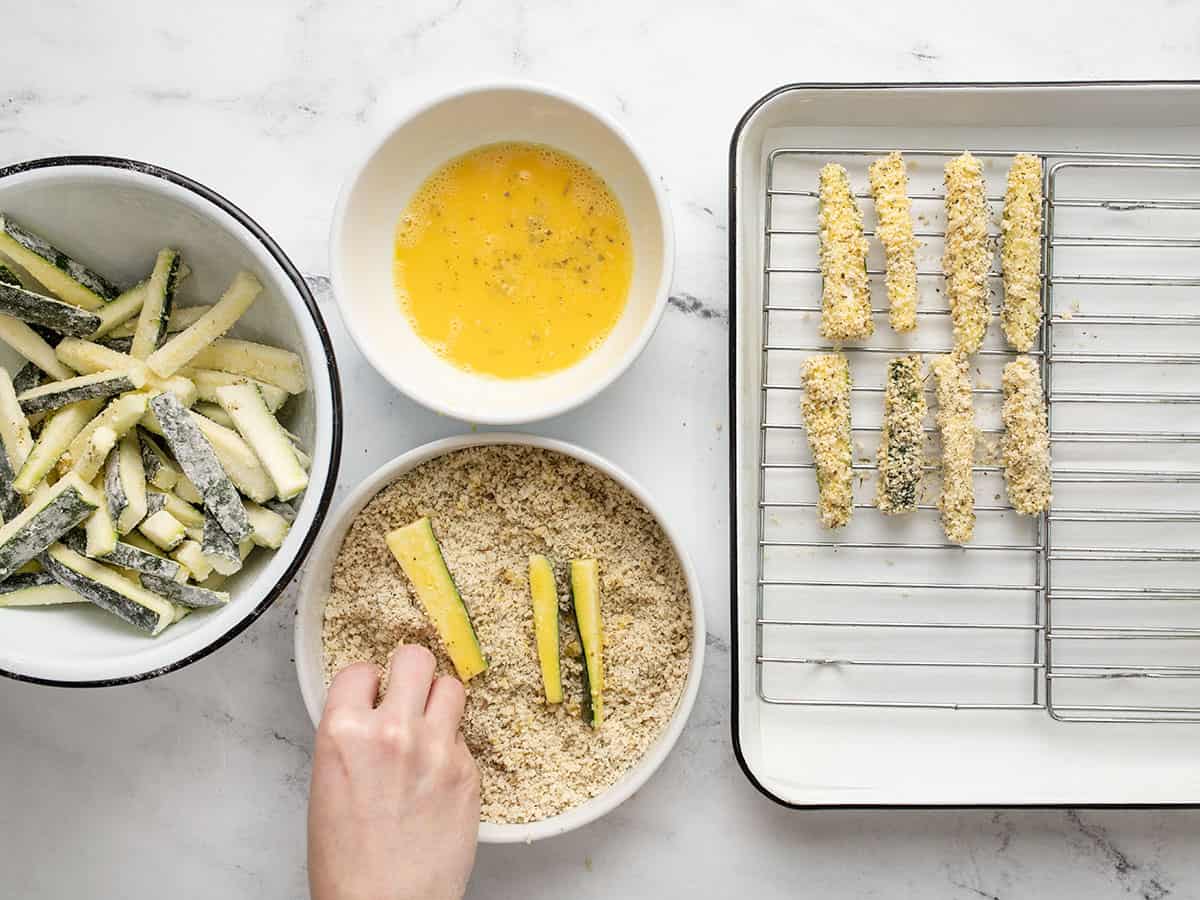
- Place wire cooling racks over a large baking sheet to lift the zucchini pieces and allow airflow underneath. Bread the zucchini slices by briefly dipping them in the whisked egg, letting the excess run off, then coating them in the panko-Parmesan mixture.
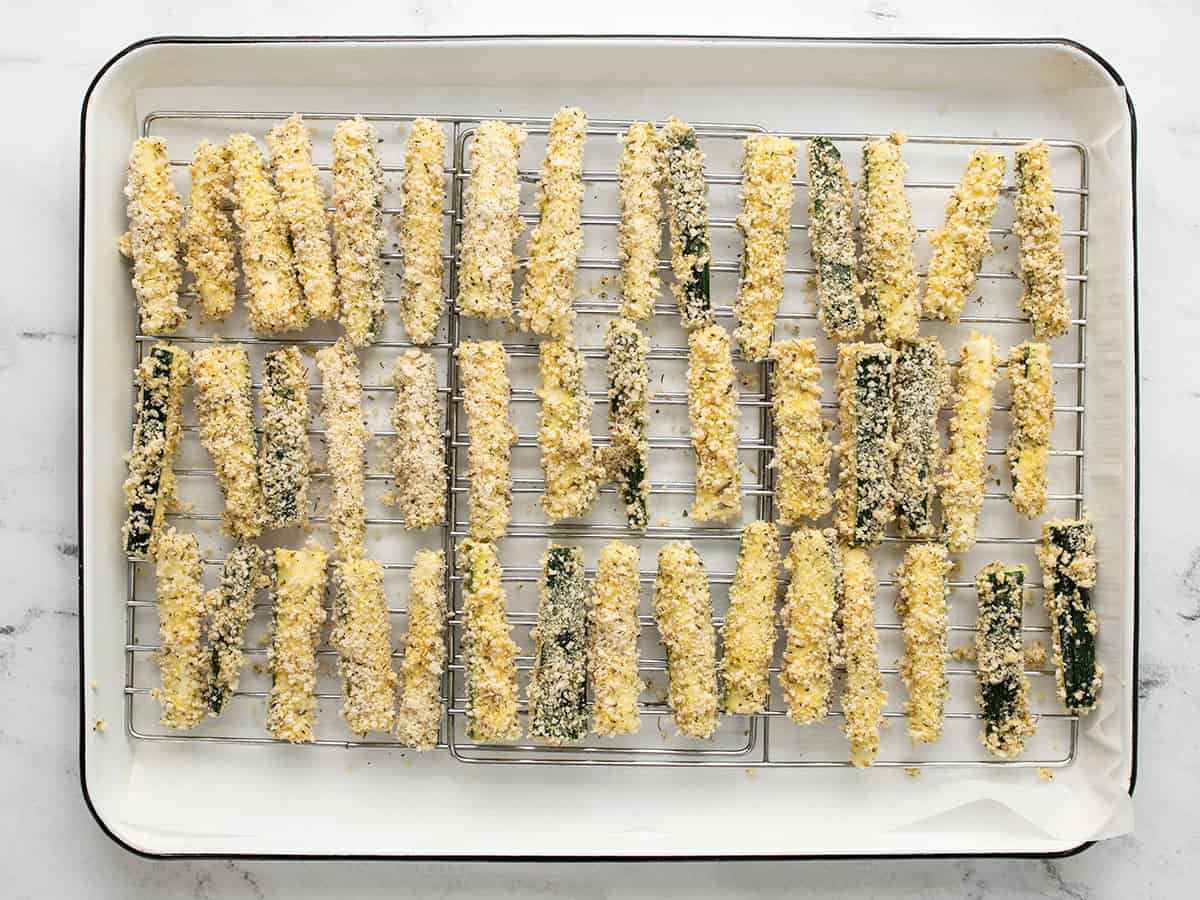
- Place the breaded zucchini on the wire racks with a small amount of space between each piece to allow for airflow.
- Bake the breaded zucchini fries for 20 minutes, or until they are golden brown and crispy.
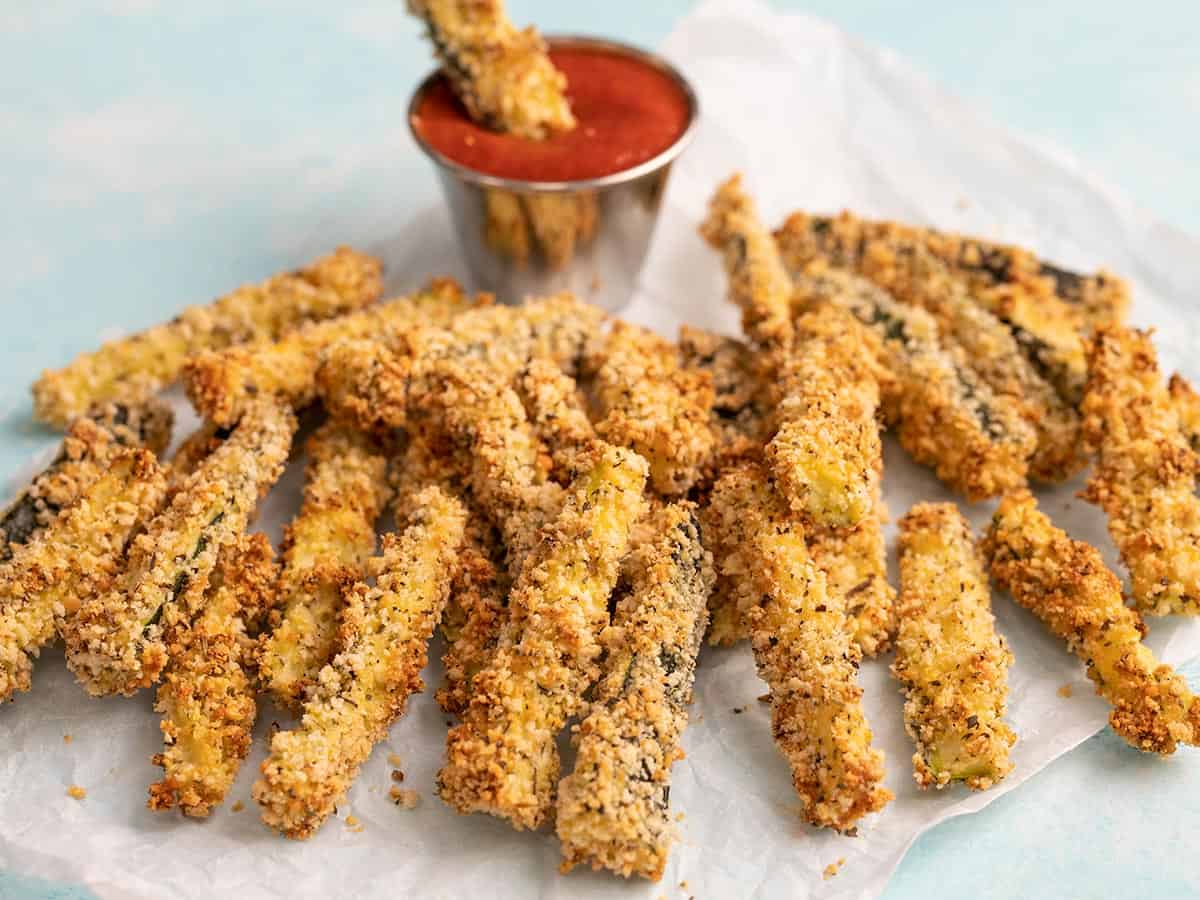
- Serve immediately with pizza sauce for dipping.
See how we calculate recipe costs here.
Equipment
- Enamelware Sheet Pan
- Wire Cooling Racks
- Chef's Knife
Nutrition
How to Make Zucchini Fries – Step By Step Photos
Preheat the oven to 425ºF. Slice about one pound of zucchini into ½-inch thick matchsticks (about 3-inches long).
Whisk two eggs in a bowl. In a separate bowl, stir together 1 cup panko breadcrumbs, ¼ cup grated Parmesan, 1 Tbsp Italian seasoning, and ¼ tsp salt.
Place the sliced zucchini in a large bowl and sprinkle with ¼ tsp salt and 2 Tbsp all-purpose flour. Toss the zucchini until they are evenly coated in flour.
Place two wire cooling racks over a large baking sheet. Begin to bread the zucchini fries by first briefly dipping them in whisked egg, allowing the excess to drip off, then coating them in the panko-Parmesan mixture. To make this process faster, I usually dip 2-3 at a time into the eggwash.
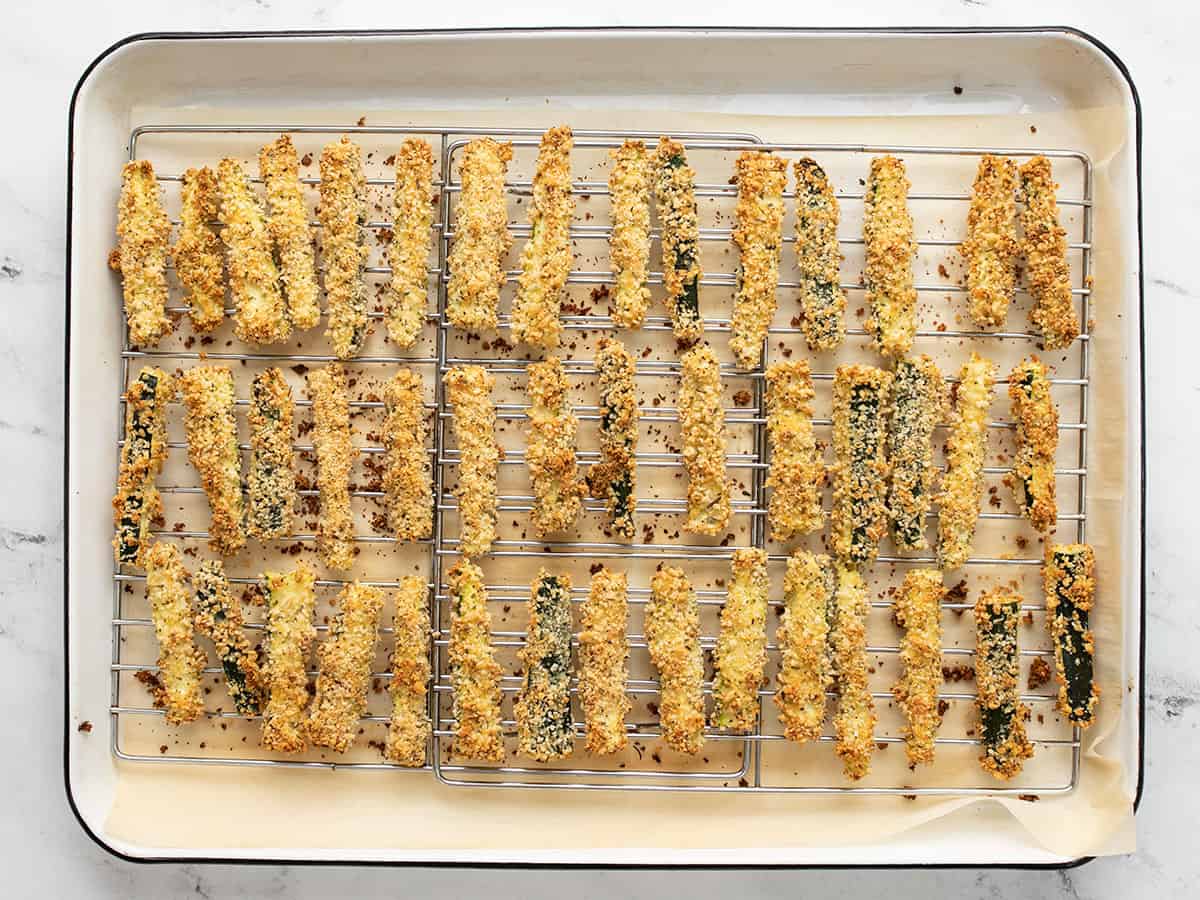
Place the breaded zucchini on the wire racks with a little space between each piece.
Bake the zucchini fries for about 20 minutes in the fully preheated 425ºF oven or until they are golden brown and crispy. Allow the fries to cool for a couple of minutes before wiggling them loose from the rack. If any of the fries are stuck, use a fork to scoop under the fry and lift it up off the rack.
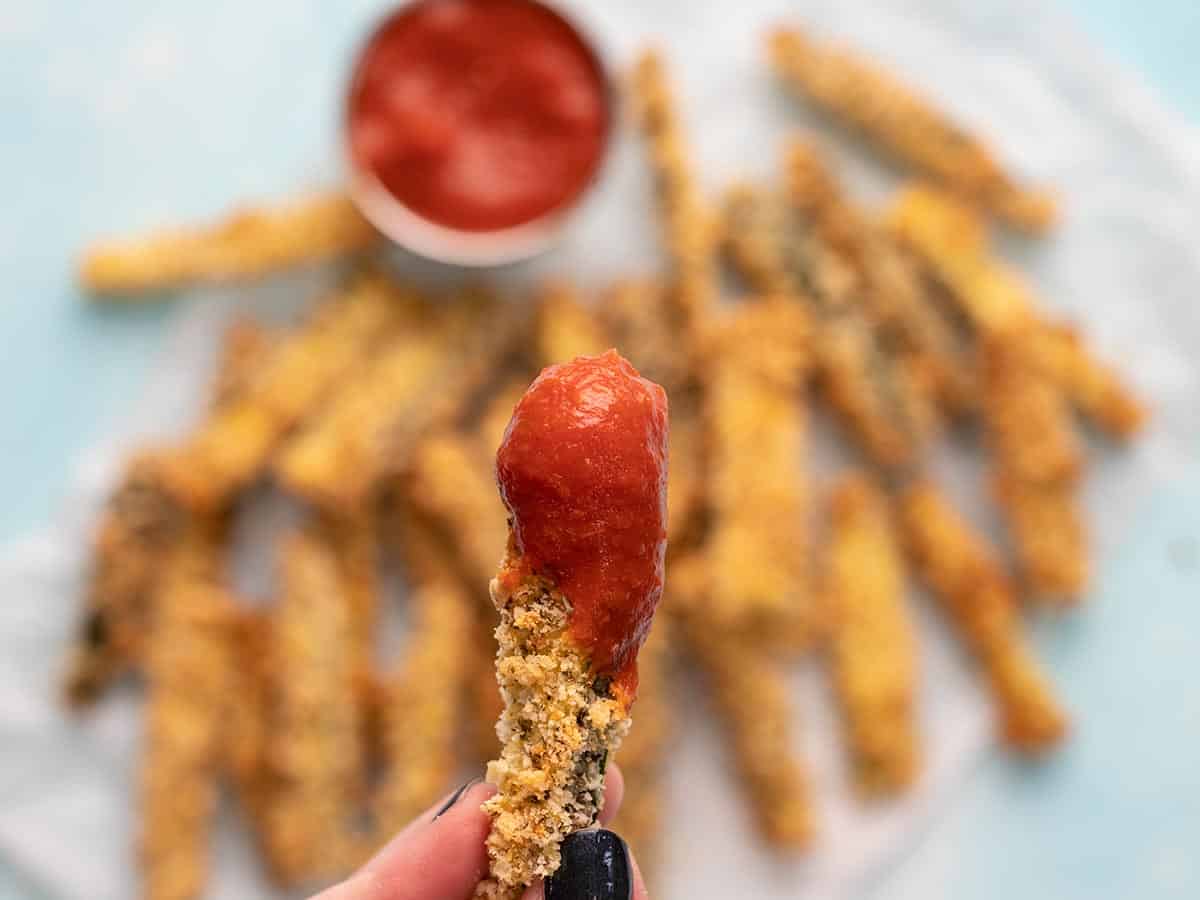
Serve the zucchini fries with pizza sauce or marinara for dipping!


Great recipe! For gardeners with too much zucchini, your recipe works great for freezing. After the fries cool completely, place on trays, slip trays in freezer, then store in Freezer gallon bags. You can pull them out like frozen commercial fries, bake them at 400 for about 15-20 minutes and they’re really crunchy and a better side dish than French fries.
Airfryer! Works awesome to make them crispy again.
Followed exact recipe. Best thing I’ve ever made with zucchini.
These are really good. We don’t have a wire rack so we just flip them half way through cooking. They turn out perfectly. Do you have any tips for reheating them? Because storing them in the fridge makes them a bit soft and soggy. Trust me, don’t reheat them in the microwave 😅
Yikes! I bet the microwave didn’t get the job done! Reheating them in the oven, toaster oven, air fryer — or even toasting them up in a non-stick skillet — would probably give you better results. But as Beth mentions in the blog post, they will never be QUITE as satisfying when reheated. — Marion :)
thank you for sharing baked zhukinni fries.
Really delicious recipe. I love it yummy!!! It’s really awesome
Has anyone tried these in the air fryer yet? I am an AF noob and have no idea what temp to start at or how long to cook them for. If anyone has a suggestion on where to start with temp/time please let me know. Thanks!
I was visiting my folks and as soon as I pulled up your site, my mom said, “Do you like zucchini? So-and-so gave us some from their garden.” Bingo! I made this for dinner as one of the veggie sides, and it was delicious! I love using panko. So crispy! Another winner.
These are delicious! I made the recipe as described and served the fries with a jarred marina sauce. Thanks so much!
Fantastic! I actually put these in a sandwich with mozzarella cheese and chunky tomato sauce. Sooo good.
Was looking for different ways to use zucchini and I’m always somewhat sceptical when it comes to zucchini, but these were good !! I added a bit more Parmesan and Seasoning to the mix. My family enjoyed them and I got the okay to make then again.
I made these last night and they turned out great! Thanks for the recipe.
They were tasteless . Certainly not buttery. We did eat them with out dipping sauce
I only had one rack and so I baked half of them directly on the foil. I liked them better that way – the cheese got crispy and delicious! But both pans were excellent and were a hit with my guests.
Yum! Thanks. Add them. Loved them. Felt zero guilt eating them!