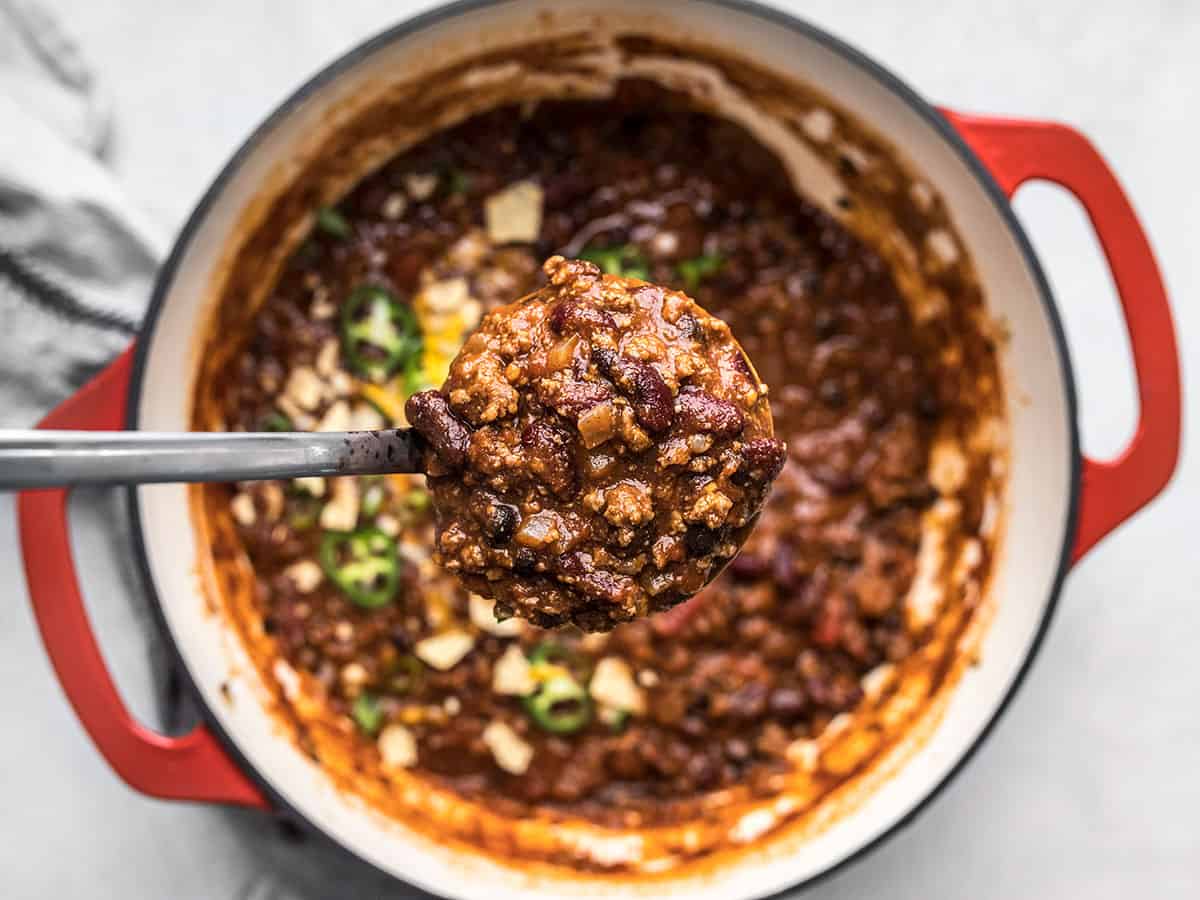
Now that it’s officially fall, it’s time to make my favorite fall comfort food, a pot of delicious homemade chili. While I have several chili recipes on the website already, this classic beef chili recipe is my absolute favorite. Like, it’s so good that I can’t stop going back for spoonfuls. Not only is this classic chili recipe super flavorful and easy, but it can be customized in a number of ways to make it your very own’s extremely customizable. Scroll down for ideas for customizing the proteins, spices, liquids, vegetables, and toppings!

This post contains some affiliate links, which means that we make a small commission off items you purchase at no additional cost to you.
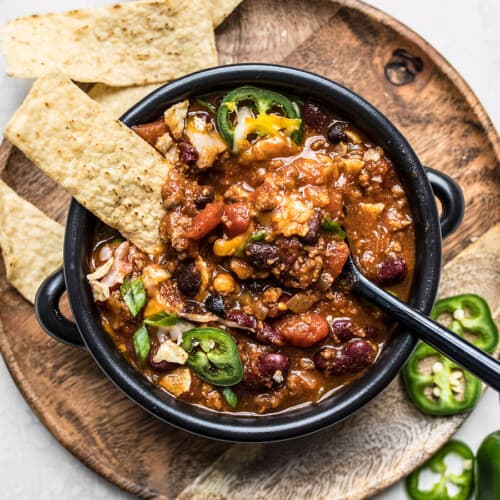
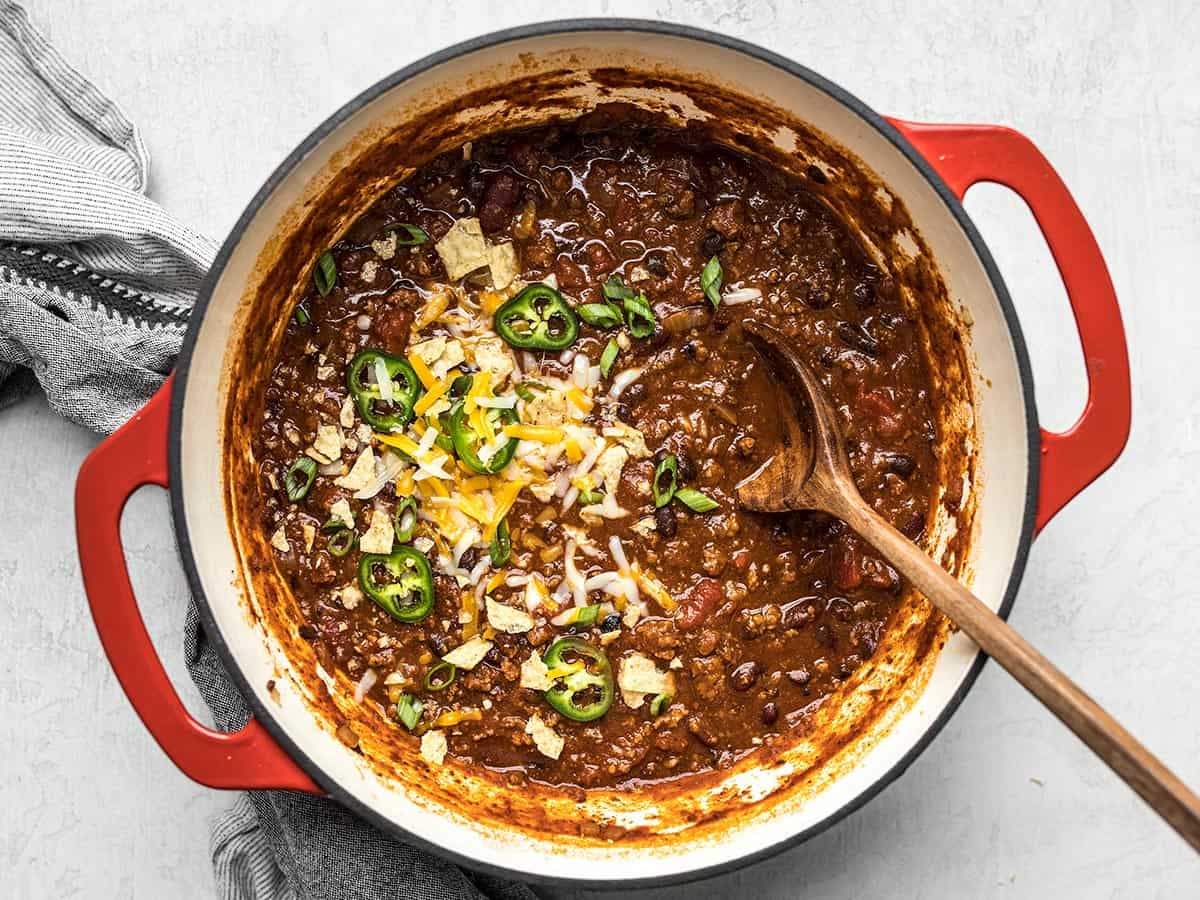
I like to add fresh jalapeños, cheese, green onion, and crushed tortilla chips to my chili!
Ingredients for Homemade Chili
There are so many ways to make homemade chili, but here’s what you’ll need to make our classic beef chili:
- Aromatics: Onion and garlic create the base layer of flavor for this pot of classic chili. Feel free to add double or even triple the garlic if you’re a garlic lover!!
- Ground Beef: I love a slightly higher fat content beef for chili because it makes the pot extra rich and it’s more affordable than lean ground beef, but feel free to use the type of ground beef that you like the best.
- Beans: We use a combination of kidney beans and black beans in our chili for a little extra color and texture in the pot, but you can also experiment with adding pinto beans!
- Diced Tomatoes: Diced canned tomatoes (with their juices) add more flavor and texture to the chili. If you don’t like chunks of tomato, you can substitute with crushed tomatoes, which have a much finer texture.
- Tomato Paste: Tomato paste really helps thicken the chili and gives it a super rich tomato flavor, which is the perfect backdrop for all of the chili spices.
- Chili Seasoning: We use our homemade blend of chili seasoning, which includes chili powder, cumin, cayenne pepper, garlic powder, onion powder, salt, and pepper.
- Brown Sugar: This is the secret ingredient that helps balance the adicity of the tomatoes and heat from the chili seasoning. A little goes a long way to help balance the flavors without making the chili taste sweet.
How Long Should You Cook Chili?
Chili is one of those dishes that tastes better the longer it cooks (to a point). You’ll want to let this chili simmer for a minimum of 30 minutes, but it’s something that you can leave simmering gently for up to a couple of hours. If you do plan to let your chili simmer for a longer period of time, make sure to put a lid on it so it doesn’t dry out. Check it occasionally to see if it is becoming dry, and if so, add a little water.
5 Ways to Customize Homemade Chili
- Use a different protein: Feel free to substitute ground turkey, chicken, pork, or even lentils or more beans in place of the ground beef.
- Add Other Liquids: Instead of using water to make the gravy, try using vegetable juice (like V8), dark beer, or beef broth for even more flavor.
- Customize the spices: Try using chipotle powder or smoked paprika for a smokier flavor. Add a little cocoa for a richer, earthier flavor, or a dash of cinnamon for warmth.
- Add Extra Vegetables: If you’re looking to add more flavor, color, and nutrients, try adding zucchini, bell pepper, poblano peppers, jalapeños, corn, sweet potato, or butternut squash.
- Get creative with toppings: This is where chili gets really fun! Browse your pantry, fridge, or freezer for any fun toppings you might have. Anything that goes well on a taco will probably also go great on a bowl of chili! This also allows each family member to customize their own bowl, which is super helpful with picky eaters!
Ideas for Chili Toppings
Customizing my bowl of chili with fun toppings is my favorite part. I can eat the chili all week and no two bowls will be the same! Here are some ideas for what to put on top of a bowl of chili:
- Cheddar or Monterey Jack Cheese
- Sour Cream
- Green Onions
- Diced Avocado
- Cilantro
- Crushed Tortilla Chips
- Crushed Saltine Crackers
- Pickled Jalapeños
- Diced Red Onion
What is your favorite chili secret ingredient, add-in, or topping? Share in the comments below!
How to Store and Reheat Chili
Chili is the ultimate meal prep food because the recipe makes a big batch, the leftovers taste better the next day, and it’s extremely freezer-friendly!
Chili can be stored in the refrigerator for up to five days, or, after chilling overnight, you can transfer it to the freezer for longer storage (about three months). I recommend dividing the chili into single-serving portions before refrigerating or freezing to make easy grab-and-go reheatable meals for the rest of the week.
Chili can be reheated in the microwave by heating in one minute intervals, stirring between each, until heated through. You can also reheat chili on the stove top over medium-low heat, stirring often. You may need to add a little water when reheating on the stovetop if it gets too thick.
Homemade Chili Recipe
Ingredients
- 2 Tbsp olive oil ($0.32)
- 1 yellow onion ($0.49)
- 2 cloves garlic ($0.32)
- 1 lb. ground beef ($4.79)
- 1 15oz. can kidney beans ($1.09)
- 1 15oz. can black beans ($0.89)
- 1 15oz. can diced tomatoes ($0.50)
- 1 6oz. can tomato paste ($0.55)
- 1 cup water ($0.00)
Chili Seasoning
- 1 Tbsp chili powder** ($0.30)
- 1 tsp ground cumin ($0.10)
- 1/4 tsp cayenne powder ($0.02)
- 1/4 tsp garlic powder ($0.02)
- 1/2 tsp onion powder ($0.03)
- 1/2 Tbsp brown sugar ($0.02)
- 1 tsp salt ($0.05)
- 1/2 tsp Freshly cracked black pepper ($0.03)
Instructions
- Dice the onion and mince the garlic. Add both to a large pot with the olive oil and cook over medium heat until they are soft and translucent.
- Add the ground beef to the pot and continue to sauté until the beef is fully browned.
- Drain the beans and add them to the pot along with the diced tomatoes, tomato paste, 1 cup water, and all of the ingredients for the chili seasoning. Stir until well combined.
- Place a lid on the pot and allow it to simmer over a low flame for at least 30 minutes, stirring occasionally (the flavor gets better the longer it simmers).
- Give the chili one final taste, adjust the salt or seasonings if needed, then serve hot with your favorite toppings.
See how we calculate recipe costs here.
Notes
Nutrition
Video
Serve with a side of Jalapeño Cheddar Cornbread!
How to Make Homemade Chili – Step by Step Photos
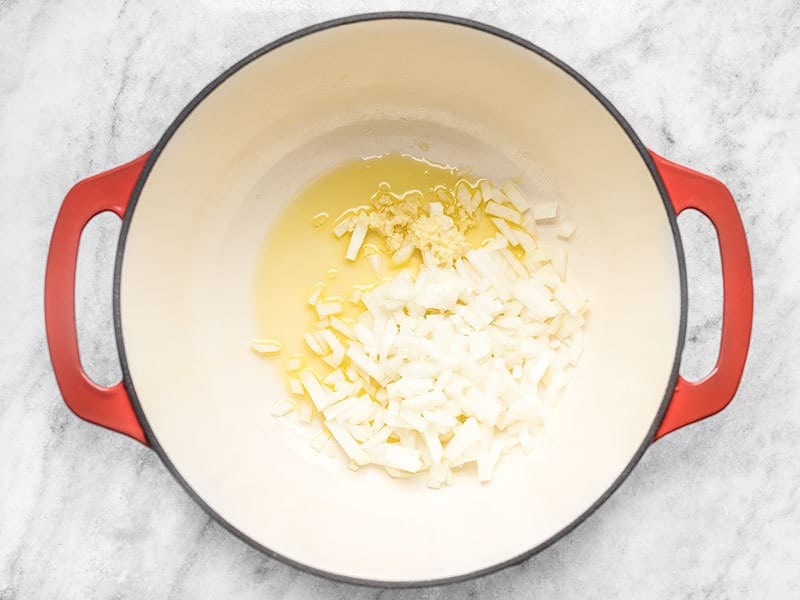
Start by dicing one onion and mincing two cloves of garlic. Cook the onions and garlic with 2 Tbsp of olive oil in a large pot over medium heat until they are soft and transparent.
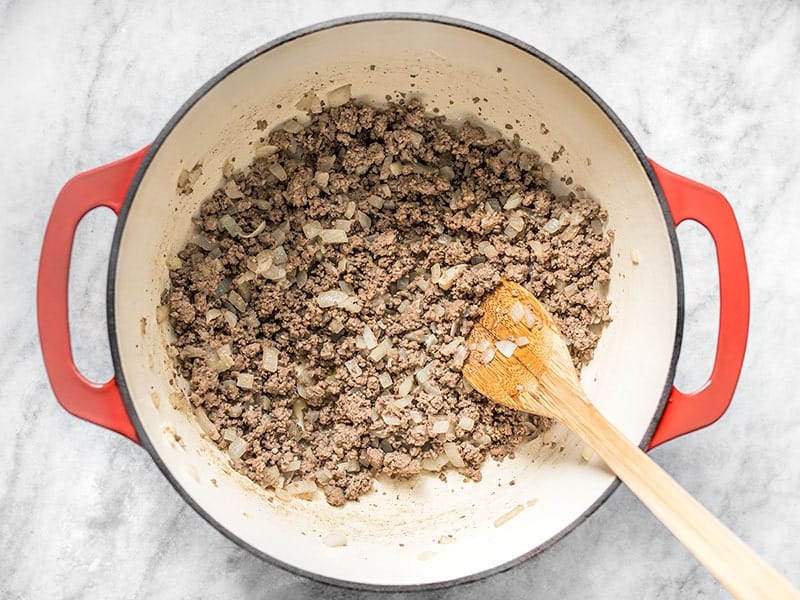
Add one pound of ground beef and continue to cook until it is fully browned.
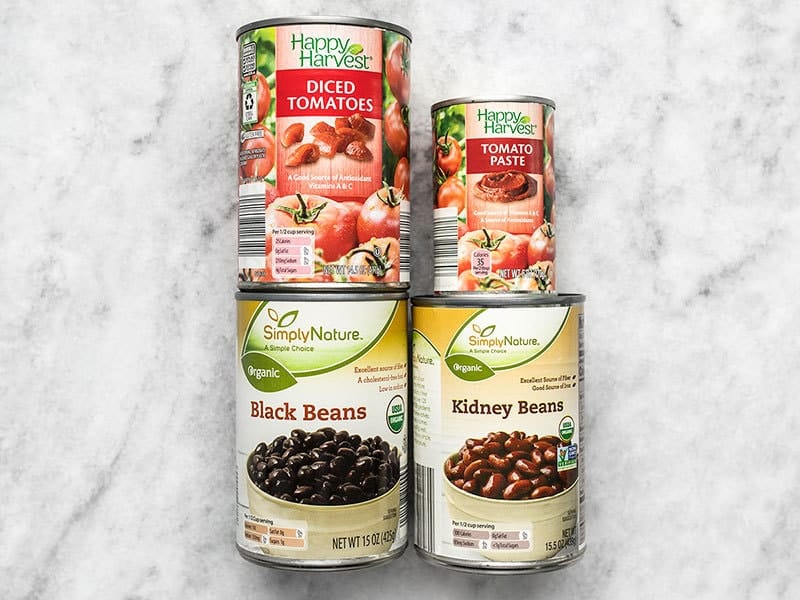
Drain a 15oz. can each of black beans and kidney beans and add them to the pot along with a 15oz. can diced tomatoes, a 6oz. can of tomato paste, and one cup of water.
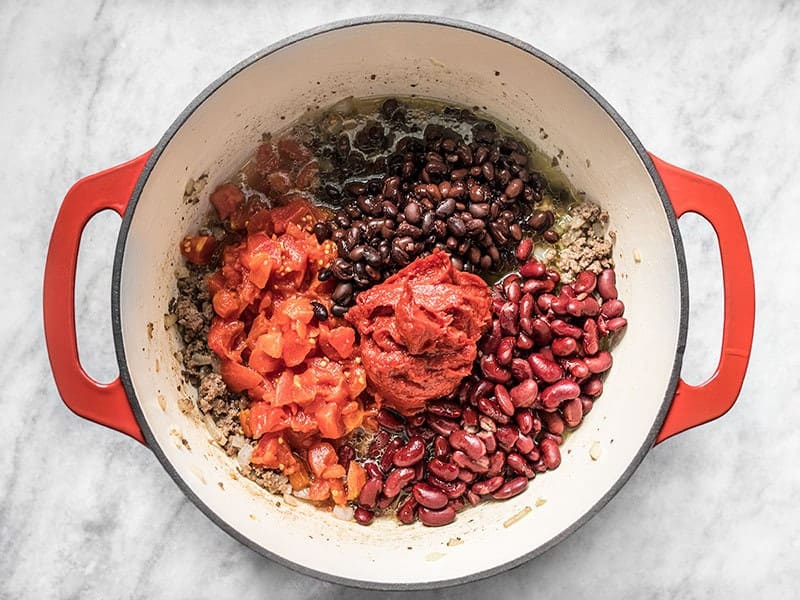
Stir that all together until the tomato paste is well incorporated. Doesn’t look like much yet, but just wait…
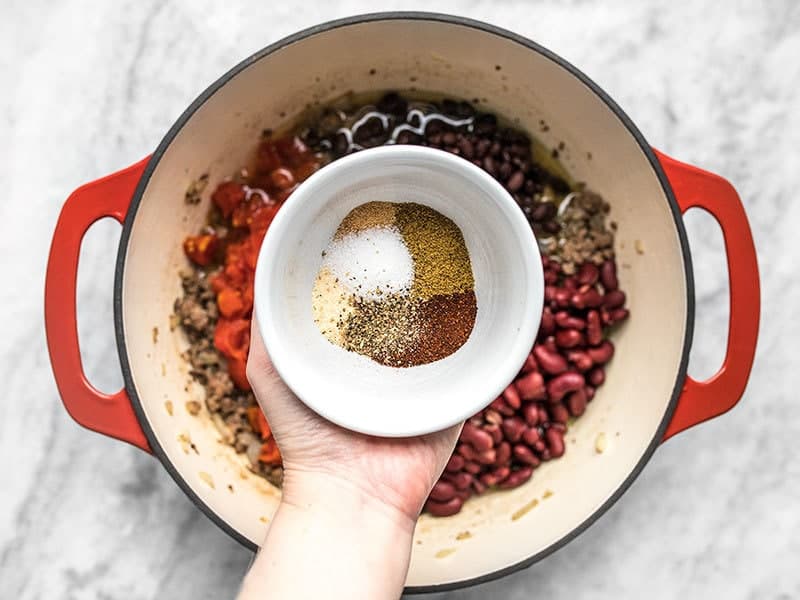
Add the chili spices to the pot of chili. I used my recipe for Homemade Chili Seasoning, plus a little brown sugar. 1 Tbsp chili powder, 1 tsp cumin, 1/4 tsp cayenne, 1/4 tsp garlic powder, 1/2 tsp onion powder, 1 tsp salt, 1/2 tsp pepper, and 1/2 Tbsp brown sugar. If you don’t have all the ingredients to make your own chili seasoning, you can add a store bought packet of chili seasoning at this point.
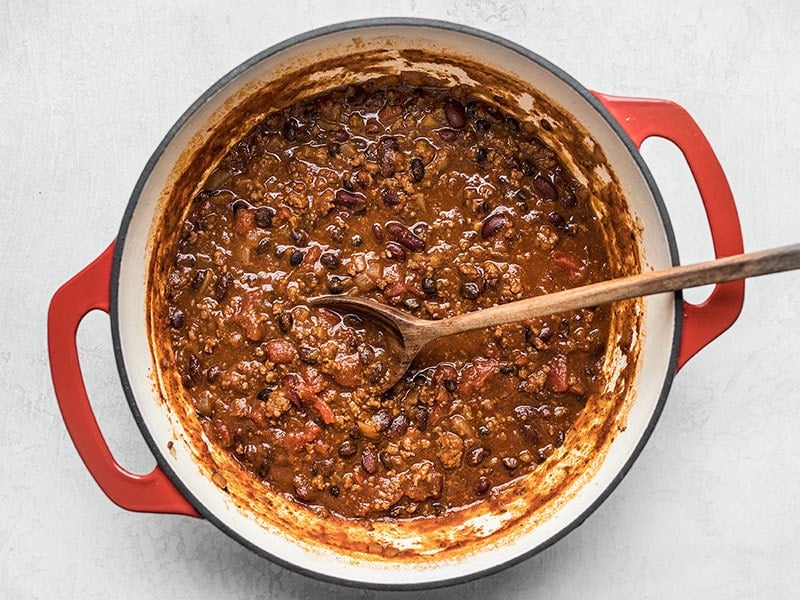
Let the pot simmer for at least 30 minutes over low heat with a lid on top to allow the flavors to blend and for the natural sugars in the tomatoes to caramelize, which reduces the acidity. If you have time, let it simmer longer. Now your “basic” chili is done!
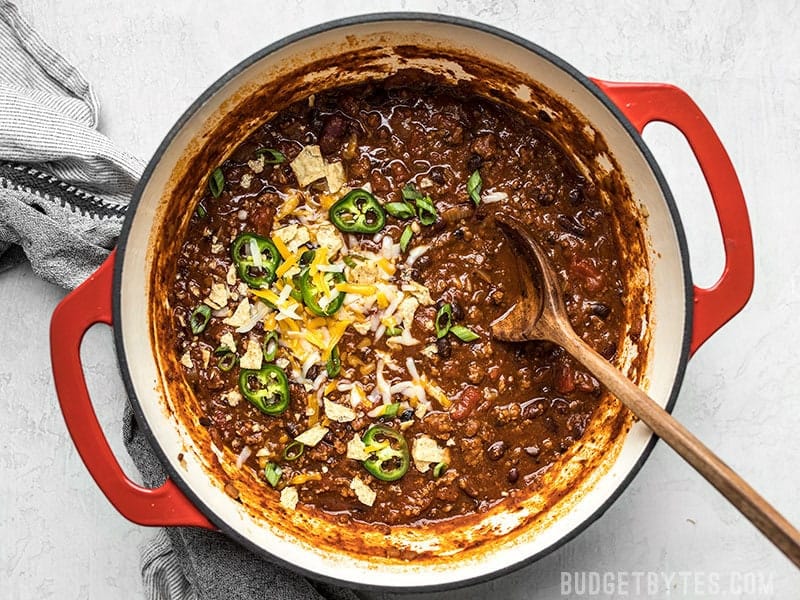
How easy was that? Now go crazy with the toppings. Look in your fridge for leftovers and see what fun things you can use to top your basic chili to make it not so basic anymore.

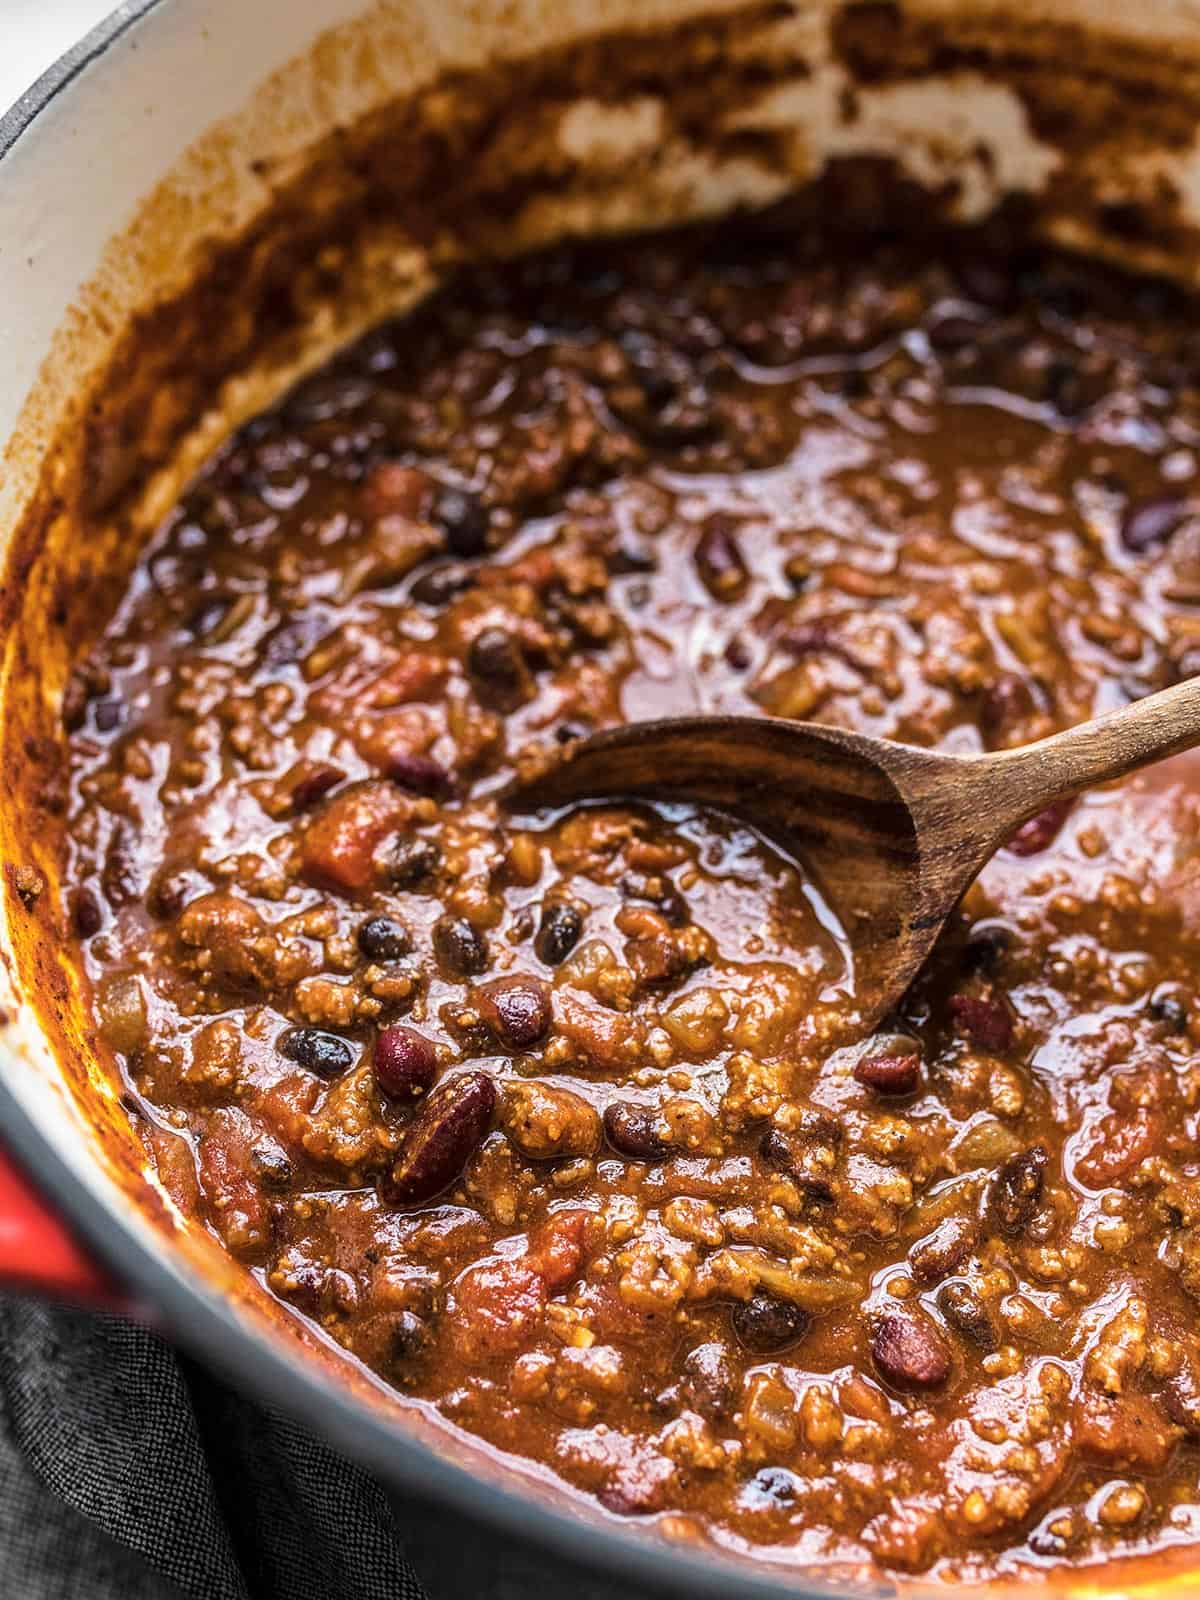


I like
Served this Christmas Eve – Chili Build-up! Only 1 cup left at the end of the night! I added a little more cumin and brown sugar. Yummm!
I’ve had memory issues lately. Couldn’t remember how I used to make chili in a crockpot. Pulled your recipe up and it was almost like what I used to make. I took your suggestion about adding beef broth and subtracted brown sugar. (Making it for a Diabetic)… it turned out wonderful…so much flavor…. thank you for sharing your recipe.. You really got me out of a bind.
Can’t remember if I’ve posted a glowing comment about this recipe but I love it. A great way to enhance this recipe is make giant corn muffins with a deep cup silicone muffin tray and put the top half of the muffin on top of your bowl of chilli. Its a lazy, delicious pot-pie like chili bowl.
My favorite simple chili recipe! I vary the beans based on what’s in my pantry. It comes together quickly, and sometimes I double it. It reheats and also freezes beautifully.
THANKS FOR RECIPE. IT SOUNDS DELICIOUS.
This recipe is the best chili recipe and so versatile! Read the entire recipe and you’ll see what I mean. I’ve made this many ways for many years and my family loves it whether I use ground beef, chicken, or even meat substitute (Yves Veggie “veggie ground round”). I’ve even done it without any meat and just put in more vegetables and beans and was still a hit. Thanks Budget Bites!
Could I cook this in my slow cooker?
Yes, but you’d want to cook the ground beef first and you could probably skip the 1 cup of additional water.
Hi. I, curious when you got your food prices? This is Oct 2023 in GA and prices are sky high now. 😳
Unfortunately, grocery prices change on a day to day basis, from region to region, and even from store to store, so there will never be one price that is accurate for everyone. The prices displayed are the prices we paid at the time of making thee recipe, often from either ALDI or Kroger. You can read more about how we calculate prices and why we do it this way in our blog post about how to calculate recipe costs.
I love this recipe! I only made a few changes, none of them drastic: I used pinto beans instead of black beans, and added a couple teaspoons of cocoa powder to the seasoning mix. Also I added the seasoning right after the meat finished browning, to bloom the spices a bit, then added the tomato paste to fry it a little and deepen the flavor, then added the rest of the ingredients after that.
I want to use the starchy water from the bean cans, but it would have made the chili way too salty. Next time I’ll try to go low-sodium or no-salt-added on the canned ingredients so I can use that nice bean water and still keep the salt level under control.
All that said, I’m sure following this recipe exactly as written would make an excellent chili. I’m just trying to make it my own!
Just made this and it was amazing!! The only change I made was to use canned stewed tomatoes instead of diced tomatoes since that’s all I had. Was going to omit the brown sugar but glad I didn’t!!
This was delicious. I don’t love black beans, so used pintos instead. Also added a bit of worcestershire and let it cook for about an hour or so. My parents (in their 70s) who typically eat like birds even had seconds! A big hit!
I make your Weeknight Black Bean Chili from memory and I love it. I’m looking to make a ground beef chili, too. However, in the Weeknight recipe, you don’t advise draining the cans of beans, but here you do. Any input about not draining the beans and using the canned liquid in this recipe, too?
It’s really just up to your personal preference. :) If you use the liquid from the can instead of water it will be super thick, especially with the amount of tomato paste used in this recipe. Draining and using water kind of gives the flavor a more crisp profile, if that makes sense.
Update- just made for supper and this recipe is fantastic! Thank you again for another great recipe. I probably simmer for about 1 and half hours and the flavours really popped- this will be my go to from now on- did the veg chopping the night before and mixed the spices last night too and put in little container/ it came together so quickly!
Thanks for this- thawing a pound of ground beef now and will make for supper tomorrow! Appreciate all the little tips you give in the description :)