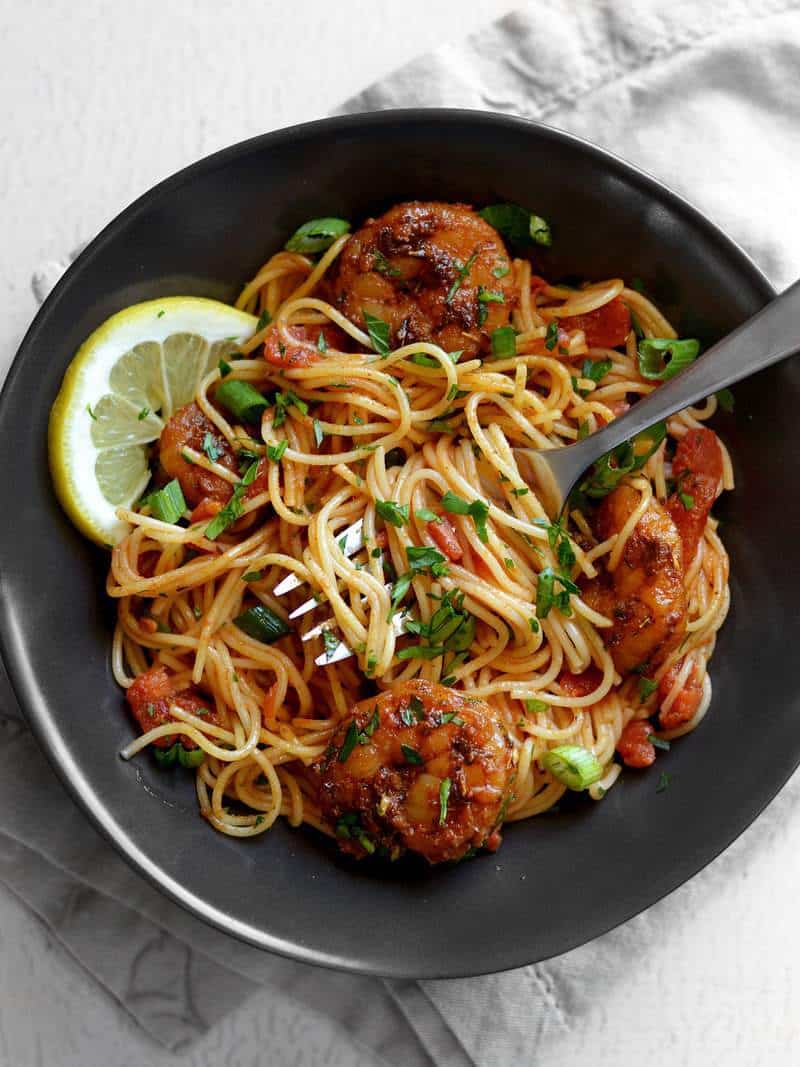
I have such a weird relationship with shrimp. Most of the time I don’t like it, then suddenly, out of the blue, I get this really intense craving for it and I’m all like, “Who are you and where did you come from?” Well, when that craving hit last week, I whipped up this super fast and easy Blackened Shrimp Pasta, featuring a homemade blackened seasoning mix. If you want BIG flavor without a lot of work, this pasta is your answer.
This post contains some affiliate links, which means that we make a small commission off items you purchase at no additional cost to you.
Should I Use Fresh or Frozen Shrimp?
Fresh shrimp is always best, but for most people frozen is going to be the most readily available and cost effective. Either will work for this recipe. Frozen shrimp thaws quickly when placed in a colander with cool water running over it.
What Size Shrimp is Best for Blackened Shrimp Pasta?
When buying shrimp you’ll notice some numbers on the package (mine said 25/35), which refer to the size, or the number of shrimp per pound. The smaller the number, the larger the shrimp. I used 25/35 because that’s what was available that day, but I think I would have preferred to use 31/45 so that I could get more pieces and more shrimp per bite in my pasta.
Larger shrimp are prettier, of course, but since I was being budget conscious and only used 1/2 lb. shrimp, more pieces would have distributed the shrimp throughout the pasta better.
What Type of Pasta Should I Use?
I had angel hair pasta in my pantry, so I went ahead and used that, but this dish would work equally as well with just about any other shape of pasta. I think bowtie would be nice, as would penne, or fettuccine. The pasta is just the vehicle for the amazing spices and shrimp essence in this Blackened Shrimp Pasta, so the shape doesn’t matter so much. :)
Is This Blackened Shrimp Pasta Spicy?
I would call this shrimp pasta “medium” spicy, but sensitivity to heat does vary from person to person. I used a homemade Cajun Seasoning Blend in this recipe, which allows you to adjust the heat to your liking. If you want it less spicy, reduce the cayenne pepper by half. If you want it more spicy, add more cayenne pepper.
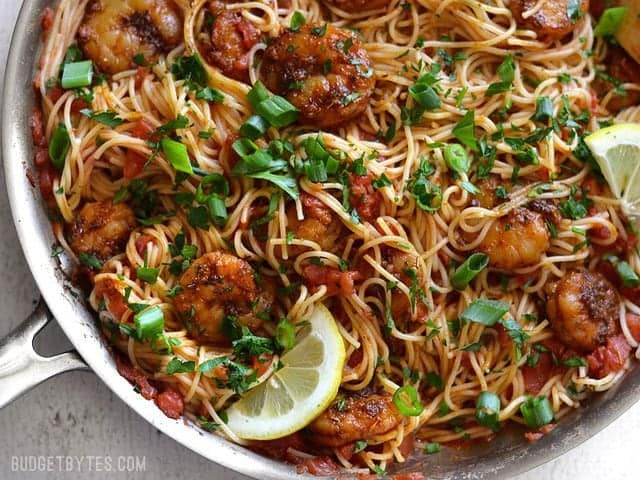
Blackened Shrimp Pasta
Ingredients
BLACKENING SEASONING
- 1 Tbsp smoked paprika ($0.30)
- 1 tsp thyme ($0.10)
- 1 tsp oregano ($0.10)
- 1/2 tsp cumin ($0.05)
- 1/4 tsp cayenne pepper ($0.03)
- 1/4 tsp garlic powder ($0.03)
- 1/4 tsp onion powder ($0.03)
- 1/4 tsp salt ($0.02)
- Freshly cracked pepper ($0.05)
SHRIMP PASTA
- 1/2 lb peeled and deveigned shrimp ($4.31)
- 2 Tbsp butter ($0.25)
- 2 cloves garlic ($0.16)
- 15 oz can petite diced tomatoes ($1.09)
- 1/4 tsp salt ($0.02)
- 1/2 lb pasta ($0.50)
- 2-3 green onions, sliced ($0.17)
- Handful fresh parsley ($0.20)
- 1 lemon ($0.69)
Instructions
- In a small bowl, combine the herbs and spices for the blackening seasoning. Rinse the shrimp under cool water, drain, and then pat dry with a paper towel. Sprinkle the blackening seasoning over the shrimp and stir to coat.
- Bring a large pot of water to a boil for the pasta. Once boiling, add the pasta and cook until tender (7-10 minutes). Reserve about 1 cup of the starchy pasta water, then drain the pasta in a colander.
- While the pasta is cooking, mince the garlic and add it to a large skillet with the butter. Heat the butter and garlic over a medium flame until the butter starts to foam and sizzle. Continue to sauté the garlic in the sizzling butter for about one minute. Add the shrimp and sauté until they are opaque and slightly firm (3-5 minutes), then remove them from the skillet.
- Add the diced tomatoes (with juices) and about 1/2 cup of the pasta water to the skillet. Stir and cook over medium heat, dissolving the browned bits from the bottom of the skillet. Let the sauce simmer for 5-10 minutes, or until thickened slightly. Taste the sauce and add salt if needed (I added 1/4 tsp salt).
- Add the cooked and drained pasta to the skillet and toss with the sauce (add some of the remaining reserved pasta water, if needed, to loosen the pasta). Return the shrimp to the skillet and stir to combine.
- Slice the green onions and chop the parsley leaves. Sprinkle both over top. Serve with sliced lemon to squeeze over top.
See how we calculate recipe costs here.
Notes
Nutrition
Video
Want more shrimp recipes? Check out our Shrimp Recipe Archives!
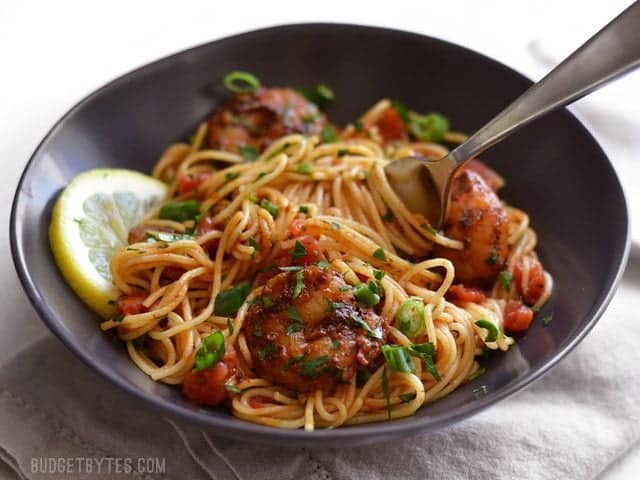
How to Make Blackened Shrimp Pasta – Step by Step Photos
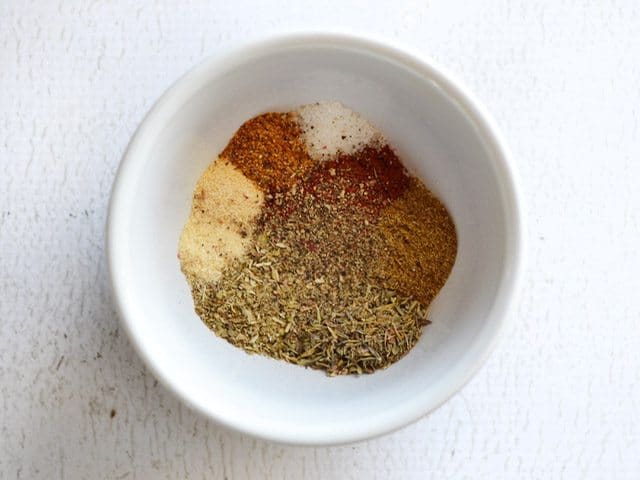
Begin by preparing the blackening seasoning – In a small bowl stir together 1 Tbsp smoked paprika, 1 tsp thyme, 1 tsp oregano, 1/2 tsp cumin, 1/4 tsp cayenne pepper, 1/4 tsp garlic powder, 1/4 tsp onion powder, 1/4 tsp salt, and some freshly cracked pepper (about 20 cranks of a pepper mill).
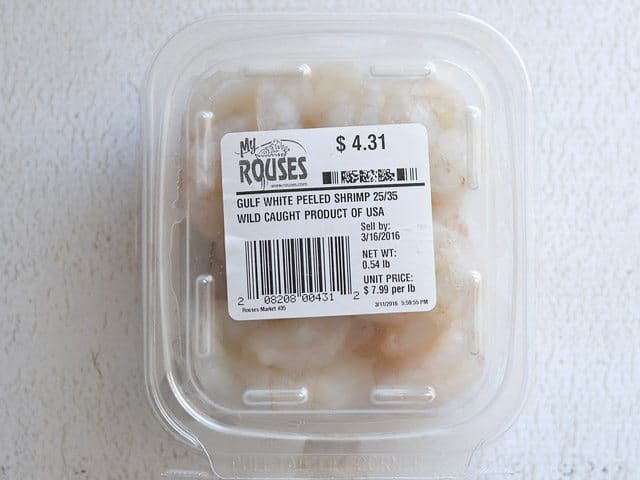
Rinse 1/2 lb. peeled and deveined shrimp under cool water, let them drain, then pat dry with a paper towel (that helps the seasoning stick). I used 25/35 size shrimp, but I think a 31/45 might have been even better. Smaller pieces means more pieces throughout the pasta.
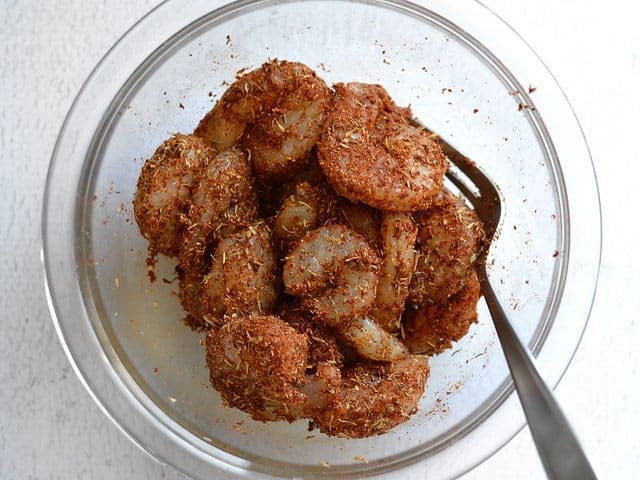
Pour the prepared seasoning over the shrimp and stir until they’re well coated.
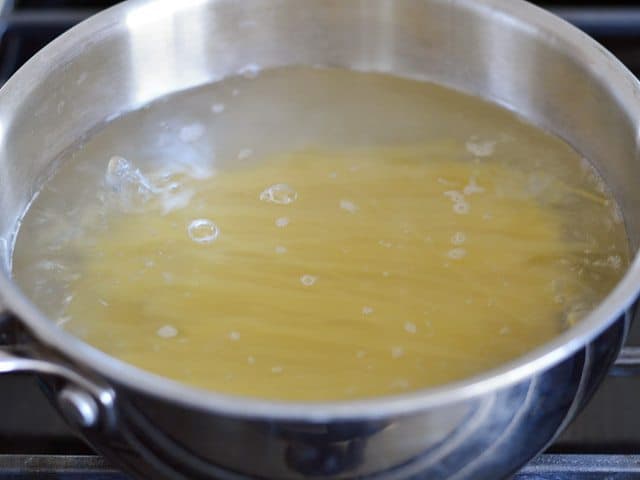
Bring a pot of water to a boil for the pasta. Once boiling, add 1/2 lb. pasta and cook until tender. Reserve about one cup of the starchy water before draining the pasta in a colander. I used angel hair pasta, but you could use just about any shape for this dish. When using a long pasta, like spaghetti or angel hair, I find it helps to break it in half before cooking. It makes stirring in large pieces, like shrimp or diced tomatoes, a LOT easier.
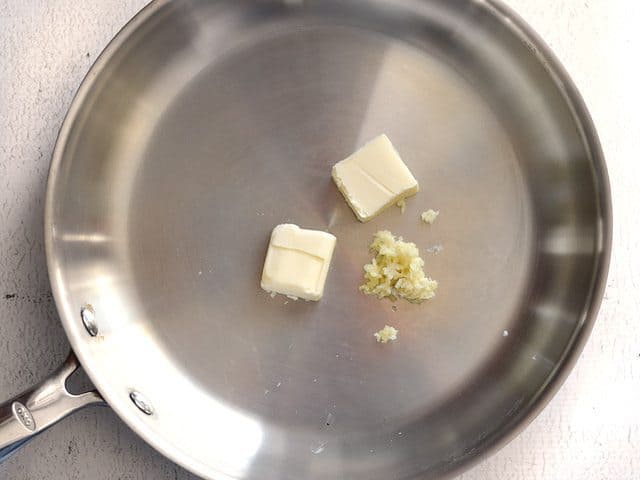
While the pasta is cooking, get started on the shrimp and sauce. Mince two cloves of garlic and add them to a large skillet with 2 Tbsp butter. You really do need to use butter for this recipe to get that authentic “blackened” flavor. Heat the butter and garlic over medium heat until it starts to foam and sizzle, then continue to sauté for about a minute to cook out the raw garlic flavor.
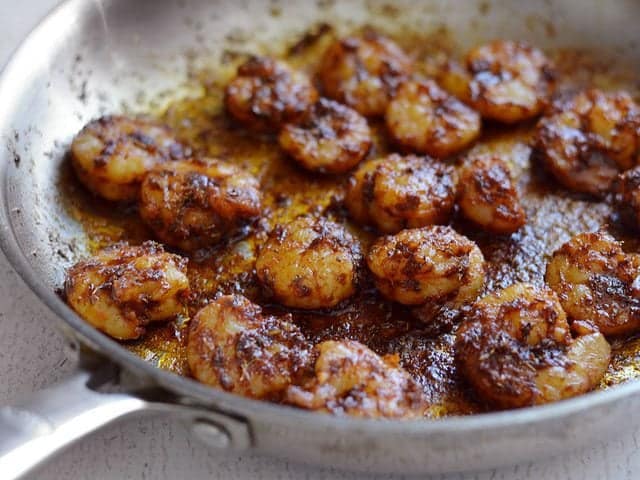
Next, add the seasoned shrimp and continue to sauté until the shrimp are opaque and slightly firm. Shrimp cook very fast, so this should only take about 3-5 minutes depending on the size of your shrimp. It’s important not to over cook the shrimp because the longer you let shrimp sit on the heat, the more the proteins contract, and the more firm and rubbery they become. So, remove them from the skillet as soon as they turn opaque and firm up.
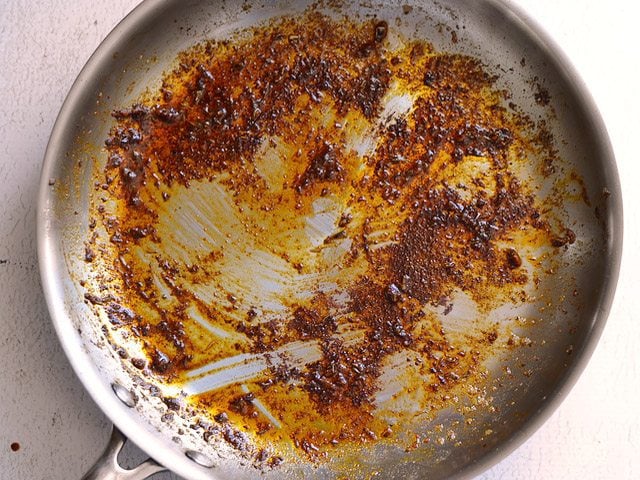
Now you’ve got all these fantastic browned butter and seasoning drippings stuck to the skillet. We NEED that flavor, so we’ll be deglazing the skillet…
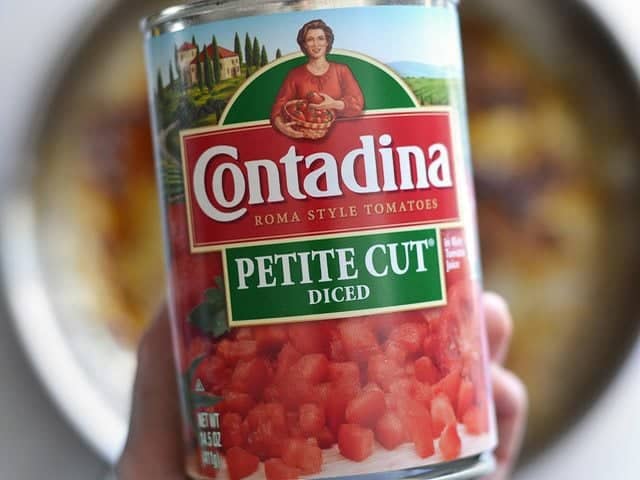
Add a 15oz. can of petite diced tomatoes (with the juices) and about 1/2 cup of that starchy pasta cooking water. Stir to dissolve that good stuff off the skillet. Fire roasted diced tomatoes would also be awesome with this, but I don’t think anyone makes them in a petite dice, so you’ll have larger tomato pieces.
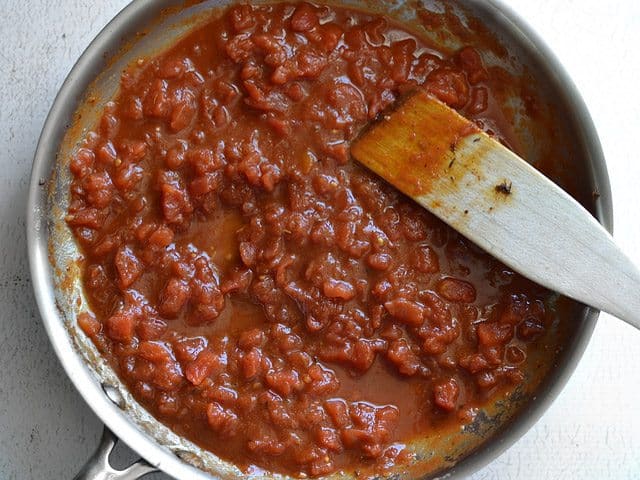
Let the sauce simmer for a few minutes to reduce and thicken. Taste the sauce and add a little salt if needed (I added 1/4 tsp salt).
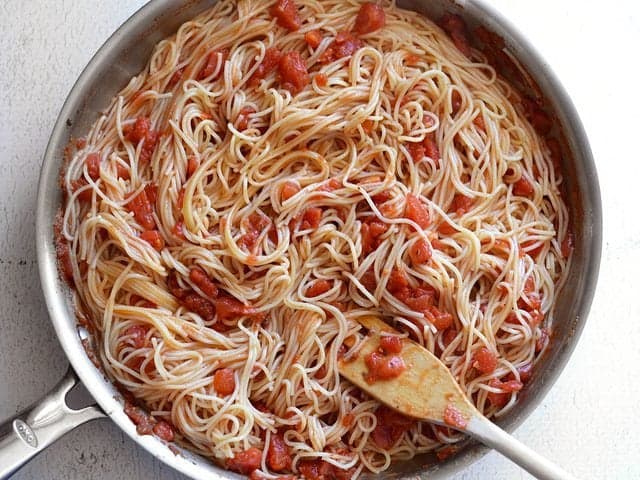
Add the cooked and drained pasta to the skillet and toss until it’s coated with the sauce. Add a little bit more of the reserved pasta water, if needed, to help loosen the pasta (but don’t add a lot or you’ll thin out the sauce too much).
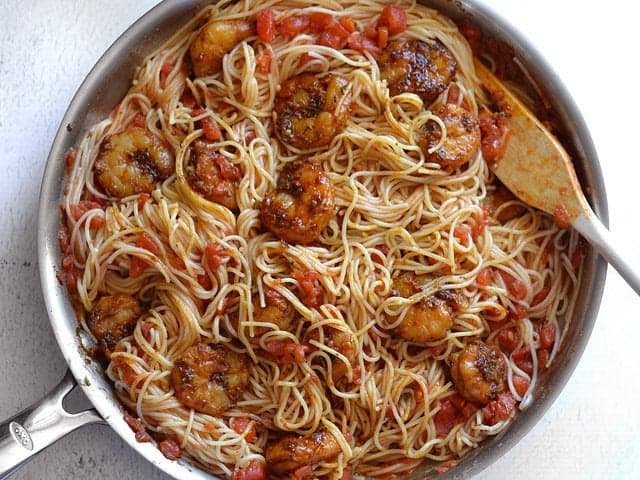
Finally, return the cooked shrimp to the skillet and stir to combine with the pasta and sauce.
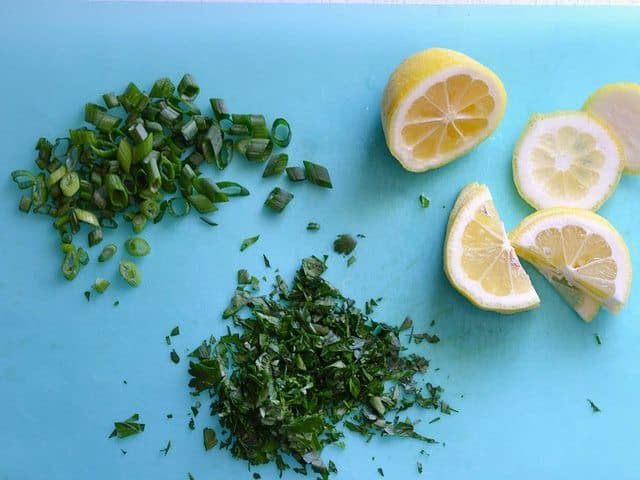
Slice a couple green onions, chop a handful of parsley leaves, and slice a lemon.
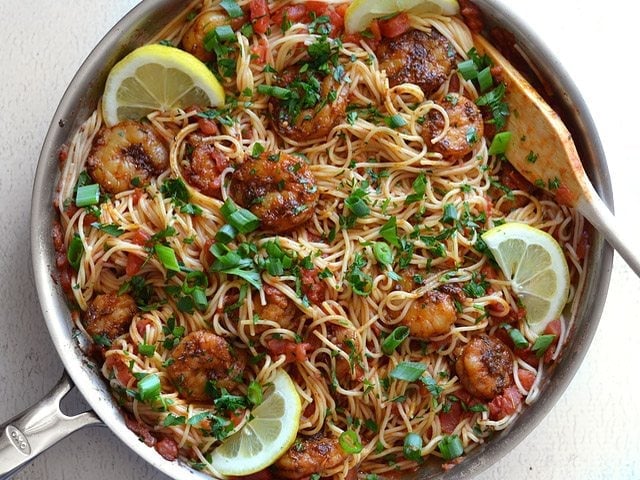
Sprinkle the parsley and green onions over the pasta and serve with the lemon slices.
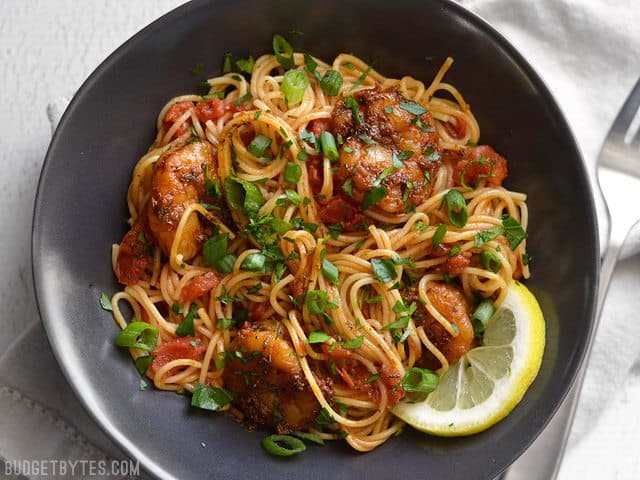
Wowza, that Blackened Shrimp Pasta is NOT foolin’ around.
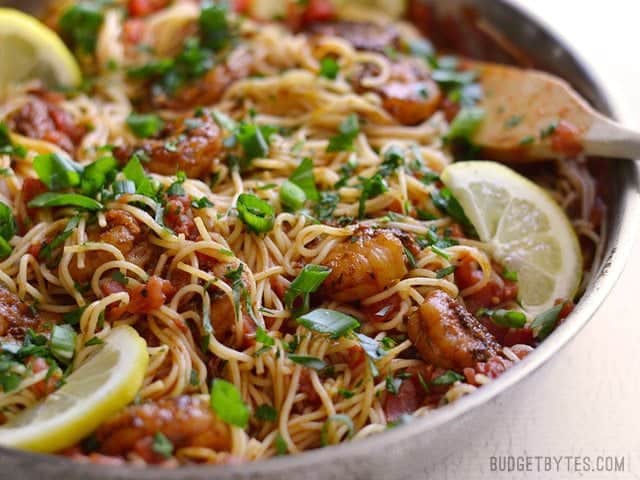


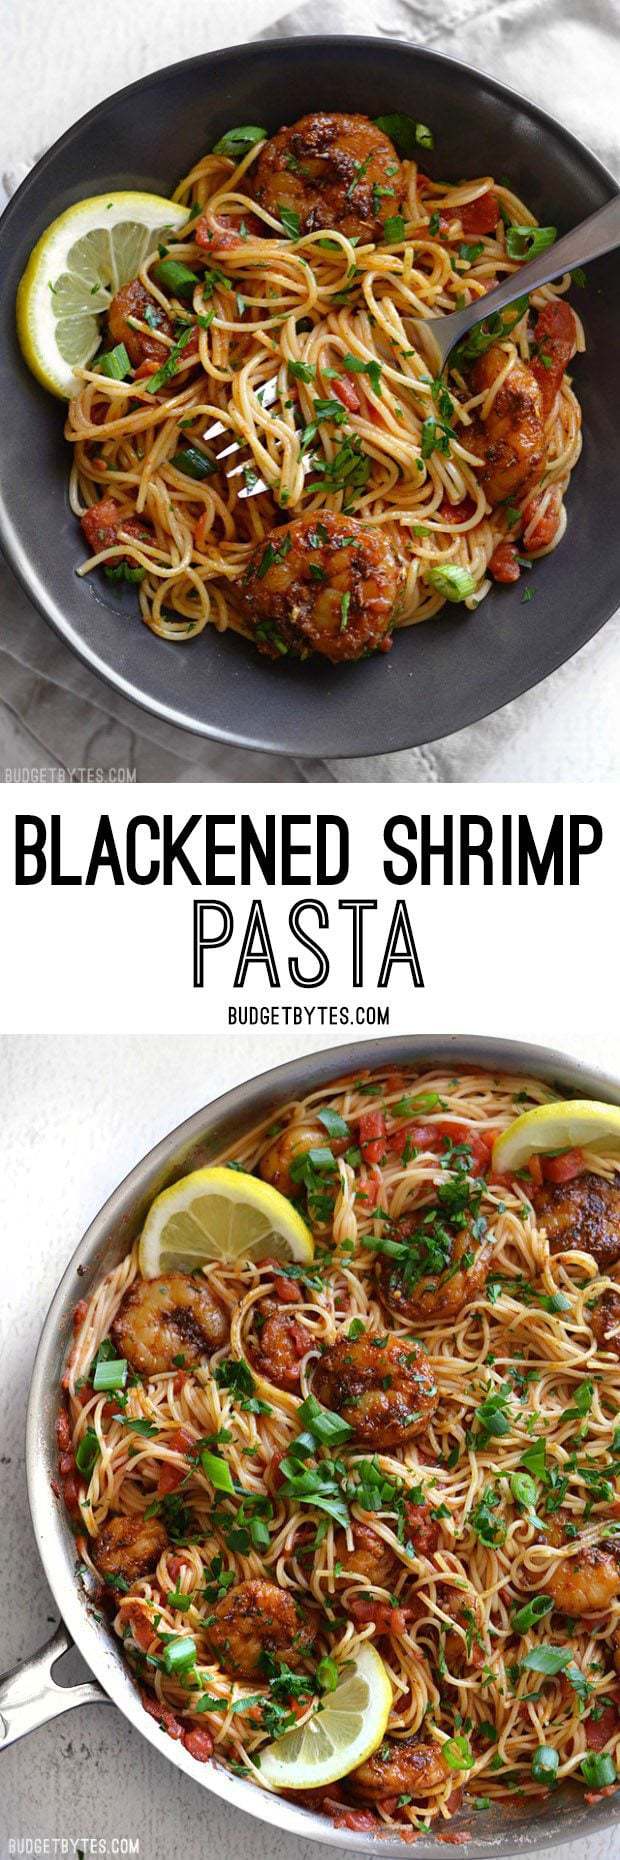
This was delish. My store only had 71/90 size, which seemed just right. I used just shy of the 1/4 teaspoon of cayenne, and it gave it enough kick for me but not too much to make my kids cry. In fact, they gobbled it up sans shrimp, which is an amazing feat. I think next time I will use a full pound of shrimp to up the protein.
Looking at the frozen shrimp packages at the store (no fresh here in central midwest), and the labels say “peeled, deveined AND with tails”. Do I need to remove the tails?
Am SO looking forward to making this. Thanks Beth!
You can leave the tails on while they cook (it will be quite pretty), but eat around them. They have a hard texture, like fish scales.
Can I substitute scallops instead of shrimp?
I bet that would be really delicious!
Just made it and it’s mui delicioso ! The cayenne pepper adds just the right kick; I feel like I’m eating at a fancy restaurant. I used spaghetti made from chick peas and aduki beans by Explore Asian, and it worked really well! It gives a more firm pasta if you like that, and adds 20 grams of protein and 15 grams of fiber for an even healthier twist!! :).
http://www.tinyecospa.com
YESSS. I made this tonight, and it’s going in the permanent rotation! I was faithful to the recipe as written except for subbing zucchini noodles because I need to cool it with the carbs (with 1/4 C veg broth in lieu of the pasta water). Oh, and I flaked out and forgot the lemon at the end. My husband and I both thought it was delicious, though, and my kitchen smells wonnnderful right now from all the spices.
Looks like another winner (there’s nothing I don’t like here)! I’m a bit confused, though, as I thought “blackened” meant a red-hot cast iron skillet and, therefore, a quick sear (and the smoke that a previous commenter wants to avoid).
I agree about the smaller shrimp…smaller everything, in fact. That way you’re more likely to get a piece of everything in each bite. Last time I got a bag of frozen shrimp, though, there was only one size. Now, the stores with service fish counters usually have different sizes, which are previously frozen. Well, southern California…you’d expect to be able to get almost anything!
Made this tonight and my family really enjoyed it! :) Thanks for all your great recipes. (Plus, it was nice that I had almost all of these ingredients at hand already!)
One quick question: when I’m making your pasta dishes, I sometimes substitute fresh diced tomatoes for a can of diced tomatoes, if that’s what I have on hand. In this case, I doubled everything and used some fresh tomatoes with one can of diced tomatoes. Usually, when I do this, it ends up being a little watery. Is there anything I could add/modify to keep it saucy instead of watery?
Interesting, I would have guessed the canned tomatoes to be the more watery than the fresh! In either case, you can simmer the tomatoes in the skillet before adding the pasta until the liquid reduced a bit. That will also concentrate the flavors and probably make it extra delicious. ;)
I made this last night and everyone loved it. Since Rouses had a special on fresh caught shrimp, I used those and wound up with 12 oz when I pulled off the heads and peeled them. That proportion wound up being about perfect for my shrimp loving family. I also subbed a leftover lime for the lemon with good results. This is a keeper!
This looks like an awesome weeknight dinner! I always keep shrimp in the freezer because it thaws so fast. Thanks!
SO good! Fantastic recipe!
Do you buy your parsley in smaller amounts than a full bunch? I always feel like when I buy parsley I end up having to throw a lot of it out.
No, but I find that it usually stays good in my fridge for a couple weeks because it’s kind of sturdy (more so than cilantro, anyway). I just try to add it to whatever I can throughout the week. :)
I store my cilantro in a Mason jar, as discussed in the following The Kitchn how-to. I can keep it for a couple weeks this way! Perhaps this method would work for parsley too?
http://www.thekitchn.com/which-method-keeps-your-cilantro-fresher-longer-175001
I find that the life span my parsley and cilantro varies widely from bunch to bunch, so I suspect it depends on the state they were in when I bought them (not much control over that!). I tried the jar/bag thing once and it was dead the next day, while sometimes when I just keep it in the plastic produce bag with no special treatment it lasts almost two weeks! LOL
I chop my parlsley and then freeze it in a container. Works great in recipes!
I just made this, it’s no good. I basically followed the recipe but I just swapped the shrimp with sausage, the tomatoes with a big dollop of ketchup and used scrambled egg instead of pasta. Instead of green onion I used some mushy celery from Christmas.
Just kidding it was great and it’s been added to my sordid ‘woo the ladies’ repertoire. If it’s effective I’ll even name my kid after you – “Budget Byte Oliver” has a nice ring to it.
Hahahaha I started laughing out loud as I read the first paragraph and was so relieved when I got to the second one (because I HAVE had serious reviews like that). :) Thanks for the good laugh and I’m glad you liked it!
Sorry to post again, but these blackened shrimp will also make a terrific version of shrimp and grits–just saute a few of the usual suspects (onion, garlic, bell pepper, chopped tomato, etc), toss in the blackened shrimp for a few seconds to combine, and serve over some cheesy grits.
My husband and I LOVE blackened sea food, but there is no way I would smoke up my house with it. I do have a gas grill right outside my kitchen and wanted to pass along this little trick. I remove the grills and put a cast iron skillet upside down on the “coals” This lets the skillet get super hot. I spray the bottom surface with some cooking spray and blacken away! The reason for inverting the skillet is so that you don’t burn yourself on the sides of the pan. Don’t touch the pan until the whole grill cools off. You will need to grease the inside of the pan before using for another purpose as the intense heat burns away most of the existing residue.
I tried this last night and really enjoyed it! I added in some white wine and was pleasantly surprised at how well the flavors worked together. Adding this to my long list of Budget Bytes favorites – thank you! :)