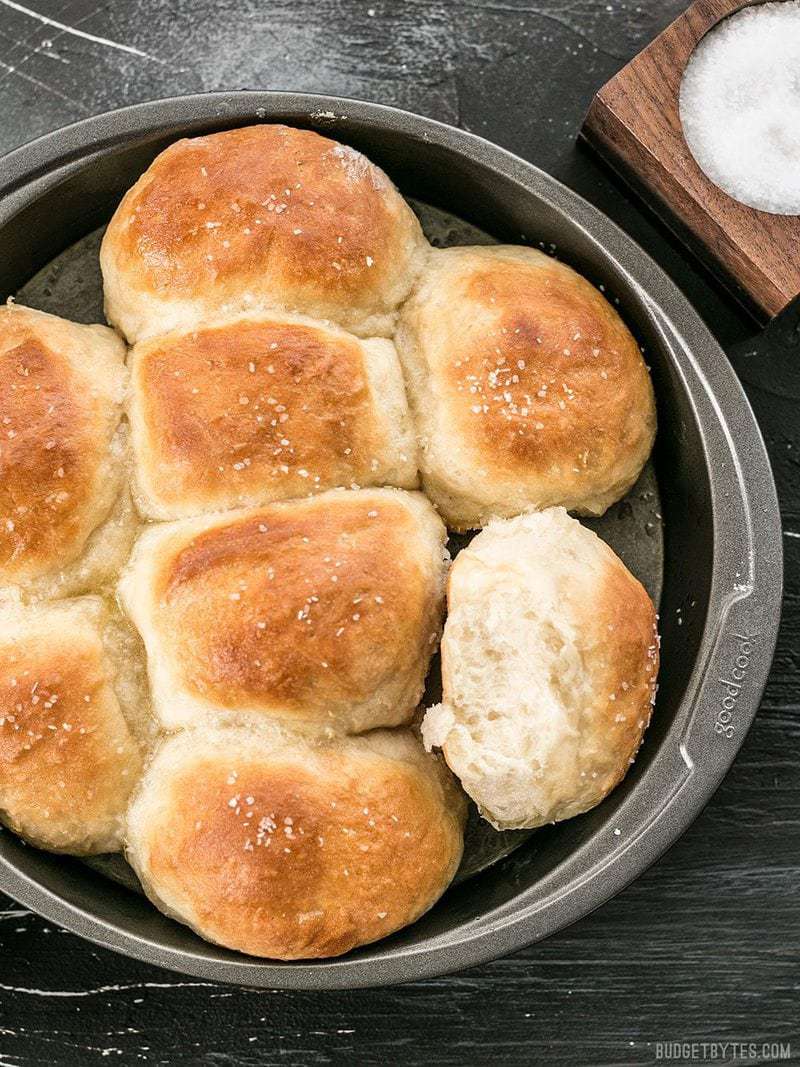
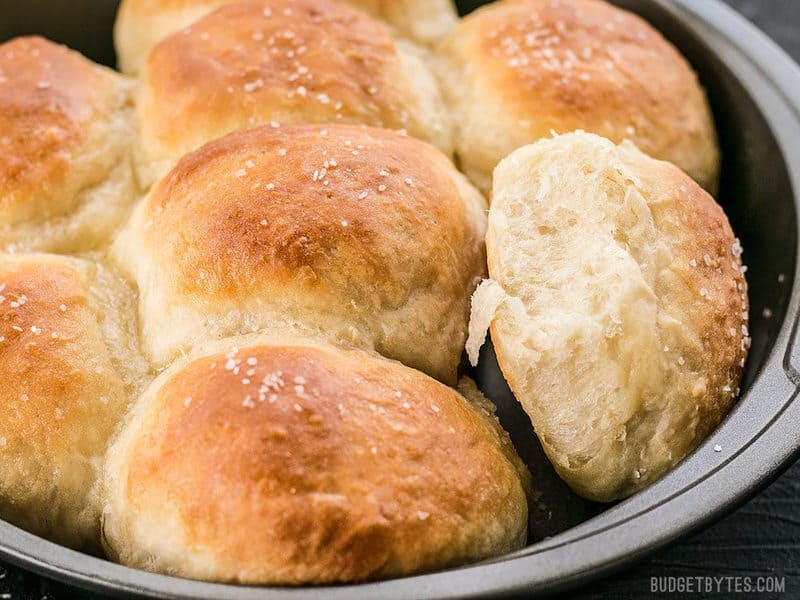
Bread lovers beware! These Buttermilk Pull-Apart Rolls are dangerously delicious and slightly addictive. These rolls come to you courtesy of my friend Alexandra Stafford of Alexandra’s Kitchen and her new book, Bread Toast Crumbs. I met Alexandra last year at the Saveur Blog Awards and have been so impressed with her blog, recipes, and photographs ever since. I was beyond happy when she gave me permission to share one of the recipes from her book with you, but I have to admit, it took a few hours of pouring over this delicious book before I could decide which recipe to share!
This post contains some affiliate links, which means that we make a small commission off items you purchase at no additional cost to you.
About the Book, Bread Toast Crumbs
To give you a little background, the entire book Bread Toast Crumbs is designed around one simple recipe for no-knead peasant bread that Alexandra’s mother prepared with almost every meal. The first section of the book, Bread, provides several tasty variations on the simple peasant bread, including things like Brioche, Oatmeal-Maple Bread, Whole-Wheat Sandwich Bread, Pumpkin Harvest Bread, and even an Gluten-Free Peasant Bread.
The second section, Toast, features recipes that utilized the already baked bread, like Vinaigrette Toasts with Soft-Boiled Eggs (you know I’m going to make that one!), Cabbage Soup with Gruyère Toasts, and Grilled Chocolate and Crème Fraîche Sandwiches.

The last section of the book, Crumbs, features recipe where you can put your leftover bread into use, like Panzanella (three ways), Green Gazpacho with Tomato Salsa, Baked Pasta with Mushrooms, Fontina, and Crumbs, or Brioche Bread Pudding. The message is simple: homemade bread is easy and versatile, so don’t waste a single crumb! The structure of this book is so creative and useful, and the flavors sophisticated yet simple. I seriously want to make every. single. recipe.
Simple Yet Incredible Rolls
Everything in this books looked so delicious, but I decided to try something simple and versatile in hopes that it would be useful to most of you. Dinner rolls sounded safe, but what I wasn’t prepared for was how incredible a simple dinner roll could be. Despite using a no-knead dough, these Buttermilk Pull-Apart Rolls are extremely light and delicate. The extraordinary texture almost reminds me of a potato roll or Hawaiian roll. I’ve never seen a no-knead recipe produce something so light and airy. I was sincerely blown away. You simply have to try them.
Note: The recipe in the book yields two pans of 10-12 rolls each. I’ve divided the recipe in half below because the last thing I need is two pans of rolls in our house of two. ;) I also made the mistake of cutting my dough into only 8 pieces, but I definitely suggest 10-12 as they’ll fit in the pan better and be a more reasonable size.
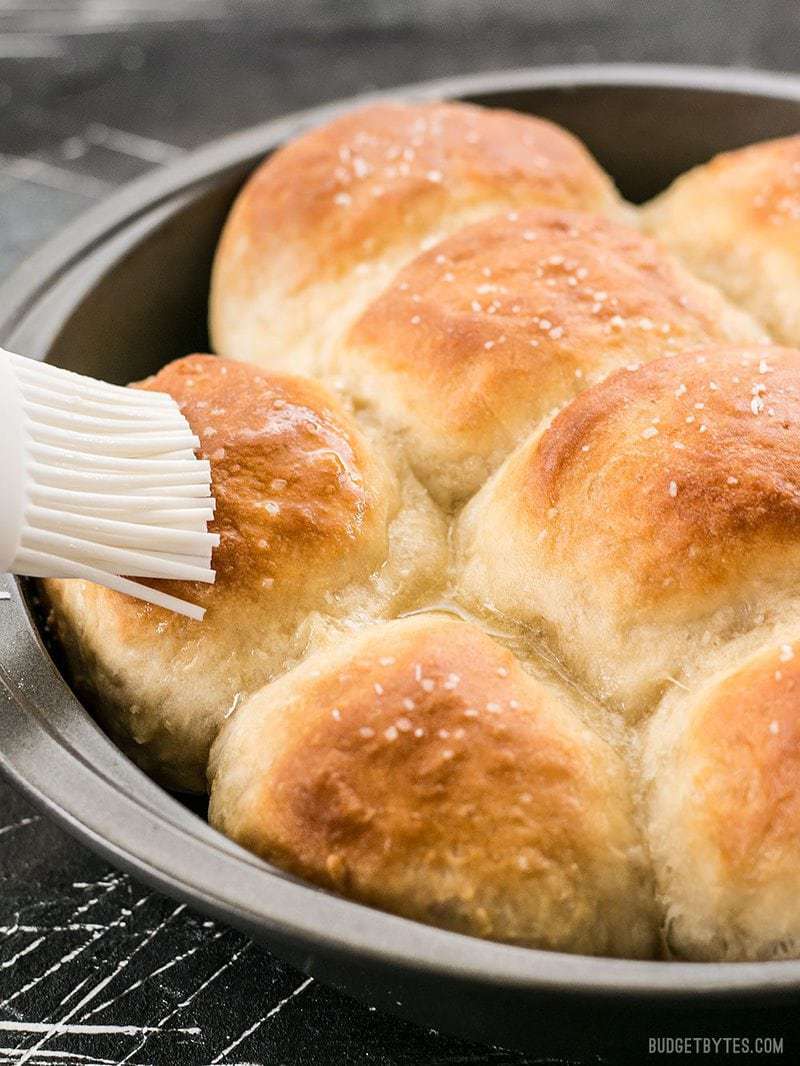
Buttermilk Pull-Apart Rolls
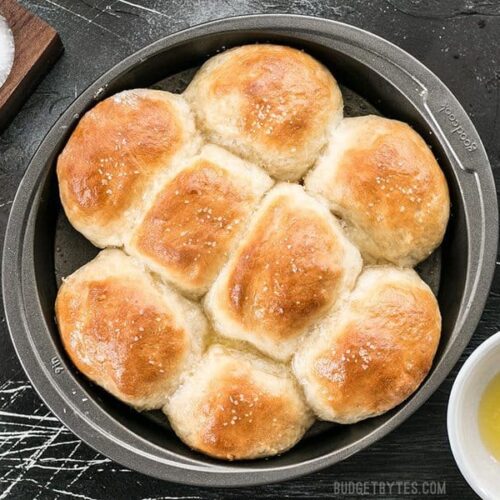
Ingredients
- 2 cups all-purpose flour ($0.12)
- 1 tsp kosher salt ($0.02)
- 1 Tbsp sugar ($0.02)
- 1 1/8 tsp instant yeast ($0.10)
- 1/2 cup boiling water ($0.00)
- 1/2 cup buttermilk* ($0.30)
- 3 Tbsp melted butter, divided ($0.40)
- Pinch of flakey salt ($0.02)
Instructions
- In a large bowl, whisk together the flour salt, sugar, and instant yeast.
- In a small bowl or liquid measuring cup, pour the boiling water over the buttermilk, stir to combine, and let cool for 10 minutes. The buttermilk may look curdled, but this is okay.
- Pour the buttermilk mixture and 2 Tbsp of the melted butter over the flour mixture. Stir until a sticky ball of dough forms. Cover the dough in the bowl with a damp tea towel or plastic wrap and set aside in a warm place for 1.5 to 2 hours, or until doubled in bulk.
- Grease an 8-inch circle or square baking dish. Using two forks, deflate the dough by releasing it from the sides of the bowl and pulling it toward the center. Rotate the bowl quarter turns as you deflate, turning the mass into a rough ball.
- Liberally flour a work surface. Use the two forks to lift the sticky ball of dough out of the bowl and onto the floured surface. Using a bench scraper or sharp knife, cut the dough into 10-12 pieces. Using well floured hands, shape each piece roughly into a circle. It’s okay if each piece is a little misshapen. Place the dough balls into the prepared pan, spacing them evenly apart.
- Begin preheating the oven to 375ºF. Let the dough rise, uncovered, for 20-25 minutes, or until the dough pieces have puffed to almost fill the pan.
- Transfer the pan to the oven and bake for 20-25 minutes, or until golden brown. Remove them from the oven and immediately brush the surfaces with the remaining 1 Tbsp melted butter. Sprinkle a pinch of flakey salt over top. Let the rolls cool in the pan for 5 minutes, then turn it out onto cooling racks and invert onto a plate. Let the bread rest for 5 minutes before serving.
See how we calculate recipe costs here.
Notes
Nutrition
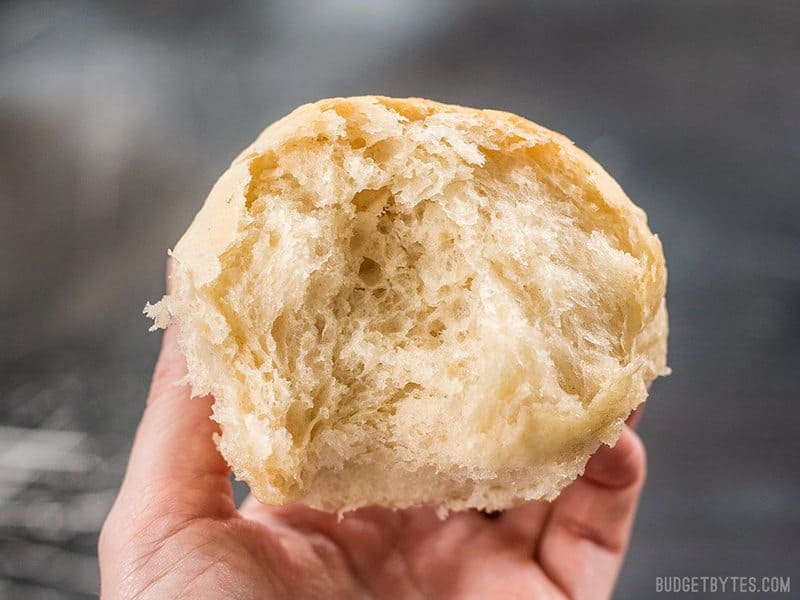
How to Make Pull-Apart Rolls – Step by Step Photos
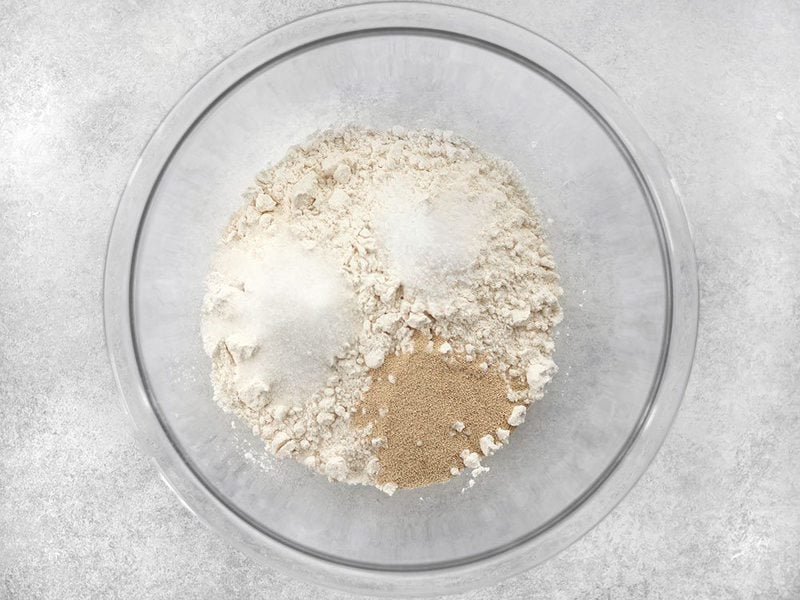
In a large bowl, stir together 2 cups all-purpose flour, 1 tsp kosher salt, 1 Tbsp sugar, and 1 1/8 tsp instant yeast. Make sure they’re very well combined.
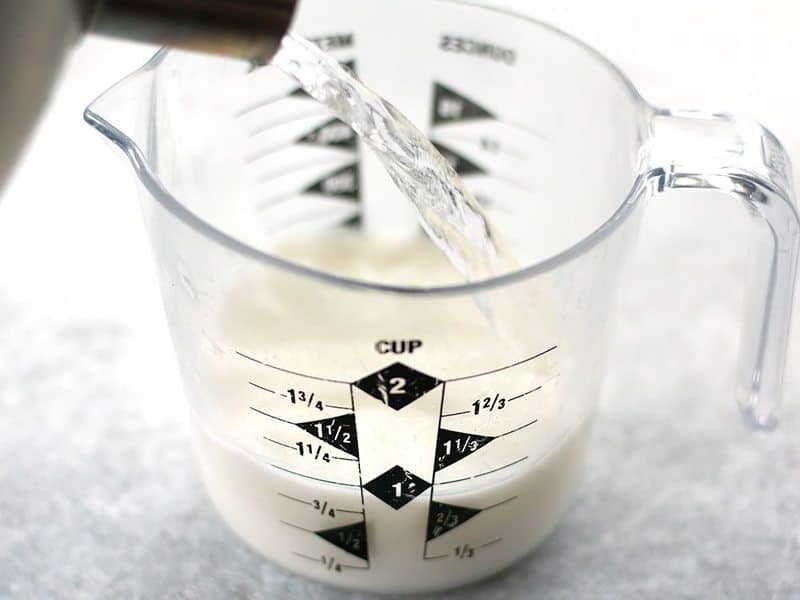
Pour 1/2 cup boiling water over 1/2 cup buttermilk, stir, and let them cool for about 10 minutes. The purpose of this step is to bring the buttermilk up to the right temperature for the yeast. She goes into a little more detail about this in the book. It works like a charm. The buttermilk might look a little curdled, but don’t worry about it. ;)
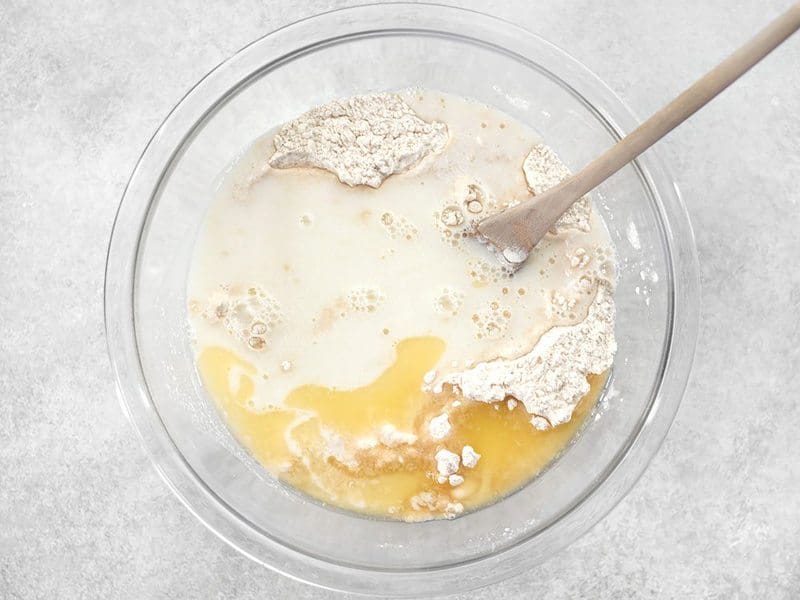
Pour the buttermilk mixture and 2 Tbsp melted butter over the flour mixture.
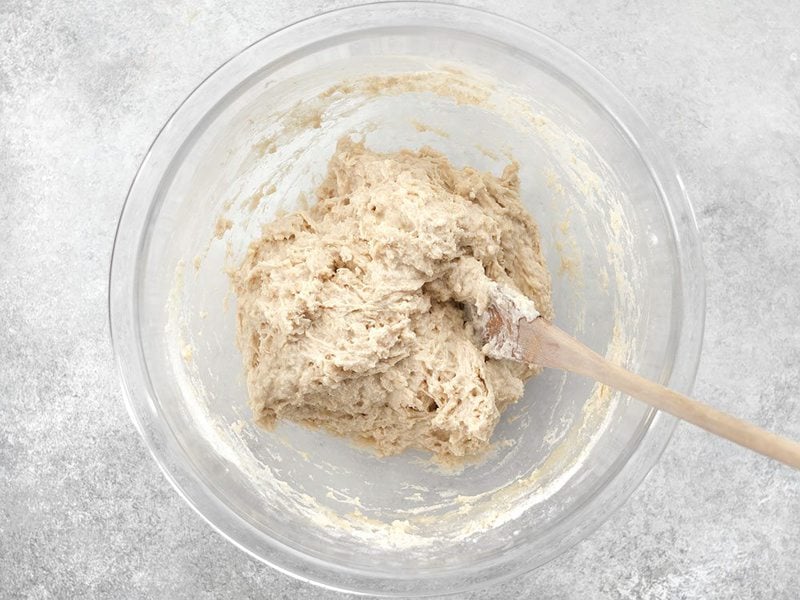
Stir them together until it forms a sticky dough and there is no dry flour left in the bowl. Cover the dough in the bowl with a damp tea towel or plastic and let it rise for 1.5 to 2 hours, or until it’s double in volume.
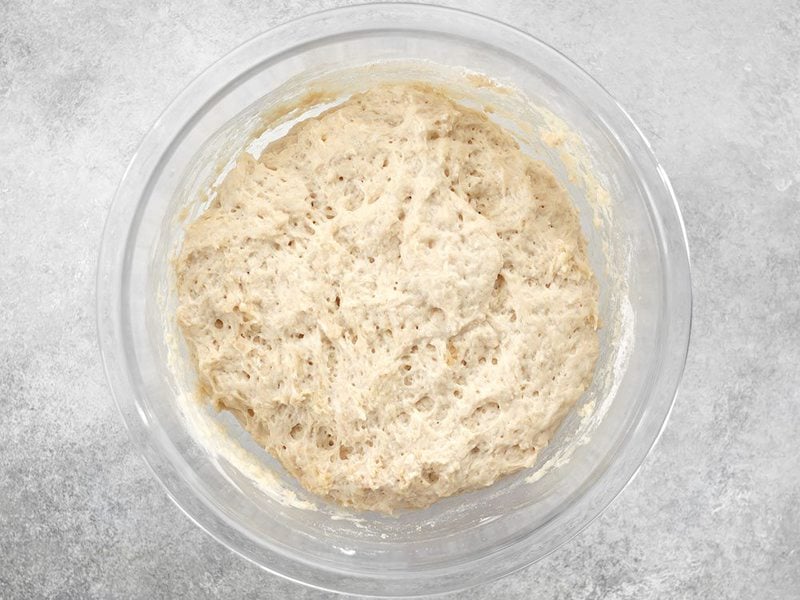
This is what it looks like after it has risen.
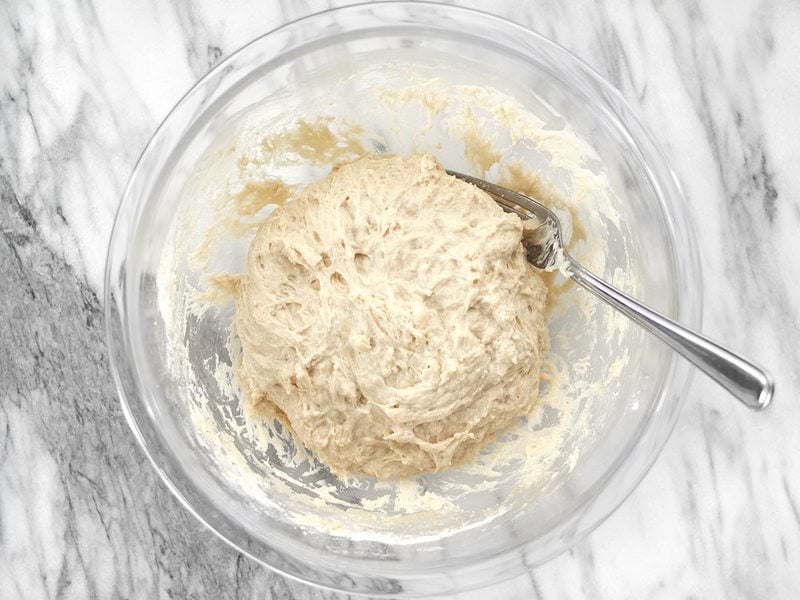
Use two forks to deflate the dough by scraping it off the side of the bowl and pulling it toward the center, giving the bowl a quarter turn, then repeating the process. It’s a bit like the motion you’d make when folding in whipped cream, but using forks and a sticky dough. There are really great photos of this process in the book, if you end up checking it out. The goal here is to just deflate the dough and create a ball out of the sticky mass.
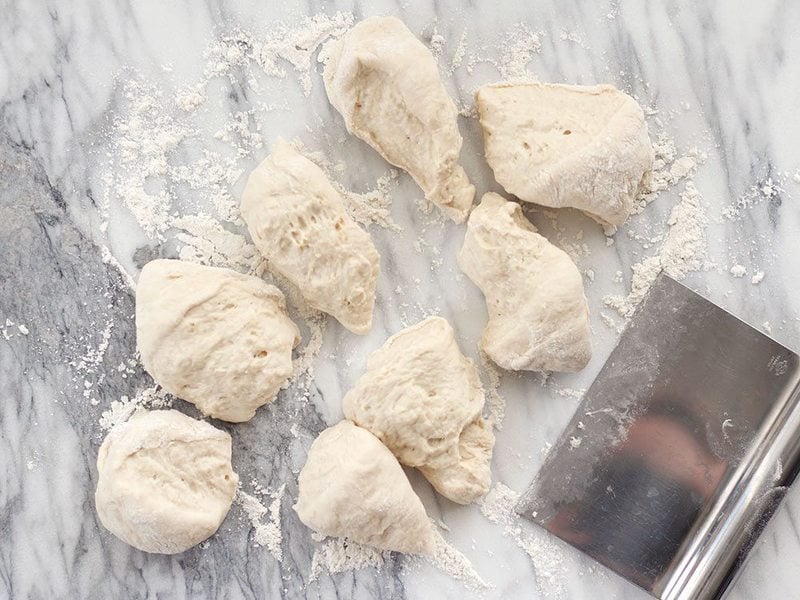
Liberally flour a work surface, then use the forks to lift the sticky dough out of the bowl and onto the surface. Use a sharp knife or a dough scraper to cut the dough into 10-12 pieces (I accidentally only made eight pieces, but they were definitely too large once baked).
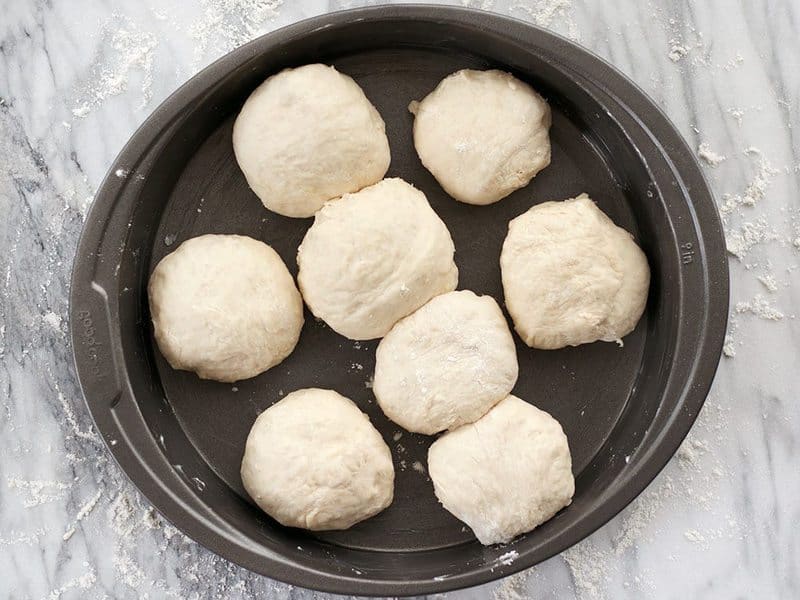
Using well floured hands, shape the dough pieces roughly into balls. They don’t have to be perfect and they probably won’t be, because the dough is rather sticky. Place the dough balls in a greased baking dish, spaced equally apart.
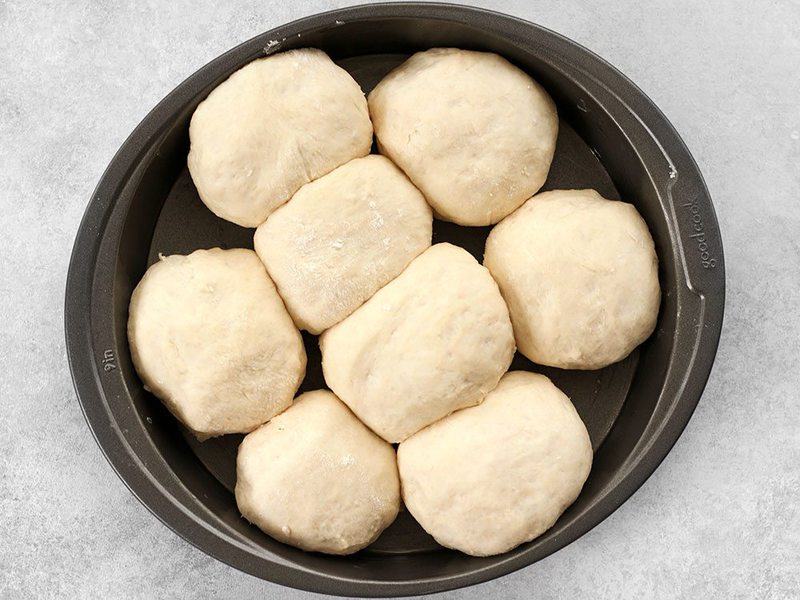
Begin preheating the oven to 375ºF. Let the rolls rise, uncovered, near the heating oven for 20-25 minutes, or until they are double the size and filling up the pan (there will be less negative space in the pan if you do 10-12 rolls instead of eight larger rolls).
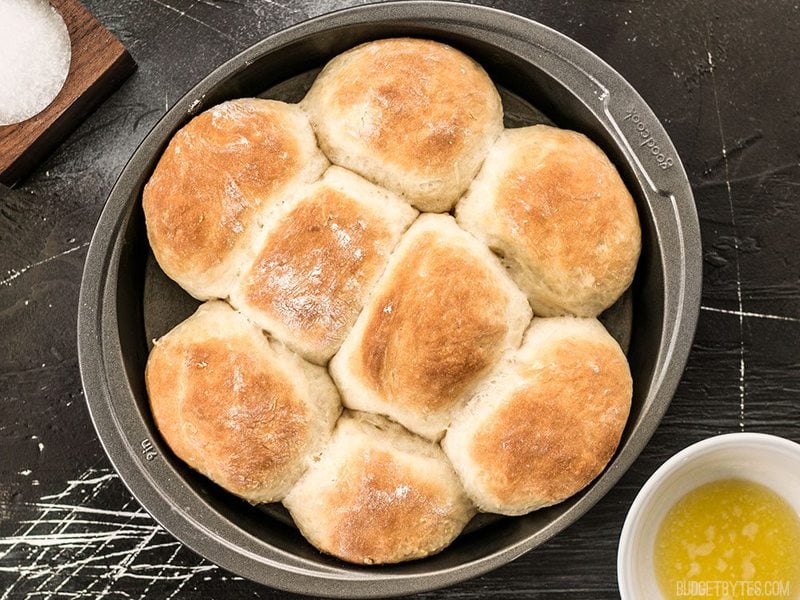
Bake the Buttermilk Pull-Apart Rolls in the preheated oven for 20-25 minutes, or until they’re golden on top.
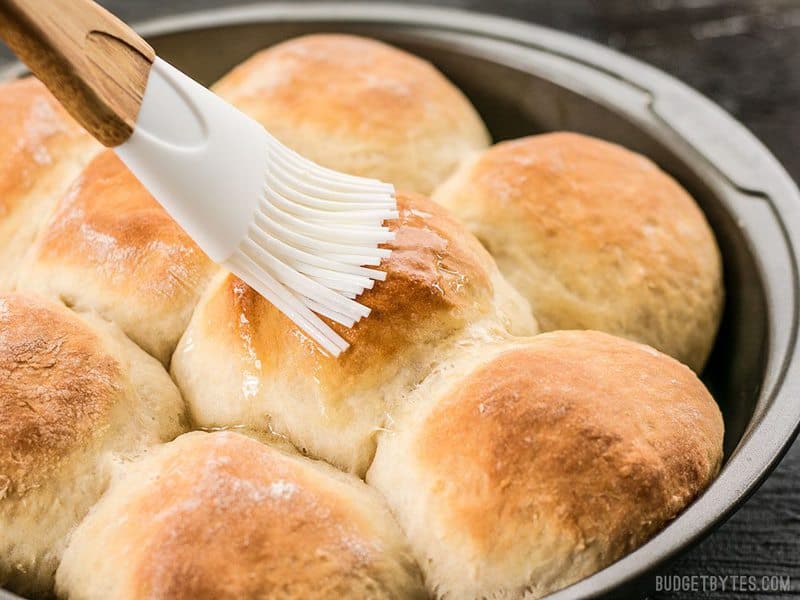
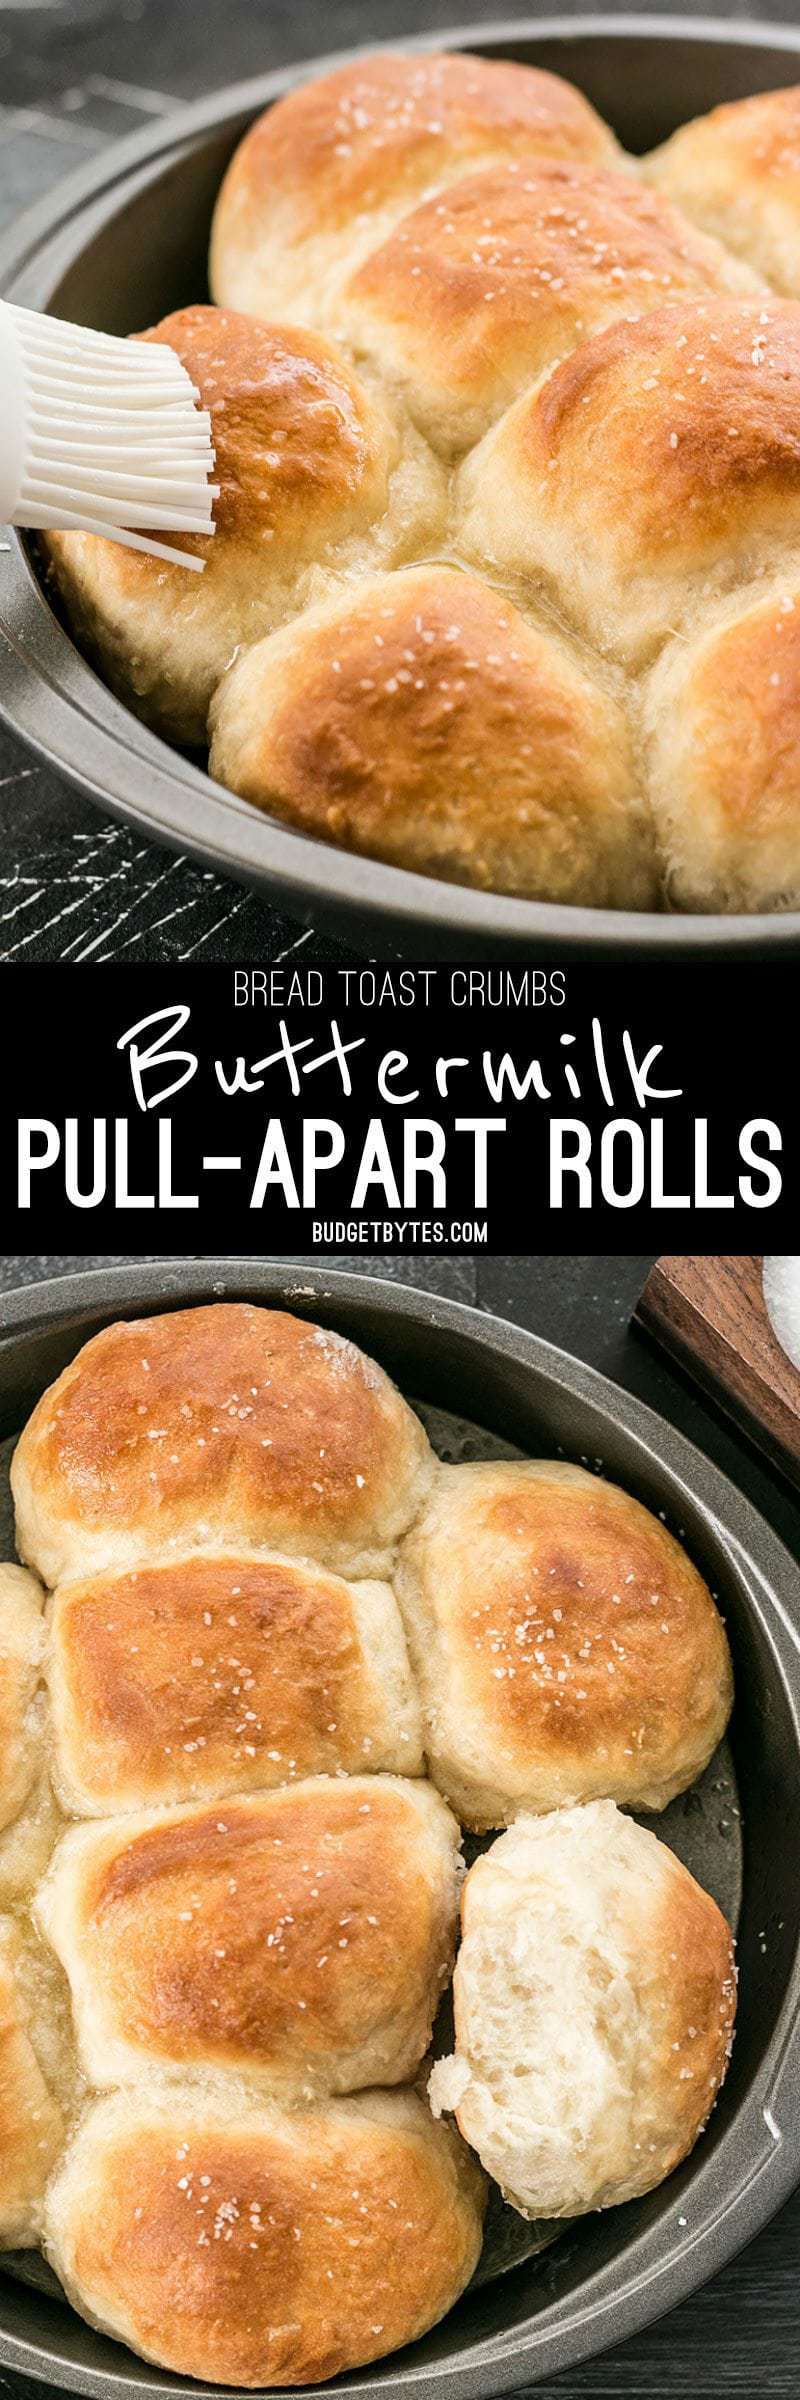
Brush the top of the rolls with the remaining 1 Tbsp melted butter…
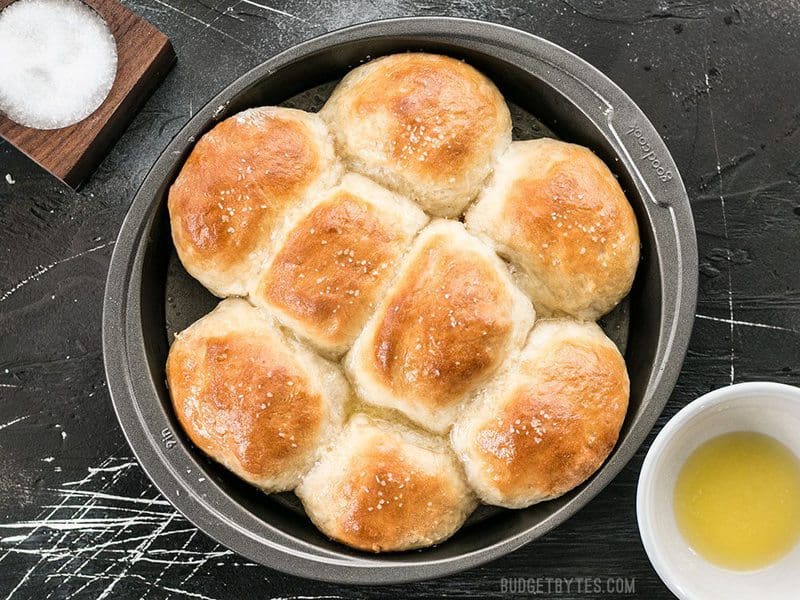
Then sprinkle a pinch of flakey salt on top. OMG SO GOOD.
I die.


Could these be made in muffin pans as cloverleaf style rolls?
These are really delicious and very easy for somebody like me who doesn’t bake much.
However, you need to factor in the cost of Alexandra’s book into the recipe costs, because of course I immediately went out and bought it! :)
I think this is a little overly complicated, which Budget Bytes usually isn’t (I blame the book, sorry). After pouring the boiling water into the buttermilk, it was at a perfect 95 degrees. I didn’t wait ten minutes. Also, the fork thing is unnecessary. All it did was dirty two forks— I ended up switching to a rubber spatula since it wasn’t pulling away from the bowl nicely.
That said, this was my first time making rolls like this and they turned out well.
My family LOVES these rolls. They are so easy and delicious. I was wondering if it was possible to freeze the dough for later baking use…or even to use in monkey bread recipes.
While I haven’t tried it, bread dough usually freezes beautifully, so I would guess yes. :)
I made these as part of my mostly Budget Bytes inspired Thanksgiving and they turned out great. I’ll be making another batch today, Black Friday. My timing was such that I needed to bake these rolls while the turkey was still in my oven so I slid a 9 inch cast-iron skillet into my toaster oven. Turning 90 degrees half-way through cooking and they turned out perfect. Thanks!
Remaking the recipe again today there are two points: 1) Could you provide a weight for the 2 cups of flour? One of the many things I love about Budget Bytes is that the recipes are easy to throw together and I get how using a kitchen scale takes time and an extra appliance. Still, flour density can vary greatly based on how much it’s compacted. You could say something like “200 grams or 2 about 2 cups.” 2) Would you consider switching the order of the first 2 steps? As written, the baker finishes step 2 and has to wait 10 minutes for the buttermilk/water to cool. 10 minutes is time it takes to collect and whisk the dry ingredients and melt the 2 Tbs of butter. Consider changing the order and then adding “As the buttermilk and water are cooling…” in front of the new 2nd step.
Thanks for everything!
This recipe is ridiculously easy and results in rolls that are super delicious. This is now my go to recipe for making rolls. Making bread used to be a special event because of all the kneading required, but with this recipe, it’s so much easier to get started.
Over the years I have tried many different roll recipes. This recipe is not only the easiest, but it produces the most delicious rolls ever!
Loved this recipe! It’s been a day and they are half gone. I was wondering, for the sake of timing has anyone tried to let the dough rise overnight? In the fridge or otherwise? It was completely worth it to wake up early to make these but would love to make them more regularly if I can.
Hey, made these for Thanksgiving yesterday and they were delicious! Just wanted to report here in case anyone is wondering that whole wheat flour teeeeechnically does work in a pinch, but I don’t think it’s the best version of these rolls. I plan to try again with AP flour soon!
Hi — making these today. Doubled the recipe for a big group. But this does not say salted butter or unsalted butter. Does anyone know? Thank you
The flavour of these buns was nice, but mine didn’t rise too well. I think it it would make more sense to activate the yeast in hot water before adding to the dry ingredients. Also, I store my yeast in the freezer so maybe it didn’t fully activate because it wasn’t at room temp before adding the boiling water. They’re still pretty good, so it’s not a complete fail, and I have some buttermilk left so I can always try again…
I made these today as sandwich rolls for lunches this week, using powdered buttermilk and the full cup of warm water. I also did an egg wash on the rolls before baking – they are amazing and super easy!!
I spent a full 5 min. scrolling up and down, looking for the bread toast crumbs, like the title said. I really expected there to be bread crumbs in the ingredients. I have seen them used infrugal breads and breads made during times of rationing.
Lol I was confused, too. The copy would be clearer it it was “Buttermilk Pull Apart Rolls from Cookbook, [Bread, Toast, Crumbs]” with the bracketed words in Italics. Pedantic point but def an improvement.
So for the full recipe, are you supposed to bake them at the same time? I know that can mess with baking time.
I want to make the full recipe for Thanksgiving and we’re feeding 16 people.
I made these last week when we had guests over for dinner and am making them again today. We loved the texture and they were just as good the next day with jam. This is one of those recipes that I want to tell everyone about, especially those intimidated by bread making, because it’s not difficult and I think nearly anyone could make them with success!
Thanks for the great recipe, always a hit! Do you have any suggestions on how to freeze these? Could they be frozen pre-bake or even after baking? Thanks!!!
Both baked bread and unbaked dough usually freeze very well. I’ve not tried to freeze a “no-knead” dough before, though. I think your best bet might be to par-bake them until they are risen and solid, but not browned, then let them cool, pack them up tight, and freeze. Then just finish them off in the oven later.
I love budget bytes and make many of your recipes regularly. I had never made bread before but decided to give these a try on mother’s day because we were having a family bbq. They turned out amazing! I never thought I’d be able to make bread, and I’ve probably made them 3 more times since then? (using up all that buttermilk lol) Thank you so much, they’re so easy and they’ve given me the confidence to try making other types of bread too!
Beth!! I have been meaning to comment for weeks now … thank YOU!! This post, like all of your posts, is so amazing as are you. I can’t thank you enough for the kind review, your beautiful photos, and your thoughtful tips and instructions. It means the world. So, so grateful.
I’m very grateful for your book! It is truly awesome!! :)
Oh my god, these were delicious! The texture was so soft and pillowy, and the tang of buttermilk was just incomparable. I use the vinegar and milk trick for buttermilk biscuits all the time, but I took the tip here and do NOT regret it! I didn’t have instant yeast, so I proofed my regular yeast in 1/4 cup of warm water and only added 1/4 cup of boiling water to the buttermilk. It worked out fine – the buttermilk/boiling water cooled down just in time to add the proofed yeast. So. Good.
Made these for dinner tonight and we ate almost the whole pan among the 3 of us. Delicious!
these roles saved me this week! I ran out of bread (a miscalculation on my part) and ended up making three of these recipes during the week to put it in lunches. Kids loved them. I used the trick of milk and vinegar for buttermilk when I ran out of my trusty buttermilk powder, used to canola oil when I ran out of butter, and I found some vital wheat gluten in my cupboard and added a little bit of that (I think it added a great texure). Anyway I’ve never made bread this good before- thank you so much!!!
I get more than half of my recipes from your blog, and when this arrived in my email I knew my husband and I would love it! So we quickly went to the store to find some buttermilk and cooked away. I think we’ve made approximately a batch a day since you posted this. My husband is obsessed, he had me teach him how to make it and I literally woke up this morning to the smell of bread. So all in all, we’re definitely going to get the cookbook as this has already become a staple at our home. THEY’RE TOO EASY!
Oh My Goodness! These are so good and so easy, I’ve made them twice this week. I didn’t have a lot of success with forks though so I used a rubber spatula dipped in flour to get the dough out of the bowl and it worked great.
Hi!
Thank you for everything you post! I am an RD and my patients LOVE your website! Question on these rolls: do you think they would work with a different kind of whole grain flour, like spelt or kamut? What about more of a nut flour like almond meal? I would love to be able to share this recipe with some patients with more particular needs…
Thank you!
Unfortunately I’ve never used any of those flours, so I’m really not sure. :( I do think that the gluten in the flour is probably vital to these rolls working correctly, though.
Hi Megan, I’m probably too late here to be of help, but I have a few thoughts: spelt flour is wonderful! Try using half spelt and half all-purpose to start. Then adjust ratios from there depending on how you like the taste/texture of the whole wheat flour. I’ve never used kamut flour, so can’t comment. Almond flour will be really tricky to use here — it’s just ground almonds (so no gluten), which will make the texture very dense. I say start with the spelt!
great idea! thanks for this. My children want me to made it tomorrow, let see how the outcome will be
These sound delicious. I will certainly try them and if they work out, I just might buy the book! I’ve baked two pans of rolls at a time for Thanksgiving and don’t brown them all the way. I take them out of the pan as a single unit and cool them, then pop them into a plastic bag and freeze them. When it’s the day I need them, I take them out of the bag after thawing, pop them back into the pan and back into the oven to finish browning. Works out great so far at least with the recipe I’ve been using. I’ll be trying it with these too as we can’t eat two pans of rolls between just two of us!
1 cup of flour or 2? Sorry just checking.
Sorry about that, it’s 2 cups!
Your all-caps titles threw me on this one – until I read that it was from a cookbook I was sitting going “wait….how do you make bread…from crumbs….I’m confused.” XD
That being said, these sound awesome. I’ll have to bookmark this to try them.
Doh! I never thought about that! Ooops. :)
Yep, I thought the same thing!
Me too! And when I saw the ingredients I had to read it over again.
I made a loaf of bread from Alexandra’s website tonight (the basic one) and we were delighted. Thanks for the introduction, Beth! I’ll make these rolls to go with a barbecue dinner I had planned for this week.
Couldn’t wait – had to get some buttermilk and try these right away. Delicious!
I enjoyed reading your blog, though I have to eat gluten free, I won’t be making the rolls. However, I really like the way you introduce your recipe, then give the recipe and follow with the detailed pictures after you give the recipe. It is so frustrating to me when I want to make a recipe again, and have to go through all the pictures of how to make it when all I really need is the recipe.
THANK YOU for appreciating that. :) I try to make things user friendly.
Agreed with this comment! And while we’re at it, I love the blurbs you do before your recipes because they’re short, sweet and informative. On a lot of other recipe blogs I have to scroll down for three minutes before I even find the ingredient list. The way you write and format your posts is so easy to read and understand. Thanks, Beth!
I sooo agree with Carol! Especially when there are a lot of pictures!
I agree too! I love the PRINT button right with the recipe…looks interesting I print right off. I like the pictures too, but I usually don’r need to refer back to them. But they are nice and clear. I use the naan recipe all the time now.
This is seriously why this is my favourite blog for getting recipes. All your formatting makes it clear that you realize the main thing we’re here for is in fact the recipe.
I also love that in a lot of the vegetable recipes you’ll list other things that would be good if you’re trying to use things up before they go off.
This is such a neat idea!
This looks amazing. After heading over to Alexandra’s blog, I ordered her cookbook. I’m super excited to try out all of these delicious looking recipes. Thanks!
I’m going to try my second recipe from the book today. I can’t wait!
Those look amazing! Do you think that buttermilk powder be used in this instead of fresh?
I’m not sure, I’ve actually never cooked with buttermilk powder. I suppose if it’s reconstituted it would be about the same?
Just saw the cost. Ten cents each?? Amazing. Costs four times that much at the store. One more argument in favor. Wow.
OMG, Beth. What are you trying to do to me??? Yes, yeast breads which seem nearly as easy to make as quick breads but with the yumminess of yeast breads. I could do this and I will. Just ordered the cookbook. I gave up making conventional yeast breads because it was such a long song and dance for a so-so product and that kneading wore me out. But this looks so great. Thank you.
I started baking my own bread regularly about 10 years ago. The food columnist at a local free newspaper published a recipe for a loaf of bread for beginners. I was trying to avoid the additives in many breads and the cost of artisanal loafs.
Alexandra’s master recipe was identical in ingredients and amounts as the one in the newspaper (I use half of everything for a single loaf of bread), but differed in technique. Believe it or not, it took less time! Once the ingredients were mixed, it rises for 15 minutes, though I’ve let it rise for 45-60 minutes. Then knead for 5 minutes, I’ve found that it often doesn’t require that much time — so 3-5 minutes. It depends a lot of the weather and if I’ve had to add a little additional liquid to get the flour incorporated. Then shape the loaf and let it rise on an oiled baking sheet for 30 minutes. Bake at 400˚F for 25 minutes. I alternate between the two recipes now depending on what I want.
I feel like the number of recipes in Bread Toast Crumbs is multiplied because I can use either technique for many and feel like I can experiment — something I didn’t have the confidence to do with yeast bread previously.
They look great! Have you ever come across a conversion to substitute sour cream in place of buttermilk? I always have that in my fridge, but the buttermilk requires a trip to the store.
I haven’t, but that’s an interesting idea! I suspect you’d need to mix a little regular milk in with it to make sure there is enough moisture.
I’ve used both plain yogurt and sour cream instead of buttermilk (and I’ve used buttermilk instead of either of those in baking). You can substitute in equal measure or you can use half the amount of yogurt/sour cream and half milk so it’s more liquid. If using sour cream, you might want to add a little lemon juice or vinegar for “tang.”
I substitute all the time one for the other. I use just plain yogurt. I do have buttermilk now as I bought a quart for a cake I was making for Easter. It was a new recipe to me so then I try to follow the recipe exactly when baking. I will fiddle later. We’ve also made pancakes twice so there is at least a 1/2 cup left so I will make these to go with soup later this week.
Thanks so much!