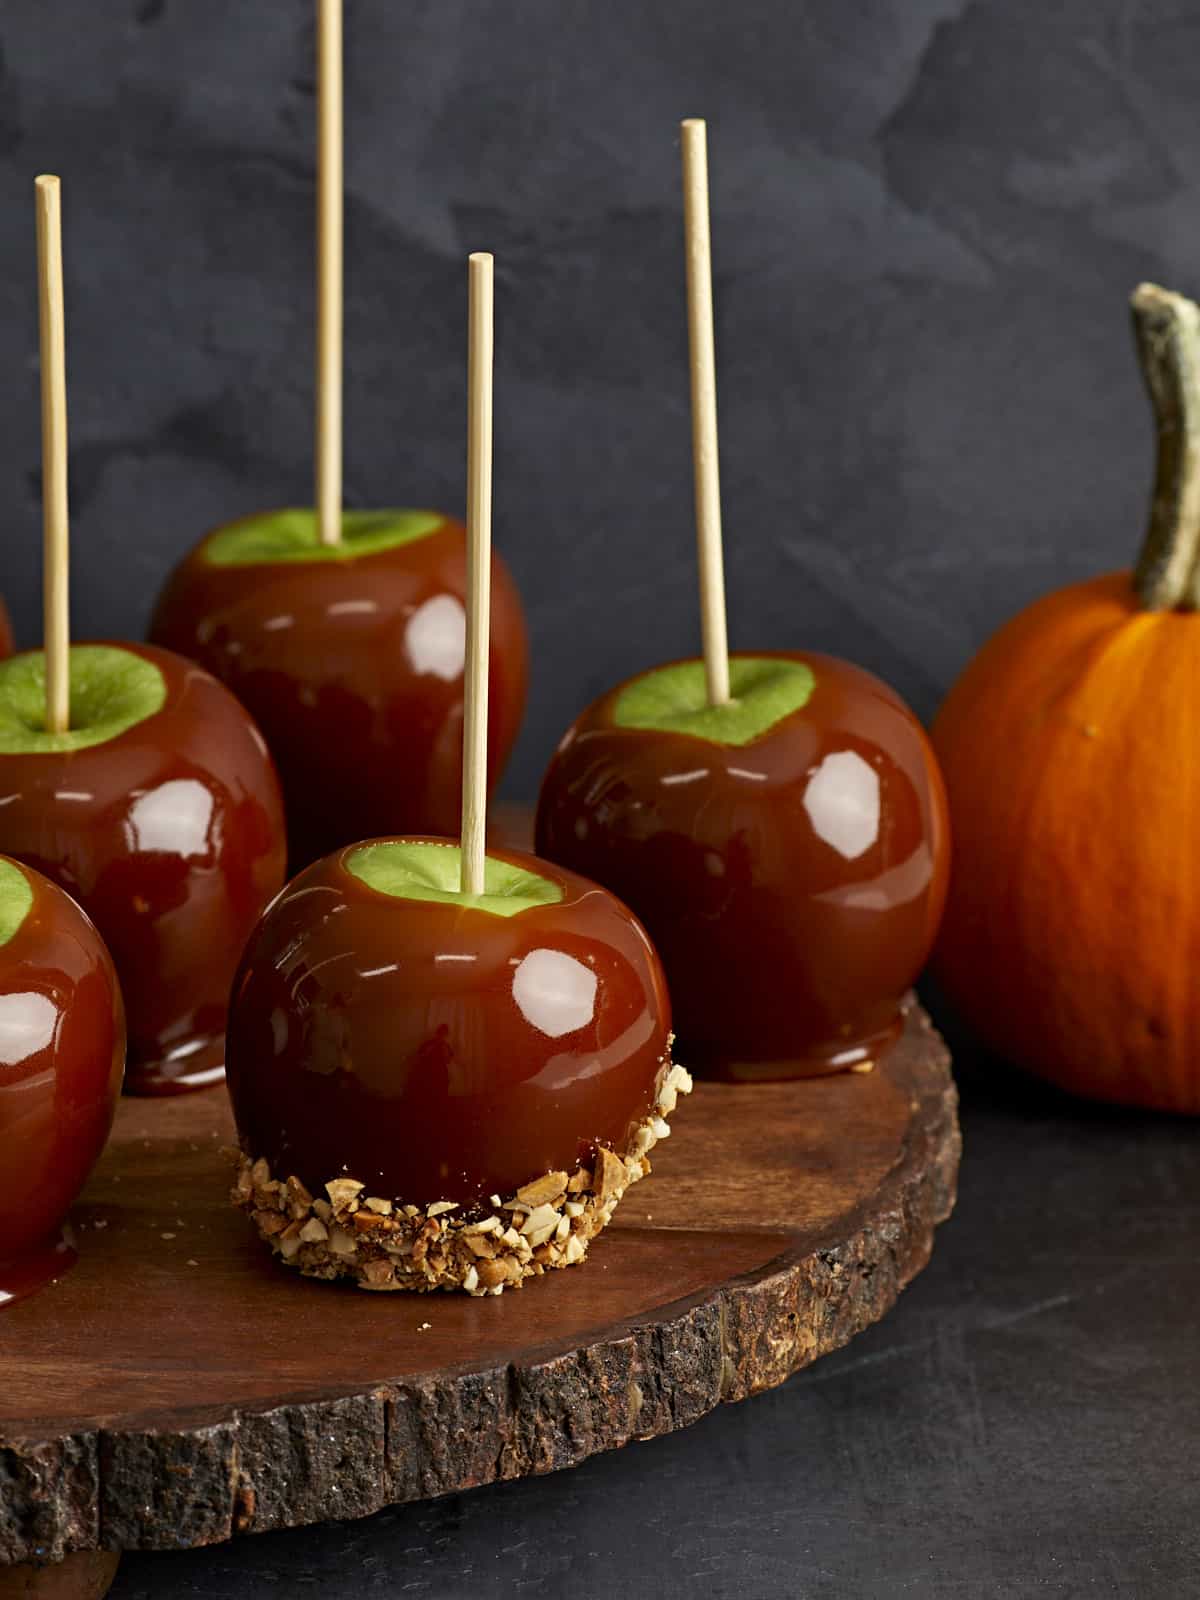
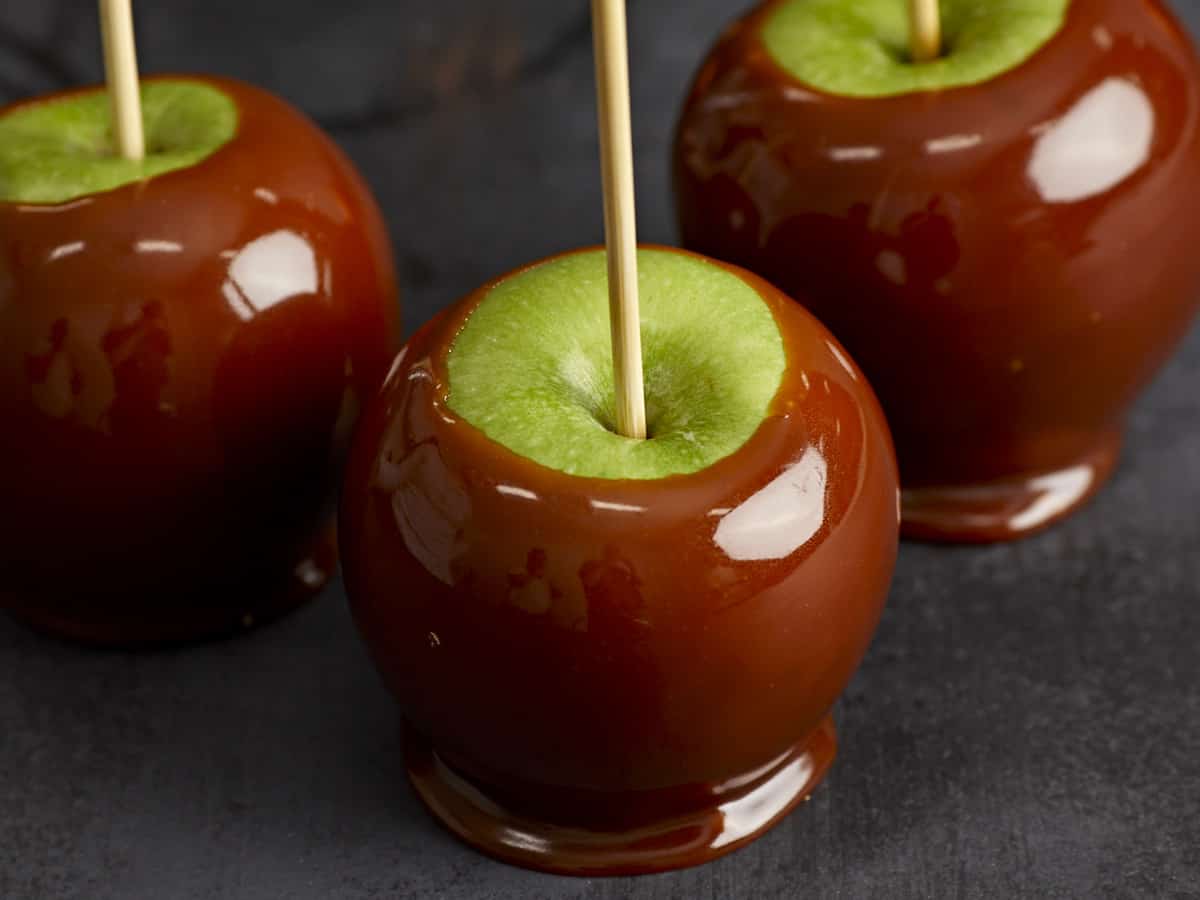
Is there anything more fall-like than caramel apples? The combination of fresh crisp fall apples with the creamy rich flavor of homemade caramel is absolute perfection. These caramel apples are 100% from scratch, so there is a little bit of skill involved when cooking the sugar and creating the caramel, but candy-making aside, this caramel apple recipe is relatively fast and easy to make!
All recipes are rigorously tested in our Nashville Test Kitchen to ensure they are easy, affordable, and delicious.
Homemade Caramel Apples
I was in the store the other day and saw some pre-made caramel apples out on display and I almost died when I saw the price tag of $6.99 for four small apples. And, of course, I immediately needed to prove to myself that I could make them better and cheaper.
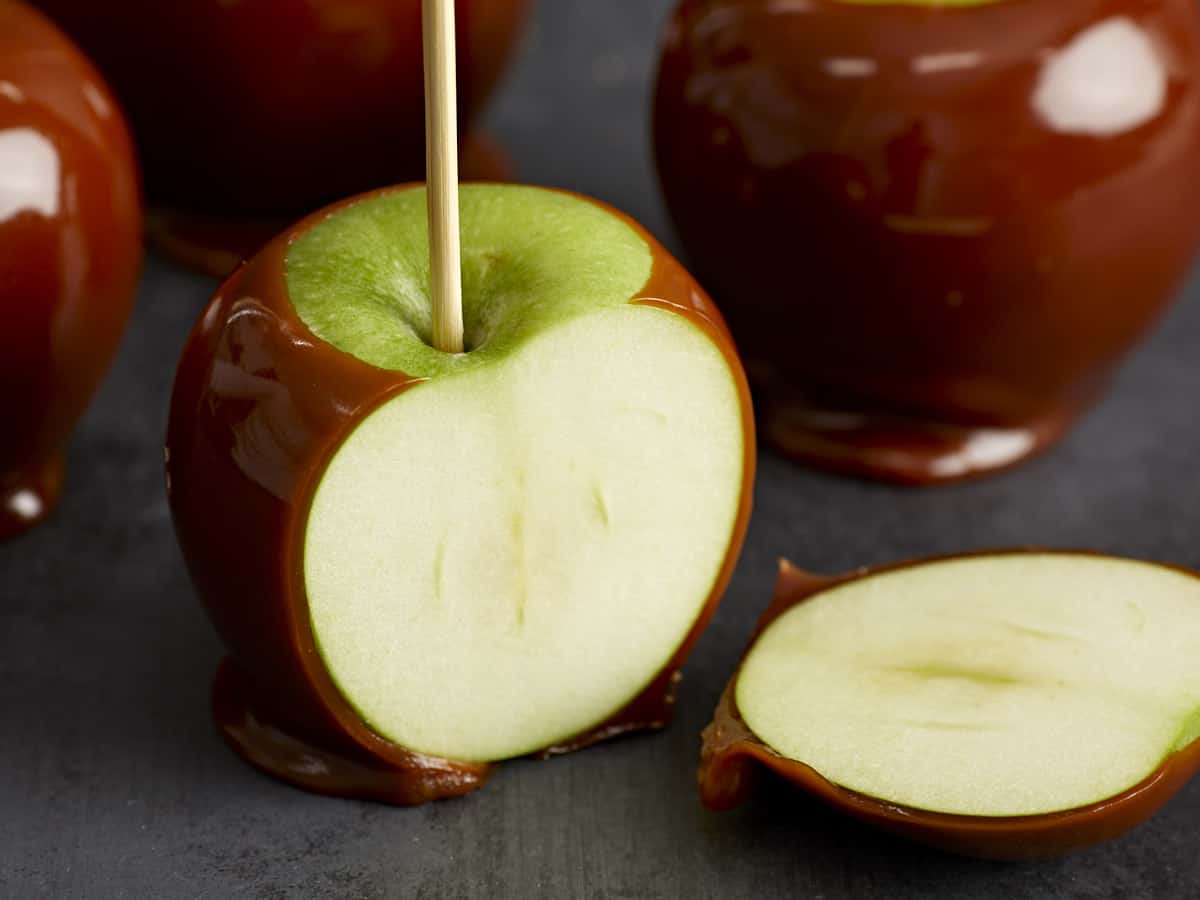
A lot of caramel apple recipes use pre-made soft caramel candies, but those candies are also expensive, so that wouldn’t help my budget caramel apple quest. Instead, I made caramel from scratch using really simple and inexpensive ingredients, like sugar, butter, and cream. I will say that candy-making might be a bit tricky for beginners, but once you get the hang of it, it’s a breeze! I’ll show you the tricks to make sure you get that caramel thick enough to coat the apple, but soft enough to still be able to bite through.
Ingredients for Caramel Apples
Here’s what you’ll need to make your own homemade caramel apples from scratch:
- White Sugar: White granulated sugar is cooked down until it begins to caramelize, giving that classic caramel color and flavor. It’s also what hardens the caramel so it can coat the apples.
- Corn Syrup: Corn syrup helps stabilize the caramel sauce, preventing it from crystalizing and seizing up. This is especially helpful for those new to working with cooked sugar and the candy-making process.
- Water: Dissolves the sugar, allowing it to caramelize a little more slowly and easily, which makes the recipe a little more forgiving than a dry sugar caramel.
- Butter: Makes the caramel creamy and helps soften the caramel.
- Heavy Cream: Also makes the caramel creamy and soft, and lightens the color.
- Apples: While you can use any type of apple you like, I love the contrast between a nice tart Granny Smith apple and the rich creamy caramel. Other great options include Fuji, Gala, and McIntosh apples.
- Wooden or Bamboo Skewers: You’ll need some sort of handle for your caramel apples, so look for 6-inch wooden skewers or sticks. You can buy them online here, or grocery stores usually have them around this time of year.
Extra Toppings
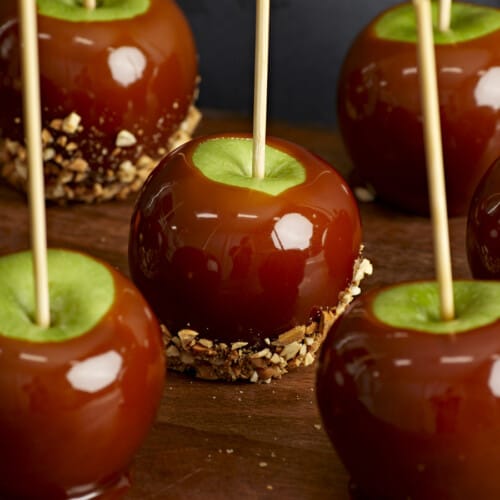
The fun part about caramel apples is that you can leave them plain or add all sorts of other toppings. Try rolling the freshly dipped caramel apples into crushed nuts (peanuts, walnuts, pecans), chocolate sprinkles, crushed pretzels, crushed graham crackers, or even other candies, like M&Ms. You can also melt some chocolate or white chocolate and drizzle that over top of the caramel after it sets.
How to Store Caramel Apples
Store the caramel apples in the refrigerator for up to two weeks. Keep them wrapped tightly in plastic or waxed paper to prevent them from drying out. Once cut open, you’ll want to eat your caramel apples within a few days. Remove the caramel apples from the refrigerator about 10 minutes before you plan to serve them so the caramel can soften slightly.
Tips for Making Caramel Apples
- Wash and dry the apples well before beginning to remove any wax coating, which will make it difficult for the wax to adhere.
- Make sure the apples are completely dry. Water will make the caramel slide off.
- Keep the apples chilled until ready to dip. Cold apples will help the caramel set instead of sliding off the apple.
- Have your dipping station, toppings, and apples ready to go before making the caramel. The caramel cooks and cools quickly, so once the caramel is ready, it’s go time!
- Line a baking sheet with parchment (not waxed paper) to hold the dipped caramel apples. Waxed paper will melt under the heat of the hot caramel.
- Halloween or autumn-themed cupcake liners make really cute cups to hold the caramel apples.
- Use a candy thermometer or keep a glass full of ice and water handy to test the consistency of the caramel as it cooks. Drizzling a small amount of caramel into ice water will allow you to see the texture of the caramel once cooled.
Caramel Apples
Ingredients
- 6 small apples (about ⅓ lb. each) ($2.99)
- 1 cup granulated sugar ($0.37)
- 1/4 cup light corn syrup ($0.44)
- 1/4 cup water ($0.00)
- 1/2 cup salted butter ($1.05)
- 1/2 cup heavy cream ($0.69)
Instructions
- Wash and dry the apples well to remove any wax coating. Remove the stems and insert a bamboo skewer in place of the stem. Place the skewered apples on a parchment-lined tray and refrigerate until ready to dip. Also prepare any additional toppings, if desired.
- To make the caramel, add the sugar, corn syrup, and water to a medium sauce pot. Heat over medium-high, stirring often. Allow the mixture to come up to a boil. Continue to stir and boil the mixture until the color changes to a deep amber color.
- Remove the pot from the heat and stir in the butter, one tablespoon at a time, until melted into the sugar mixture. Once all of the butter is melted into the sugar, carefully add the heavy cream and stir to combine (it will bubble up and steam quite a bit when added, so be careful).
- Return the pot to the stove and heat over medium. Allow the mixture to boil again, stirring often. If using a candy thermometer, allow the mixture to heat to 245ºF. Otherwise, prepare a glass of ice water to test the caramel. Cook the caramel until it reaches "firm ball" stage when drizzled into the ice water. In the firm ball stage, the chilled caramel will hold its shape, but you can still flatten it just slightly when pressed between your fingers. Be careful not to touch the hot caramel, only test the firmness after it has been dropped into the ice water.
- Once the caramel is the right temperature and texture, carefully dip the apples, one at a time, twirling the apple in the hot caramel to coat all sides, then transferring to rest on the parchment-lined baking sheet. The caramel will thicken as it cools, so make sure to work quickly. Or, if the caramel is too thin, pause for a minute or two to allow it to thicken.
- Dip the caramel apples in any additional toppings right after dipping in the caramel (before moving on to the next apple). Once dipped in the caramel and/or extra toppings, allow the apples to cool for about 10 minutes, or until the caramel is set. You can speed this up by placing them in the refrigerator if needed. Serve and enjoy!
See how we calculate recipe costs here.
Equipment
- Bamboo Skewers
Nutrition
How to Make Caramel Apples – Step by Step Photos
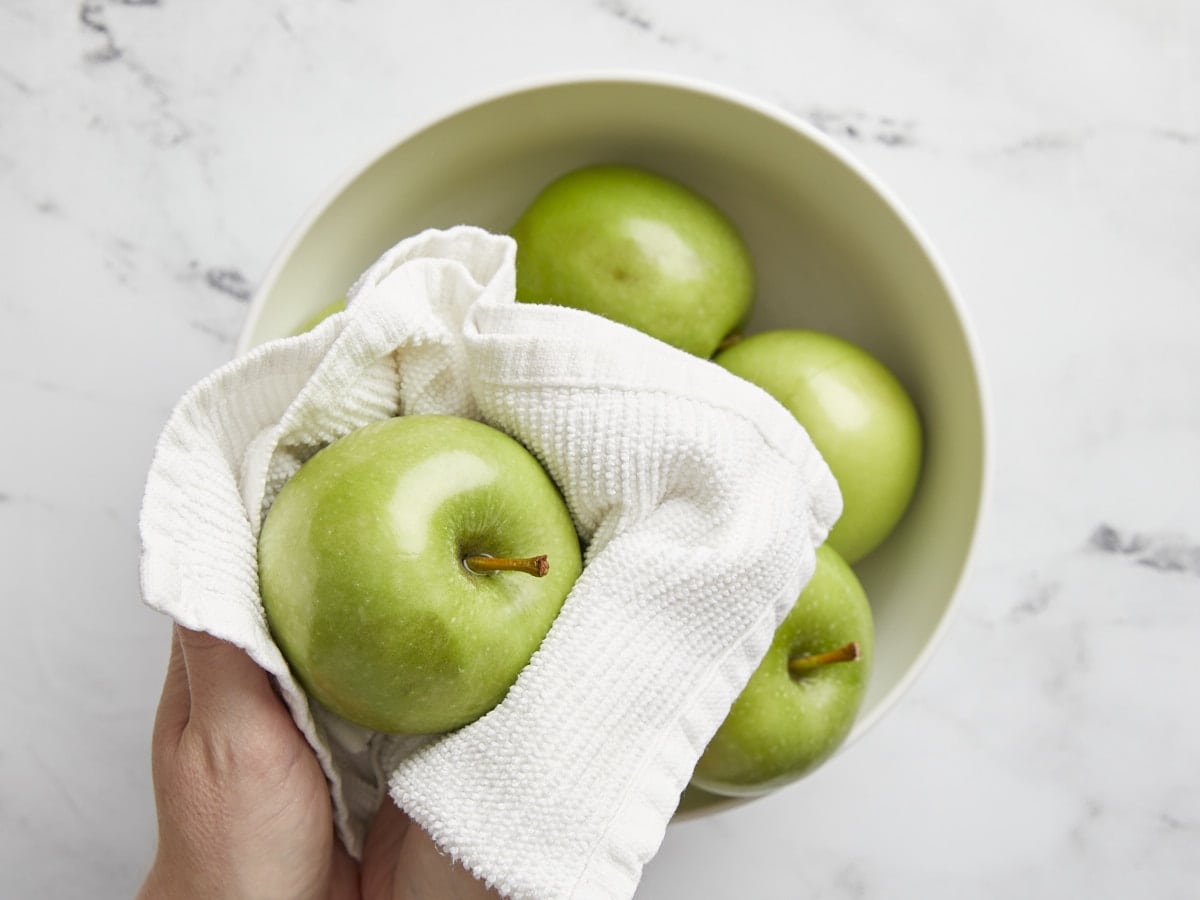
Before beginning the caramel, wash and dry six apples (about ⅓ lb. each). Remove the stems and insert a wooden or bamboo skewer in their place. Place the apples on a parchment-lined baking sheet and refrigerate until you’re ready to dip them in the caramel. Prepare any additional toppings, like chopped nuts, if you plan to use them.
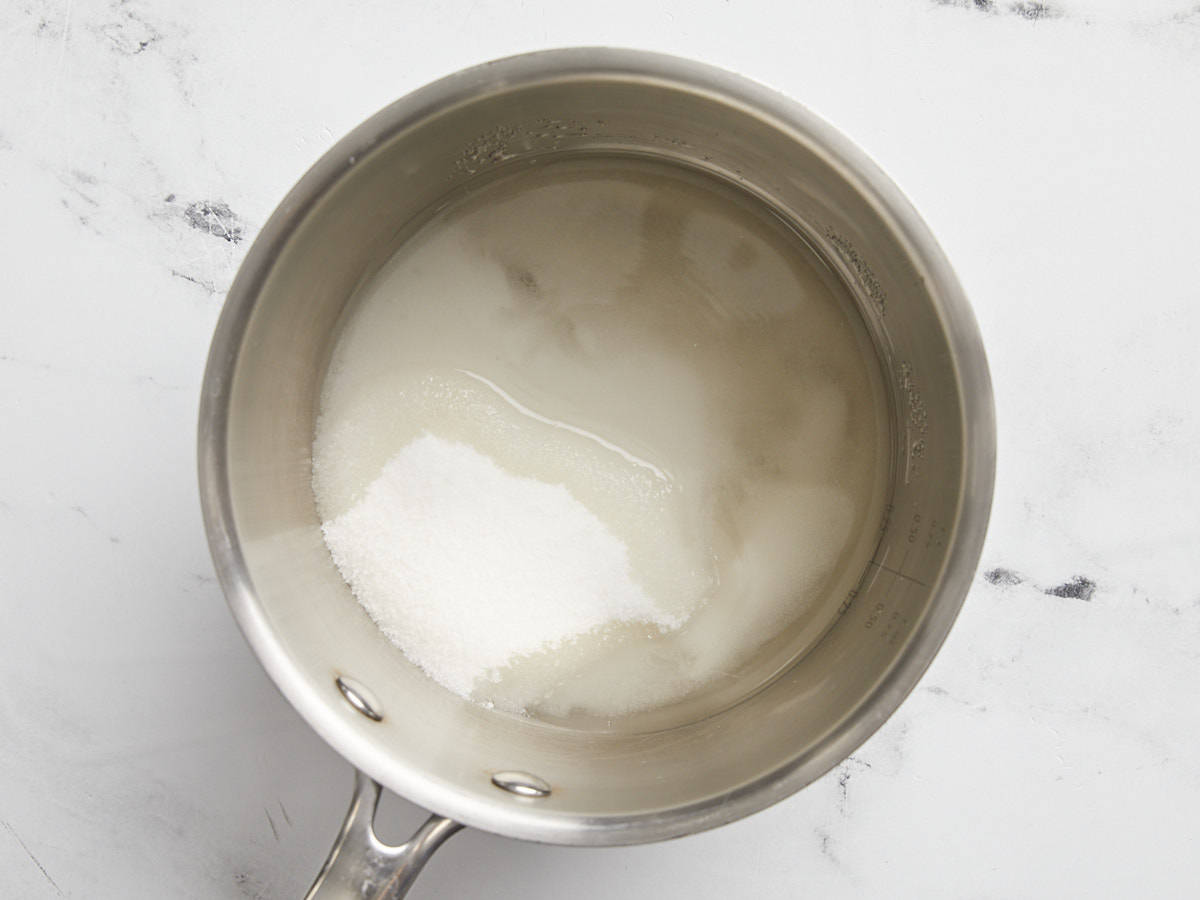
To make the caramel, combine 1 cup granulated sugar, ¼ cup light corn syrup, and ¼ cup water in a 2-quart sauce pot.
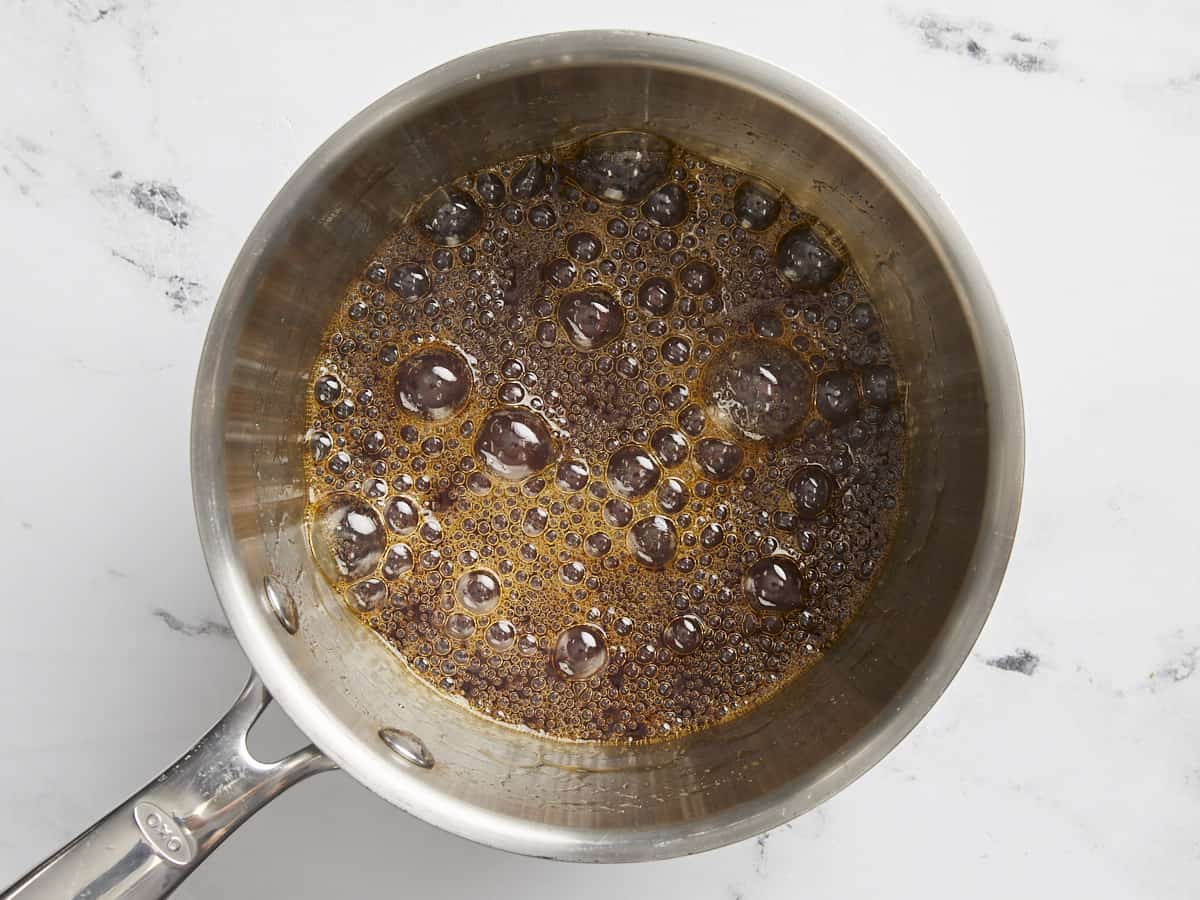
Cook and stir the sugar mixture over medium heat, allowing it to come to a boil. Continue to stir and boil the mixture until it turns a deep amber color, then remove it from the heat.
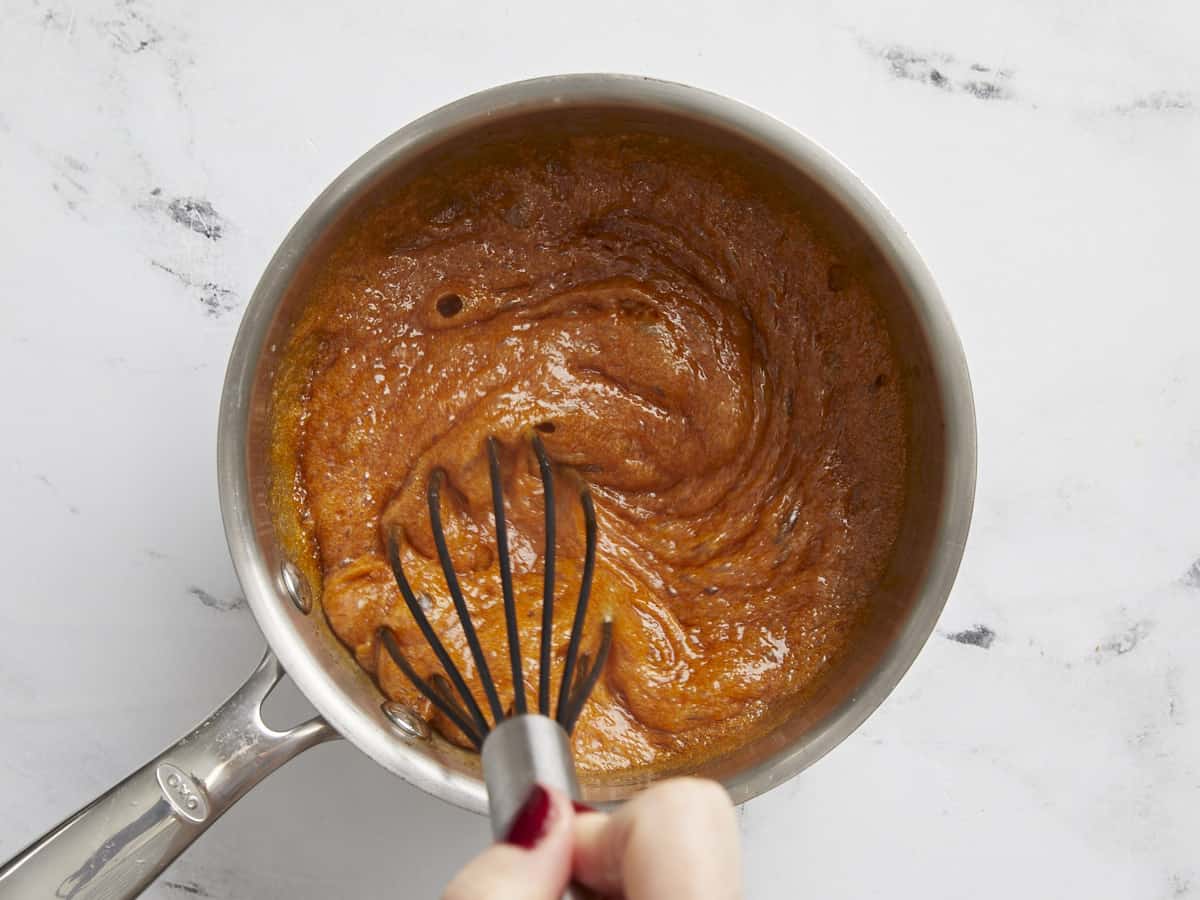
Whisk 8 Tbsp butter into the caramelized sugars, one tablespoon at a time.
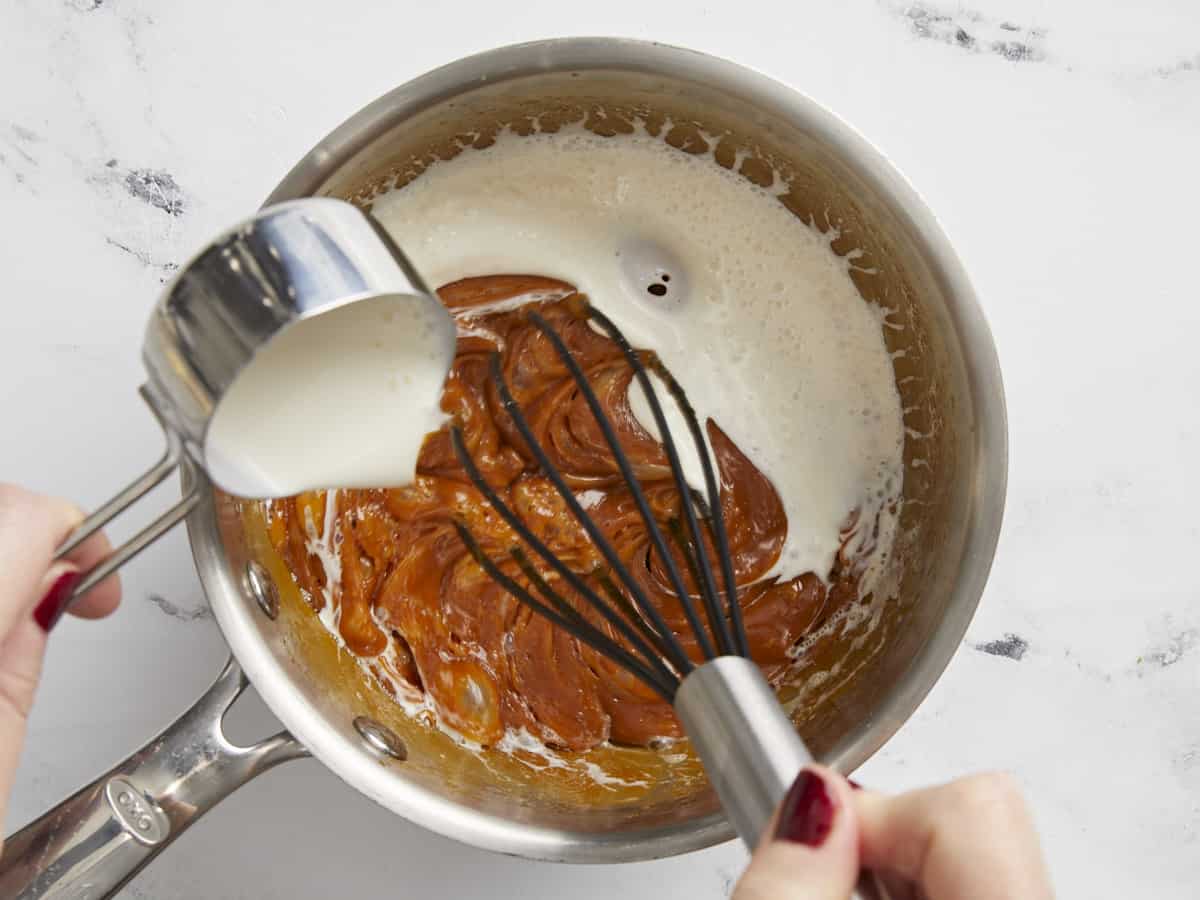
Carefully whisk ¼ cup heavy cream into the caramel. The caramel will bubble up and steam quite a bit when the cream is added, so be careful.
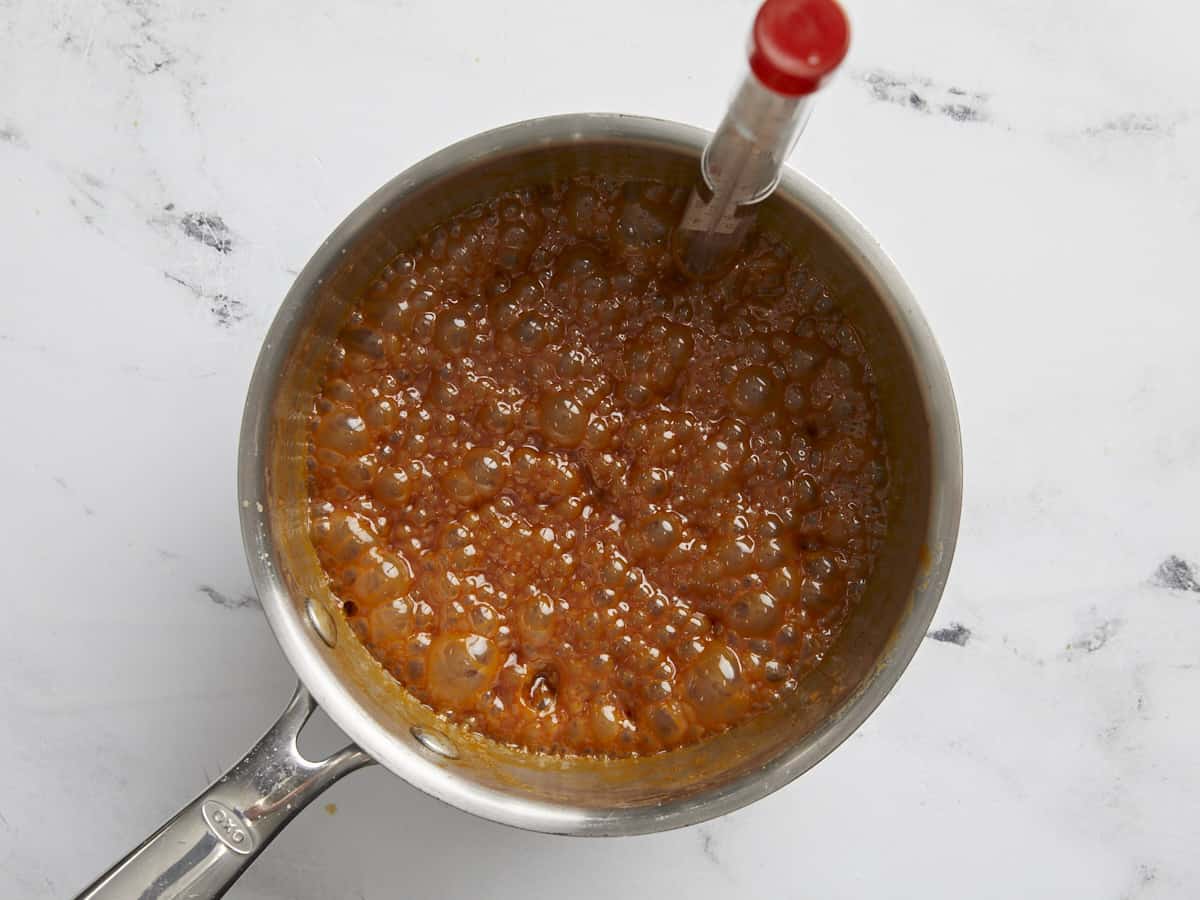
Return the caramel to the stove and allow it to boil over medium heat, stirring often, until it reaches 245ºF. If you do not have a candy thermometer, you can use the ice water test (instructions next).
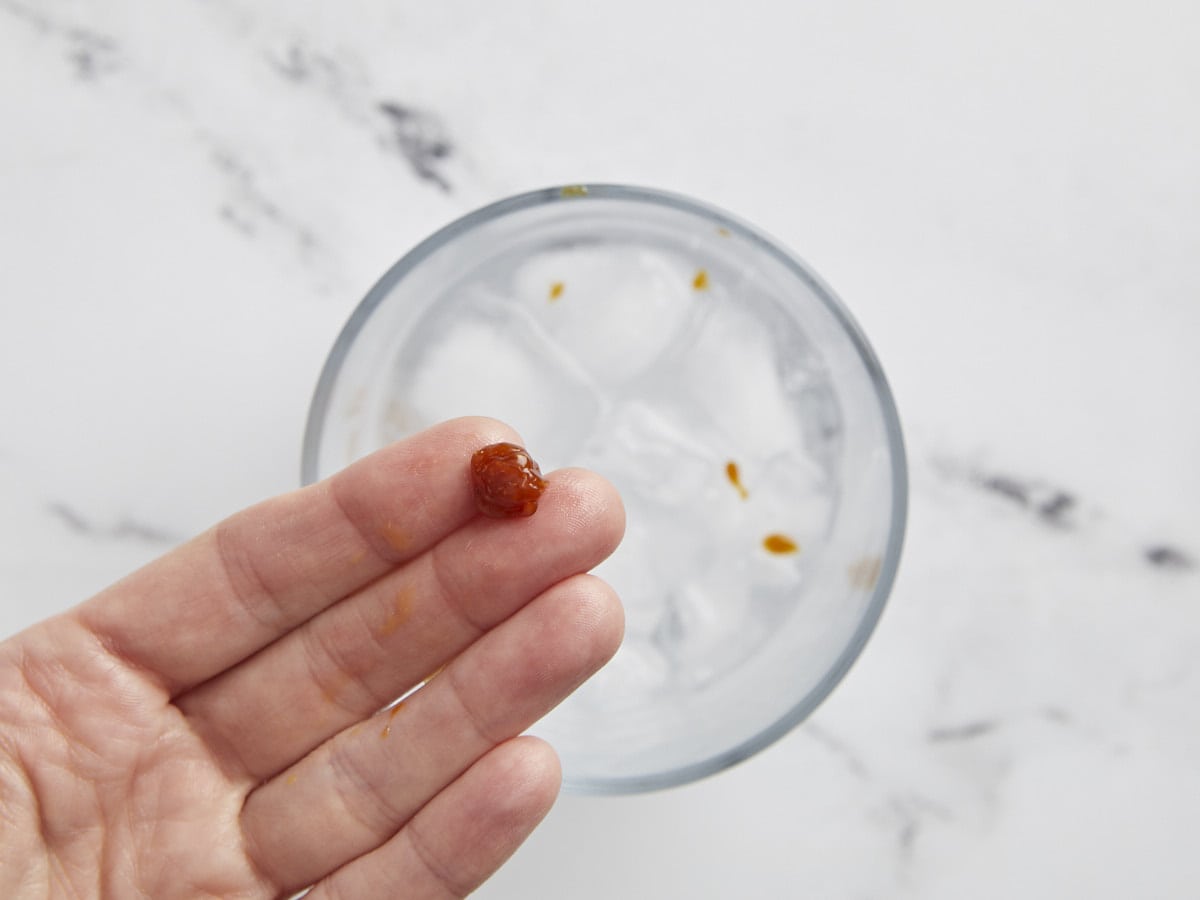
To use ice water to test the caramel, fill a glass with ice and water. Drizzle a little of the caramel into the ice water and once it is cooled, feel the texture with your fingers. The caramel should hold its shape when taken out of the ice water, but it should be pliable enough for you to squeeze between your fingers. Test the caramel often until it reaches this stage.
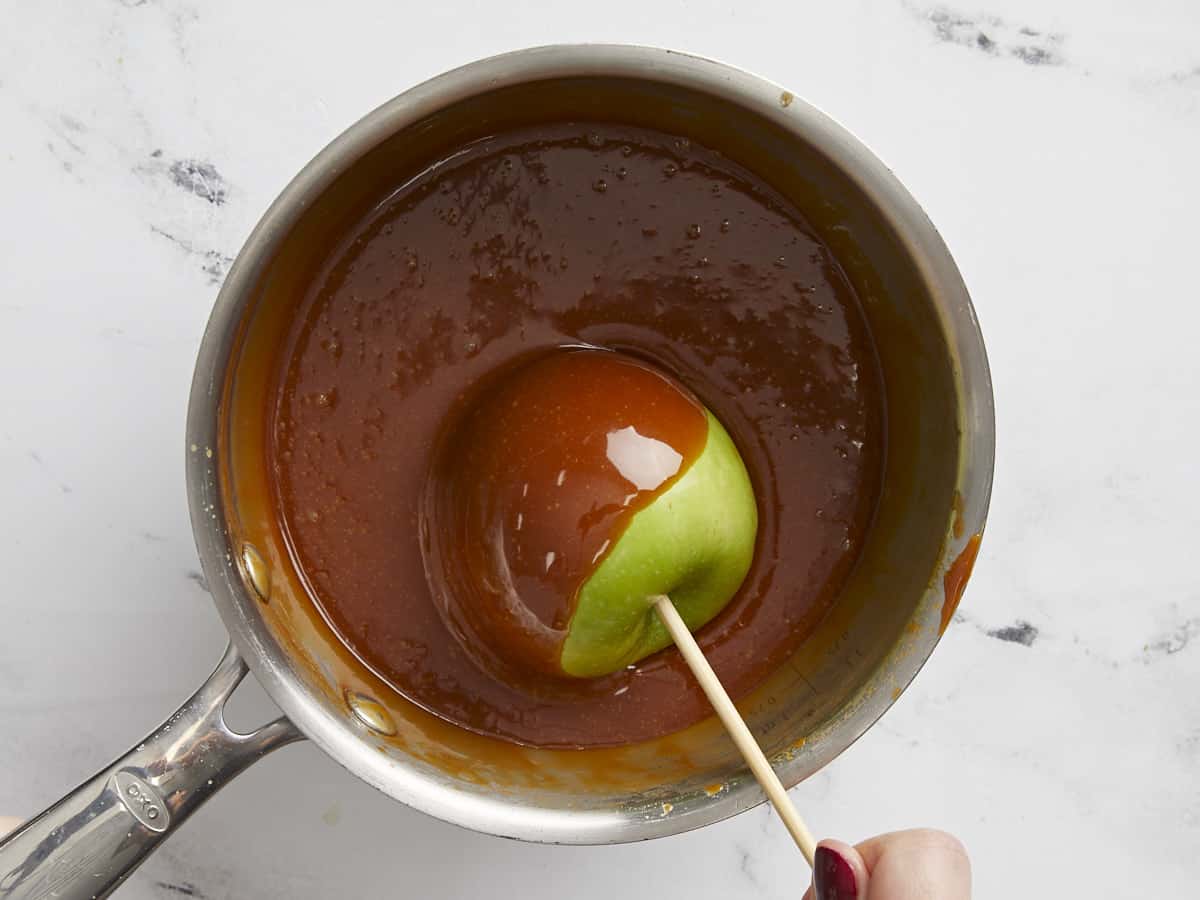
When the caramel has reached the right temperature and texture, remove it from the heat. Dip the prepared apples, one at a time, into the caramel, twirling them to coat on all sides. Work quickly to dip all of the apples as the caramel will continue to thicken as it cools.
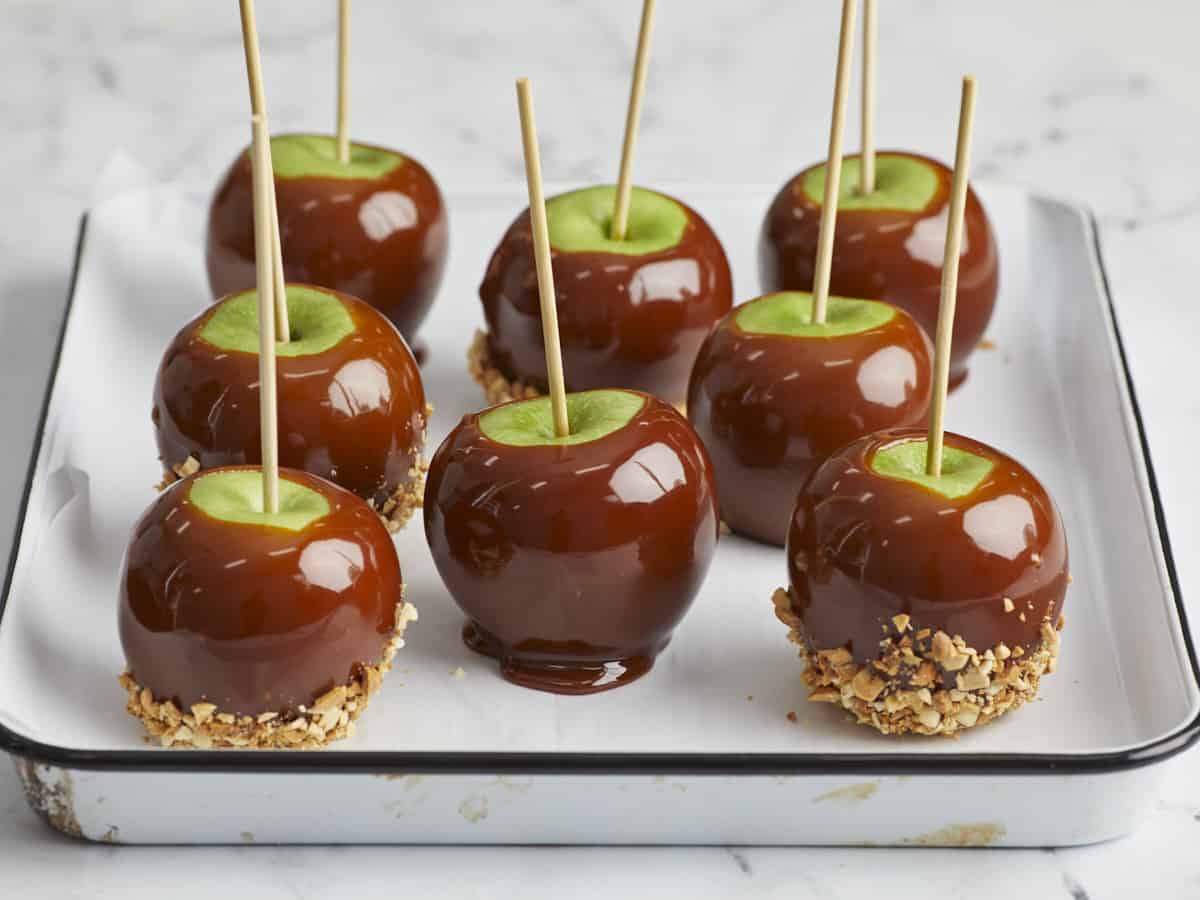
Place each dipped apple back on the parchment-lined baking sheet. The cold metal will help stiffen the caramel. If you want to add other toppings, dip the caramel-coated apples in the extra toppings when the caramel is still warm, and before moving on to the next apple.
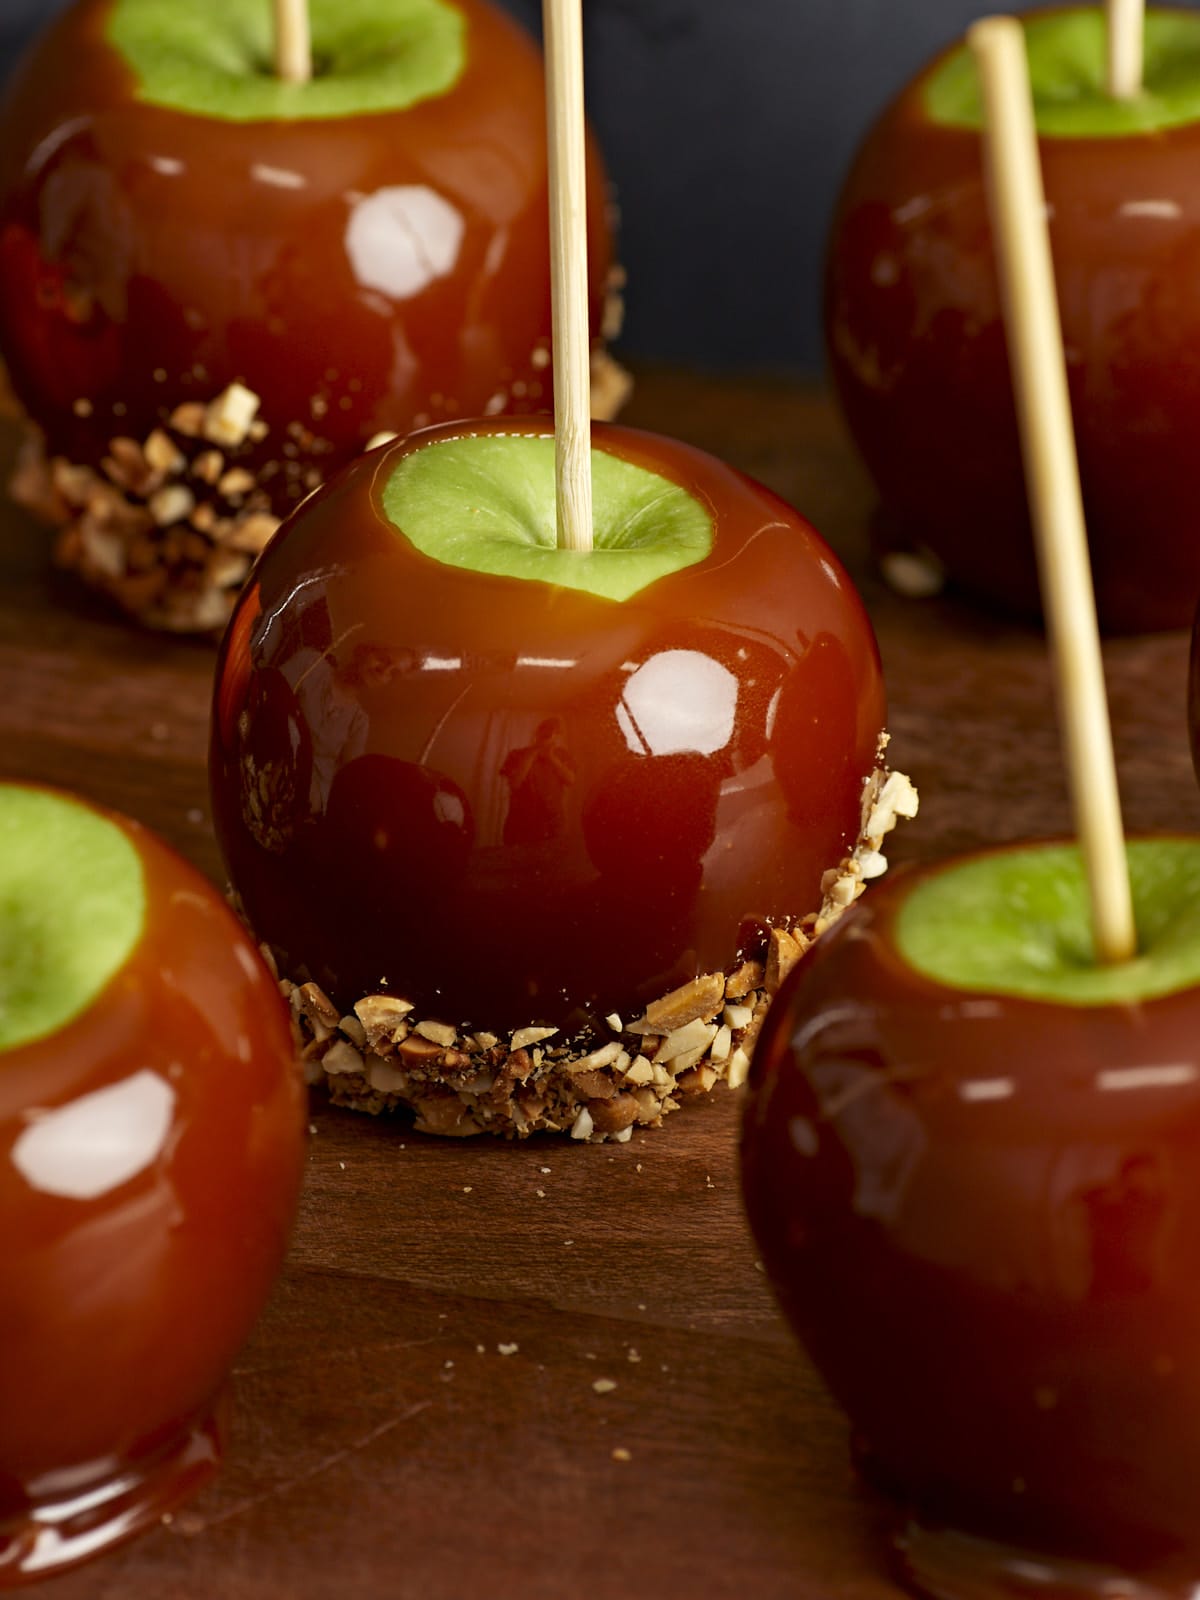
Allow the caramel apples to cool for 10 minutes, or until the caramel is set. Serve immediately, or wrap in plastic or waxed paper and refrigerate for up to two weeks. Enjoy!


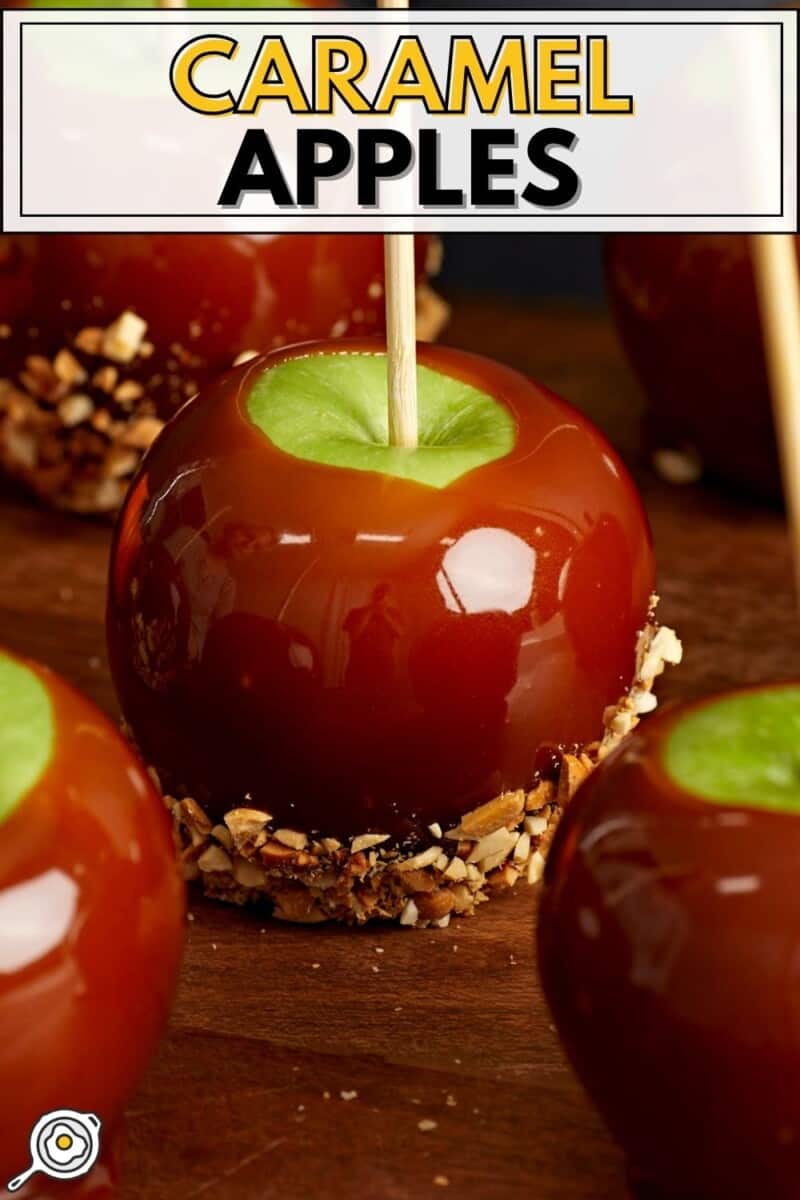




This recipe was a hit and was surprisingly easy!