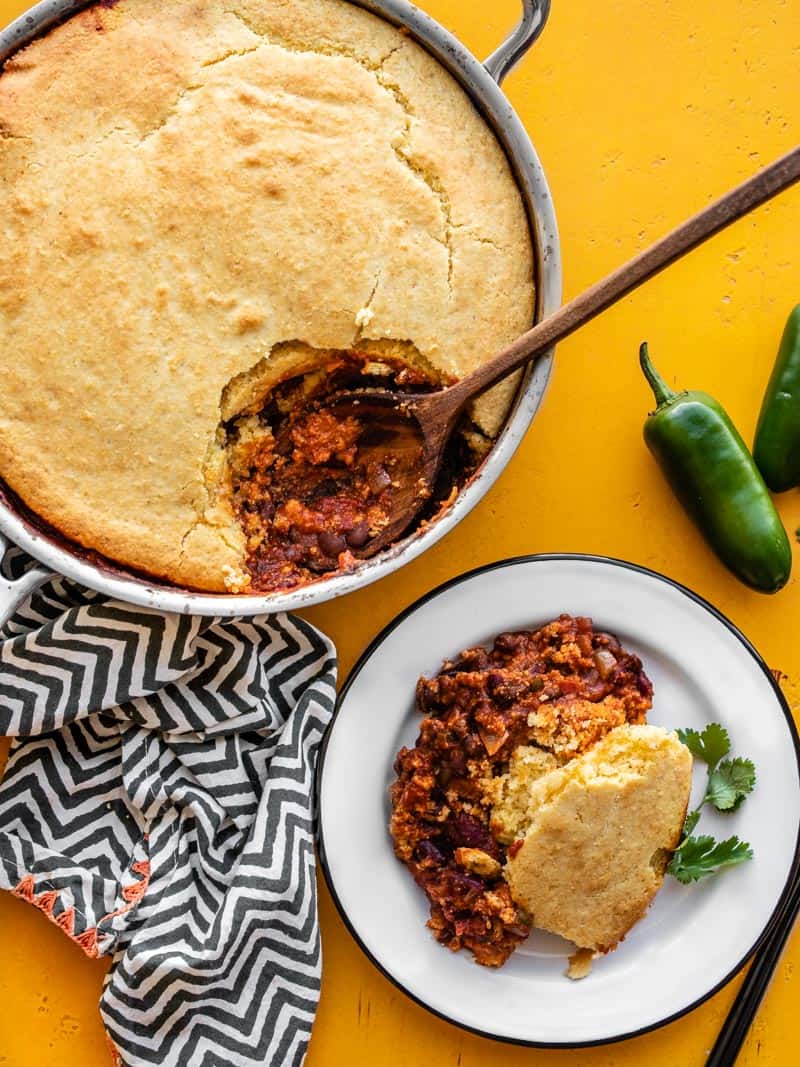
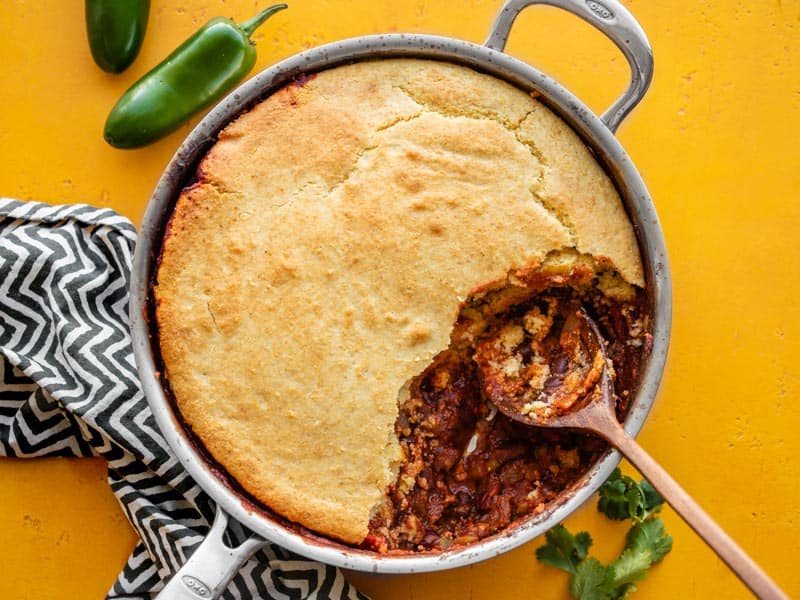
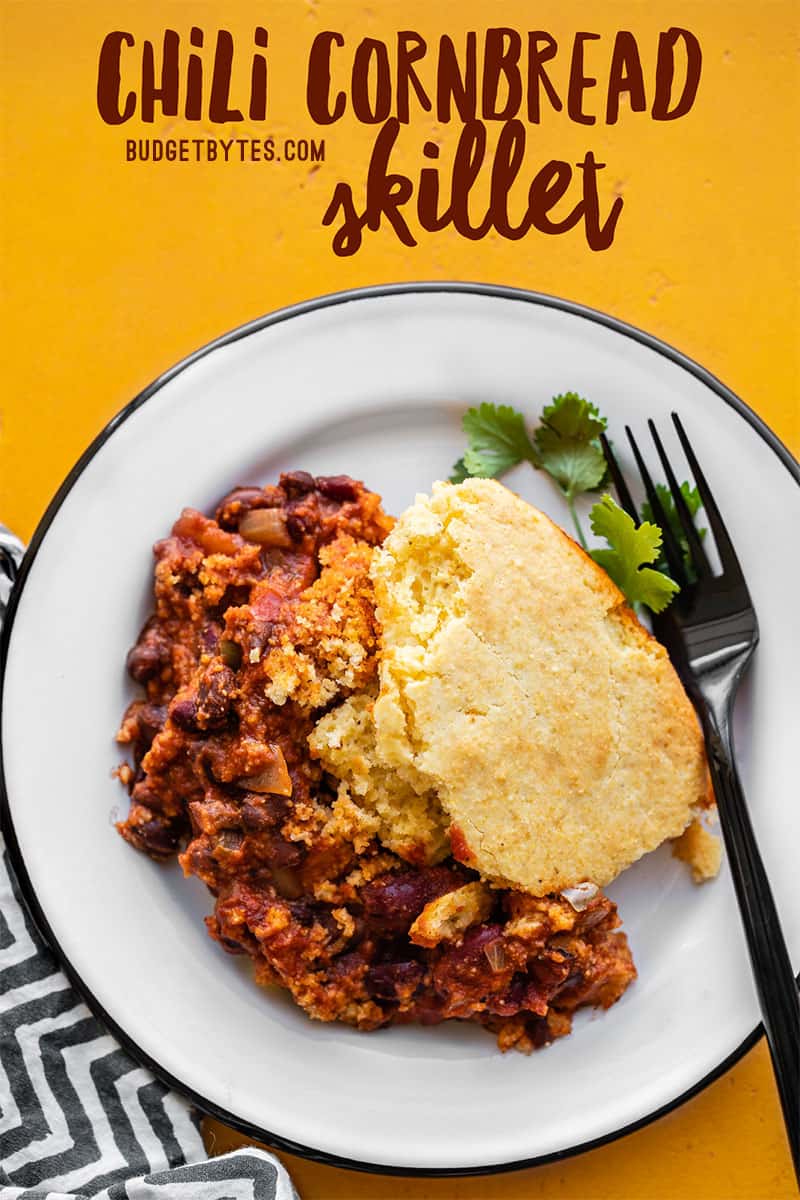
Some nights you just need something warm, comforting, and easy to help melt off the stresses of the day, like a big bowl of chili. And maybe some cornbread, too, for good measure. This easy Chili Cornbread Skillet has all the comfort of a pot of chili, with homemade cornbread baked right on top to avoid excess dishes. Oh, and I hid a layer of gooey cheddar cheese between the chili and cornbread, too. Because cheese makes everything better!🧀
This post contains some affiliate links, which means that we make a small commission off items you purchase at no additional cost to you.
What Kind of Skillet Should I Use?
You’ll want a deep, 4-quart skillet for this recipe. I used my 10″ 4-quart Oxo stainless steel skillet for this recipe. If needed, you could also use a smaller wide soup pot or Dutch oven. Using an oven safe skillet or pot is the best option, but read on if you do not own an oven safe skillet or pot.
What if I Don’t Have an Oven Safe Skillet?
If you only own teflon skillets, skillets with plastic handles, or skillets that have other non-safe parts, you can still make this recipe. Simply let the chili simmer in your skillet or pot while you make the cornbread, and then transfer to a 4-quart casserole dish before topping with the cornbread batter and baking.
Can I Add Meat to the Chili Cornbread Skillet?
Absolutely! I made a vegetarian version this time around because it’s quite cost effective and it makes the meal more pantry-staple friendly, but you can always add meat if you have it on hand or prefer your chili con carne. Simply replace one can of beans with one pound ground beef or turkey. Brown the meat in the skillet before adding the onion, garlic, and jalapeño in the beginning.
Meal Prep and Freezer Friendly
This Chili Cornbread Skillet holds up extremely well in the refrigerator, and is also freezer friendly. As with any meal prep recipe, make sure to divide the dish into single serving portions right after cooking and get it into the refrigerator as soon as possible, so it cools quickly. Once cooled, the chili cornbread will keep in the refrigerator for about four days, or can be transferred to the refrigerator and kept frozen for about 3 months. You can see some of my favorite meal prep containers here.
Chili Cornbread Skillet
Ingredients
Chili
- 1 Tbsp cooking oil ($0.04)
- 2 cloves garlic ($0.16)
- 1 yellow onion ($0.32)
- 1 jalapeño (optional) ($0.15)
- 1 15oz. can fire roasted diced tomatoes ($0.89)
- 1 6oz. can tomato paste ($0.39)
- 3 15oz. cans beans (kidney, pinto, black) ($2.67)
- 1 Tbsp chili powder* ($0.30)
- 1 tsp ground cumin ($0.10)
- 1/2 tsp dried oregano ($0.05)
- 1 tsp salt ($0.05)
- 1 cup water ($0.00)
- 1 cup shredded cheddar ($0.85)
Cornbread
- 1 cup yellow cornmeal ($0.24)
- 1 cup all-purpose flour ($0.15)
- 1/4 cup sugar ($0.20)
- 4 tsp baking powder ($0.24)
- 1/2 tsp salt ($0.02)
- 1 cup milk ($0.31)
- 1 large egg ($0.23)
- 1/4 cup cooking oil ($0.16)
Instructions
- Dice the onion and mince the garlic. Slice the jalapeño lengthwise, scrape out the seeds, and then dice the pepper. Add the cooking oil, onion, garlic, and jalapeño to a large 4-quart oven safe skillet. Sauté over medium heat until the onions are soft and translucent (about 5 minutes).
- Drain the canned beans then add them to the skillet with the tomato paste, diced tomatoes, chili powder, cumin, oregano, salt, and water. Stir to combine.
- Allow the chili to come up to a simmer. Let the chili continue to simmer, stirring occasionally, as you prepare the cornbread topping.
- Begin to preheat the oven to 425ºF. In a large bowl, stir together the cornmeal, flour, sugar, baking powder, and salt until very well combined. In a separate bowl, whisk together the milk, egg, and oil. Pour the milk mixture into the bowl with the cornmeal mixture and stir just until everything is moistened.
- Sprinkle the cheddar cheese over top of the simmering chili. Carefully pour the cornbread batter over the chili and cheese, and spread it around until the surface is evenly covered.
- Transfer the skillet to the fully preheated oven and bake for 25 minutes, or until the cornbread is golden brown on the surface. To serve, simply scoop the cornbread and chili beneath onto a plate or bowl, and enjoy!
See how we calculate recipe costs here.
Notes
Nutrition
Love chili? Check out my Simple Homemade Chili recipe with tons of ways to customize the flavors to make it your own!
How to Make Chili Cornbread Skillet – Step by Step Photos
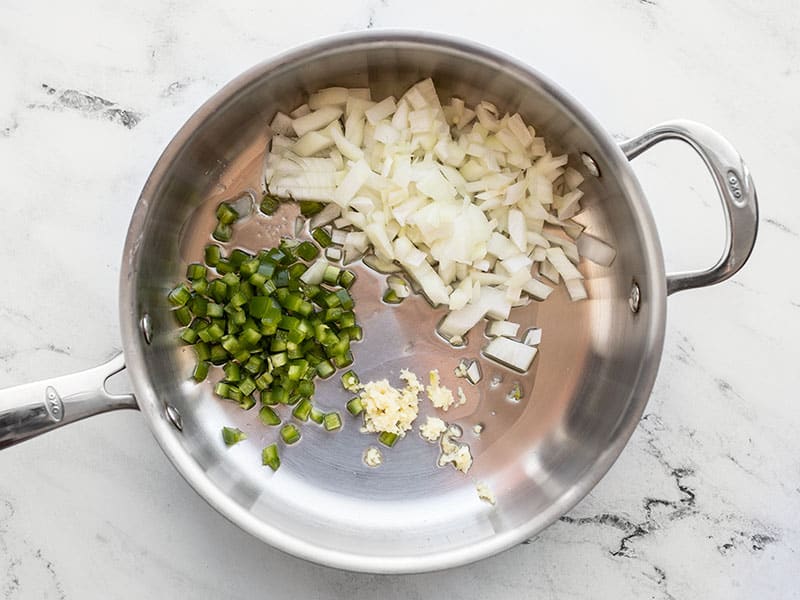
Dice one yellow onion and mince two cloves of garlic. Slice the jalapeño lengthwise, scrape out the seeds with a spoon, then dice the remaining pepper. Add the onion, garlic, and jalapeño to a skillet with 1 Tbsp cooking oil. Sauté over medium heat until the onion is soft and translucent (about 5 minutes).
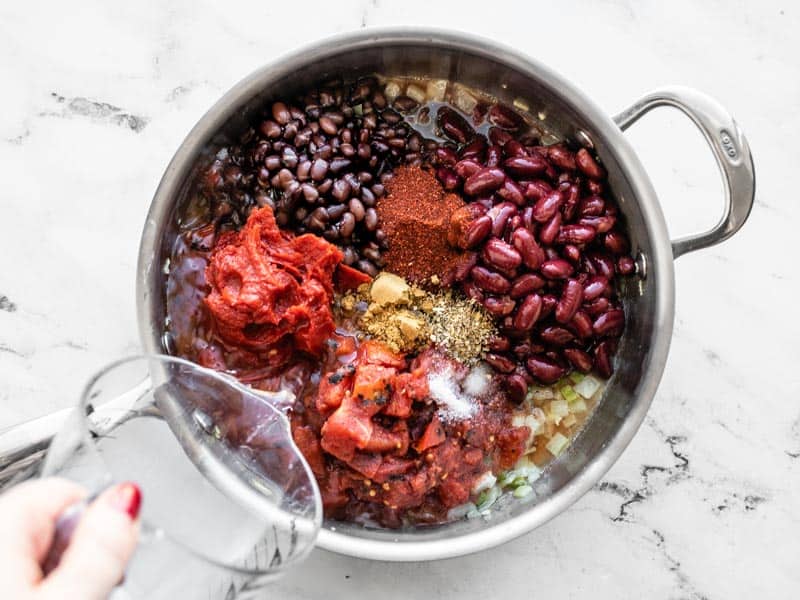
Drain three 15 oz. cans of beans (any combo of kidney, black bean, or pinto—I used two black beans, one kidney). Add the beans to the skillet along with one 15 oz. can of fire roasted diced tomatoes, one 6 oz. can of tomato paste, 1 Tbsp chili powder, 1 tsp cumin, 1/2 tsp oregano, 1 tsp salt, and 1 cup water. Stir to combine. Allow the chili to come up to a simmer over medium heat. Continue to simmer the chili, stirring occasionally, as you prepare the cornbread batter.
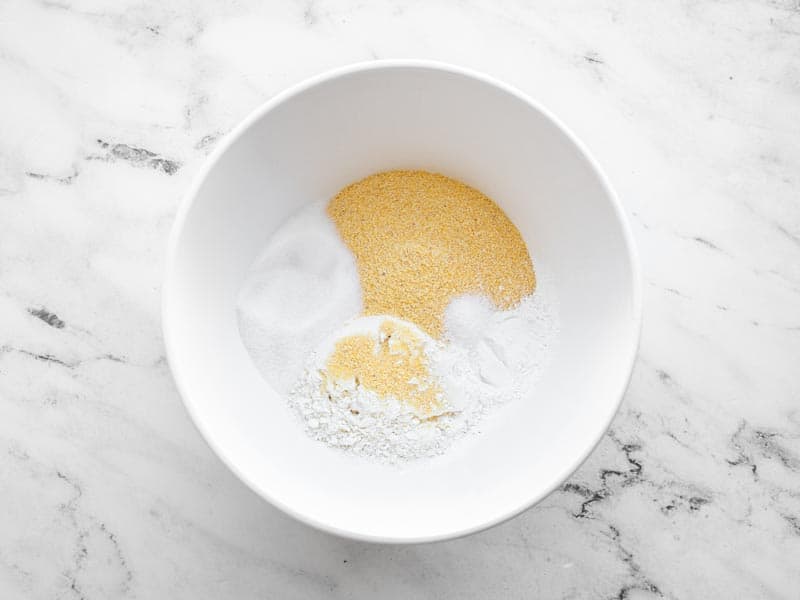
Begin preheating the oven to 425ºF. Combine 1 cup cornmeal, 1 cup all-purpose flour, 1/4 cup sugar, 4 tsp baking powder, and 1/2 tsp salt in a large bowl. Stir until they are very well combined.

In a separate bowl, whisk together 1 cup milk, 1 large egg, and 1/4 cup cooking oil. Pour the bowl of whisked wet ingredients into the bowl with the cornmeal mixture and stir just until the batter is combined (don’t over stir).
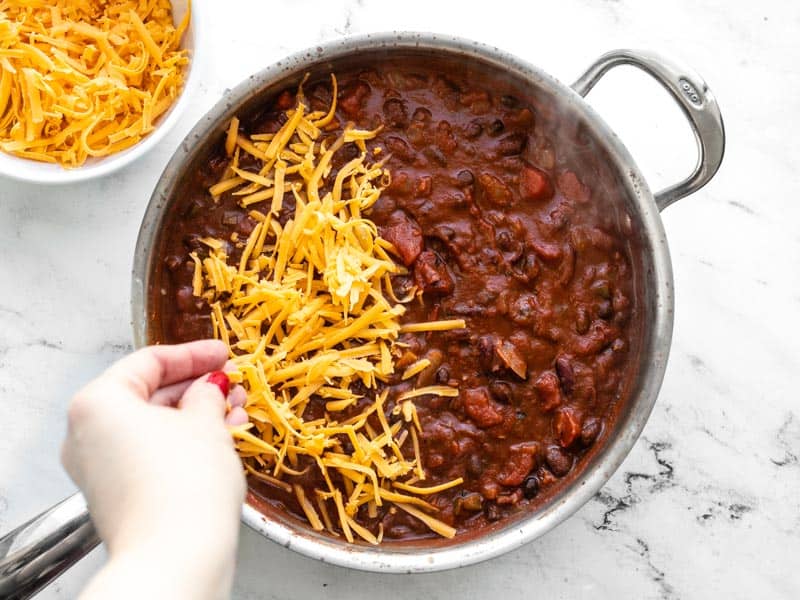
Before adding the cornbread batter to the chili, sprinkle 1 cup of shredded cheddar over the surface of the chili.
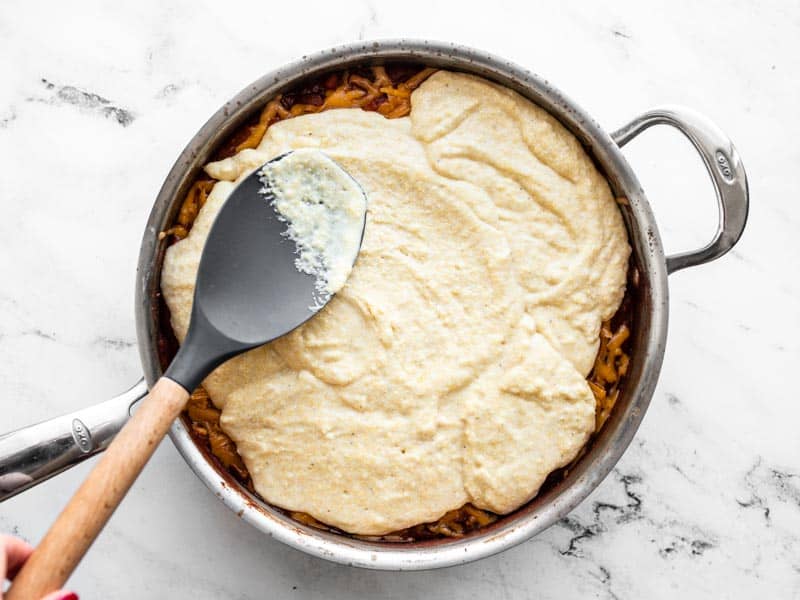
Carefully spread the cornbread batter over the surface of the hot chili, making sure to spread from edge to edge.
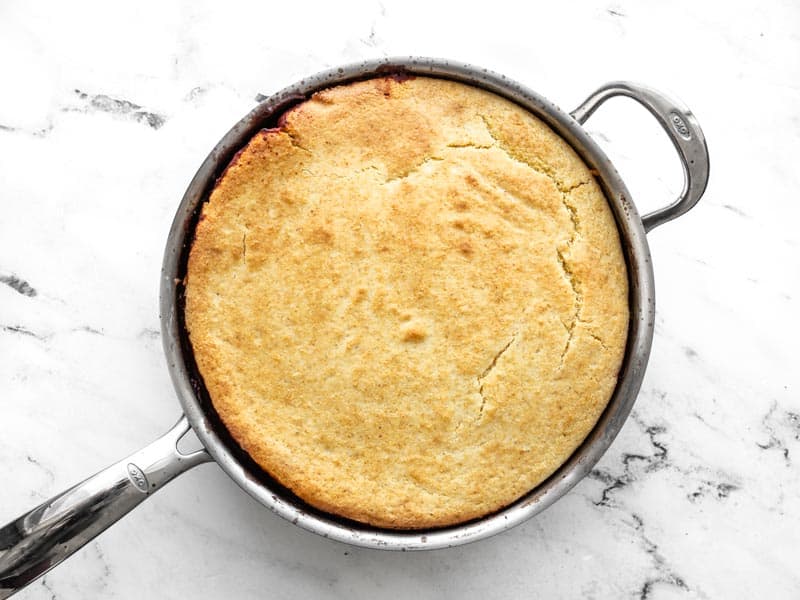
Bake the Chili Cornbread Skillet in the fully preheated 425ºF oven for about 25 minutes, or until the top of the cornbread is golden brown.
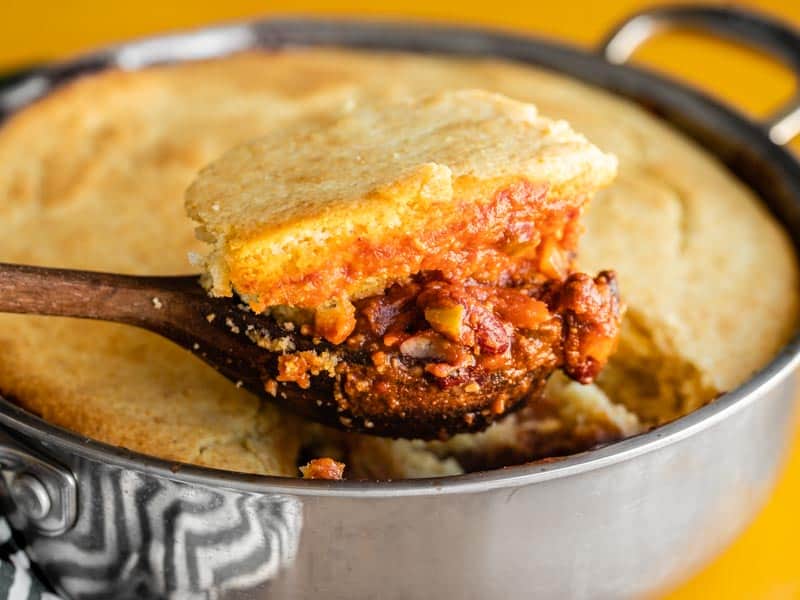
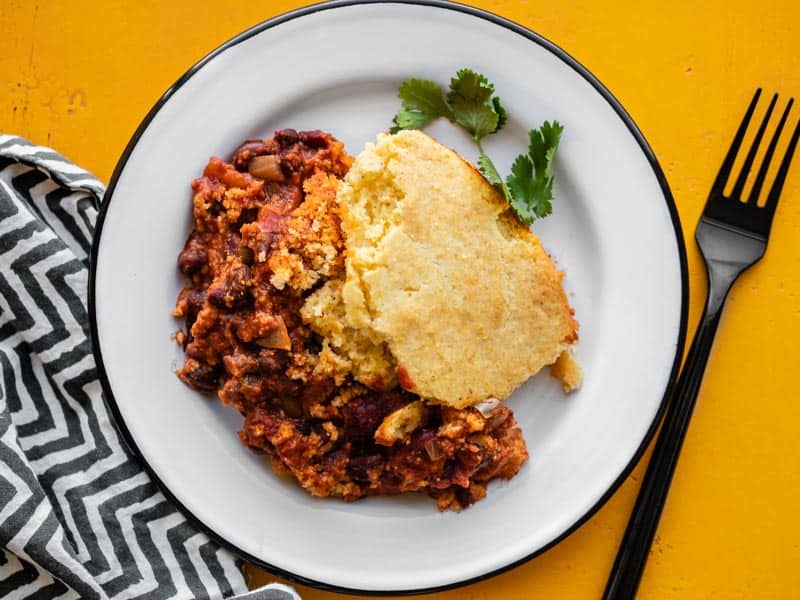
To serve, simply scoop the cornbread and chili beneath out of the skillet and onto a plate or bowl.
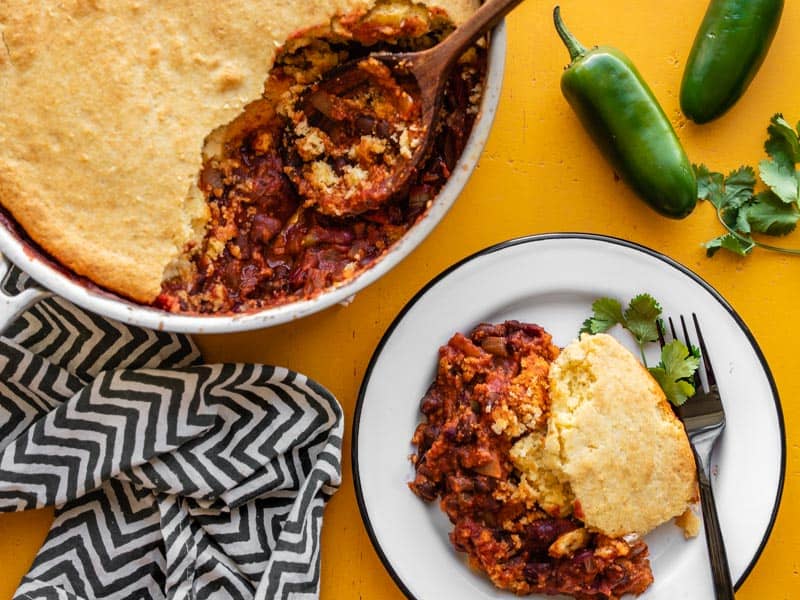
COMFORT FOOD.


This looks delicious! I’m trying to find some vegetarian recipes I can incorporate in my weekly menu to cut down on the grocery bill. Hopefully it’ll past the husband test as he likes his meat…
Made this the other day with leftover chili. It was glorious! I cant believe I never thought of this before! I have often made cornbread with chili. Great cornbread recipe as well.
Made this last night. It was so good and fun to make. I didn’t have canned tomatoes, so I used fresh instead, and it was great! I will definitely make this regularly this Fall/Winter.
I made this last week, and it was SO good! I don’t have a cast iron skillet, so I made it in my Dutch oven. Thanks for all your work on this site!
Very flavorful and hearty. Will make it again soon. Yum.
Had it on my list since you posted it, and finally made a big batch of chili, so today I had chili in the fridge, a cube of cheddar to grate and all the ingredients to cover it all up under a cornbread layer.
It was delicious, will definitely make it again! (also a great way to serve chili to guests).
Amazing! Rave reviews from the husband, 8 yr old and 15 yr old! I was able to whip this up before work (I work 12 hr night shifts) and had it for dinner with the family. Hubby ate nearly all the leftovers the next day, and I enjoyed them for my lunch too. My last two chili recipes i attempted did not turn out as planned so was very pleasantly surprised this one was so simple yet so good!
Only changes: forgot to add the cheese before the corn bread so we all sprinkled it on our dishes.. Added 1/2 lb hamburger I had precooked in the freezer.. Oh and added a can of corn for good measure :)
Mmm.. Adding this into the regular rotation! Thank you! :-)
another keeper for the recipe file! it reminded me strongly of frito pie! i’m already thinking of ways to modify – add a can of stock to make it more like a stew, or use it as an enchilada filling with corn tortillas and red sauce…. YUM!
NOM! I had some leftover canned chipotle chillies languishing in my fridge, so I added a little of that, but I can tell it would be just as tasty without it! Thanks again Beth for keeping this non-starving student alive!
We were going to wing it in a casserole dish because we didn’t have a cast iron skillet; happened across a 12″ for $17, snapped it up. Made this dish tonight with ground beef, incredible. Love that skillet and this dish. Thank you for sharing.
Delicious! Made this with home-cooked beans, sweet dumpling squash, and a sweet potato. It was excellent!
LOVED this. This is a very generous recipe; makes a lot of food so best to use a BIGGG dish. The cornbread recipe is perfect. For the chilli, I added mushrooms and green peppers and doubled the chilli powder & cumin amount.
I will be making this again for sure, keep them coming Beth, love your blog!
I made this last night for dinner and it was tasty. My skillet was 12″ rather than 10″ so I increased all the ingredients by 1/4 EXCEPT the egg (I used 2) and I left the oil amount the same (extra egg will make up for less oil). I used a quart of vegetarian chili that I had in freezer, added about a pint of fresh corn, 2 sauteed diced poblano peppers and several diced tomatoes. I used double the amount of cheese, half cojack and half pepper jack. It cooked in the same amount of time you listed, did not need longer. We served it with plain non fat yogurt. I had a piece for breakfast today.
Hi Beth! Just curious, are fire roasted tomatoes spicy? I’ve never used them before and I’m not a big fan of spicy food. If they are spicy would a plain can of diced tomatoes be ok? Thanks!
Nope, they’re not spicy at all. :) They just have a hint of smokiness, which I like. If you can’t find fire roasted tomatoes, a can of regular diced tomatoes will do the job!
tried this for the first time tonight, we did add 1/4 tsp cayenne and a small amount of finely diced ghost chili, (husband and i like it hot) this is a most amazing meat-less dinner, ALL the flavors!!!, all we can say is
WOW, we have tried so many of your recipes already, and look forward to many more. YUM YUM