I’m all about making a special meal at home for Valentines Day rather than fighting the crowds at the restaurants. Cooking together is more intimate, special and is some of the best “quality time” you can have together. And men, listen up, this dessert is SO EASY that I promise you can do it. I’m telling you, there is nothing sexier than a man who can whip up something delicious in the kitchen. So at least try! With only five ingredients (most being kitchen staples), this Valentines Day dessert is an easy win.
If you’re single this Valentines Day, why not make something special for yourself? Grab a bottle of wine, a couple of your single friends and indulge in this super delicious dessert.
This recipe can easily be doubled or tripled if you want to make more for a crowd.
I bought these ramekins for this recipe (I needed some anyway). In store they are sold individually for $2.46 each, not bad. Some people say they’ve gotten ramekins at the dollar store so check it out. Just make sure they’re oven safe!
Chocolate Lava Cake for Two (or one)
Chocolate Lava Cake for Two (or one)
Ingredients
- 1 whole + 1 yolk large eggs ($0.32)
- 2 Tbsp white sugar ($0.02)
- 4 Tbsp + 1 tsp butter ($0.16)
- 1/3 cup semi-sweet chocolate ($0.50)
- 2 Tbsp flour, divided ($0.02)
Instructions
- Divide 1 tsp of butter between two four-inch (8 oz.) ramekins. Using your fingers, smear the butter all over the inside surface of the ramekins until they are coated. Tbsp of flour inside one ramekin and roll it around until the entire inside is dusted with flour. Pour the excess flour into the second ramekin and dust in the same manner. Discard the excess flour from the second ramekin.
- Preheat the oven to 450 degrees. In a small bowl combine the egg, egg yolk and white sugar. Using a mixer, whip the mixture until it is aerated and a light yellow color (about 2 minutes).
- In a small microwave safe bowl, combine the chocolate and butter. Microwave for 15 second intervals, stirring well between each interval. The chocolate will melt further as you stir between heating so stir well. My chocolate took 3, 15 second intervals (45 seconds total) to melt completely.
- Stir the remaining 1 Tbsp of flour and the melted butter/chocolate mixture into the whipped eggs and sugar. You can use the mixer again if desired but I just stirred really well with a fork.
- Divide the cake batter between the two ramekins. Place the ramekins on a baking sheet and place in the oven. Cook for 8-10 minutes. Keep a close eye on the cakes, you want to remove them from the oven when the edges are set but the centers are still soft and jiggly.
See how we calculate recipe costs here.
Nutrition
Step By Step Photos
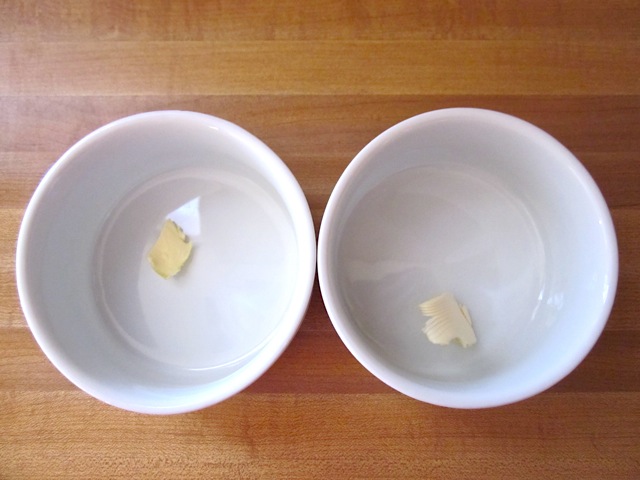
Place a little bit of butter in each 8 oz. ramekin. Smear it all around until the inside is completely coated.
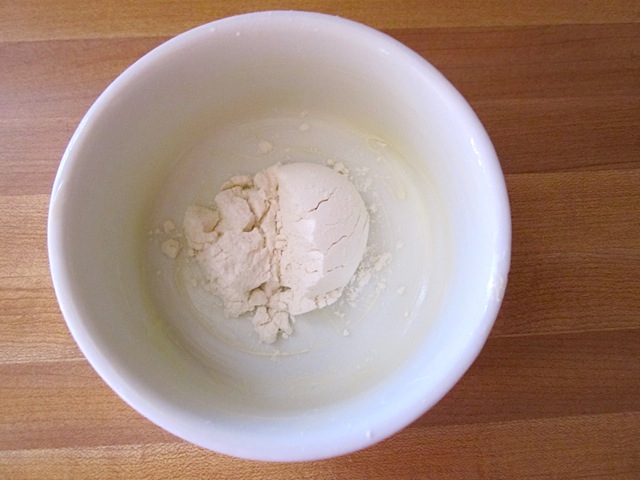
Place a tablespoon of flour in one ramekin and roll it around until the entire inside is coated in flour. Pour the excess flour into the second ramekin and coat in the same manner. Discard the excess flour from the second ramekin.

Now the ramekins are coated in butter and flour and the cake will not stick.
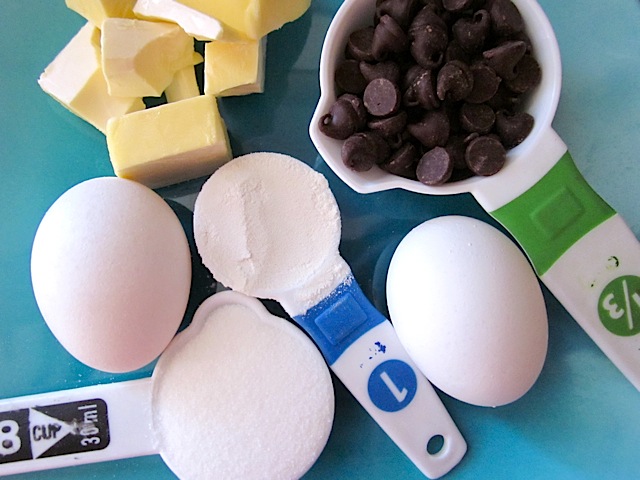
These are the only ingredients: butter, chocolate, eggs, sugar and flour. EASY.

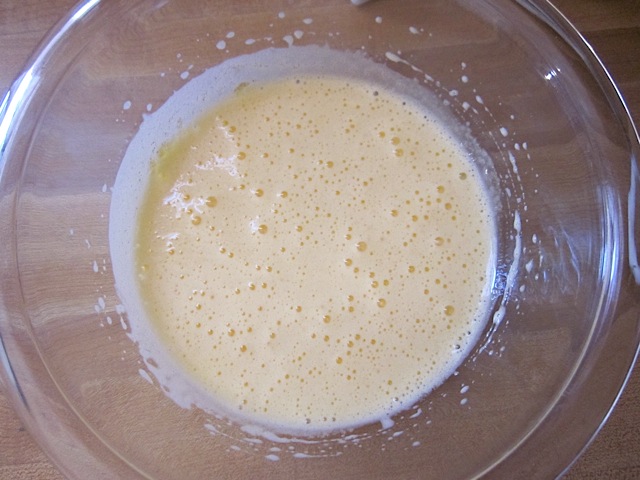
Place the egg, egg yolk and sugar in a bowl. Mix on high until it is aerated and a light yellow color (about 1-2 minutes).
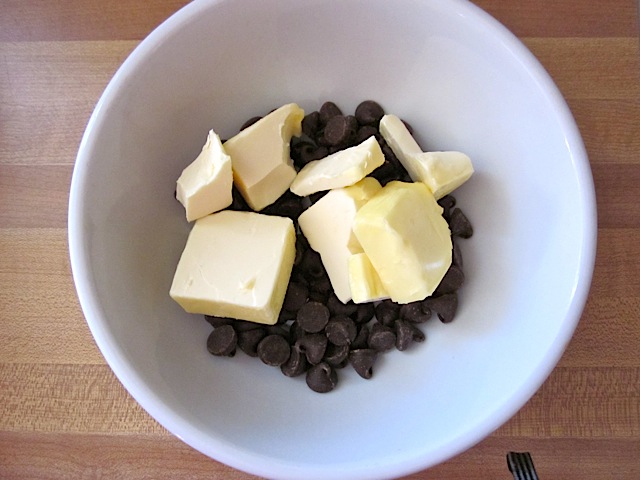
Place the chocolate and butter in a microwave safe bowl. Microwave for 15 seconds then stir will. Repeat the microwaving and stirring until it is completely melted. Do not microwave for more than 15 seconds at a time or else the chocolate could scorch. Mine took about 45 seconds total to completely melt.
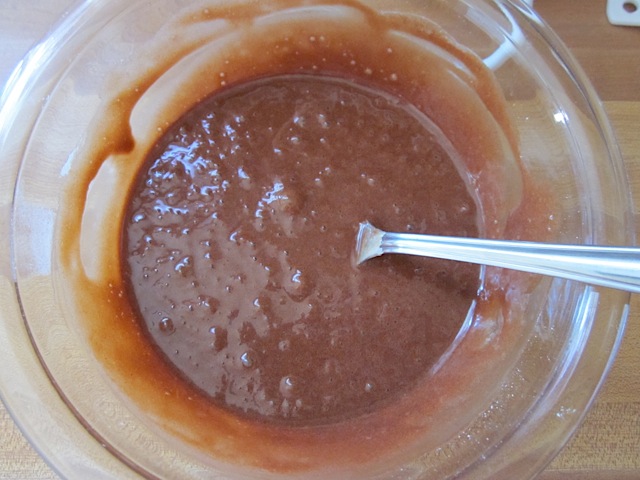
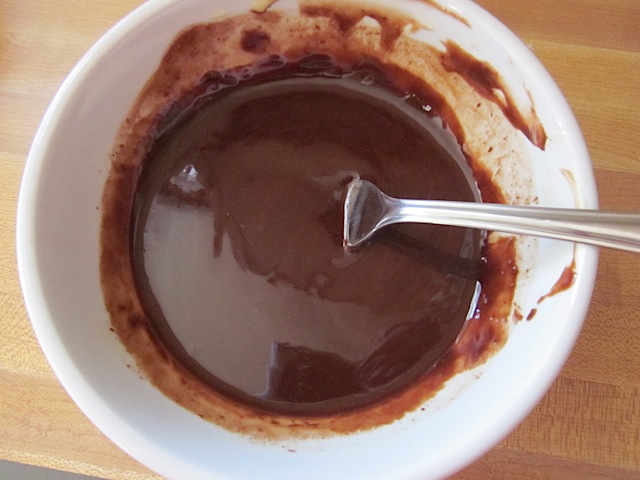
Combine the remaining 1 Tbsp of flour, the melted chocolate and butter and the egg and sugar mixture. Stir it up well until everything is evenly mixed. This is the finished batter.

Pour the batter into the two ramekins. It will only fill a four inch ramekin about 1/3 of the way to the top. The cake will expand a little while cooking.
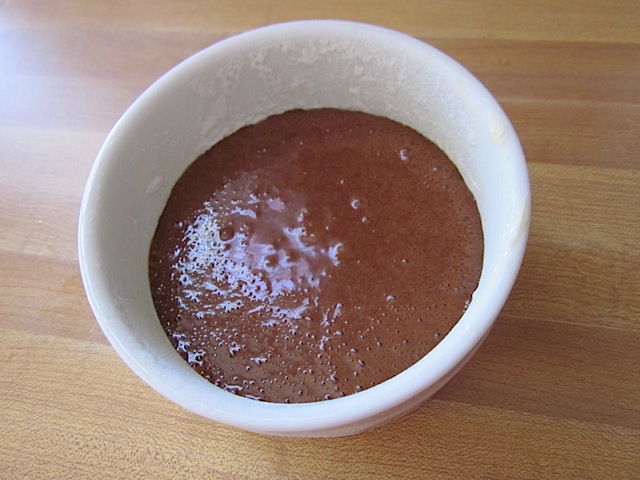
It looks like a very small amount but the cake is super rich.

Bake in a preheated 450 degree oven for 8-10 minutes. You only want to bake until the outer edges are set but the middle is still soft and jiggly. Mine cooked for about 1 minute too long. You can tell because the centers are high and have expanded which means they are fully cooked. If the center was still molten, the centers would be slightly depressed compared to the outer edges. Just watch them closely after 8 minutes in the oven. Shake the baking sheet a little to see if they’re set.
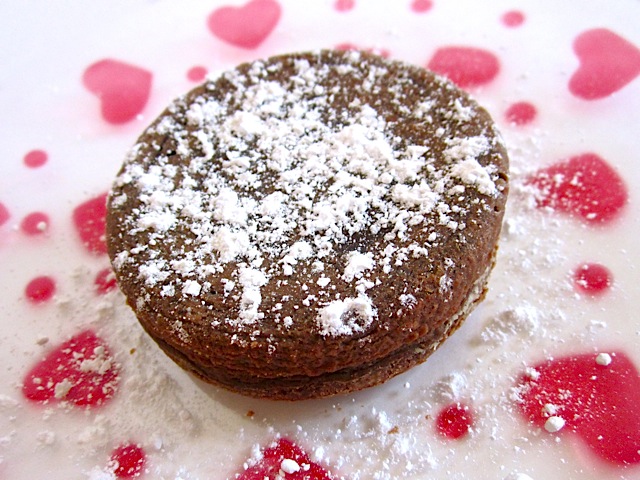
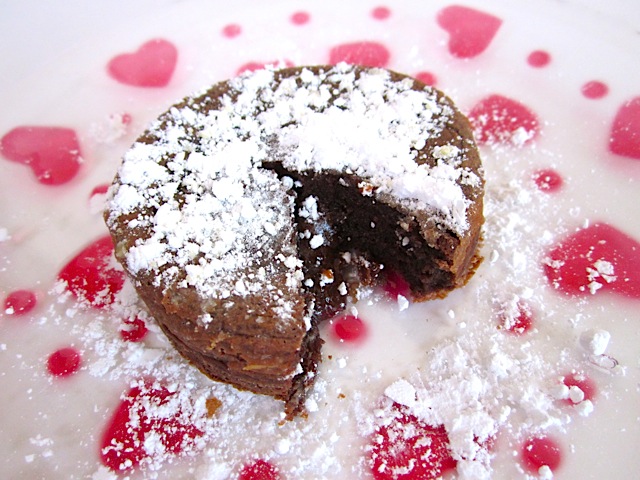
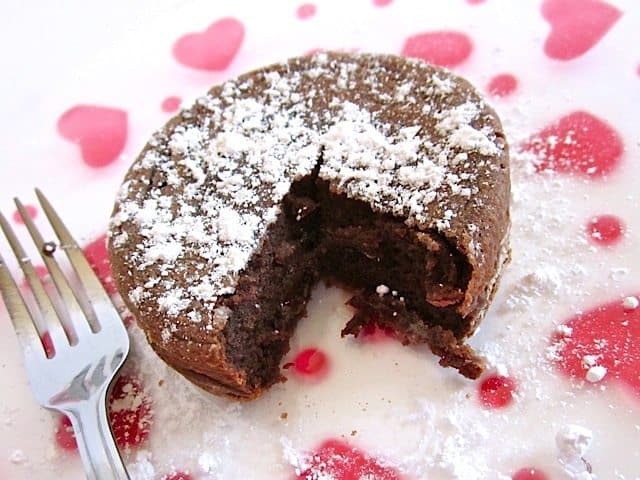
Turn the ramekin over onto a plate and the cake should fall out. Sprinkle with powdered sugar or top with whipped cream or berries.

See, the inside is completely cooked. Ooops. It was still super rich and delicious.

CAN’T. STOP.
Beth. The Chocolate Lava Cakes were on point! My sister made this amazing dessert as a late Valentine’s Day present. The cakes were served with vanilla ice cream and whipped cream. I would make this recipe again very soon. Thank you, Beth!!!! ❤☺
Could you say what size your Ramekins are, measurements or how many ounces they hold. I looked up the one you linked and they aren’t sold anymore and it gave no sizes. There are so many different size ramekins! :) Thank you Beth, I just discovered your site today and I love it!! Looking forward to trying so many recipes!
Yes, sorry about that. On these older recipes I wasn’t as thorough. :P These are 8 oz. ramekins.
Turned out pretty good. A little jelloish, but I think that’s because I didn’t have any ramekins and measured it a little off. Still delicious though. Thanks!
Making these for our 2nd wedding anniversary :) I do hope they come out as planned!! will let you know soon enough! By the way… I loooooove your food blog!
I tried making these last night, and they were delicious, they really were. However, they barely rose, and I believe I probably overcooked them, so they definitely came out exactly like fudgy brownies. How can I fix this?
Also, they tasted a bit too flour-y, but I think that may have just been my flour as that’s been happening with everything I bake lately.
Mine didn’t really rise a lot, either, so you’re good on that point. To get the center more lava-like, just decrease the cooking time. It can be a bit tricky because you have to catch them at just the right point and everyone’s oven is a little different. Try decreasing the cooking time by 2 minutes and see how that works.
When I say they barely rose, I mean they were probably half of, maybe three quarters of, an inch thick. Is it possible that my ramekins were just too big?
Ahhhh, yes. Mine must have been smaller because the raw batter was at least an inch thick when I poured it in. :)
Mine got really puffy, like sponge cake, and then sunk down. Your pictures show a much denser cake – is it possible to whip up eggs too much?
The cake sinks in the middle. Don’t know why.. ;(
It didn’t turn out good ;(
Me and my fiancé made these last night, we too cooked them a little to long. They still tasted great, we also used 60% cacao instead of semi-sweet chips.
Tried making these today, tasted great but it stuck to the ramekin and became a mess! Anyone know why it sticks? I used a TON of butter on the outside.
But thanks for the recipe! Will try it again.
Try rubbing the inside of the ramekin with butter, then dusting it with a little bit of flour.
thiz iz so amazing…………i m very glad that i found thiz recipe thanxz to post thiz recipe. really its so yummy and full my tummy……
Update! Kept oven at 400, omitted the baking chocolate in the center, baked 10 minutes, and let them cool for 15 minutes after cooking. I also put cocoa powder on the inside of the ramekins over the butter. They were amazing!!!!! I must resist making these every night.
Made these tonight. My oven runs 50 degrees too hot on most recipes so I turned it down to 400. I baked 8 minutes and saw the sides had pulled away a bit so I pulled them out not wanting to overcook them. Unfortunately, they were undercooked because when I tried to put them on a plate they just fell apart. The mess was still delicious :) Next time I won’t put baking chocolate in the center because there was a ton of lava in the middle. I think that contributed to them being unstable. I’ll bake them 10 minutes and see how they go next time.
Made these last night and they turned out fabulous. Did them exactly as the recipe called for, although I did beat the egg by hand, which I came to regret once the hand cramps set in :) They did stick quite a bit to my ramekins, even though they were buttered and floured, but they still tasted fine with an oozy middle, they just didn’t look as pretty (and that doesn’t matter as much when you throw Oreo ice cream on top, anyway…). Thanks very much for sharing, and for the great visual instructions!
A bit late to the party but I’ve made these a few times recently and I’ve found that they seem better to me with dark chocolate, the flavor is a little bolder. I will confirm that 2 whole eggs is also a bit too eggy. Also, if you want it gluten free you can just use a GF flour mix, it seems to work out fine and doesn’t have texture issues.
Hahahah, that may be the worst typo I’ve ever made! At least I spelled it right earlier in the written directions. Fixing the photo caption now :)