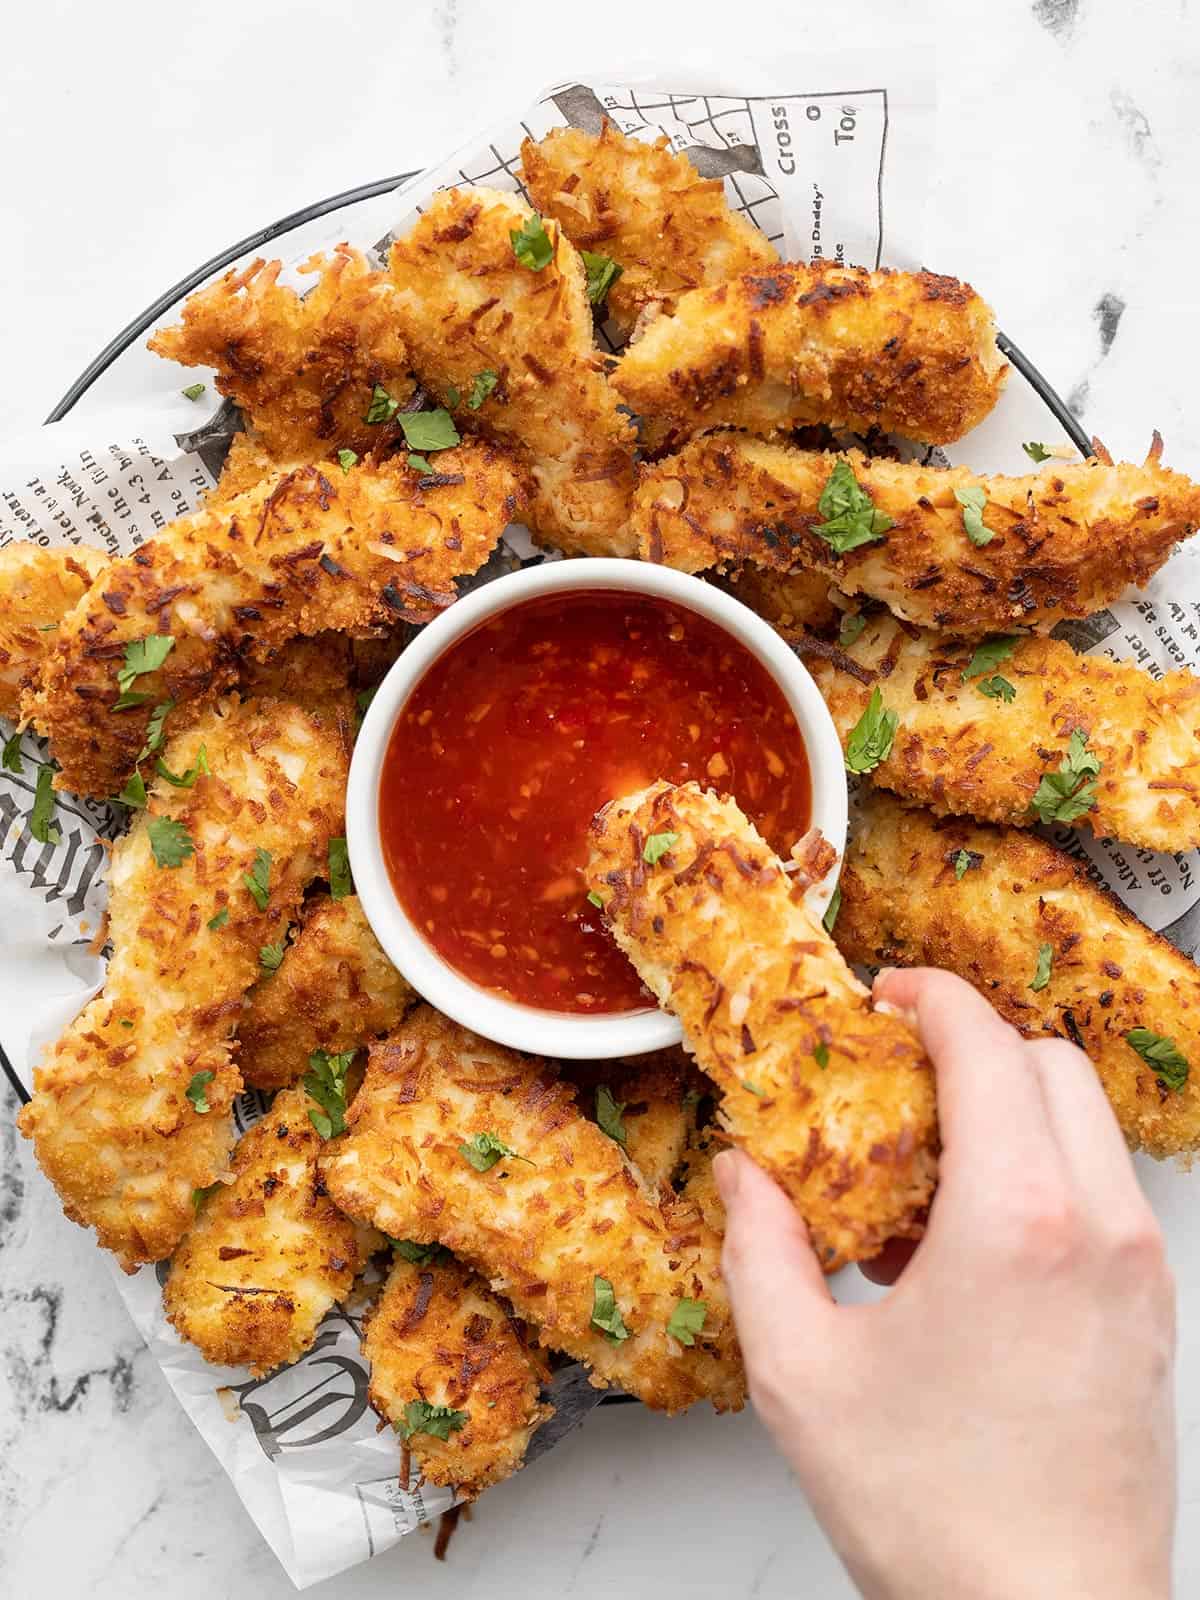
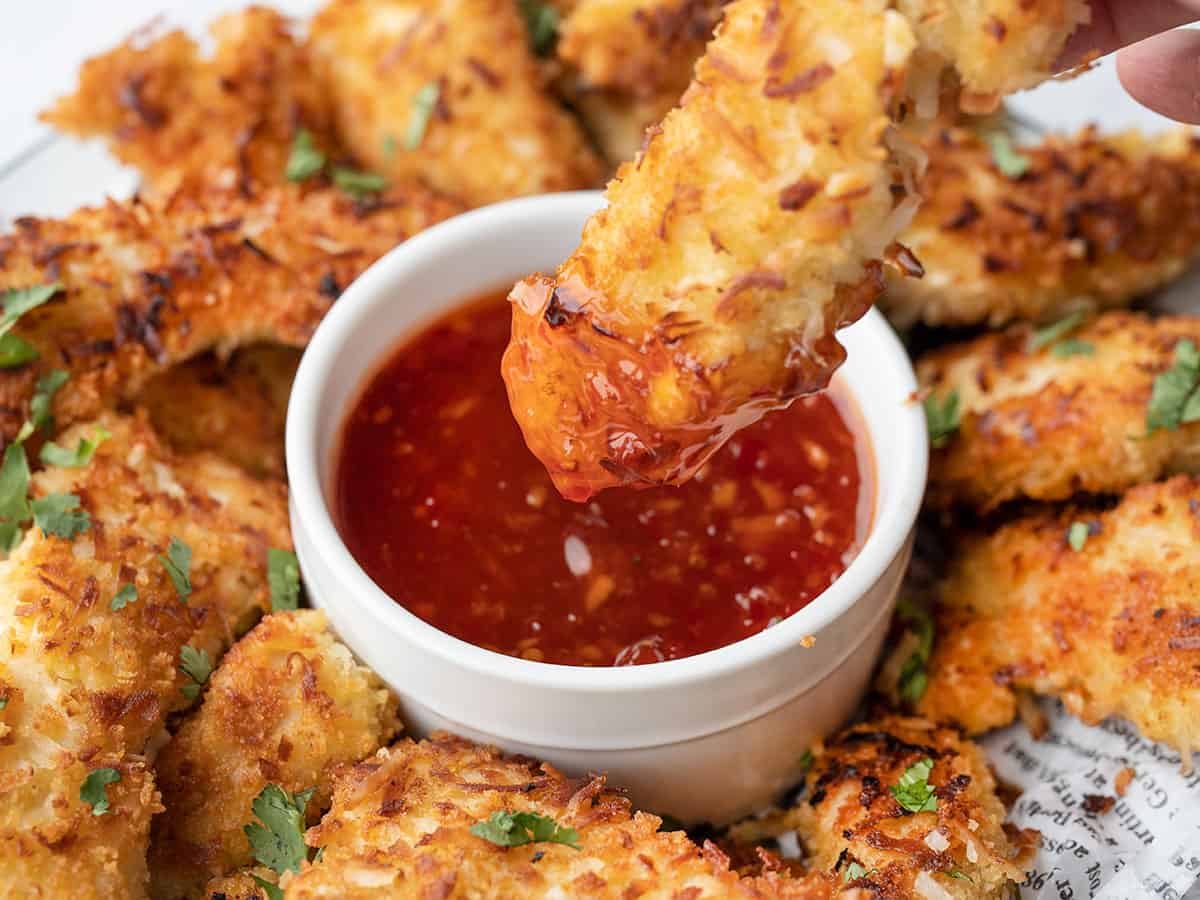
Talk about addictive! Once you try one of these crispy Coconut Chicken strips dipped in tangy sweet chili sauce you’re going to want to make them on a weekly basis. Because the chicken is sliced nice and thin and then cooked quickly in hot oil, the chicken stays juicy and tender on the inside, while developing a perfectly golden brown and crispy exterior. Pair that with a bowl of cool, sweet, and tangy Thai sweet chili sauce for dipping and I’m in absolute heaven. So if you love chicken tenders, chicken strips, boneless wings, or anything along those lines, I think you’re going to love these Coconut Chicken Strips.
This post contains some affiliate links, which means that we make a small commission off items you purchase at no additional cost to you.
What Kind of Chicken to Use
I’ve tried this recipe with both chicken breast (boneless, skinless) and chicken tenders. Chicken tenders ended up being too large when used whole, so while they are an option you’ll probably still want to slice them into thinner pieces before breading and cooking.
Another option would be to use boneless, skinless chicken thighs cut into chunks, so you’ll have something more along the lines of coconut chicken “bites” than strips. I think that would be awesome! The dark meat of chicken thighs will be extra tender and juicy.
Cooking Options
You have three different options when it comes to cooking these coconut chicken strips, frying, air-frying, or baking. Here is how to cook using each method:
Frying – I chose to shallow fry my coconut chicken strips in a skillet because I don’t have a deep fryer and I don’t deep fry often enough to warrant using as much oil as deep-frying requires. Shallow frying will still get you that great super crispy exterior without allowing the inside to dry out.
Air Frying – I do not own an air fryer, so unfortunately I can’t offer suggestions for cooking times and temperature, but I suspect these chicken strips would be a good candidate for air frying. Because this appliance uses hot air, similar to an oven, I would suggest either spritzing the strips with a little spray oil or mixing a tablespoon or two of oil into the panko and coconut mixture to help with browning.
Baking – While you can bake these, the results won’t be as awesome as frying. Baking takes longer and the hot air causes more evaporation, which results in drier chicken. You also won’t get as much browning as you will with frying. To help the browning issue, you can try adding a tablespoon or two of oil into the panko and coconut breading mixture, similar to the technique used in my Homemade Chicken Nuggets. I suggest using the baking temperature and technique used for the chicken nuggets as well, but increasing the bake time by a few minutes.
What to Serve with Coconut Chicken Strips
Don’t skip that sweet chili sauce! You can find sweet chili sauce in the international aisle of most major grocery stores, or you can try making your own with my Homemade Sweet Chili Sauce recipe. For side dishes, you can pair this with something like Crunchy Cabbage Salad with Sesame Dressing, Cucumber Mango Salad, or Savory Coconut Rice.
What Oil is Good For Frying?
It’s really important to use the right kind of cooking oil for frying. Every type of cooking oil has a different “smoke point,” which is the temperature that the oil begins to smoke and burn. And obviously, we want to avoid that because burned oil does not taste good (and it’s a fire hazard!). So, you’ll want to choose an oil that can withstand the high temperature of frying and an oil that doesn’t have a strong flavor of its own. Some good oils to choose from are canola oil, vegetable oil, safflower oil, refined coconut oil, corn oil, peanut oil, soybean oil, safflower oil, refined olive oil, or refined avocado oil.
[np_shared_counts]
Coconut Chicken Strips with Sweet Chili Sauce
Ingredients
- 1.3 lbs. boneless, skinless chicken breasts ($7.70)
- ¼ tsp salt ($0.01)
- 2 Tbsp all-purpose flour ($0.02)
- 2 large eggs ($0.42)
- 1/4 cup coconut milk ($0.25)
- 1 cup panko breadcrumbs ($0.22)
- 1 cup sweetened flaked coconut ($0.56)
- 1/2 cup cooking oil, divided* ($0.32)
- 1 cup sweet chili sauce ($1.43)
Instructions
- Slice the chicken breasts into ½-inch wide strips, slicing diagonally to maintain a more even length among the strips.
- Sprinkle the salt and flour over top of the sliced chicken. Toss the chicken until they're evenly coated.
- Whisk together the eggs and coconut milk in a bowl. In a separate wide shallow bowl, stir together the breadcrumbs and flaked coconut.
- To bread the chicken, dip each chicken strip into the egg wash, allow the excess to drip off, then dip it into the breadcrumb mixture until it's fully coated. Place the breaded chicken strips on a clean plate or tray until they're all breaded.
- Once they're all breaded, it's time to fry. Heat ¼ cup cooking oil in a skillet over medium heat. To test the heat of the oil, drop a breadcrumb into the oil. It should begin to sizzle immediately. If the oil begins to smoke at anytime, remove it from the heat and allow it to cool down.
- Once the oil is hot, add the chicken strips, several at a time, leaving a little space between each one. Cook the chicken strips for about three minutes on on each side, or until they're deeply golden brown. Transfer the cooked chicken to a paper towel lined plate to drain, then repeat with another batch of chicken. Remove any burned pieces of coconut before beginning the next batch, and add more oil as needed, making sure to wait until it is hot before adding more chicken.
- After frying all of the chicken, it's time to serve! Serve hot with a bowl of sweet chili sauce for dipping.
See how we calculate recipe costs here.
Notes
Nutrition
How to Make Coconut Chicken Strips – Step by Step Photos
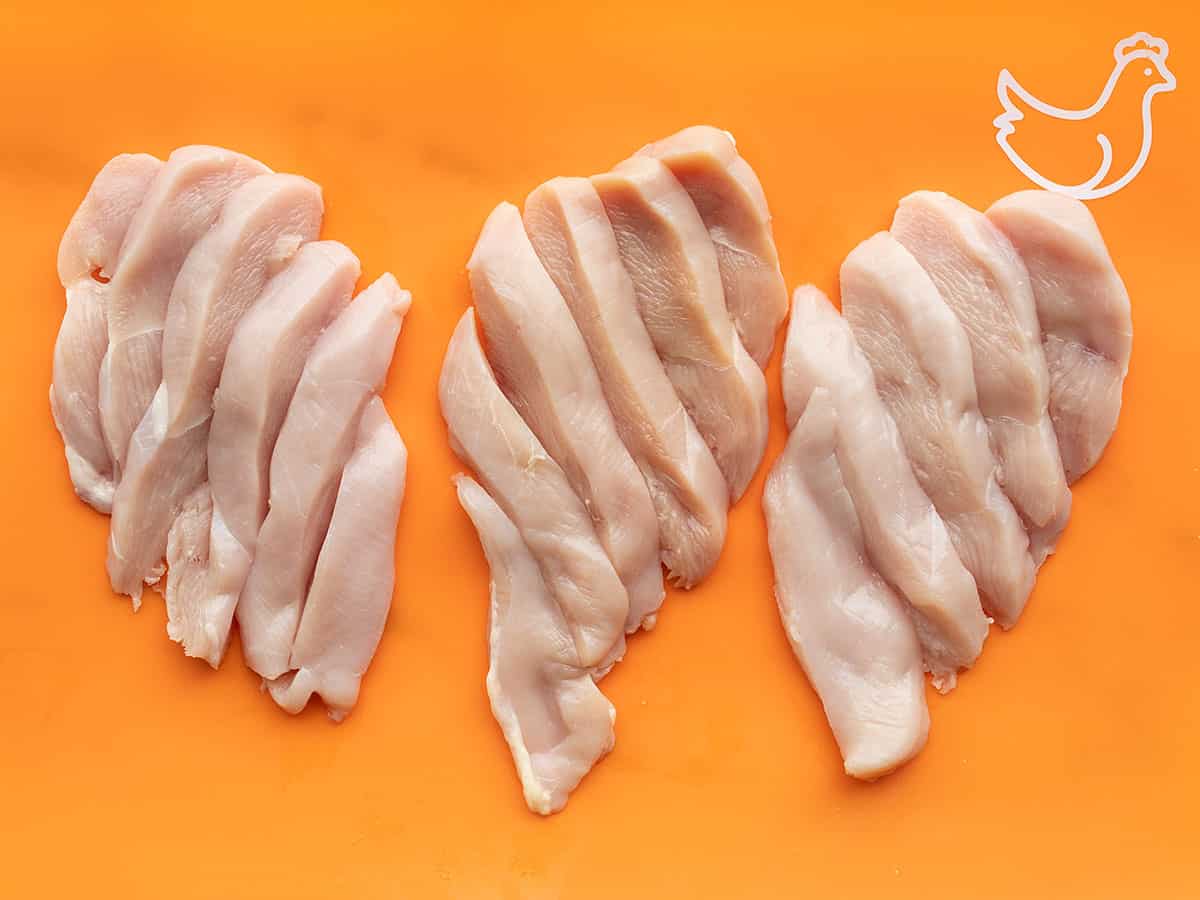
Start with about 1.3 lbs. of boneless, skinless chicken breast. Cut them into ½-inch wide strips. I like to do this sort of on a diagonal to keep them more even in length. If your chicken breasts are very large, you might want to cut the length of the strip in half as well. Cutting the chicken strips thin enough is important because this allows it to cook through quickly.
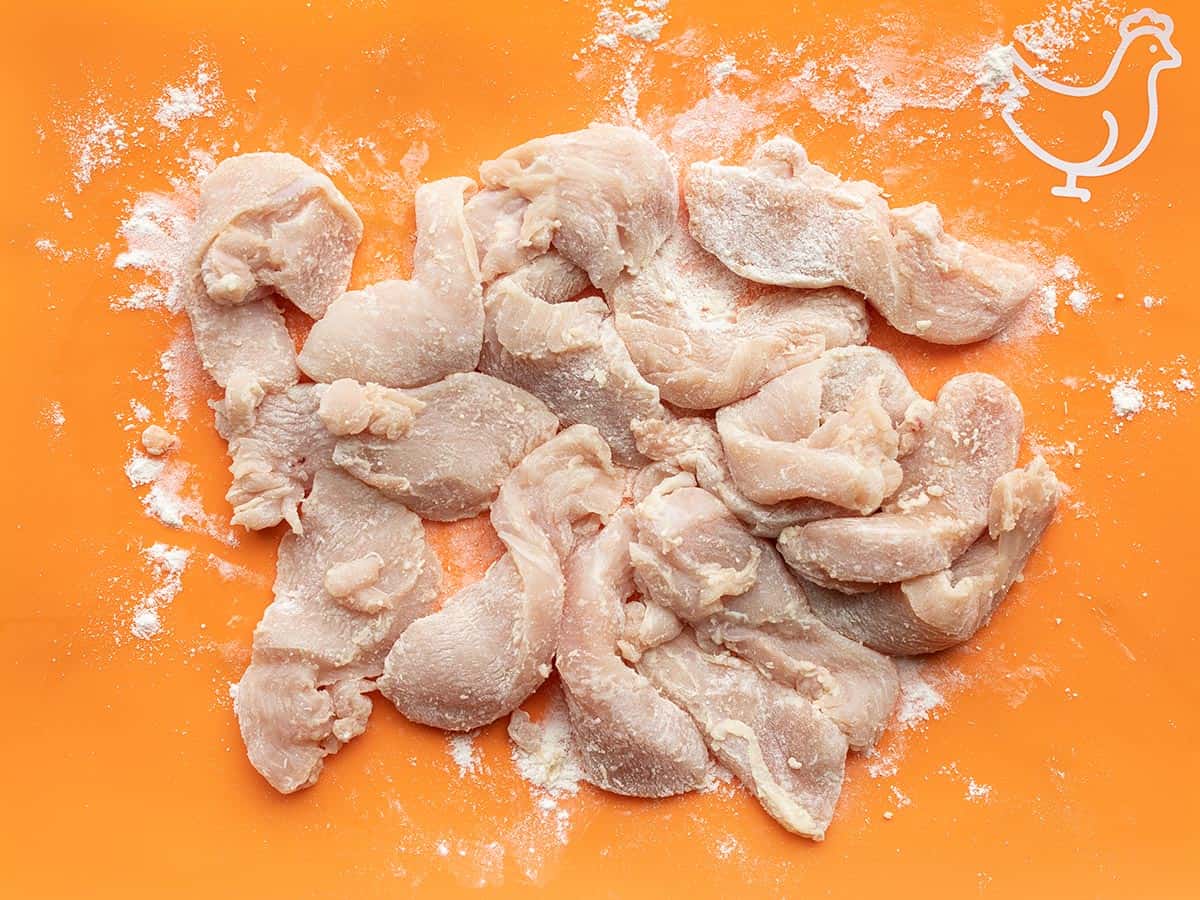
Sprinkle ¼ tsp salt and 2 Tbsp flour over the chicken strips, then toss until they’re evenly coated.
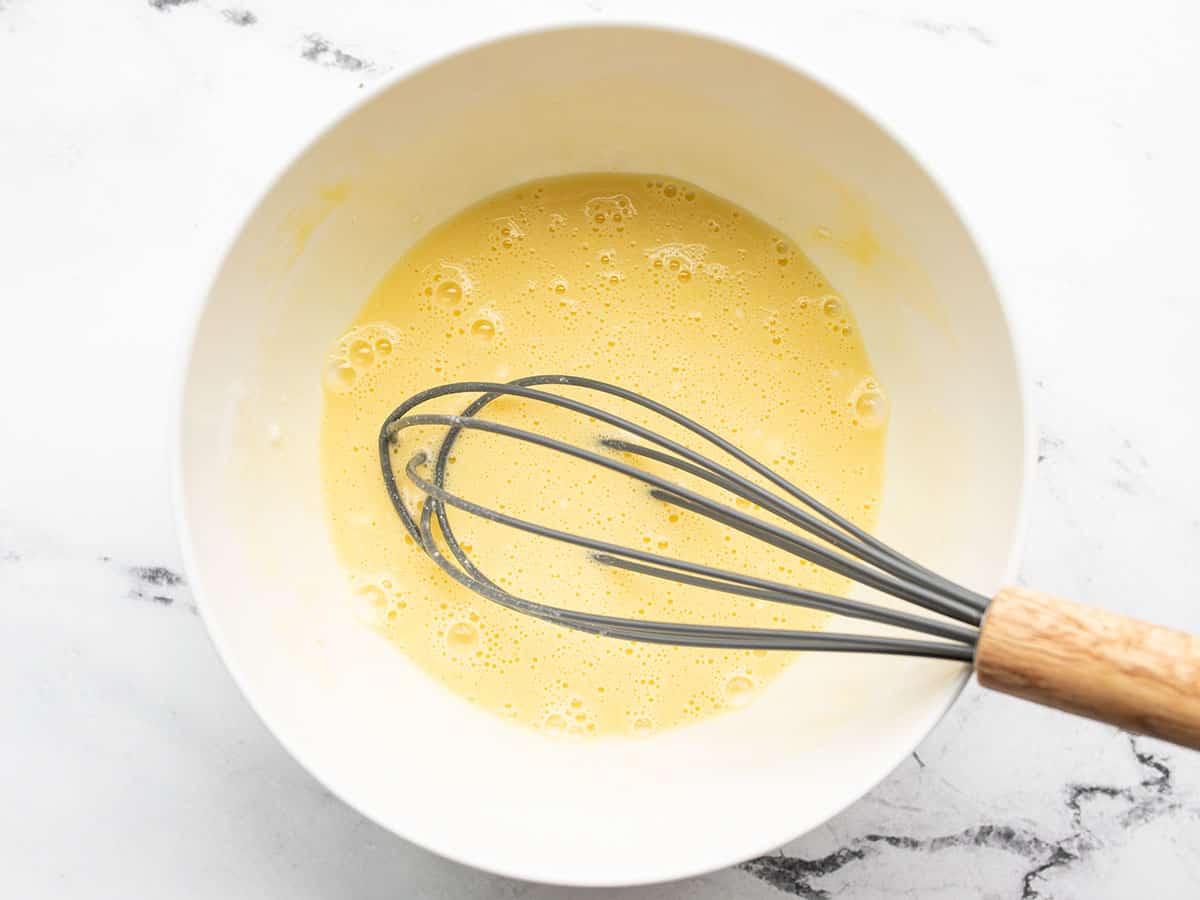
Whisk together two large eggs and ¼ cup full-fat coconut milk in a bowl. Make sure to use the type of coconut milk that is in a can, not the type in a carton that is meant to be a dairy milk substitute.
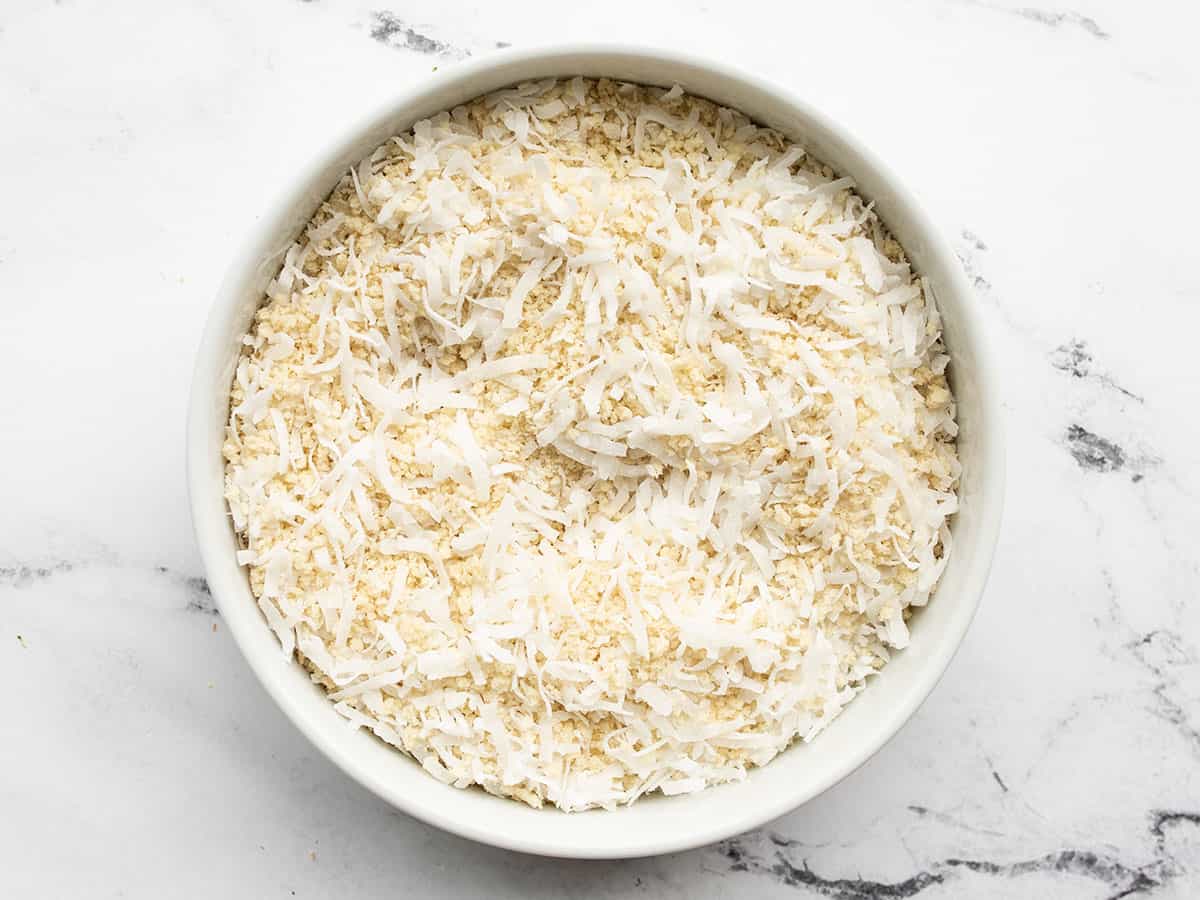
Combine 1 cup sweetened coconut flakes and 1 cup panko breadcrumbs in a wide, shallow bowl.
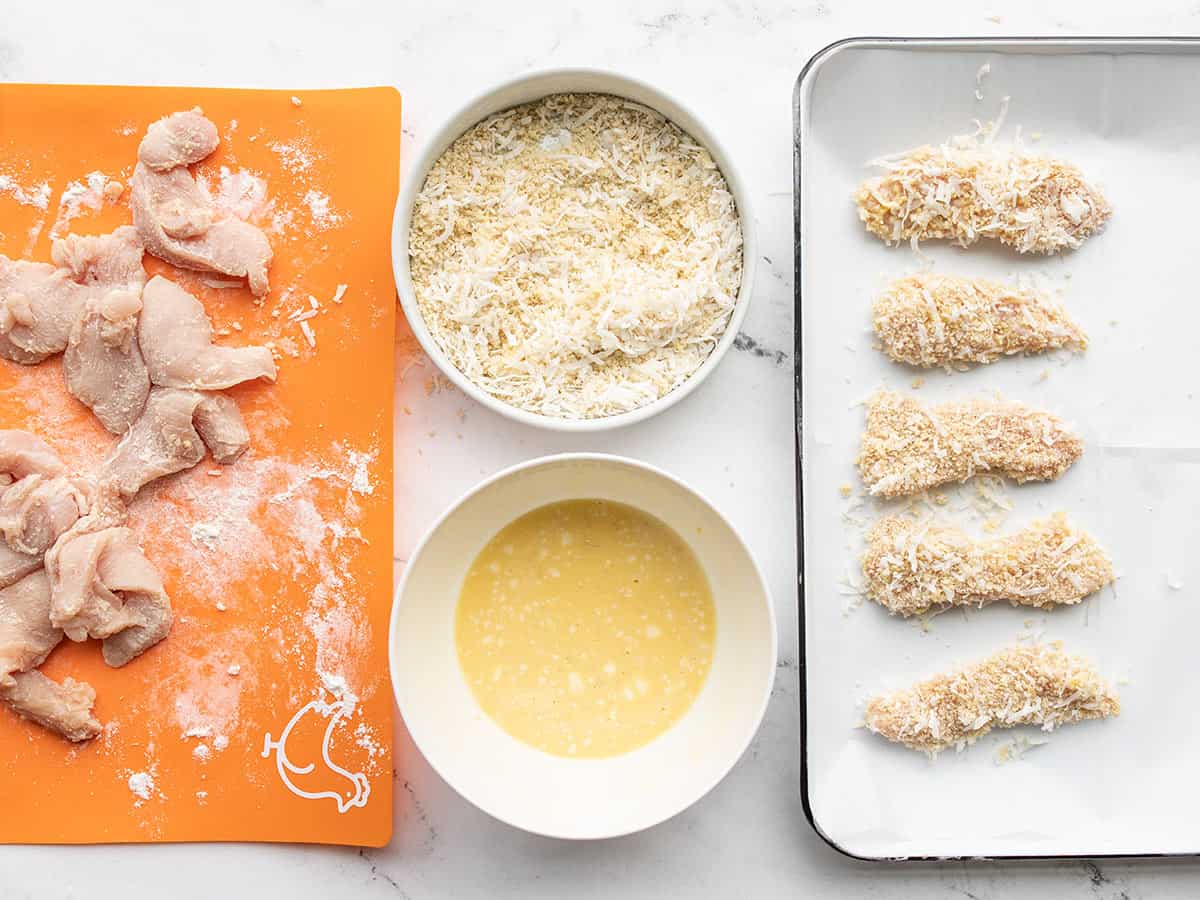
Set up your breading station with the bowl of coconut egg wash, the bowl with coconut and breadcrumbs, and a plate or tray for the breaded chicken. I’m using a parchment lined baking sheet to hold the breaded chicken just for easy cleanup. Dip each chicken strip first into the eggwash (let excess drip off), then into the breadcrumb mixture. Make sure the breadcrumbs and coconut fully coat all sides, then place the chicken strip on your holding tray.
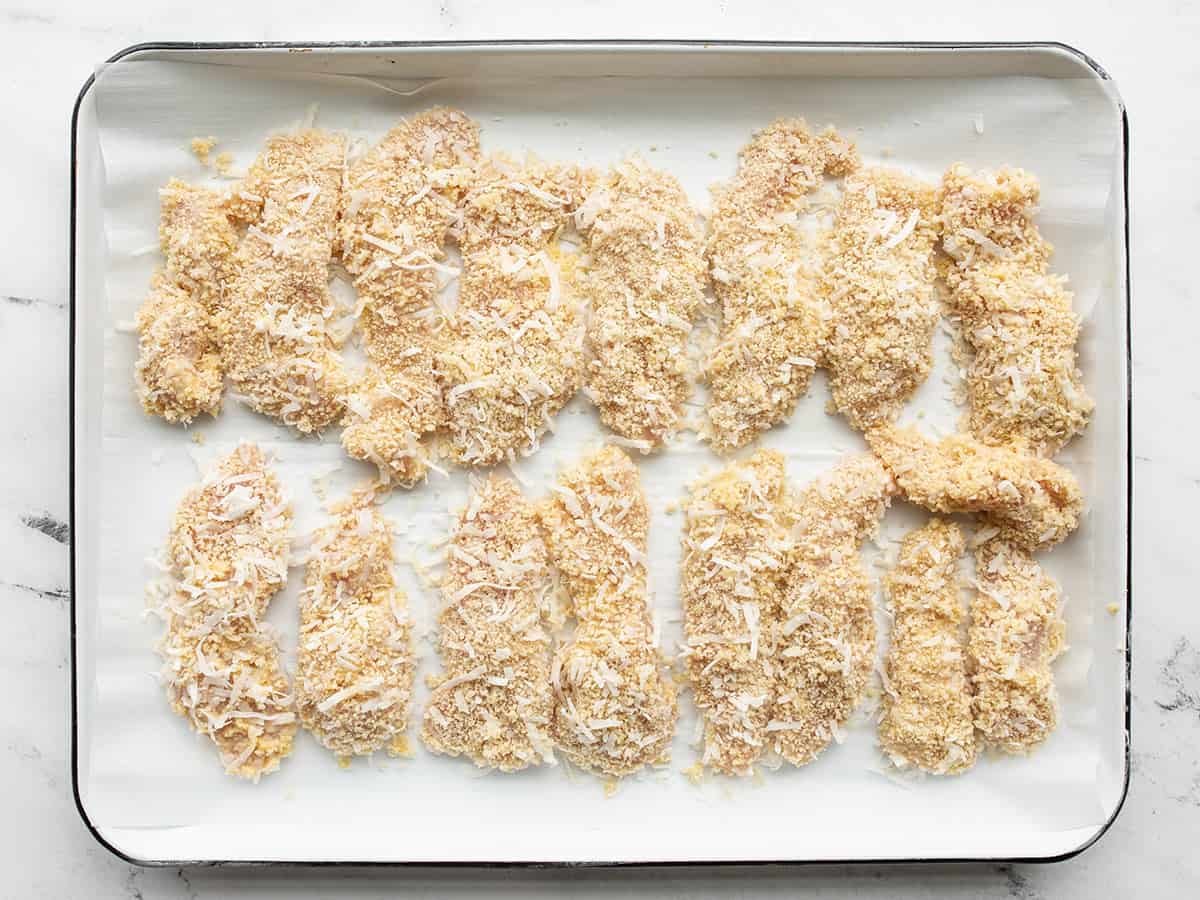
Once all of the chicken strips are breaded, it’s time to start cooking. Add ¼ cup cooking oil to a skillet and heat over medium. Wait until the oil is very hot, but not smoking. If you drop one of the panko breadcrumbs into the hot oil, it should immediately begin sizzling. If it doesn’t sizzle right away, the oil is not hot enough. If at any point during the cooking process the oil begins to smoke, remove it from the heat immediately and wait for it to cool down.
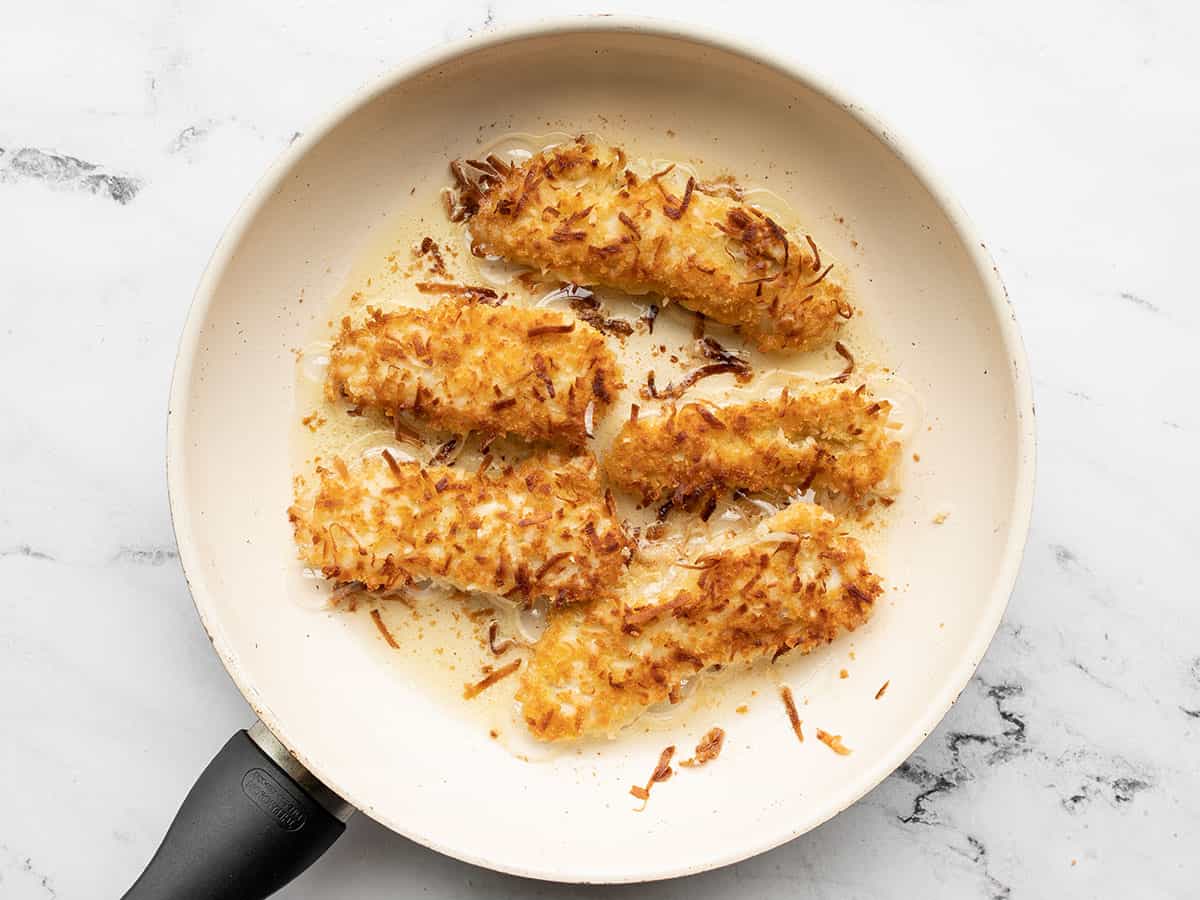
Once the oil is good and hot, add several of the chicken strips, leaving a little space between each. Cook for about 3 minutes on each side, or until they are deeply golden brown on each side. Transfer the cooked chicken to a paper towel lined plate to drain. Scoop out any loose pieces of coconut, add a little more oil if needed, wait for it to get hot again, and then cook a second batch of chicken strips. You should be able to cook them all in 2-3 batches.
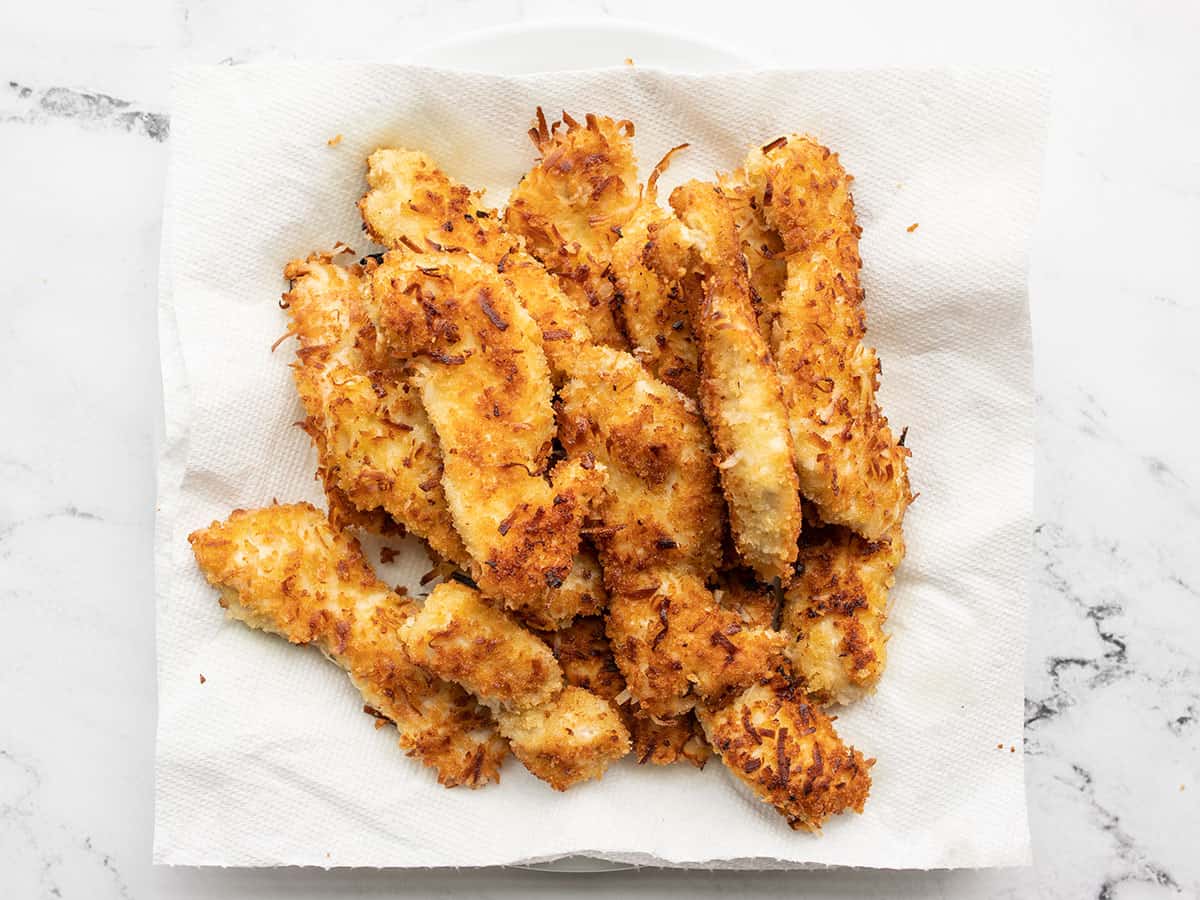
Once they’re all cooked, it’s time to serve!
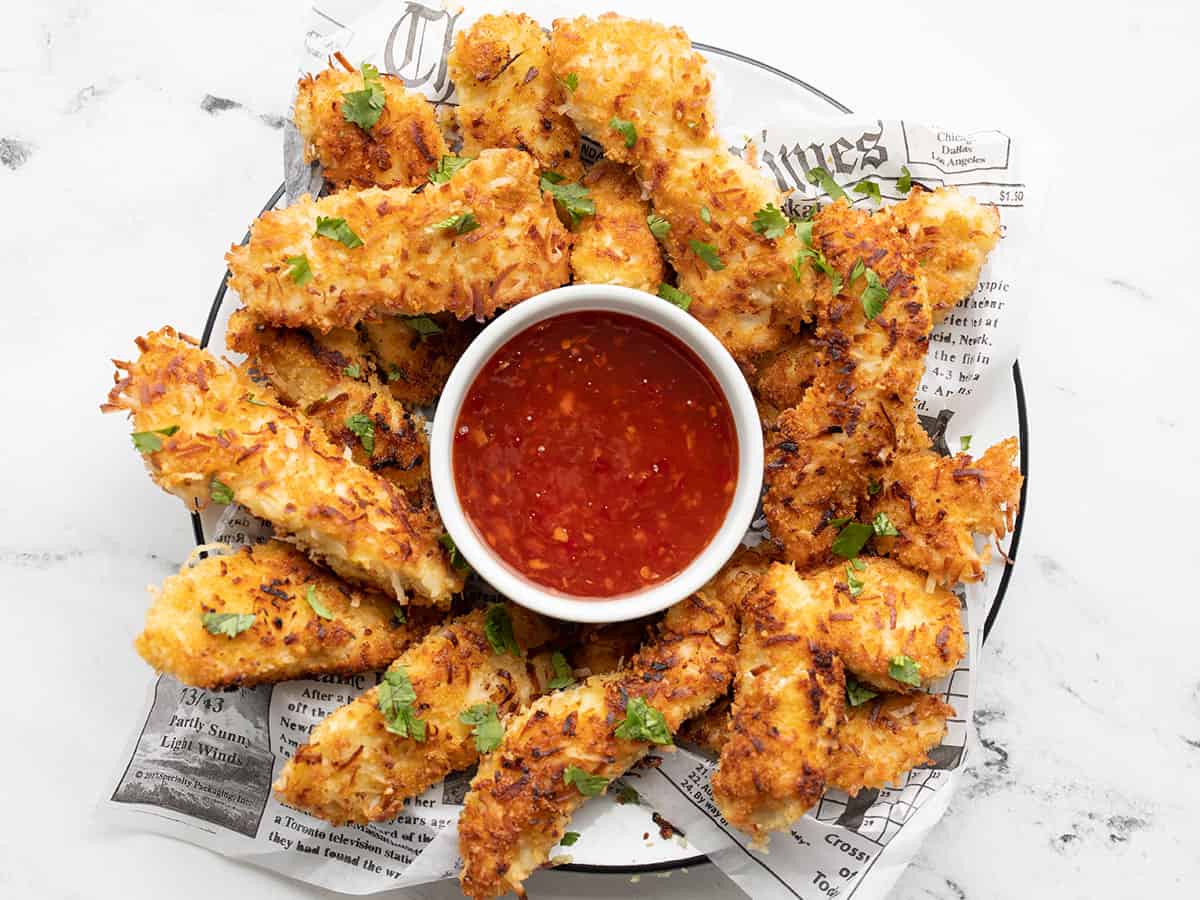
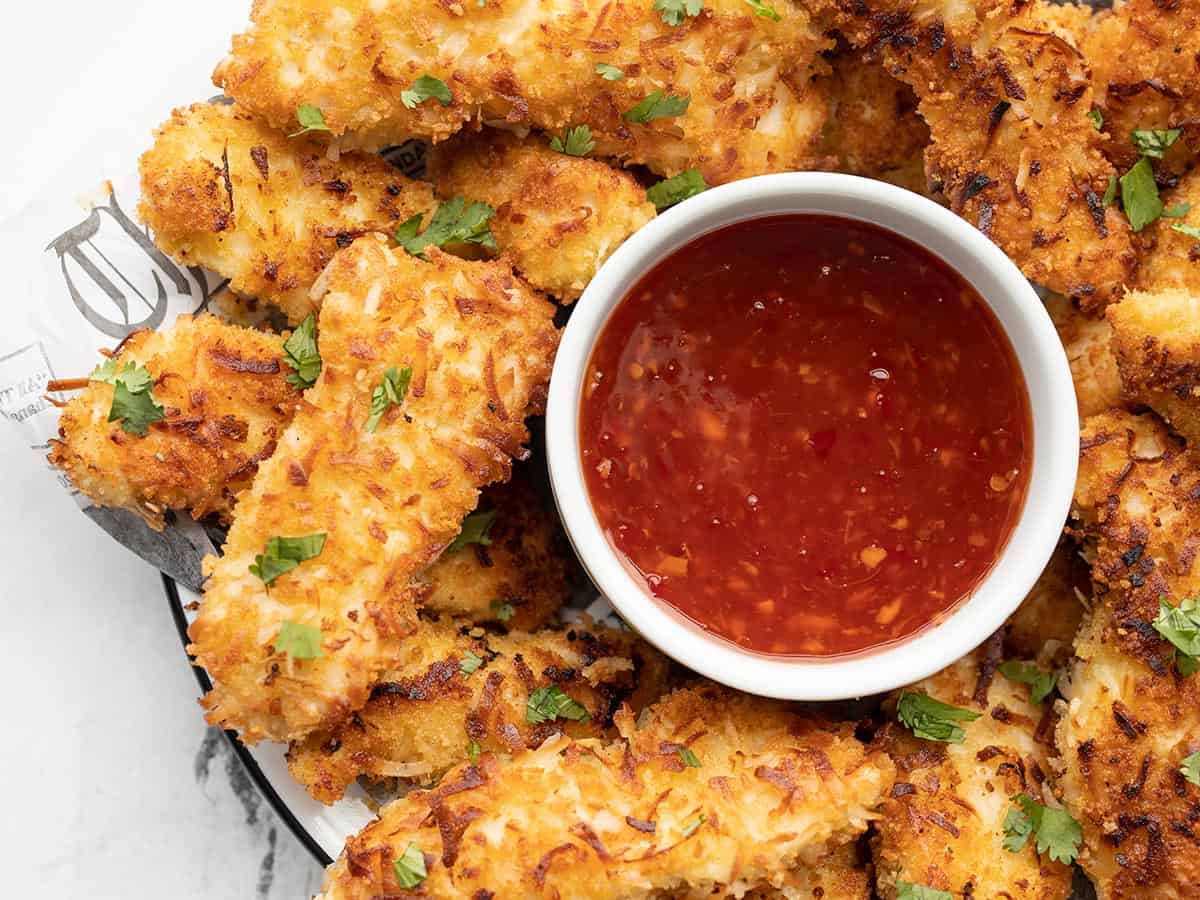
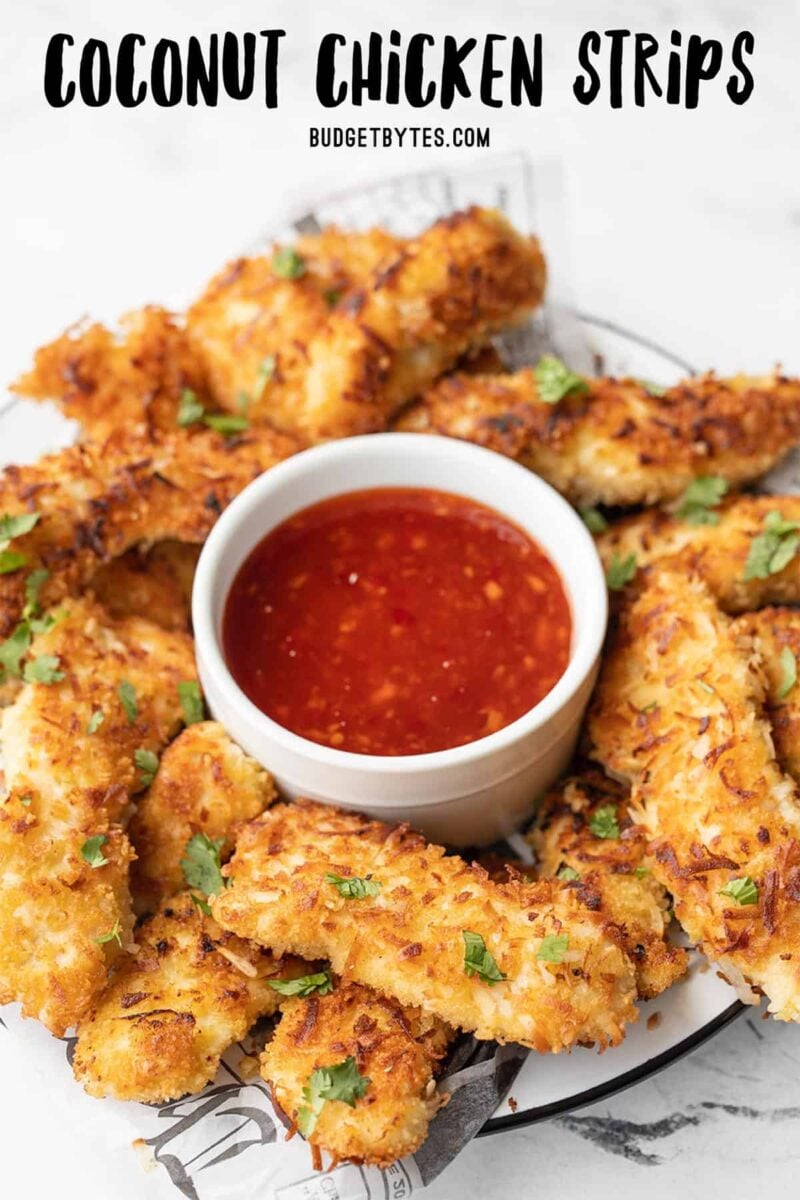
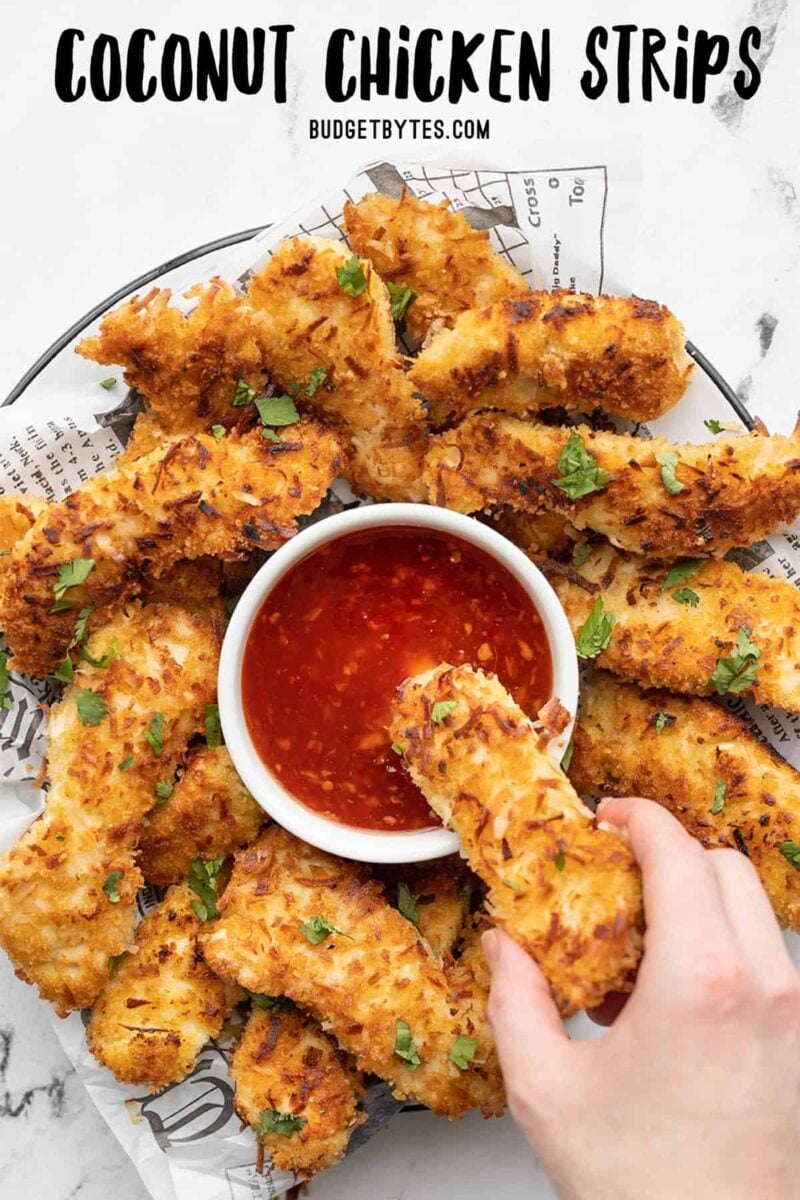
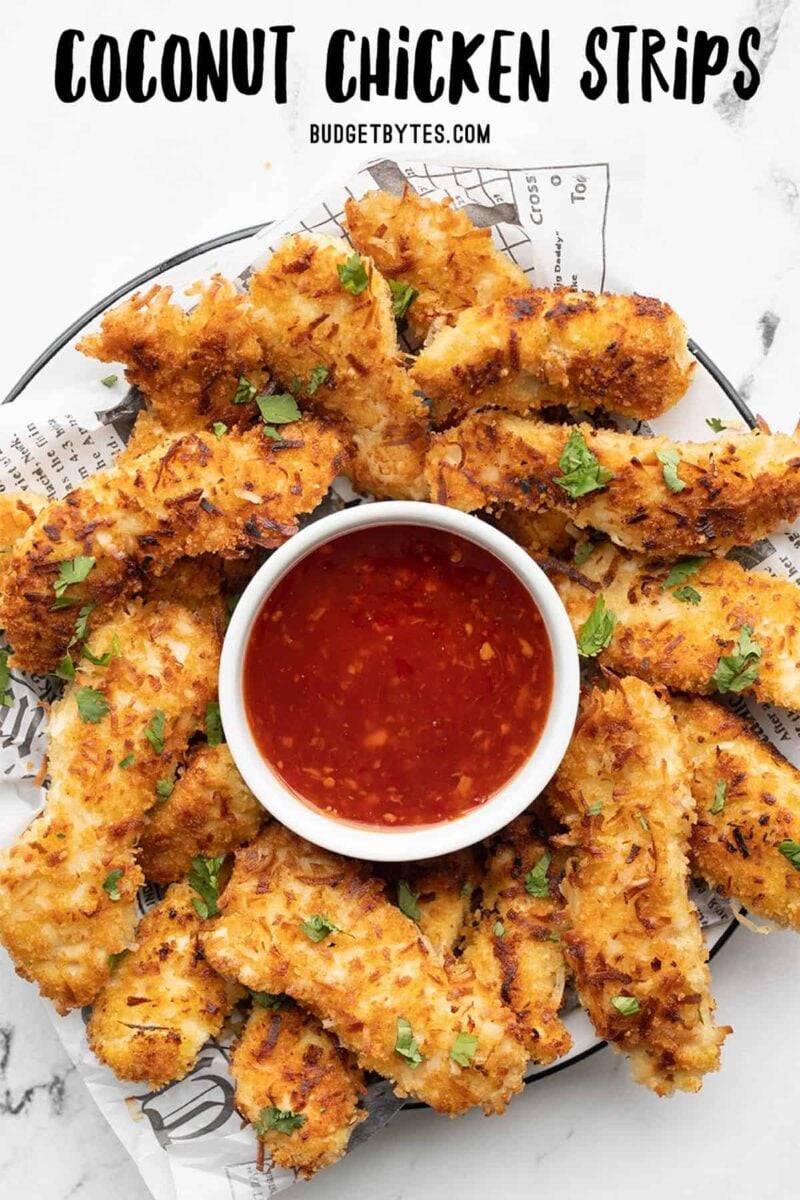
Pour about one cup of sweet chili sauce into a bowl and place that in the center of the coconut chicken strips. I sprinkled the chicken strips with a little cilantro for color, but that’s not needed for flavor. Sliced green onions are another optional garnish idea. Enjoy!



Ashley – I still haven’t tried them baked, but I believe other readers have. You’ll probably want to bake them on a wire rack over a baking sheet so that the bottom side doesn’t get soggy. Also, if you spritz them with non-stick spray it helps them get crispy in the oven. Good luck!
I am kind of terrified of fryiing things in my dorm room..but would could I serve this with…and have you found a recipe where you could bake this yet?
My husband and I are trying to be healthier AND do so without spending crazy amounts of money on food. Your recipes are great, and you are making my life so much easier.
Thanks so much for that.
Just made these for my annual tiki party and everyone loved them. I didn’t add the salt and they tasted just fine. First time I’ve ever tried that sauce and really liked it.
I came across your blog through Pinterest. I’ll be sharing a link to your site when I blog about my tiki party. Hope it leads to more bloggy love for you :)
I’m in the process of making this dish as I type. (Don’t worry, I have an eye on the chicken strips!) I’m following the recipe, except for one little thing – I’m deep frying the strips, rather than frying them on the stove. I’ve sampled a few that have already come out of the fryer and my only recommendation is that they have some sort of seasoning besides the salt. I suppose the salt alone would be enough, but the first batch came out rather unseasoned. I ramped up the salt and they taste much better now. I can’t help but think that a few additional sprinkles of spice would help improve the flavor. My only other comment is that this makes WAY more chicken than we need for a meal. It is definitely two meals worth! Anyway, thanks for such a great recipe!
Best dinner ever! I love the coconut shrimp at Red Lobster, but I hate the smell of raw shrimp. This was such a good compromise, and I think they even tasted better than the shrimp. I made a sauce like the Red Lobster Pina Colada sauce…some of the leftover coconut milk, some crushed pineapple and juice, and orange marmalade. I added some Wondra flour to thicken it up, but it really didn’t get to a good consistency until it had cooled in the fridge. But cooking 2 lbs of chicken definitely leaves you with leftovers, so it was awesome on day 2! (o:
Thank you so much for this post. I mad it yesterday and it was just great thanks so much.
I saw this on Pinterest. Can’t wait to try it. But only using 1/4 C coconut milk … I’d hate to waste it. Maybe I ought to plan all Thai meals for a whole week.
Coconut milk does NOT freeze well. It curdles, as does sour cream.
I’m going to try the baked version. Thanks to those who informed us that the baked version is also crispy! And the tempeh version sounds good, too. ☺
These are in the oven just now and they smell awesome!! :)
I’ve been wanting to try this for awhile now. So its on my menu for next week! Can’t wait to try it!
OMG!!! I made these chicken strips tonight and my family and I LOVED them. I followed your recipe exactly, except for the frying aspect. I sprayed some olive oil in a pan, laid the strips down and drizzled a little more olive oil on top and then baked them for 25 minutes. I broiled them for 2-3 minutes per side after that and they came out crisp, crunchy, and PERFECT. The chilli dipping sauce was a great idea. They made the flavors come together so well. I’ll be back to your blog for more yummy recipies!!
I make coconut shrimp like this and bake them at 400 F. They come out crisp and there’s no need to bake/broil.
Beth!! This recipe is AMAZING!! Thank you so much for posting it! New favorite around this house!
Laurie – Well, there is also this Crunchy Asian Salad but it’s purple cabbage, no ramen, and no broccoli. Hahhaah… I think those two are the closest to what you described :)
Beth, I bet you are right! Though in my memory it looked more like coleslaw and the ramen noodles were raw. I wonder if I mixed up the recipes? Anyway, thanks so much! I absolutely LOVE your blog!