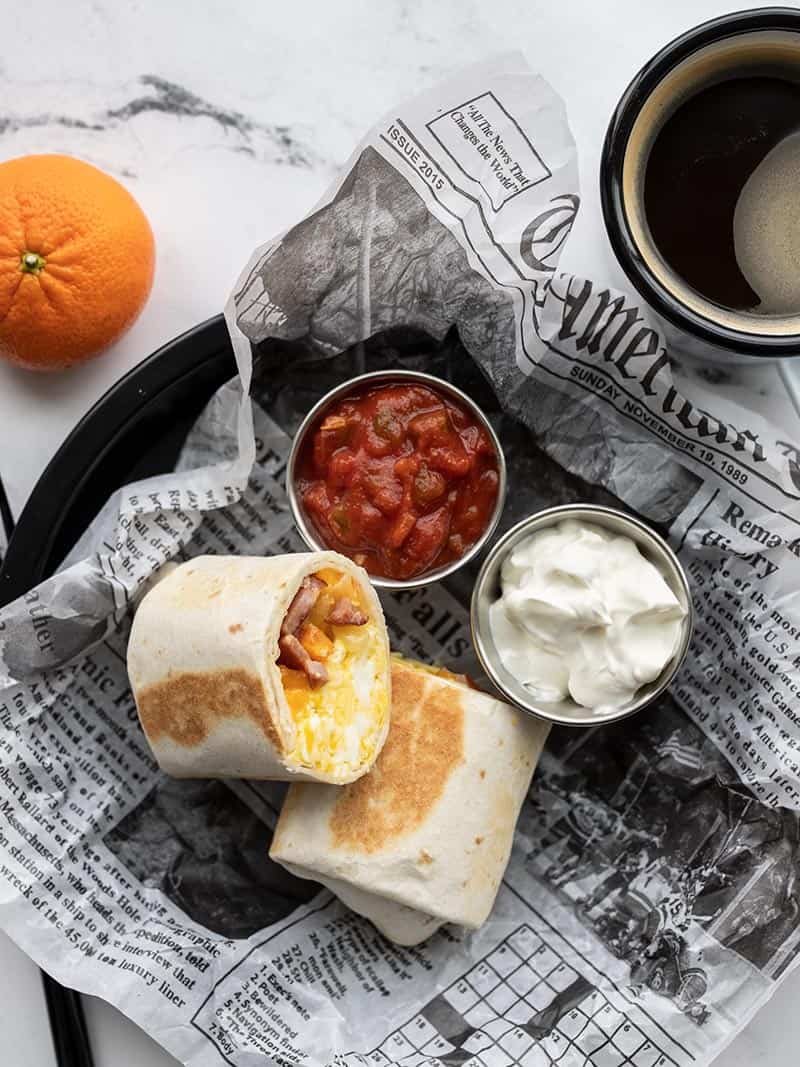
I’m a huge proponent of batch cooking and stocking your freezer with portioned meals that you can just grab-reheat-and-go! Not only are these make-ahead freezer breakfast burritos a great answer to the “I’m too busy to make breakfast” conundrum, but for someone who loves breakfast for dinner as much as I do, these burritos make a fast and easy anytime meal. #brinner
This post contains some affiliate links, which means that we make a small commission off items you purchase at no additional cost to you.
What Can I Add to Breakfast Burritos?
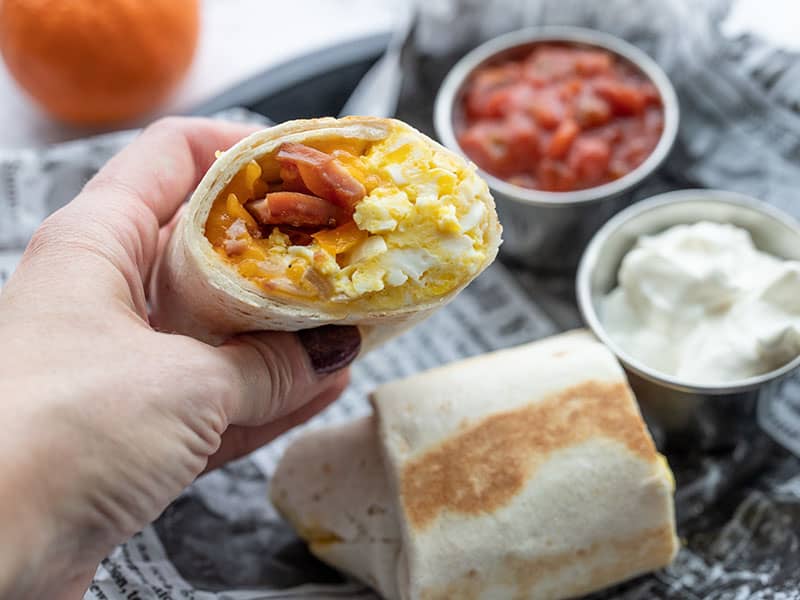
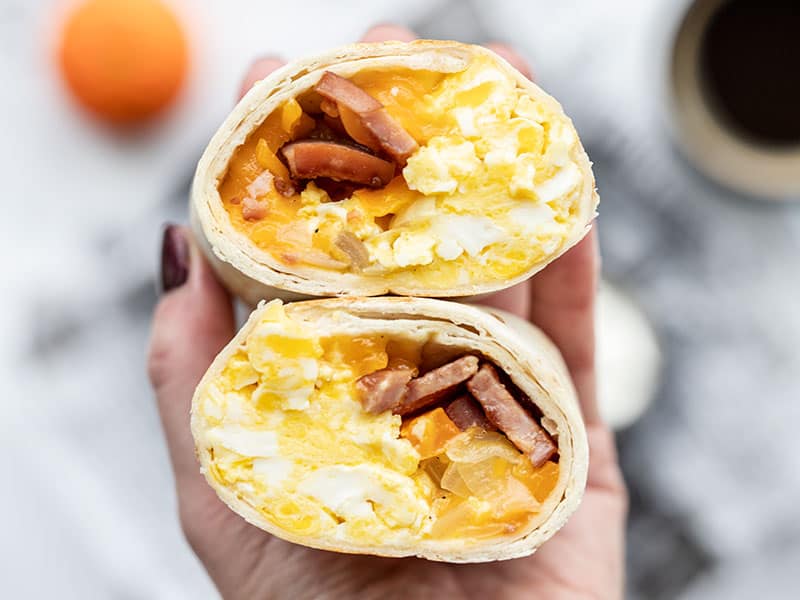
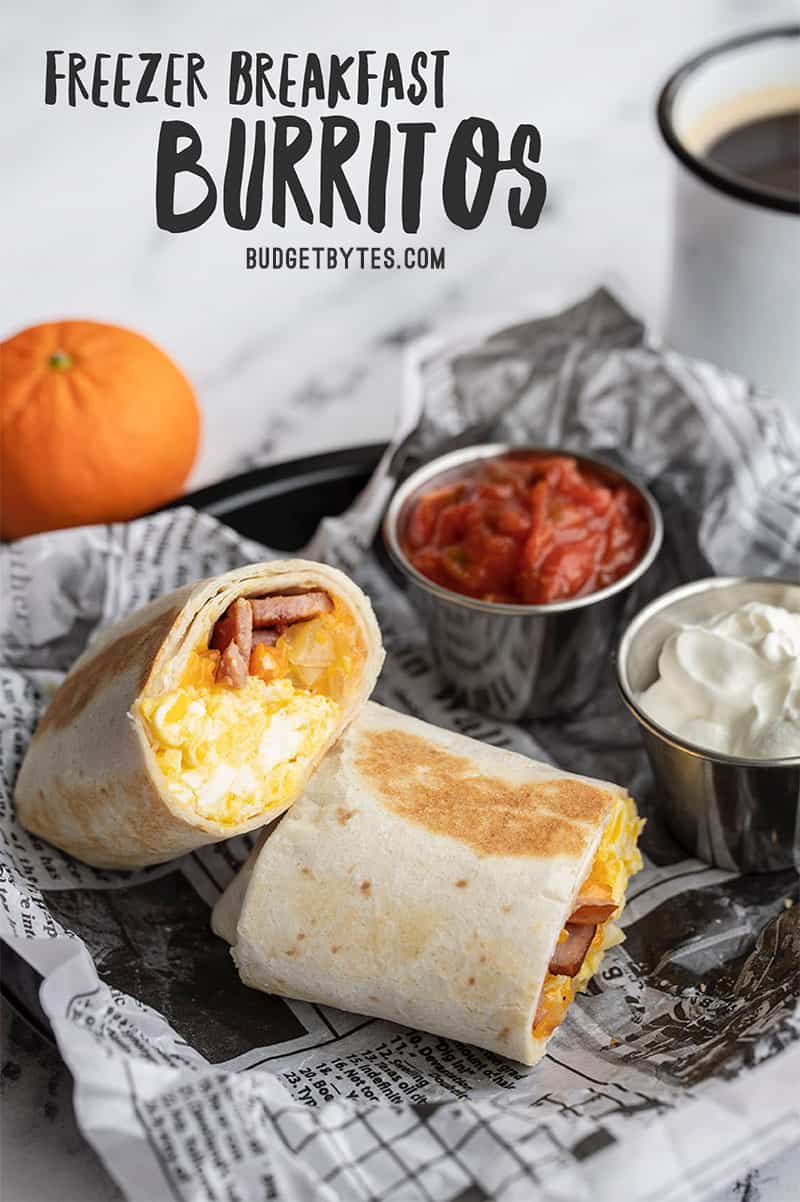
I kept my breakfast burritos super simple with just eggs, cheese, sautéed peppers and onions, and cooked ham, but this is another wonderfully flexible recipe. You can skip the ham to make them vegetarian, or switch them up with any of the following ingredients:
- Meat (cooked): bacon, breakfast sausage
- Vegetables: hash browns (cooked), avocado, green onion, jalapeño, pickled red onions, spinach
- Beans: black beans, hummus
- Cheeses and Sauces: Monterey jack or pepper jack, cotija, feta, taco sauce (sparingly), salsa (thick type, not a watery variety), guacamole
I do not suggest adding sour cream to your breakfast burritos because sour cream doesn’t hold up well to freezing and thawing. Instead, serve sour cream on the side for dipping after reheating.
How Long do Breakfast Burritos Last?
I always suggest using up your frozen food within three months for best quality. Frozen goods slowly lose moisture and develop freezer burn over time, so while you may get longer freezer life out of them, the quality will slowly diminish the longer they are stored. So, make sure to label and date everything that goes in your freezer! :)
How to Reheat Frozen Burritos
You’ll have the best results if you let the burrito thaw in the refrigerator overnight or until they are no longer frozen solid in the middle. Reheating from the chilled state instead of straight from the freezer takes less heat and makes it easier to reheat without overcooking the egg. Reheating from a refrigerated, non-frozen state can be done in the microwave (1-2 minutes on high), or in a skillet over medium-low heat until the tortilla is nice and crispy and the insides are heated through. A toaster oven is also a great option, although I don’t own one so I was not able to test the cooking time needed.
If you do need to reheat straight from the freezer, I suggest using the defrost function on your microwave fist for 3-5 minutes to help defrost the inside, before microwaving on high for 1-2 minutes. Cooking times in the microwave will vary depending on the wattage of your microwave.
How to Prevent a Soggy Freezer Burrito
Overcooking eggs during reheating is probably the biggest culprit of a soggy breakfast burrito. As eggs continue to cook, the protein molecules seize up and squeeze out water. So, to prevent the eggs from expelling a ton of liquid, reheat only until the burritos are warmed through.
Another culprit is using ingredients that contain a lot of water. Avoid using salsa that are very watery, and if using high-water content vegetables, just make sure to sauté them first to remove some of their moisture.
Want more freezer friendly meal ideas? Check out our full list of Freezer Friendly Recipes!
Freezer Friendly Breakfast Burritos
Ingredients
- 8 oz. cheddar ($1.69)
- 1 yellow onion ($0.32)
- 1 bell pepper ($1.00)
- 2 Tbsp butter, divided ($0.26)
- 2 pinches salt and pepper ($0.05)
- 1 lb. cooked ham ($3.75)
- 12 large eggs ($2.79)
- 8 large flour tortillas (burrito size) ($1.39)
Instructions
- Begin by preparing all of the filling ingredients for the breakfast burritos. Shred the cheddar, if not purchased pre-shredded.
- Dice the onion and bell pepper. Add the onion and bell pepper to a large skillet with ½ Tbsp butter and sauté over medium heat until the onions are soft and translucent (about 5 minutes). Season the bell pepper and onion with a pinch of salt and pepper. Transfer the bell pepper and onion to a bowl.
- Dice the ham, then add it to the skillet with another ½ Tbp butter. Sauté the ham over medium heat until it is browned (about 5 minutes). Transfer the ham to a separate bowl and clean the skillet.
- Crack 12 eggs into a bowl and lightly whisk. Add the last tablespoon butter to the skillet and heat over medium. Once the skillet is hot, spread the butter to coat the surface, then pour in the whisked eggs.
- Push the eggs in toward the center of the skillet as they set on the bottom, until most of the eggs have set, but the eggs still look moist. Do not over cook the eggs or they'll become dry. Season the eggs with a pinch of salt and pepper.
- To assemble the burritos, add a scoop of scrambled eggs to the middle of each tortilla, then top with a scoop of cooked bell pepper and onion, a handful of cheese, and some of the cooked ham.
- To roll the burritos, first fold the tortilla up from the bottom, then fold in the sides, and then finish rolling the burrito up until it has closed. Wrap each burrito in parchment paper using the same folding and rolling method (bottom up, sides in, finish rolling up). Label each burrito on the parchment paper or on masking tape
- Transfer the wrapped burritos to freezer bags, label and date the bags, then place in the freezer.
To Reheat Breakfast Burritos
- Transfer the breakfast burrito to the refrigerator the day before to thaw. Once thawed, microwave on high for 1-2 minutes, or heat in a skillet over medium-low, about 5 minutes on each side, or until the tortilla is crispy and the insides are warm.
- To reheat from frozen, use the microwave's defrost setting for about 5 minutes, then microwave on high for 1-2 minutes, or until heated through.
See how we calculate recipe costs here.
Nutrition
Scroll down for the step by step photos!
How to Make Homemade Breakfast Burritos – Step by Step Photos
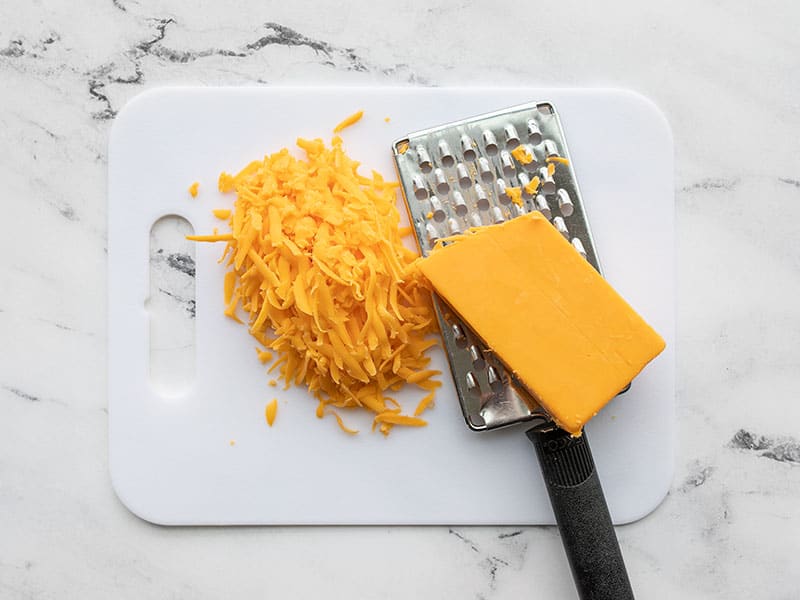
Prepare all the components of the breakfast burritos before assembly. Shred one 8oz. block of cheddar cheese (or whatever flavor cheese you prefer–pepper jack is also awesome in these!).
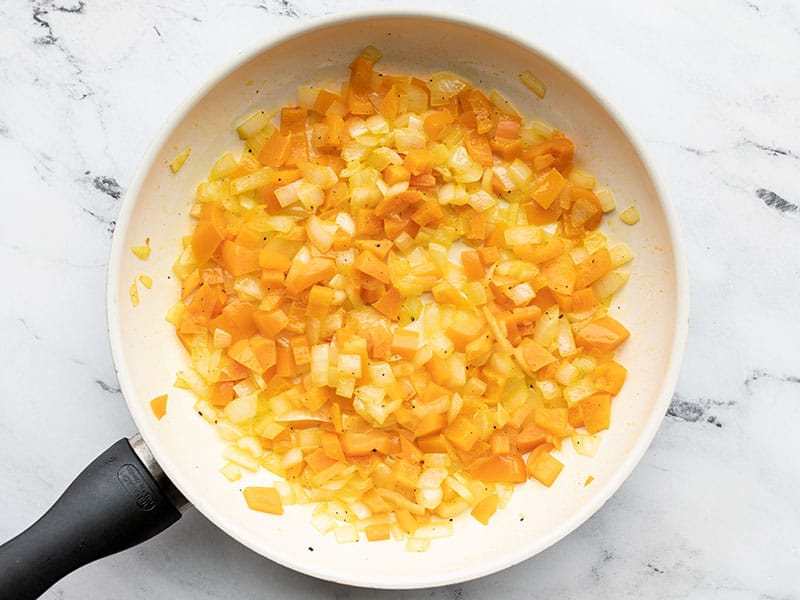
Dice one onion and one bell pepper. You can use any color bell pepper, I just happened to have an extra orange pepper, so I used that. Add the pepper and onion to a skillet with ½ Tbsp butter and sauté over medium until the onions are soft and translucent. Season the peppers and onions with a pinch of salt and pepper, then transfer them to a bowl.
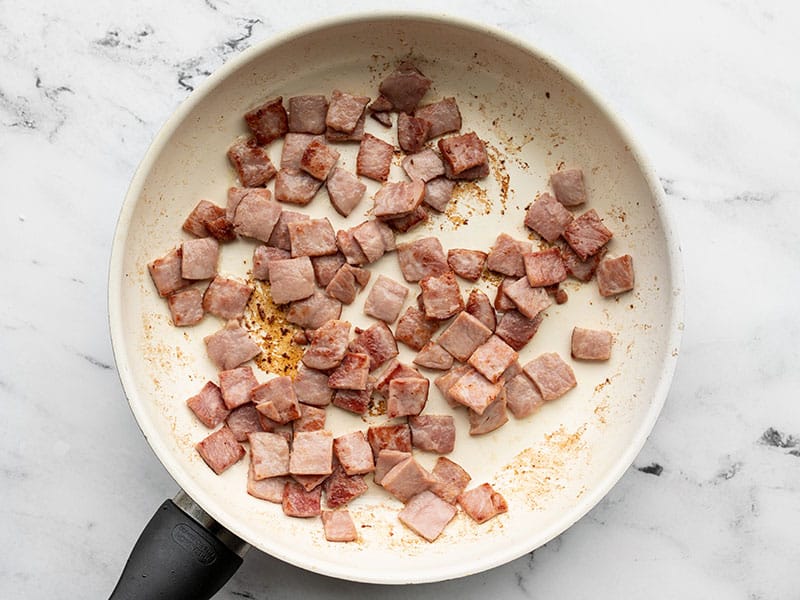
Dice one pound of cooked ham. Add the ham to the skillet with another ½ Tbsp of butter and cook over medium until the ham is browned. Transfer the cooked ham to another bowl. Clean out the skillet.
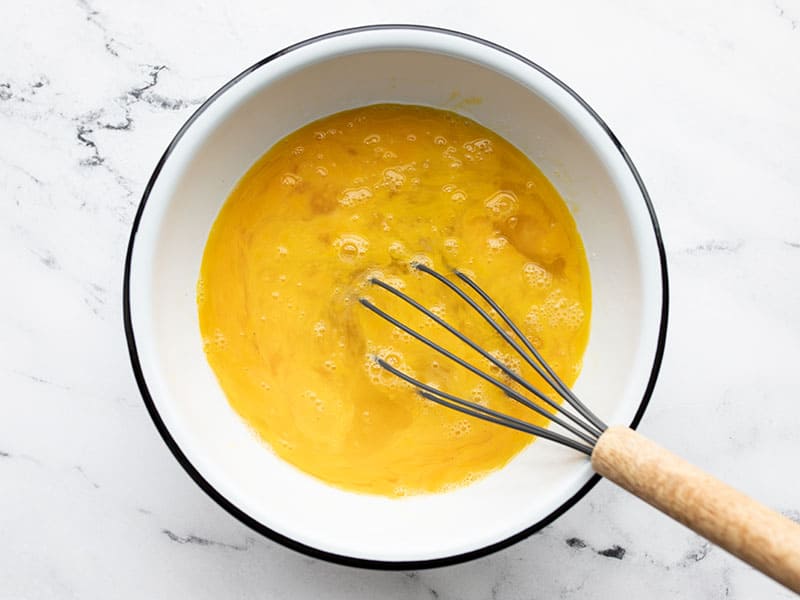
Whisk one dozen eggs in a bowl. I like to only lightly whisk my eggs because I enjoy some ribbons of whites and yolks in my scrambled eggs. You can use less or more eggs, if you prefer, but using 12 eggs for 8 burritos will give you 1.5 eggs per burrito, which I find to be a good compromise between budget and quantity.
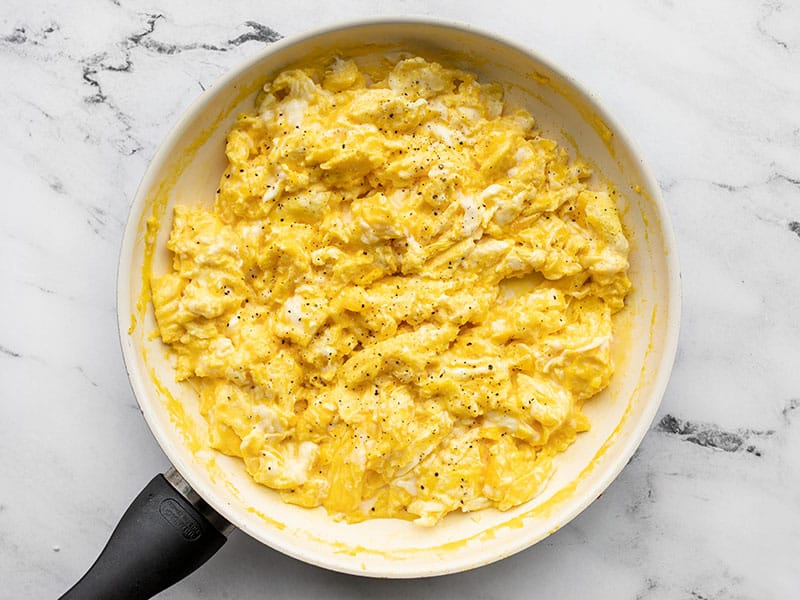
Melt the remaining tablespoon of butter in the skillet over medium heat. Once the butter is melted and the skillet is heated, pour in the whisked eggs. Gently push the eggs in toward the center of the skillet as they set on the bottom, until most of the eggs are set, but they still look moist. Avoid over cooking the eggs or they will become dry. Season the scrambled eggs with a pinch of salt and pepper.
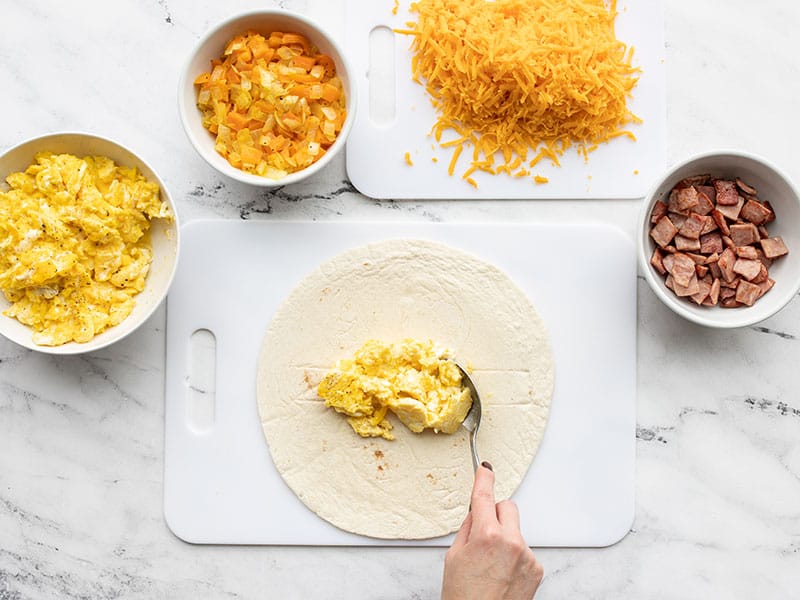
Now that all the components are prepared, it’s time to start assembling the burritos. You can do this one at a time, or lay out all eight tortillas and do them together if that makes it easier for you to divide the ingredients evenly between all eight. Begin with the scrambled eggs.
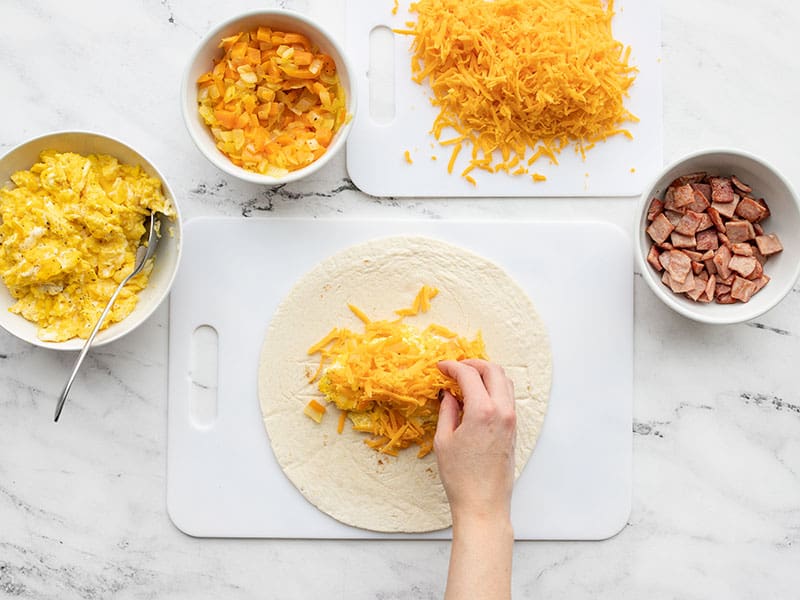
Next, add a scoop of the cooked peppers and onions, and a handful of shredded cheese.
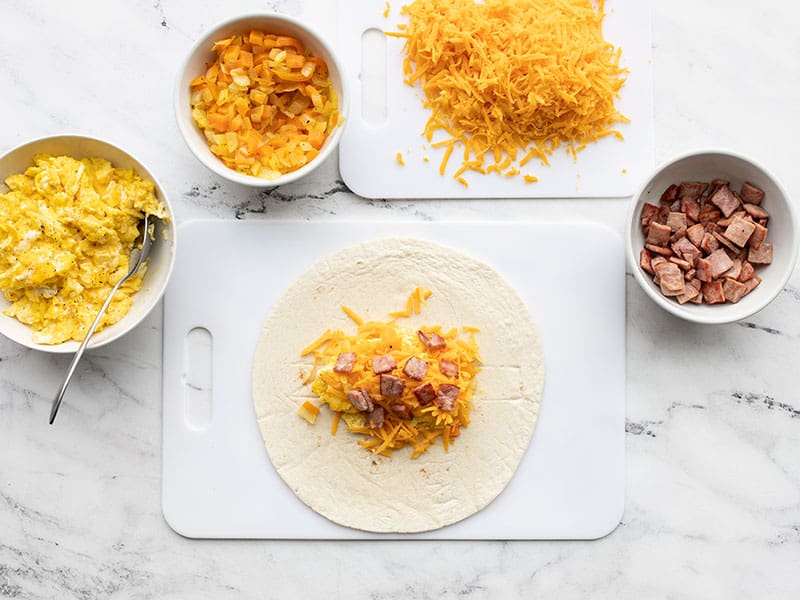
Finally, add some of the cooked ham to the breakfast burrito (or leave it out if you want to make plain egg and cheese burritos).
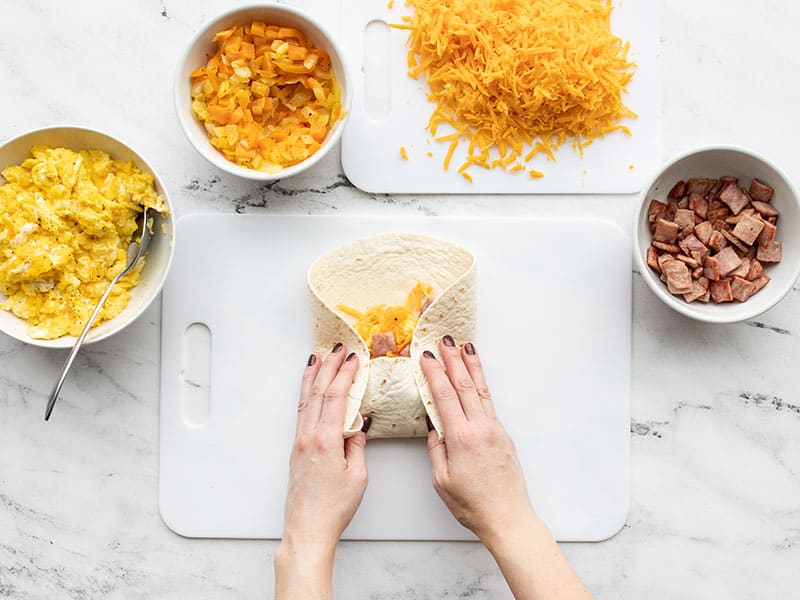
To roll the breakfast burritos, first roll up the bottom, then fold in the sides, and then finish rolling up from the bottom until it is closed.
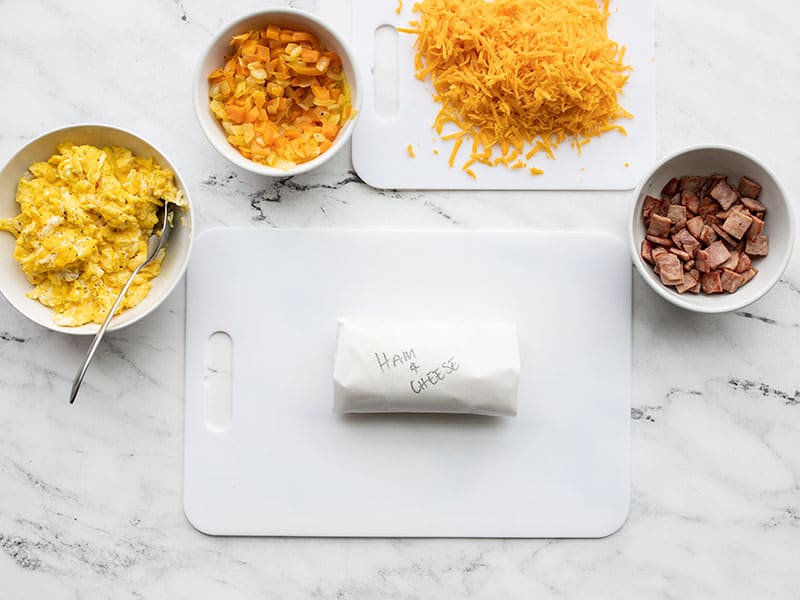
Place the rolled breakfast burrito on a square of parchment paper, then use the same rolling technique to wrap it in paper (bottom up, sides in, then finish rolling up). Label your breakfast burrito (I used sharpie on the parchment, but you can also do masking tape and then write on that).
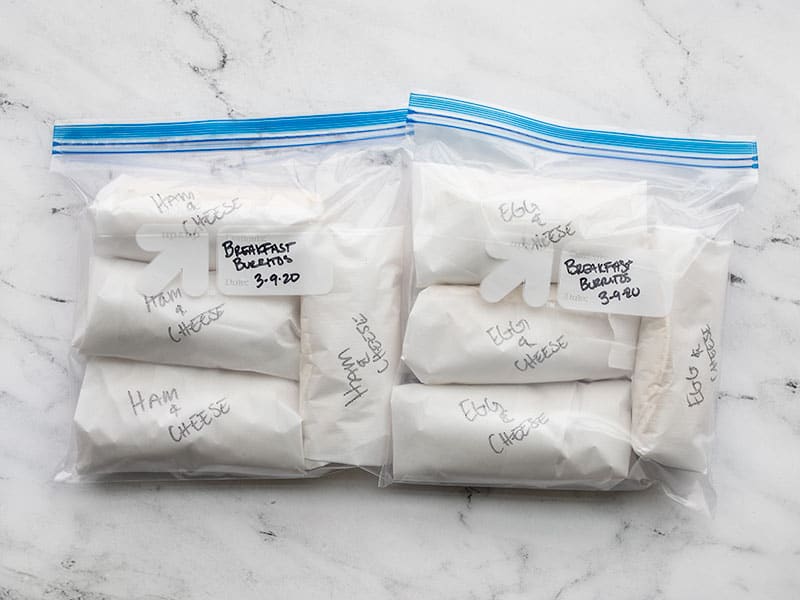
Then place your wrapped breakfast burritos in freezer bags, label the bags with name and date, and transfer to the freezer. For reheating instructions, refer to the text above the recipe card for options.
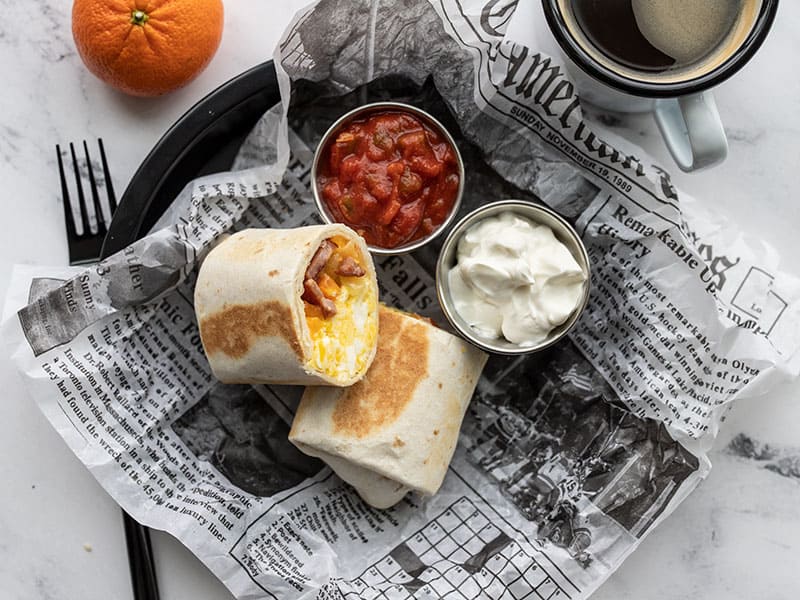
And then pat yourself on the back because you have amazing breakfasts prepared and ready to go! (serving suggestion: salsa or sour cream for dipping).




I’m going to have to start making these breakfast burritos, and place them in the freezer. I know that you can use the ingredients that you have in your home, but what other alternatives would you recommend, Beth? Thanks! :-)
Bell peppers, potatoes, bacon, broccoli, ham, just about anything that you can put in an omelet, except watery vegetables (tomatoes) and sour cream. :)
fantastic! what a great idea. I made 12 of them, froze them. I found I have to defrost them 2 days, and then pop them in the microwave for 1.5 minutes.
I had some extra fresh tarragon on hand, and wow! That made these incredible!
I will definitely be adding this to my inventory. Next time, I will try eggs and ham and cheese with herbs. The combinations are endless.
It is such a help to have hot breakfasts ready for the morning!
Just made these. So good! I used 12 eggs, 1 can black beans, 1 8oz package of shredded sharp cheddar cheese, and about a half a jar of salsa. I bought all the ingredients at the store today and spent $8 for 8 HUGE breakfast burritos. I ate one for dinner and am stuffed! This is definitely going in my regular meal rotation.
I just made these and they’re cooling on their way to the freezer.
I have been making your freezer burritos for quite a while. My husband takes one for lunch every day. I now fill them with your crock pot not refried beans. Despite all this practice, I’m still a terrible burrito-roller! (my breakfast burritos are not too pretty) I did add your last step of toasting them in a pan which I’d never done. I think that will make them extra tasty even it it did compromise their weak construction.
These are so awesome and have changed my mornings for the better! Really easy, cheap and healthy (though I am thinking I might see how bacon works in them). Melty cheese in the morning makes getting up just a little easier.
Still struggling a bit to find the best microwave process. They take awhile to warm up, and it’s hard to warm them evenly. I’d say it’s at least 3 minutes on high, with lots of moving it around (and even cutting it in half) to get an even amount of warmth.
How long do you microwave these straight from the freezer?
It really depends on how big they end up… start with a couple minutes and add a little more time as needed.
I made these a couple days ago for my boyfriend and I to have quick breakfasts. The first morning he at one and a banana and told me they were awesome. The second morning he ate two and said “Okay, on the to do list this week: make more of these!” I’d say, that’s a big hit! :) Thanks for the recipe!!!
These are a must try for this week. Will try with potatoes.Like the cost brake down with step by step instructions.
If anyone wants the calorie count, it’s about 450 for one of these – and they are REALLY BIG! I could easily eat only half for breakfast and be completely full. I’m making my own tortillas this week and going to try it with some other fillings too. Tasty, portable, easy breakfast. Just what I was looking for. Thanks!
Val – Cooked potatoes would be fantastic in these! Great idea! :D
How do you think these would do with cooked cubed potatoes?
Also – your blog is amazing and addicting!
~Val~
I just made these, and I have a little tip to share: if you put a little bit of shredded cheese on the edge of the tortilla right as you’re about to roll it close, it’ll act as a glue of sorts. Then, when you put it in the pan to brown, hold the burrito on its side just until the cheese melts. This made for some mich neater burritos.
I put mine straight from the freezer to the microwave :)
Can this go from the freezer right to the microwave, or do they have to thaw first?
Anon – I don’t know why they didn’t stick, really. Ha! I used just a bit of butter in the pan! It may have something to do with these pans, they’re highly polished unlike some of my other stainless pots and pans.