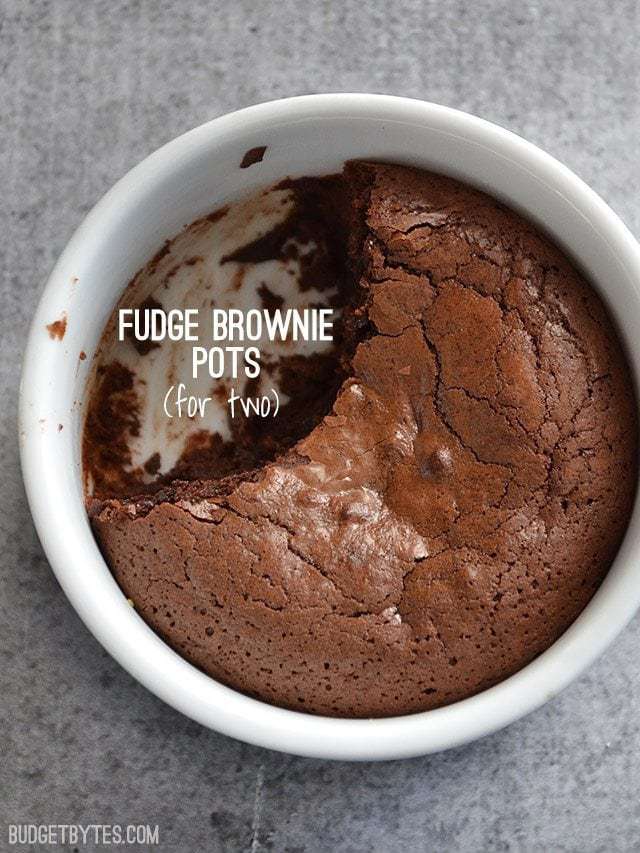
I made some awesome Black Bean Chili the other day and what goes great with chili? Chocolate! In the spirit of not wanting to “accidentally” eat an entire pan of brownies, I decided to make two little single-serving fudge brownie pots instead. Sure, I could have made a Chocolate Mug Cake and killed the craving in about 60 seconds, but I wanted an extra rich, oven-baked brownie this time. You know, the kind that has your whole house smelling like chocolate heaven?
This post contains some affiliate links, which means that we make a small commission off items you purchase at no additional cost to you.
These fudge brownie pots are kind of smack dab in the middle of being fudgy and cakey. It’s a little more cakey on the outer edges and a little more gooey and fudge-like in the center. The cakey part is not dry, but compresses into a nice rich fudge texture. Okay, wow, I’m going to need to stop talking about this before things get too serious over here…
Oh, and be prepared. This dessert has a lot of butter and a lot of sugar, as all good brownies do. It’s the nature of the beast, my friends.
Fudge Brownie Pots (for two)
Ingredients
- 4 Tbsp butter ($0.40)
- 1/2 cup granulated sugar ($0.08)
- 1/4 tsp vanilla ($0.07)
- 1 large egg ($0.19)
- 1/3 cup all-purpose flour ($0.05)
- 1/3 cup unsweetened cocoa powder ($0.21)
- 1/4 tsp baking powder ($0.02)
- 1/8 tsp salt ($0.02)
Instructions
- Preheat the oven to 350 degrees.Cut the butter into chunks and place it in a large microwave safe bowl. Microwave on high for 30 seconds, then stir until the butter is fully melted. Add the sugar and microwave for 15 seconds. Stir again, then repeat the 15 second intervals until the sugar and butter no longer separate from each other after being stirred (about 30-45 seconds total).
- Add the vanilla extract and egg to the melted butter and sugar, then stir to combine.
- In a separate bowl, stir together the flour, cocoa powder, baking powder, and salt until well combined.
- Pour the bowl of dry ingredients into the bowl of wet ingredients and stir just until a smooth, chocolatey batter has formed. Pour the batter into two 8oz. ramekins.
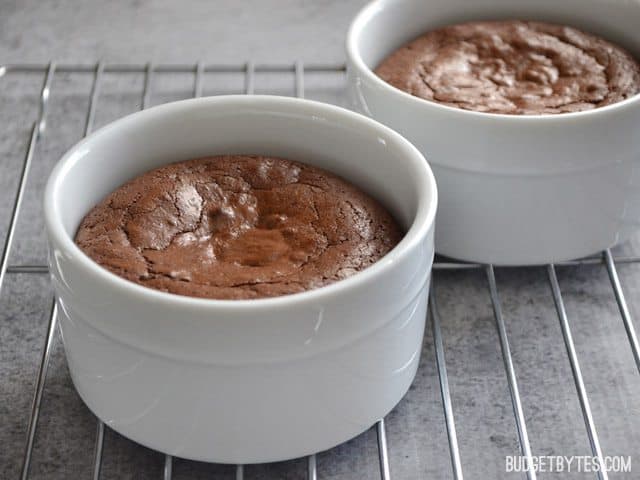
- Bake the brownies in the preheated 350 degree oven for 25-30 minutes, or until the center of each brownie has risen up into a dome and the surface looks glossy and cracked. Let the brownies cool slightly before eating.
See how we calculate recipe costs here.
Nutrition
How to Make Fudge Brownie Pots – Step by Step Photos
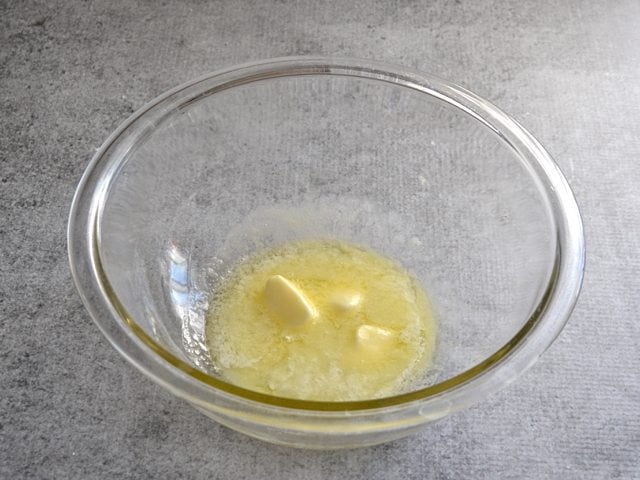
Start by preheating the oven to 350 degrees. Melt 4 Tbsp of butter in a microwave safe bowl. I usually microwave on high, then stir until the butter finishes melting. This and the next step can be done on the stove over low heat, if desired.
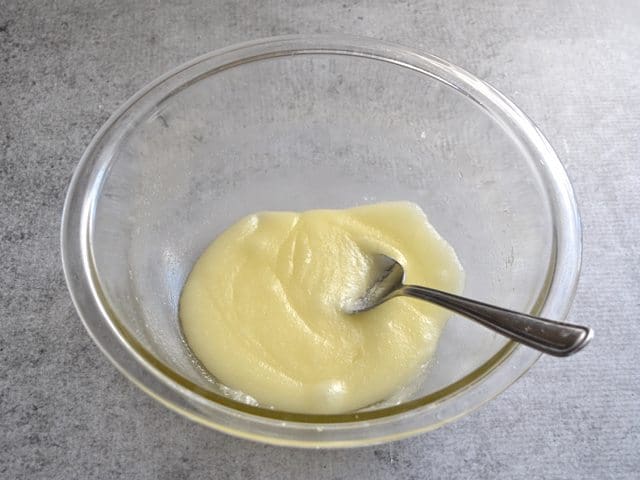
Add 1/2 cup sugar to the melted butter, microwave for 15 seconds, then stir again. Repeat the 15 second intervals until the sugar no longer separates out from the melted butter after stirring. This should only require 30-45 seconds total. (When you first add it, the sugar will look very granulated and the oil from the butter will seep out. After heating it a bit more, the sugar melts a bit and the two incorporate into a mostly smooth mixture. It may still looks every so slightly granular.)
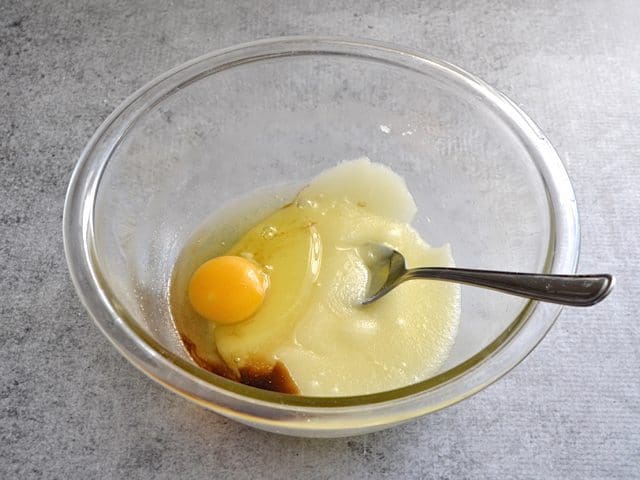
Add 1/4 tsp vanilla extract and one large egg.
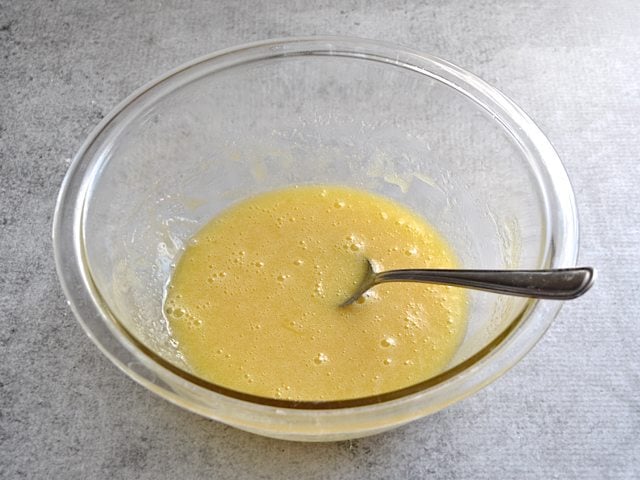
Stir those in until the mixture is smooth.
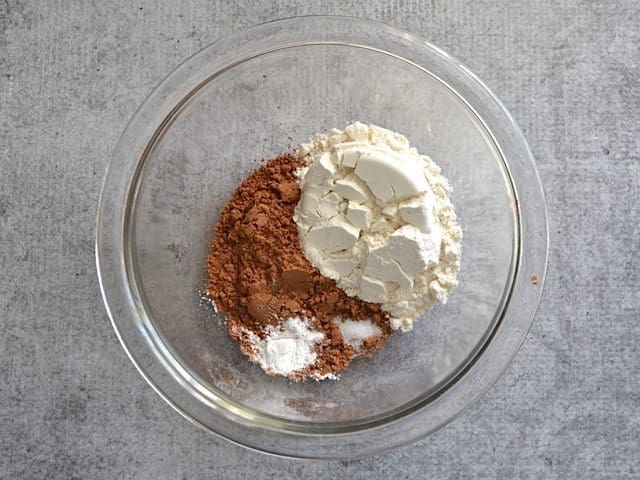
To a separate bowl, add 1/3 cup all-purpose flour, 1/3 cup unsweetened cocoa powder, 1/4 tsp baking powder, and 1/8 tsp salt. Stir until they are very well combined and no clumps remain.
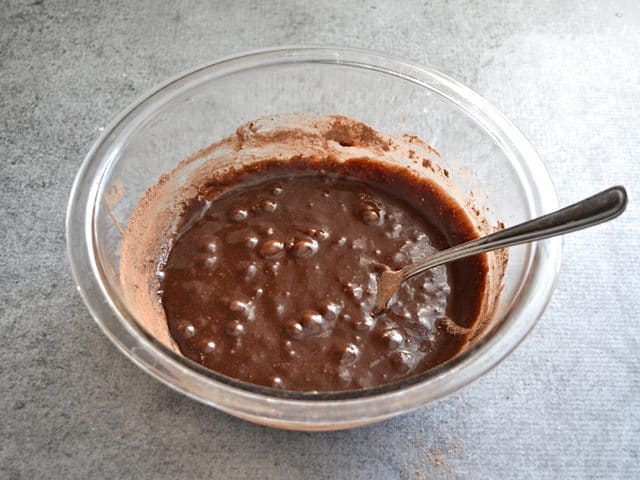
Pour the bowl of dry ingredients into the bowl of wet ingredients and stir until everything is combined and a smooth, chocolatey batter has formed.
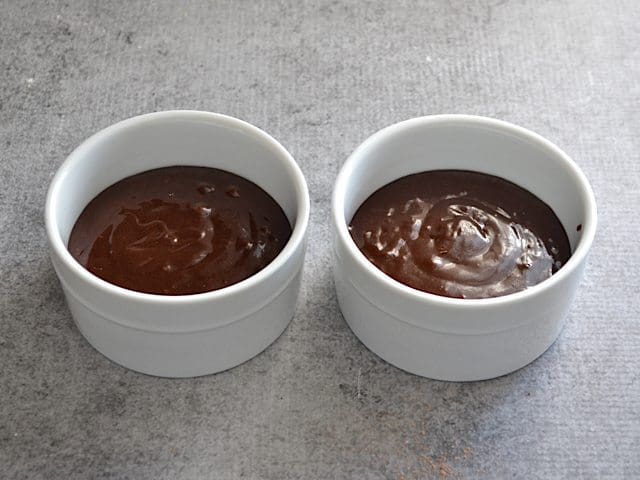
Pour the batter into two 8oz. ramekins.
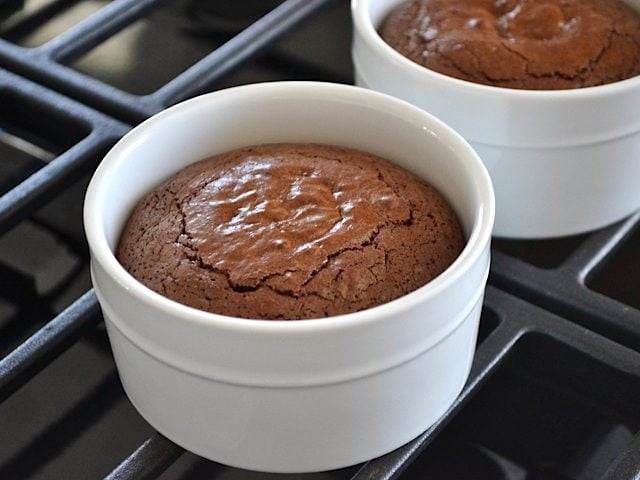
Bake the brownies for 25-30 minutes, or until the centers have risen up into a dome and the surface looks glossy and cracked. Mine could have gone for a minute or two longer because the center deflated a bit upon cooling, but I was okay with that because it just meant that the center was extra fudgey. Yessssss.
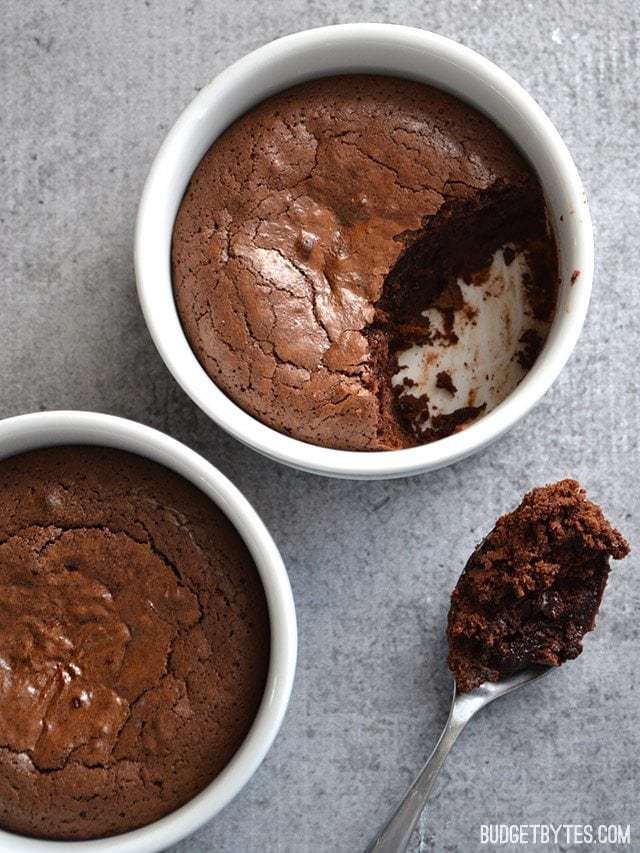
Let the fudge brownie pots cool for a minute so you don’t burn your tongue off, then DIG IN.
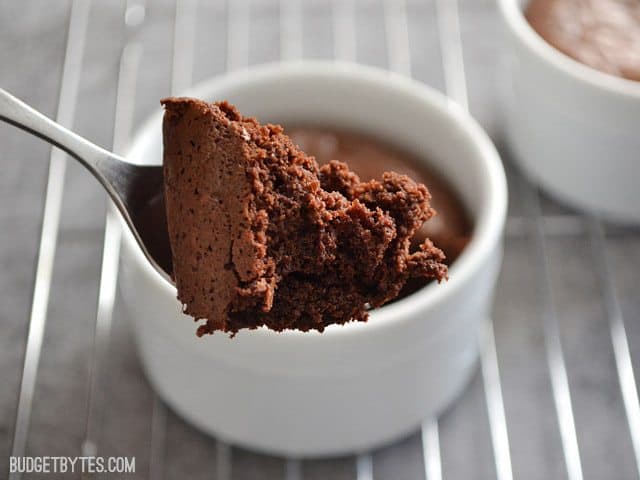
A little fudgey, a little cakey, a LOT of delicious.


where are the nutritional facts …………………………………..
Niccceee!!! Could be more fudgier.. a little dry ….. But delicious 😋😋😋 would make it again
They turned out SO dry for me. :-( I followed the recipe exactly!
This recipe works great if you are trying to make marijuana edibles just melt some highly concentrated marijuana wax into the butter and bake as normal works awesome
Love it; super easy to make, I have all the ingredients on hand, and it’s WAAAAYY better than the chemical-laden mug brownie mixes available in the stores! Best of all, I live alone, and there’s nobody to share with (awwww..isn’t that just too bad? Hahahaha!), so I “have to” eat both brownies. After all, “waste not, want not”!
What size pan did you use
Those are 8oz. ramekins.
Ok, so, firt time making this, i forgot the egg. Husband says it tasted like chocolate milk without the milk. will make again, including the egg.
I was really excited about this recipe, but it just ended up being so cakey. I will definitely give it another shot, but modify it slightly, for a thinner batter and fudgier texture.
Delicious. My whole family is making these. I made a small change. I bury about 6-7 bittersweet chocolate chips in each pot before cooking.
This was great! When I’m craving dessert I have to have it ASAP! This recipe was quick and delicious :) The second time I tried this recipe I reduced the sugar a bit and added a touch of olive oil and water to thin the batter and it was just as good. Thank you very much for sharing and this will be my 100% go to dessert.
Best,
Alaska
Enjoyed these brownies with cream poured over the top!
I’ve tried all the personal brownie recipes, and this one is the closest to an actual brownie! I did tweak it a little to my liking though. I used Brown sugar instead of white sugar, added a little bit of powdered sugar, and stirred in some melted chocolate.
Great recipe–I really enjoy I can make brownies for two. This is my go to recipe if I just want a brownie for myself!
SEARCHERS: If you are wanting a cakey AND gooey brownie with a hint of crisp for texture then LOOK NO FURTHER!!
This is the SECOND COMMENT I’VE EVER WRITTEN for a recipe! The first was for a butter cookie recipe that is now a staple dessert in our household–now your brownie recipe is too!
I made it the regular way last night for myself and my brother, who I did not expect to get a review of any kind since I always have to ask if he likes my creations. The best I ever got out of him was from the butter cookies I added coconut to; he said “best cookies I’ve ever had” :0 and he won’t eat ANYTHING with coconut!! So I was amazed. But for the brownies, THIS TIME HE CAME TO ME….?? lol with two thumbs way up and I was amazed again.
The next day, today, I made a double batch for the family. It was loved all around again and my dad doesn’t even like chocolate! So I had to write a comment, hoping brownie searchers will read my not-so-short message to them.
Oh, and I’ve already memorized the recipe ^.^ you did an amazingly great job Beth!! So much better than the box!! I’ve bookmarked your page so I can’t wait to browse and try your other recipes(:
Love,
A Creative Baker
Thank you!! I’m glad they were so well received. :)
I made these brownies tonight and they were amazing! Crackly tops, chewy edges, and a fudgey interior. I had a major chocolate craving and this definitely fit the bill! I’ll be using this recipe often– thank you for sharing!
This recipe is amazing I just made it, I made some changes though. Since I’m a vegan baker I substituted the egg with a flaxseed egg by mixing 1tbl ground flaxseed and 2.5 tbl water together and just let it Sit for at least 5min until it thickend. Than just followed the recipe as is by replacing the butter with vegan butter(earth balance). Overall it turned out pretty awesome but I think by replacing the egg with a flaxseed egg it caused the batter to be a lot thicker and for it to bake longer. In total the baking time took 15 more minutes with it still being under baked in the center which I didn’t mind.