My freezer is lookin’ a little bare these days, so it’s time to start making some stuff that I can freeze portions of for nights when I just want to pop something in the microwave. These Garden Vegetable Lasagna Roll Ups are the perfect “homemade microwave dinner.” I can freeze two roll-ups in individual containers and have a super hearty and delicious meal ready after only a couple minutes in the microwave (AND I can pair it with some Freezer Garlic Bread!).
This post contains some affiliate links, which means that we make a small commission off items you purchase at no additional cost to you.
What’s in Garden Vegetable Lasagna Roll Ups?
This recipe is a spin-off of my old (and wildly popular) Spinach Lasagna Roll Ups. This time, though, I packed it full of more vegetables and nixed the egg. Why did I do away with the egg? Because once the egg is removed, there are no more “raw” ingredients that need to be cooked for safety.
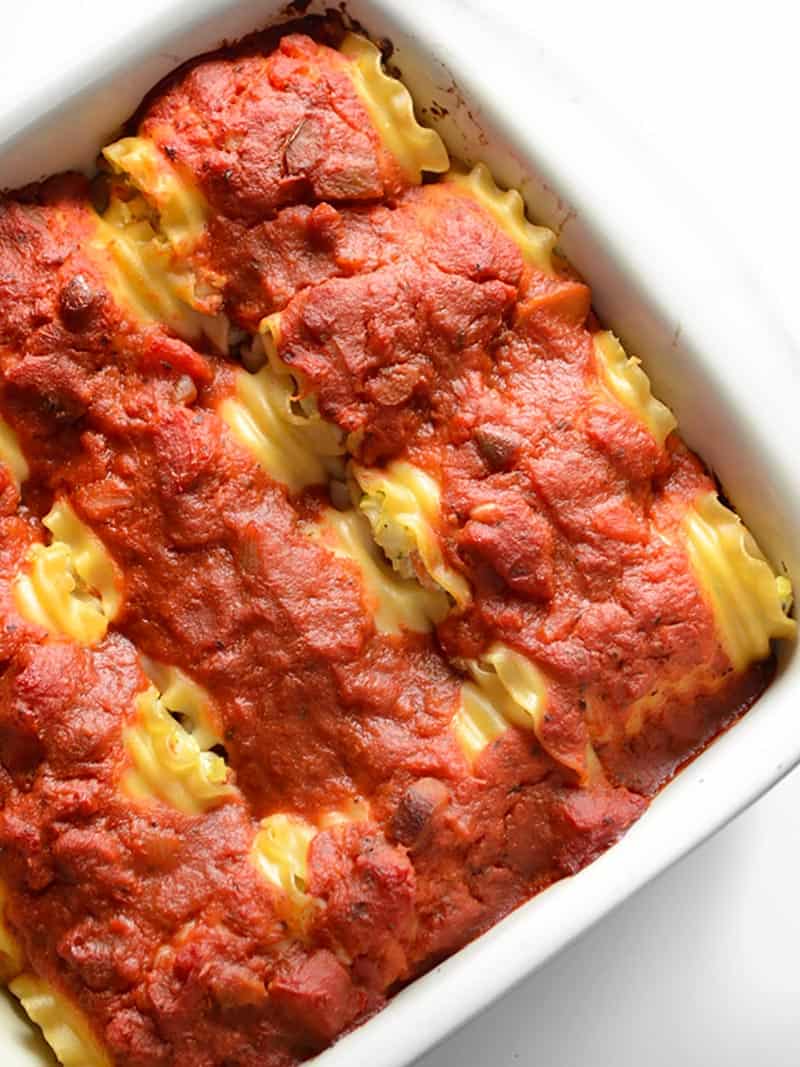
This means I can just roll the filling up in the lasagna noodles, pour sauce over top, and pop them in the freezer. No need to bake first. Of course, I did bake these Garden Vegetable Lasagna Roll Ups as if I was serving the whole pan for dinner so I could photograph them for the blog, but you wouldn’t have to if you didn’t want to. And to my delight, the filling was plenty firm after cooking, even without the egg.
How to Freeze Lasagna Roll Ups
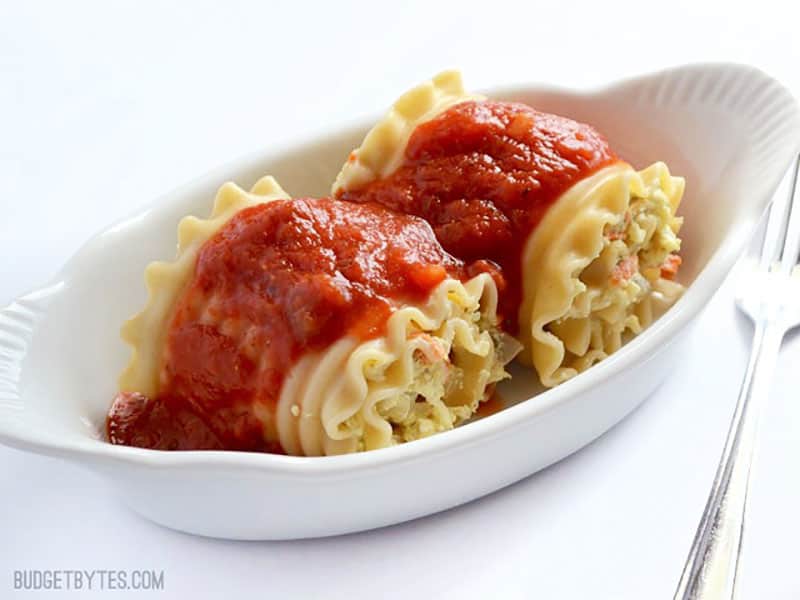
I like to divide mine into single portions of two roll ups each before freezing. That way I can take out one serving at a time to reheat whenever I want. You can freeze the entire casserole whole, if you prefer, but that can make reheating a bit more complicated. To reheat a previously frozen whole dish of lasagna roll ups, let it thaw in the refrigerator over night first, then bake as directed in the recipe below.
Anyway, are you ready to see how to make these tasty little roll ups?
Garden Vegetable Lasagna Roll Ups
Ingredients
- 1 lb. lasagna noodles ($2.15)
- 1 Tbsp cooking oil ($0.04)
- 2 cloves garlic ($0.16)
- 1 yellow onion ($0.70)
- 8 oz. button mushrooms ($1.78)
- 1 zucchini ($0.84)
- 2 carrots ($0.22)
- 1 tsp dried oregano ($0.10)
- Salt and Pepper to taste ($0.10)
- 15 oz. ricotta cheese ($1.94)
- 1 cup shredded mozzarella ($1.33)
- 1/4 cup grated Parmesan ($0.36)
- 1 24oz. jar pasta sauce ($1.98)
Instructions
- Boil a large pot of water. Once the water is boiling, add the lasagna noodles and boil just until tender. Drain the pasta in a colander and set aside.
- While the lasagna noodles are boiling, prepare the vegetable mix. Mince the garlic and dice the onion. Add the cooking oil to a large skillet, along with the garlic and onion, and sauté over medium heat until the onions are transparent.
- While the onions are cooking, rinse and thinly slice the mushrooms. Add the mushrooms to the skillet and continue to sauté. While the mushrooms are cooking, grate the zucchini and carrots on a large holed cheese grater. Add the zucchini and carrots to the skillet, along with the oregano, about 1/4 tsp salt, and some freshly cracked pepper. Continue to sauté until most of the moisture has evaporated (juice should no longer pool on the bottom of the skillet). Remove the skillet from the heat and allow it to cool slightly.
- Next, prepare the cheese mix. In a large bowl, combine the ricotta, mozzarella, Parmesan, and 1/4 tsp salt. Stir until they are evenly combined. Add the slightly cooled sautéed vegetables and stir to combine again. Taste and adjust the salt or pepper if needed.
- Carefully lay out a few lasagna noodles at a time on a flat surface. Add approximately 1/3 cup of the vegetable and cheese mixture to each noodle, then spread the mixture from end to end, leaving about a 1/2 inch bare at each end of the noodle. Once covered in the filling, roll the noodles up. You should get approximately finished 12 roll ups (you may have extra noodles).
- To bake the roll ups, preheat the oven to 350ºF. Coat a 9×9 casserole dish with non-stick spray. Spread about 1/4 of the pasta sauce in the bottom of the casserole dish, then arrange the roll ups on top. Pour the remaining sauce over top. Bake for 40 minutes, or until heated through.
- To freeze the roll ups, Place two roll ups each in a freezer and microwave safe container, then pour sauce over top. Freeze for up to three months. Reheat in the microwave when ready to eat.
See how we calculate recipe costs here.
Nutrition
How to Make Vegetable Lasagna Roll Ups – Step by Step Photos
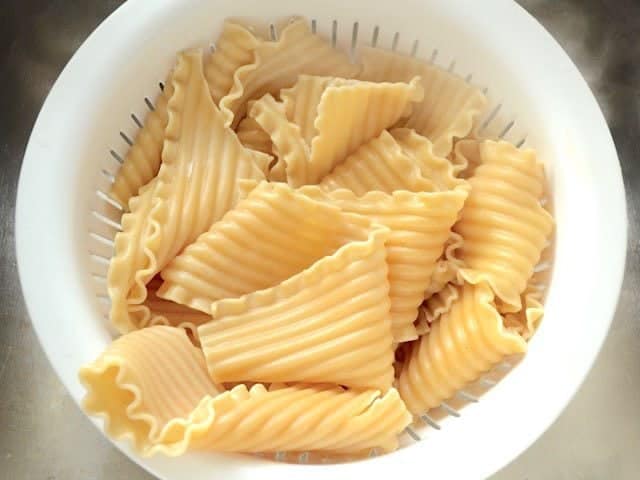
First, boil one pound of lasagna noodles according to the package directions. I didn’t use the entire pound of pasta, but it’s nice to have some extra because a few will undoubtably tear. Be careful while stirring them in the pot to help prevent tearing. Only boil until they are just tender. Over boiling will make them delicate and more likely to tear.
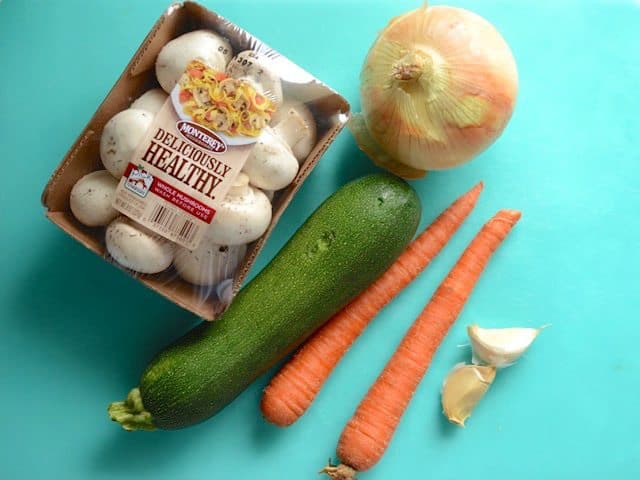
While the pasta is boiling, prepare the vegetable mix. I used 2 cloves garlic, 1 onion, 8oz. mushrooms, 1 zucchini, and two carrots. You can use different vegetables if you’d like.
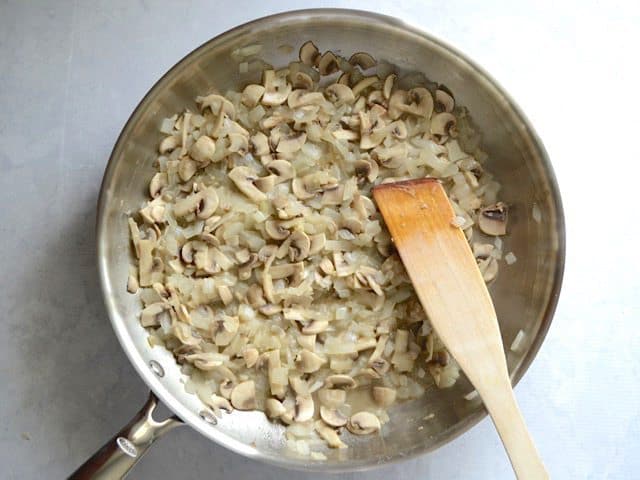
Mince the garlic and dice the onion. Add both to a large skillet with 1 Tbsp canola oil and sauté over medium heat. While the onion and garlic are sautéing, rinse the mushrooms then slice them thinly. Add the sliced mushrooms to the skillet and continue to sauté until they are limp.
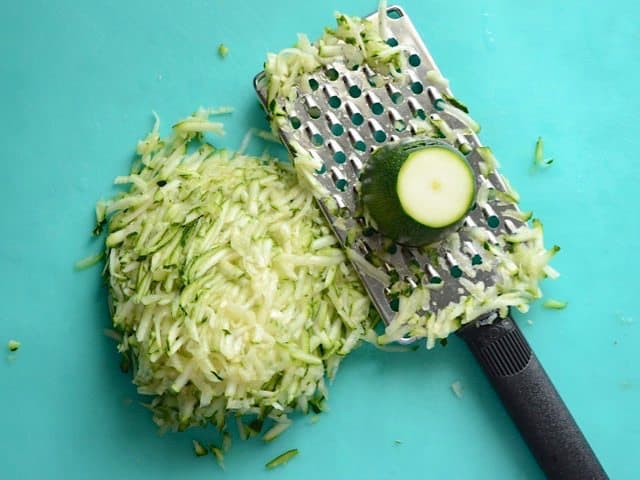
While the mushrooms are sautéing, grate the zucchini using a large holed cheese grater. Peel the carrots, then grate them in the same manner.
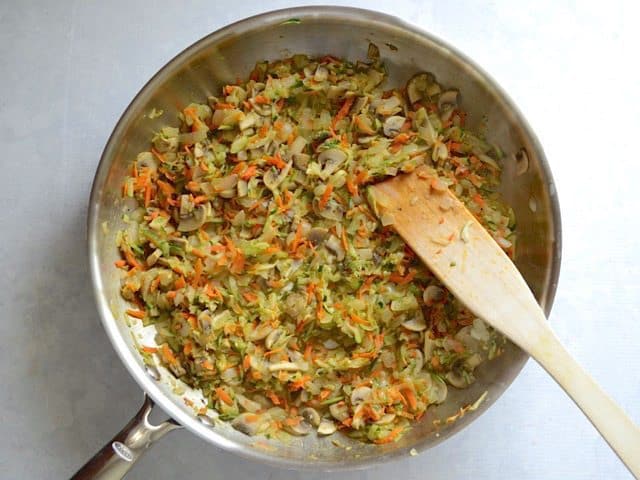
Add the zucchini and carrot to the skillet, along with 1 tsp dried oregano, about 1/4 tsp salt, and some freshly cracked pepper. Continue to sauté until most of the moisture has evaporated away (about five minutes). There should no longer be juice pooling on the bottom of the skillet. Remove the skillet from the heat and allow it to cool a little (you don’t want it so hot that it melts the cheese).
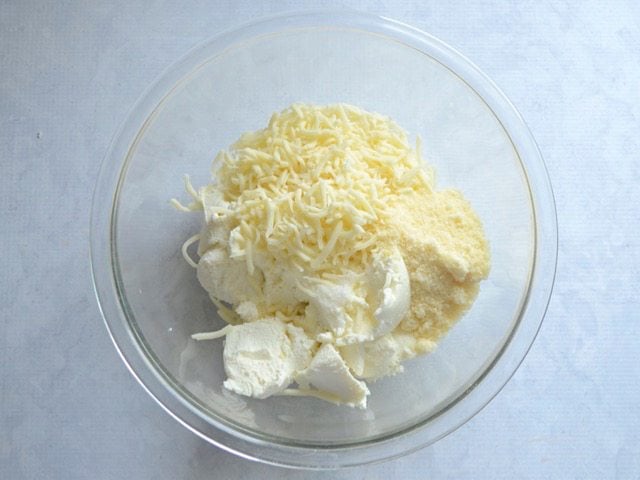
To a large bowl add 15oz. ricotta, 1 cup shredded mozzarella, 1/4 cup grated Parmesan, and another 1/4 tsp salt. Stir until evenly combined.
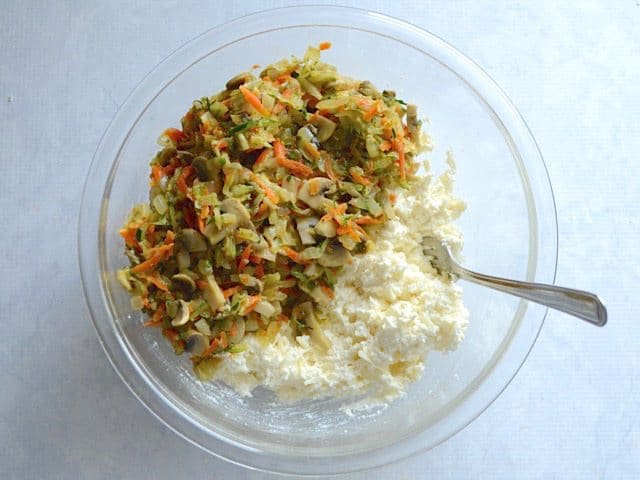
When the vegetables have cooled a little, add them to the cheese mixture.
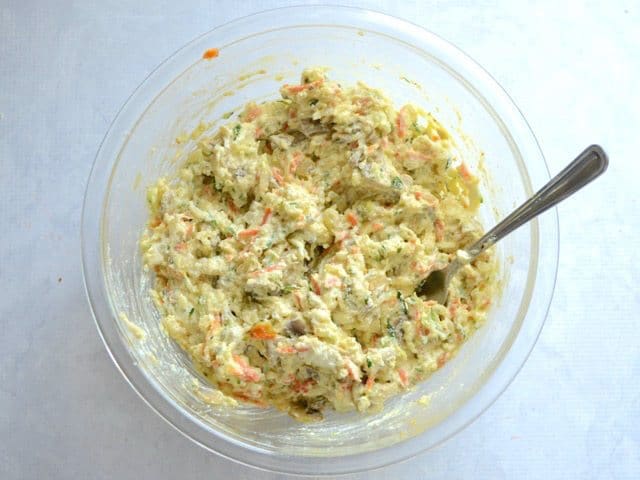
Stir the vegetables and cheese together, then taste to see if it needs more salt or pepper. This is another advantage of not having the egg! You can safely taste the mixture to see if the seasoning is adequate before cooking it. Woot.
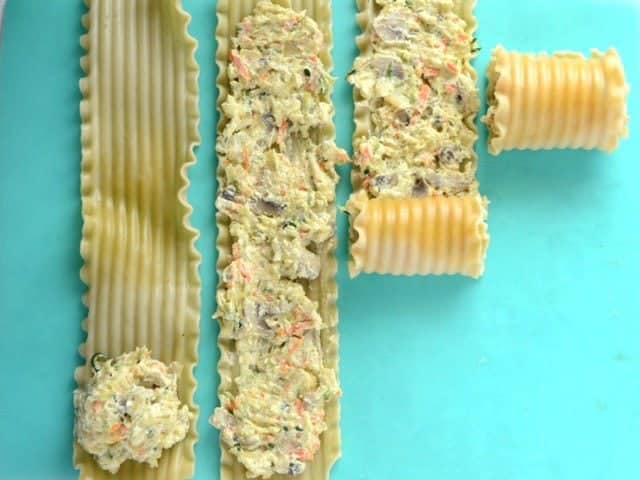
Carefully lay out a few of the cooked and drained lasagna noodles on a flat surface. Place about 1/3 cup of the vegetable and cheese mixture onto each noodle, then spread it from end to end (I like to leave about a 1/2 inch bare at each end). Then just roll ’em on up!
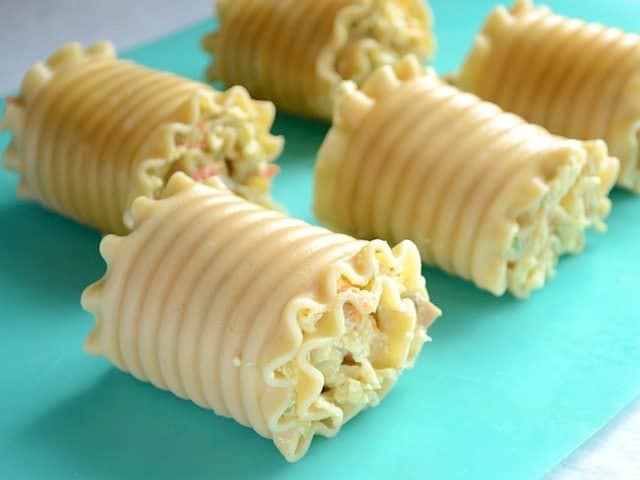
Once you have them all rolled up, you can either bake it like a casserole, or freeze individual portions. If you want to freeze them, just pop a couple of the Garden Vegetable Lasagna Roll Ups into a freezer and microwave safe container, pour sauce over top, and they’re ready to freeze.
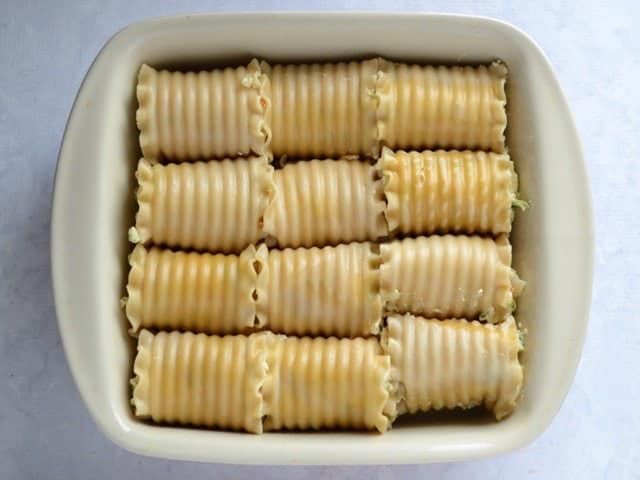
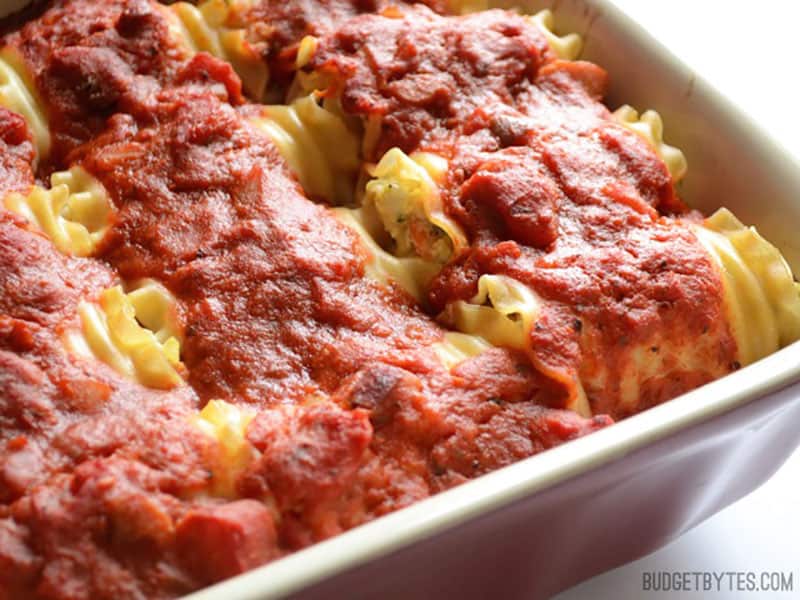
To bake the Garden Vegetable Lasagna Roll Ups as a casserole, preheat the oven to 350 degrees. Lightly coat a 9×9 inch baking dish with non-stick spray. Add about 1/4 of the pasta sauce to the bottom of the dish, then arrange the roll ups on top.
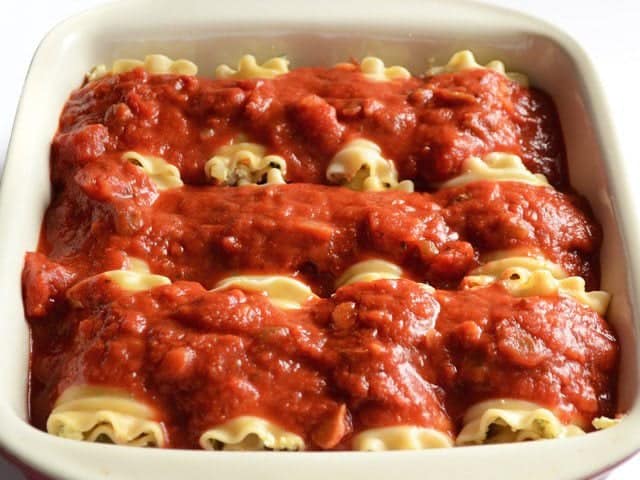
Pour the remaining sauce over top.
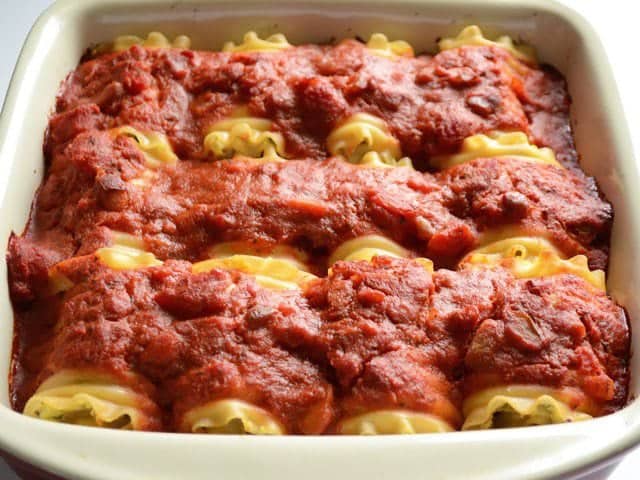
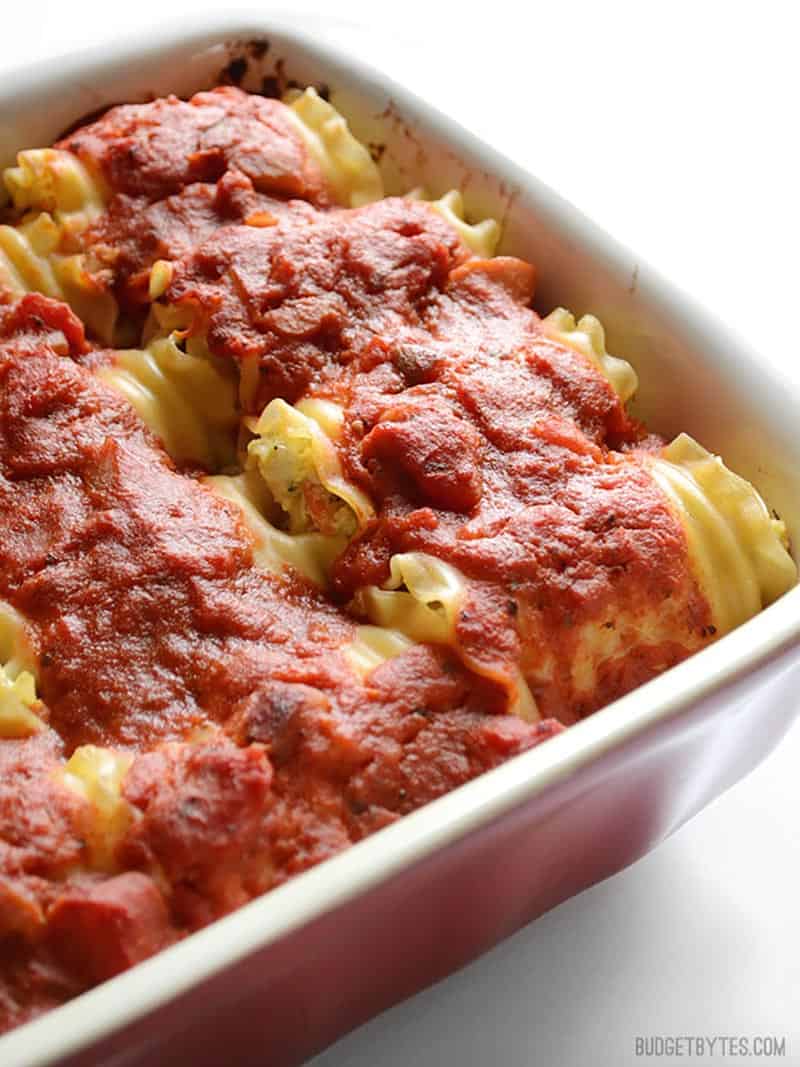
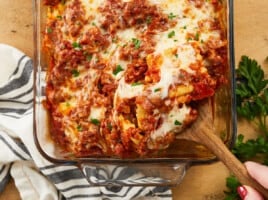
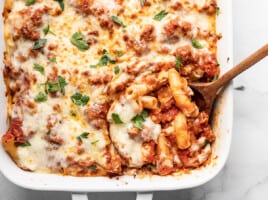
Bake for about 40 minutes, or until it’s heated through. I like my noodles a little crispy on the edges and I like it when the sauce gets nice and thick, so I did not cover the casserole dish. If you want the noodles to stay soft and moist from edge to edge, you can cover the dish with foil.
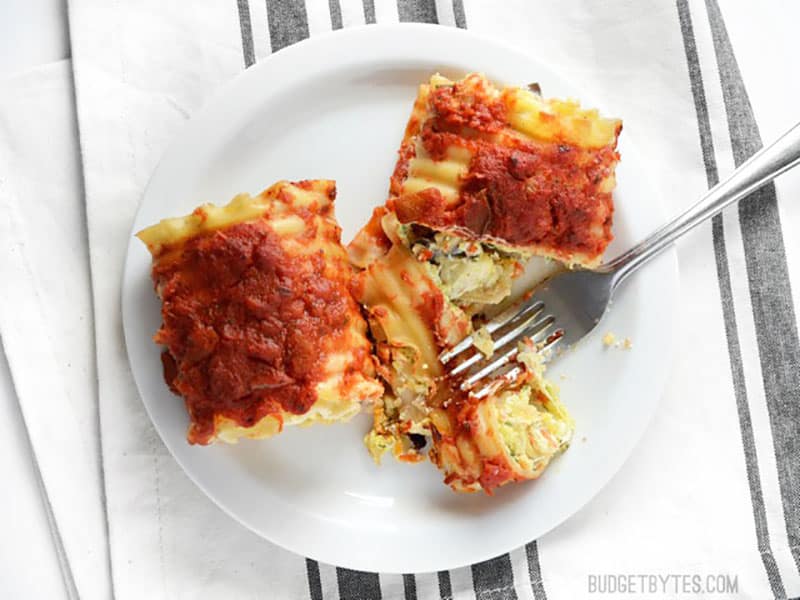
These little Garden Vegetable Lasagna Roll Ups are a lot more filling than they appear! Super good and gives me that pasta fix while sneaking in the vegetables.



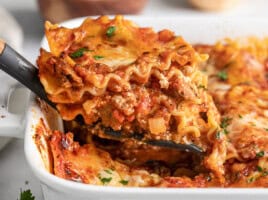
Wow, Beth! Thank you so much for this recipe! I made it this morning and I have to say, this is the best vegetarian lasagna recipe I’ve ever made or tried. It’s delicious! I made it with regular (uncooked) lasagna pasta sheets in a regular lasagna shape. I cooked it for an hour in order for the pasta to cook (the last 30 minutes I covered the lasagna for it not to burn).
This is a winner!
Could I make these and then freeze them in the pan before baking? Remove from the freezer and defrost in the fridge the night before and bake at 350 degrees for 40-60 minutes or until thoroughly cooked?
Yes, that should work fine. :)
I veganized this this week and it turned out great. I replaced the cheese mixture with a cashew cheese recipe from Simple Veganista and it worked like a charm. Thanks for the veg recipes!! :)
Forgot to rate it :)
hi, can i add some minced beef into this? if yes how much? and i fry it with the vege? thank u.
You could probably brown a half pound or a pound of ground beef before sautéing the vegetables. The skillet might get pretty full, though, so I’d remove the meat then do the vegetables, and then stir everything together at the end.
these are great! making them for the second time tonight, they’re in the oven right now. I have a question though! when I put all of the vegetables in the skillet it takes a LOT longer than 5 minutes for all of the juice to evaporate. It took at least 10 minutes and I still ended up draining out some of the juice half way through! do you know why that might be and is there anything I did wrong? thanks in advance :)
It might just depend on the size of your skillet. The more spread out the vegetable pieces are, the easier the water evaporates. :) Also, heat settings on ranges vary quite a bit, so yours might just not be as hot as mine. It sounds like you’re making it work, though!
Thank you so much for this recipe! As a single twenty-something trying to be fiscally responsible, I’ve been working on cutting back eating out. Your site has been such a great resource.
This recipe turned out phenomenally even though I nixed the mushrooms and then forgot the oregano (whoops!). I LOVE how easily it freezes for lunches. I know you have two roll ups for a serving, but for me with garlic bread one is plenty filling. So this recipe gives me lunches for two whole weeks. It’s definitely going in the recipe box.
I made this a month or so ago, following the directions, but adding some italian sausage to the sauce I poured over. They turned out SO GOOD! Fed them to the boyfriend as well and he thought they were great as well. I managed to get a batch of 16 out of the mixture. We ate it twice and then I vacuum sealed and froze the rest.
The carrots and onions give it a slightly sweeter taste than your typical lasagna… but that’s what makes it better. The cheese mixture is also on point.
I just discussed making these again as I’m eating the last set of rolls tonight for dinner. To appease the boyfriend, I’ll be adding sausage into the mixture to see how it turns out. Might even make a double batch as well!
Beth – finally taking the time to review! I have been using your recipes for awhile now and have just loved everything! This recipe in particular may be a new favorite!! Great job!
Yummy! Boyfriend is a recently turned vegetarian and I’ve been looking for meals that don’t feel empty without some type of meat. Had a friend over while I was making this for dinner and all three of us were in love! My friend, who is a huge meat eater and feels the same way as I do about meals being empty without some type of meat, loved this dish. She even asked to take some home.
Boyfriend loved it and said it microwaved perfectly for him the next day at work.
Paired it with some garlic bread and some steamed asparagus. YUM! Will definitely be making this again.
Absolutely delicious! The prep time did take longer than I anticipated, but it was worth it. I love using this website because I use myfitnesspal and I am able to enter in all of the ingredients using the URL.
This is missing from the vegetarian section, but I’m glad I caught it on the homepage. Highly recommended. Thanks for the recipe.
I made this following the instructions as much as I could. However, I only had a grater with small holes rather than a large one called for in this recipe. It turned out very well though! Thank you for sharing this recipe!
I made these recently and love them! I didn’t have any mushroom but tossed in some yellow squash I had. My oven isn’t currently functional so the fact that I didn’t have to bake these was *perfect*. I divided them up into pairs and them wrapped them in saran wrap then stuck all 6 into a big freezer ziplock bag for work lunches. If you can, I suggest letting them defrost overnight in the fridge, but two minutes in the microwave was fine for my mostly-frozen rollups. Just remember to put the sauce on last, so you don’t create a microwave sauce-splosion. :)
I made this last night and it was awesome! I made the recipe as directed and added a bag of fresh spinach to the vegetables and it was delicious and very easy on the budget. It’s not exactly a quick meal, but it’s not super complicated. If you have a little extra time on hand, it’s definitely worth whipping these up.
I’d love to make these–I’m wanting to start freezer cooking for a couple reasons. One, to cut down on dinner prep, especially when it’s just my husband and I. Two, I work from home and reallllllllly struggle with decent meals for myself. Anyways, if I wanted to make a batch or two and freeze these, approximately what size container should I use? I really don’t have any now, and don’t want to purchase ones I won’t be able to use.
I guess it depends on how many you want to reheat at a time. I like to reheat single serving portions, so I use my small square Ziploc resealable containers. If you want to cook the entire thing at once, I would go for a 9×9″ casserole type dish (those aluminum disposables would work well).