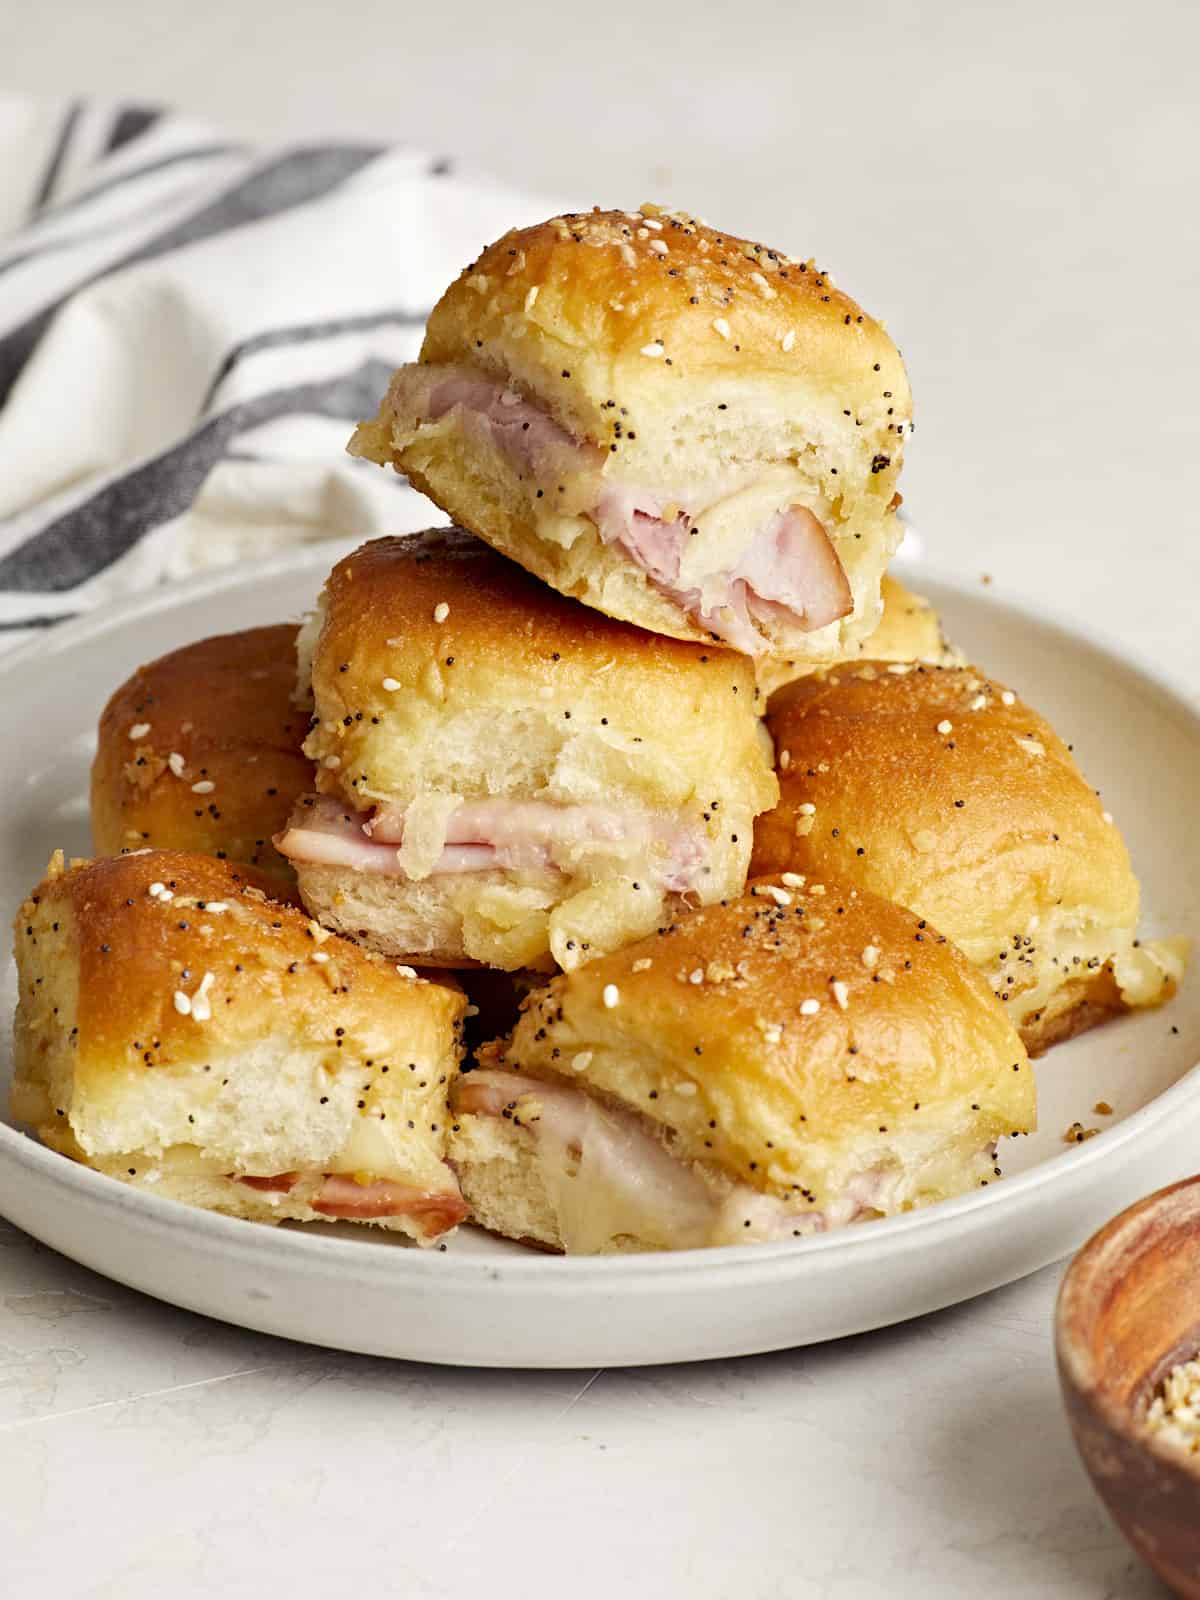
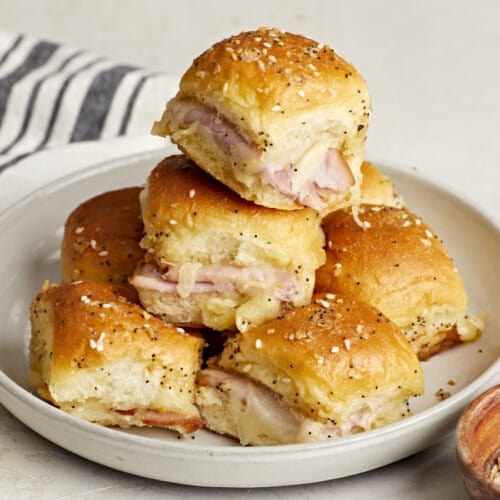
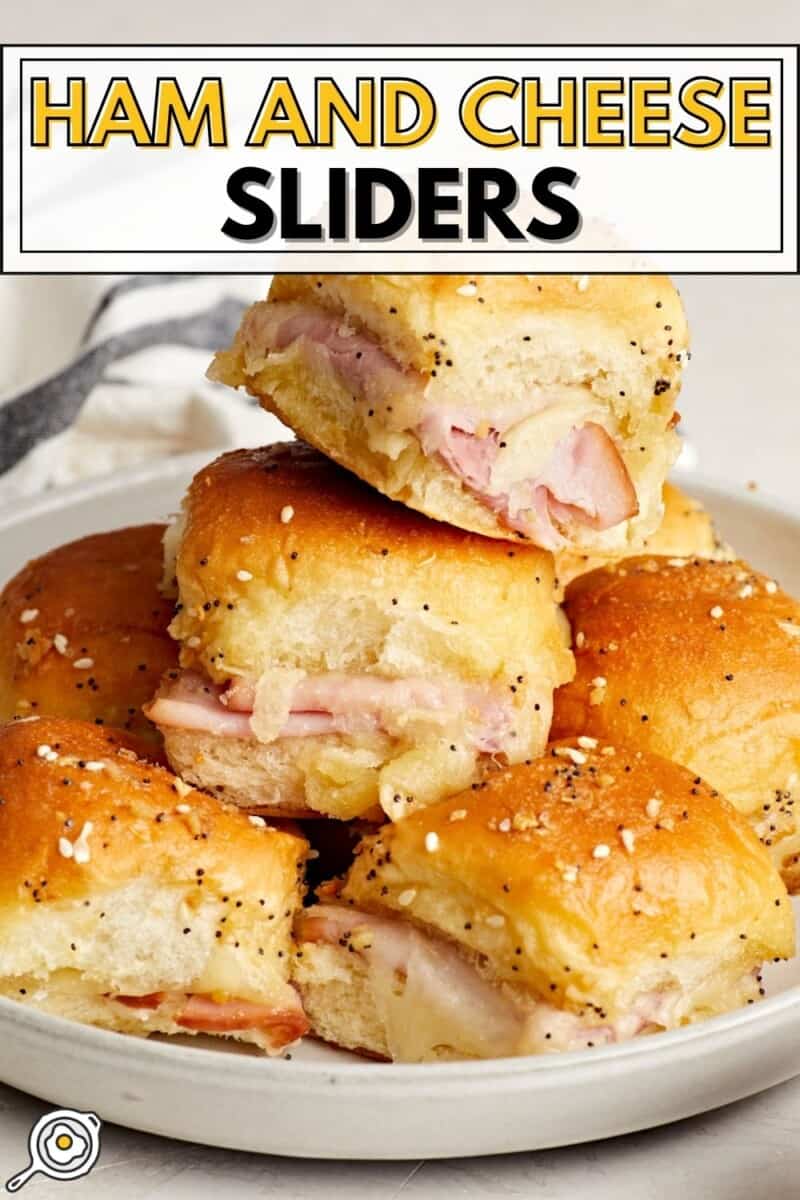
These tasty little Ham and Cheese Sliders might just be the champion of all party food recipes! They’re extremely easy to make, perfect for feeding a hungry crowd, and they’re insanely delicious! With each bite you taste the sweetness of the Hawaiian rolls, the saltiness of the ham, the gooeyness of the cheese, and that irresistible buttery sauce. The combination of everything together is simply unmatched! And although these are absolutely perfect for a tailgate party or watching your favorite sports team, they can also be enjoyed all year long!
All recipes are rigorously tested in our Nashville Test Kitchen to ensure they are easy, affordable, and delicious.
“Oh, man. These are STOOOOPID good. I couldn’t believe how much butter it called for, but let me tell you, friend: use all the butter. Use it, and enjoy it. It’s worth the fat and calories. Crispy, gooey, melty, buttery perfection. Great, easy recipe!”
Gena
Easy Recipe for Ham and Cheese Sliders
Ham and cheese sandwiches remind me so much of my childhood, but these sliders are definitely the grown up version. My mom has been making these tasty little ham and cheese sliders for years. And every time she makes them, whether it’s for a family gathering, football game, or a holiday party, they are literally gone in minutes! Needless to say, I consider these a must-have for just about any special occasion!😉
Ham and Cheese Sliders
Ingredients
- 12 Hawaiian sweet rolls* ($4.79)
- 12 slices deli ham** ($3.00)
- 6 slices Swiss cheese*** ($1.86)
- 8 Tbsp butter ($1.07)
- 1 1/2 tsp Dijon mustard ($0.02)
- 1 1/2 tsp Worcestershire sauce ($0.05)
- 1 1/2 Tbsp everything bagel seasoning ($0.30)
Instructions
- Preheat the oven to 350°F. Slice the rolls in half lengthwise.
- Place the bottom half of the rolls in a 9×13" baking dish. Fold 1 slice of deli ham and place it on top of each roll.
- Add the 6 slices of Swiss cheese on top of the deli ham in a single layer.
- Now make the butter mixture. Melt the butter in a small bowl in the microwave. Add the Dijon mustard, Worcestershire sauce and everything bagel seasoning to the bowl. Whisk all the ingredients together.
- Place the top rolls on top of the ham and cheese. Using a pastry brush, brush the butter mixture over the tops of the rolls and the sides of the sandwiches. Brush several layers of the butter making sure the rolls are well coated. You can also carefully pour the butter mixture over the top if you don't have a pastry brush.
- Loosely cover the baking dish with aluminum foil and bake for 15 minutes. After 15 minutes, remove the aluminum foil and continue baking for 5-7 minutes or until lightly golden brown.
See how we calculate recipe costs here.
Notes
Nutrition
How to Make Ham And Cheese Sliders – Step by Step Photos
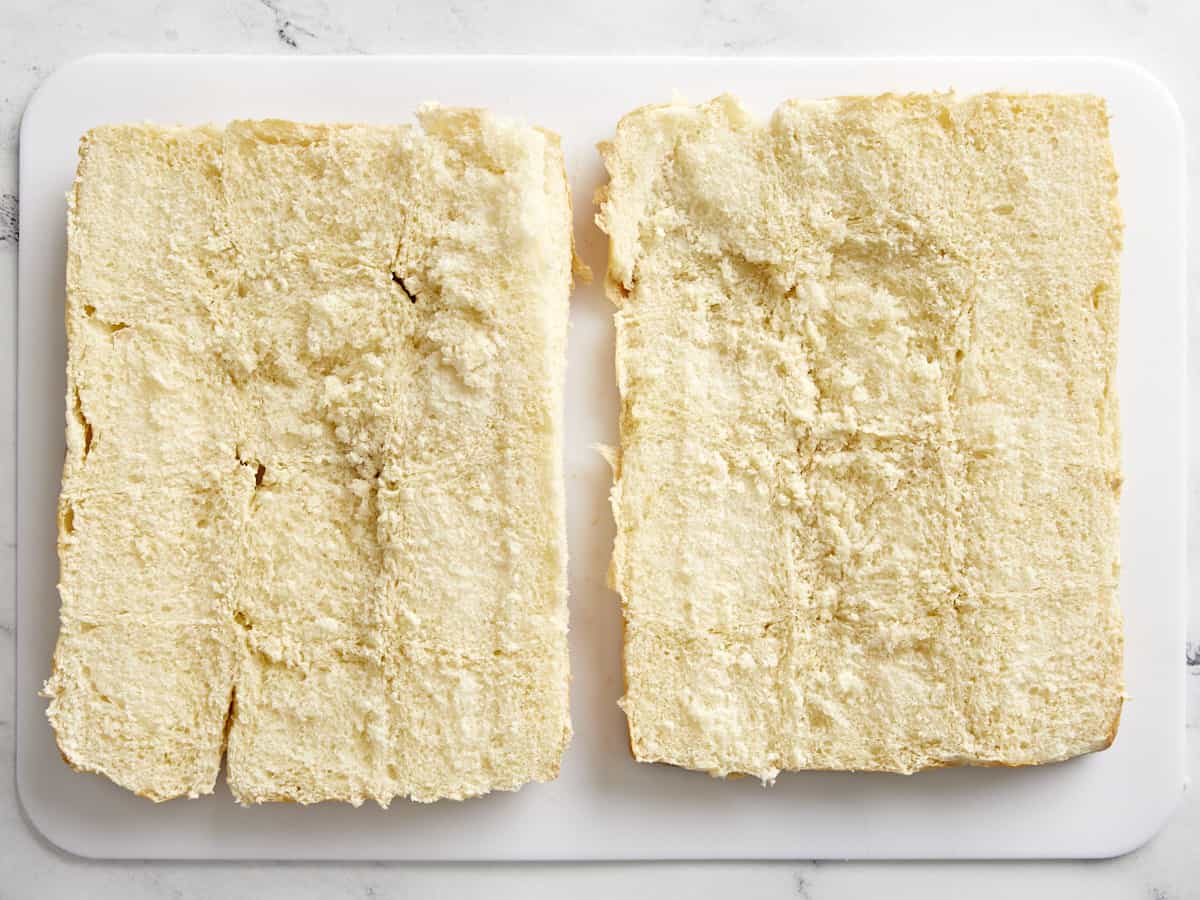
Preheat the oven to 350°F. Slice 12 Hawaiian sweet rolls in half lengthwise.
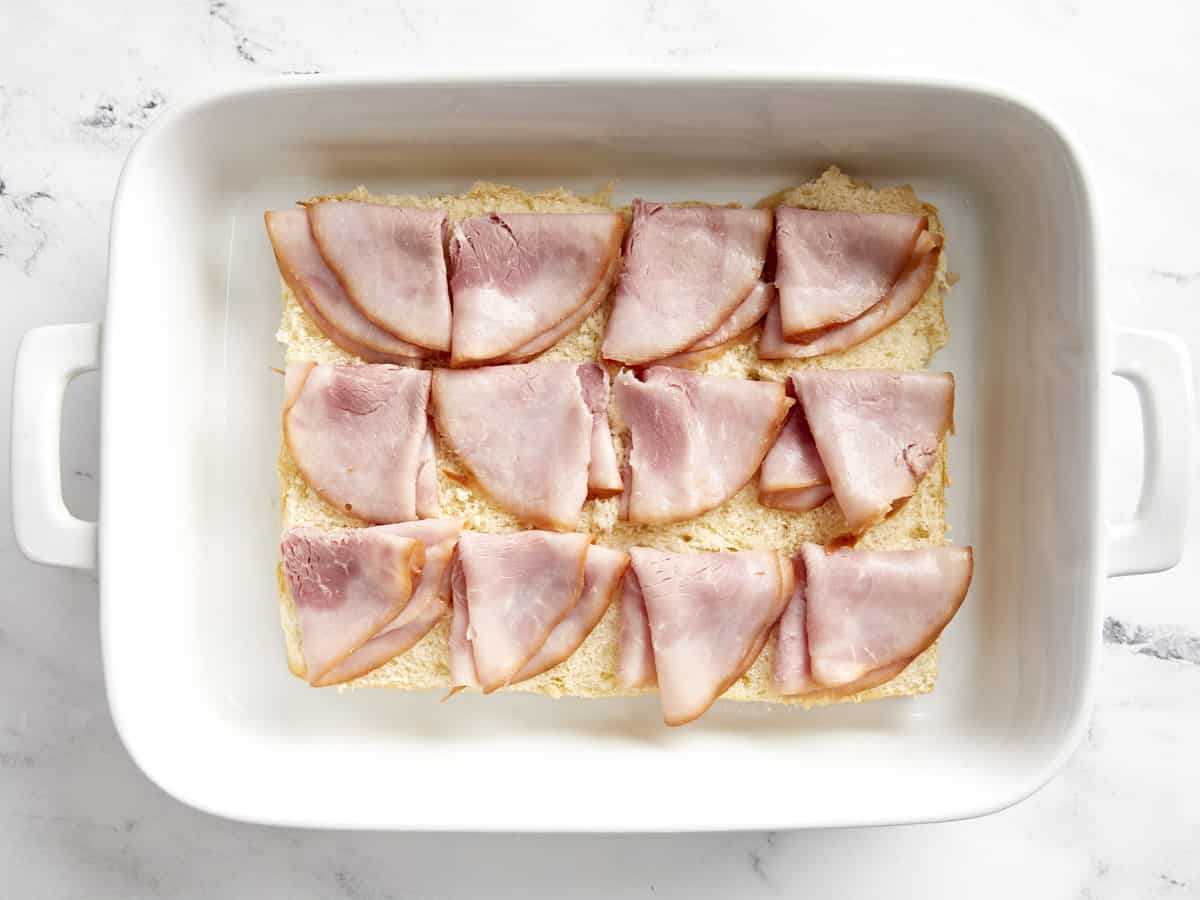
Place the bottom half of the rolls in a 9×13″ baking dish. Fold 1 slice of deli ham and place it on top of each roll.
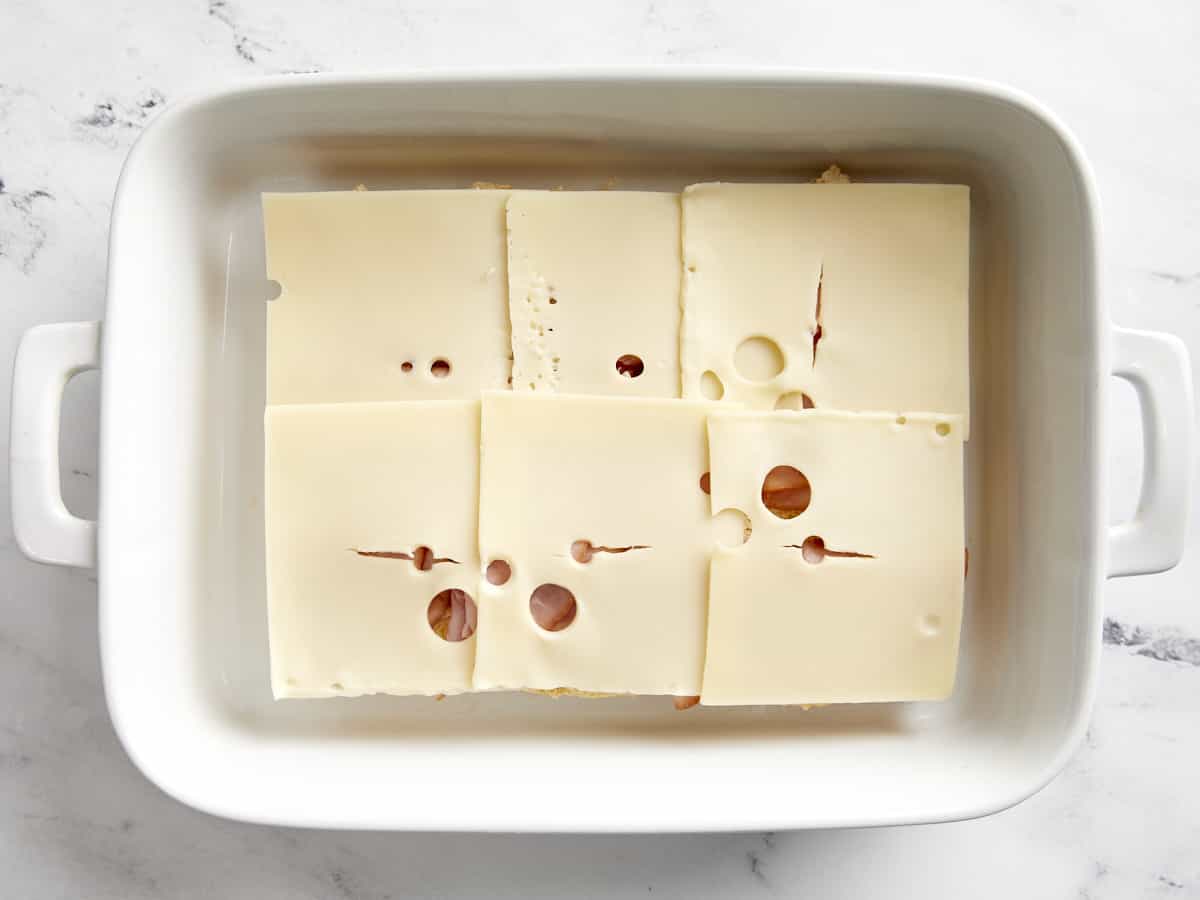
Add 6 slices of Swiss cheese on top of the deli ham in a single layer. It’s ok if the edges of the cheese overlap a little bit.
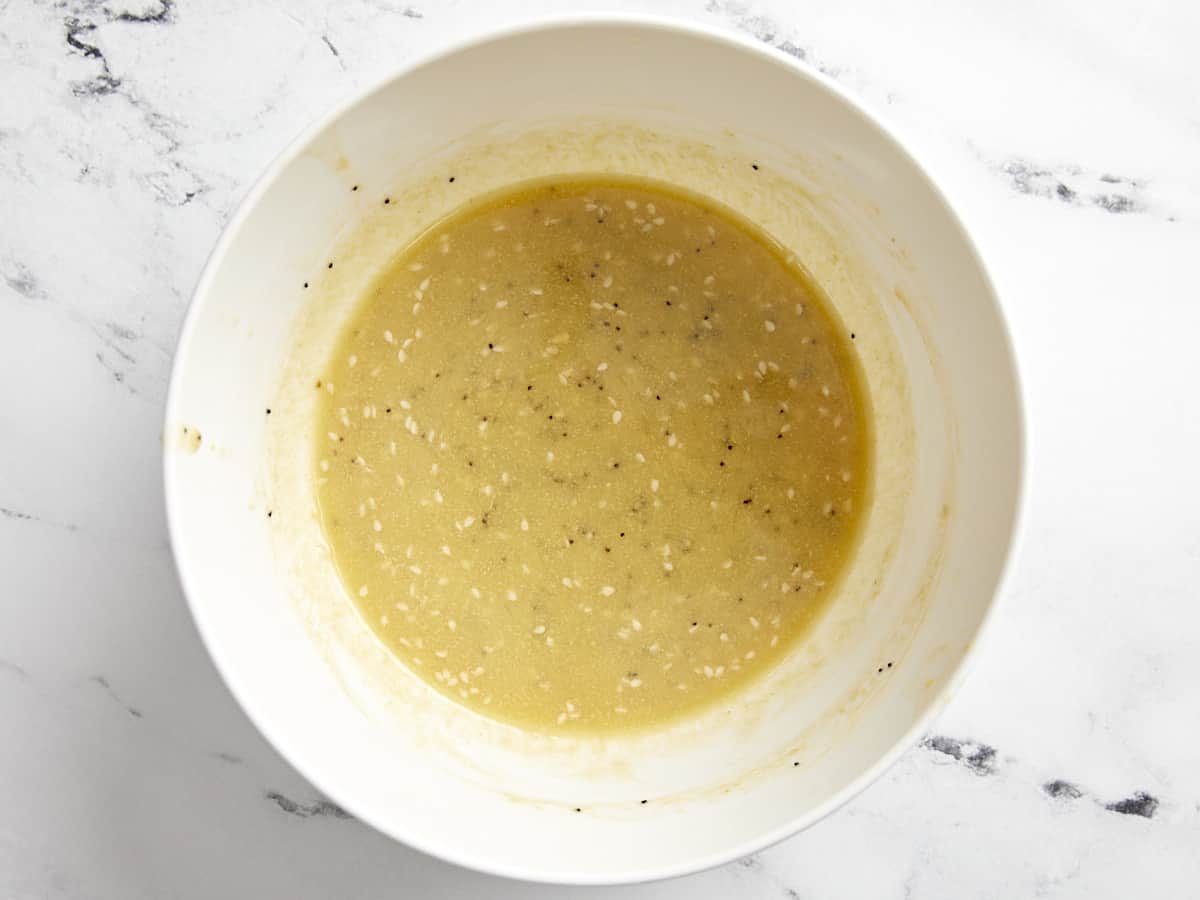
In a small bowl melt 8 Tbsp (1 stick) of butter in the microwave. Add 1 1/2 tsp Dijon mustard, 1 1/2 tsp Worcestershire sauce and 1 1/2 Tbsp everything bagel seasoning to the bowl. Whisk all the ingredients together until well combined.
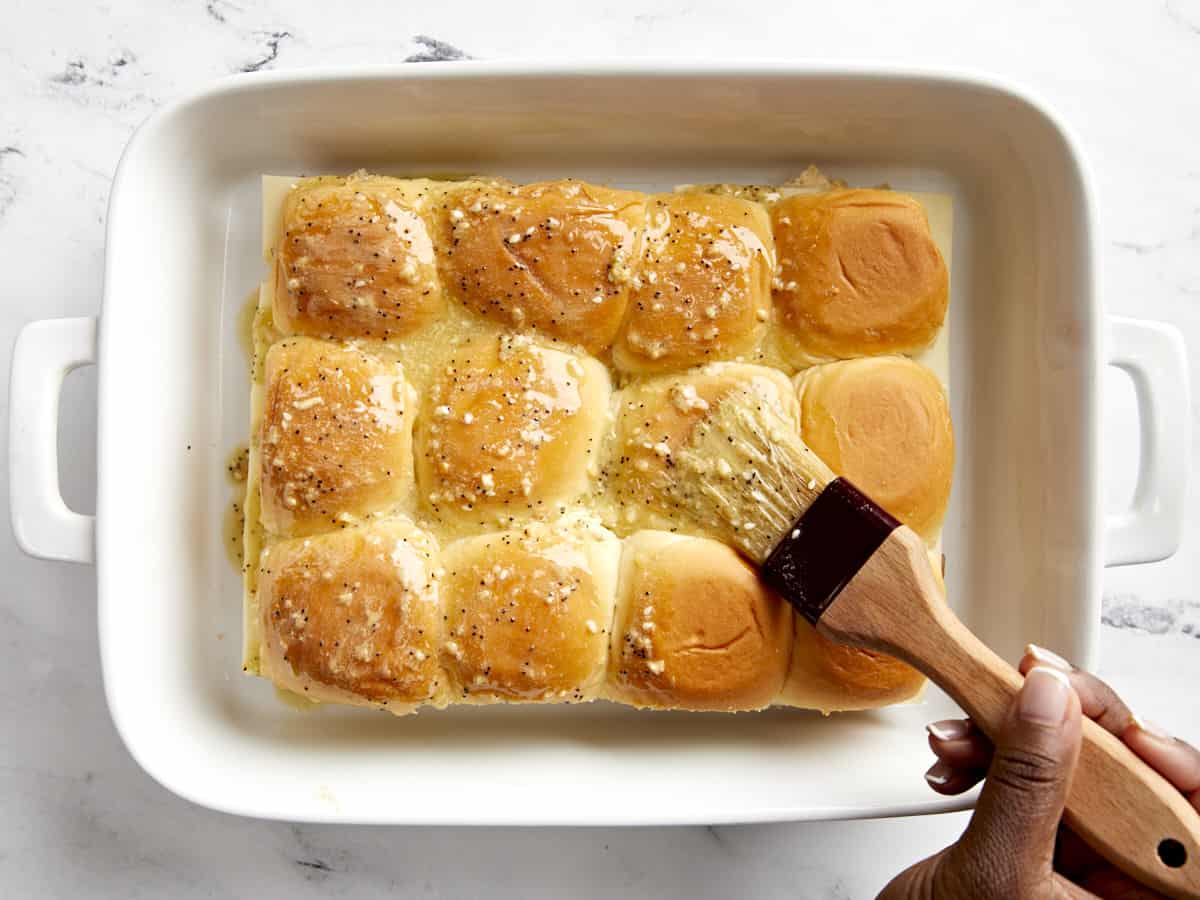
Place the top half of the rolls on top of the ham and cheese. Using a pastry brush, brush the butter mixture over the tops of the rolls and the sides of the sandwiches. Brush several layers of the butter making sure the rolls are well coated. You can also carefully pour the butter mixture over the top if you don’t have a pastry brush.
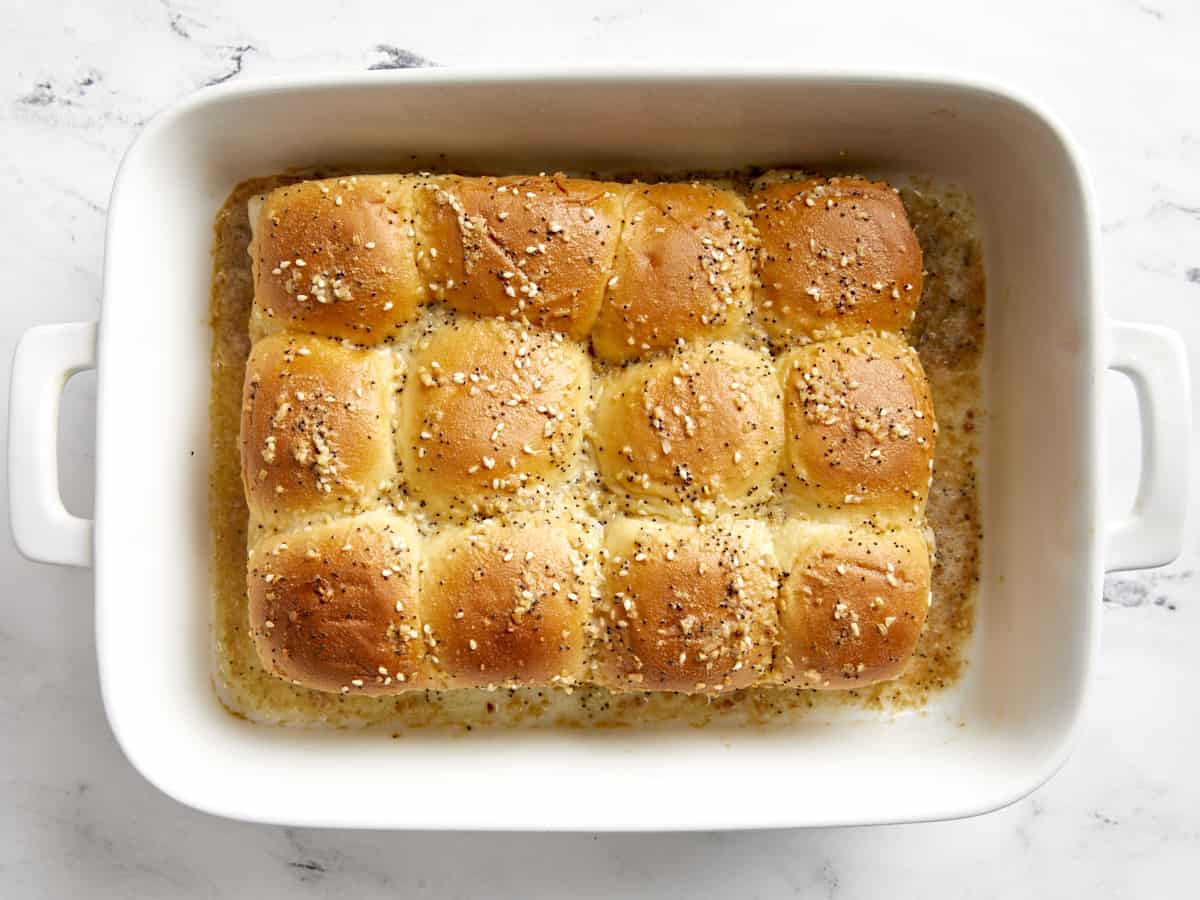
Loosely cover the baking dish with aluminum foil and bake for 15 minutes. After 15 minutes, remove the aluminum foil and continue baking for 5-7 minutes or until lightly golden brown.

Time to enjoy that buttery goodness that’s baked into each ham and cheese slider. Trust me these won’t last long. Serve warm and enjoy!
Recipe Tips and Variations
- Use Leftover Ham – If you happen to be making these sandwiches around a special holiday and you have any leftover baked ham, then this recipe works perfectly with your leftover ham.
- Turkey and cheese – Not into ham? No worries, this recipe also works well as turkey and cheese sliders!
- Everything Bagel Seasoning – A lot of ham and cheese slider recipes use poppy seeds and dried minced onions as part of the butter sauce. However, we rarely have poppy seeds stocked in our pantry. The good news is that Everything Bagel Seasoning has those ingredients included in it along with dried minced garlic, sesame seeds, and a few other spices. So it works perfectly with these tasty little sandwiches!
Storing Leftovers
If you’re lucky enough to have any of these tasty sandwiches leftover, then just store them in an airtight container or a ziplock storage bag in the refrigerator for up to 4 days. Reheat in the microwave or in the oven until warmed through.




Oh, man. These are STOOOOPID good. I couldn’t believe how much butter it called for, but let me tell you, friend: use all the butter. Use it, and enjoy it. It’s worth the fat and calories. Crispy, gooey, melty, buttery perfection. Great, easy recipe!
Haha! I really enjoyed your comment! Thanks for sharing :)
These were amazing! I doubled them for a party we had and they were a hit! If I made them again, I think I would cut the butter in half. I felt I was starting to saturate them at one point and I had extra butter mixture left that I guiltily discarded.
Same!!
I made these and they are delicious! That butter mixture is great!
Just had this at my son’s house and he used hot sauce and honey! I look forward to trying the mustard sauce as well. So delicious!
I had a birthday party for a friend on Saturday. Lots of dishes, all meant to be snacking / finger food and these were by far everyone’s favorite and honestly the easiest thing I made. Highly recommend
I did a practice run of these before making them this weekend since there will be some, let’s say outspoken, family members coming and they were a hit! Man-cub #2 said he hopes the aunts don’t like them so there will be more for him lol. Man-cub #1’s mouth was full, so he just nodded in agreement.
Yummy quick and filling! Perfect lunch
This is such a hit at parties. No one can even wait to sit down before taking a bite.
This had no right to be so tasty! We didn’t have the Everything But the Bagel seasoning so I just omitted it. They were even delicious cold the next day! I Will definitely be making these again!
My own mother used to make these sort of sliders individually wrapped in aluminum foil then cooked and each person made it their own way after cooking… Very happy memories. Do you perhaps have a different suggestion or substitution for the “everything bagel seasoning?” My children aren’t fond of the flavor. Perhaps just butter?
You can just omit or you could swap for poppy seeds or sesame seeds!
Hi Jamie! I have been making various versions of this for years (passed down from my own mom also). The batch I made last week for my kiddos with this Everything Bagel seasoning and they did not like it at all (mom fail lol). But the batch before I used a garlic and herb seasoning blend (I think it was Kinder’s brand but any seasoning blend should work well), and they liked them a lot. You could even try an italian seasoning blend and switch the cheese to mozzarella (and maybe use pepperoni instead of ham?) Hope this is helpful :)
These are BOMB! Thank you!!!
No issues in this household making these. Husband even wanted a different deli meat and that was easily adjusted for half of the dinner rolls. But ham and cheese were *chef’s kiss* delicious. (:
hi! these are lovely! although I must admit I was slightly disappointed to see that there is no recipe for the Hawaiian sweet rolls! I live in Spain and I’d like to make my own, so would you kindly provide the recipe?
Thanks!
Unfortunately, we haven’t developed and tested a recipe for Hawaiian rolls yet!
These were delicious and super easy to make. My son gobbled them up!
I do not like Marsha’s recipes. I have found too many things missing, or unexplained in them. In this particular recipe, there are 12 rolls, 12 slices of deli ham, but only 6 slices of cheese? Which sandwiches don’t get cheese or is that a typo because she didn’t proofread prior to posting? Also, wouldn’t it be nice to give at least an idea of how to fold the ham?
I am sorry for your visual acuity and reading comprehension issues. Perhaps a careful review of the step-by-step photos would offer you enlightenment. They very clearly illustrate how to fold the ham and layer the cheese. Of course if you wish to use different ham folds and cut the cheese to layer on each individual roll that is your prerogative. The budgetbytes team encourages all of their readers to make the recipes their own.
I think your questions are answered in the photos… the cheese slices are bigger than the ham. How to fold the ham is also visible in the photos…
I find Marsha’s recipes to be very thorough. I usually use the StepByStep photos as my first read through. It really helps me get the big picture.
Thank you Marsha!
There are pictures above how to make these. Very helpful.
Then why are you here? And I can’t understand how hard it is to fold ham. 🤣🤦🏼♀️ There are pictures!!! You are just rude. Plain and simple.
These were quick, easy and SO good. The suggestion of everything bagel seasoning was genius! I normally don’t leave comments but have followed a handful of Marsha’s recipes now and she never steers me wrong, I am really enjoying her voice on the blog :)