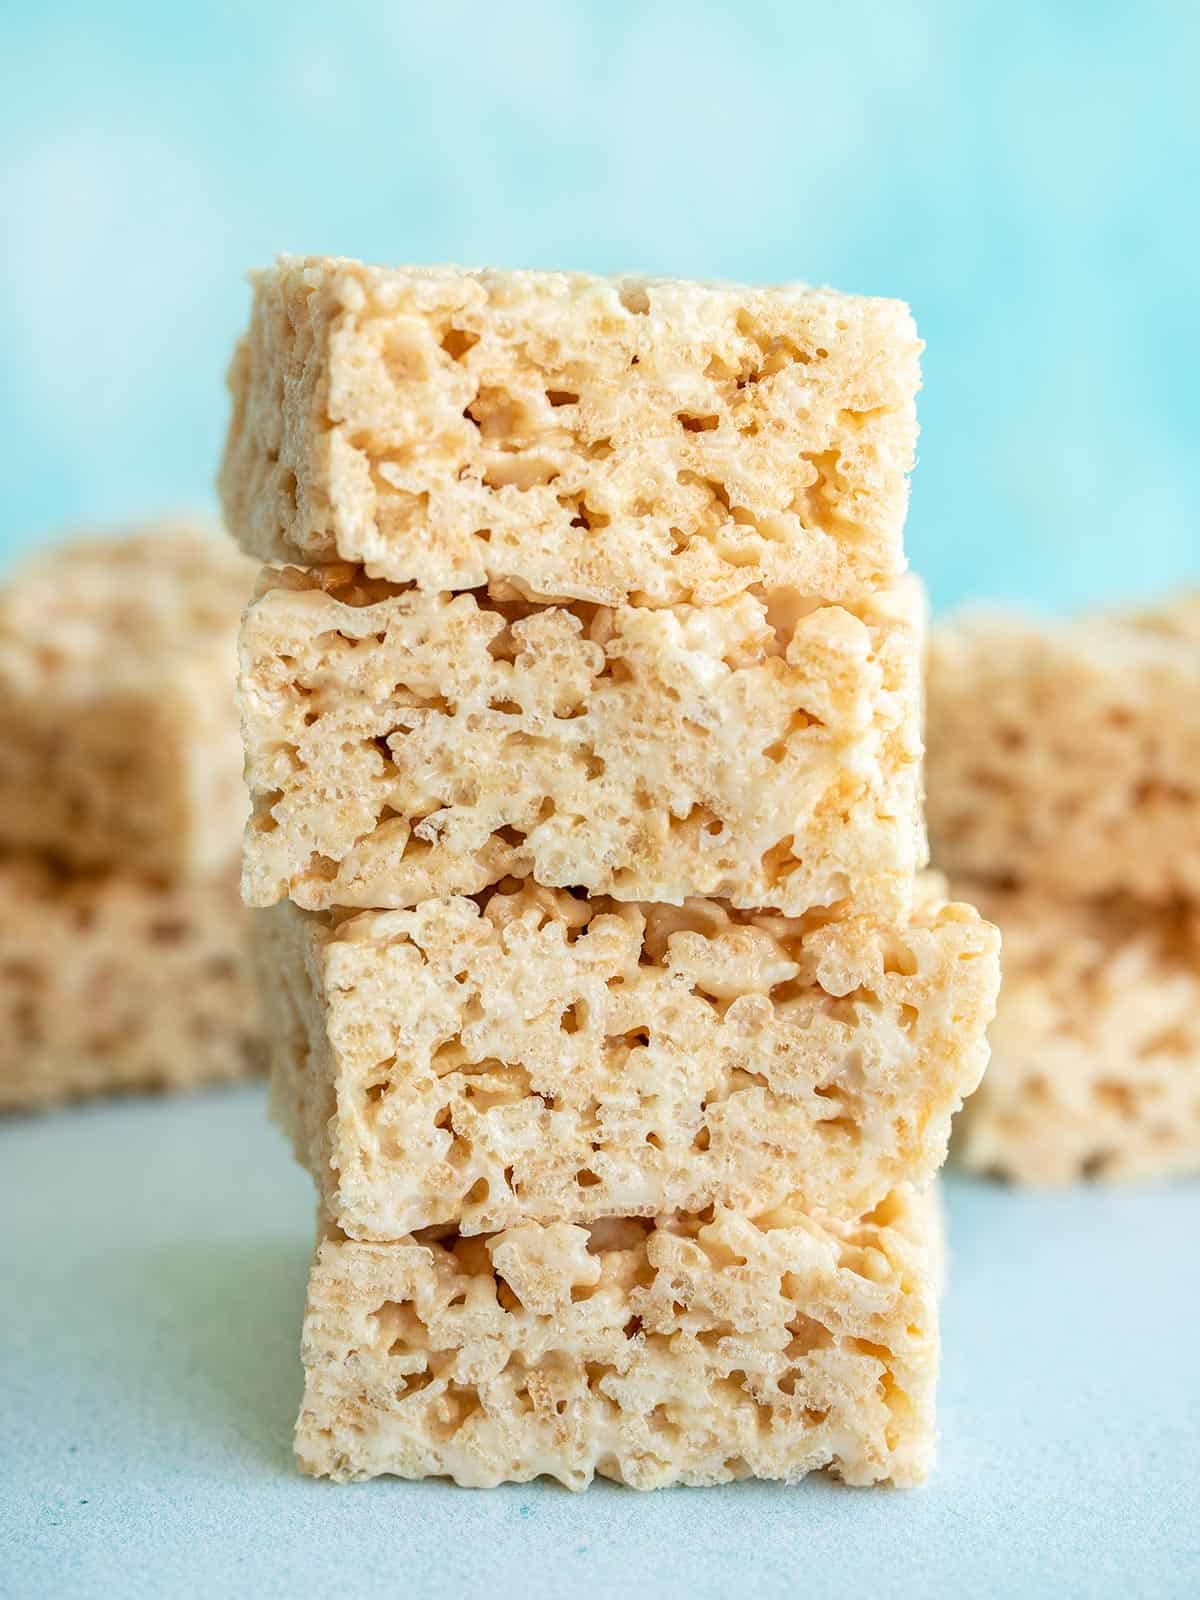
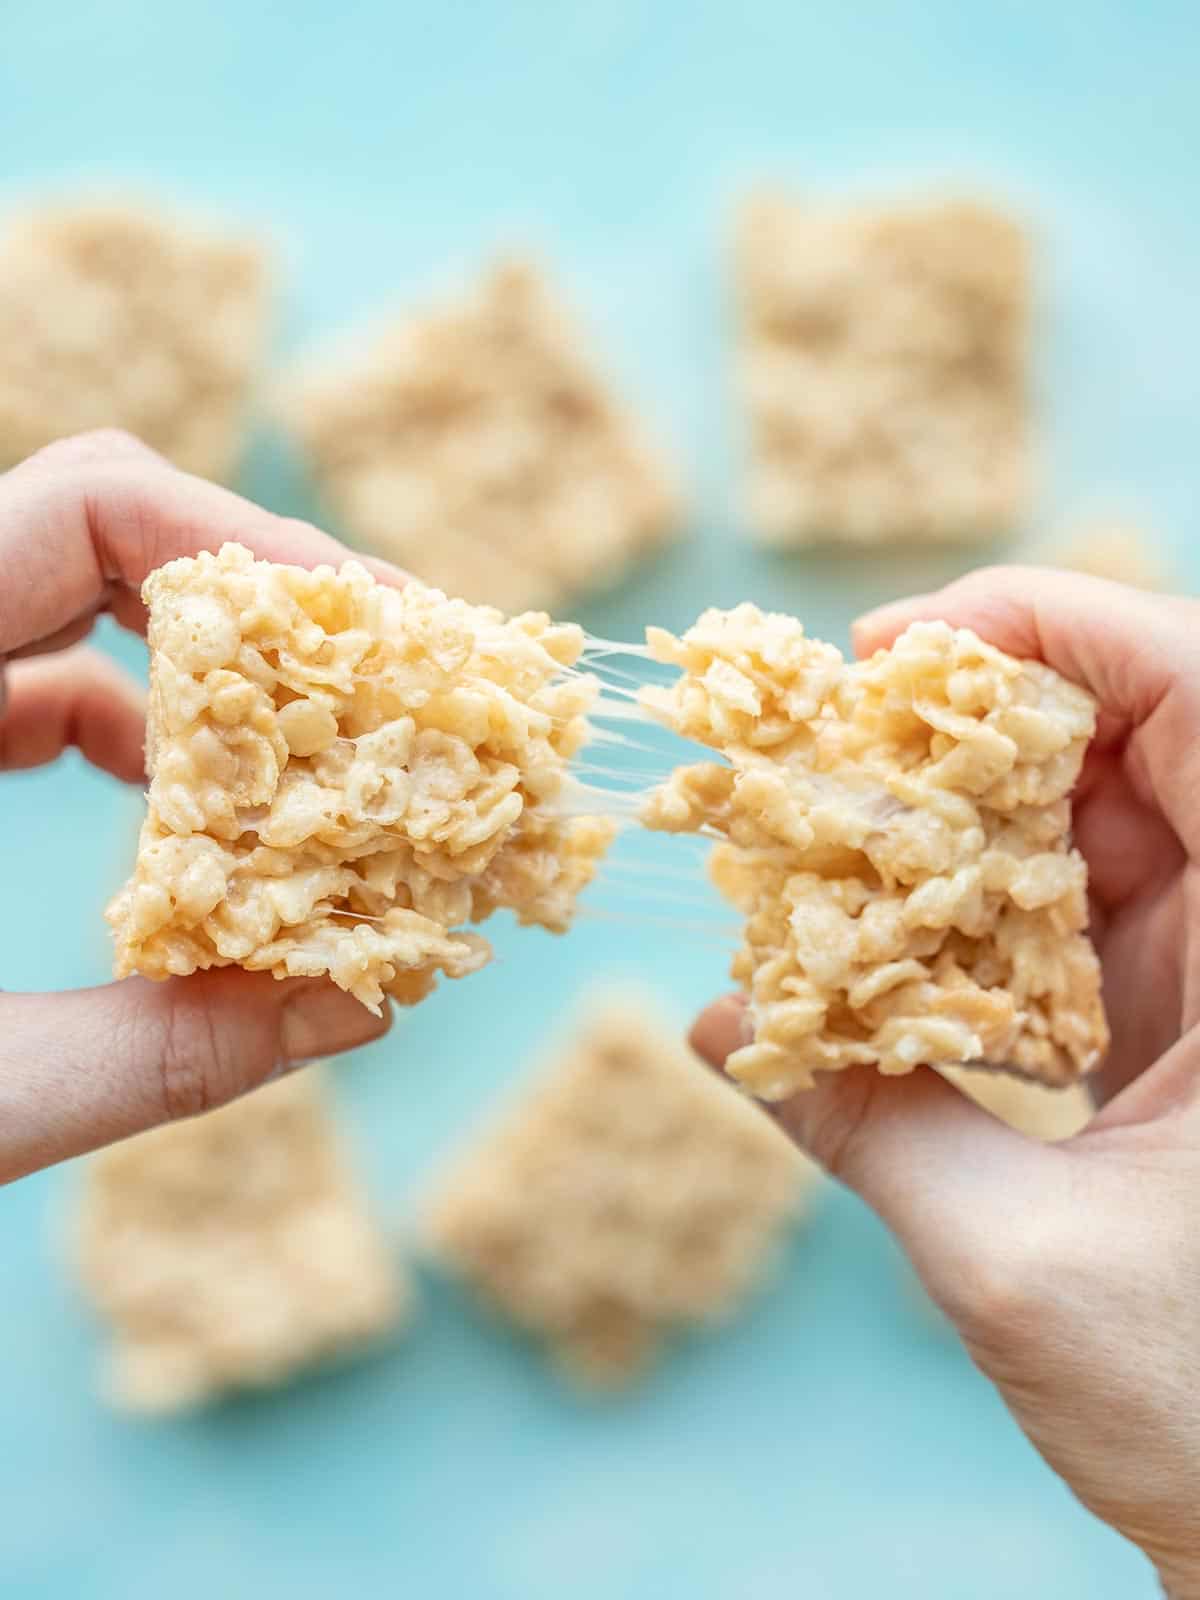
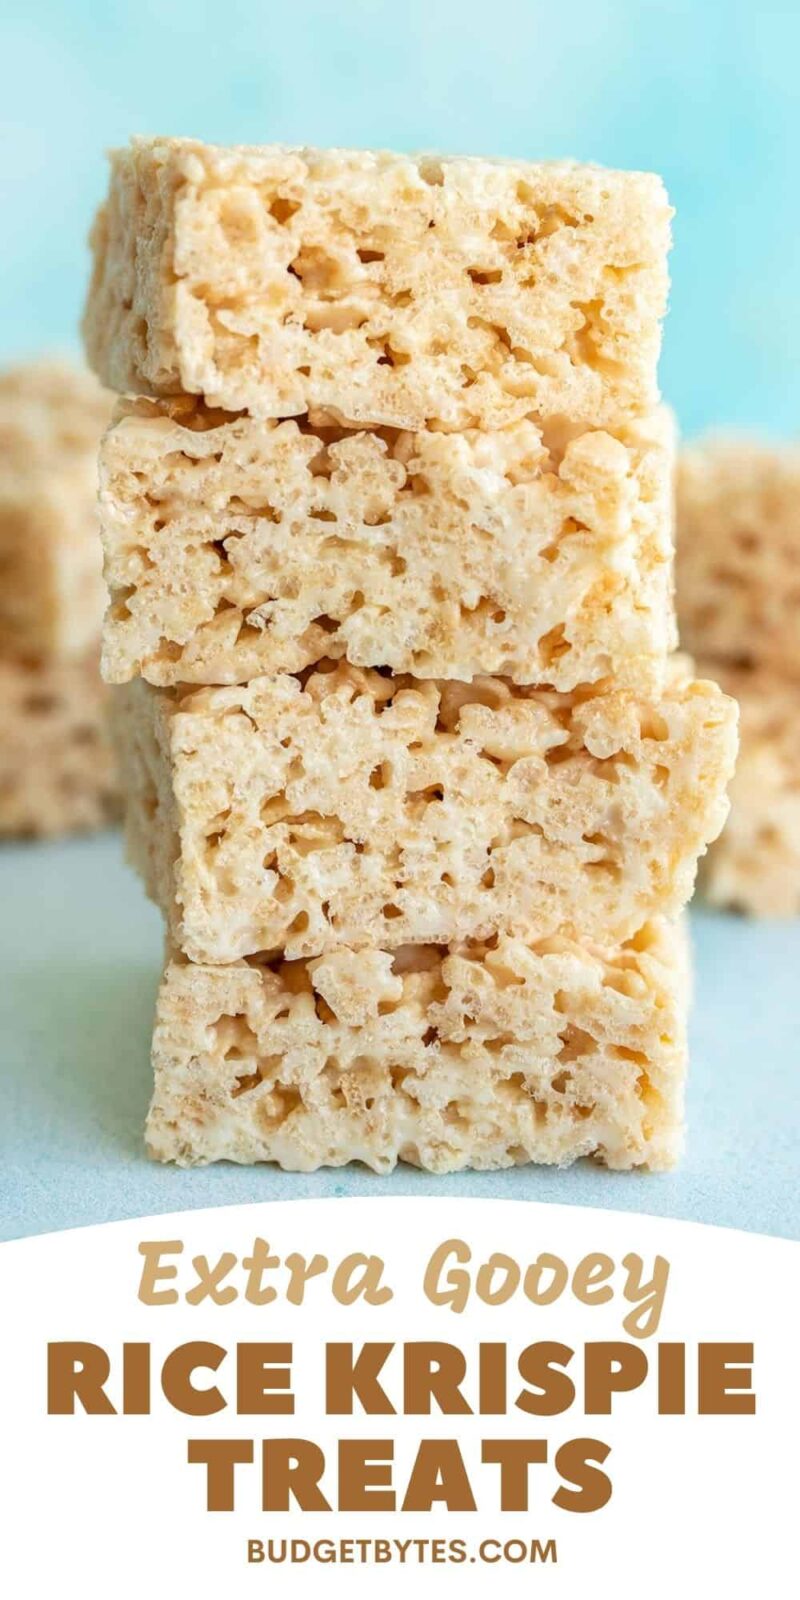
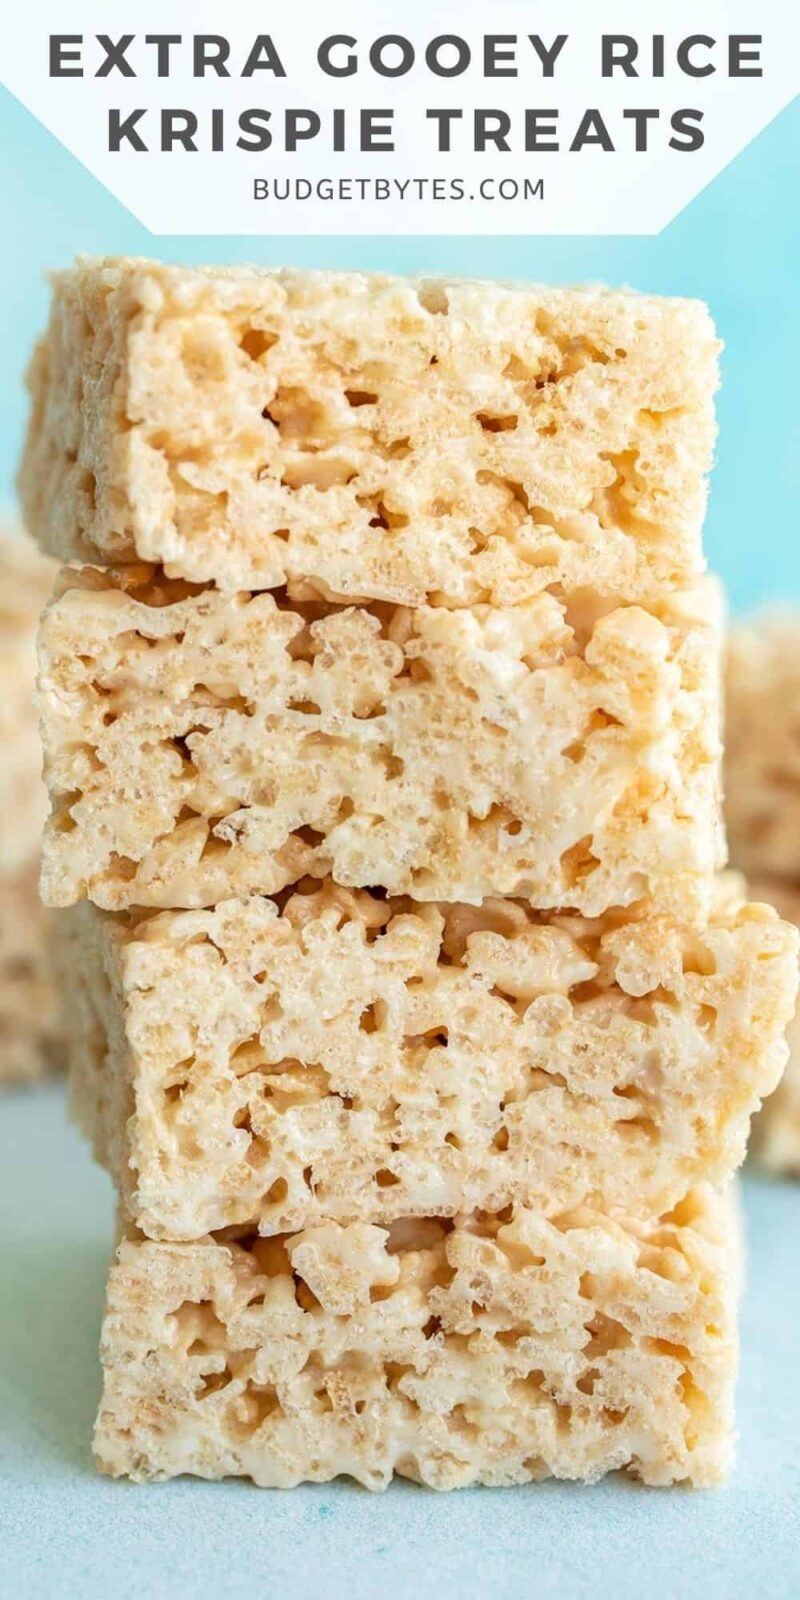
I love it when a few simple ingredients can come together to create something truly delicious and I think this rice krispie treats recipe is one of those magical ingredient combinations. It’s literally four simple ingredients but together they become a new magical thing that is simultaneously melt-in-your-mouth, soft and chewy, but also light and crispy. They’re just *mwuah* perfection. I like to make my rice krispie treats a little extra soft so that sweet marshmallow melts away to the crispy rice cereal within. You won’t be cutting the roof of your mouth on these babies! Just soft, gooey, marshmallowy goodness!
All recipes are rigorously tested in our Nashville Test Kitchen to ensure they are easy, affordable, and delicious.
Ingredients for Rice Krispie Treats
The best thing about rice krispie treats is that you only need FOUR simple ingredients. Here’s what you’ll need to make them:
- Butter: Salted butter helps soften the marshmallows to keep them gooey and it gives these rice krispie treats that rich, melt-in-your-mouth flavor.
- Marshmallows: Marshmallows are the sweet, soft, and gooey glue that holds the crispy rice cereal together in a sliceable bar. We use mini-marshmallows because they’re easier to measure and melt more evenly than large marshmallows.
- Vanilla Extract: A little vanilla gives the rice krispie treats a nice creamy flavor.
- Rice Krispies Cereal: This delicate, crispy, air-filled cereal gives these bars their classic crunchy texture. You can use generic crispy rice cereal to save some extra dollars, too. Or, experiment with different types of cereals like corn flakes, Cheerios, or even corn puffs.
What Else Can You Add?
Add-ins are my favorite part of any recipe. And with something as simple as rice krispie treats, there is so much room for customization! Here are some fun things to add to make new flavors:
- Almond extract and rainbow sprinkles for birthday cake-flavored treats
- Replace some of the rice cereal with golden graham cereal and add chocolate chips and more mini-marshmallows (stir in with the cereal so they don’t melt) for smores-flavored treats
- Stir some peanut butter into the melted marshmallows and drizzle chocolate over top
- Use cocoa pebbles in place of plain rice krispie cereal and stir cocoa powder into the melted marshmallows
- Stir in crushed Oreo cookies for a “cookies and cream” treat
- Add peppermint extract to the melted marshmallows and stir in white chocolate chips with the cereal for a Christmas-flavored treat
How to Keep Rice Krispie Treats Soft
There’s nothing worse than a rock-hard rice krispie treat. To make sure your rice krispie treats are pillowy soft and delicious, follow these tips:
- Use plenty of marshmallows (if you follow the recipe below you should have no problem). Marshmallows are what keep the bars soft and chewy.
- Use fresh marshmallows. If they’re kind of dry or stale, that will affect how soft your rice krispie treats turn out.
- Don’t overcook the marshmallows and butter. Sugars become more hard the longer they cook. So to keep your treats soft, make sure to only cook the butter and marshmallow mixture just until the marshmallows have melted, and not longer.
How to Store Rice Krispie Treats
Rice krispie treats can be kept at room temperature for a couple of days, or in the refrigerator for about five days. OR, if you’re like me and want to make them last even longer, you can freeze them in an air-tight container for up to three months. I just take one out at a time and thaw at room temperature for 10-15 minutes before going to town. :)
Rice Krispie Treats
Ingredients
- 6 Tbsp butter (salted) ($0.60)
- 6 cups mini marshmallows (10oz. package) ($1.00)
- 1/2 tsp vanilla extract ($0.14)
- 4 cups rice krispie cereal ($0.56)
Instructions
- Line an 8×8 dish with waxed paper or foil and coat lightly in oil.
- Add the butter to a pot and melt over medium heat.
- Once the butter is melted, add the marshmallows and continue to stir and cook until the marshmallows are melted and incorporated into the butter.
- Once the marshmallows are melted and incorporated, remove the pot from the heat. Stir in the vanilla extract.
- Add the rice krispie cereal and stir until everything is coated in the marshmallow mixture.
- Press the rice krispie mixture into the prepared dish using a lightly oiled spatula. Avoid over compacting the treats.
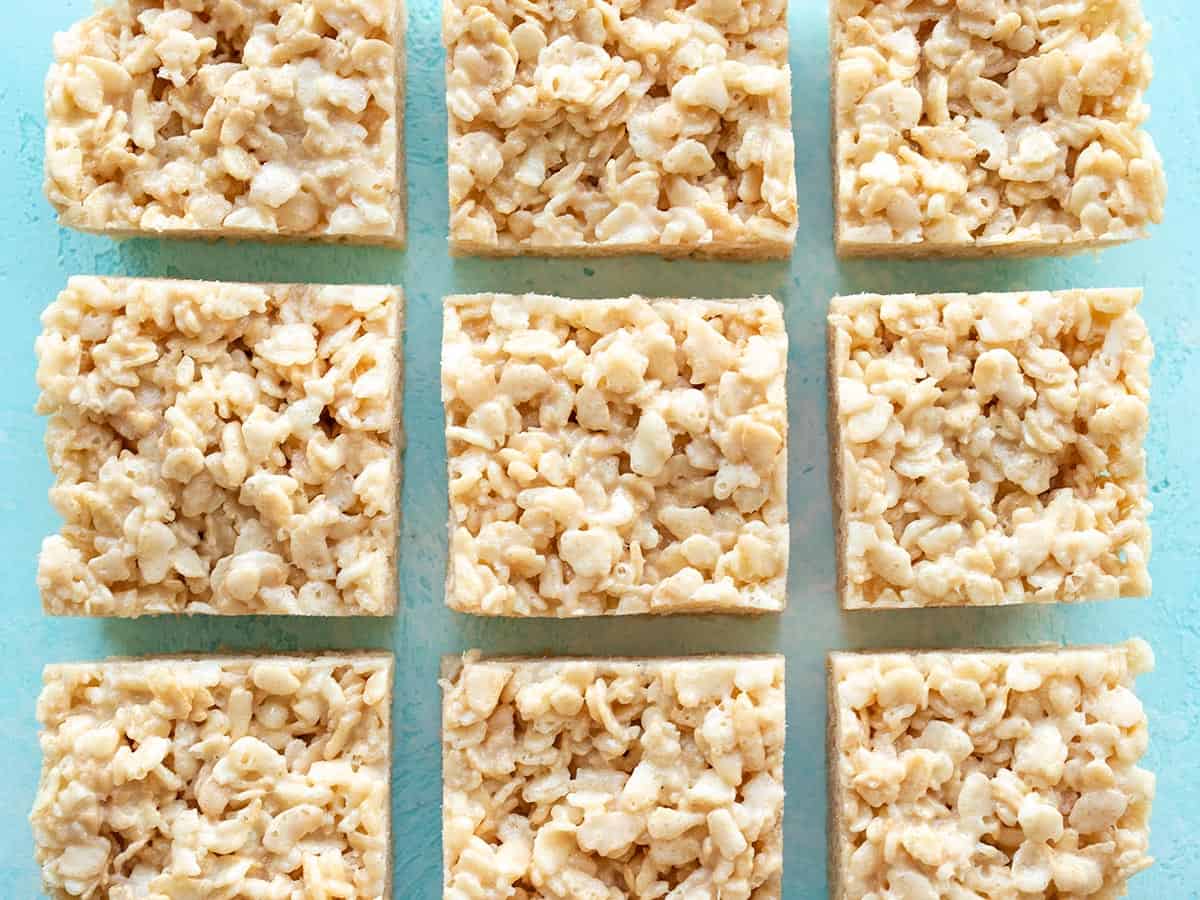
- Allow the treats to cool at room temperature or in the refrigerator until solid. Slice into 9 pieces and serve.
See how we calculate recipe costs here.
Nutrition
Video
How to Make Rice Krispie Treats – Step by Step Photos
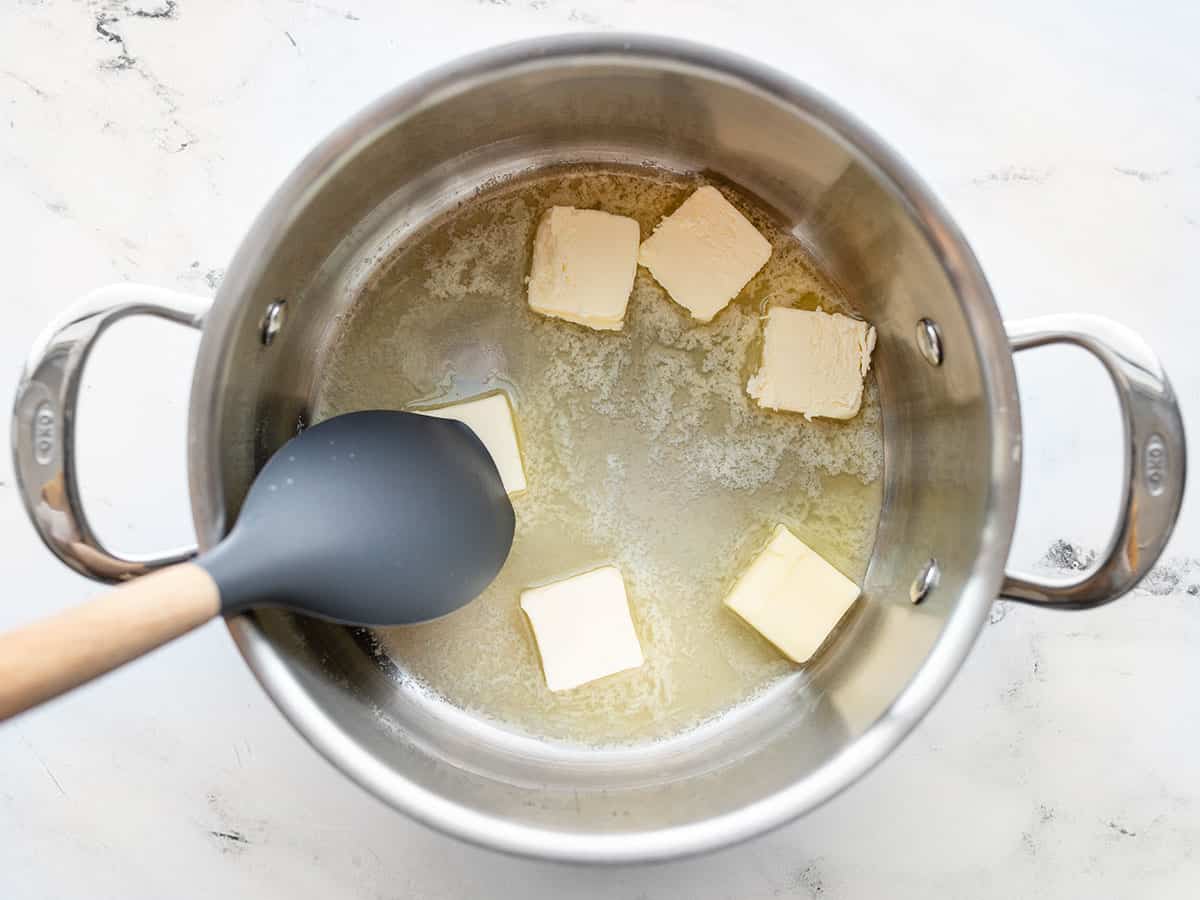
Add 6 Tbsp of salted butter to a pot and melt over medium heat.
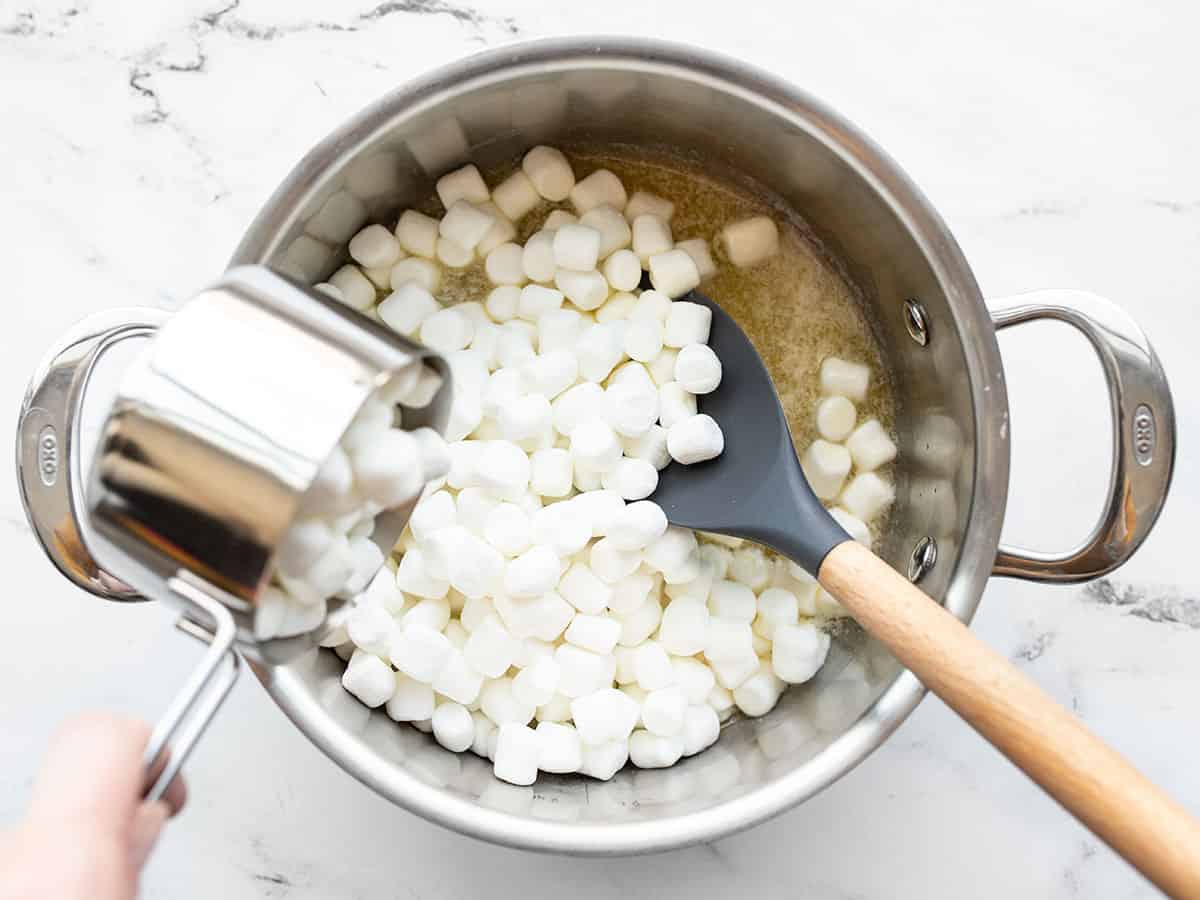
Once the butter is melted, add 6 cups of mini marshmallows (or one 10oz. package). Continue to stir and cook over medium heat.
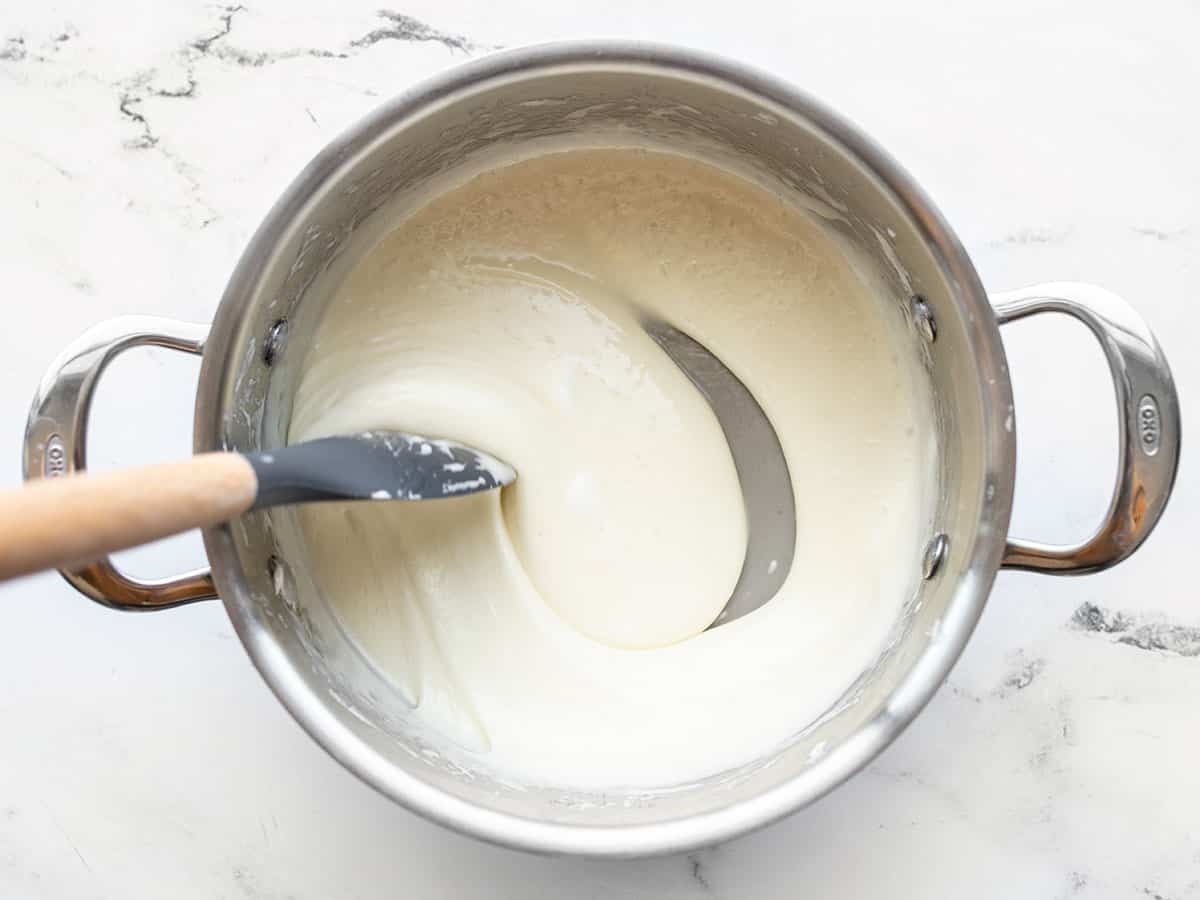
When the marshmallows are fully melted and incorporated into the butter, remove the pot from the heat. Stir in ½ tsp vanilla extract.
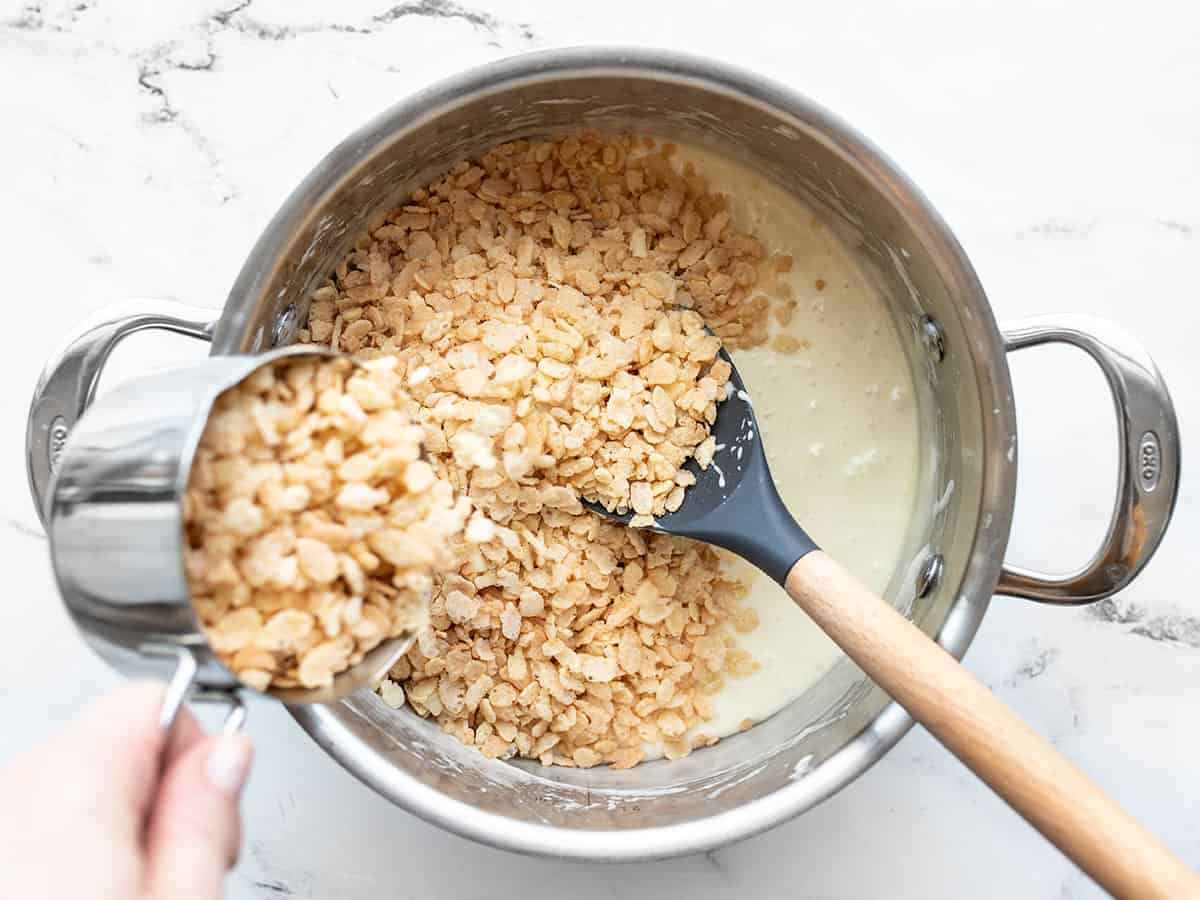
Stir in 4 cups of Rice Krispies cereal.
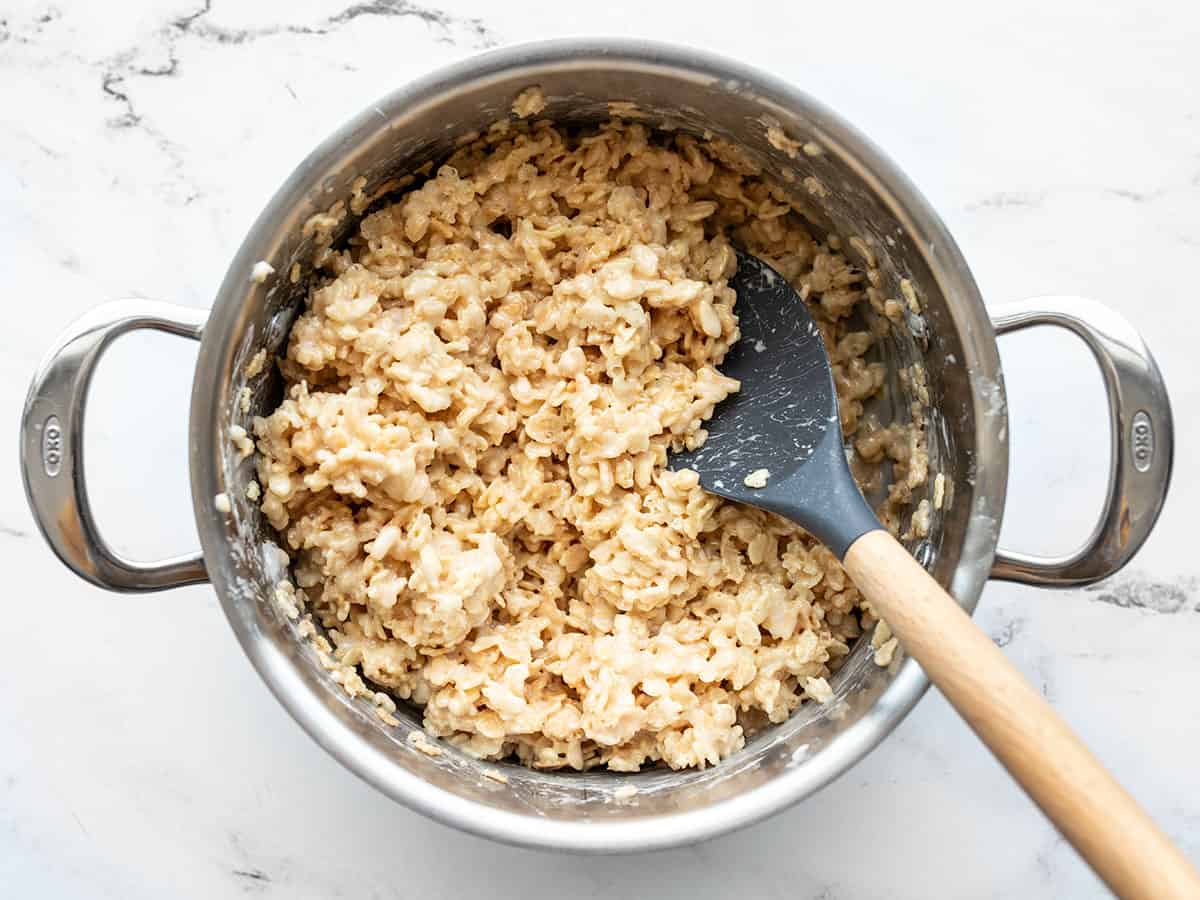
Make sure to stir until all of the cereal is well coated in the melted marshmallow mixture.
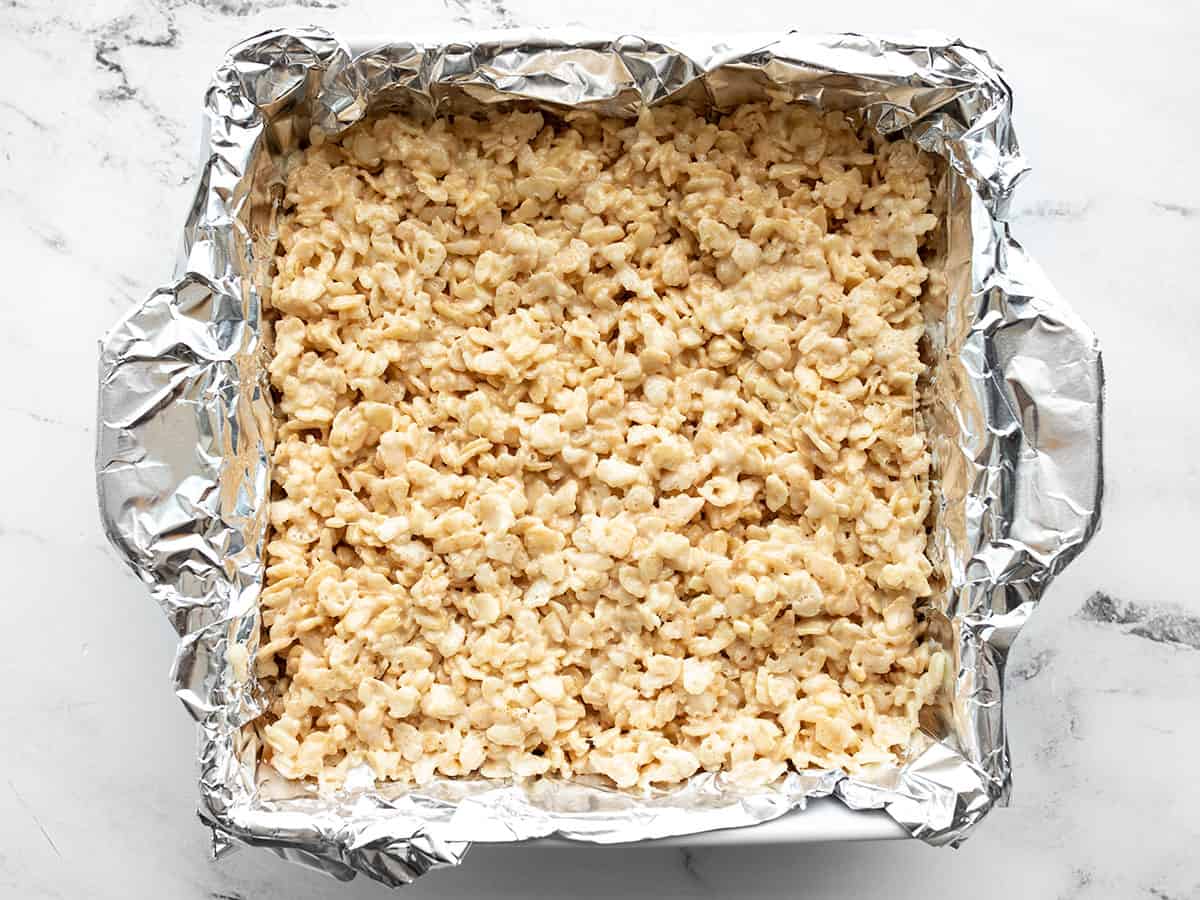
Line an 8×8 dish with waxed paper or foil coated lightly with oil (I put a little oil on a paper towel and wipe the inside). Press the rice krispie mixture into the dish using a lightly oiled spatula. Avoid packing it down too firmly. Allow the treats to cool at room temperature or in the refrigerator until firm, then slice them into nine pieces.
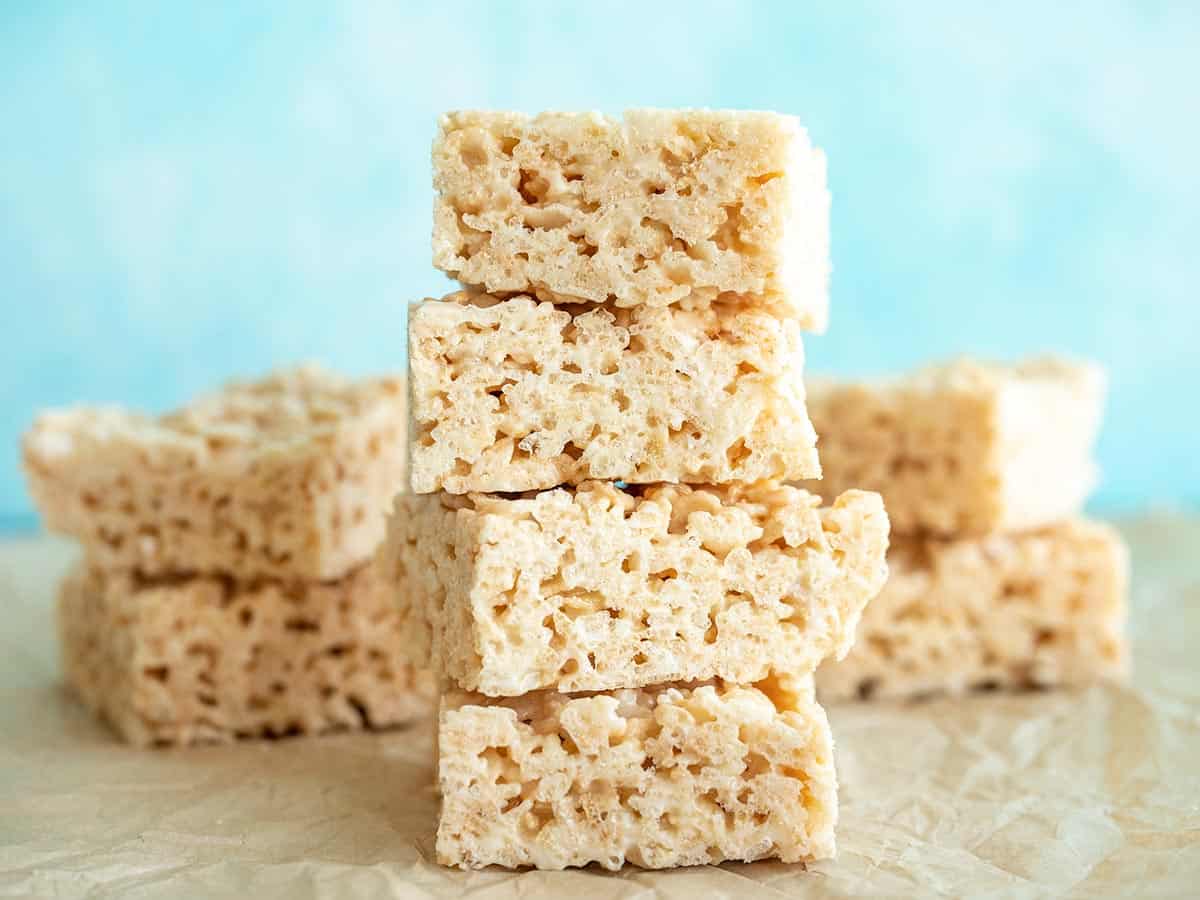
Store the rice krispie treats at room temperature for about two days, in the refrigerator for five days, or in the freezer for longer storage.




Killer recipe! I used unsalted butter and vegan marshmallows so they didn’t melt as creamy as yours pictured, BUT they turned out dreamy and delicious! My butter browned in the process and hot damn it leveled up these krispies by A LOT!! Both kids, husband and I couldn’t get enough! Making another batch tomorrow! Thank you for this simple yet AMAZING recipe🤩😍
For Chocolate Lovers: try them with Cocoa Krispies.
I like to use a 9×13. A bit less than double this recipe.
Thank you so much these low cost recipes 😊 are great
I look forward to your recipes.
I don’t know WHEN you calculated your costs for items in your rice krispie treats, but they really need an update. Have you been to the supermarket lately? You’re recipe is fine, but your costs gave me a good laugh
With a library of over 1500 recipes and grocery prices that fluctuate on a daily basis, unfortunately it’s impossible for our small team to keep the prices on all recipes current. The price breakdowns can still be useful when you look at which ingredients account for a majority of the total cost, or which ingredients provide a lot of volume without adding a lot to the cost. You can use this as a guide to help make your purchasing decisions when shopping for the recipe or making ingredient substitutions!
You don’t have the vanilla listed in the recipe unless I overlooked it.
It’s there! 1/2 tsp.
Worked sooooo good
This is my go-to recipe to use to make a childhood classic. I use vanilla bean paste and they turn out great every time!
YUMMY! This is too easy to make not to have around for special occasions!
I followed the recipe exactly and found that the ratio of butter/marshmallow to cereal was to high. It was greasy and very sweet. I’ve never had rice krispy treats be greasy in the pan. Next time, I will increase the amount of cereal by a half or whole cup.
Made this twice now, and I think it’s a good base recipe, though it’s much improved with a few modifications:
1) Add a small pinch of fine salt (yes, even if you’re using salted butter)- the extra salt helps these taste even sweeter; 2) Use about 1 tsp of light corn syrup- As the recipe is written, the butter and marshmallows don’t combine very well, but a small amount of corn syrup combines the two and allows for a better texture; 3) use about 4.5 c of cereal instead of 4 c to get a better ratio of cereal to marshmallow
Delicious! I browned the salted butter until it was a caramel color and then followed all the steps as outlined. The browning gave it a nice depth of flavor.
Forgot the 5-star rating!
These were amazing! We made the smores version. I’d never had Golden Grahams cereal before making these. Best day ever:-)
Oops, forgot the rating. Did I mention how awesome these were??
If you really in a hurry try the mug recipe!
1/2 to 1 Tablespoon butter
4 large marshmallows or 1/2 cup mini marshmallows
1 cup Rice Krispies cereal
1/4 tsp vanilla extract
Melt butter 30 seconds, coat inside of mug with butter, add marshmallows, heat 30 seconds longer. Stir and add vanilla then rice krispies! This is great at 11PM and super economical.
Forgot to rate it in my previous comment! =)