It’s been a while since I’ve made bread for the blog because I pretty much have all of the basics covered (Honey Wheat Sandwich Bread, Focaccia Rolls, Oatmeal Molasses Bread, No Knead Ciabatta, Naan, and Pita), plus several flavor variations on those staples. But sometime last week the idea for this bread popped into my head and I knew I had to make it.
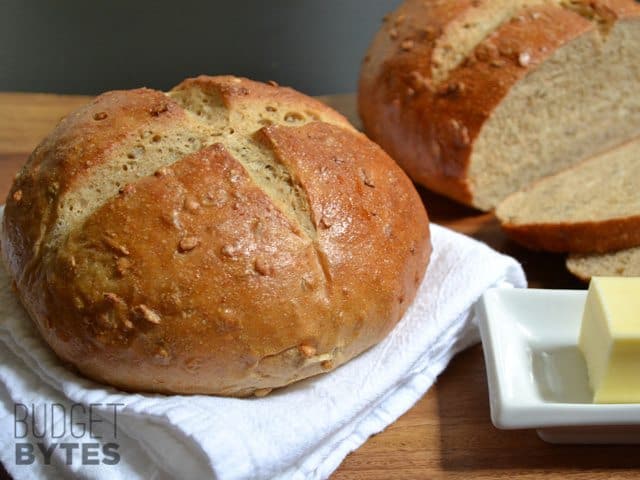
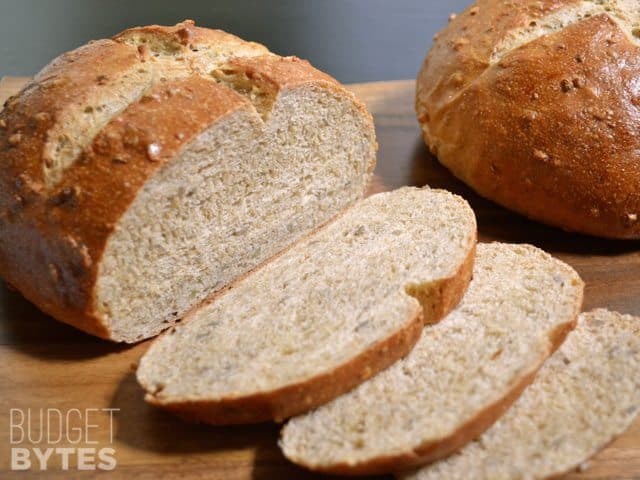
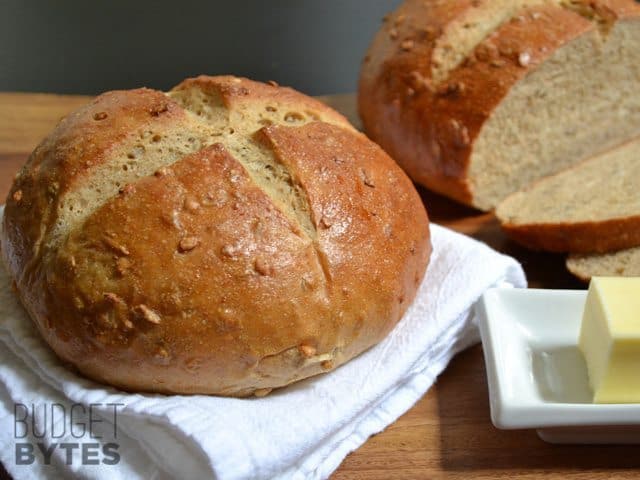
I based this recipe on the Honey Wheat Sandwich Bread, but added chopped sunflower seeds for a nutty flavor… and OMG it’s SO GOOD. The nutty bits are a perfect compliment to the very slight honey flavor and it tastes great with just a slather of butter or toasted with peanut butter (that’s been my breakfast for the past week).
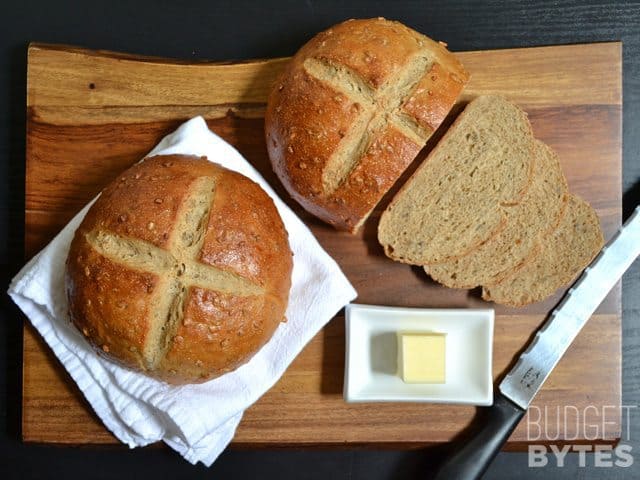
You can make two smaller boules like I did, or one big loaf (either a round boule or it can be placed in a loaf pan). Just be sure to extend the baking time slightly if you make one loaf instead of two. You’ll want to use raw sunflower seeds instead of roasted because roasted usually have added oil and salt that will mask their pure nutty flavor and cause the bread to be overly salty. I bought my sunflower seeds from the bulk bins so that I could buy the exact amount I needed worrying about leftovers.
I think you’re gonna love this one!
Honey Sunflower Bread
Honey Sunflower Bread
Ingredients
- 1 1/4 cups warm water ($0.00)
- 2 Tbsp honey ($0.24)
- 2 tsp instant or active dry yeast ($0.19)
- 2 Tbsp olive oil ($0.32)
- 1/2 cup raw sunflower seeds ($0.60)
- 1 1/2 cups whole wheat flour ($0.38)
- 1/2 Tbsp salt ($0.05)
- 1 1/2 to 2 cups all-purpose flour ($0.14)
- 1 large egg, optional ($0.17)
Instructions
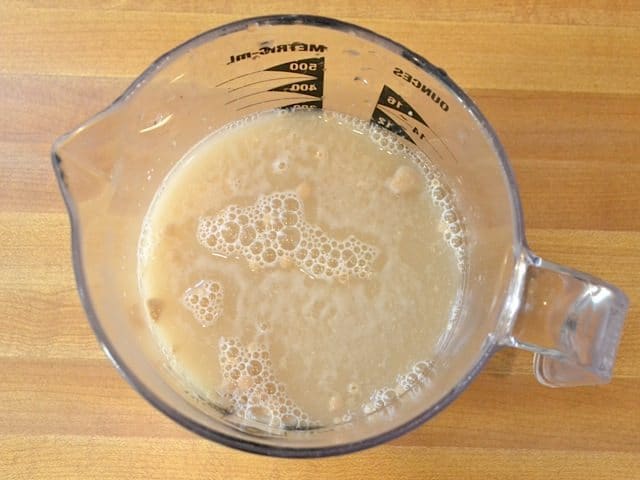
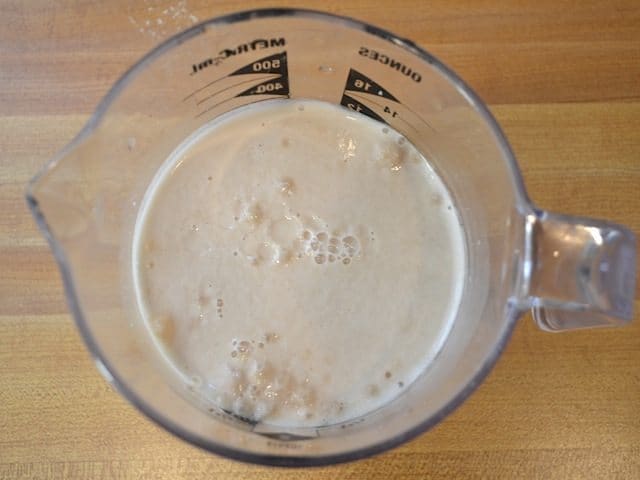
- Dissolve the yeast and honey into the warm water and let it rest for five minutes to allow the yeast to activate.
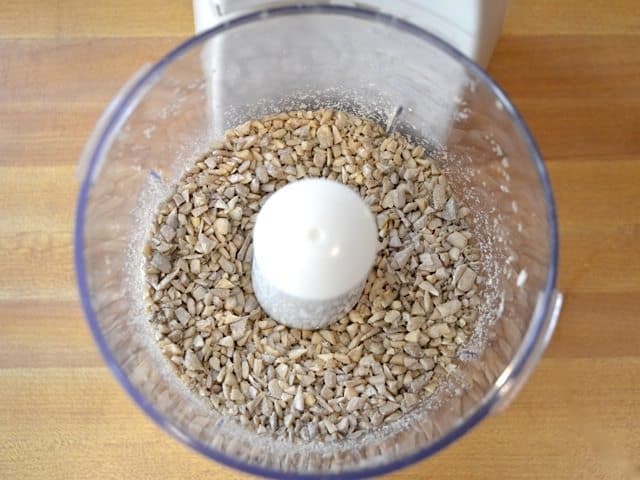
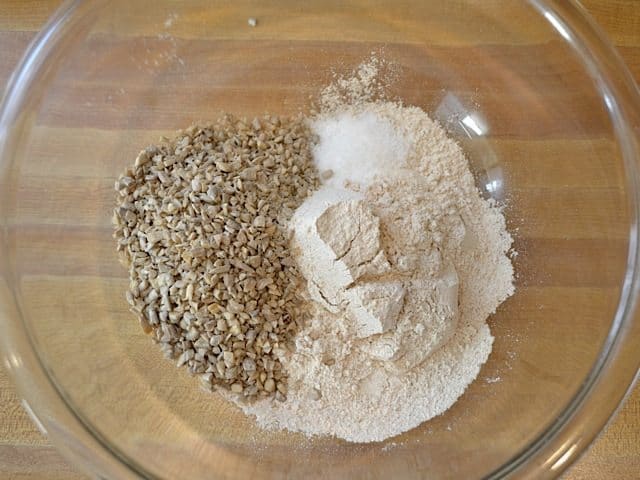
- While the yeast is activating, roughly chop the sunflower seeds with either a knife or a mini-food processor. Add the chopped sunflower seeds to a large bowl with one cup of the whole wheat flour and the salt. Stir until evenly combined.
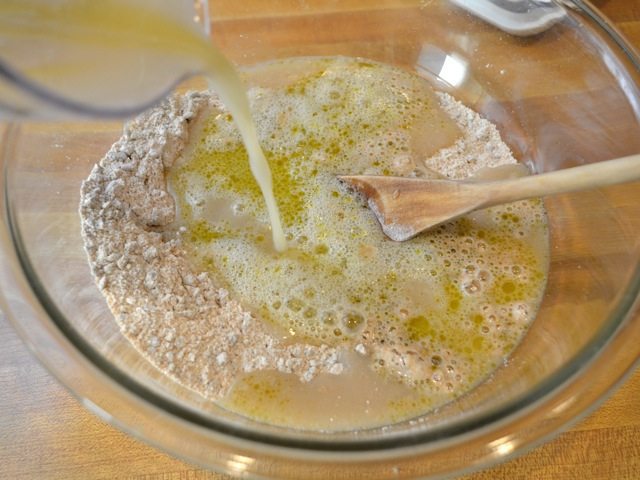
- By this point the yeast should be foamy and frothy in the water. Add the olive oil to the yeast water and then pour it all into the bowl with the flour and sunflower seeds. Stir until the mixture is fairly smooth.
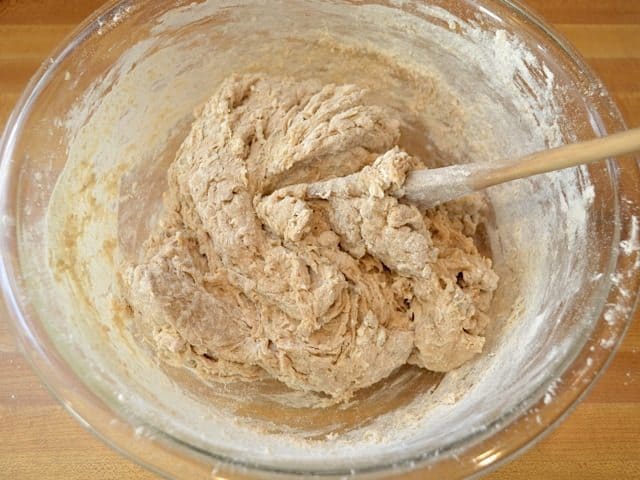
- Add the last half cup of whole wheat flour and stir until it is incorporated. Add a half cup of all-purpose flour and stir until it forms a loose, shaggy ball of dough.
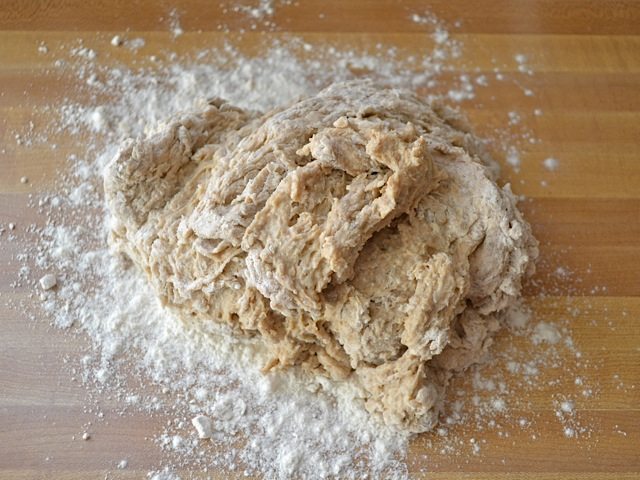
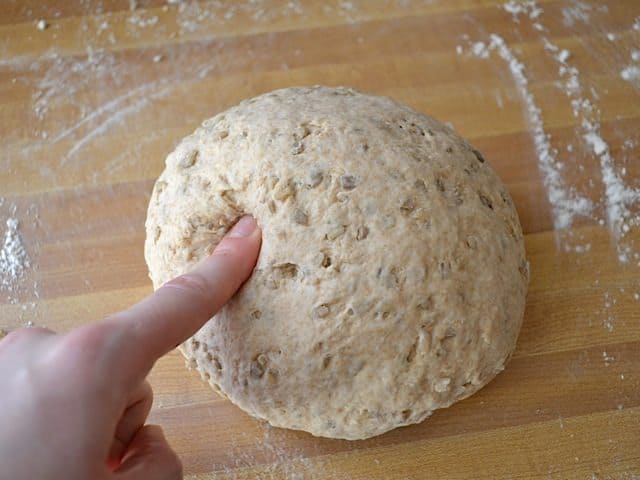
- Take the dough out of the bowl and place it onto a floured work surface. Knead the dough for five minutes, slowly adding more all-purpose flour as you go. After five minutes of kneading, the dough should be soft, supple, not sticky, and will spring back when poked gently with your finger. You should use between 1 1/2 to 2 cups of all-purpose flour total (including what was added when it was in the bowl).
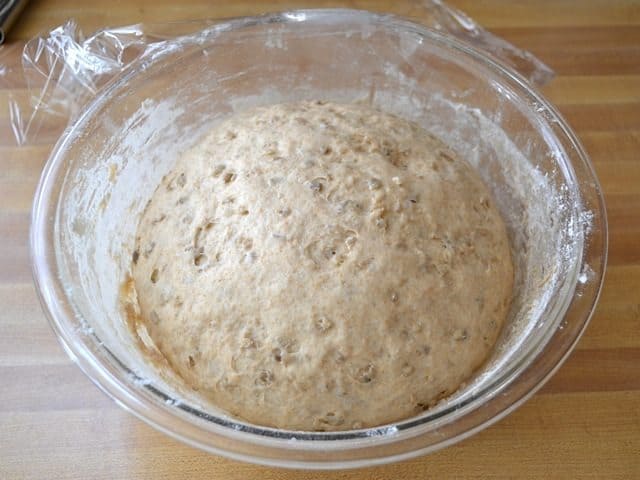
- Place the dough back into the mixing bowl, cover loosely with plastic wrap or a damp towel, and let it rise for 1 to 1.5 hours, or until double in size.
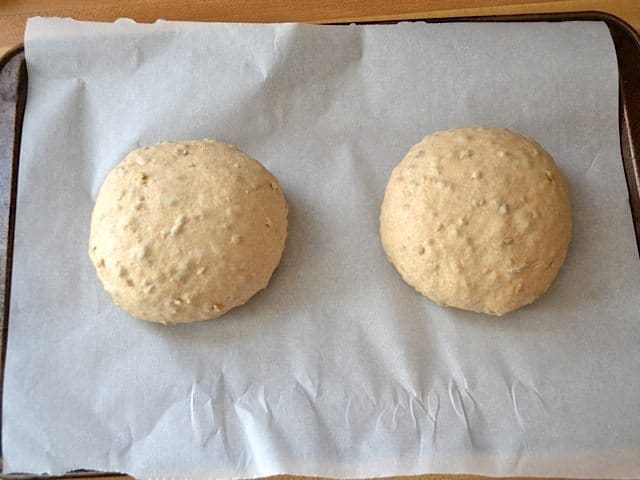
- Once it is double in size, deflate it, divide it in half, and form it into two balls. Place the balls on a large baking sheet covered with parchment paper, cover with a damp towel, and allow them to rise until double again (1 to 1.5 hrs).
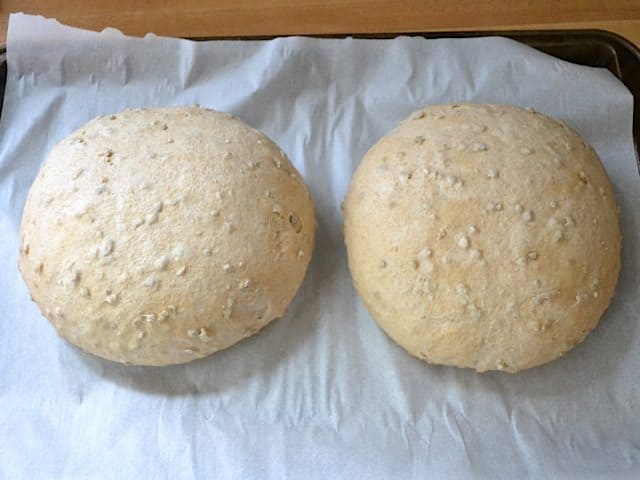
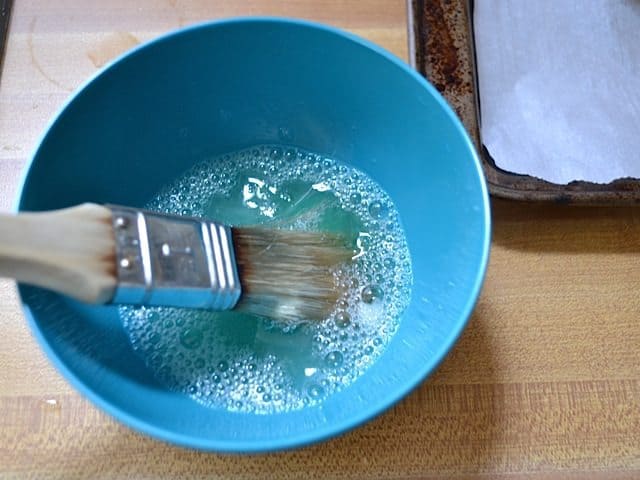
- Begin preheating the oven to 400 degrees. Separate the egg white and yolk. Whisk a tablespoon of water into the egg white and then brush it over the tops of each loaf. The egg wash is optional, but it will create a nice deep brown, glossy crust.
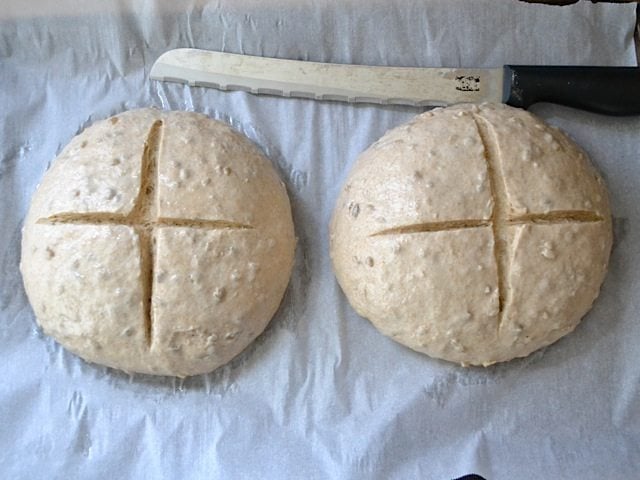
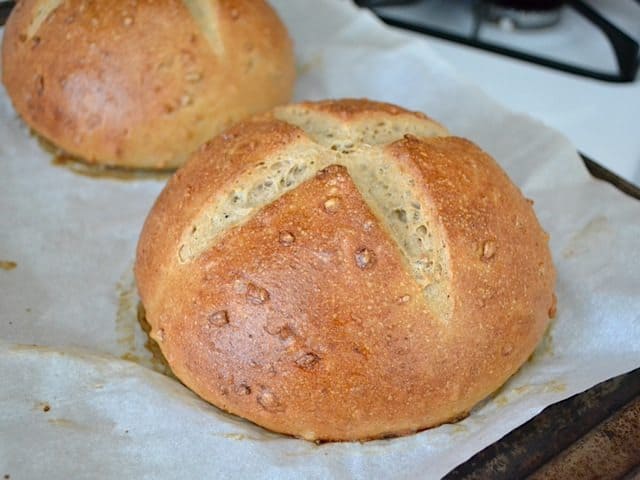
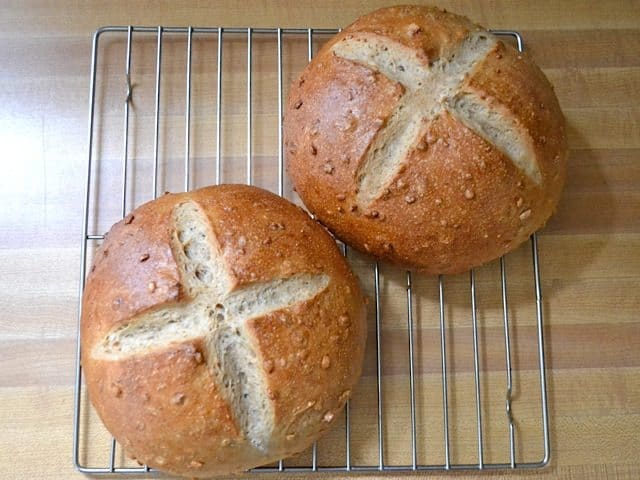
- Take a sharp knife (a micro-serrated bread knife or a very sharp chef's knife) and carefully slice an "X" in the top of each loaf. Be sure to use no downward pressure while doing this, just carefully drag the knife horizontally or you'll deflate the loaf. Bake the loaves in the preheated 400 degree oven for 25 minutes, or until golden brown on top. Allow the loaves to cool before slicing.
See how we calculate recipe costs here.
Nutrition
Step by Step Photos


This recipe was easy to follow and produced wonderful results. We couldn’t find raw sunflower seeds, so we just used regular roasted/salted ones and omitted the salt. It worked out perfectly. We’ve tried several different recipes for sunflower seed bread and none of them were as good as this one.
Amazing recipe!! Just like from the bakery! Turned out perfect except for the fact my ingredients were not fresh and I could taste it. Made the dough in the bread machine on dough setting. I will get everything fresh and definitely make a bunch more!
I made this recipe today. The texture of the bread came out very nicely, but I thought it was a little too salty — I couldn’t taste the honey as much as I had hoped. Next time, I’ll cut the amount of salt down to 3/4 of a teaspoon. Next time, I’ll leave the sunflower seeds whole, too. I was careful not to chop them too finely, but doing just that little bit of chopping made it easy for the sunflower seeds to not be too much of a star. I want them to stand out more. By the way, I only had salted sunflower kernels on hand, so that’s what I used and it came out just fine. The whole family enjoyed the bread. I pulled it out of the oven at about 2:30, and one loaf is already gone at 4:15! Nom, nom, nom.
Can you omit the olive oil?
Yes, but that will change the texture of the bread. :)
Mine also came out flatter than expected but they were still fluffy on the inside and delicious. I would knead for longer than 5 minutes next time though. I used salted, roasted sunflower seeds because that’s all I had and it tasted fine.
why is my bread spreading out rather than rising the second time
If your bread spreads out more than up as it rises, that’s usually a sign that the gluten is not strong enough to hold the bread up. Weak gluten is usually from not kneading quite long enough.
Thank you – I also live in Denver and have never baked in high altitude
Third batch is flatter than the first
Can I leave this to rise overnight?
If you do that it will likely over proof and may collapse.
Can I use all AP flour?
You can, but the bread will have slightly less flavor and texture. Also, you may need to use slightly more flour as whole wheat flour tends to absorb more of the water.
Hi! I am at the last rising stage! Is there any way I can save one loaf and freeze it?
If it’s already risen the second time, I would go ahead and bake it, let it cool completely, then freeze. If you freeze it while it has risen but not baked, it will collapse. You can freeze raw dough that hasn’t risen yet, but not once it’s risen.
I wanna know the weight in grams so I can be exact
This comment is old but for others reading, a cup of flour is 120 g. I use a calorie counting app to convert cups to grams, ounces, etc easily.
This is the best homemade bread I’ve ever made. Very filling too! Thank you so much for the recipe.
This recipe was simply delicious – would love to try and make a bigger loaf next time! Thanks for sharing the recipe.
Made this recipe a couple times and the bread is fantastic! That being said I’m pretty new to baking and can’t seem to get it quite the same as yours. It tastes great but the presentation is… sad. When I go to cut the X the dough ball doesn’t cut nicely like yours it just stretches along with the blade. I’ve tried using a chef knifes and a serrated bread knife, though not micro-serrated.
Hmm, yes, try a micro-serrated if you have it. For the non-serrated it must be very sharp. If it’s not sharp it will tug the bread instead of slice through it.
A small jigsaw blade works well too!
Use scissors and cut a criss cross on top of the loaf. Must easier than a knife.
nice combination with sunflower seeds and honey. Thank you for sharing this great recipe.
Thanks the recipe was easy to follow bread came out great
I have a question are you single
Neil
I previously posted a comment about how wonderful this bread is. I just wanted to let you know that this bread is still as tasty as ever and it has become one of my go to breads.
I always take this bread as a gift to the host/hostess if I am invited to someone’s house for dinner and it always meets with great reviews. The loaf presents so well too and you know the old saying…”we eat first with our eyes”.
So could you maybe freeze one of the boughs?
Yes, bread dough generally freezes very well. :)
OMG … this bread is SOOOO good. Thanks for the recipe. Next time I’m going to put it in bread pans for better sandwich size loaves.
I made mine in a 9×5″ loaf pan. It was sooo good!
I made this and your honey wheat sandwich bread (HWSB) last night. Turns out I didn’t wait long enough for the yeast to get foamy (I later saw your instructions in time for the HWSB that it can take up to 10 min due to the honey) so my bread didn’t rise much at all. I ended up adding a lot of flour because it remained sticky. I was worried it was ruined, because the dough was only large enough to make one loaf. Turns out, it tastes GREAT! I love the recipe & am glad I was able to learn from my mistake. Next time, I’ll hopefully do it right & just end up with MORE, haha. (The HWSB is also great, btw!)
I forgot to add the honey…..oh no!!!! Super sad.
This bread smells and tastes wonderful! BUT, my rounds turned out more flat, and my dough was way stickier… any suggestions? I’m afraid that if I add too much more flour it’ll turn out dense.
I would experiment with adding more flour and kneading a little longer. I think you’ll find a happy medium between flat and dense. :)
In my quest for a good wheat bread recipe, I stumbled upon your site and found this wonderful sunflower seed bread! I made it yesterday, and it was amazing! The wheat bread is rising right now, and if it is as good as the sunflower, then I believe I can end my search! Thanks for sharing!
Just made this bread this afternoon, and it is seriously phenomenal!
For anyone interested: I didn’t have any all-purpose flour, so instead I ground up 2 cups rolled oats in the food processor and used this instead. I did have to add extra whole wheat flour (I believe it was about 1/4 c.) before it got to the necessary consistently so I could knead it.
I read this recipe and wanted to try it right away !!! …. only I didn’t have any sunflower seeds. I bought some sunflower seeds but the store only had ones in the shell or salted. I bought the salted seeds and was wondering if the salt could be tweaked so that I could use them. I was thinking of using the salted seeds and just not adding any more salt in the recipe. Do you think this would work?
Well, it’s really hard to estimate how much salt is on those salted sunflower seeds, but you can try it without adding any additional salt and see what happens. If there is too much salt it can prevent the yeast from rising (it will straight up kill the yeast) but if there’s not enough the bread may taste bland and doughy.
Hi Beth, this looks great!! I was just wondering, do you think it could be adapted to a no-knead recipe, like your focaccia? I’m terrible at kneading, I always seem to overdo it and make the bread too dense. Your no-knead focaccia turns out perfectly for me every time, and I’d love to try something similar with this recipe! Thanks so much for your help and your amazing recipes :)
Hmmm… I think it probably could! You will probably need to add a bit more water, though, as the no-knead doughs tend to be a bit more moist.
I absolutely love home made bread, and am always on the lookout for another recipe to try. This looks so good, and the fact that it includes honey is a big plus – another love of mine. ;)
Hi Beth. I just found your blog and it’s awesome. I am already a fan. I had a question about this recipe. I was wondering if i could replace honey with agave. I prefer the taste of agave to honey, and i have everything needed to make this except honey.
Thanks so much.
Yep, I’m sure you could substitute the honey with agave. I haven’t cooked with agave, though, so I’m not sure if it should be a simple 1:1 ratio swap. I’m sure you could google “honey agave substitution” or something and find out what ratio seems to be good. Good luck!
This bread is just fab. I’ve made it twice already and my mom is begging me to make it again. I forgot the salt the first time and I definitely noticed the difference (since that bit of salt not only impacts the flavour but the texture too), but it was still wonderful!
Hi Everyone,
I made this recipe with the bread machine but I only use it to mix the ingredients. I usually set it to mix everything twice as I found I get better results. (Lighter and fluffy loaves) I then take the dough out and let it sit and rise as normal and cook it in the oven.
Love you recipes Beth.
Another option for shiny bread instead of using an egg… have a squirt bottle of water handy when the bread comes out of the oven. Lightly mist it with water. It will evaporate quickly leaving a lovely, shiny loaf of bread.
Great tip! I’m going to have to try that.
Wow! I am really excited to make this bread. Does it taste more sweet or savory? I’d like to use it for both grilled cheese sandwiches and PB&J. Does the olive oil have a strong flavor in the final product?
It’s actually pretty neutral in flavor. It goes great with both sweet and savory toppings :) The honey and the olive oil are both very subtle in flavor.
What type of flour do you use?
Just regular all-purpose and whole wheat flours. No brand in particular. Sometimes generic, sometimes brands like Gold Medal… just whatever is on sale at the store! :)
This recipe smelled amazing!! The honey and bread smelled just took over my entire apartment.
The bread is great with the sunflowers! I actually forgot to add salt but it’s not too bad. I think I either kneaded too much or need to use all white flour because my boules are flatter…
Either way, another great bread recipe!
This looks AMAZING! Definitely will be trying it ASAP! Thanks for sharing your recipe!
xox
G’day! Ypur bread look delish, true!
I can almost smell it through my computer screen too!
Cheers! Joanne
http://www.facebook.com/whatsonthelist
I am addicted to homemade bread now because of you; I started with your no-knead focaccia recipe, and I have since moved on to kneaded doughs. Yeast is, like … the coolest thing EVER to me now. I am definitely making this — just as soon as my freezer is a bit more depleted of its bread stock. -:D
Small typo in your step-by-step section. It says “The trick to this is to A) us a super sharp” — where it says “us” instead of “use”. I don’t know how OCD you are about such things; I just know that little missing letters bug me when I’m typing my own work. So, uh … just thought I’d point it out. (I know. I am a dork.)
As always, thanks for the awesome recipe. -:)
Thanks!! I *do* appreciate it when people catch my typos ;D
Making these with rolled oats instead because my supermarket didn’t have the raw sunflower seeds. Fingers crossed!
Just be aware that the oats will soak up a LOT more moisture than the sunflower seeds – you’ll likely need a lot less flour (and your loaf/loaves will be smaller).
Hi Beth,
Saw the picture of your bread as soon as you posted it and got on it right away this morning. I had the loaves out of the oven at noon, just in time for soup and home made bread.
This bread is absolutely delicious. I will let you in on a little secret. I have been making bread a loootttttttt longer than you have and have been looking for and trying various recipes for honey oatmeal bread, honey wholewheat bread etc…..BUT, this is the one!!!
My search is over. I don’t know if it is the addition of the chopped sunflower seeds or what but this is the recipe I will be making from now on.
Oh, I hate to waste stuff so I added the egg yolk to the dough as I really would have no other use for it at the present time.
I live in the foothills of the Rocky Mountains in the Calgary area and for my conditions, I needed the full amounts of flour that the recipe calls for (probably because I added the egg yolk) and I needed to bake mine for about 25 minutes. We are at a higher altitude and baking is a bit different here:))))
Anyhow, thx for a great recipe!!!
Awesome!! I think the secret is in the sunflower seeds… they’re so yummy. I love the idea of adding the yolk. I bet that makes it nice and tender like a brioche!
@Louann: I totally agree! Divided into maybe 4 loaves instead of 2.
@Beth: Do you think these would freeze well? I don’t eat that much bread in a week, and I usually have to freeze my store-bought bread so it doesn’t get moldy. Would you freeze before or after baking? I have zero experience with homemade bread, but this sounds too delicious to pass up!!
Yep! I freeze my homemade bread all the time because I don’t go through it fast either. I like to bake it first and then freeze it. Sometimes I even slice it before freezing so that I can just take out a slice or two at a time. If I leave it whole, I just let it sit out at room temp until thawed. I usually just freeze it in a gallon sized freezer bag.
I bet these would make great bread bowls!
I love making homemade bread – definitely making this tomorrow morning for a late breakfast :D
Gorgeous loaf. Looks very hearty and healthful.
Mmm looks awesome!
Hey! Quick question about this bread and your others — I have a bread machine, and was wondering if you had ideas for adapting it to that setting? Would any ingredients need to change, and would I just put everything in in the beginning as per the machine’s directions? White bread setting? Wheat bread setting? Anything you could give me would be helpful, otherwise I will just start experimenting! Thanks!
Well, I’ve never used a bread machine, but this is basically just a regular bread recipe with sunflower seeds added, so I think it should work fine. It may take some experimenting to get the amount of flour right, though, because I usually decide that based on how the bread feels as I knead it and you won’t have that luxury in a bread machine. Also, I’d use the wheat bread setting :)
I just made this on the dough setting in my breadmaker and I’m sure that it would be fine if you are planning to bake it as long as you have a larger style bread maker and as stated, use the wheat setting. I’m making one large loaf out of mine and baking it in the oven. Be sure to rehydrate your yeast for the very best results. I know my breadmaker just had you add them, but the yeast really needs the water and sugars to feed on to give the very best results. I just tasted the raw dough and can’t wait to have it baked!
beautiful! i am inspired to try this, thanks!