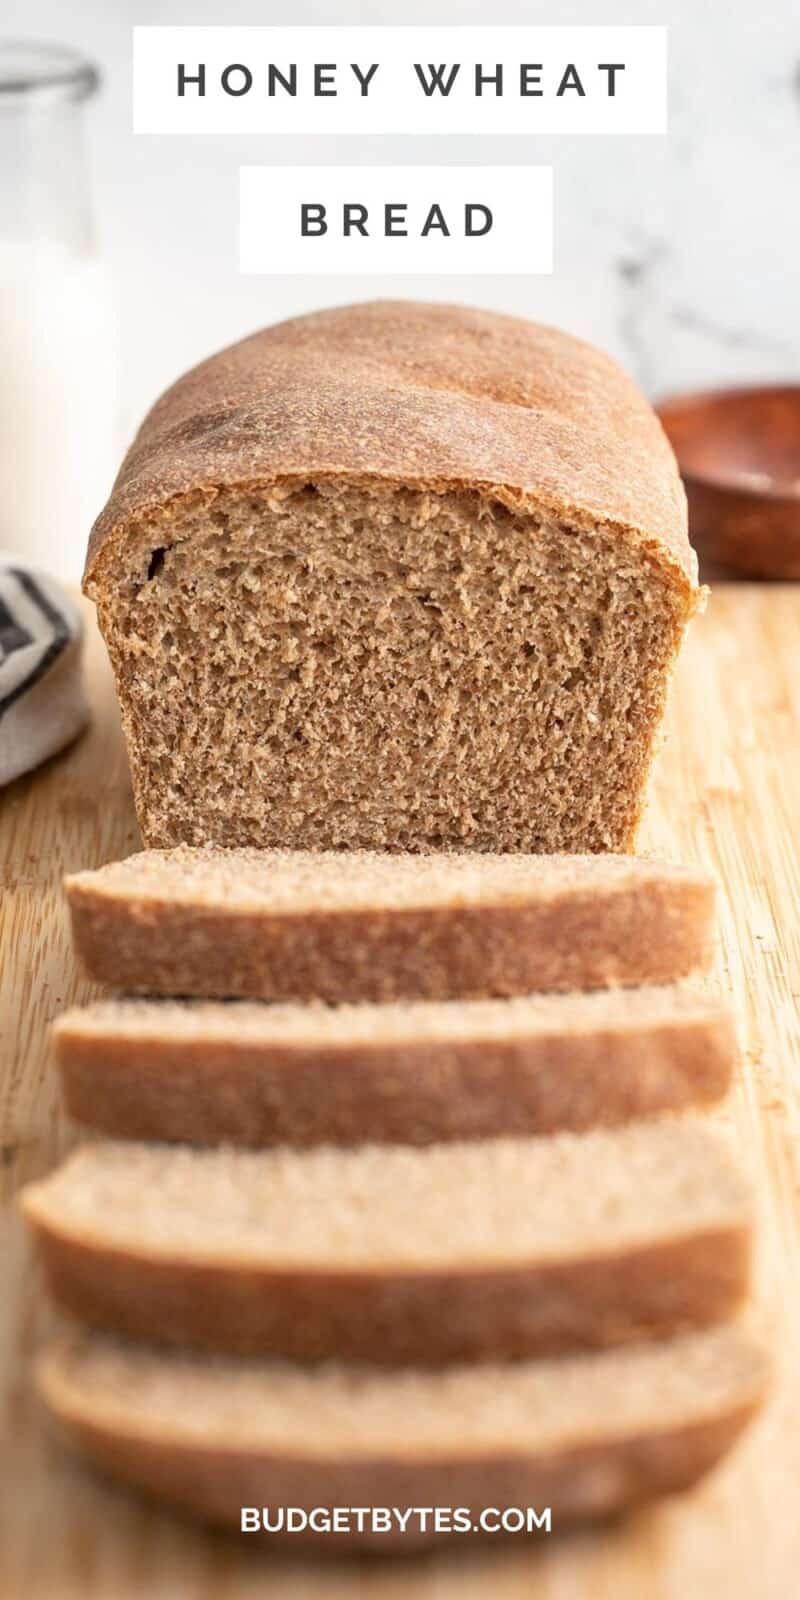
Grocery prices just keep rising and we’re all feeling it, so I decided to revisit some of my old bread recipes. Because if there ever was a time to learn how to make homemade bread, it’s now! It only takes a couple of dollars to make this super delish homemade honey wheat bread that is soft, fluffy, flavorful, and perfect for toast or sandwiches. And while it does take some time to make a loaf of bread, most of that is hands-off time that you can use to tend to other business. ;)
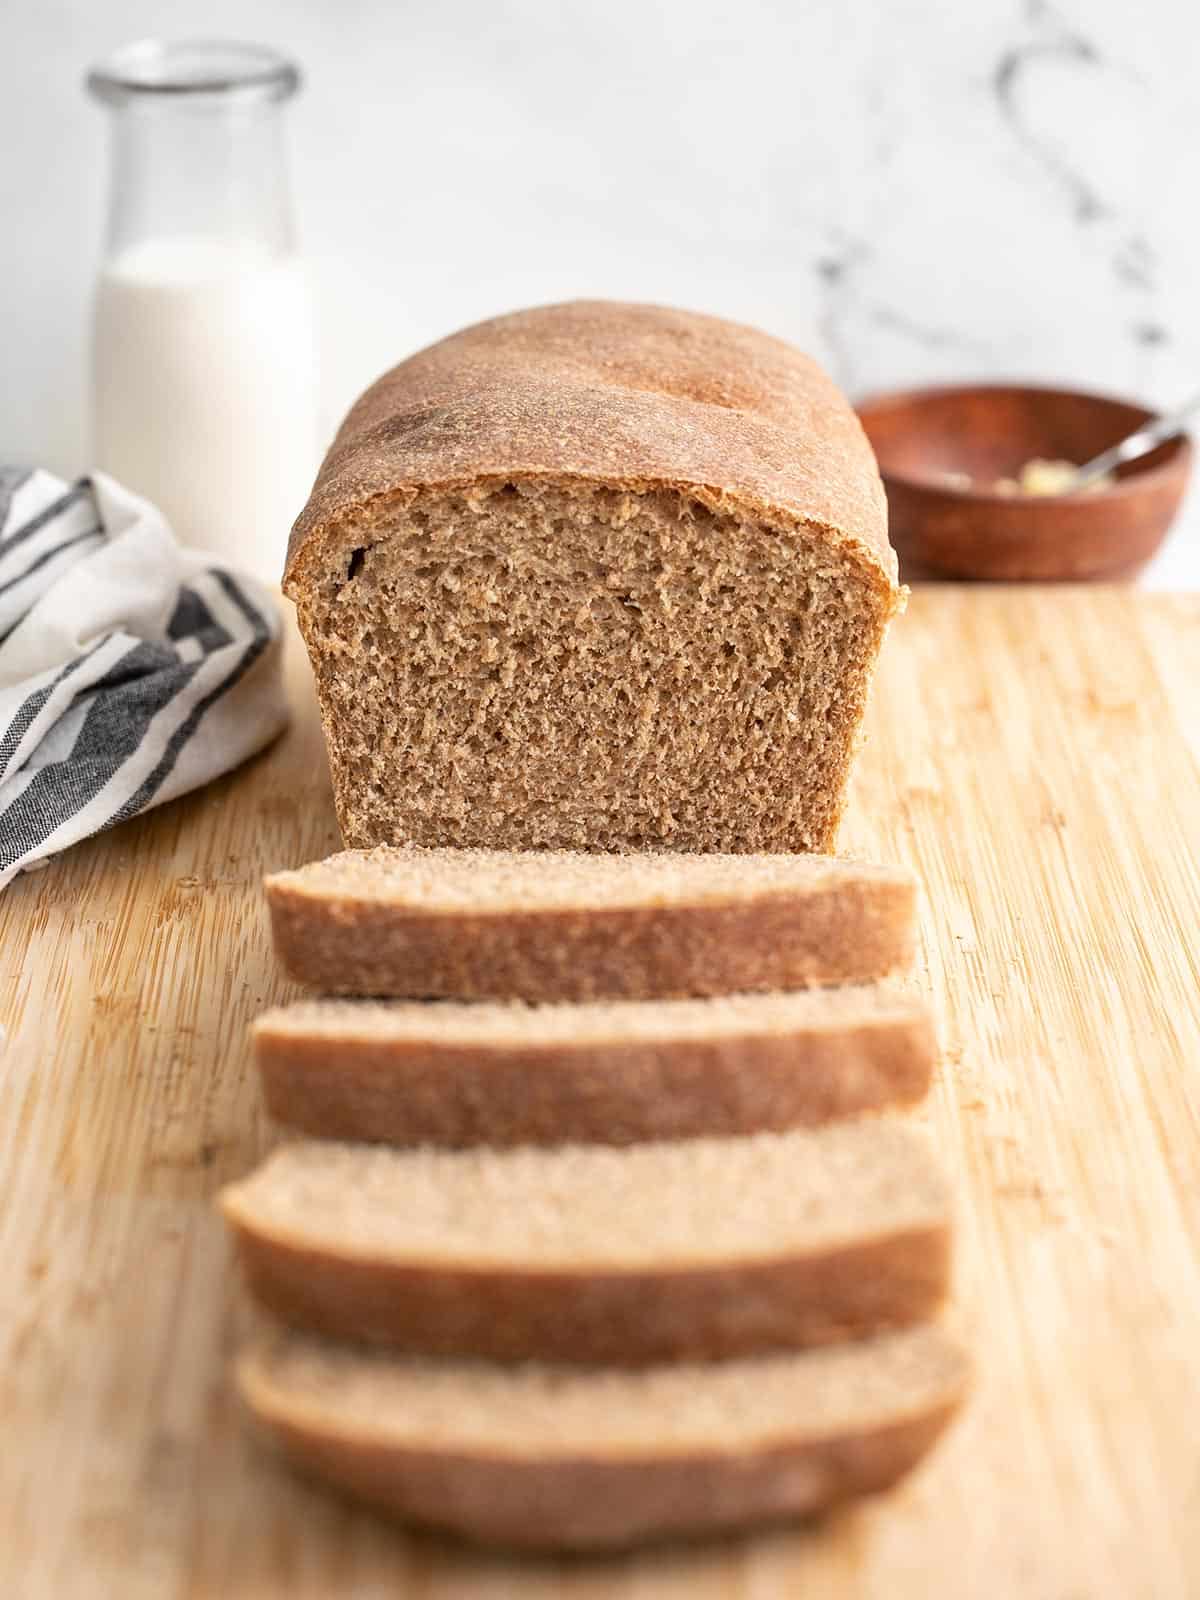
What’s in Honey Wheat Bread?
This recipe starts with the basic yeast bread ingredients: flour, salt, and yeast. Then I added a little honey to give the bread just a hint of sweetness and a little olive oil which helps keep the bread (and the crust in particular) nice and soft. I’ve used a combination of whole wheat and all-purpose flour for this bread to keep the texture light and fluffy.
Can I use All Whole Wheat Flour?
While you can make bread with 100% whole wheat flour instead of a mix of white and wheat, that tends to produce heavier, dense bread. Whole wheat flour absorbs more moisture than all-purpose flour, so you may need to adjust the ratios in this bread slightly. I find that for the best texture, a 50/50 mix of whole wheat flour and all-purpose flour produces the best results.
How to Store Homemade Bread
It’s very important to let homemade bread cool completely to room temperature before storing to prevent trapping steam and creating condensation. Homemade bread doesn’t contain preservatives like store-bought bread, so you’ll need to either consume the bread quickly or freeze it for longer storage. (Or make bread pudding with the leftovers!)
If storing your bread at room temperature, wrap the bread in cloth or paper to allow just enough airflow to prevent moisture build-up. Homemade bread will last about 2-3 days stored at room temperature.
If storing in the refrigerator, keep the bread in an air-tight container. This is my preferred method because I don’t usually eat bread that quickly. Bread stored in the refrigerator will stay good for about 5-6 days.
If you need to store your bread for longer, freeze it. I suggest slicing the bread prior to freezing so you can thaw or use 1-2 slices at a time as needed without thawing the entire loaf. I often toast my slices straight from the freezer for convenience! Make sure to freeze the bread in an air-tight, heavy-duty, freezer-safe container (like a freezer bag).
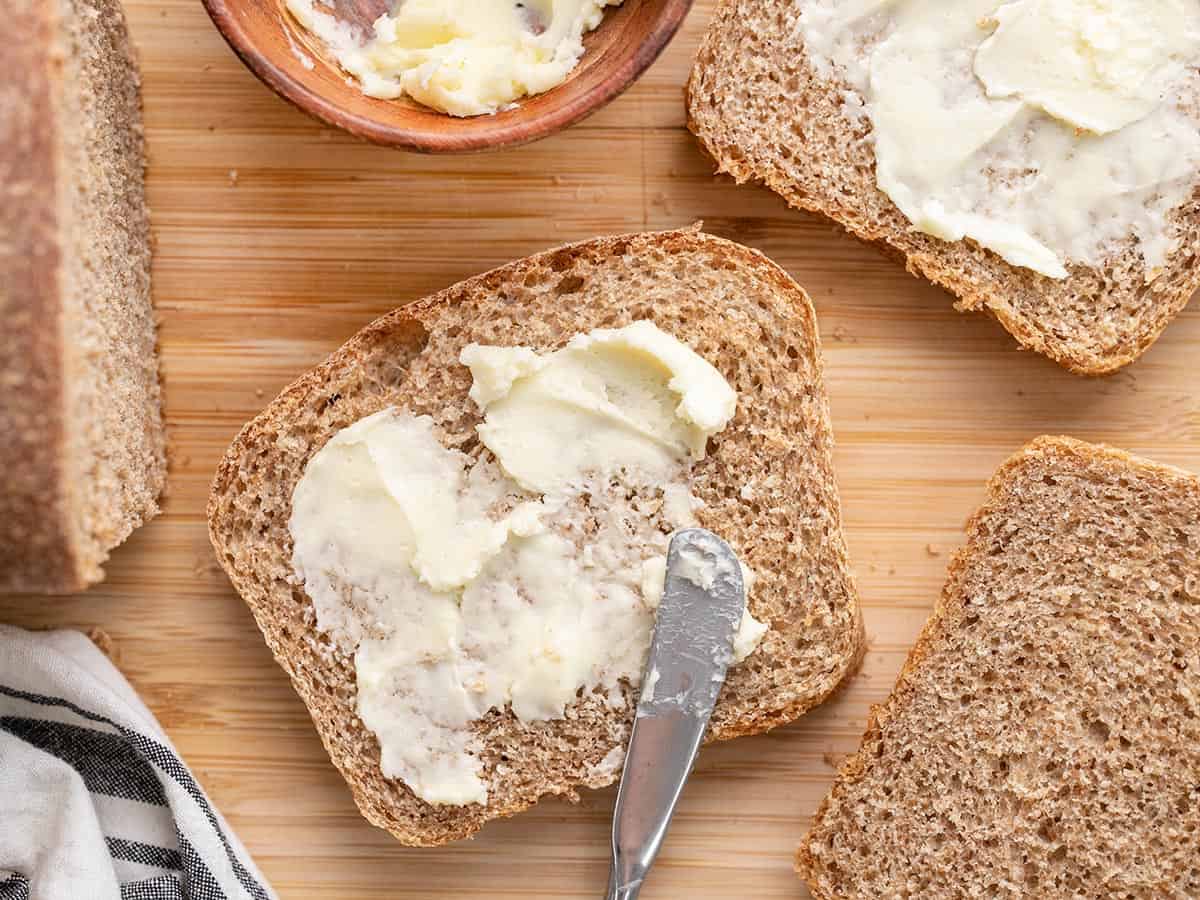
New to making homemade bread? Try our super easy No-Knead Bread!
Honey Wheat Bread
Ingredients
- 1.25 cup warm water ($0)
- 2 tsp active dry yeast or instant yeast ($0.34)
- 2 Tbsp honey ($0.50)
- 3 Tbsp olive oil ($0.36)
- 1.5 cups whole wheat flour* ($0.57)
- 1.5 cups all-purpose flour* ($0.38)
- 1/2 Tbsp salt ($0.05)
Instructions
- Stir the yeast and 1 Tbsp of the honey into the warm water until dissolved, then set it aside for about five minutes to allow the yeast to activate. A thick layer of foam should develop on the surface of the water.
- While waiting for the yeast to bloom, stir together 1 cup of the whole wheat flour with the salt.
- Once the yeast is foamy, add the rest of the honey (1 Tbsp) and the olive oil and stir to combine. Pour the yeast water into the bowl with the flour and salt, then stir until combined. Add ½ cup more of whole wheat flour and stir until combined again.
- Now start adding all-purpose flour, ½ cup at a time, until you can no longer stir the dough with a spoon. At that point, turn the dough out onto a floured surface and begin to knead all-purpose flour into the dough, a little at a time.
- Knead the dough for about five minutes, slowly adding flour as you knead, or until the dough no longer sticks to your hands, but is still fairly pliable. I used 1.5 cups all-purpose flour total, but the total flour amount will vary with the type of flour used and relative humidity in the room.
- Place the kneaded dough back into the mixing bowl and cover with a cloth. Let the dough rise at room temperature for about an hour, or until it has doubled in size.
- Lightly coat a bread pan with oil. Punch the dough down to deflate, then take the dough out of the bowl. Shape the dough into a log about the same length of your bread pan.
- Place the shaped dough in the bread pan and let it rise for anohter hour, or until it has risen about 2-inches above the edges of the bread pan.
- Preheat the oven to 375ºF. Once fully preheated, add the risen bread and bake for 30 minutes, or until the bread is deeply golden brown and it sounds hollow when tapped.
- Remove the bread from the oven and let it cool just a few minutes (to make it easier to handle), then carefully remove the bread from the pan to fully cool.
- Once cool, slice and serve your delicious homemade bread!
See how we calculate recipe costs here.
Equipment
Notes
Nutrition
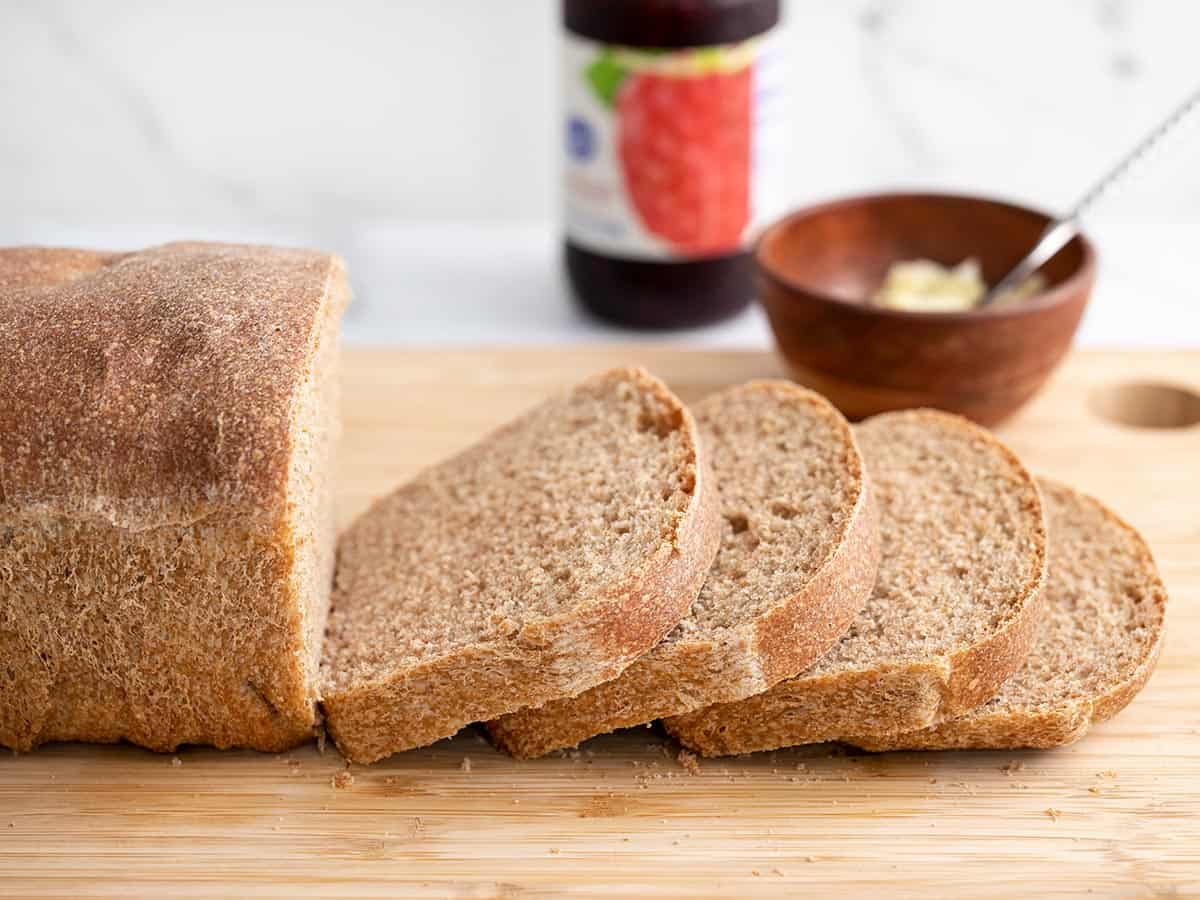
How to Make Honey Wheat Bread – Step By Step Photos
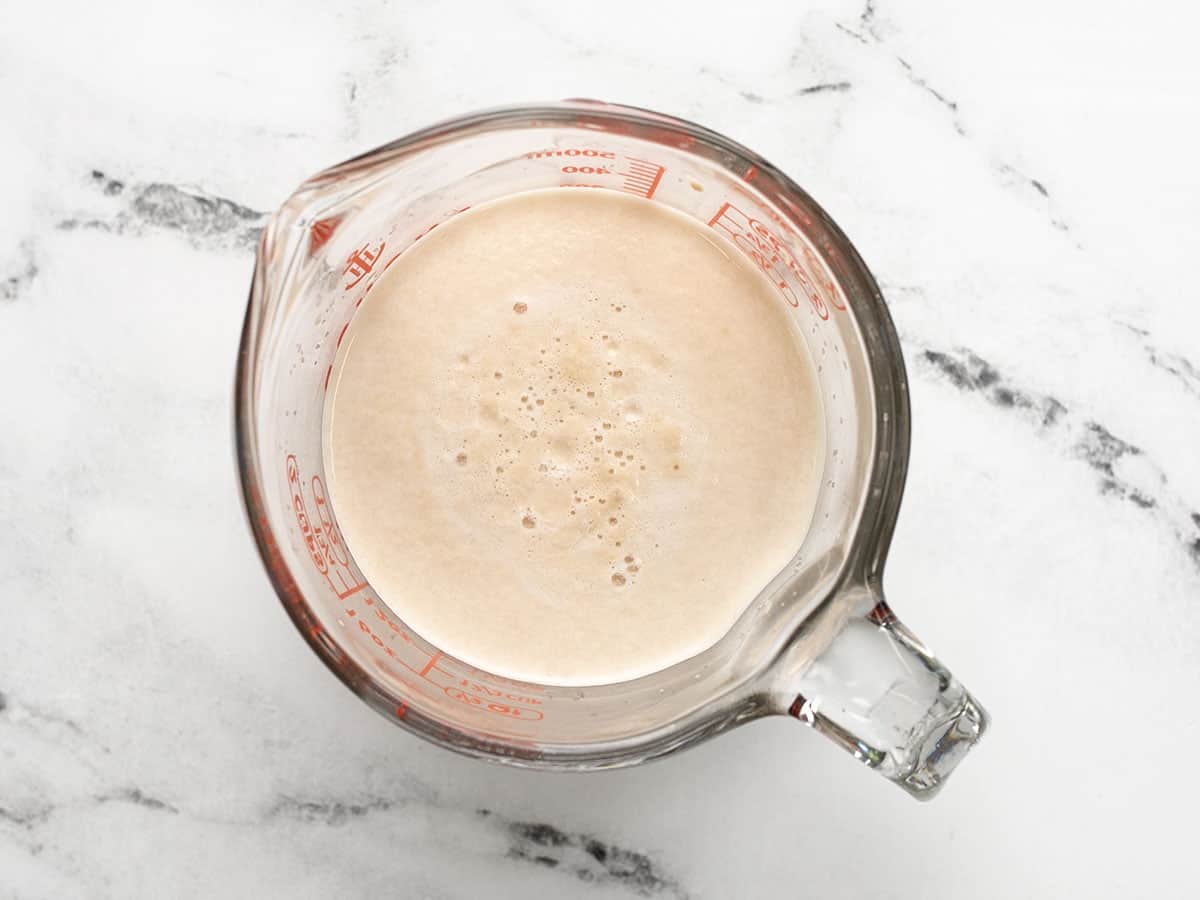
Start by dissolving 1 Tbsp honey and 2 tsp instant yeast or active dry yeast in 1.25 cups of warm water. Set the mixture aside to allow the yeast to bloom. It should develop a thick layer of foam on the surface.
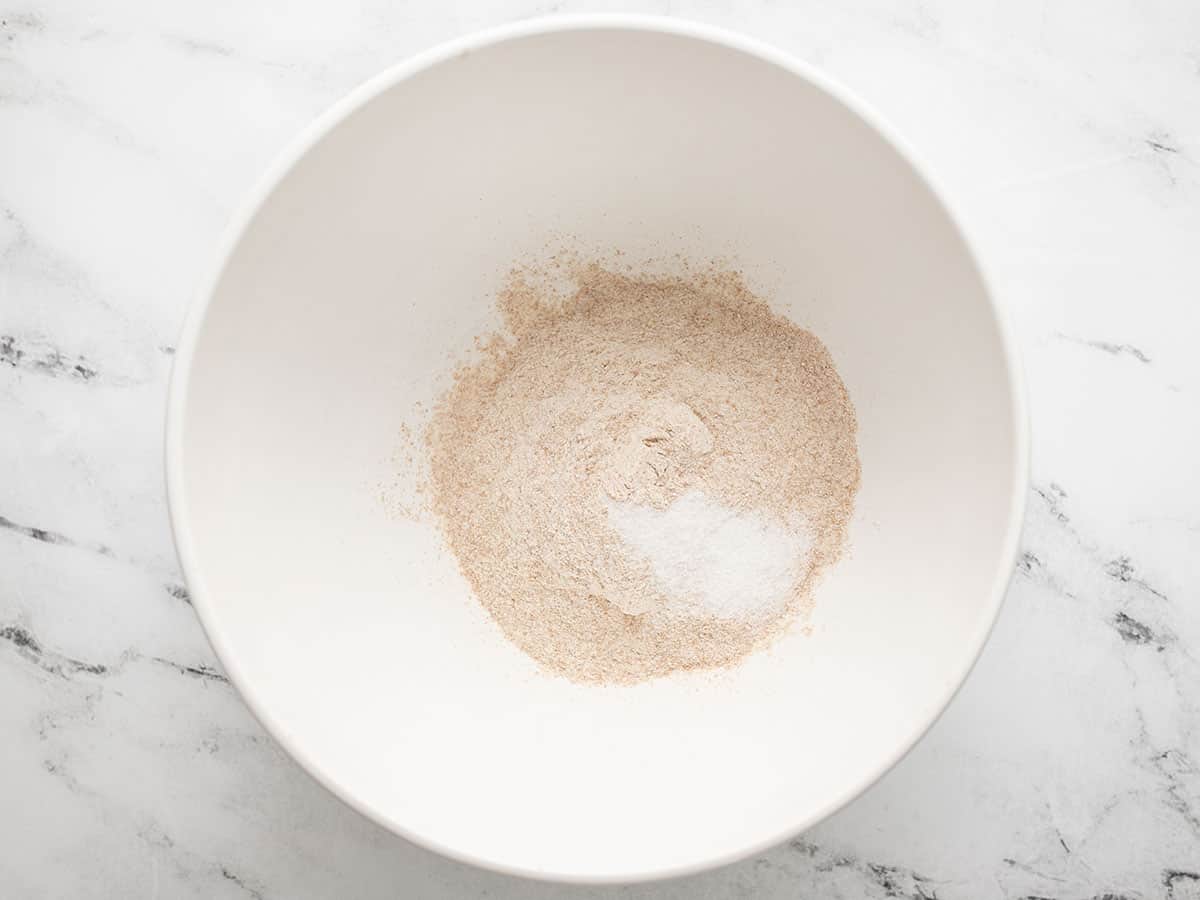
While waiting for the yeast to bloom, add 1 cup whole wheat flour to a bowl with ½ Tbsp salt and stir to combine.
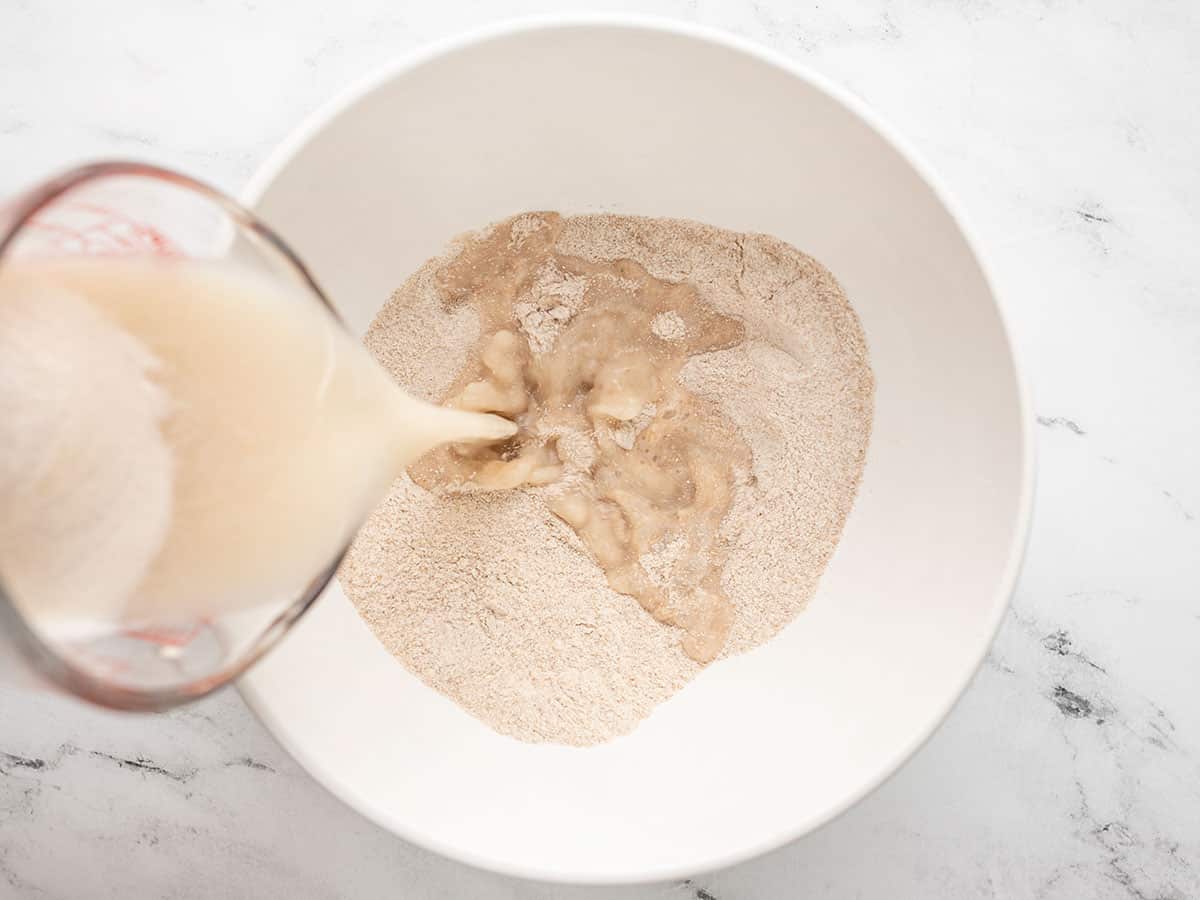
Once the yeast has bloomed, stir another 1 Tbsp honey and 3 Tbsp olive oil into the yeast water, then pour that mixture into the bowl with the flour and salt. Stir to combine.
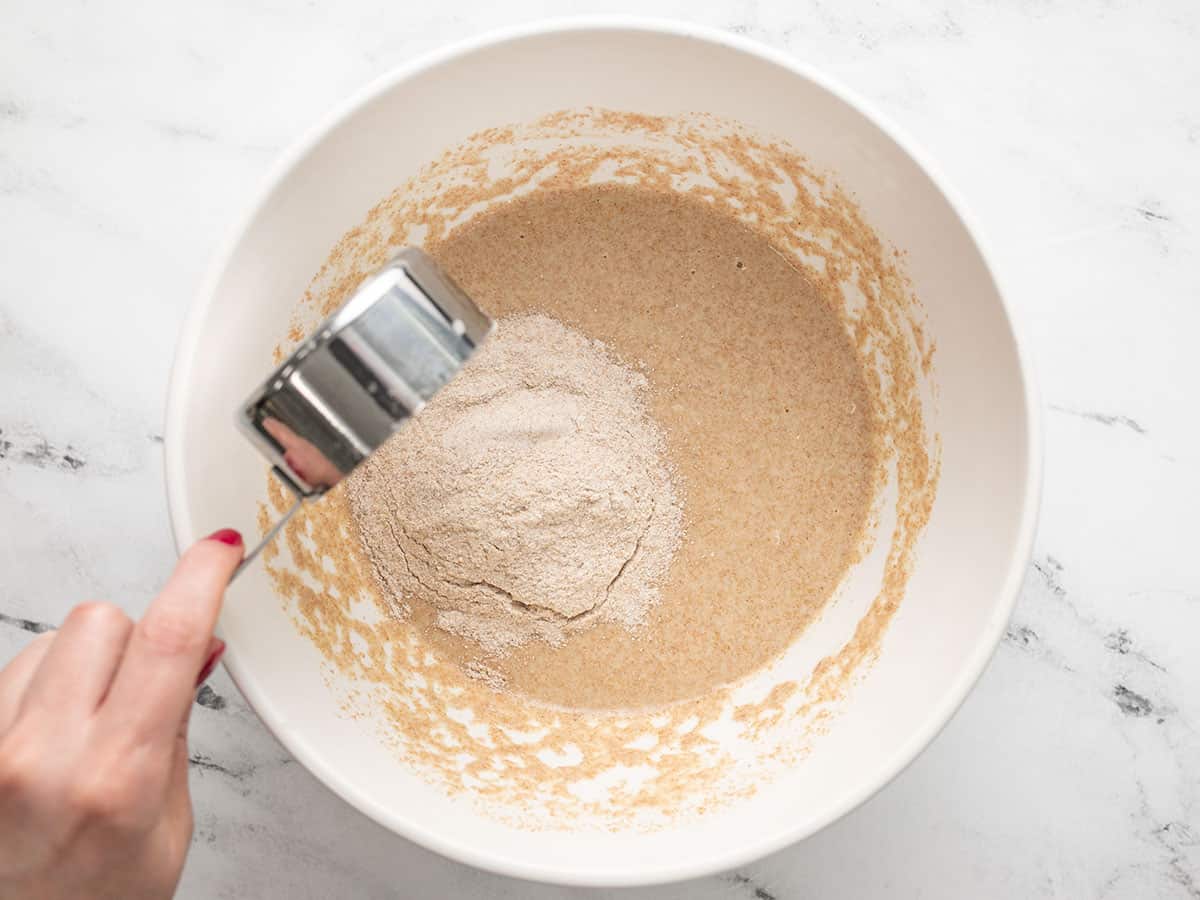
Stir another ½ cup of whole wheat flour into the dough.
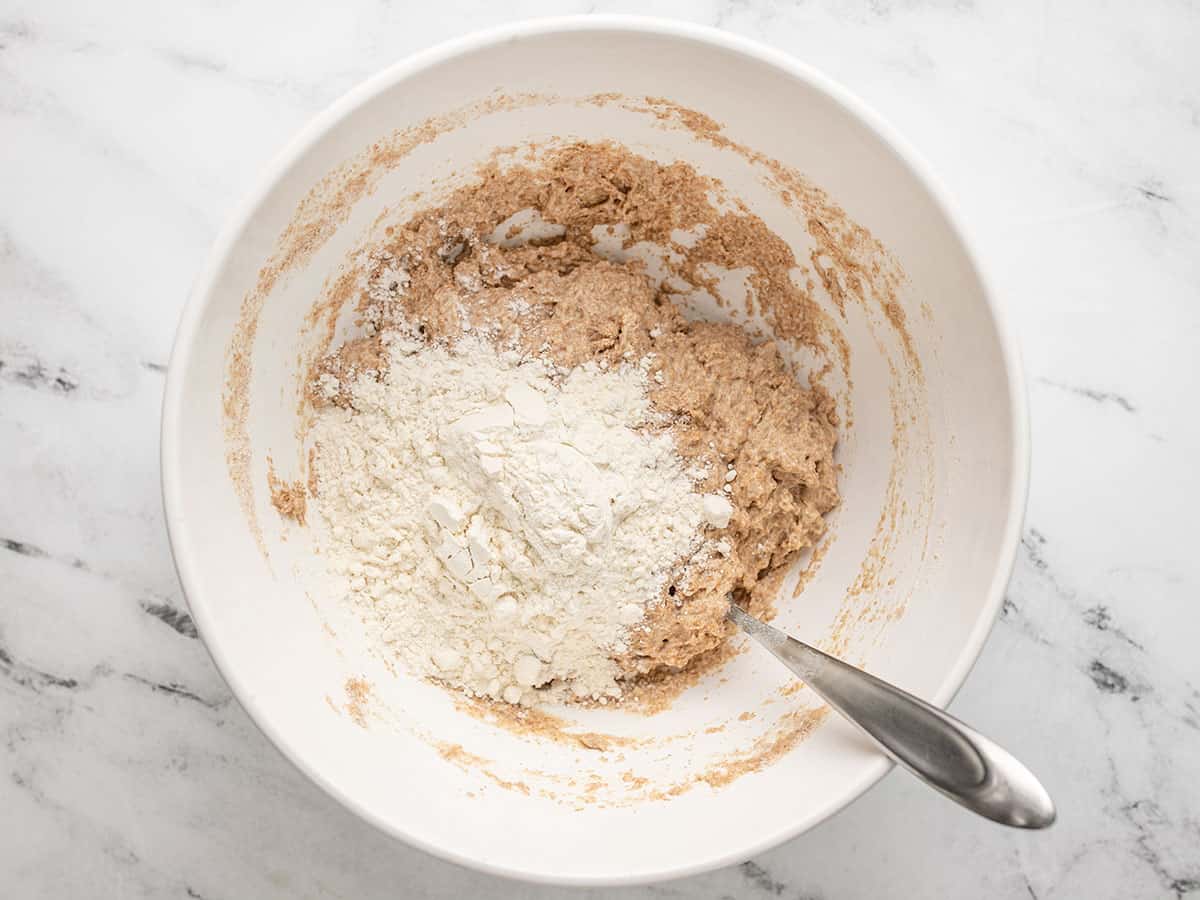
Now start adding in all-purpose flour, ½ cup at a time until you can no longer stir the dough with a spoon.
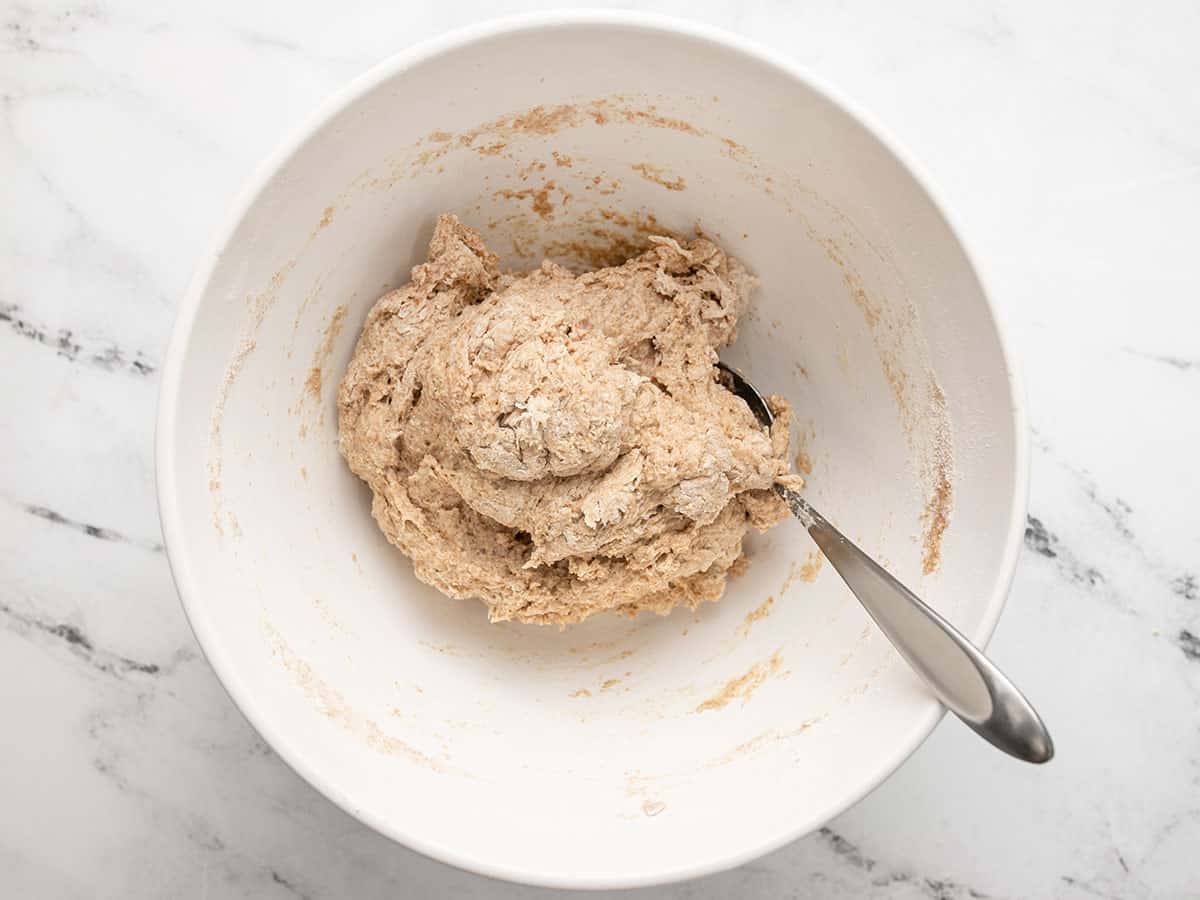
When a shaggy ball of dough forms that can no longer be stirred with a spoon, it’s time to turn the dough out onto a floured surface to knead.
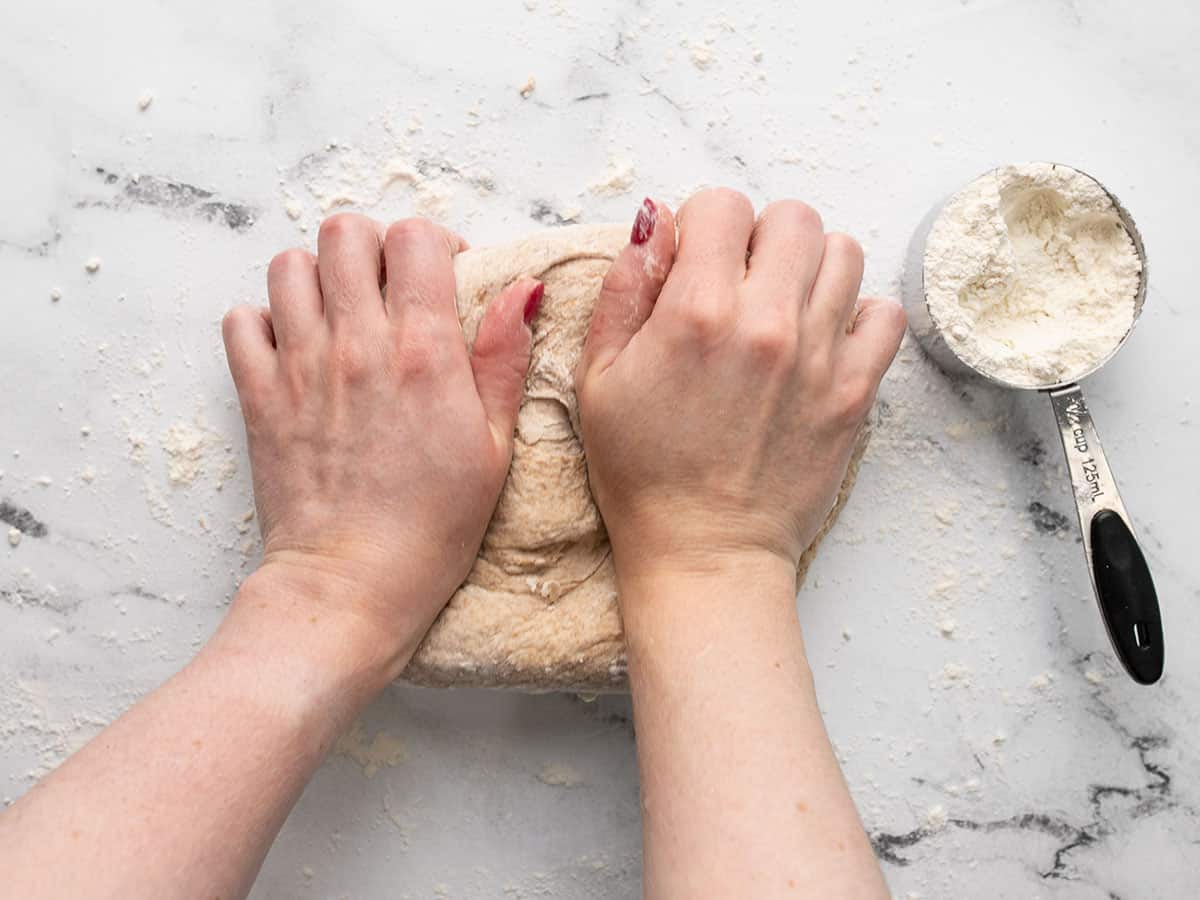
Begin kneading in more all-purpose flour a little at a time. Knead for about five minutes, or until the dough no longer sticks to your hands, but is still pliable. I used about 1.5 cups all-purpose flour in total, but the total flour amount can vary depending on the type of flour used and the relative humidity in the room.
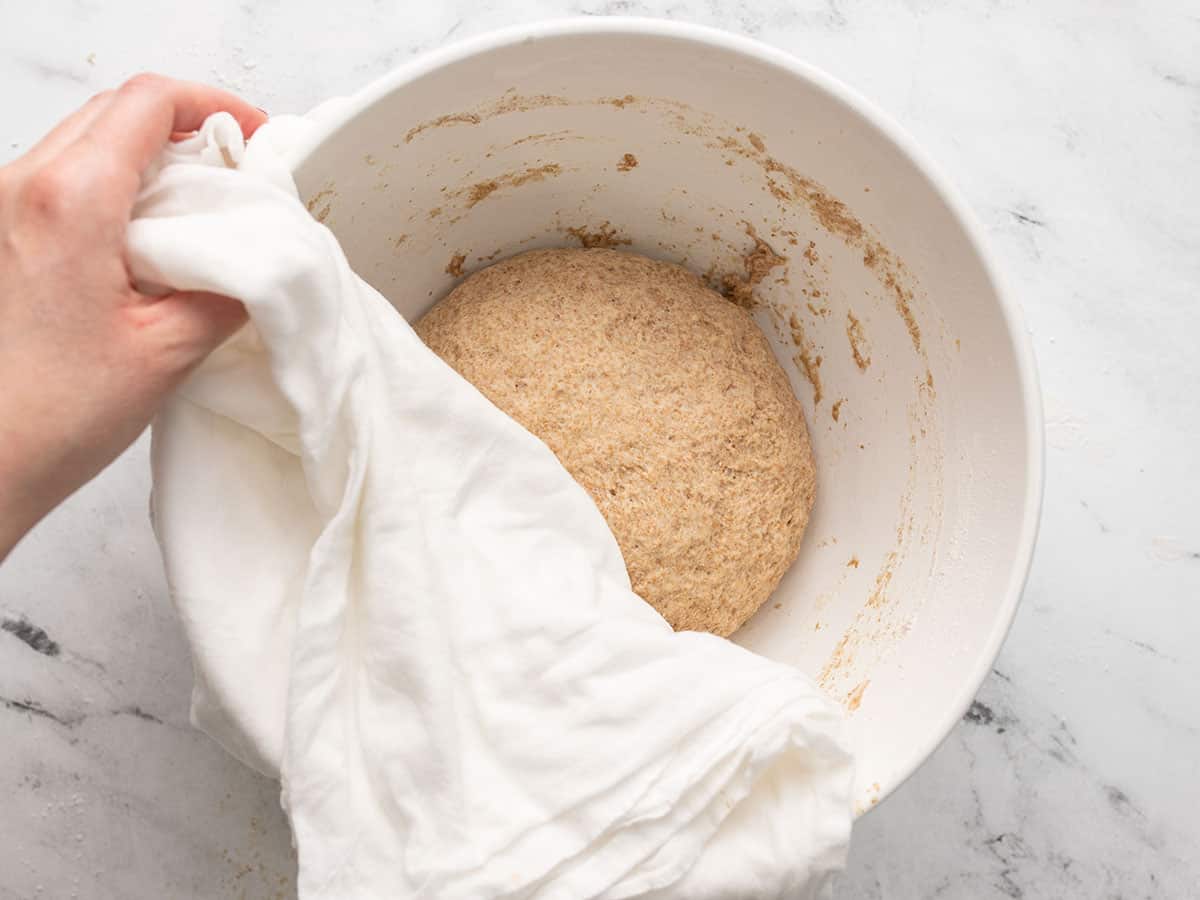
Place the kneaded dough back into the mixing bowl and cover it with a towel. Let the dough rise at room temperature for one hour, or until doubled in size.
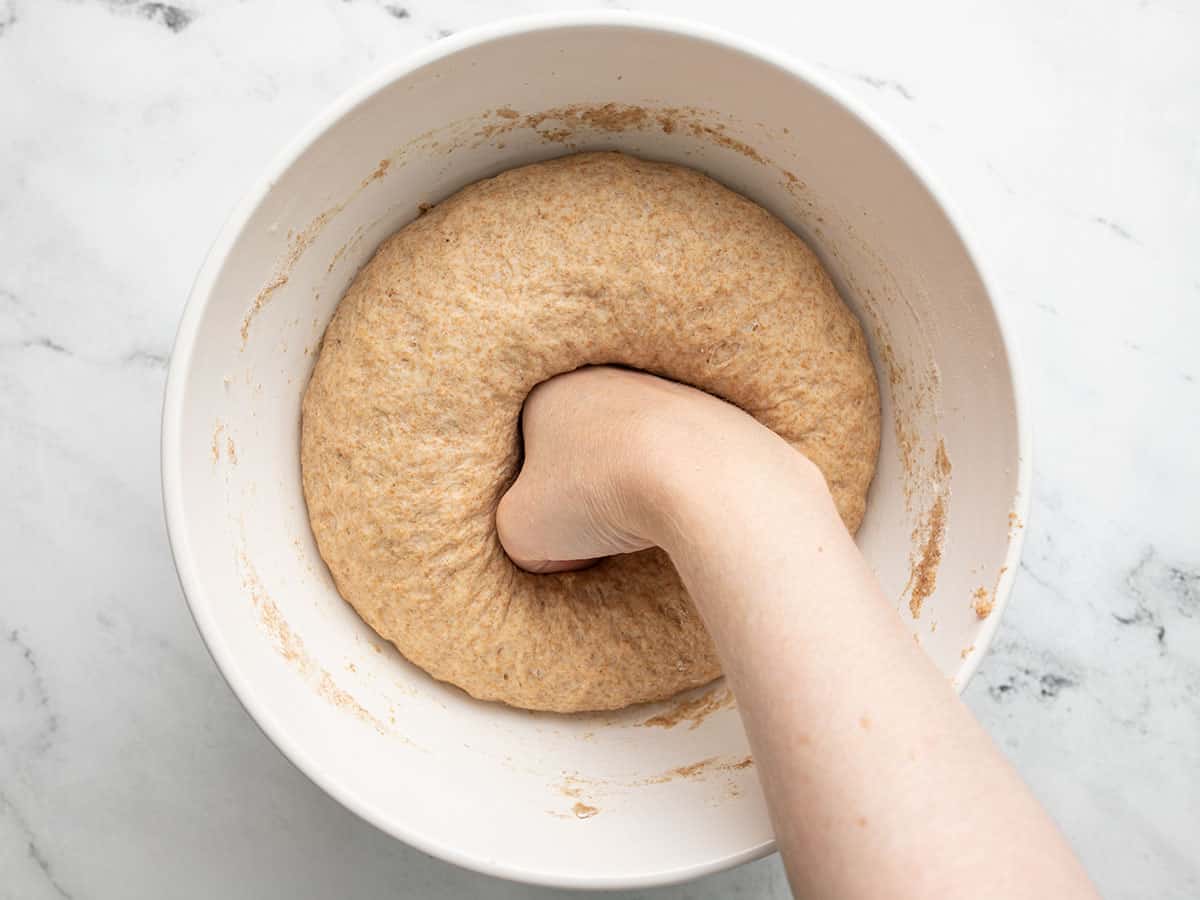
Once doubled in size, punch the dough down to deflate. Remove the dough from the bowl and shape it into a log the same length as your bread pan.
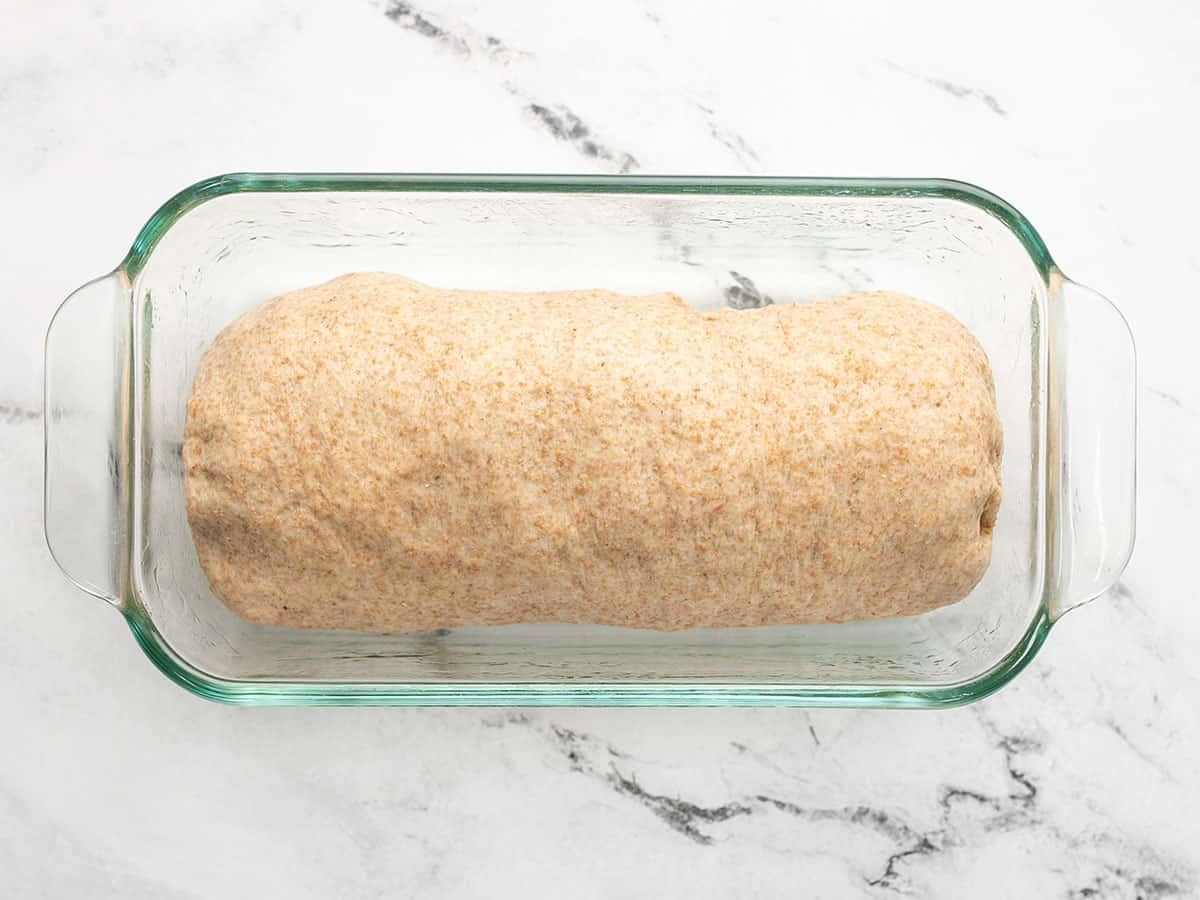
Lightly coat a bread pan with olive oil then place the shaped dough inside. Let the bread rise for another hour, or until it has risen about two inches above the top of the bread pan.
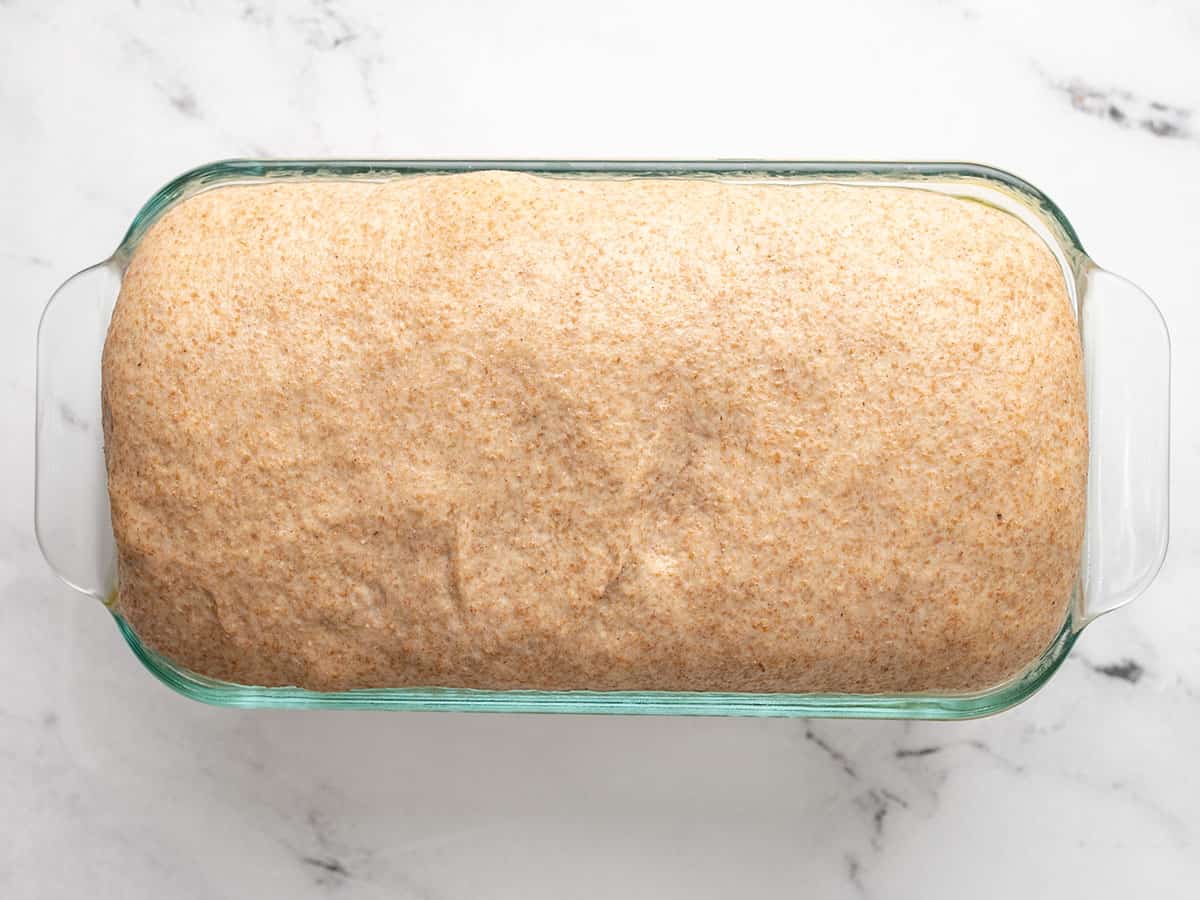
Preheat the oven to 375ºF. Once the bread has risen, transfer the bread to the oven and bake for 30 minutes, or until the crust is deeply brown and sounds hollow when tapped.
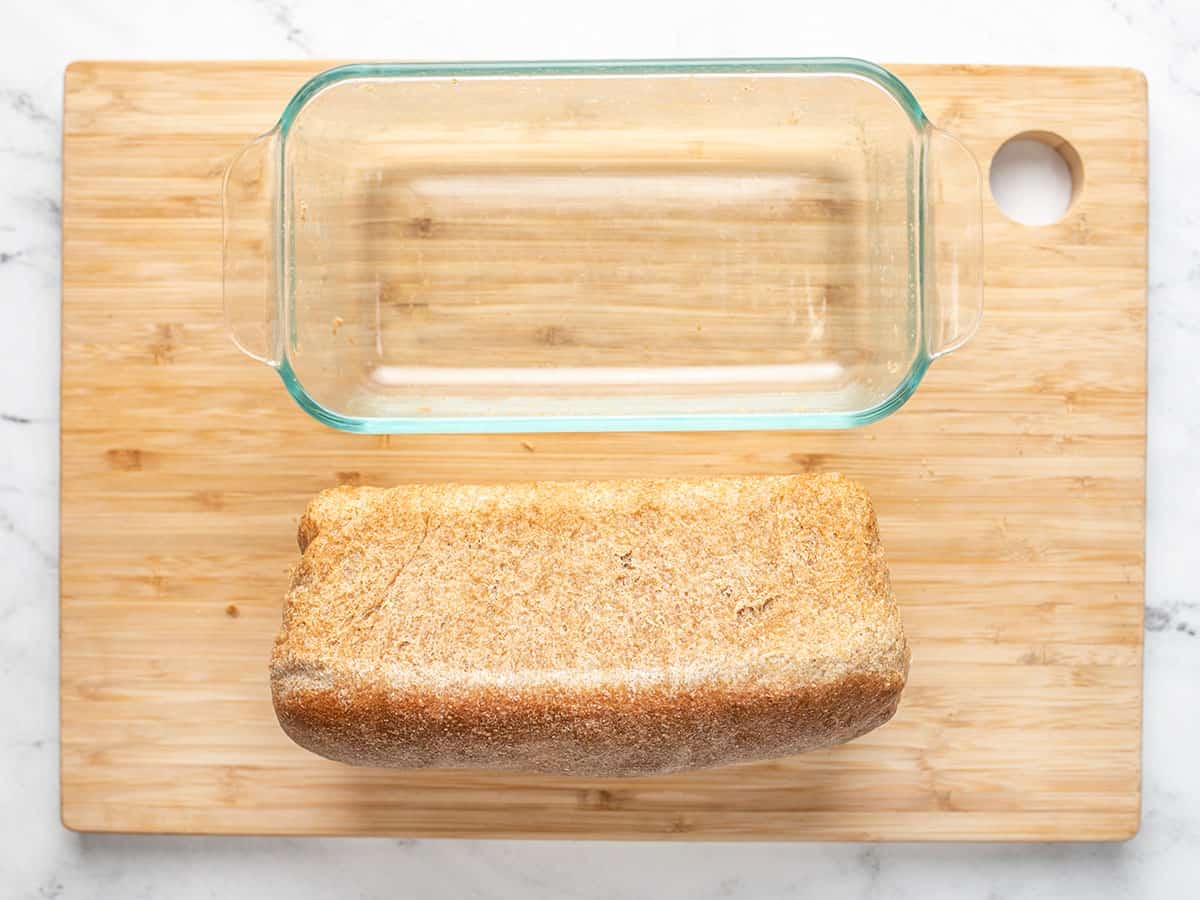
After 30 minutes, remove the bread from the oven. Let it cool for just a few minutes to make it easier to handle, then carefully remove it from the bread pan to finish cooling.
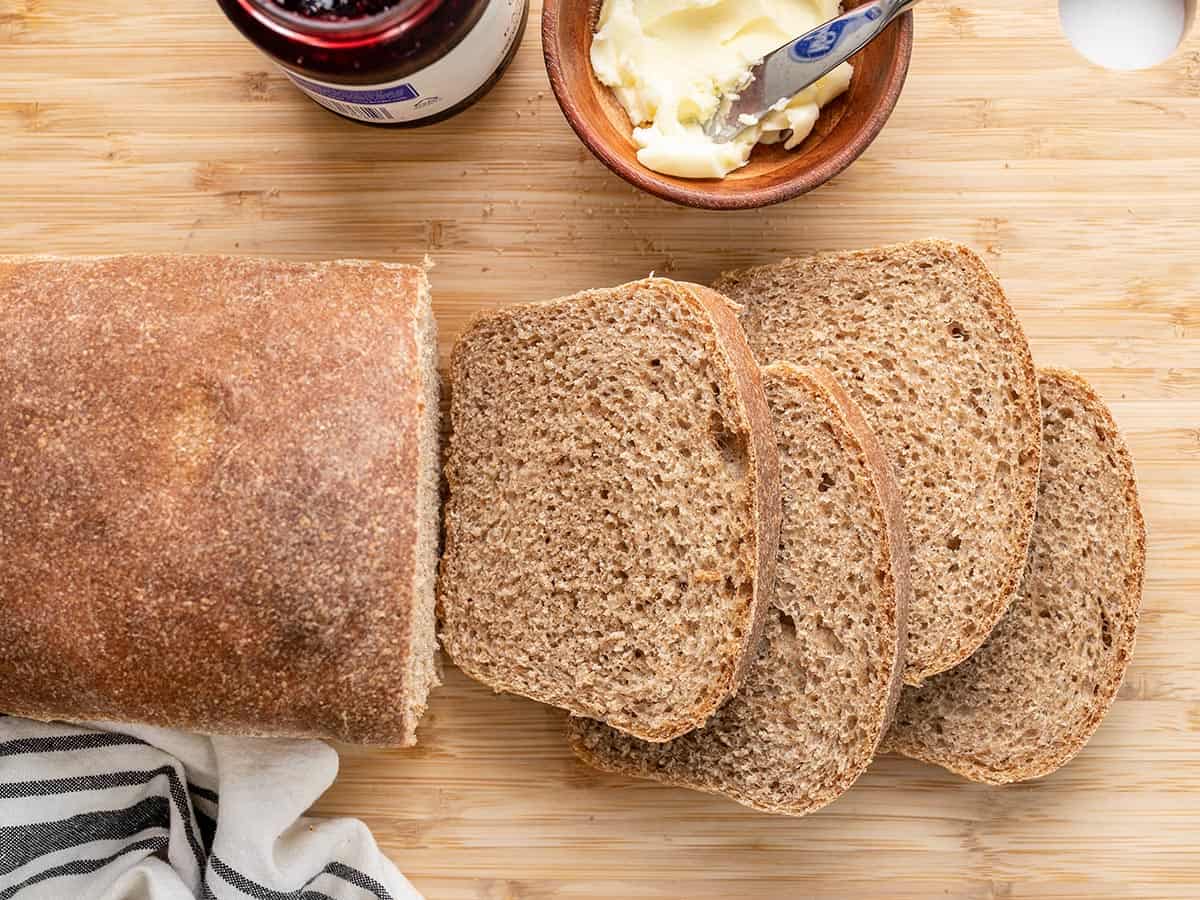
Once cooled, slice and serve the bread, or store it for later!





I’m wondering, is there a standard size for bread loaf pans? The one in the photo looks fairly large, larger than the loaf pan i use for banana bread.
I think standard is 9″x5″, but I’m not sure if that’s a top measurement or a bottom measurement, since they usually flare out a bit from bottom to top.
its easy to follow. thank you for sharing this.
Eu amo esta receita! Nosso lanche ficou muito mais saboroso. Meu marido, não consegue esperar o pão esfriar. Muito obrigada!
Can you make this recipe in a bread maker?
Unfortunately I don’t have any experience with bread makers, so I’m not sure. :(
When you say 2 tsp of yeast, would that equal one package of Fleichmann’s Active Dry Yeast?
Yep! I think technically a packet is about 2.25 tsp, but I doubt that extra 1/4 tsp will make much of a difference.
We’ve made it in the bread maker twice, it turns out great!
YES! This bread turned out PERFECT. I changed only one thing – the cooking temperature – at the recommendation of my mother, master bread maker. I cooked at 375 for the same time, 30 minutes. Bread came out perfecttttt, golden brown, internal temperature read 200 degrees. People who are having problems with the bread burning might want to reduce the temp. I suppose the only other change I made was letting the second rise go a bit longer than 45 minutes, maybe an hour and 10 minutes, only because I really wanted the bread to be over the edge of the pan for sure. I waited almost 12 hours to cut into it too! Baked it at night and let cool all night under a tea towel – no caving in! It’s the most delicious sandwich bread ever. I just ate the best turkey and pimento cheese sandwich of my life, all thanks to this delicious, easy bread! THANKS BETH!
Beth can you use bread flour rather than all purpose for this?
Yes, that will work very well. :)
Thank you, I did! My rave reviews above! :)
Another similar question – could I use ALL bread flour? I want to make again but want just a white sandwich bread this time. Would I have to change anything else to the recipe if I only used bread flour and no whole wheat? Thanks!
Yes, you can use all bread flour. The total flour amount may vary, but it usually varies a bit from time to time anyway depending on the humidity etc. Just feel out the dough as you’re adding flour and make sure not to add too much and make the dough stiff. :)
Turned out excellent and perfect again! I can’t believe it’s this easy and cheap to make homemade bread!
Hey Beth! This might be a silly question but when making homemade bread, how do you get it to cut so evenly and nice? I’m always scared that I will damage my carefully made loaves, and my bread knife doesn’t make me feel much safer.
Making sure the bread is 100% cooled to room temp is the number one key! :) It’s too delicate when warm.
I’m making this bread for the second time today. It’s coming out incredibly dense, and doesn’t want to rise over the sides of the pan. I have it in the oven now, and it looks really flat and sad. I don’t know what I’m doing wrong. :(
I would try kneading it a bit longer. Sometimes if the gluten isn’t developed enough, it won’t be strong enough to rise up. Just be careful not to add the flour too quickly while kneading, or else it will get stiff and dry before it has been kneaded sufficiently.
I’m making this bread for the second time, not having good luck with the cooking in my oven. It seems to very quickly get very dark/burned looking on the crust, way before it’s finished cooking. I’ve tried turning the oven down this go, still not great, and I’m struggling with figuring out how much time extra I need to bake with a lower temp to get it cooked in the middle.
I’d lowered the oven temp to about 210 C (410 F) initially this time, and then down to about 205 C towards the end, but still way too browned.
And because two replies are not enough, it was fully cooked through this time (yay! wasn’t last time) and man does it taste fantastic, despite a very thick and dark crust.
Another thing you can do is wait until about half way through the cooking time (when the crust is already set), then cover it with foil. I’m pretty sure this will stop the browning on top, but let the inside continue to bake. You just want to make sure to wait until the bread has expanded as much as it will and the top is no longer soft. I hope that works out for you!
Made it today – tried the foil over the top after 15 minutes. Just draped it over the top of the pan. Way less overcooked on the top. Still a bit too browned, but way better. I also don’t think I kneaded as much as I had previous times, it was still sticky when I put it in the oven. I haven’t tasted, but it looks okay and cooked.
Thank you so much for this recipe – I’m finding it fun to make bread, even though I don’t particularly know what I’m doing!
I know it’s three years after the fact, but I just have to say that this is my new go-to recipe for sandwich bread. I’ve been making it once a week for the past couple of months and it’s great! I am no longer buying bread at the store. I increased the salt to 1 Tbsp. but it’s otherwise perfect!
I have tried to make bread so many times without success. Somehow I can make delicious cake, biscuits, pizza dough, and other baked goods…but a loaf of bread has eluded me. This is the first recipe that came out perfectly…and it was also the easiest. My husband couldn’t stop eating it. Thank you for breaking it down and making it easy! I felt relaxed and enjoyed the process, rather than feeling like I was doing something wrong the whole time.
Hi,
I have made this bread three times now (three days in a row). The first time was too dense, the second was better but the dough deflated when I cut it, and this time it was more elastic and rose better but still deflated when I attempted to put the slit in it. So, I let it rise for about 15-20 minutes longer so it was over the edge of the pan again and it is about to go into the oven. Do you have any suggestions on how to cut the slit in the top without deflating? I tried just dragging the blade across with little downward pressure and it didn’t work right.
Thanks,
Joie
Hi Jole – it might just be the knife you’re using. I’ve used both a serrated bread knife and a smooth chef’s knife, but if you’re having trouble you may want to stick to a very, very sharp chef’s knife. Also, the slit isn’t absolutely necessary, so you can skip that step if it helps your bread keep its shape. :)
Thanks! I think I am going to try skipping the slit the next time I make it.
Okay, so I did not cut the slit in it this time but as soon as the heat hit it when I went to put it in the oven, it deflated! I am out of ideas and may just have to try something else. There has to be something that I am doing wrong.
I wish I could watch your process to find out what it is! :(
Joie and Beth: I have not yet made this bread but with my past bread making experience (the little I have) do this when you’ve reached step 4:
After the bread has risen in step 4, before shaping it in the pan, punch the air out. Then try shaping it in the bread pan. This may or may not make the bread more dense but should prevent it from deflating. It should also allow you to make the slit for a more appealing design. :) Hope that works for you!
What size are your loaf pans? I have 2 different sized loaf pans and I’d like to use the right one. :)
They are a standard 8.5 x 4.5 inches (measured on the inside bottom). Hope that helps!
Thanks, Beth! My pans are just a half inch bigger, which shouldn’t be a big deal. :)
Thanks, Beth! My pans are just a half inch bigger, which shouldn’t be a big deal. :)
Beth, I was wondering… roughly how many slices to you get out of this loaf? My boyfriend and I are trying to really watch our weight and I wanted to try to calculate how much per slice. Just thought I’d ask before a make this fabulous looking bread :D
About 12 slices, if I remember correctly :)
Hi Beth! I love your blog and I can’t wait to try this recipe since we do eat a lot of honey wheat sandwich bread in my house. What size bread pan did you use?
I just baked these on a baking sheet covered with parchment paper (no bread pan). If you wanted to use a loaf pan, the dough would be enough to fill a standard size loaf pan.
Raven, I used a 9″ X 5″ metal loaf pan. It was Baker’s Secret brand. I greased the pan lightly with butter and it worked really, really well! Good luck.