I’m pretty much a pizza addict. I want it all the time. Thin pizza, thick pizza, frozen pizza, artisan pizza, I want it all. I love exploring the pizza frontier, which is why I decided to test out this No Knead Pan Pizza technique. I’ve seen the technique quite a few places around the web, but this post from Serious Eats has a really excellent tutorial with photos.
The idea is simple. Make a basic batch of no knead bread dough (I used my awesome Focaccia Roll dough), plop it into a well oiled cast iron skillet, top it with your favorite goodies, then bake at a really high heat. The outer crust gets nice and crispy from all the oil, the inside dough is thick and bubbly, and the whole thing is just divine. Plus, as always, it’s super cheap! Hooray pizza night!
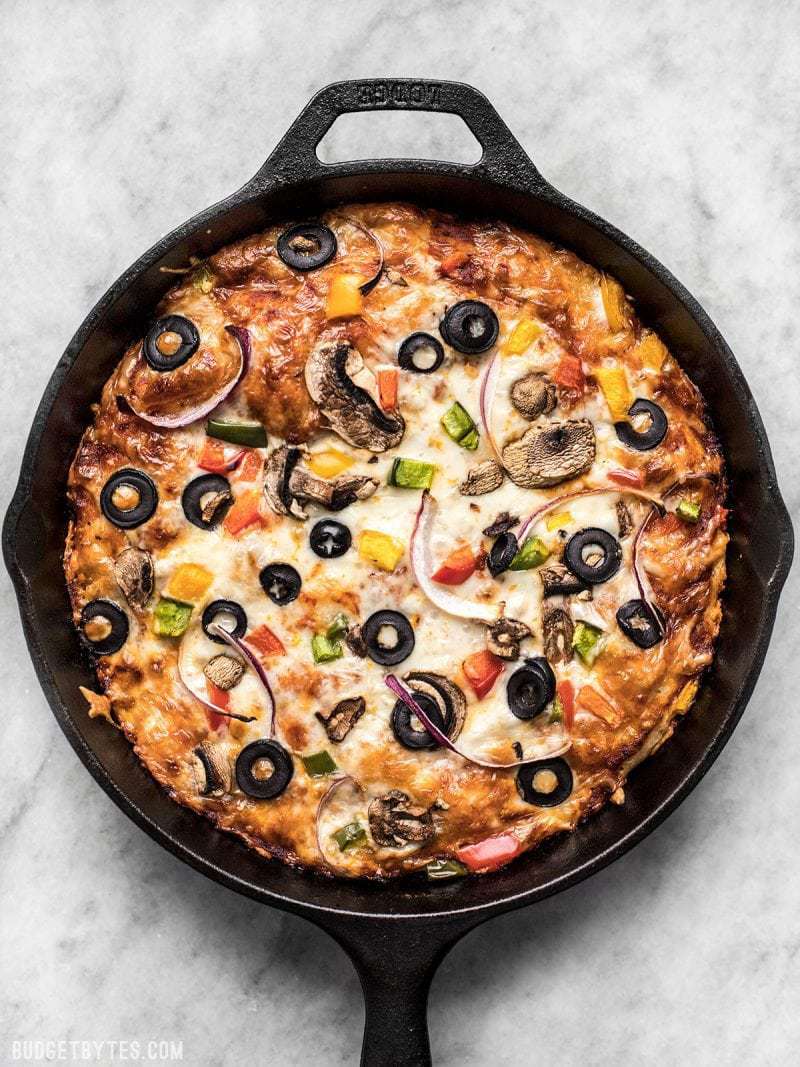
As mentioned before, I used the Focaccia Roll dough for my no knead pan pizza (halved to fit my skillet, plus added a little olive oil), I had some left over sauce and cheese in my fridge, and I stopped by the salad bar at the grocery store to get a handful of vegetables for toppings (my salad bar pizza method). This no knead pan pizza is great for using up leftovers, so keep this trick tucked up your sleeve. You can use leftover BBQ sauce as a base instead of red sauce, use up extra beans, cheese, veggies, or meat, whatever you have on hand. Just keep in mind that the dough needs at least 12 hours to do it’s thing, so you have to plan it out at least one day ahead.
No Knead Pan Pizza
Ingredients
DOUGH
- 2 cups all-purpose flour ($0.30)
- 1/8 tsp instant or bread machine yeast ($0.02)
- 1 tsp salt ($0.05)
- 1 Tbsp olive oil ($0.16)
- 3/4 to 1 cup water ($0.00)
PIZZA
- 1 Tbsp olive oil ($0.16)
- 1/2 cup sauce ($0.40)
- 1 cup shredded mozzarella ($0.99)
- Toppings of your choice ($0.84)
Instructions
- The day before, combine the flour, salt, and yeast in a bowl. Stir until they’re very well combined. Add 1 Tbsp of olive oil and 3/4 cups water. Stir until the dough forms a ball. If there is still dry flour on the bottom of the bowl or the dough doesn’t form a single, cohesive ball of dough, add more water, 1 Tbsp at a time until the dough comes together. The dough should be slightly sticky and shaggy in appearance.
- Loosely cover the dough in the bowl and allow it to ferment for 12-16 hours at room temperature. This develops the gluten, making kneading unnecessary.
- When it’s time to make the pizza, begin preheating the oven to 450 degrees. Oil a cast iron skillet with another tablespoon of olive oil. Use the excess oil from the skillet (there will be a lot) to oil your hands and the dough in the bowl. Pull the dough out of the bowl and place it in the oiled skillet. Press it down into the skillet until it covers the entire bottom of the skillet (it will be very loose and soft).
- Top the pizza with sauce, cheese, and your desired toppings. Cover the pizza edge to edge with the sauce, cheese, and toppings. The dough will be very thick, so there is no need for a dry edge or crust around the outside.
- Bake the pizza in the fully preheated oven for 18-22 minutes, or until the top is golden brown and the cheese is bubbly.
See how we calculate recipe costs here.
Equipment
- Cast Iron Skillet
- Mixing Bowls
Notes
Nutrition
Scroll down for the step by step photos!
This post contains some affiliate links, which means that we make a small commission off items you purchase at no additional cost to you.
How to Make Pan Pizza – Step by Step Photos
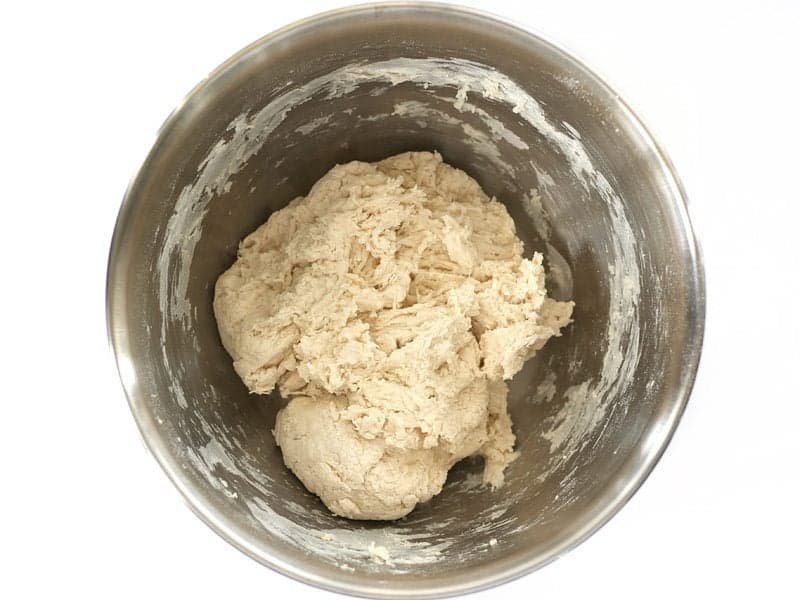
Begin the dough the day before so that it has time to “ferment” for at least 12 hours. In a bowl, stir together 2 cups all purpose flour, 1/8 tsp instant or bread machine yeast, and 1 tsp salt. Once those are well combined, add 1 Tbsp olive oil and 3/4 cups water. Stir until the dough forms one cohesive ball. See how there is no dry flour left in the bowl and the dough is all in one piece? If needed, add more water 1Tbsp at a time until it forms this sticky ball of dough.
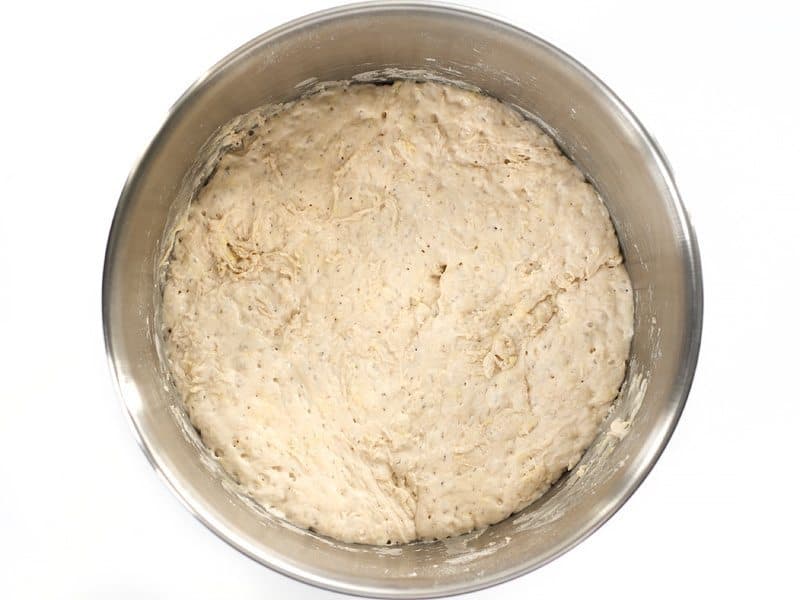
Loosely cover the dough and let it ferment at room temperature for at least 12 hours. During that time, it puffs up and becomes light and airy. It’s still very sticky, though…
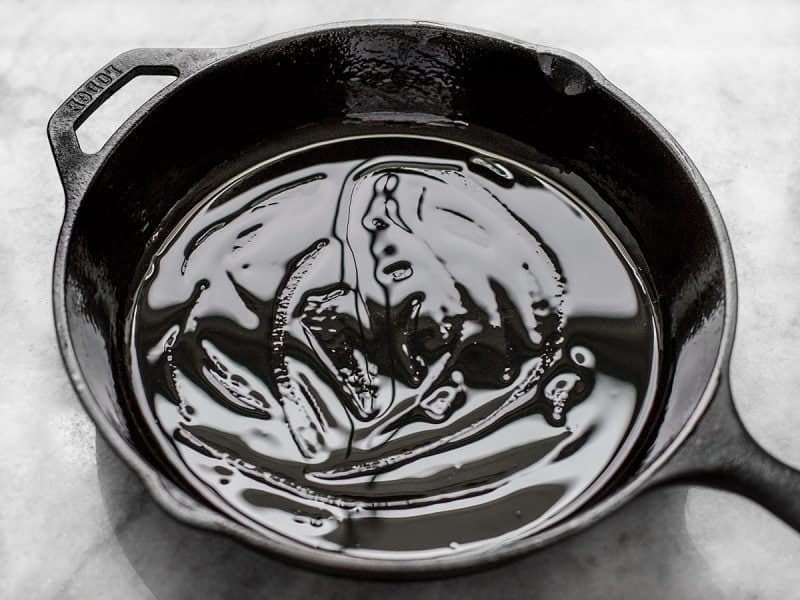
Begin to preheat your oven to 450 degrees. It needs to be FULLY heated before you put the pizza in there. Add 1 Tbsp olive oil to a 10 or 12 inch cast iron skillet and spread it around. There will be a LOT of oil, but that’s what gives pan pizza that awesome crispy crust.
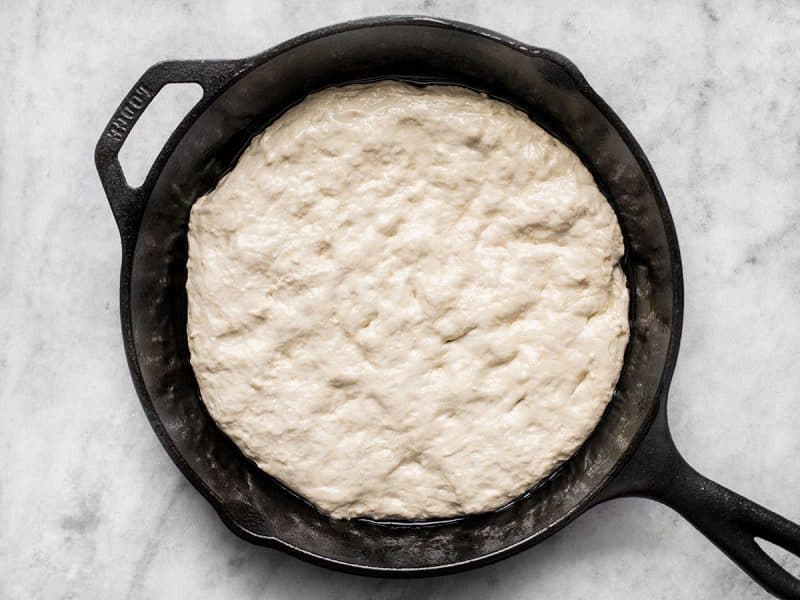
Use some of that excess oil to coat your hands and that sticky ball of dough, then transfer it from the bowl to the skillet. Press it out until it covers the bottom of the pan. The dough will be VERY loose and should be easily manipulated.
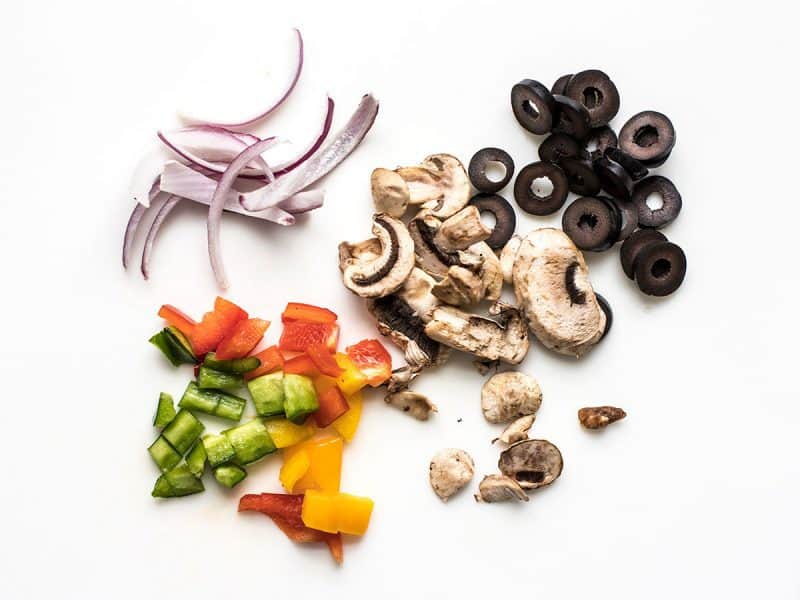
Instead of buying a bunch of things to add to the top of this pizza, I stopped by the salad bar and got a small scoop of black olives, bell peppers, mushrooms, and red onion. The small handful of toppings was only 84 cents! Much better than buying a whole package or item of each then trying to figure out how to use up the leftovers.
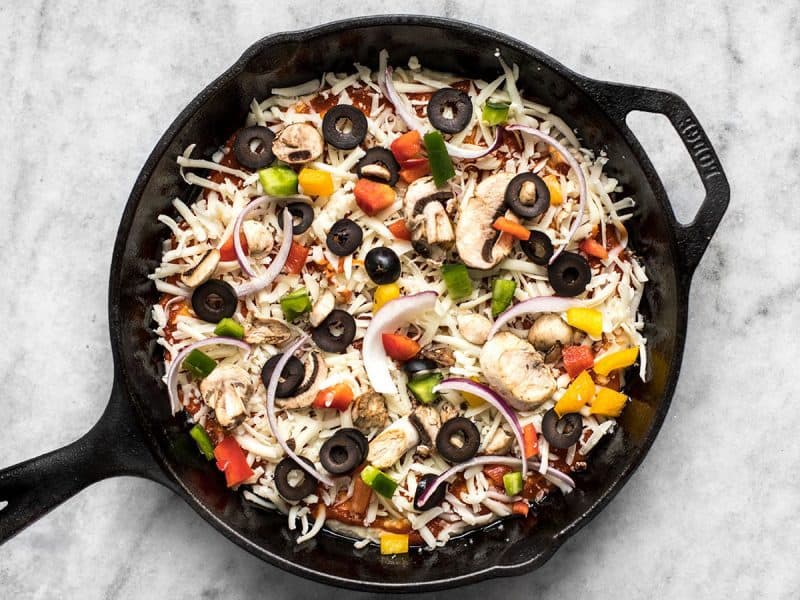
Top the pizza with sauce, cheese, and your veggies (I used leftover sauce and cheese from my fridge). Go ahead and spread the sauce, cheese, and toppings ALL the way out to the edge. The dough will be thick once baked, so you need all those toppings to go to the edge to balance all the bread and keep things moist. By this time the oven should have finished preheating, so go ahead and pop the pizza in the oven. Bake it for about 18-22 minutes (depends on your pizza, toppings, skillet, and oven), or until the edges are browned and the cheese is bubbly all over.
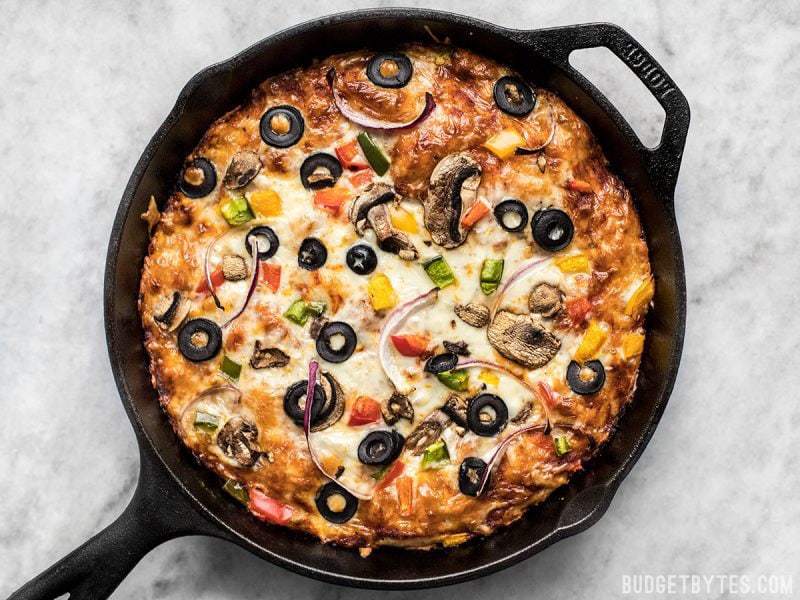
Like this! Yummm… smells like a real pizzeria in here. (take my word for it)
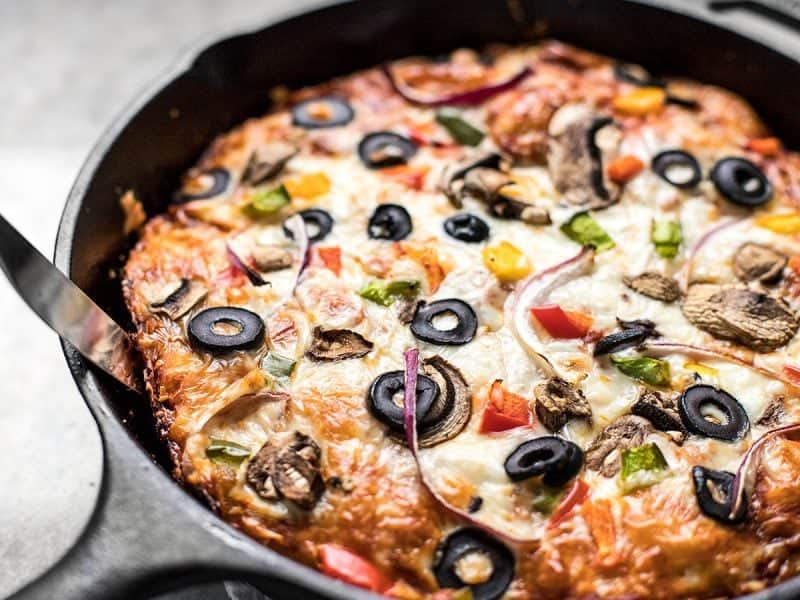
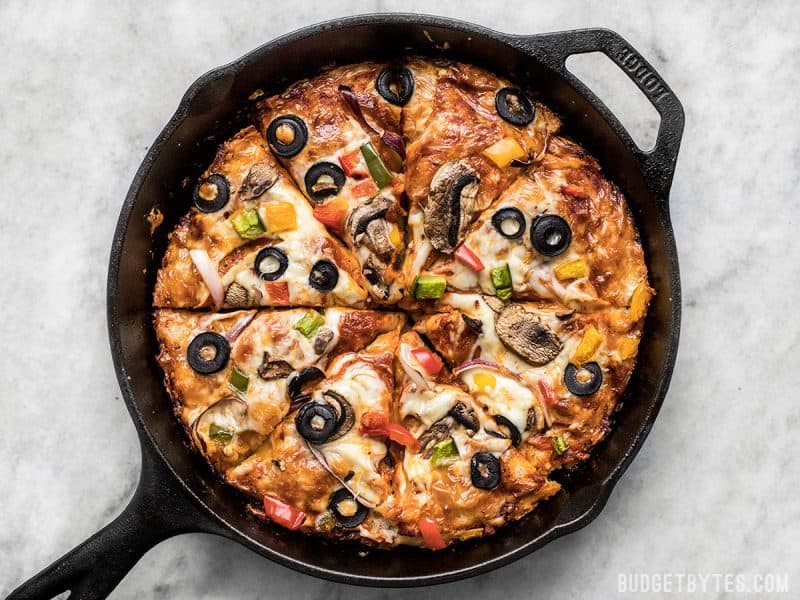
You’ll want to run a knife around the edges to loosen any cheese that has stuck to the side. Because we used so much oil in the pan, nothing should really be too difficult to loosen. Once loose, I suggest sliding the pizza out onto a cutting board to slice, rather than leaving it in the pan like I did for the photos. It’s rather hard to cut while in the pan and you may damage the finish on your cast iron!

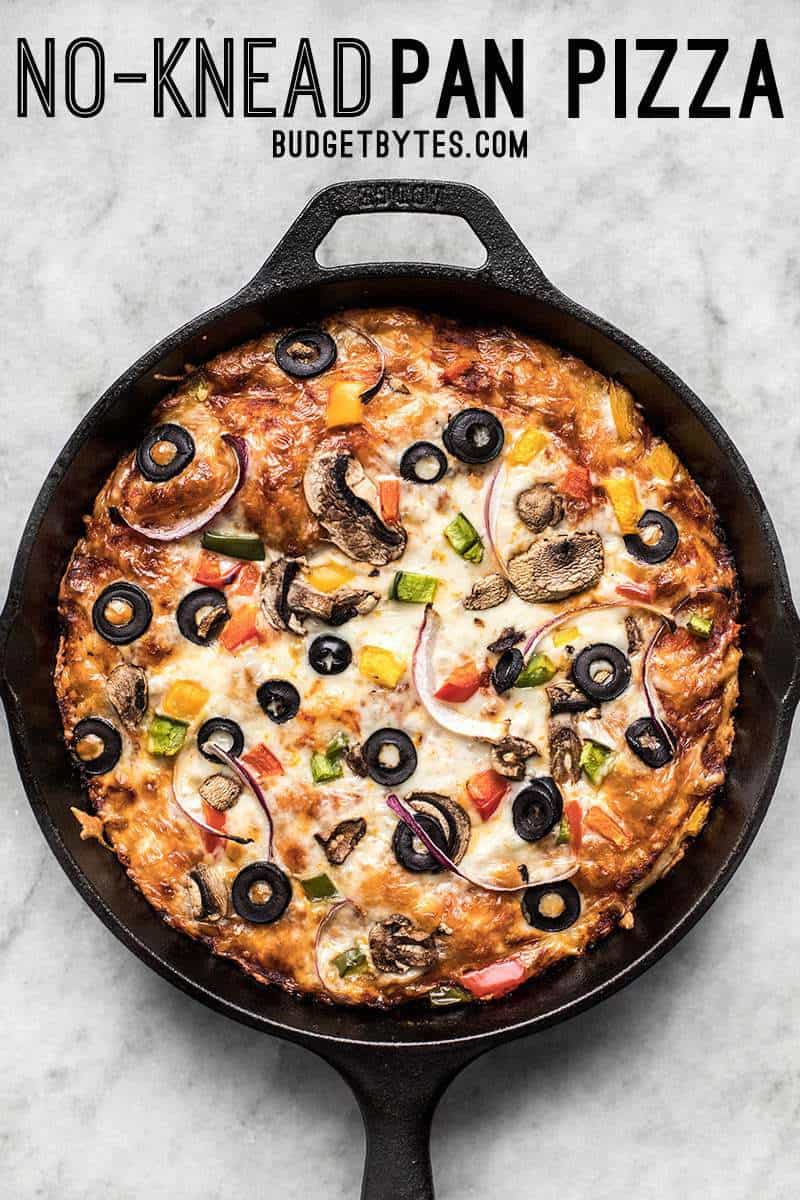
Crispy on the outside, soft and fluffy inside, all around moist and delicious.




I may have missed this mentioned somewhere, but how long would be too long to let the dough rest?
I think the yeast starts to die off after 18 hours or so. BUT, if you need to let it go longer, it can be refrigerated and kept for days without baking.
This was tasty but the crust never crisped up on the bottom. I cooked it in a 12″ cast iron skillet and extended the cooking time to 25 minutes because it didn’t seem quite finished after 22 min. While the dough was cooked through, the bottom wasn’t brown or crispy at all. Any ideas? My dough was quite loose (but not super sticky) when I put it in the pan – perhaps it was too wet and I need to add more flour next time?
Hmmm. That might work, or I wonder if raising the oven temp a bit would also help.
I’ve had good luck with putting the pan on the stove over high heat for a couple minutes after removing it from the oven, when this happens.
I haven’t tried this, but my mom used to pour cornbread into a blazing hot cast iron skillet before putting it into the oven. Made the cornbread nice and crispy on the bottom, so maybe it would work for the pizza crust as well.
This was such a great meal idea! I changed it up to use the ground beef we had on hand to make it a taco style pizza. Utilizing pantry and fridge finds I replaced the sauce with salsa, added taco seasoned beef and topped with a healthy dose of shredded cheddar and jalapeño. When it came out of the oven added chopped lettuce, tomatoes, and sour cream. Seriously no more need to order pizza! Can’t wait to play around more with variations!
Another new favorite! I like to make pizza, but don’t very often, because the dough is usually a pain to work with. But this is SUPER easy and fast, as long as I remember to mix up the dough in the morning before work!
Can I cook the pizza in a springform pan vs. a cast iron skillet? I’ve seen recipes for pizza in a springform pan, so just curious if that would work here, too. Thanks! Love your recipes!
Interesting, I’m not sure how that would compare. The cast iron is a really good heat conductor, so it might affect the texture of the dough differently than a thin spring form pan.
This method has become my go to b/c it is so unfussy. I love that I don’t have to knead the dough and deal with rolling it out, transferring it to a baking sheet or pizza stone. Plus, it doesn’t even stick to the skillet so I barely have to wash dishes when I’m done. Plus it is incredibly tasty! I’ve had good luck using the lazy pizza dough recipe from smittenkitchen (with a dab of olive oil for flavor), but your method is the best for pan pizza. Thank you for the fabulous recipe :)
I’m getting ready to make this tomorrow! Loved the article from Serious Eats. Curious: why didn’t you bake this at 550 like SE suggested?
My oven doesn’t get much hotter than 500 (it’s a very bare bones model) and it’s about 95 degrees outside, so I was content with 450 :)
Have you ever made this with whole wheat flour or gluten free all-purpose flour?! Looks amazing!
I haven’t tried that yet, no. If you do, let us know how it turns out. :)
Any thoughts on whether this would work with gluten free all purpose flour, such as Bob’s Red Mill? I adore pizza, but wheat is evil to me.
Hmm, hopefully another reader can give some advice on this one. I’ve never cooked with gluten free flour.
I made it with Betty Crocker gluten free pizza dough mix, and it was great! (I accidentally topped it before baking, but it turned out.) I’m sure if you followed the Bob Red Mill’s pizza dough mix recipe, it would work too.
this was a great recipe! we love it! the crust perfectly cooked!
Thanks for another fantastic recipe!
I am also a pizza aficianado. all types. all styles. many toppings. am planning to cook this up tomorrow and Im stoked!
I made this last night and the family loved it. I have two cast iron skillets so I had a cheese and pepperoni one for the kids and veggie for the adults. I added oregano and basil to the flour before stirring in the water and that was a nice touch. I used the convection setting since there were two in the oven, and while the outside was really crispy the inside was still a little doughy, so I think next time I’ll go down by 25 degrees and add a couple minutes. I did notice that the leftovers for lunch today tasted a little more sourdoughy than last night so maybe the goal is to not have leftovers? Not such a bad problem to deal with, really. In any case, my kids loved placing the toppings and cheese so this is going into my regular rotation.
Could I use something other than a cast iron skillet to cook the pizza in?
You could use a deep glass or ceramic pie dish.
I tried posting this once before but it didn’t work.
Is this dough freezable? You said you only used half to make this pizza so I was wondering if freezing would work for the other half to use later.
I used half of the ingredients for the original focaccia dough recipe, but used all of the dough that I actually made. The ingredients listed below were what I used to make one pizza :) I hope that makes sense! This type of dough is a little bit more delicate than regular bread or pizza dough, so I’m not sure how it would hold up to freezing.
Is there an alternative to the no-knead dough? Would a typical pizza dough recipe work?
I think it would technically work, but regular dough tends to be more dense than this fluffy no knead dough, so it will have a different end result.