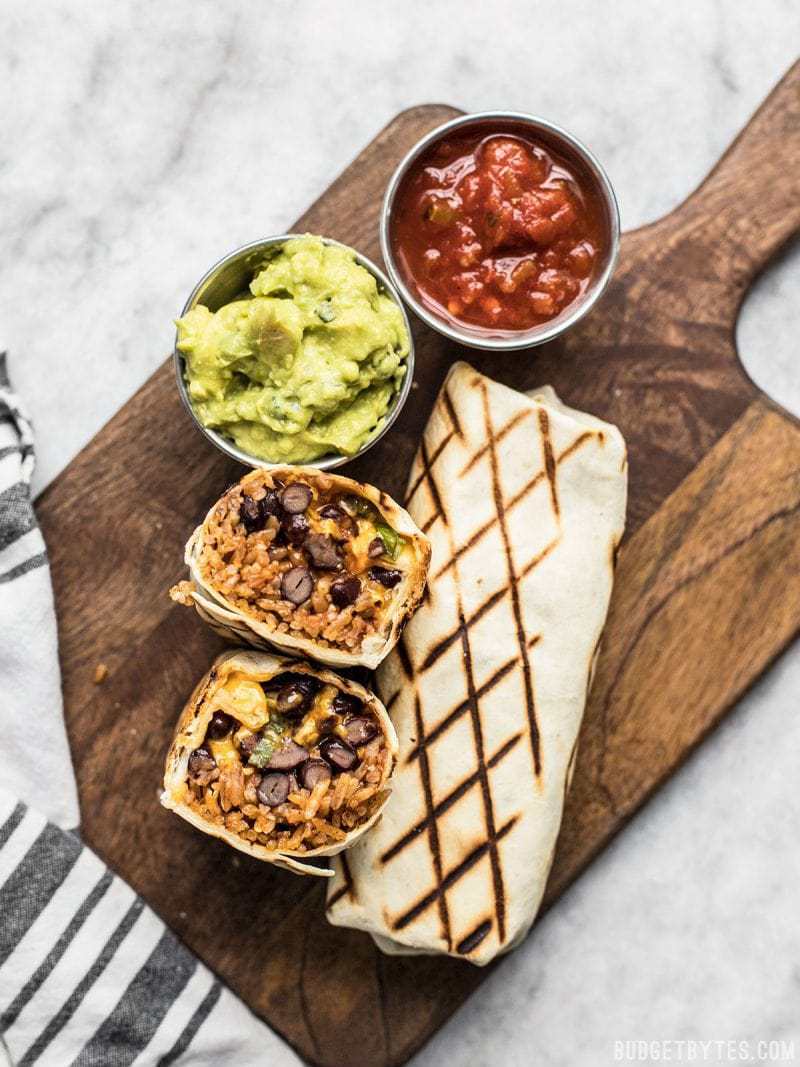
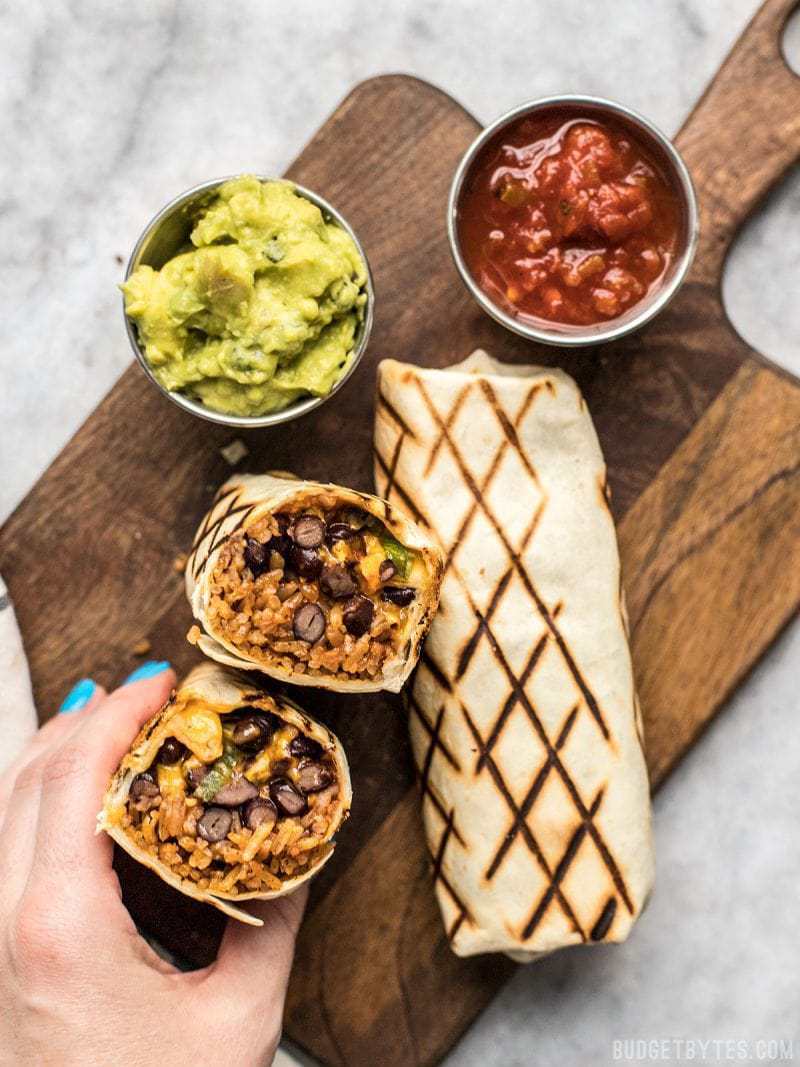
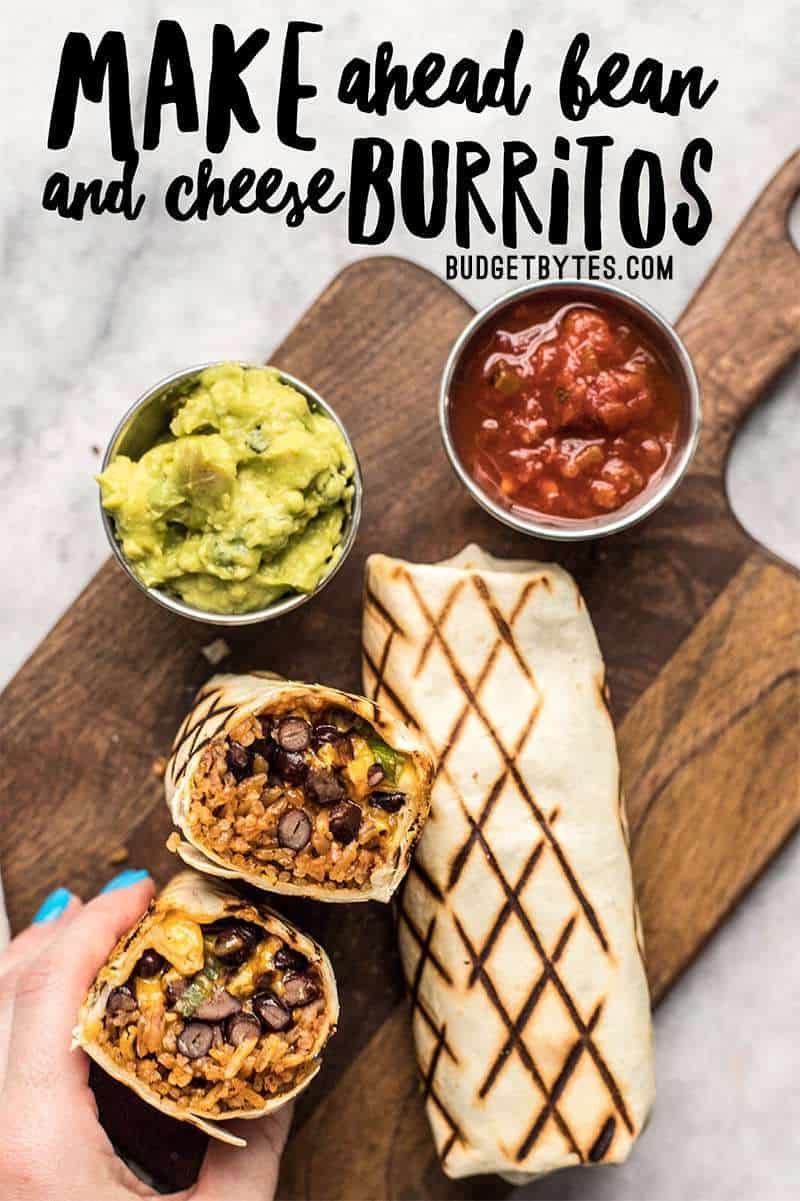
I can’t lie, guys. Sometimes I crave those cheap freezer burritos. They’re just so easy to buy and stash in your freezer for days when you don’t feel like cooking. But guess what? It really doesn’t take a lot of time or effort to make your own freezer burritos, with ingredients you choose, and they’ll still be super cheap. So this weekend I whipped up a batch of super simple Make Ahead Bean and Cheese Burritos to feed us for the week (and beyond). I stored half in my fridge for the next few days, and the rest went into the freezer for longer storage (but let’s be real, they’ll be gone in a couple of weeks).
All recipes are rigorously tested in our Nashville Test Kitchen to ensure they are easy, affordable, and delicious.
Burrito Filling Options
I made my burritos super simple with just some seasoned rice, black beans, cheese, taco sauce, and a few green onions, but the options for what you could put in your make ahead burritos is endless. Here are some great options:
- Taco seasoned ground meat or meat substitute
- Scrambled eggs
- Roasted vegetables
- pulled pork and pineapples
- Jalapeños
- Carnitas
- Refried beans (instead of whole beans)
You can add just about anything to your burritos, as long as the ingredient isn’t very watery or has a high water content (like fresh lettuce or tomatoes). Ingredients with a lot of water won’t store well in the refrigerator or freezer and are best added to burritos that will be consumed the same day.
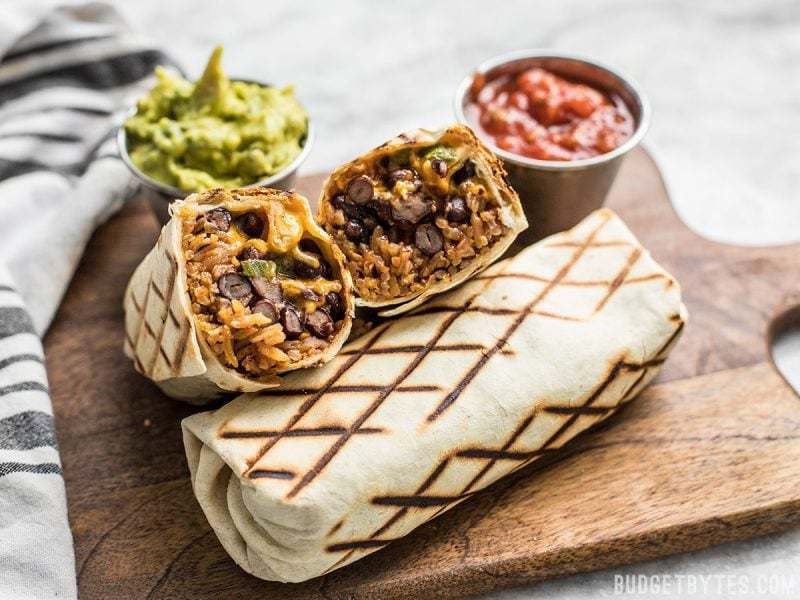
Bean and Cheese Burritos
Ingredients
Seasoned Rice
- 1 Tbsp cooking oil ($0.04)
- 1 clove garlic, minced ($0.08)
- 1 tsp chili powder ($0.10)
- 1/4 tsp ground cumin ($0.02)
- 1/4 tsp oregano ($0.02)
- 1 cup long grain white rice ($0.53)
- 1/2 tsp salt ($0.02)
- 1.5 cups water ($0)
Burritos
- 2 15oz. cans black beans ($1.18)
- 2 cups shredded cheddar ($1.50)
- 2 green onions ($0.17)
- 1/2 cup taco sauce ($0.88)
- 8 large flour tortillas ($2.39)
Instructions
- Begin making the seasoned rice first, so you can prepare the rest of the ingredients as the rice cooks. Add the cooking oil and minced garlic to a sauce pot and sauté over medium for about one minute, just to take the raw edge off the garlic.
- Add the chili powder, cumin, oregano, and rice to the pot. Continue to sauté, stirring continuously, for about two more minutes to toast the rice and spices.
- Carefully add the water and salt to the pot, place a lid on top, and turn the heat up to high. Allow the pot to come up to a boil, then turn the heat down to low. Allow the pot to simmer on low for 15 minutes. After 15 minutes, turn the heat off, and let the rice rest undisturbed for five more minutes. Finally, fluff the rice with a fork.
- While the rice is cooking, rinse and drain the black beans well. Slice the green onions.
- When the rice is finished cooking and you’re ready to assemble the burritos, stack four tortillas on a large plate and place a damp paper towel over top. Microwave for 30 seconds to steam the tortillas, to make them more pliable and easy to roll. Steam the next four tortillas only when you’re ready to begin working with them.
- To each tortilla add about 1/3 cup rice, 1/3 cup beans, 1 Tbsp taco sauce, 1/4 cup shredded cheddar, and a few slices of green onion. Roll the burritos up tightly, making sure to fold in the sides first to hold in the the filling.
- Store the burritos in an air-tight container in the refrigerator for 4-5 days, or wrap each burrito individually in parchment paper or plastic wrap, then place in a freezer bag, and store for up to three months.
- To Cook from Refrigerated: Place the burrito in a skillet or on a grill pan and cook over medium-low heat until the outside is brown and crispy and the cheese is melted on the inside.
- To Cook from Frozen in Microwave: Set the microwave to the defrost setting for approximately 9 minutes, or the defrost by weight setting, programmed to one pound.
- To Cook from Frozen in the Oven: Wrap the burrito in foil and bake in a preheated 350ºF oven for approximately 40 minutes.
See how we calculate recipe costs here.
Notes
Nutrition
How to Make Bean and Cheese Burritos – Step by Step Photos
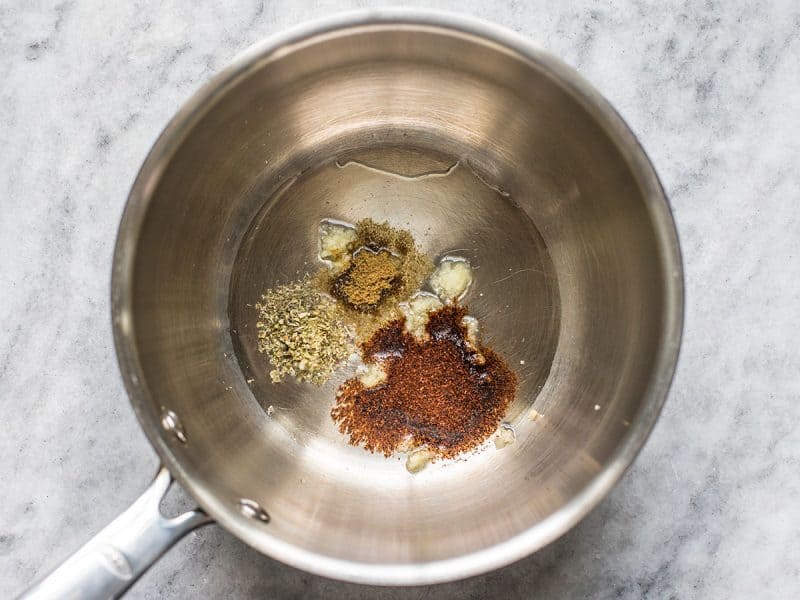
Begin the rice first so you can prepare the rest of the filling ingredients as the rice cooks. Add 1 Tbsp cooking oil and one minced clove of garlic to a sauce pot. Sauté the garlic over medium heat for only about a minute to take the raw edge off the garlic. Next, add 1 tsp chili powder, 1/4 tsp cumin, and 1/4 tsp oregano.
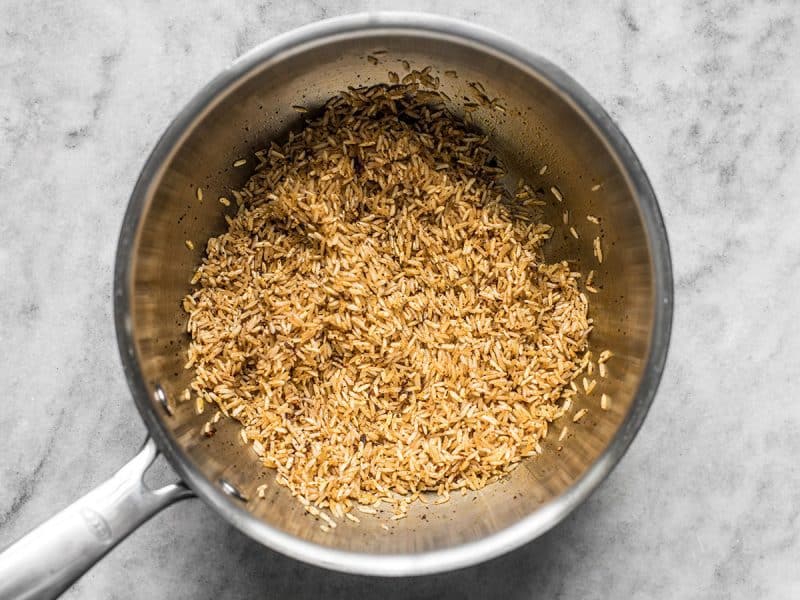
Also add 1 cup uncooked long grain white rice. Continue to sauté the rice and spices for about two minutes, which will toast the rice and spices and enhance their flavor.
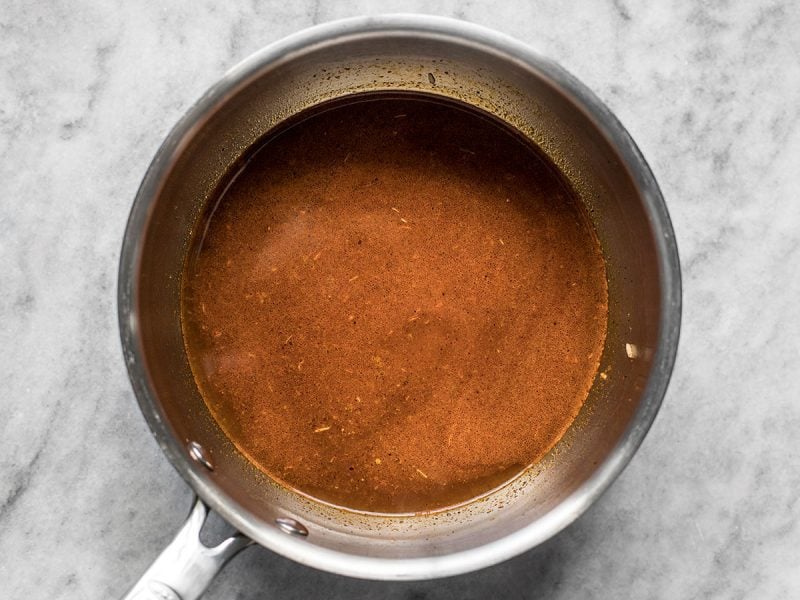
Next, add 1.5 cups water and 1/2 tsp salt. Place a lid on the pot, turn the heat up to high, and allow it to come to a boil. As soon as it reaches a boil, turn the heat down to low and let it simmer on low for 15 minutes.
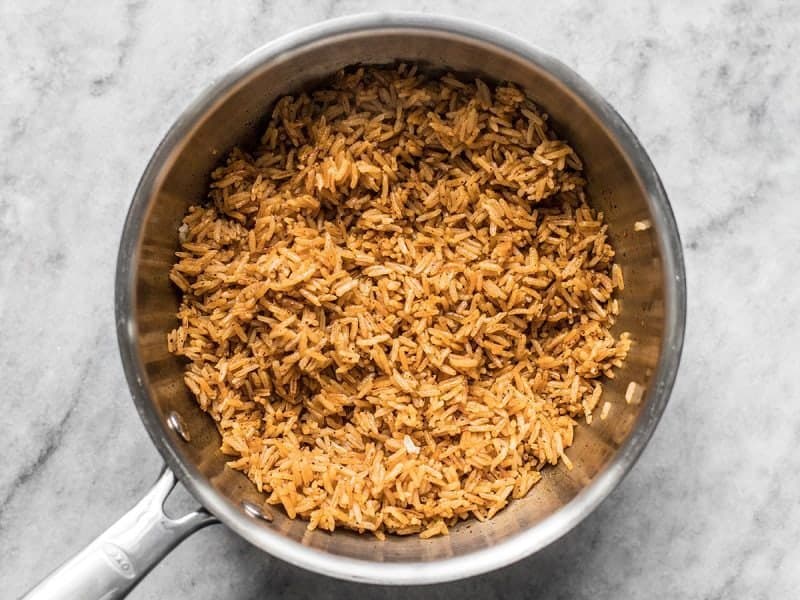
After simmering for 15 minutes, turn the heat off and let the rice rest undisturbed for another five minute. Finally, fluff the rice with a fork. While the rice is simmering and resting, rinse and drain two cans of black beans, and slice two green onions.
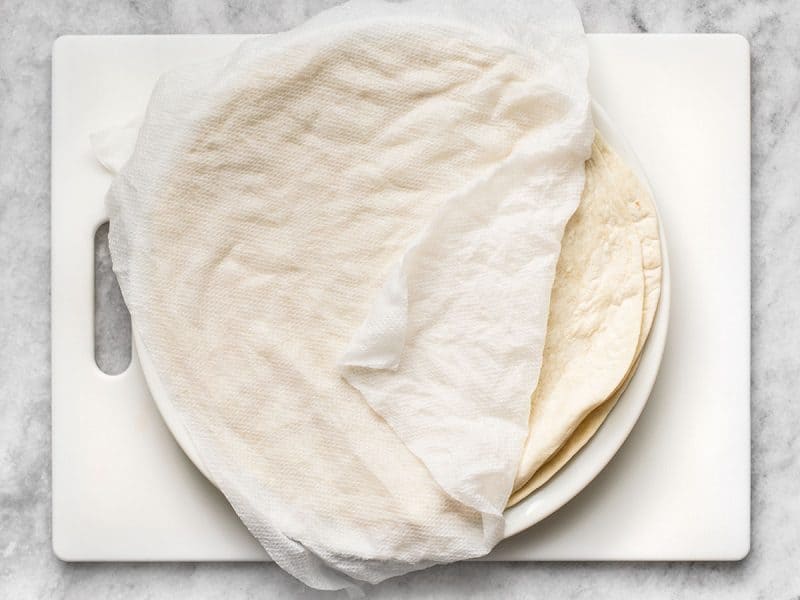
When you’re ready to assemble your burritos, place 4 large tortillas on a plate and cover them with a damp paper towel. Microwave for 30 seconds to steam the tortillas, which will make them more pliable and easy to roll (steam the second four when you’re ready for them).
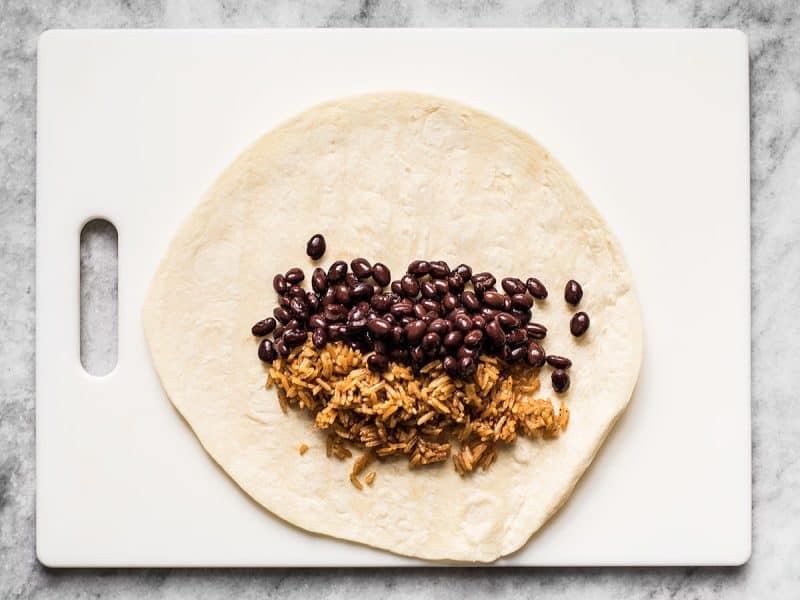
To make each burrito, place about 1/3 cup of the seasoned rice, and 1/3 cup of the black beans on each tortilla.
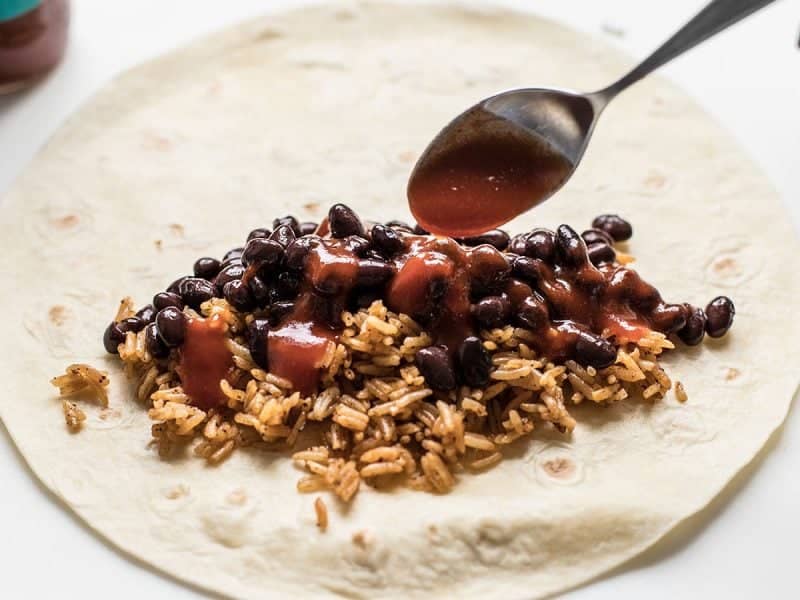
Then add 1 Tbsp taco sauce… (this helps keep the burritos moist)
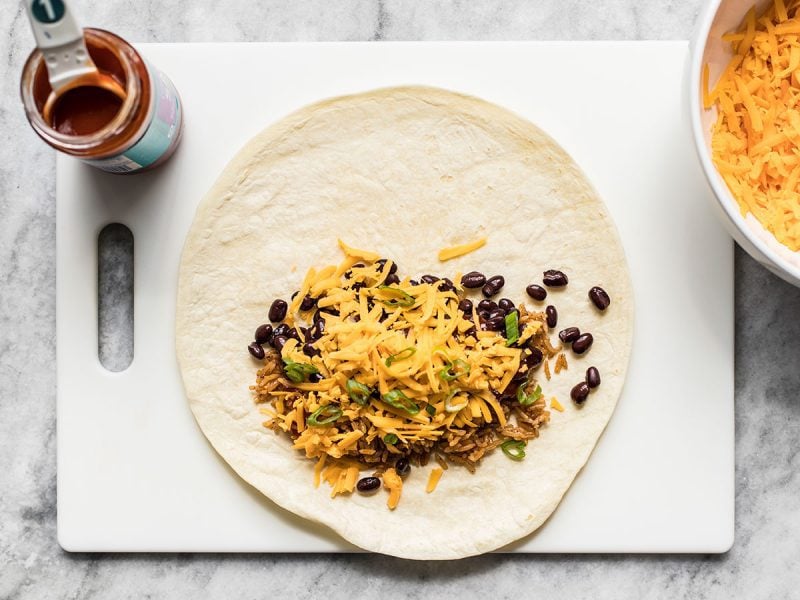
And finally, 1/4 cup shredded cheddar and a few slices of green onion. Roll the burritos up tightly, making sure to fold the sides in first to hold in the filling.
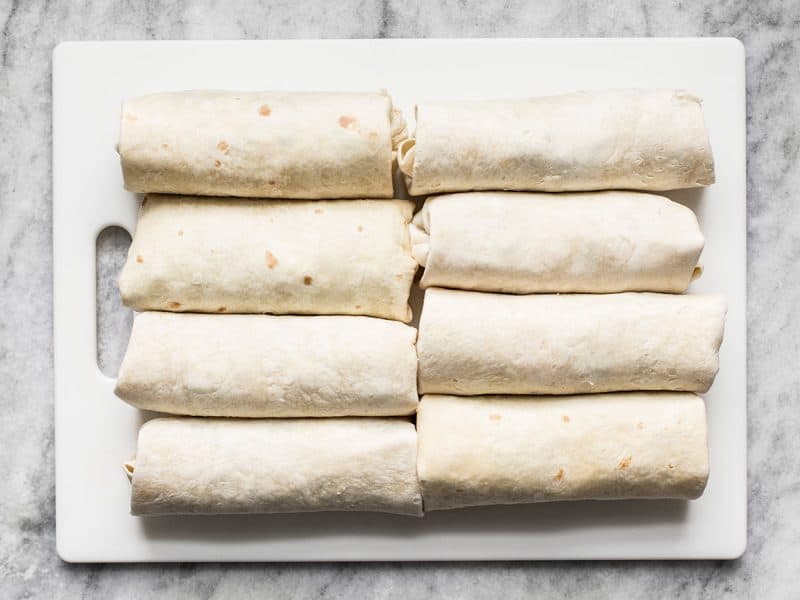
And now you’ve got eight burritos ready for eating or storing for later!
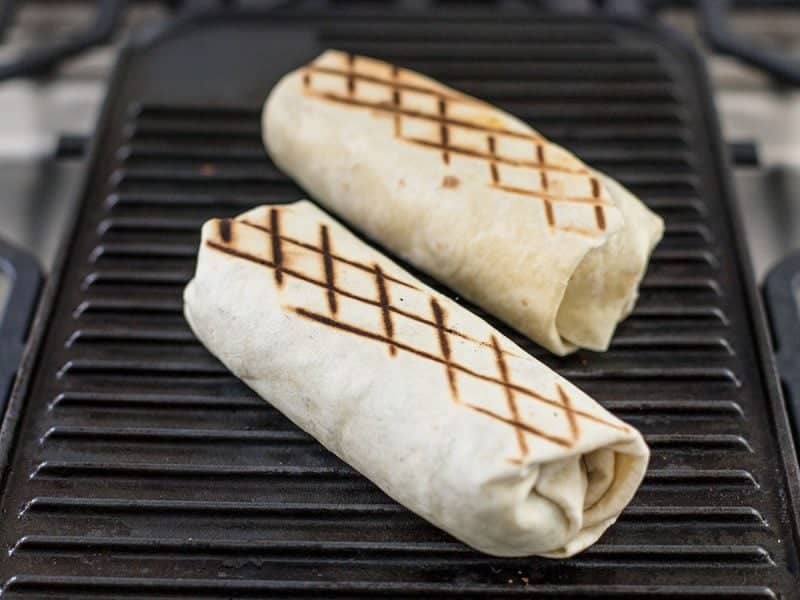
You can keep your burritos in the refrigerator for 4-5 days. To cook them from the refrigerator you can just place them in a skillet or on a grill pan and cook over medium until the tortillas are brown and crispy, and the cheese is melted on the inside.
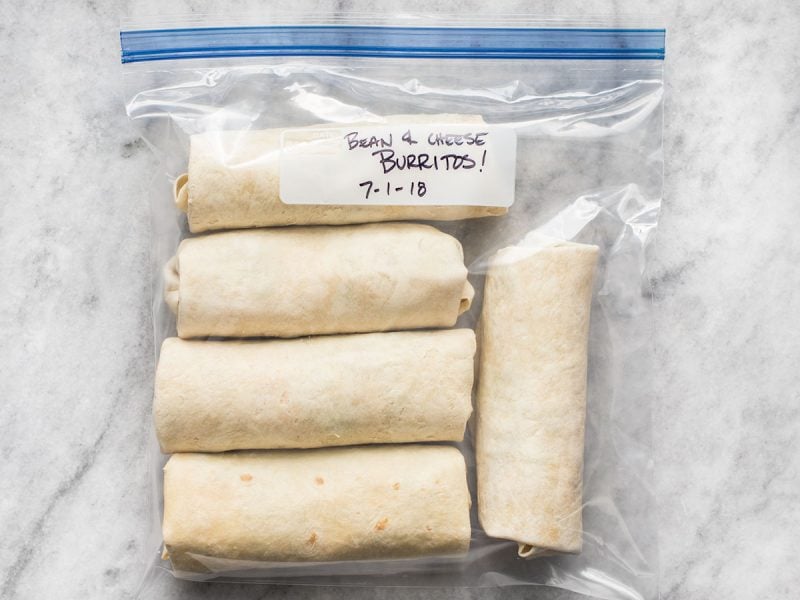
Or you can freeze them for about 3 months. Knowing that we’ll eat these up within a couple weeks, I took the lazy route and just popped them into a freezer bag. If you want to store for longer and prevent freezer burn, you will want to wrap each burrito individually in either plastic or parchment before placing them in the freezer bag.
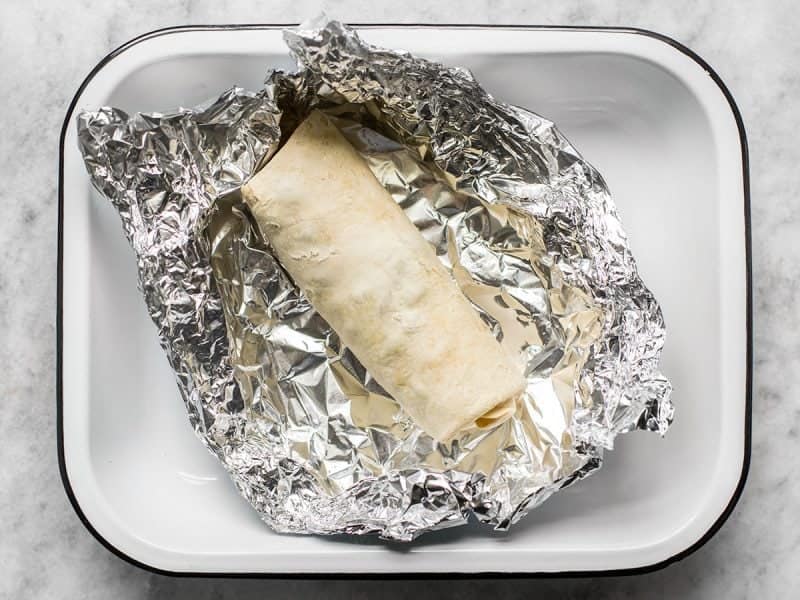
To reheat the burritos from frozen, you can either use your microwave’s defrost setting (mine took about 9 minutes on defrost) or reheat in the oven. Using the oven does take some time from frozen. Wrap your burrito in foil and place in a preheated 350ºF oven for about 40 minutes.
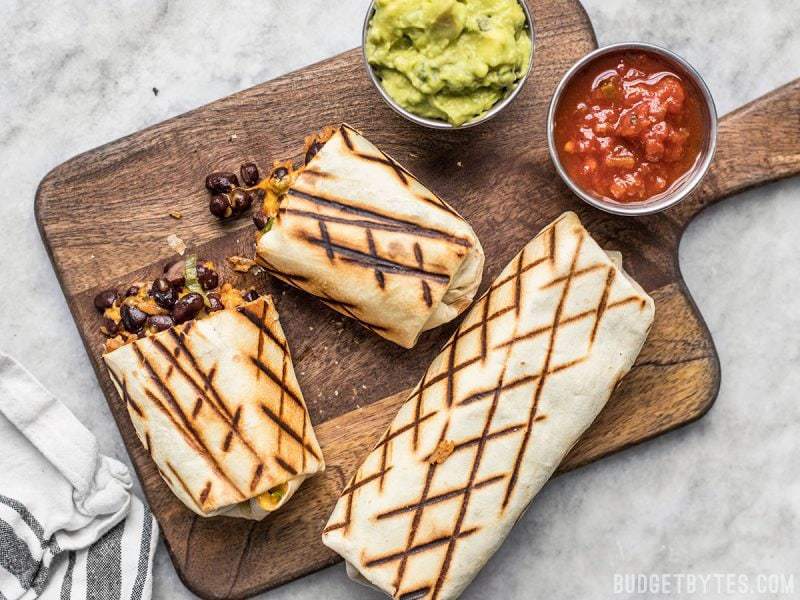
And then enjoy! If you want to reheat from frozen and still get that nice crispy exterior, I’d first do the defrost in the microwave and then crisp it up in a skillet at the end.


Delicious!!! We added shredded chicken (from the chicken taco bowls recipe actually) and our other favorite fillings and sauces, and this was an instant family favorite! We will be adding this to our regular rotation!
The burritos are simple to make and taste good. Satisfying. Beans and rice by themselves are an incomplete protein, but when combined make a complete protein.
I am not very imaginative and have used your recipes to cover for my culinary shortcomings.
These turned out great from the freezer! Super simple to put together and tasty. I ended up with extra rice and beans despite measuring them out according to the recipe, but maybe I was just being a bit too conservative! Next time I’ll be a bit more generous or divide it into eight equal portions before putting it in the tortillas. This time, I just had a post meal-prep lunch :)
I’m happy to find this recipe and reading the reviews . I am making freezer meals to prepare me for after my foot surgery coming up. I will be on a knee scooter for sometime and having these burritos in the freezer will be easy for me to heat up and have a healthy lunch while my boyfriend is at work. Today I’m making these, they sound so good, thanks for sharing.
What brand tortillas do you recommend? I am always disappointed with the tortillas I select so looking for a rec. Thanks!
I don’t think I have a favorite, actually! I just kind of grab whatever is available at the best price! 😆
I’m making ahead for dinner, after I pick my children up from school. Can I heat the burrito up from the refrigerator in the microwave?
Yep, absolutely. :)
Love this recipe, I’ve made it a few times. Any suggestions for reheating in an air fryer?
With some tweaking, I’m sure these burritos will be great reheated in the air fryer! Since we haven’t tried it ourselves, I’m a bit hesitant to give you specific instructions that might not be successful. Air fryers are essentially mini convection ovens, so I would start by following our recommendations for a regular oven. The general “rule” for converting to air fryer/convection is to reduce the baking temperature by 25*F and the cooking time by 20% (in this case, by 8 minutes). This isn’t a hard and fast rule, so I’d also keep a close eye on it to make sure it doesn’t burn or seriously overcook. Good luck! ~Marion :)
I had some leftover taco meat I used in place of the 2nd can of black beans. It was sooo good and filling!
I’ve made these a couple of times now, and they are such a lifesaver! I love that the only change that I need to make to make it vegan is the cheese. My use dairy cheddar for my husband, and Daiya for myself.
Using only taco sauce, instead of salsa, the burritos start compact and they don’t get soggy. My husband gleefully pours salsa on his plate.
He’s also not a huge fan of rice, but he enjoyed this! It’s a major win in my book.
Maybe next week I’ll make them for lunch and add some tofu scramble…
We really loved these! The rice was awesome. I didn’t have taco sauce so I mixed the black beans with a few tablespoons of green salsa and taco seasoning to up their flavor. Also, my burrito-size tortillas (homemade) weren’t as stuffed as I like so we sautéed up some frozen mixed bell peppers and corn with a bit of oil/taco seasoning at the last minute to fill them out. I’d really recommend adding that in, especially the corn as it adds a nice burst of sweet. Thanks for another budget, deliciously filling recipe!
I love this recipe and, since discovering it, always keep some burritos in hand in the freezer. I use a bit more cheese and taco sauce than the recipe calls for, and also add some frozen corn. Delicious!
So my favorite part about reviews on recipes is the part where the reviewer says, “I love this recipe- here’s how I changed it.” :D
In that spirit, because I had a bunch of stuff to use up…I used tomato and flour wraps, refried beans (as suggested optionally) mozzarella cheese (not my first choice), chipotle peppers, and white onion.
What blessed me the most was how many things you helped me clean up and turn into yumminess. But also, burritos in the freezer for snack ’emergencies’? Um, yes please! <3
So good! About to make yet another batch for grab and go lunches. Or breakfasts. Or snacks.
Would your portobello fajitas work for this if freezing? I’m obsessed with those and want to put them on everything.
On my list for a while! Do you have advice for making these without rice? Thanks
Potatoes! Sweet or regular are great imo.