One of my favorite things to do is replicate “convenience foods” at home, and for the past couple of weeks I’ve been seeing ads for these new breakfast cups where you just crack an egg into the cup, which contains a mix of meat and vegetables, stir it up, microwave, and poof you have an instant breakfast. As soon as I saw that I knew that would be a perfect DIY project and I went to work immediately. And just as I suspected, they were just as easy, convenient, and yummy as I suspected! So, today I bring you a breakfast meal prep: Make Ahead Microwave Breakfast Scrambles!
This post contains some affiliate links, which means that we make a small commission off items you purchase at no additional cost to you.
Store Bought vs. Homemade
I haven’t seen these new breakfast cups in the store yet, but after a little googling I found a press release that list the suggested retail price as $2.49 each. …And that’s without the egg. Yeah, you have to add your own egg. LOL. My Make Ahead Microwave Breakfast Scrambles ended up being just under a dollar each, and that’s including two eggs each. The other reason I like the idea of making these scrambles at home is that there is waaayyy less packaging (the store bought kind has each ingredient individually wrapped and is in a disposable cup) and you can pick the quality of ingredients you’re using. The only downside is that the homemade version will only stay fresh in your fridge for about 4-5 days, whereas I’m sure the store bought ones have a longer shelf life. The shorter shelf life is totally worth it, IMHO.
BTW, these make ahead breakfast scrambles are stored in the fridge without the egg. You add the egg just before cooking.
Flavor Options
I made my Microwave Breakfast Scrambles Denver Omelet style with onion, bell pepper, ham, and cheddar, but there are so many other combos that you could do! Here are some fun ideas:
- cooked bacon, cooked hash browns/cubed potatoes, and cheddar
- grape tomatoes, fresh chopped spinach, feta
- cooked sausage, red bell peppers, mozzerella
The funny thing is that the same brand that makes the convenience breakfast cups also sells large bags (maybe 1 pound?) of frozen potatoes with diced bell peppers and onions, which were $2.49 per bag at my store. So think about that for a second. You could simply buy one of their bags of potatoes, peppers, and onions for the price of just one breakfast cup, add some cheese and eggs, and you’d have enough to probably make 12 of these breakfast scrambles. It pays to keep your eyes open! :)
Tips for Cooking Eggs in the Microwave
And one last piece of important info: cooking eggs in the microwave can be tricky. Here are a few pointers:
- Heat in short intervals of 15-30 seconds, stirring between each. It should only take about one minute, depending on your container and the power of your microwave, to fully cook the eggs.
- Stop cooking when the eggs are still moist. Overcooked eggs are a tragedy and why microwave eggs get a super bad rap.
- If you choose to store your Make Ahead Microwave Breakfast Scrambles in glass jars, I suggest pouring the contents into a ceramic mug before heating. In my testing I’ve found the ceramic mugs heat the eggs a little slower and more evenly, making it easier to prevent overcooking the eggs and giving the final scramble a MUCH better texture. Furthermore, wide and shallow mugs work a little better than tall narrow mugs.
- Always drape a paper towel or place a loose cover of some sort over your mug while microwaving to prevent splatter from “popping.”
Make Ahead Microwave Breakfast Scrambles
Ingredients
- 2 oz. ham, diced ($1.00)
- 1/2 cup diced bell pepper ($0.44)
- 1/4 cup diced onion ($0.08)
- 1/2 cup shredded sharp cheddar ($0.50)
- 2 tsp butter ($0.09)
- 1/2 tsp seasoning salt ($0.05)
- 8 large eggs ($1.77)
Instructions
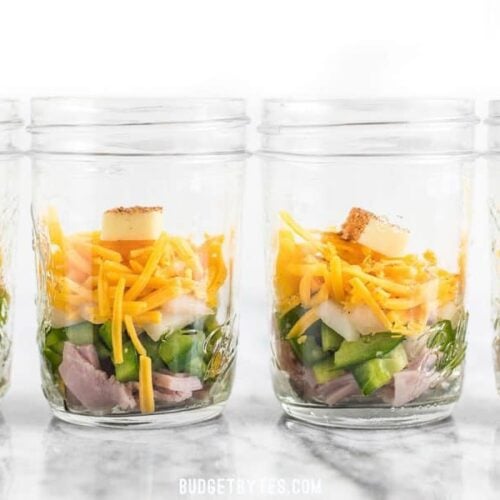
- Divide the ham, bell pepper, onion, and cheddar between four resealable containers*. Cut the butter into 4, 1/2 teaspoon-sized pieces, and add one to each container. Sprinkle about 1/8 teaspoon seasoning salt into each container.
- Seal the containers and store them for up to 4-5 days.
- When you’re ready to prepare a microwave breakfast scramble, pour the ingredients of the container into a ceramic mug, add two large eggs, and stir to combine.
- Loosely cover the mug with a paper towel or another microwave-safe object and microwave on high power for 30 seconds. Stir the contents of the mug and microwave for 15 seconds more. Stir again and continue to microwave for 15 second intervals, stirring after each, until the eggs are mostly set, but still moist. Serve immediately.
See how we calculate recipe costs here.
Notes
Nutrition
Want more Breakfast Meal Prep? Check out our Breakfast Meal Prep Archives!
How to Make Microwave Breakfast Scrambles – Step by Step Photos
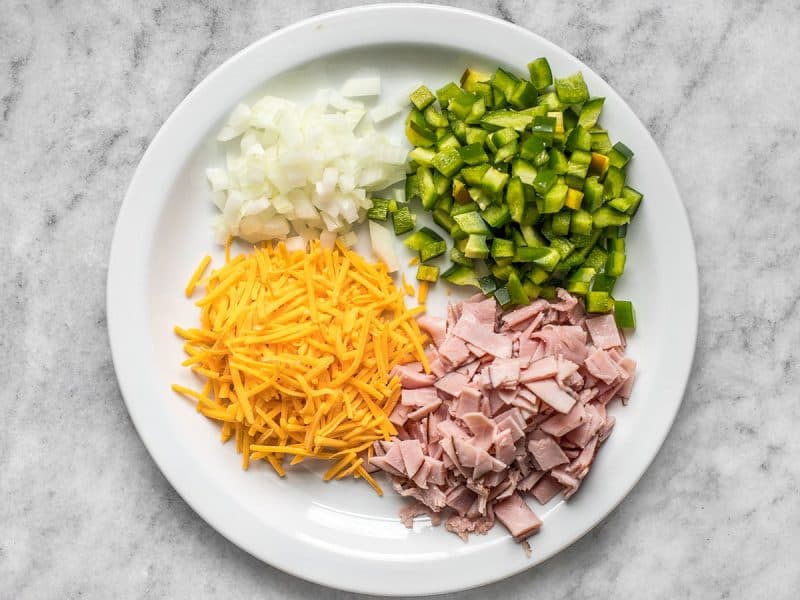
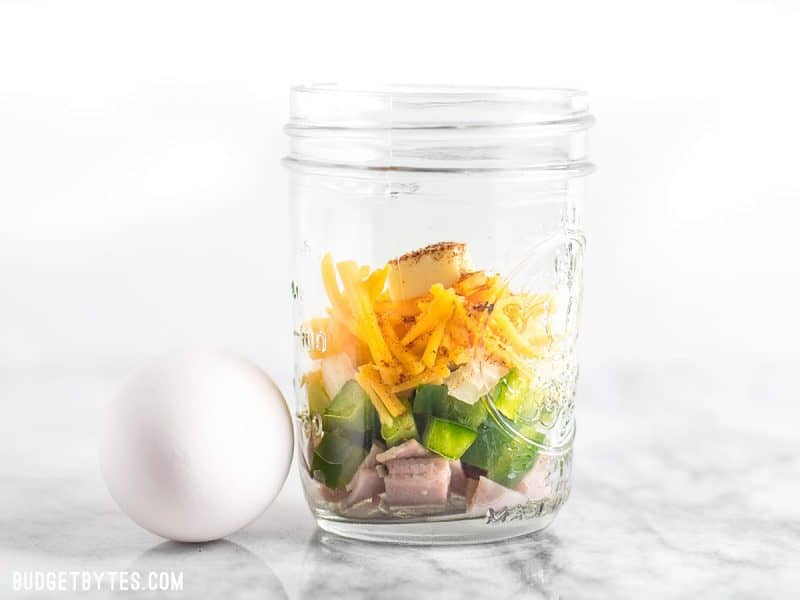
For my Make Ahead Microwave Breakfast Scrambles, I used 2oz. deli ham (diced), 1/2 cup diced bell pepper (about 1/2 large bell pepper), 1/4 cup diced onion (about 1/4 onion), and 1/2 cup shredded sharp cheddar. This recipe is great for sweeping the kitchen and making sure you’re using up all your ingredients, because you don’t need a lot of anything! Just be aware of the shelf life of your ingredients. The shelf life doesn’t start over when you use them in something new. :)
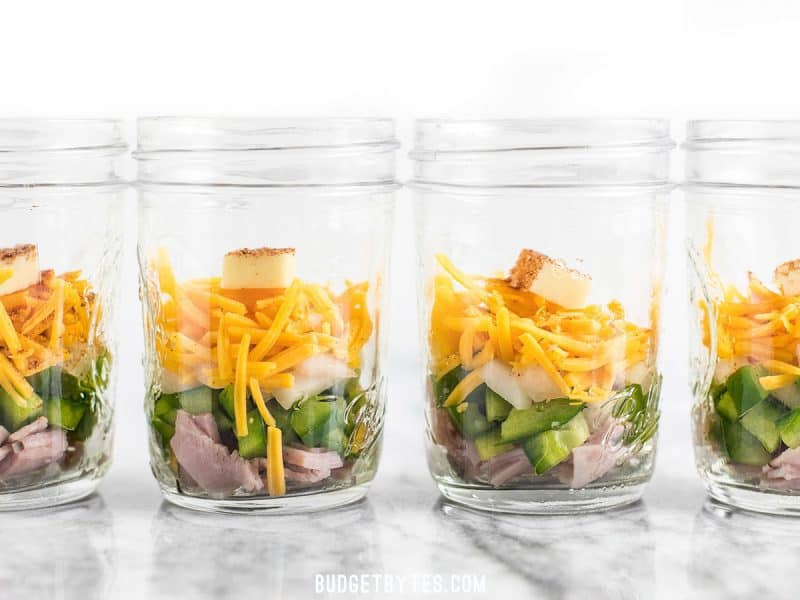
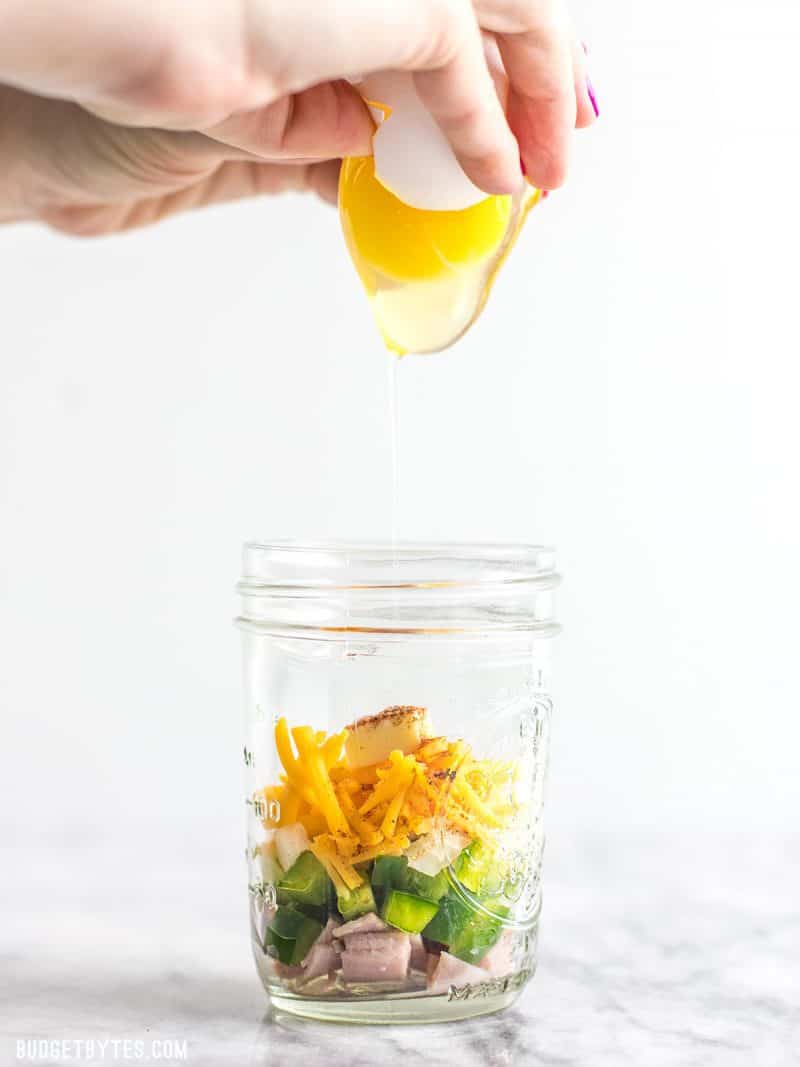
Divide your ingredients between four containers (you can use any type of air-tight container to store your scrambles in the refrigerator). Also add 1/2 tsp butter to each and about 1/8 tsp seasoning salt. Close the containers and pop them in the fridge. The egg does not get stored in the container with the other ingredients, it is added just before cooking.
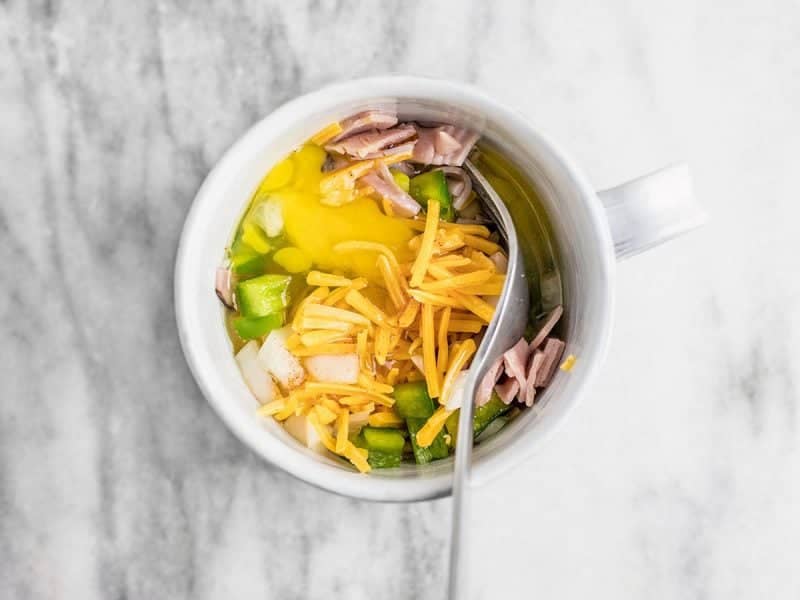
When you’re ready to make one of your microwave breakfast scrambles, dump the contents of the container into a ceramic mug and add two large eggs. Ceramic mugs heat the eggs more evenly and will give you a much better result than a glass jar or plastic container.

Give it a good stir before it goes into the microwave to “scramble” the egg.

Cover the mug loosely with a paper towel or another microwave-safe object and microwave on high for 30 seconds. You can see how it begins to cook around the outer edges first. That’s why it’s important to stir and stir often when you cook eggs in the microwave.
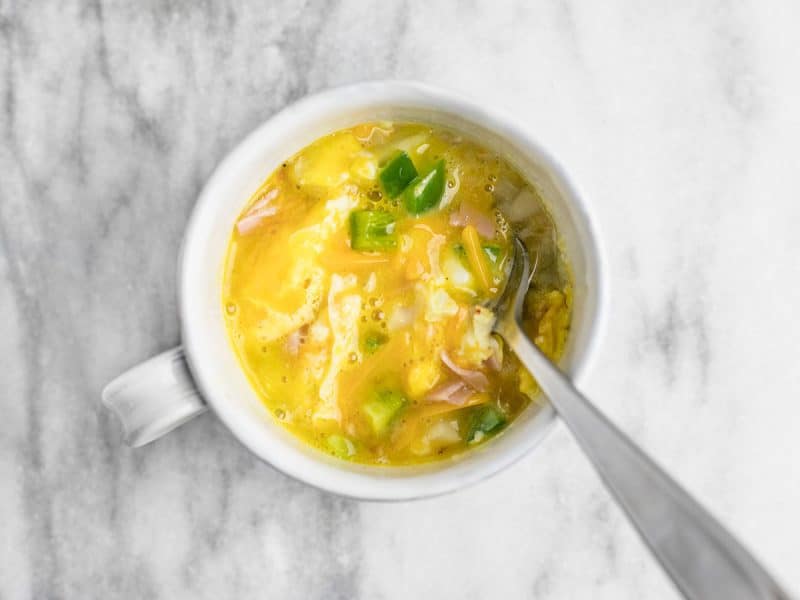
Now, give it a good stir before placing it back into the microwave. At this point, since it’s already warmed up, you want to switch to 15 second intervals. Microwave on high for 15 seconds, stir, do another 15 seconds, then assess…
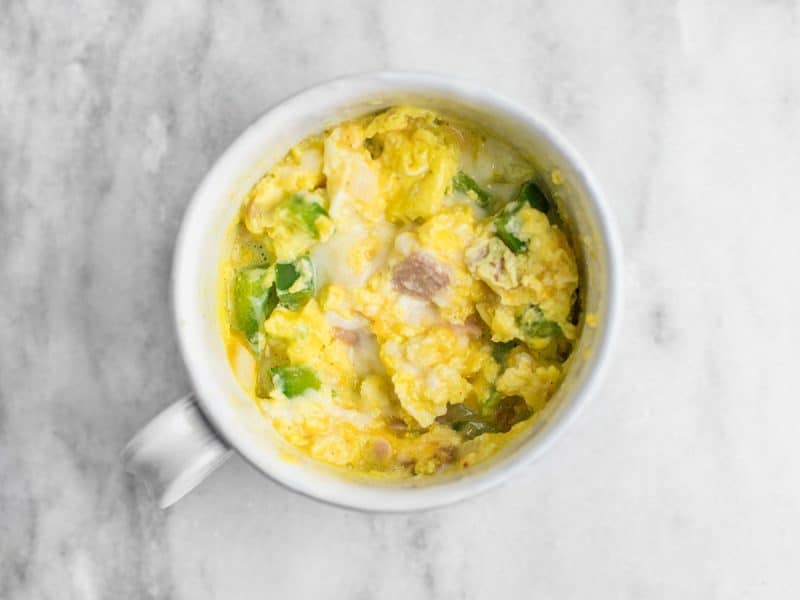
This was my mug at 60 seconds. Now, the speed at which your eggs will cook will depend on the power of your microwave and the container you’re cooking them in, so you’ll need to play it by ear. At this point my eggs were mostly cooked, but there was a large bit in the center that was still liquid. So I stirred and did only 15 seconds more…
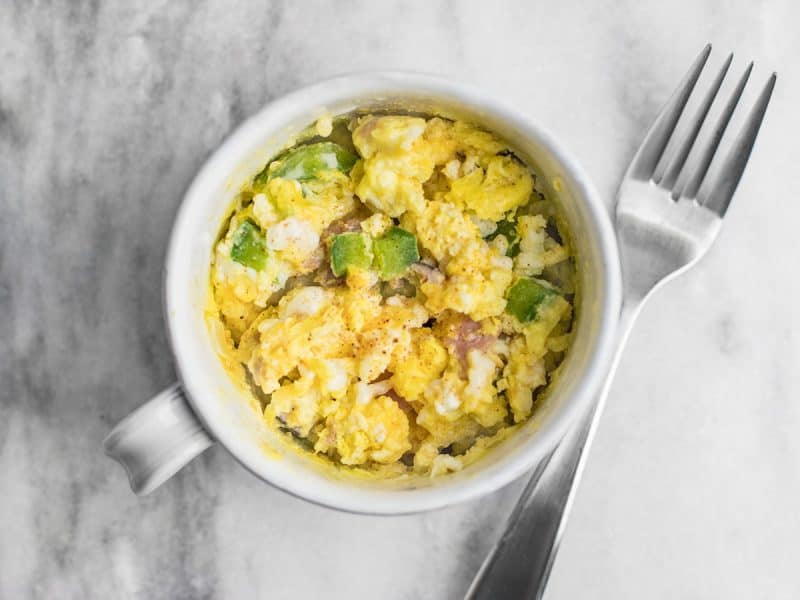
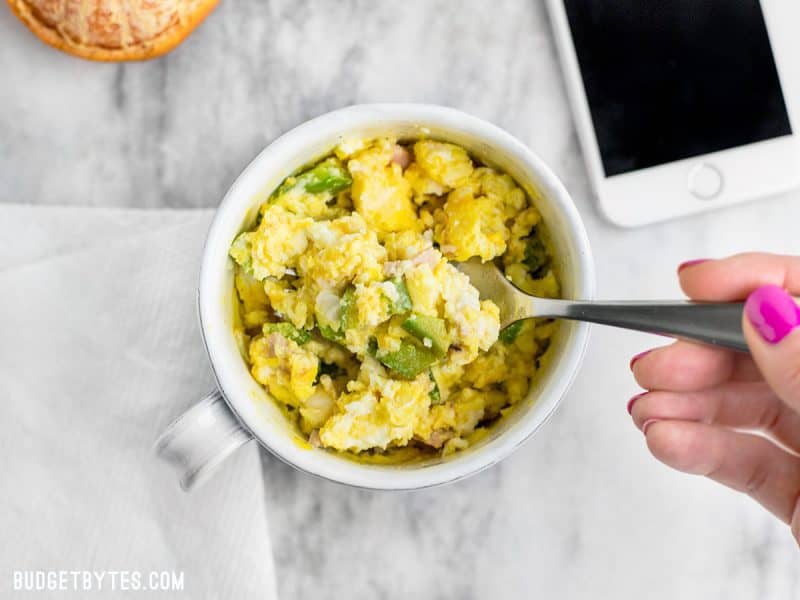
And then it was finished. For me it was 75 seconds total. You want to stop when the eggs are set, but still soft and moist. If anything, err on slightly under cooked because the eggs will continue to cook ever so slightly from residual heat after you take them out of the microwave. Serve the breakfast scramble immediately for the best taste and texture! :)


If you’re using bell peppers that isnt precooked, aren’t they crunchy just cooking for a minute in the microwave??
Yes, but I enjoy the texture and wouldn’t want them to be soft.
Could I just add an egg to the jar and cook it in the microwave instead of transferring the mix into a mug?
I found that the egg doesn’t cook as well in a glass jar as it does in a ceramic mug. I think there is something about the way the ceramic heats that helps it cook more evenly.
Thank You!! I’d been eyeing these in the store as well, and was put off by the cost. I love meal prepping, and will happily add these to my breakfast rotations for work!
What’s the purpose of the butter and can I omit it without affecting the dish?
The butter adds flavor and keeps everything a bit more moist. It will change the flavor and texture to omit it, but whether that is an acceptable change is going to depend on the individual.
What size jars are these?
8 oz. jars
This is great! I make a big batch of scrambled eggs, sausage, onions, black beans, cheese. After cooked, I divide it in to servings and put in ziplock freezer bags. When I need a quick meal – voila. Microwave, add salsa and enjoy. I learned to do this after I tried the brand name egg scrambles. Which are fantastic by the way. But like Beth said – this is a lot lesss expensive and tastes great!
Love this! Made it with cheddar, ham and leftover roasted red peppers & mushrooms. It was great and perfect for on the go. Thanks for making my morning tasty!
Could you precook the add-ins and freeze the whole thing (no egg)? If it is frozen loosely (like in a cookie sheet) I imagine you wouldn’t have to thaw before cooking. Thoughts?
I suppose you could do that. I don’t think it would need thawing either because the amount is so small that it will reheat quite quickly from frozen in the microwave.
My husband has been eyeing the store bought ones, this is perfect! Can I also ask you where you got your mugs? They are super cute! Thanks
I believe those were from Anthropologie. They have really unique dishes!
I put the finished omelet in a toasted English muffin (I have a microwave safe container just the right size and shape) or slice and wrap it in a tortilla for an on-the-go breakfast sandwich
Thanks! I have one of those, glad to hear it works well with this recipe! I am going to try it with the tortillas 😊
This is such a great idea! After trying your recipe, I bought one of those frozen southwest blends (with corn, black beans, diced onions, and diced peppers), added Cajun seasoning, and then followed your recipe with everything else. It is SO good, and SO easy! I’m going to really experiment with this and see what other fun mixtures I can come up with. Thanks so much for sharing!
This is such an easy and tasty thing! I brought these cups to work each morning last week and it was so nice to have hot scrambled eggs for a snack. I left the ingredients in a small mason jar and used one egg; it cooked perfectly!
Hi Beth! Thank you so much for posting this recipe! I had heard about the ones at the store recently and figured there must be an easy way to make them at home. :) So glad you figured it out for us!! I plan to try them myself this week and also recommended them to a patient today!
Egg safety?
You don’t store it with the raw egg in the jar. The egg is added just before cooking.
This is perfect! I used two eggs, some homemade frozen potatoes, some spinach, mushroom, cooked brown and serve sausage, and cheese. It took a lot longer to cook though, but still delicious. I think it took longer because of the frozen potatoes.
This is probably a dumb question but I hadn’t thought of the homemade frozen potatoes. Did you just cook them like you normally would, freeze, and just dump in the mug with everything else?
Yep! :)