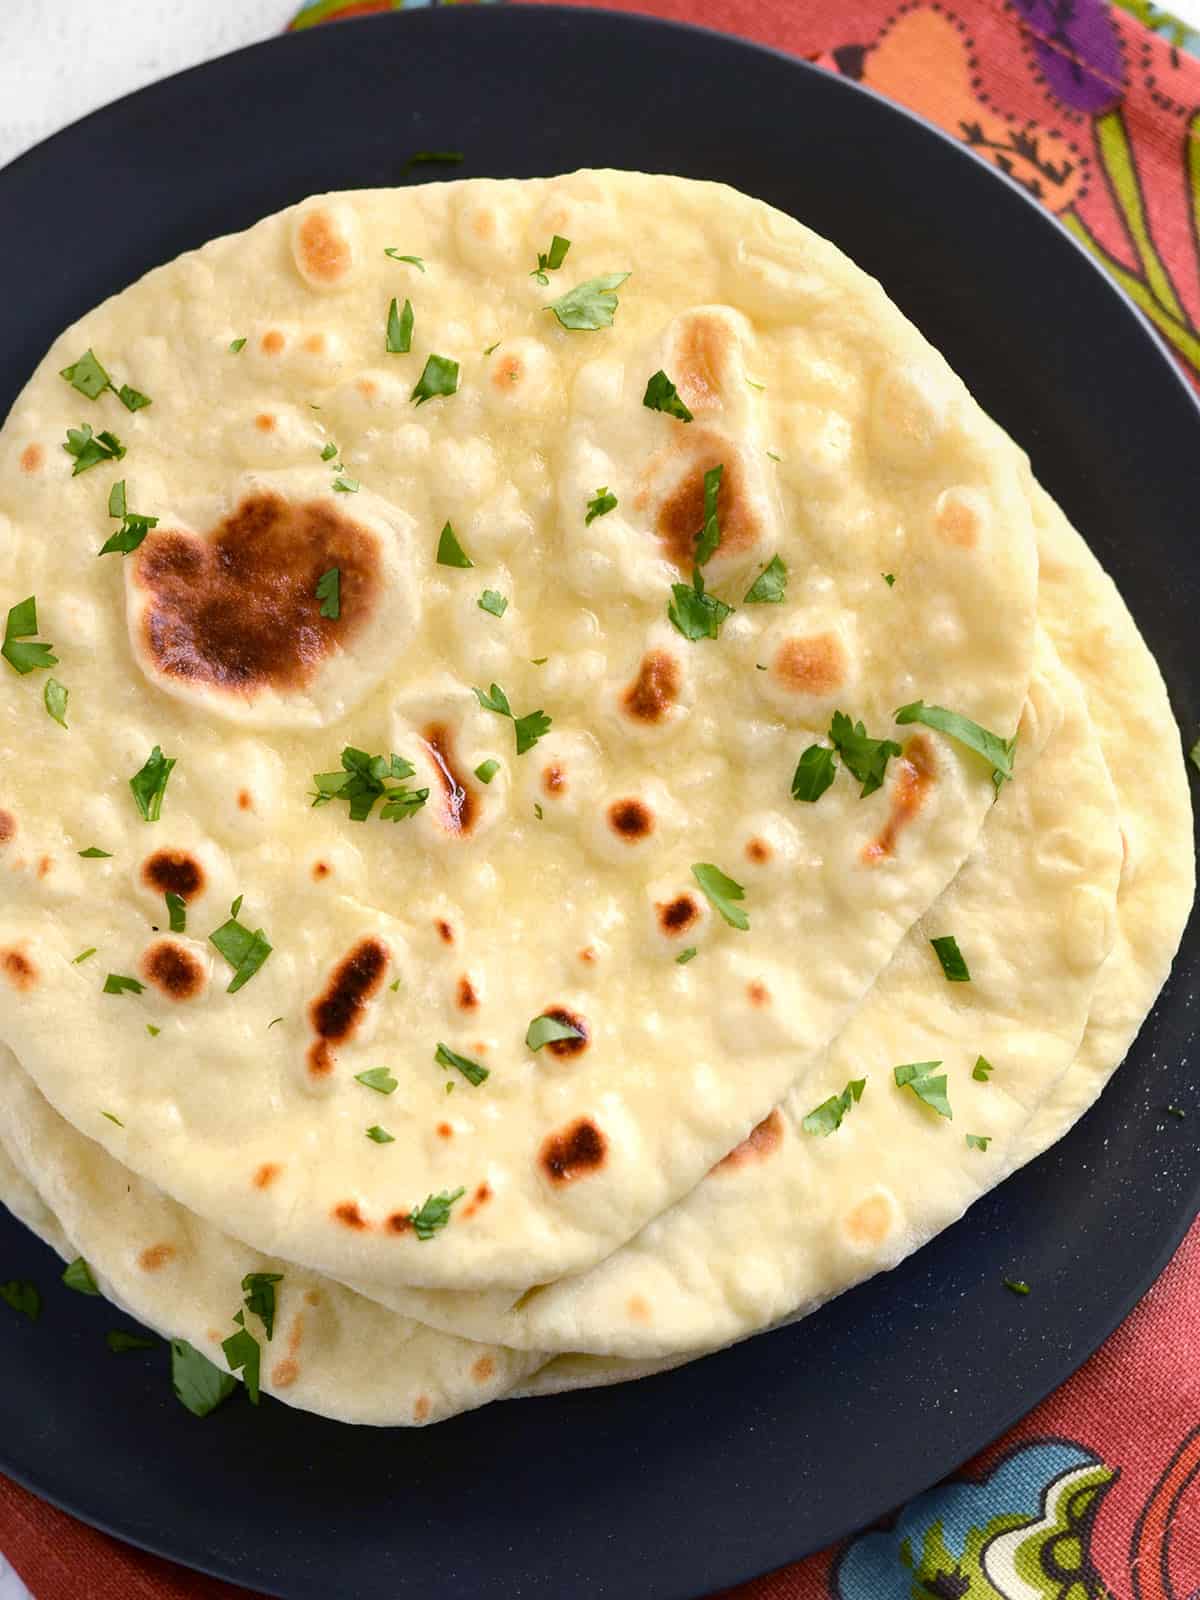
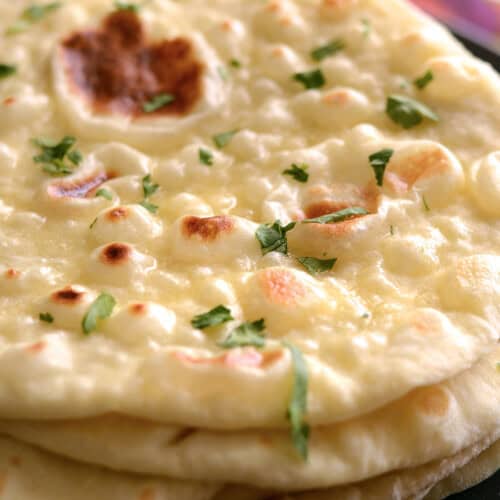
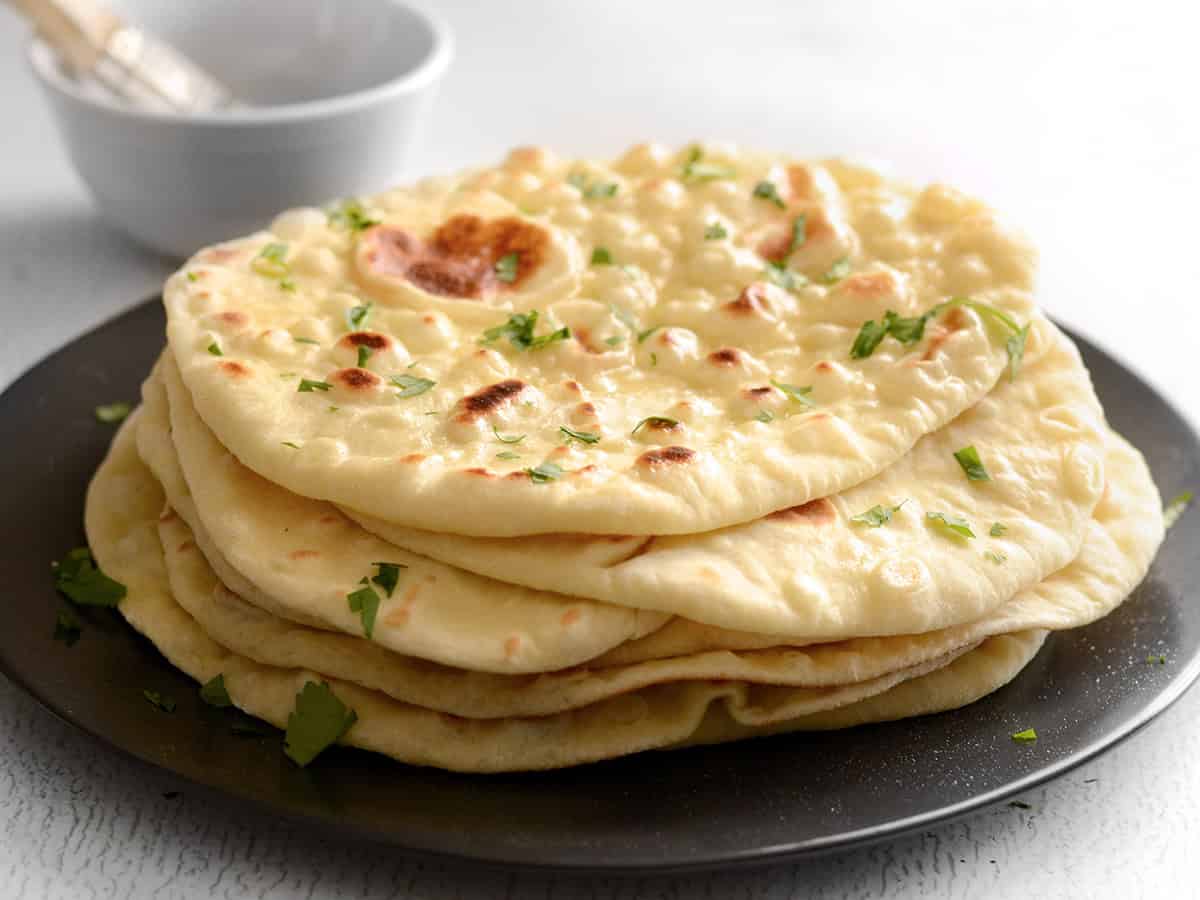
It’s been almost fifteen years since I first made this homemade naan recipe and it still blows my mind every time! This homemade naan is oh so soft and pillowy, full of lovely bubbles, and just so extremely versatile. Use it for mini pizzas, wrap sandwiches, dipping in stews and sauces, and more! Plus, this naan bread is very freezer-friendly, so it’s well worth the effort to whip up a batch. I promise, you won’t be sorry!
This post contains some affiliate links, which means that we make a small commission off items you purchase at no additional cost to you.
What is Naan?
Naan is a traditional flatbread made in South and Central Asian countries. It’s has a unique dough made with yogurt, which gives the dough a slightly tangy flavor, and egg, which keeps the dough extra soft and pillowy. Naan is traditionally cooked on the hot clay walls of a tandoor oven, which helps create the deliciously bubbly texture. It’s often used to soak up stews and sauces, but also works great as a base for wrap sandwiches and pizzas.
Ingredients for Naan
This homemade naan recipe is incredibly simple and delicious. Here’s what you’ll need to make it:
- Yeast: You’ll need active dry or instant yeast for this recipe.
- Sugar: A small amount of sugar helps activate and supercharge the yeast, making the bread extra fluffy.
- Flour: I used regular all-purpose flour for this naan recipe, which makes it extra easy. I don’t suggest whole wheat flour for this recipe as it will be too heavy and dense. If needed, you can substitute up to 50% of the AP flour.
- Salt: A little bit of salt is essential to help the natural flavors of the naan pop.
- Olive Oil: Olive oil helps keep the naan dough tender and gives a deliciously subtle flavor.
- Yogurt: Plain yogurt adds a slightly tangy flavor to the dough and help keep the naan bread tender. You can use Greek yogurt, but you may need slightly less flour as there is a lot less moisture in Greek style yogurt. Do not use sweetened or flavored yogurt for this recipe.
- Egg: Egg also helps keep the dough tender and it helps make it just a little more fluffy. If in a pinch, you can skip the egg, but you may need to add less flour as eggs contain a decent amount of moisture.
Naan vs. Pita Bread?
While both types of bread are in the “flatbread” family, they hail from different regions of the world, their dough is comprised of different ingredients, and they are cooked using different methods.
Naan is a traditional flatbread made in South and Central Asian countries and is made with yogurt and egg which make it a little more tender and fluffy. It is traditionally cooked in a clay tandoor oven, which helps produce the bubbled texture.
Pita is found in the Mediterranean Middle East and is made with a very simple dough using just flour, salt, yeast, and olive oil. It has a dryer texture than naan and usually has one large characteristic pocket rather than several smaller bubbles like naan.
What to Serve with Naan
Naan goes great with pretty much anything. You can eat naan alongside a meal to sop up gravies or dip it into sauces, use it to make flatbread “wrap” sandwiches, top it with tomato sauce and cheese for a quick naan pizza, or use it in place of tortillas for quesadillas. Here are some of my favorite ways to eat naan:
- Dip it in homemade hummus
- Use it to soak up curries, like this Creamy Coconut Curried Lentils
- Use it as a base for mini pizzas
- Serve as a side with Curried Ground Beef with Peas and Potatoes
- Or wrap it around meat and vegetables for a wrap sandwich, like these Homemade Chicken Shawarma Wraps
How to Store Leftovers
After cooking this naan recipe, make sure to let it cool completely to prevent condensation. Once cooled, keep your naan in a gallon-sized zip-top bag. The naan will last 1-2 days at room temperature, or about 4-5 days in the refrigerator. You can also freeze naan for longer storage.
To freeze your naan, first let it cool completely at room temperature, then transfer it to a zip-top freezer bag, label and date it, then toss it in the freezer. Try to use up your frozen naan within a few months. Frozen naan bread thaws quickly at room temperature.
How to Make Garlic Naan
It’s really easy to transform the classic naan recipe below into garlic-flavored naan. Simply add about ½ tsp of garlic powder in with the flour and salt, and then after cooking the naan, you’ll want to brush it with some fresh garlic butter. To make the garlic butter, mince a couple of cloves of garlic and then stir them into a few tablespoons of melted butter.

Homemade Naan Recipe
Ingredients
- 2 tsp dry active yeast ($0.19)
- 1 tsp sugar ($0.02)
- 1/2 cup warm water ($0.00)
- 2.5-3 cups flour, divided ($0.39)
- 1/2 tsp salt ($0.05)
- 1/4 cup olive oil ($0.64)
- 1/3 cup plain yogurt ($0.17)
- 1 large egg ($0.27)
Instructions
- In a small bowl, combine the yeast, sugar and warm water. Stir to dissolve then let sit for a few minutes or until it is frothy on top. Once frothy, whisk in the oil, yogurt, and egg until evenly combined.
- In a separate medium bowl, combine 1 cup of the flour with the salt. Next, pour the bowl of wet ingredients to the flour/salt mixture and stir until well combined. Continue adding flour, a half cup at a time, until you can no longer stir it with a spoon (about 1 to 1.5 cups later).
- At that point, turn the ball of dough out onto a lightly floured surface and knead the ball of dough for about 3 minutes, adding small amounts of flour as necessary to keep the dough from sticking. You'll end up using between 2.5 to 3 cups flour total. The dough should be smooth and very soft but not sticky. Avoid adding excessive amounts of flour as you knead, as this can make the dough too dry and stiff.
- Loosely cover the dough and let it rise until double in size (about 1 hour). After it rises, gently flatten the dough into a disc and cut it into 8 equal pieces. Shape each piece into a small ball.
- Heat a large, heavy bottomed skillet over medium heat. Working with one ball at a time, roll it out until it is about 1/4 inch thick or approximately 6 inches in diameter. Place the rolled out dough onto the hot skillet and cook until the bottom is golden brown and large bubbles have formed on the surface (see photos below). Flip the dough and cook the other side until golden brown as well. Stack the cooked flat bread on a plate and cover with a towel to keep warm as you cook the remaining pieces. Serve plain or brushed with melted butter and sprinkled with herbs!
See how we calculate recipe costs here.
Equipment
- Mixing Bowls
- Rolling Pin
- Liquid Measuring Cup
- Whisk
Notes
Nutrition
Video
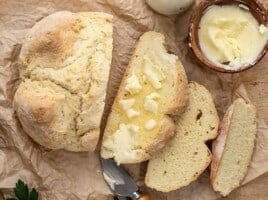
There is seriously nothing like a warm piece of naan with melted butter on top… 🤤
How to Make Homemade Naan – Step by Step Photos
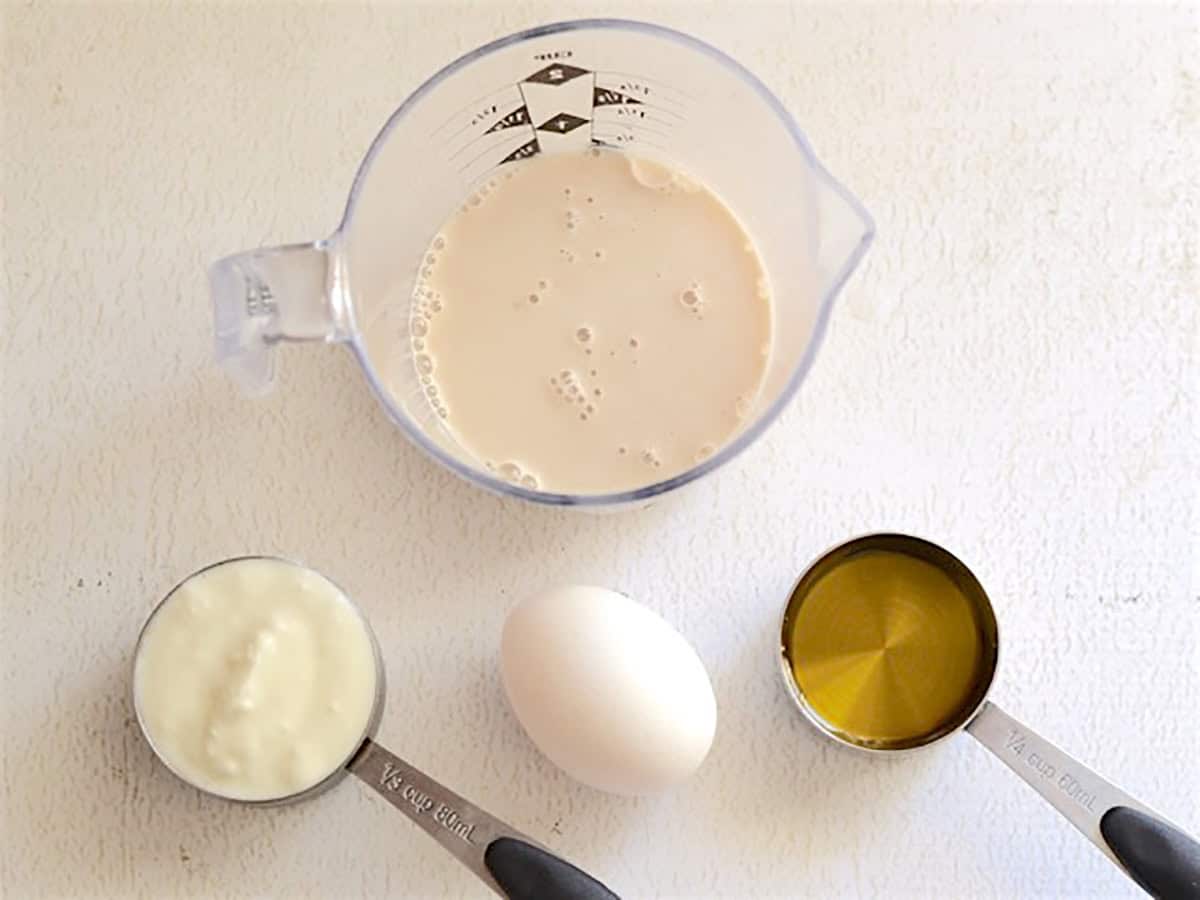
Start by dissolving 2 tsp yeast and 1 tsp sugar into 1/2 cup warm water. Let the mixture sit a few minutes, or until it becomes frothy. Meanwhile, measure out 1/3 cup plain yogurt (regular or Greek style), 1/4 cup olive oil, and 1 large egg.

Once the yeast mixture is frothy, whisk the yogurt, oil, and egg into the yeast water until smooth.
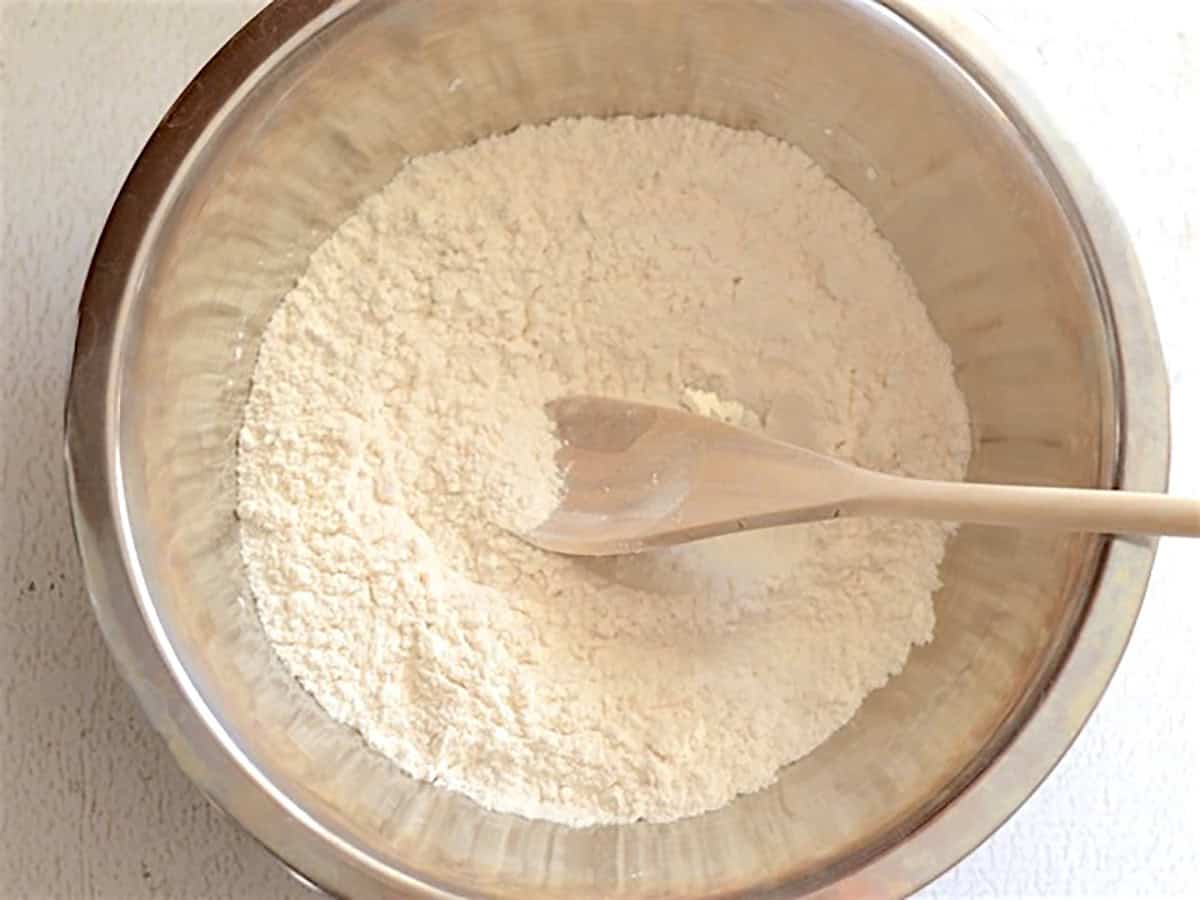
In a separate bowl, mix only 1 cup of the flour with 1/2 tsp salt until they’re evenly mixed.
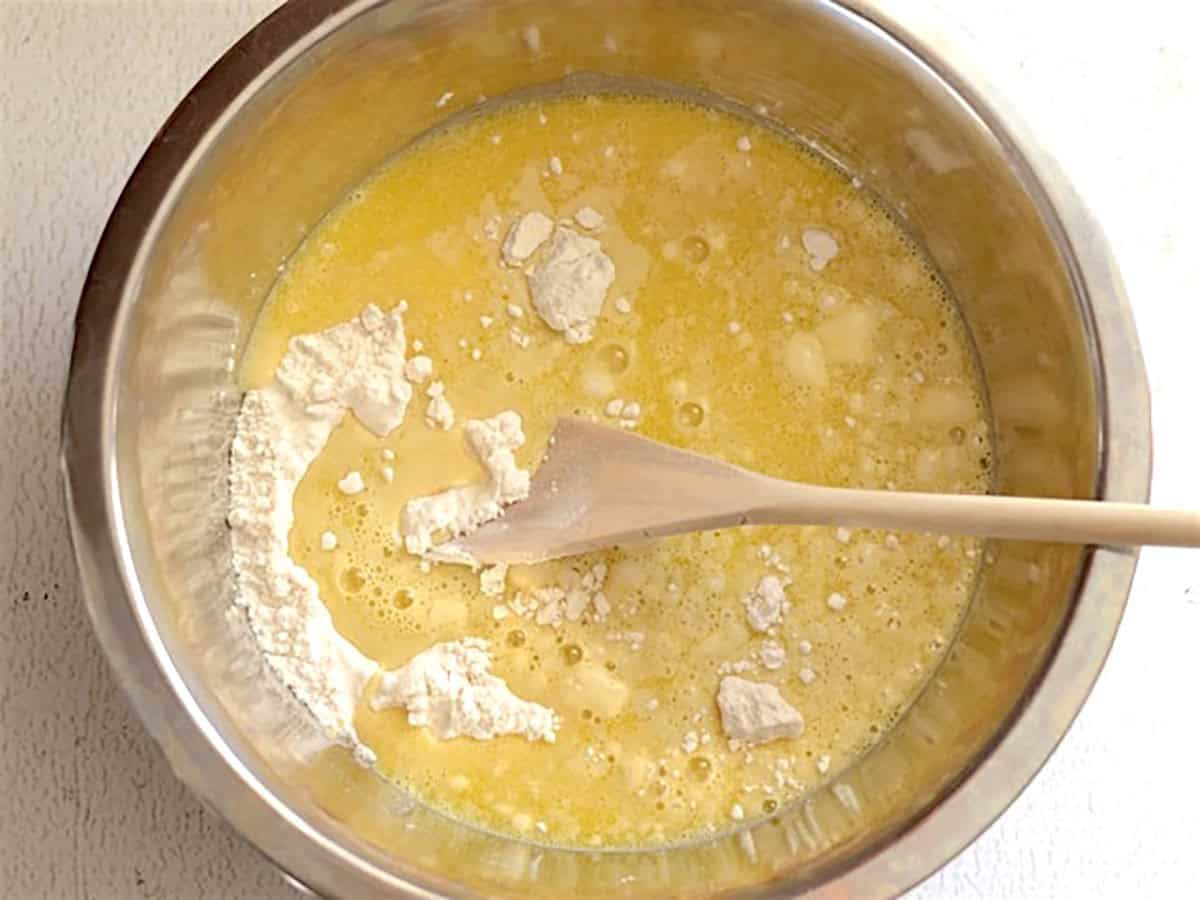
Pour the bowl of wet ingredients to the bowl of dry ingredients and stir well.
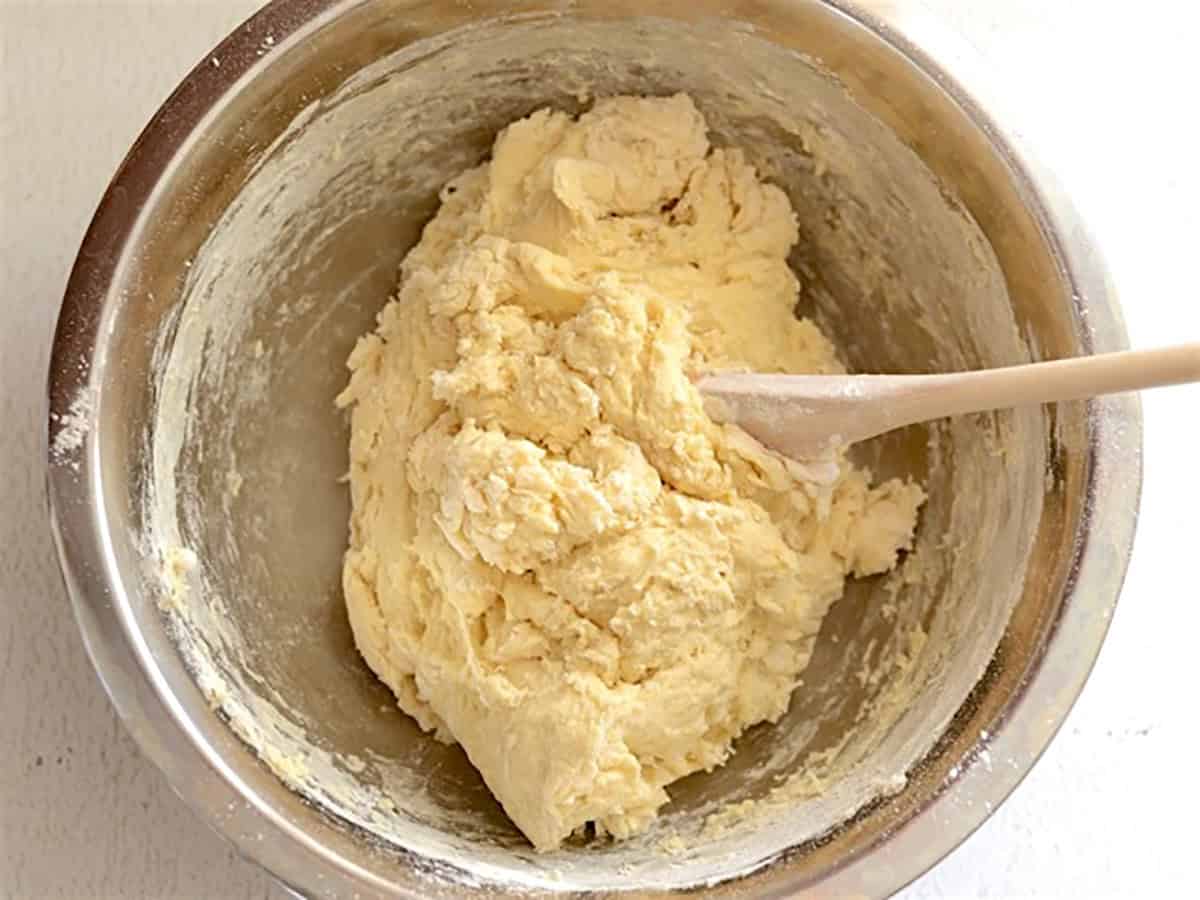
Continue adding flour, a half cup at a time, until it forms a cohesive ball of dough that you can no longer stir with a spoon.
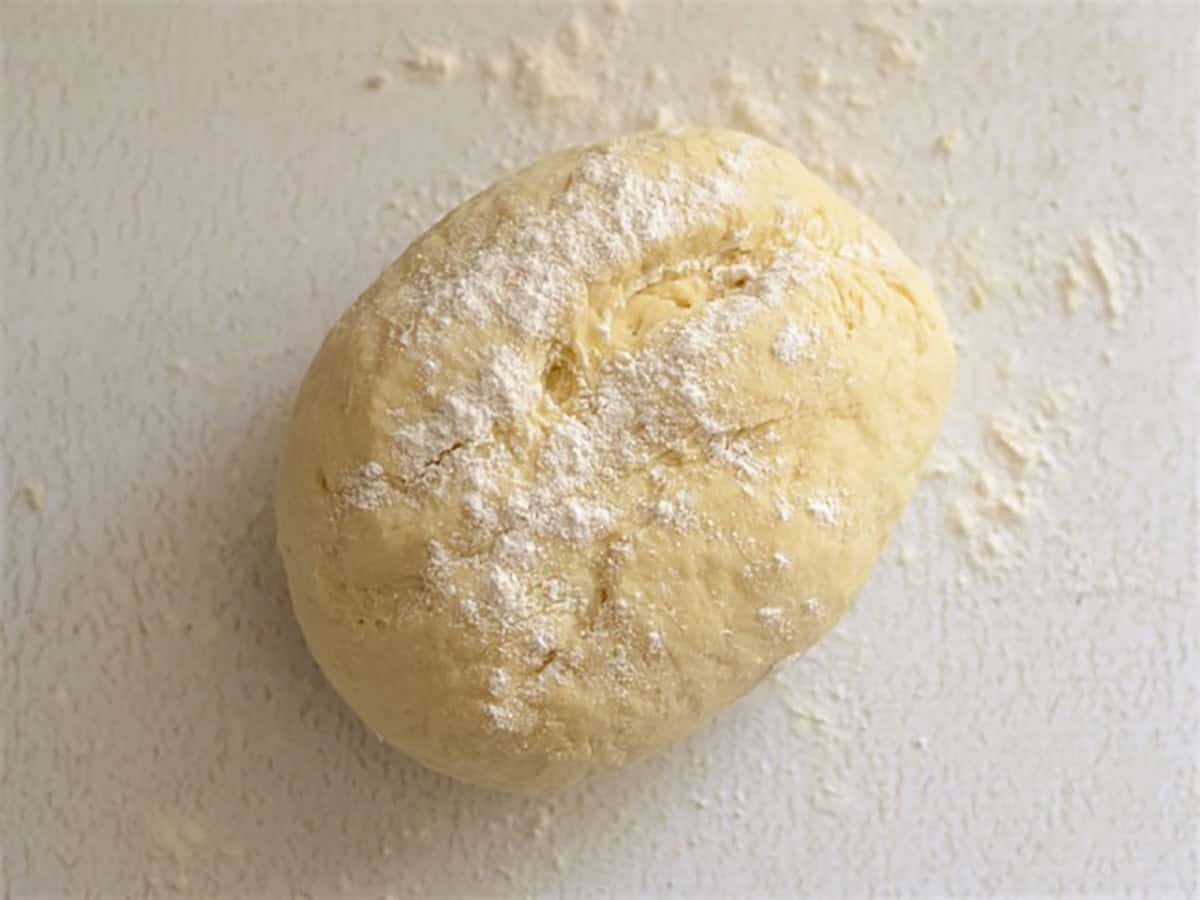
Turn the ball of dough out onto a lightly floured surface and knead for 3 minutes. Add small amounts of flour as needed (to keep the dough from sticking) until you have a smooth, very soft ball of dough. I used about 2.75 cups of flour total for the dough. Avoid adding too much flour as you knead because this can make the dough stiff and dry, and prevent the classic bubbles.
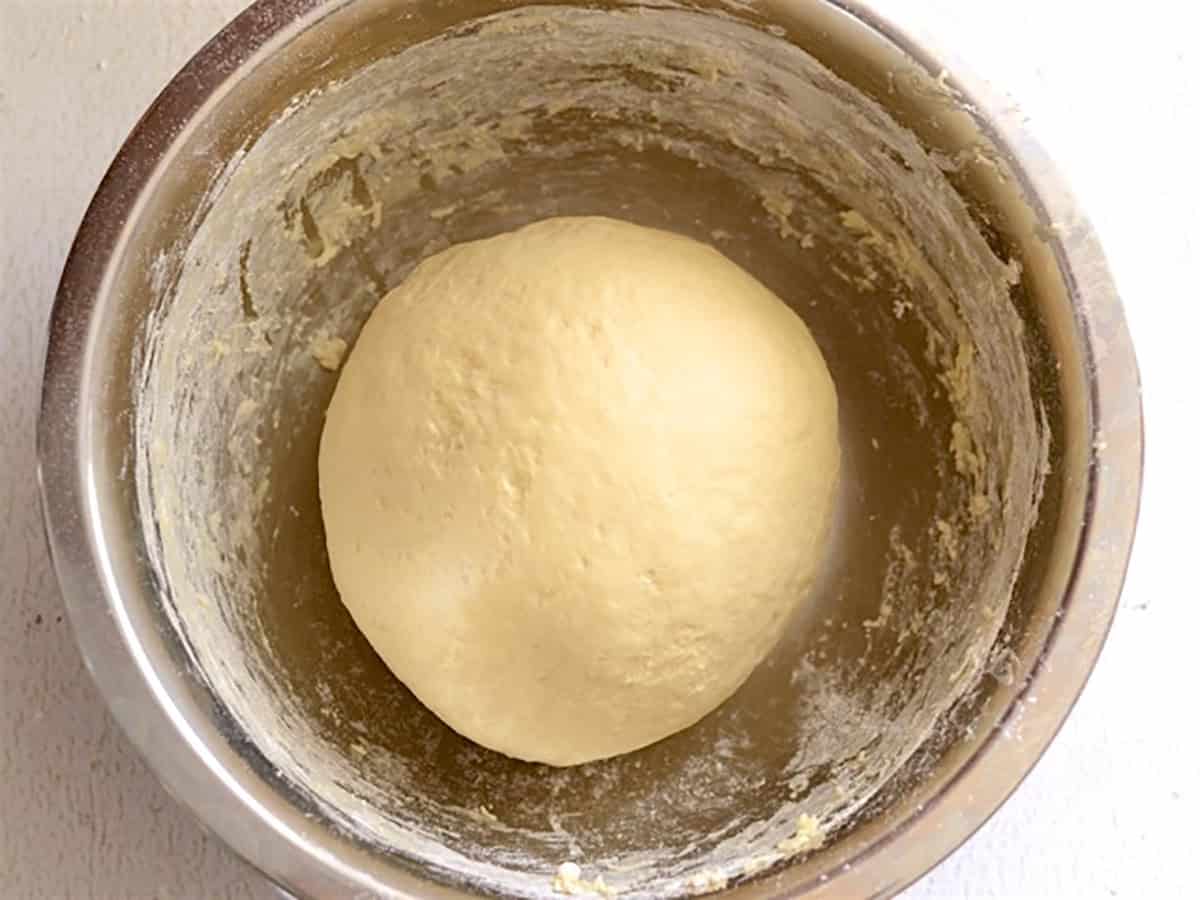
Shape the dough into a ball, loosely cover, and let rise until it is double in size (the photo is BEFORE it has risen).
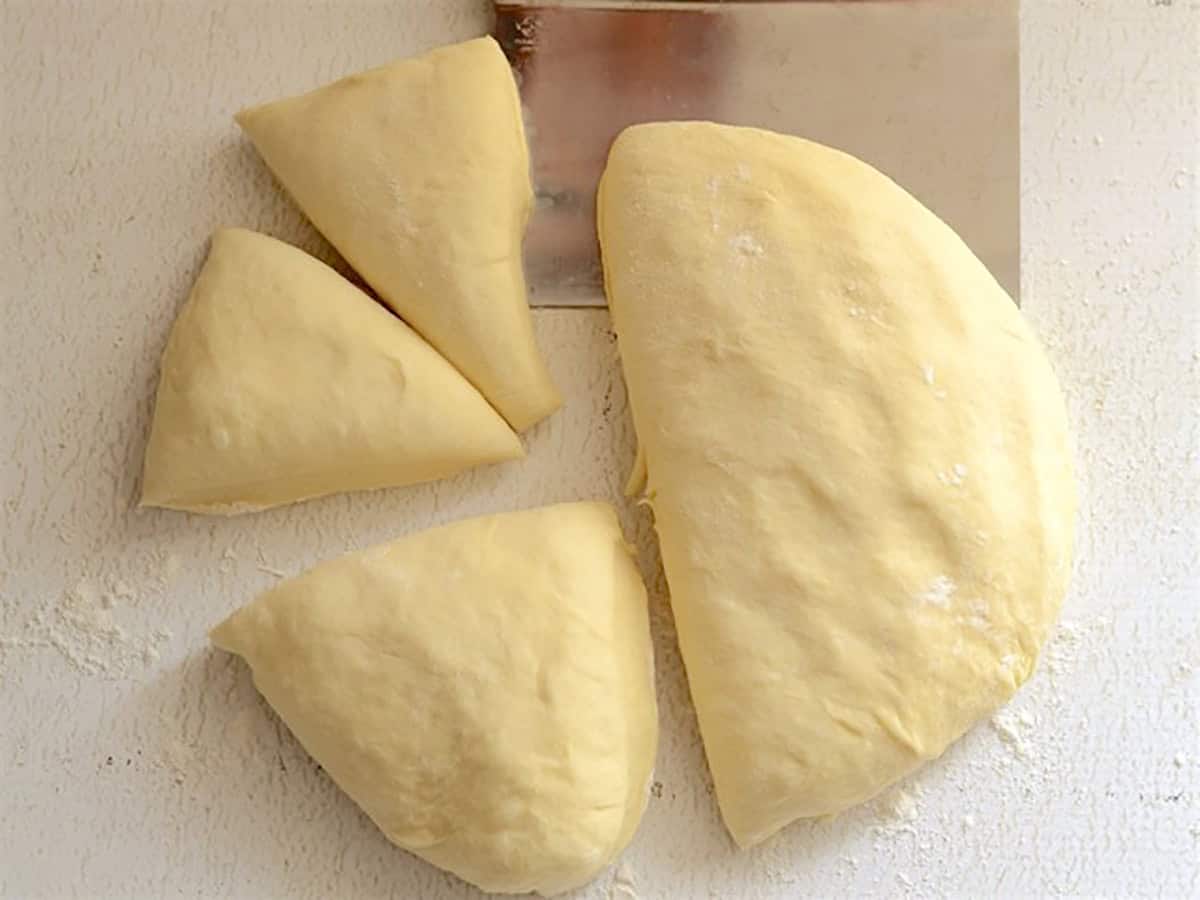
After it has risen, flatten it out slightly and cut it into 8 equal-sized pieces.
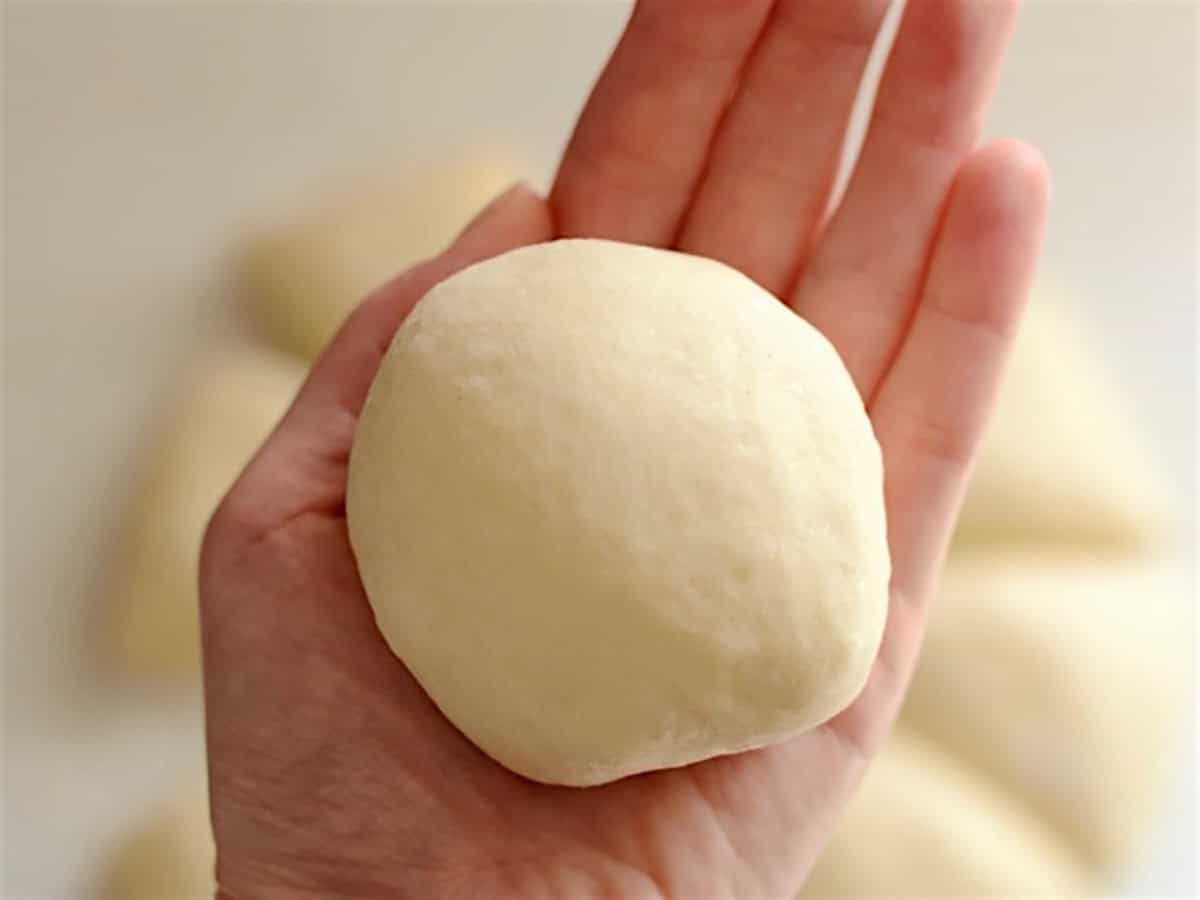
Shape each piece into a small, smooth ball.
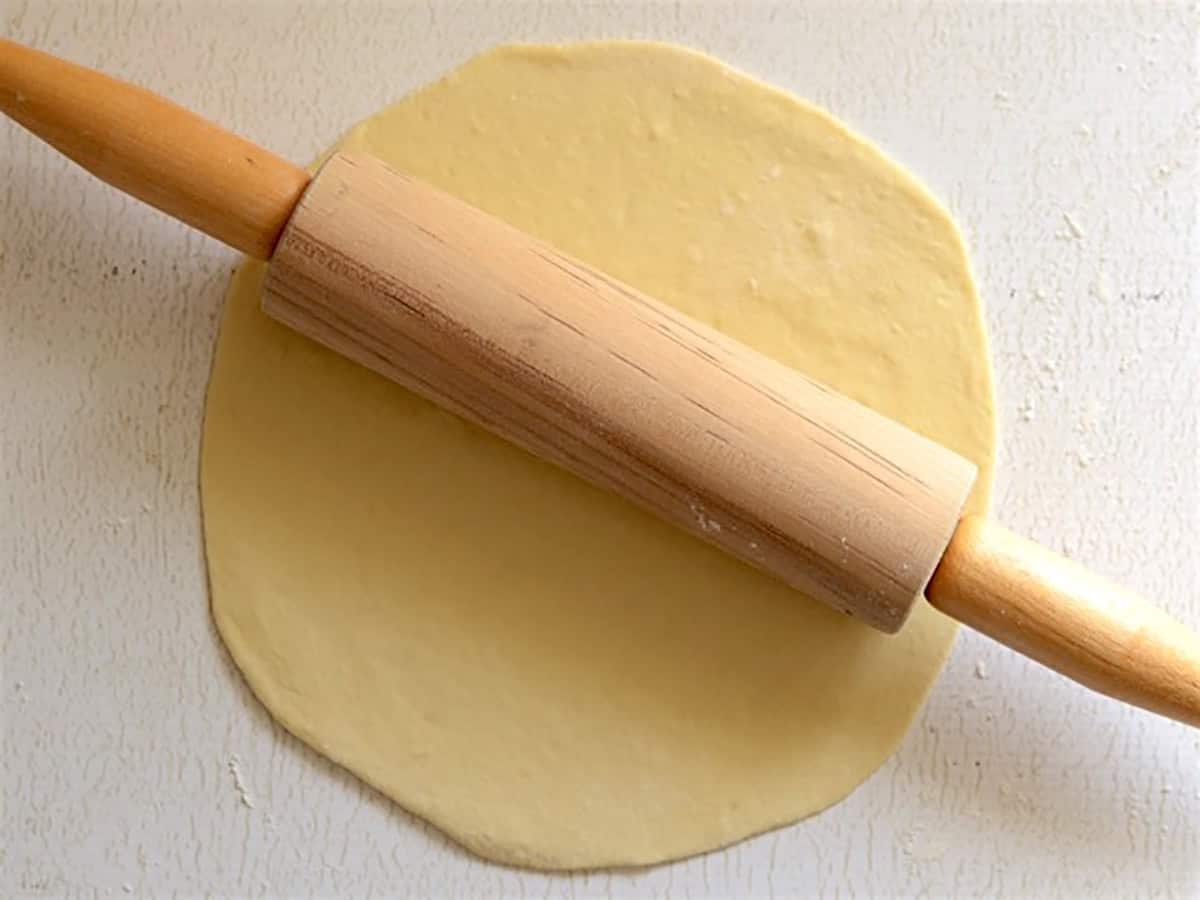
Heat a skillet over medium flame. While waiting for the skillet to get hot, roll out a ball of dough until it is 1/4 inch thick or about 6 inches in diameter.
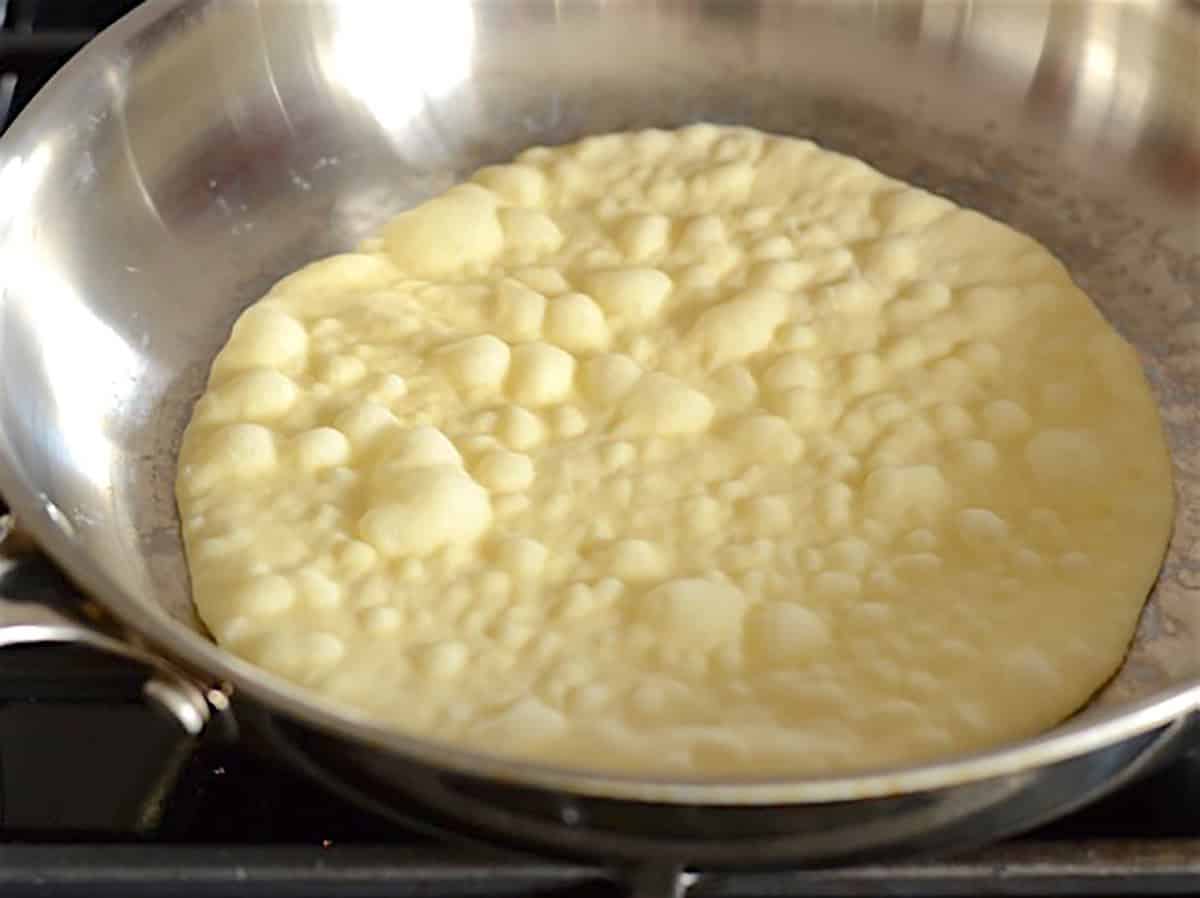
Place the rolled-out dough in the hot skillet and cook on one side until large bubbles form and the side touching the skillet is golden brown. The bubbles will start small, like in the photo above, but eventually grow and merge together to form larger bubbles.
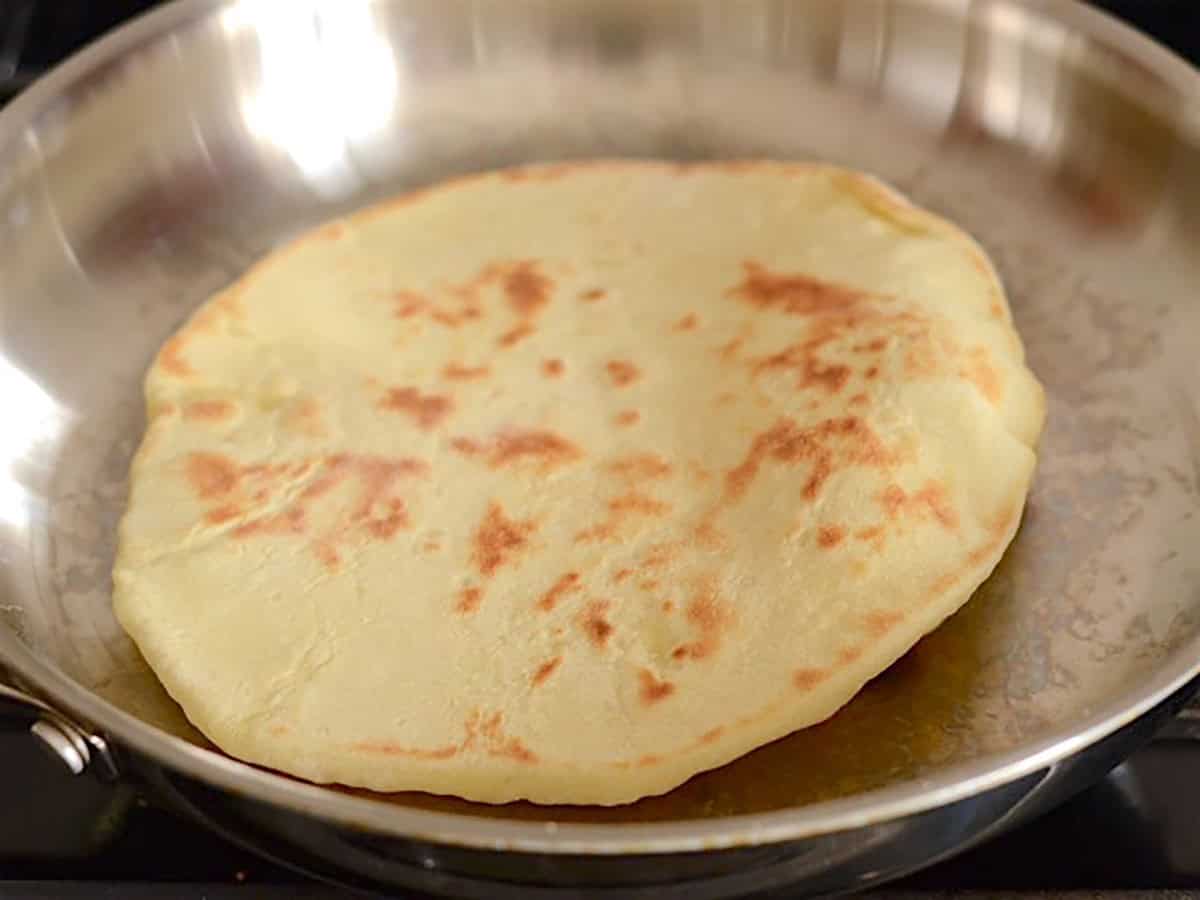
Flip the dough over and cook on the second side until golden brown as well. Naan is kind of like pancakes in that the first side is smooth and has relatively even brown marks, while the second side (where the bubbles were), has a different texture or pattern in the browned surface.
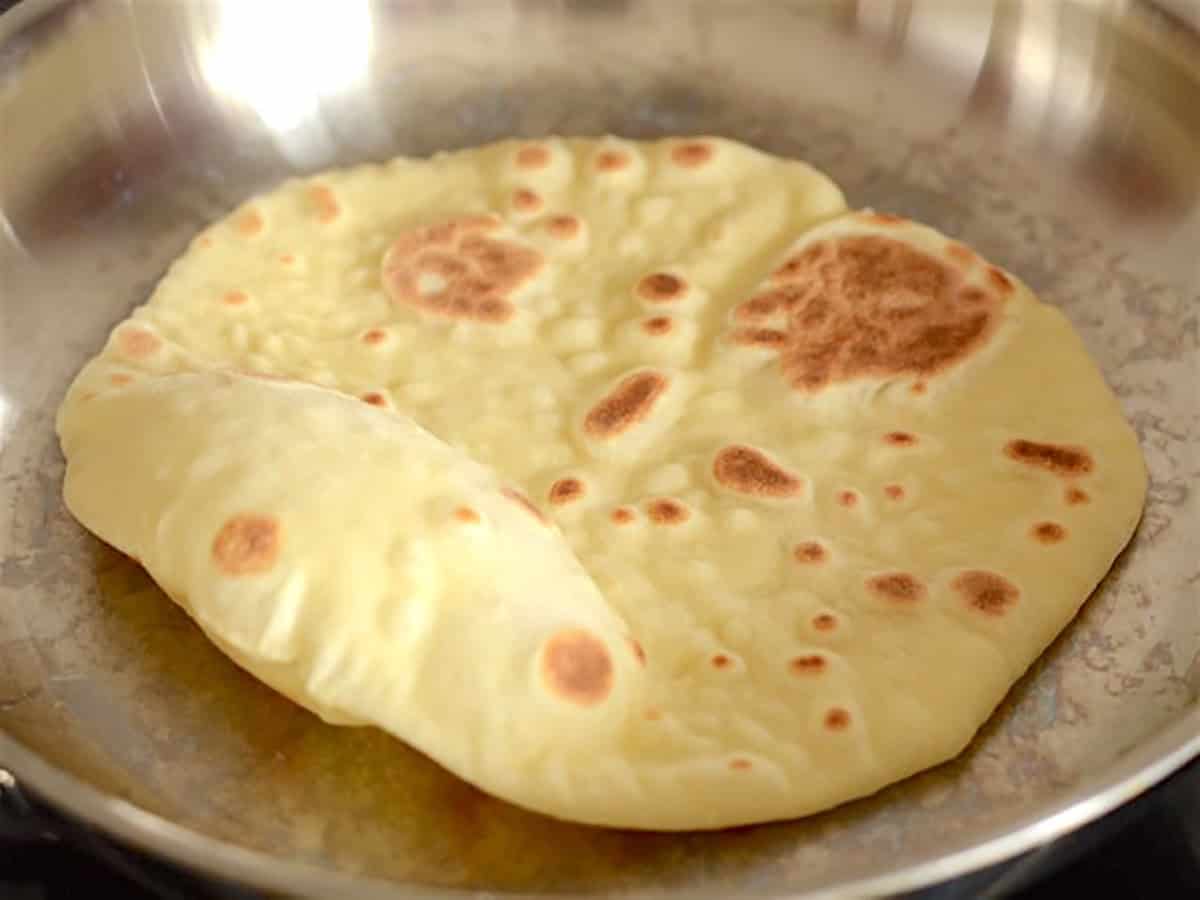
Here’s that second side flipped back up so you can see the characteristic browned bubbles.
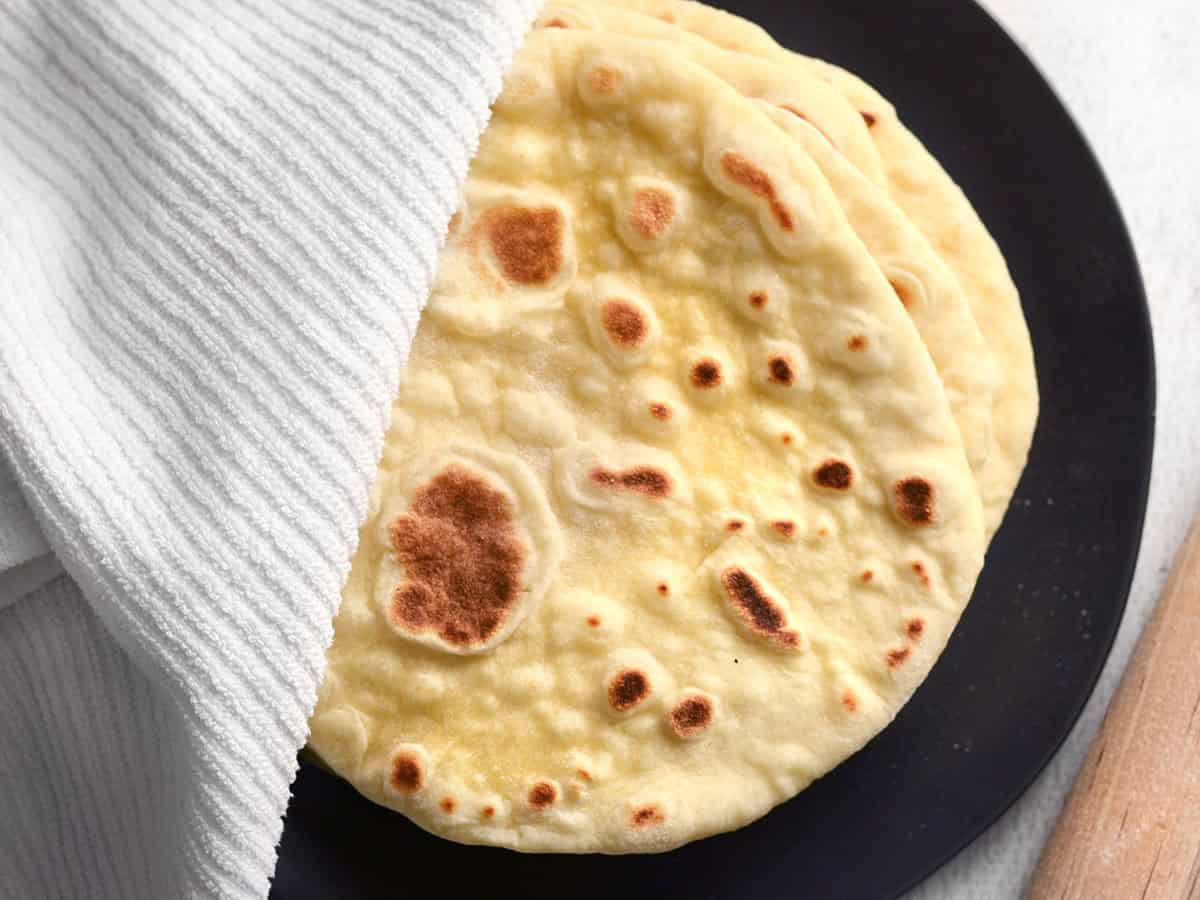
As the naan come out of the skillet, stack them on a plate and cover them with a clean towel to keep them warm.
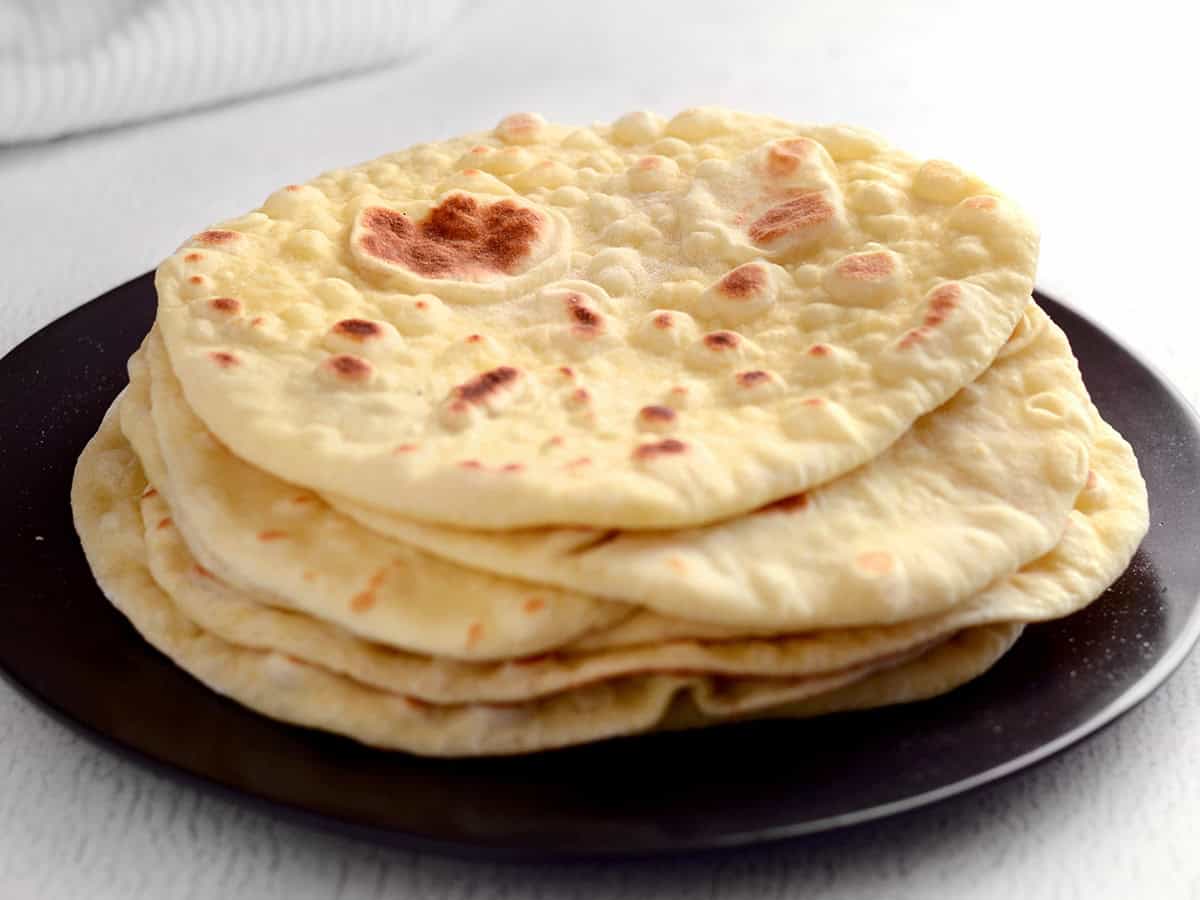
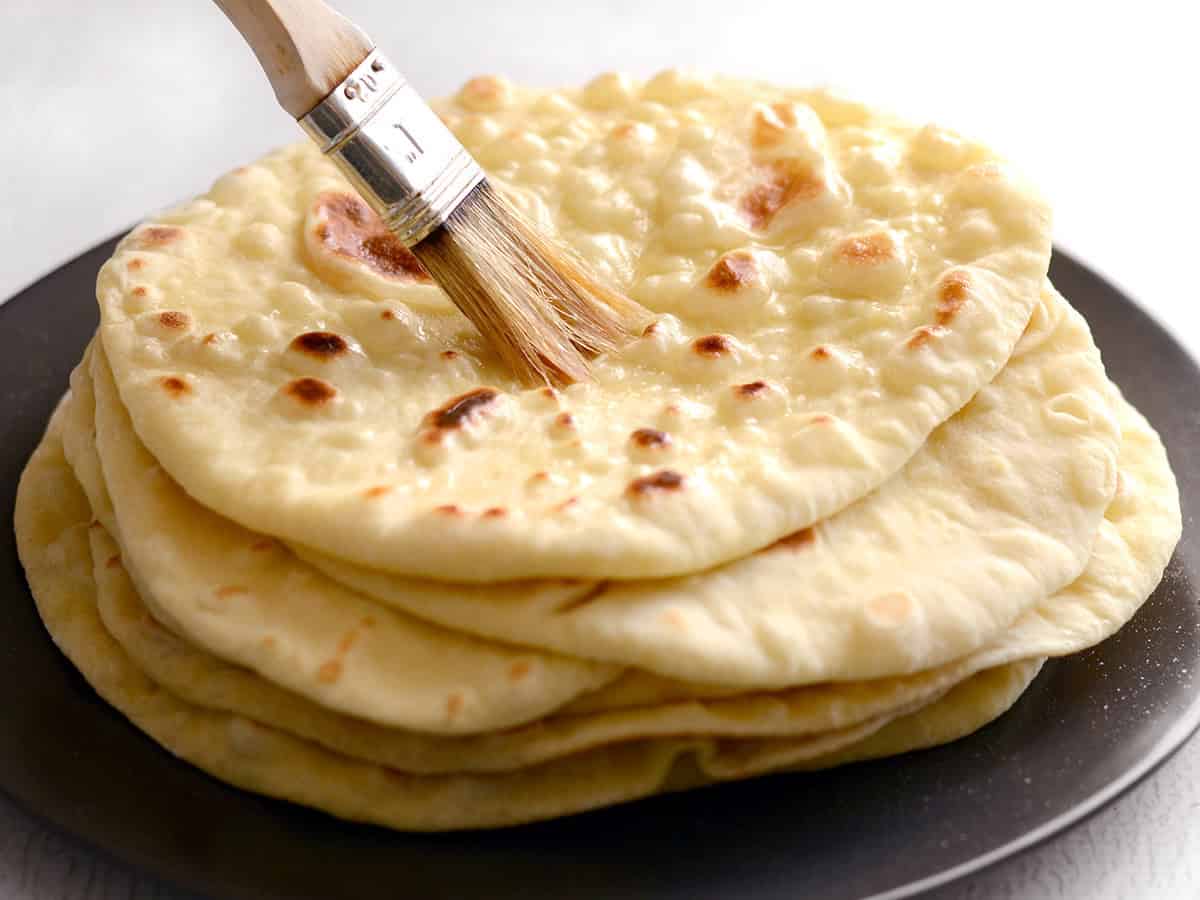
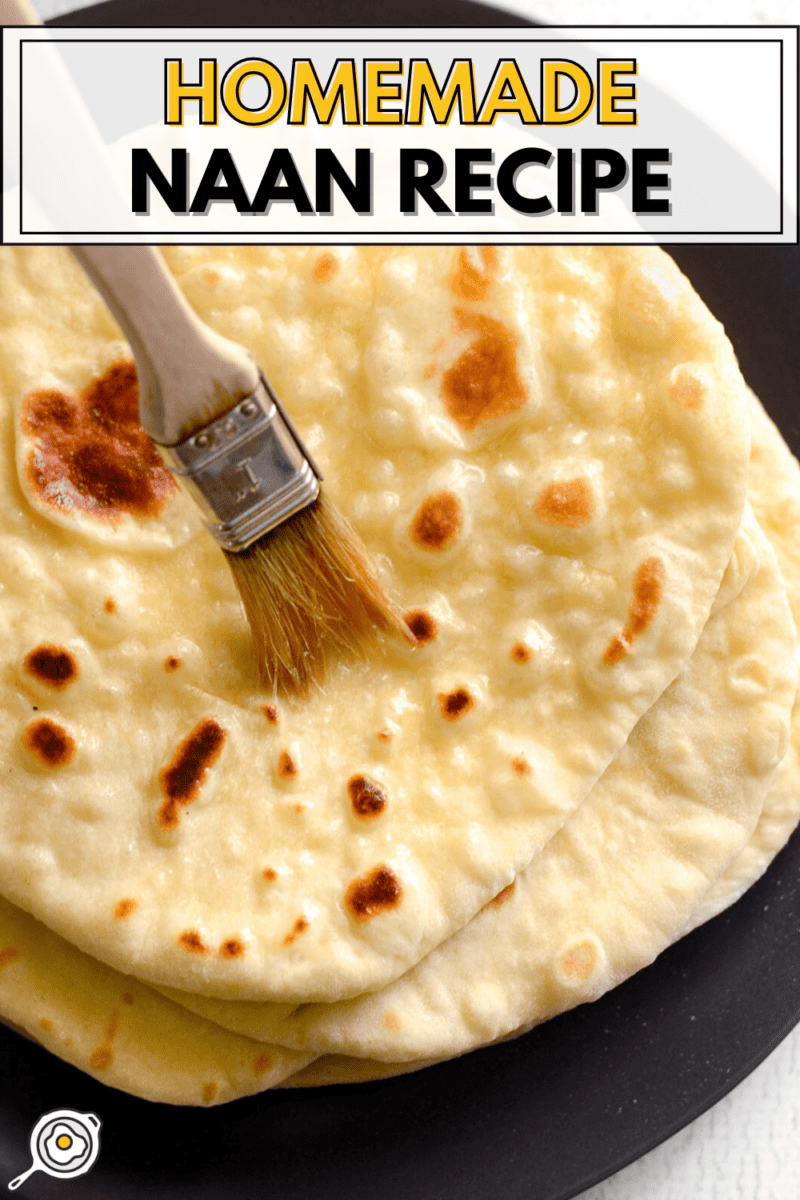
Brush the homemade naan with melted butter, garlic butter, or traditional ghee!




I made this recipe last night and it was delicious. I never knew making naan could be so easy. Not only did I make it last night but my family requested more so I made another double batch after the first batch. Thank you Beth for this great recipe!
LOVE, LOVE, LOVE!!! I love all BudgetBytes recipes. Beth, you never leave me down! I’ve never had a failed or fluke recipe from your website.
Came across this naan recipe and immediately wanted to try it after seeing all the good reviews. I kept hearing that naan was hard to make and I just didn’t want to go through the process if it was going to be difficult or be a long process.
Trusting Beth, I knew I had to try it. SO GOOD. There go the days of buying naan to accompany our Indian dishes. YUMMY!!
Just made this, yummy! I also subbed sour cream for the Greek yogurt just because I didn’t have any. Still came out very tasty, soft and pliable. Used it for a taco. Can’t wait to try your other recipes!
I made this tonight for the second time. It is an amazing recipe! This time though, I tried to make it more similar to the naan I have had at my favorite Indian restaurant- and I fried the naan dough in olive oil (so I could feel justified about frying it). It was SO worth it! Thanks for this recipe!
What temperature should the water be (or does it matter?) when you mix it with the yeast? I know for some yeast recipes, the water should be warm, but this one didn’t specify so I thought I’d ask. :-)
It’s usually suggested to be about 110 degrees Fahrenheit. I just use my hottest tap water, but that will depend on how high your water heater is set. :)
Naan is one of my favorite parts of Indian cuisine (fufu and puff puff were my personal favorites in my Nigerian-American household growing up so, clearly, I like my carbohydrates). My mom has some health issues, and I was wondering if you could think of a good alternative to vegetable oil. I know that usually I replace it with unsweetened applesauce, pure pumpkin puree, ground flax seeds, or even nonfat Greek yogurt. Do you think any of those would work?
Hmm, honestly I don’t think any of those would work. You definitely need some fat to make it the correct texture and many of those substitutes have too much water in them. You can use olive oil as a healthier oil substitute, though.
Wow! This naan bread is awesome. So easy! I didn’t have yogourt but used sour cream instead. And I brushed on a little garlic butter before they cooled down. Thanks for such a wonderful recipe!!
This is a good start but it was very bland to me. I made it a second time using sour cream (was out of yogurt) and 1 tsp garlic powder. I also sprinkled salt on the naan while it was cooking. Much much better tasting!
This is our go-to naan recipe! We use it a few times a month. It’s super easy and I make homemade yogurt often which is great to use in your recipe!
Hi, I am making this as well as your dal nirvana, and I have a quick question. If I want to add garlic, at what stage should I put it in? And would you sautee it a little first or put it in raw and let it cook with the bread? Thanks so much, love your recipes. I make the skilled chilli with cornbread at least once a month.
Honestly, I’ve been trying to figure out what would be the best way to add garlic, too. I tried adding garlic powder one time and it wasn’t as flavorful as I hoped. I think the best idea would be to make garlic butter (heat minced garlic in butter for a few minutes), then brush it on the outside of the cooked bread.
I haven’t tried this recipe yet, but it’s definitely on the must try list! For those wanting more of a garlic flavor, when you get garlic naan at an Indian restaurant, it is the same as the plain naan, but has minced/chopped garlic on top of each piece, brushed on with the butter. I wouldn’t recommend putting garlic in the dough, because it will burn during cooking. Garlic naan is the best!
I love this recipe!! It was so easy to make. Question though if I wanted to make it a little healthier and use whole wheat flour do you know how I could do that still using this recipe?
You’d have to experiment with the moisture levels, probably adding a bit more water, since ww flour tends to absorb more. To avoid having it be really dense, which is what ww flour usually ends up doing, I’d use half ww flour and half all purpose flour. You can also try ww pastry flour, which is ground a bit finer. That might help it be lighter.
definitely on my to do-list ! thanks for yet another great recipe.
PS. what an expensive dough scraper. I bought a few months ago one in plastic for only 1€ and it works perfectly. I would suggest the shop, but hey that is in Belgium !
I had no idea naan was this easy to make. Yuuuuuum. Thanks for the recipe and easy to follow steps and pics. :)
Amazing! How would I go about doubling (or tripling) the recipe and saving them for another night? I’m always worried about making recipes bigger. Would this freeze well?
Great directions. I’d never worked with yeast before and this went off without a hitch. I wish I’d made better note of the tip not to roll out each ball until it’s ready to go in the pan. I stacked mine and let them sit for a bit and it made them harder to work with. I also learned that it’s better to leave them a little underdone than overdone because overdone cracks when you fill it. My kids fought over the last piece.