I’m not sure whether to hug or curse the person who invented no-bake peanut butter bars. This homemade version of a peanut butter cup is so ridiculously simple that you might never buy a packaged peanut butter cup at the store again. Especially since you can stash these in your freezer and just take one out to nibble on every now and then. IT’S JUST TOO EASY.
All recipes are rigorously tested in our Nashville Test Kitchen to ensure they are easy, affordable, and delicious.
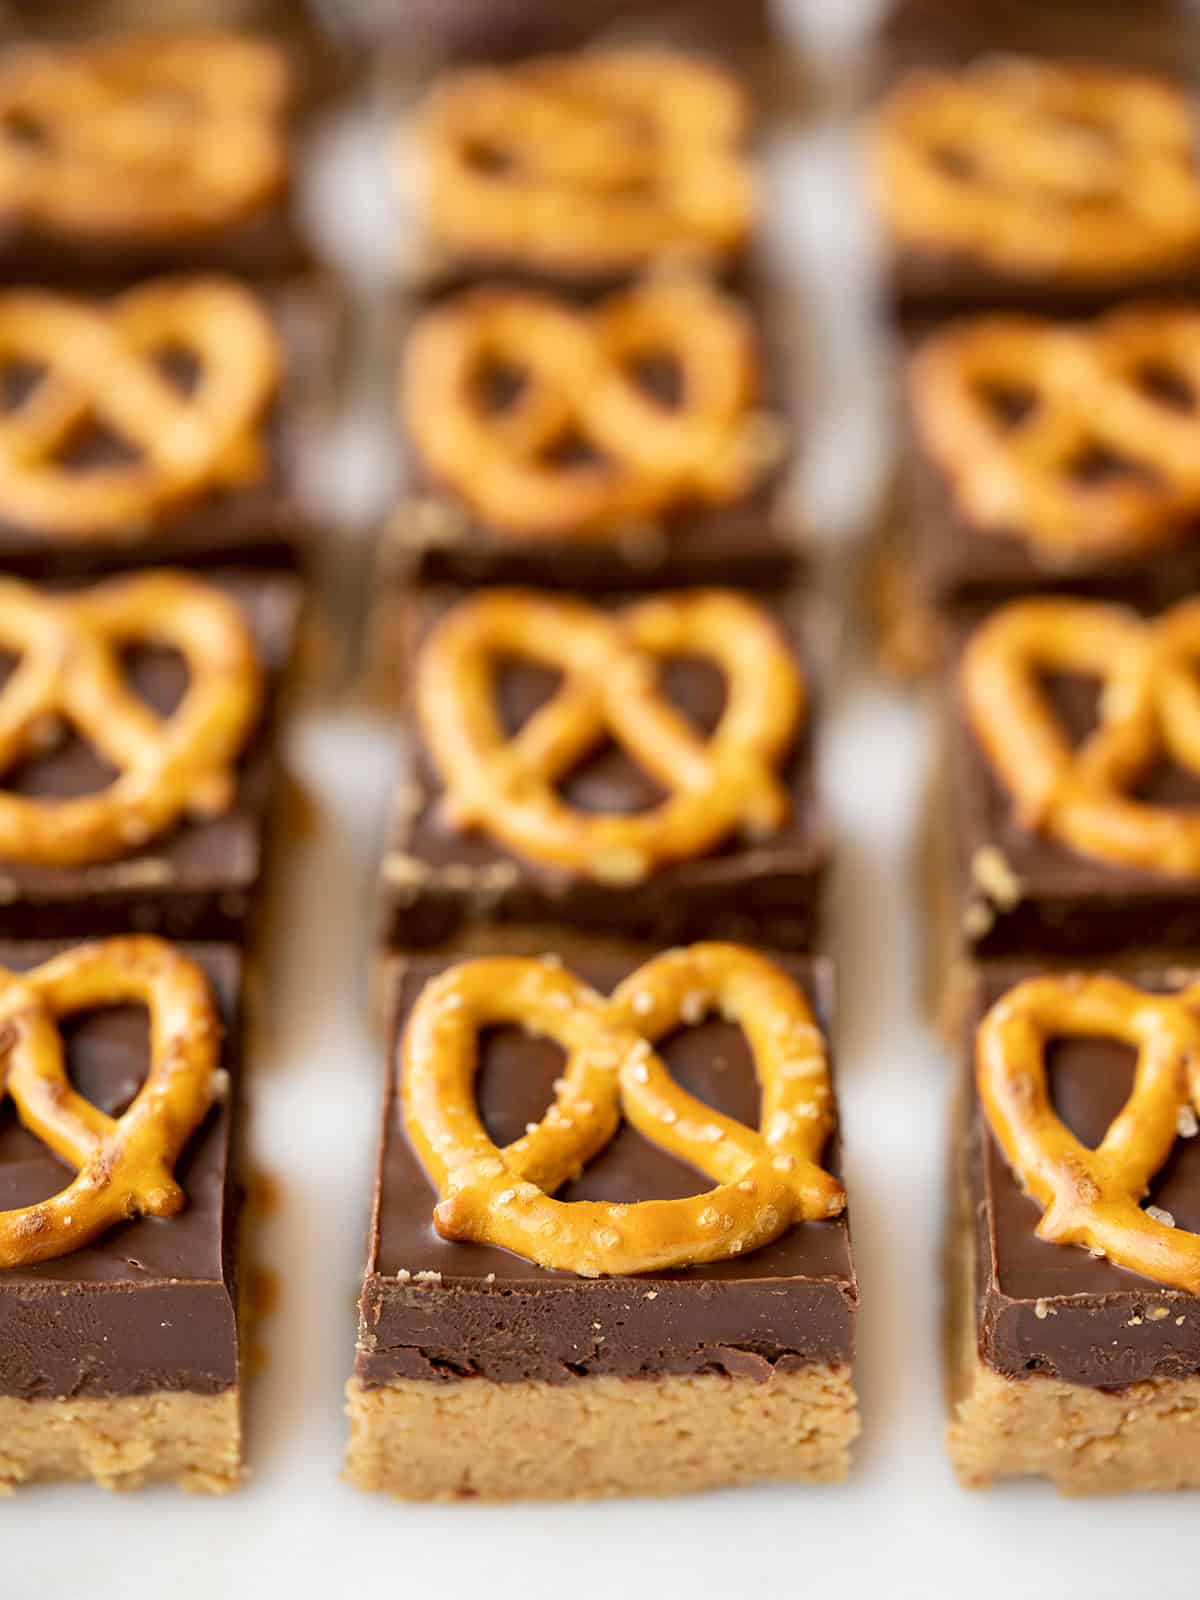
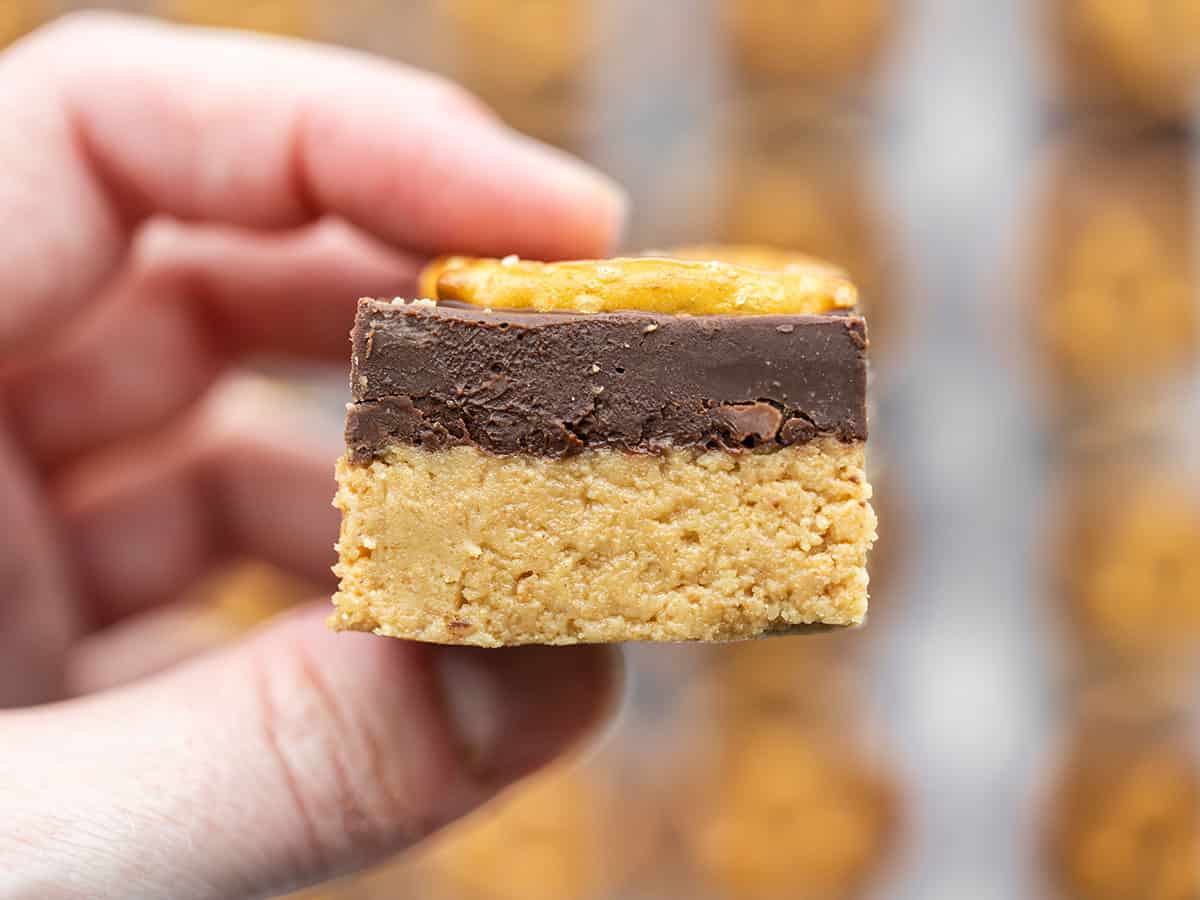
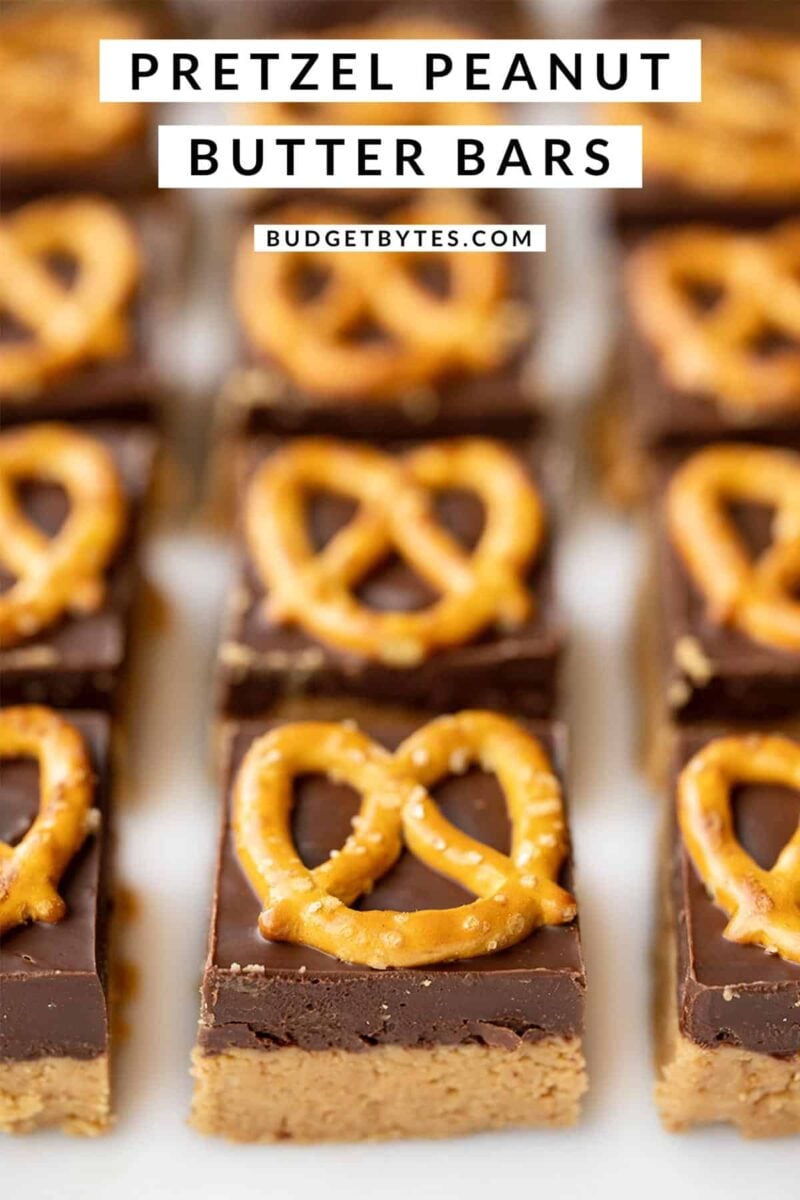
No-bake peanut butter bars have been around for eons. Well, decades at least. There are a million versions of this recipe out there, but mine have a slightly more even ratio between the chocolate and peanut butter portions, and I like to nestle a little mini-pretzel in the top for a little added crunch.
Oh, and most no-bake peanut butter bar recipes usually specify not to use natural-style peanut butter, but that’s what I use with mine and it works just fine! :)
What Kind of Nut Butter Can I Use?
I used a natural-style peanut butter made with just peanuts and salt for these peanut butter bars. If you’re allergic to peanuts you can use a different type of nut butter, like almond or cashew (although those will be quite a bit more expensive).
Just make sure you choose a nut butter that is quite firm when refrigerated and soft when room temperature. As long as it firms up when refrigerated, it will work for these bars. Oh, and make sure it has at least a little salt and is very well stirred before adding to the recipe. Too much oil and the bars won’t set.
Choose Your Chocolate
This recipe is also fairly flexible when it comes to the type of chocolate used. I used plain old semi-sweet chocolate chips, but you could have a little fun and use dark chocolate, or a different flavored chocolate chip if you’d like.
How to Store Peanut Butter Bars
You’ll want to keep these peanut butter bars refrigerated so they don’t melt. I suggest keeping them in an air-tight container in the refrigerator no longer than a week, or you can freeze them for longer storage (freezer bag, up to three months or so). To thaw, just let them sit out at room temperature for about 10 minutes.
No Bake Pretzel Peanut Butter Bars
Ingredients
- 1 cup graham cracker crumbs (about 8 sheets) ($0.38)
- 1/2 cup butter ($0.82)
- 1 cup peanut butter (+ 2 Tbsp) ($1.38)
- 1 cup powdered sugar ($0.07)
- 1.5 cups chocolate chips ($1.19)
- 25 mini pretzels ($0.10)
Instructions
- If your graham crackers aren't already in crumb form, use a food processor to blitz them into a fine crumb.
- Place the butter and 1 cup of peanut butter in a bowl. Microwave and stir in 30-second intervals, just until they're warm enough to melt together. Stir until evenly combined. (Reserve the last 2 Tbsp peanut butter for later.)
- Add the powdered sugar and graham cracker crumbs to the melted peanut butter mixture and stir until evenly combined.
- Line an 8×8-inch baking dish with parchment paper making sure some of the paper overhangs on the sides so you can lift the bars out of the dish later. Press the peanut butter mixture into the bottom in an even layer.
- Add the chocolate chips and the last 2 Tbsp peanut butter to a bowl. Microwave for 30 seconds, then stir. Continue to microwave and stir in 15 second increments until the chocolate is fully melted and smooth.
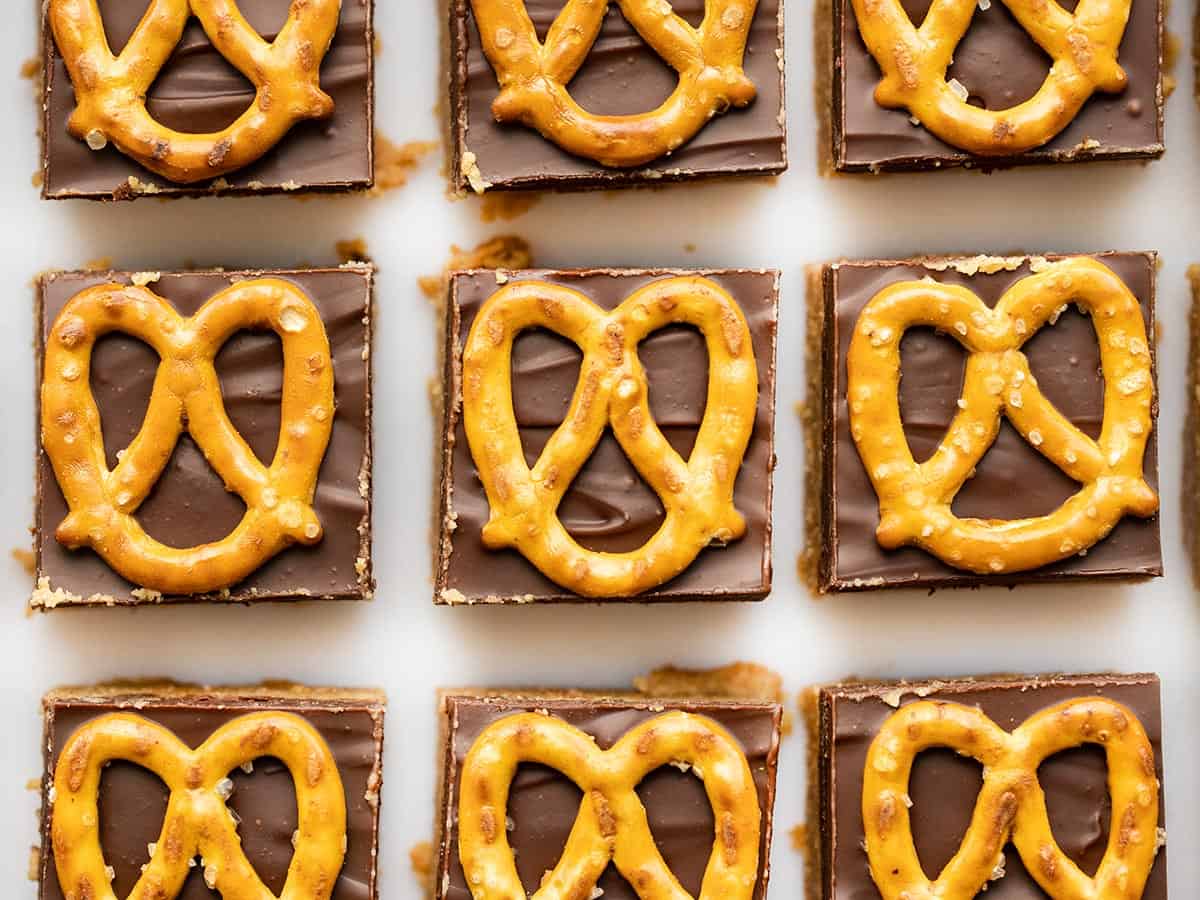
- Pour the melted chocolate over the peanut butter base in the baking dish and spread it smooth. Add the mini pretzels on top in even rows (I did five rows of five across).
- Refrigerate the peanut butter bars for two hours, or until completely set. Once set, lift the bars out of the dish using the parchment paper. Use a sharp knife to cut them into squares between the pretzels. Enjoy immediately, refrigerate for later, or freeze for long term storage.
See how we calculate recipe costs here.
Equipment
- Food Processor
- Parchment Paper
Nutrition
Video
Love peanut butter and chocolate? Check out my Peanut Butter Fluff Cups or “The One” Chocolate Mug Cake!
How to Make Pretzel Peanut Butter Bars – Step by Step Photos
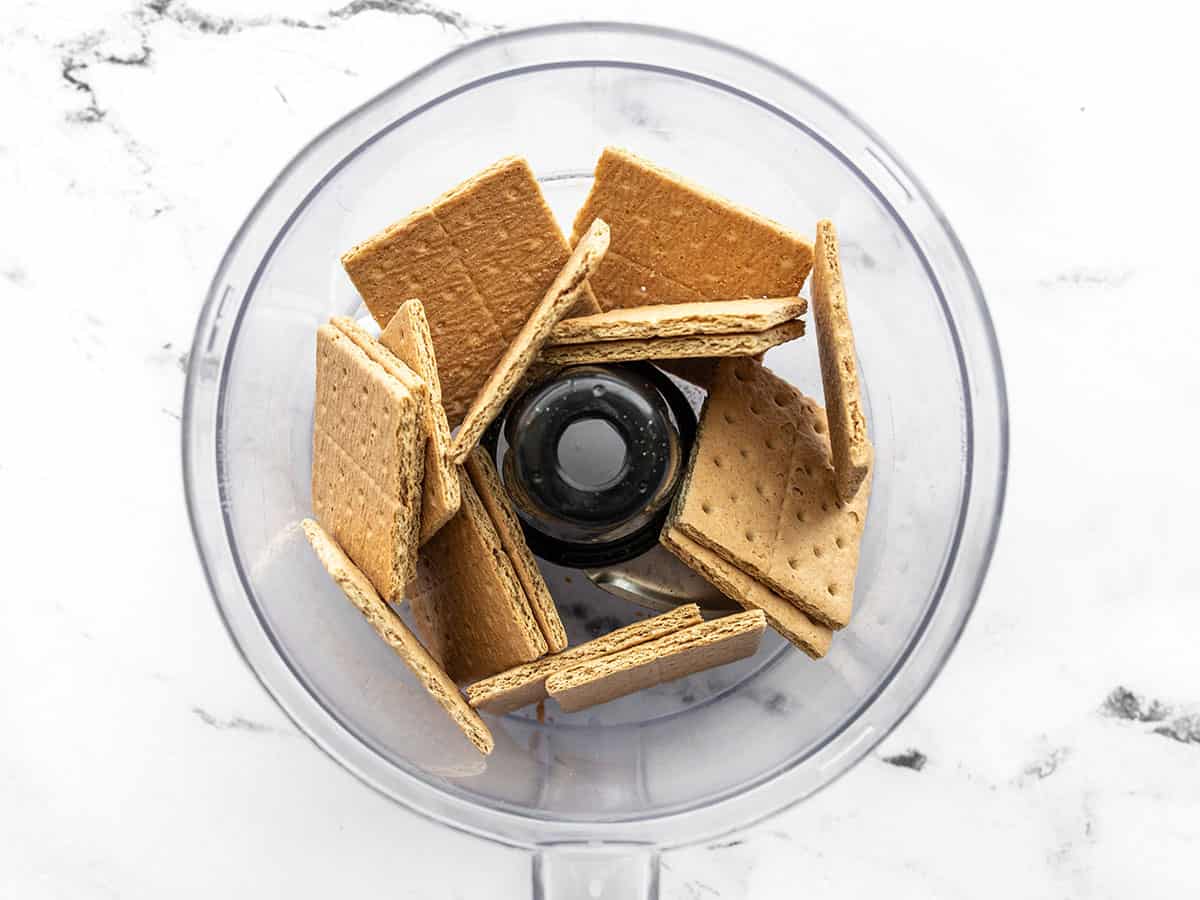
While you can actually buy graham crackers already in crumb form, it’s going to be less expensive to make crumbs out of whole crackers. You want a very fine and even crumb for this, so a food processor is probably the best option. You need 1 cup of crumbs, which should be about 8 sheets of graham crackers.
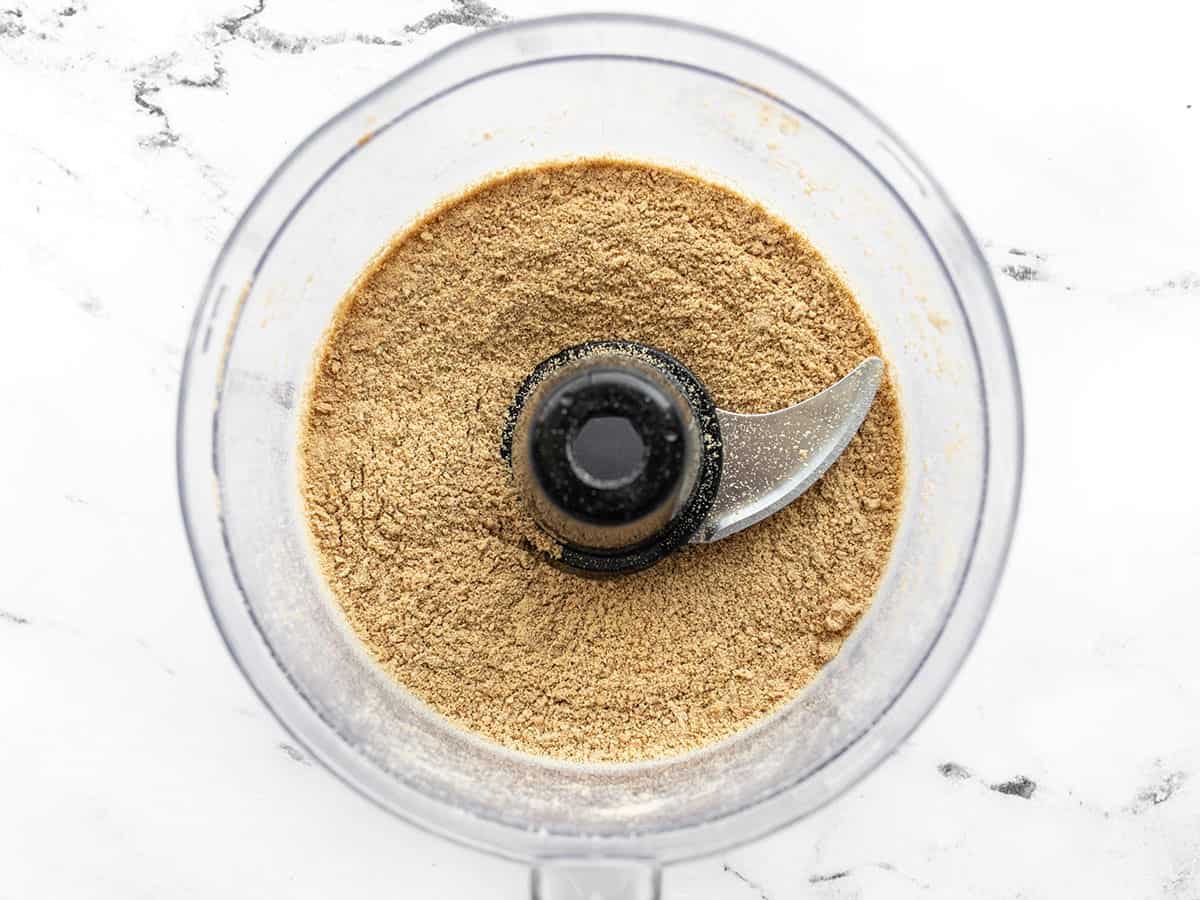
Whiz those graham crackers until they’re very fine and even.
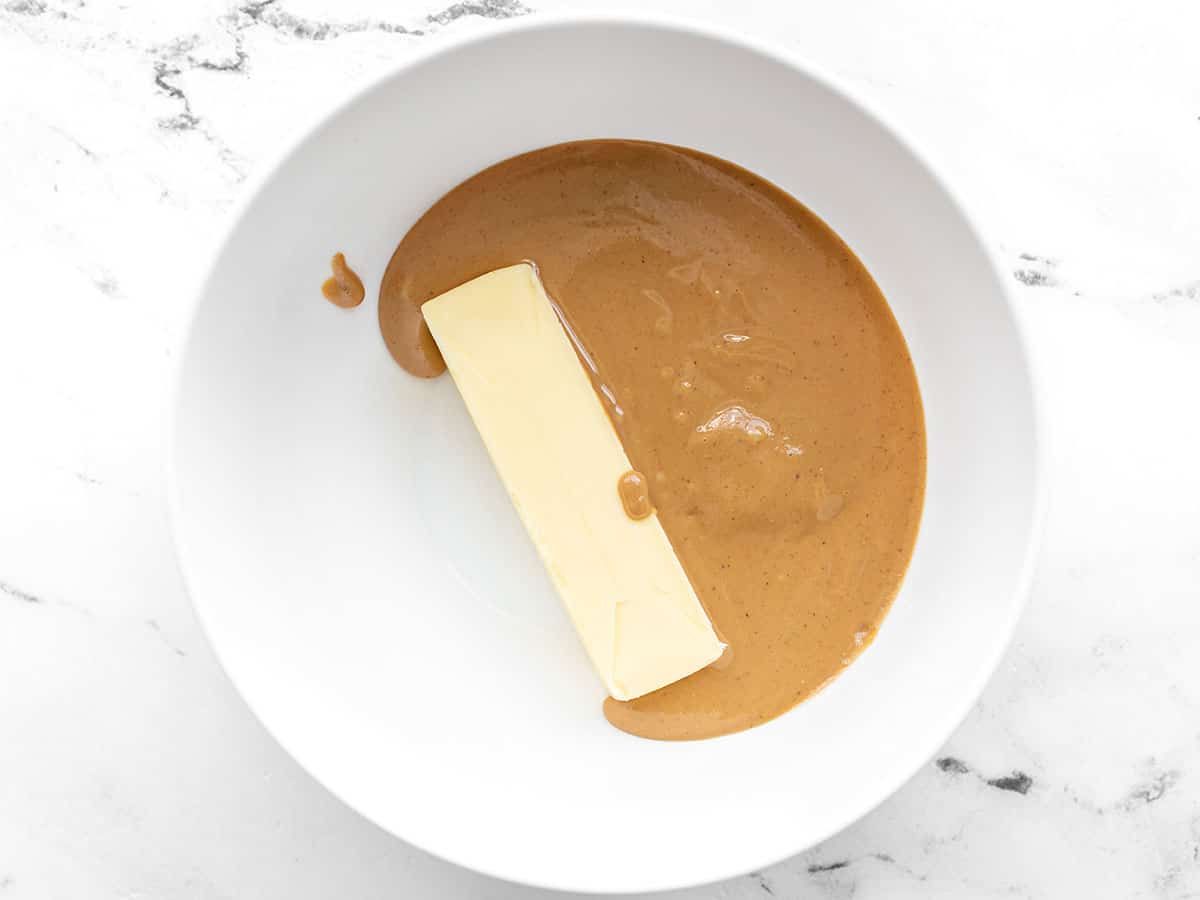
Add 1 cup peanut butter and ½ cup butter (I used salted) to a bowl. Microwave for 30 seconds or just long enough that they’ll melt together. Avoid heating it until it’s piping hot. That will make the later steps more difficult. Stir until the mixture is even and smooth.
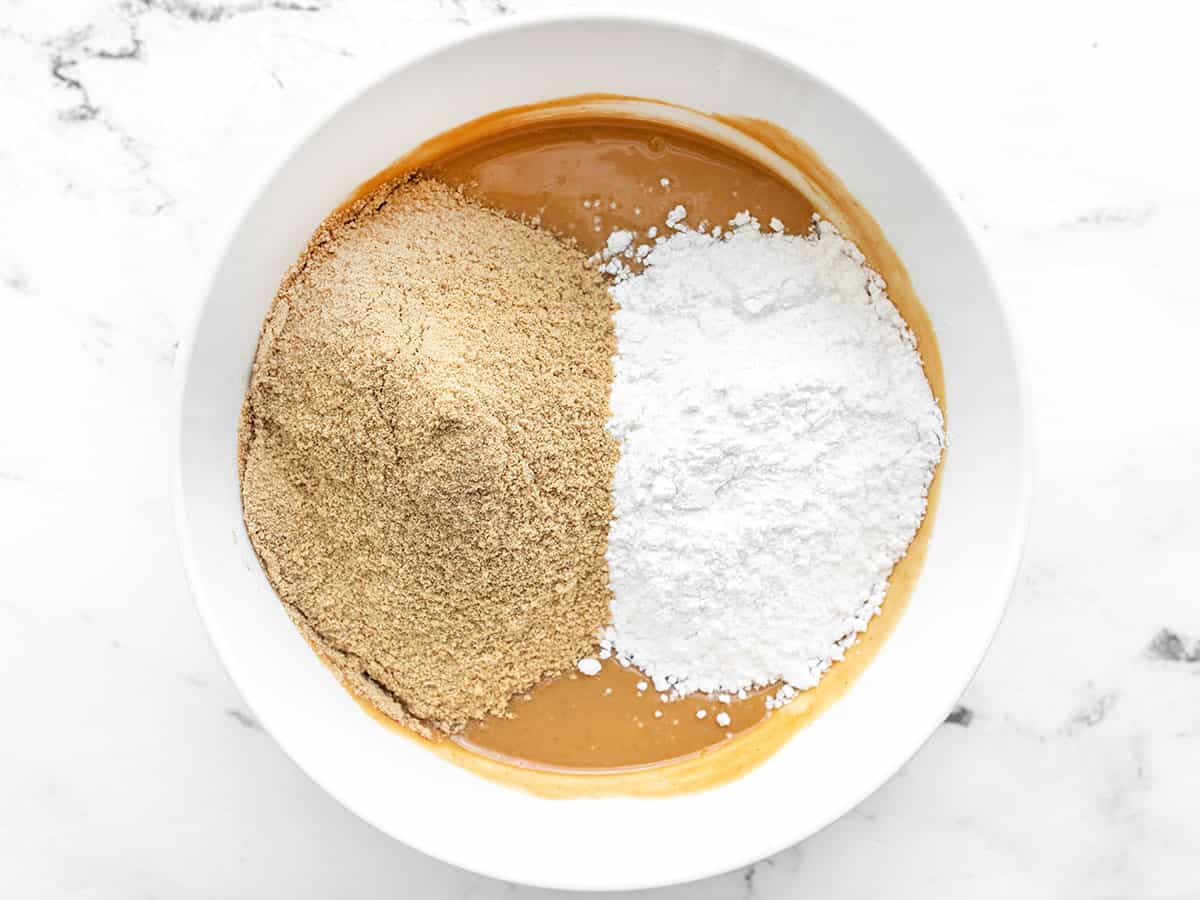
Add the graham cracker crumbs and 1 cup powdered sugar to the peanut butter mixture.
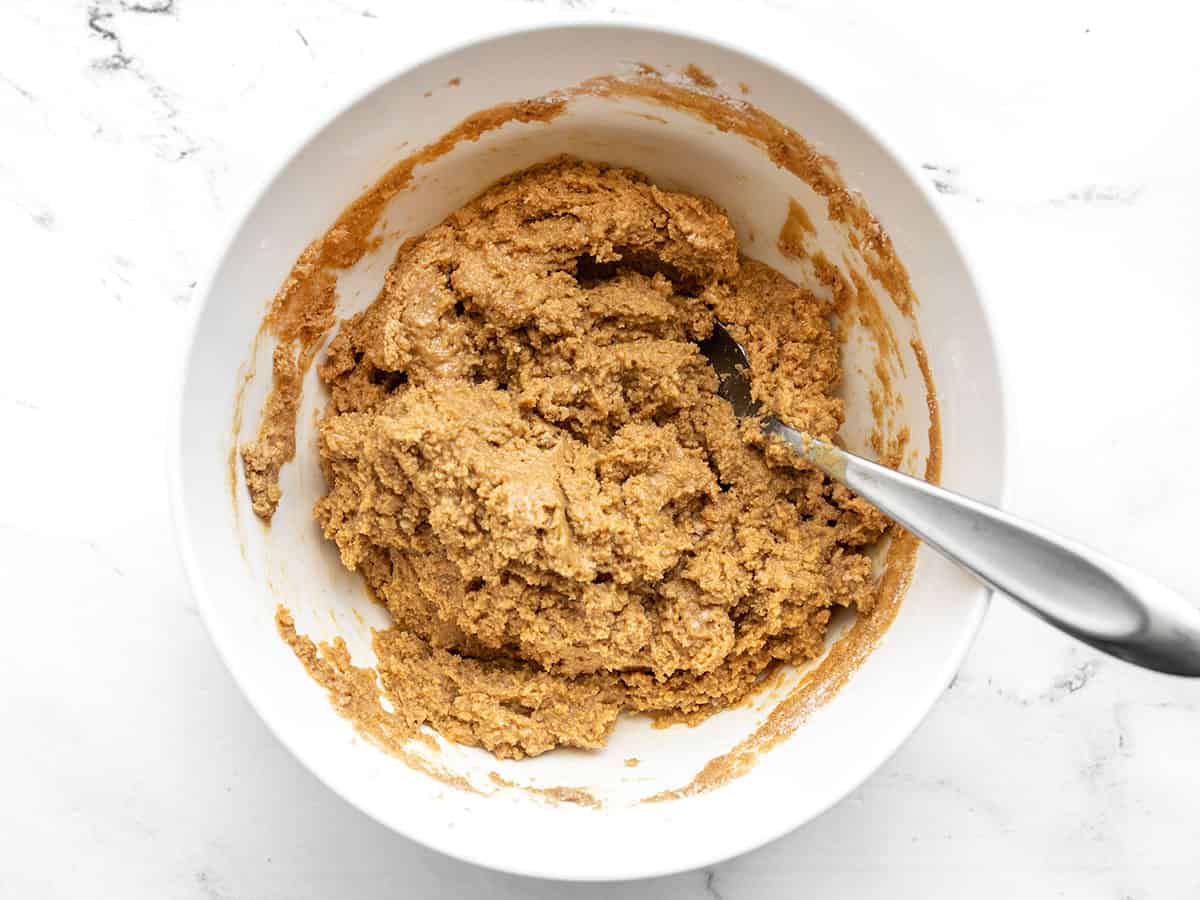
Stir until it forms an even paste-like mixture.
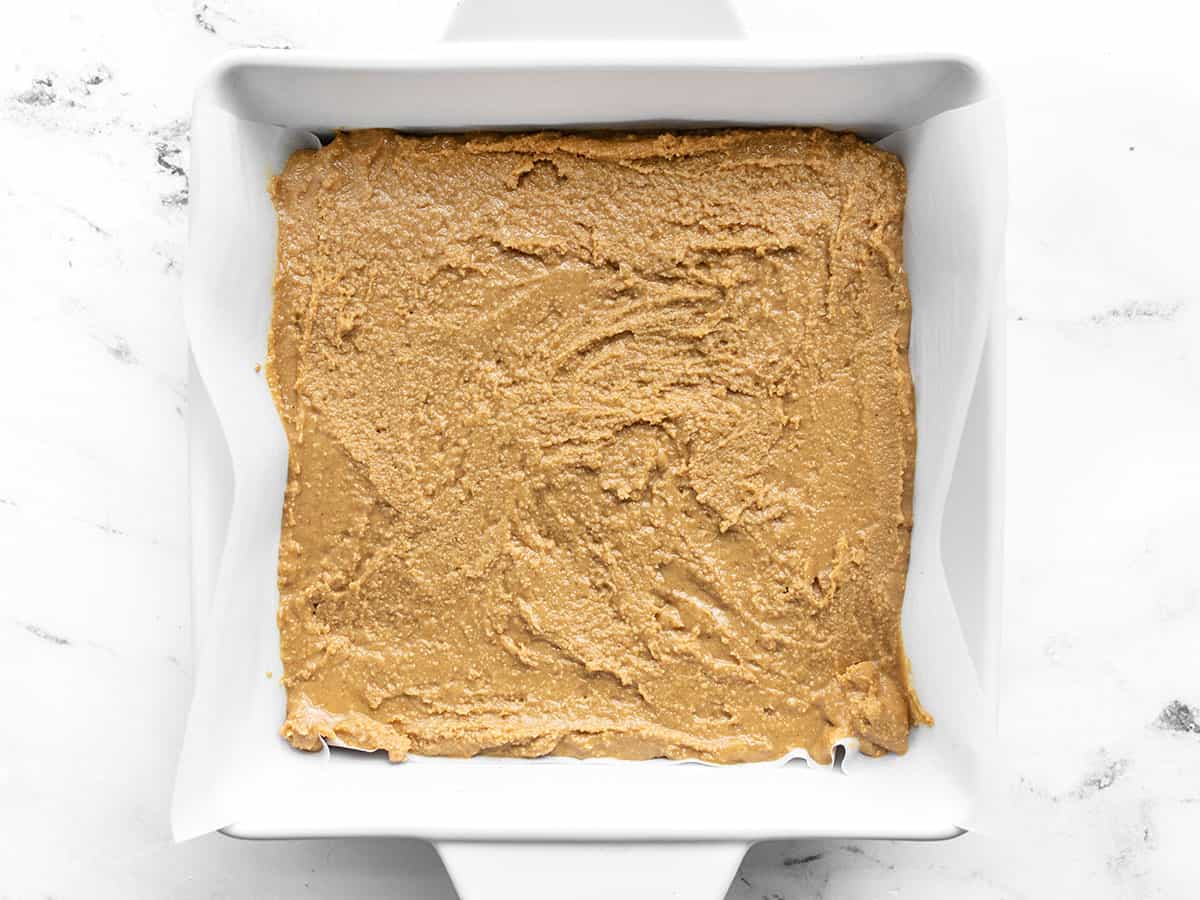
Line an 8×8-inch baking dish with parchment paper so that some of it sticks up the sides (this will help you remove the bars from the dish later). Spread the peanut butter mixture evenly into the bottom of the dish.
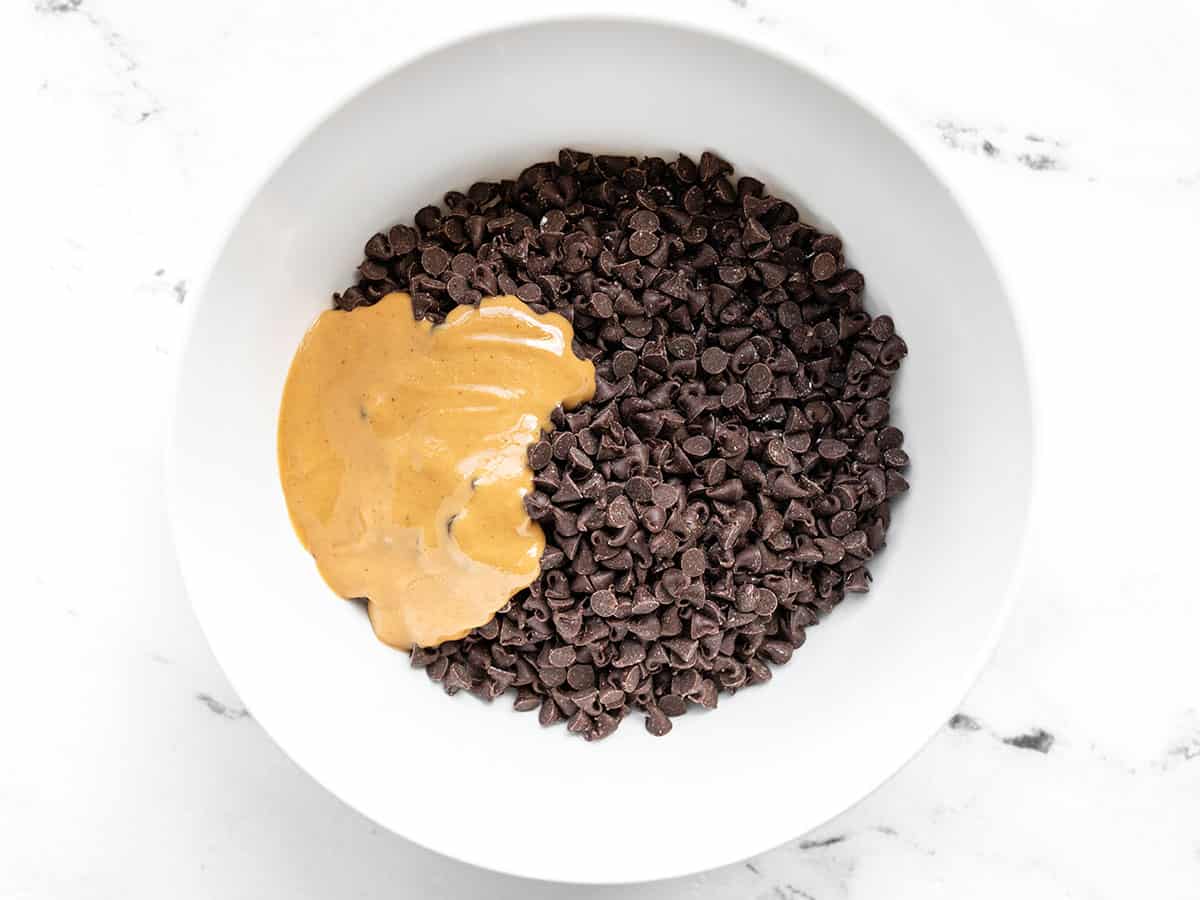
Add 1.5 cups chocolate chips and 2 Tbsp peanut butter to a bowl. Microwave for 30 seconds, then stir will. Continue to microwave and stir in 15 second increments until the chocolate is melted and smooth. Avoid over heating the chocolate or it will begin to get grainy.
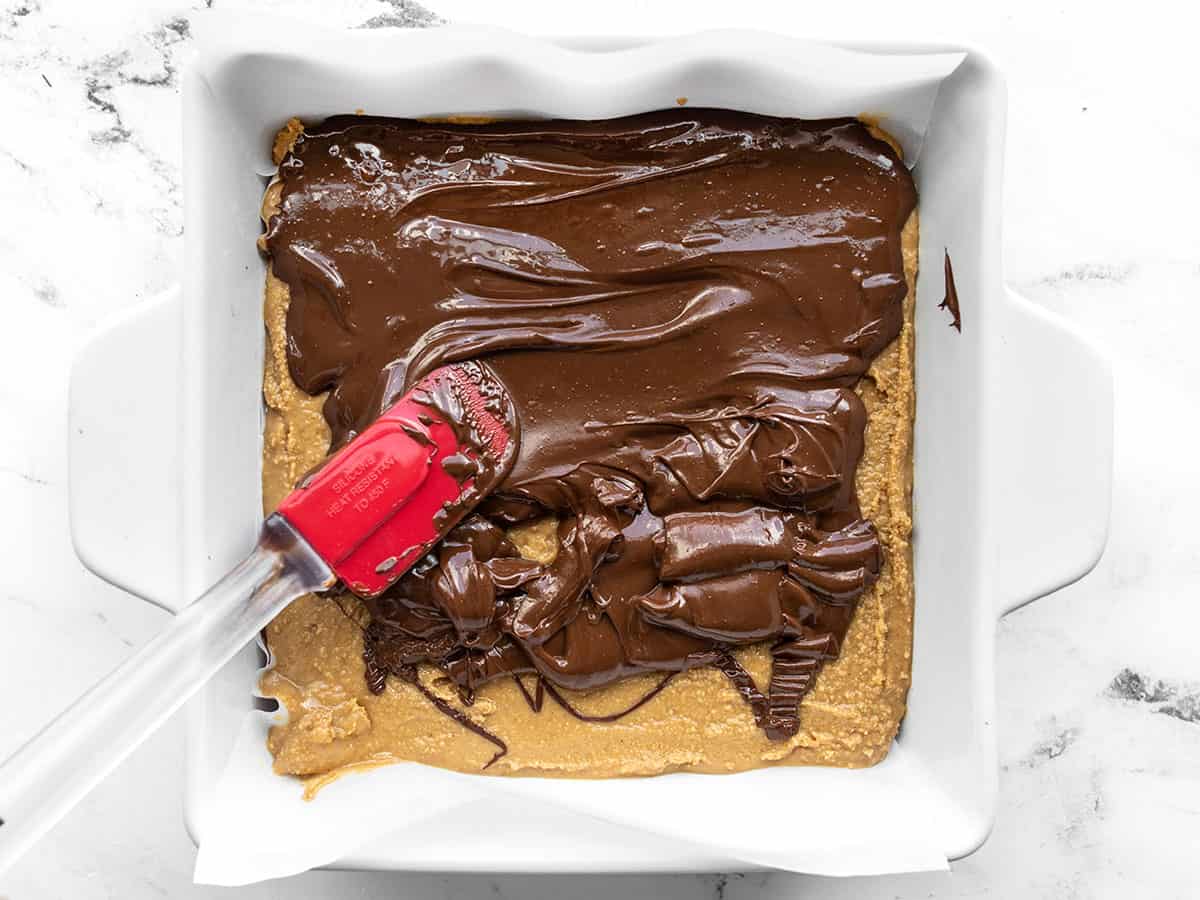
Pour the melted chocolate over the peanut butter base and then spread it out until smooth.
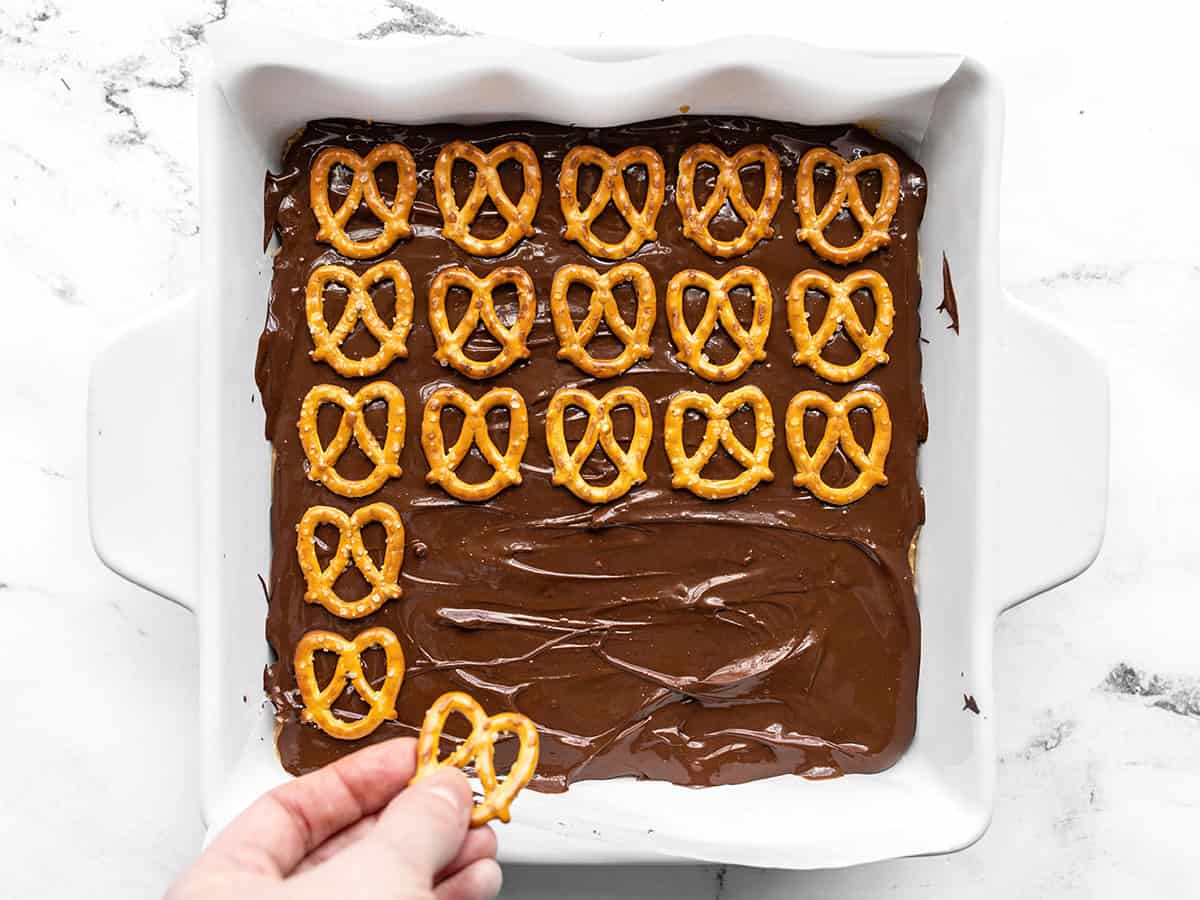
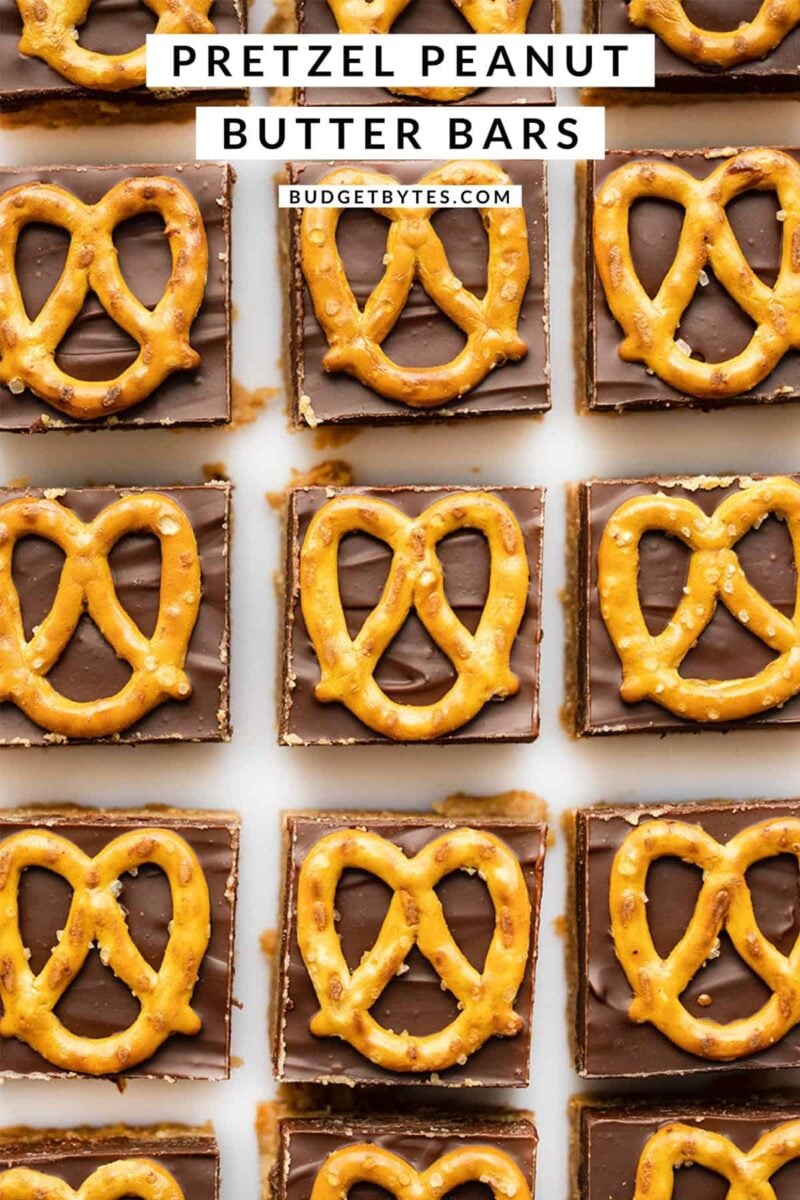
Press the mini-pretzels into the melted chocolate in rows. I did five rows of five across. Make sure to leave a little space between each because that is where you’ll cut your bars.
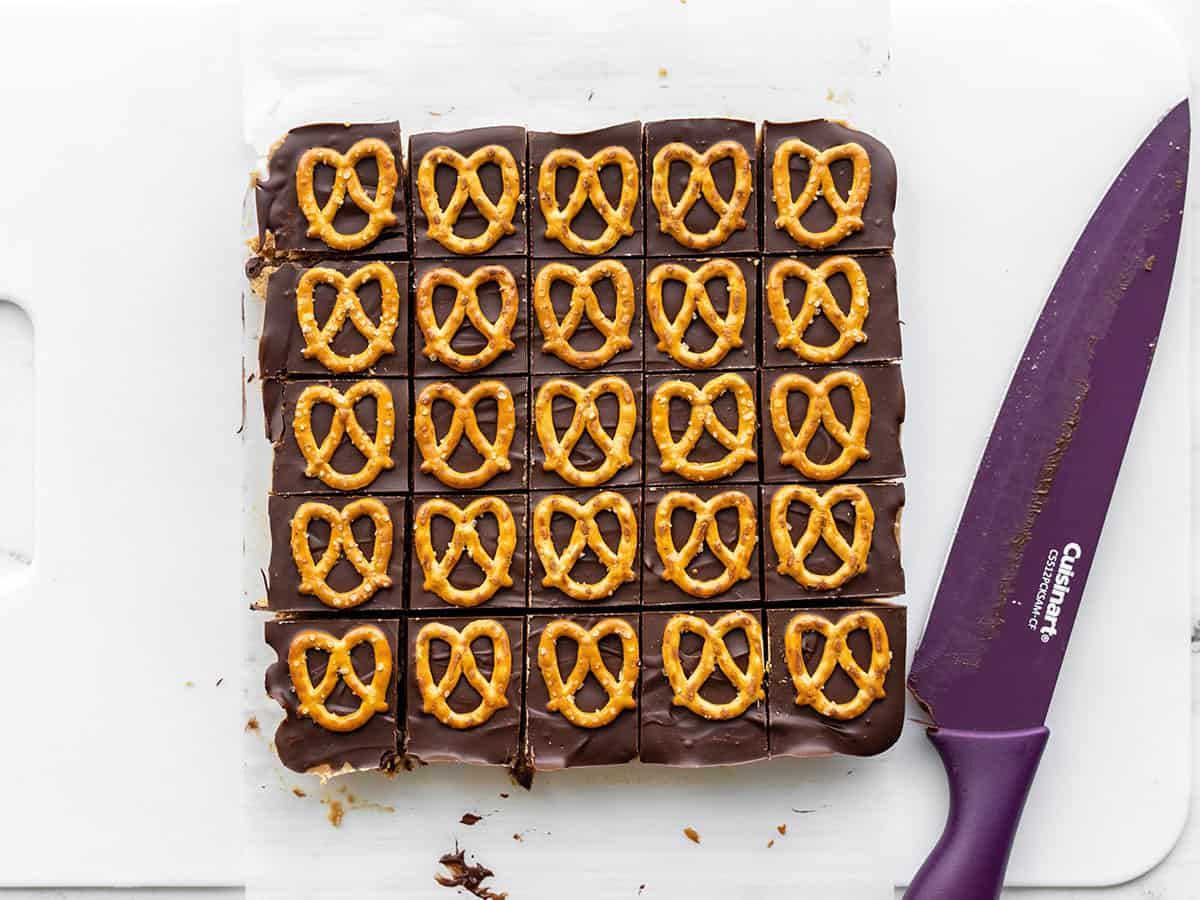
Refrigerate the peanut butter bars for at least two hours, or until they are solid. Lift them out of the dish using the sides of the parchment paper. Use a sharp knife to cut them into squares between each pretzel.
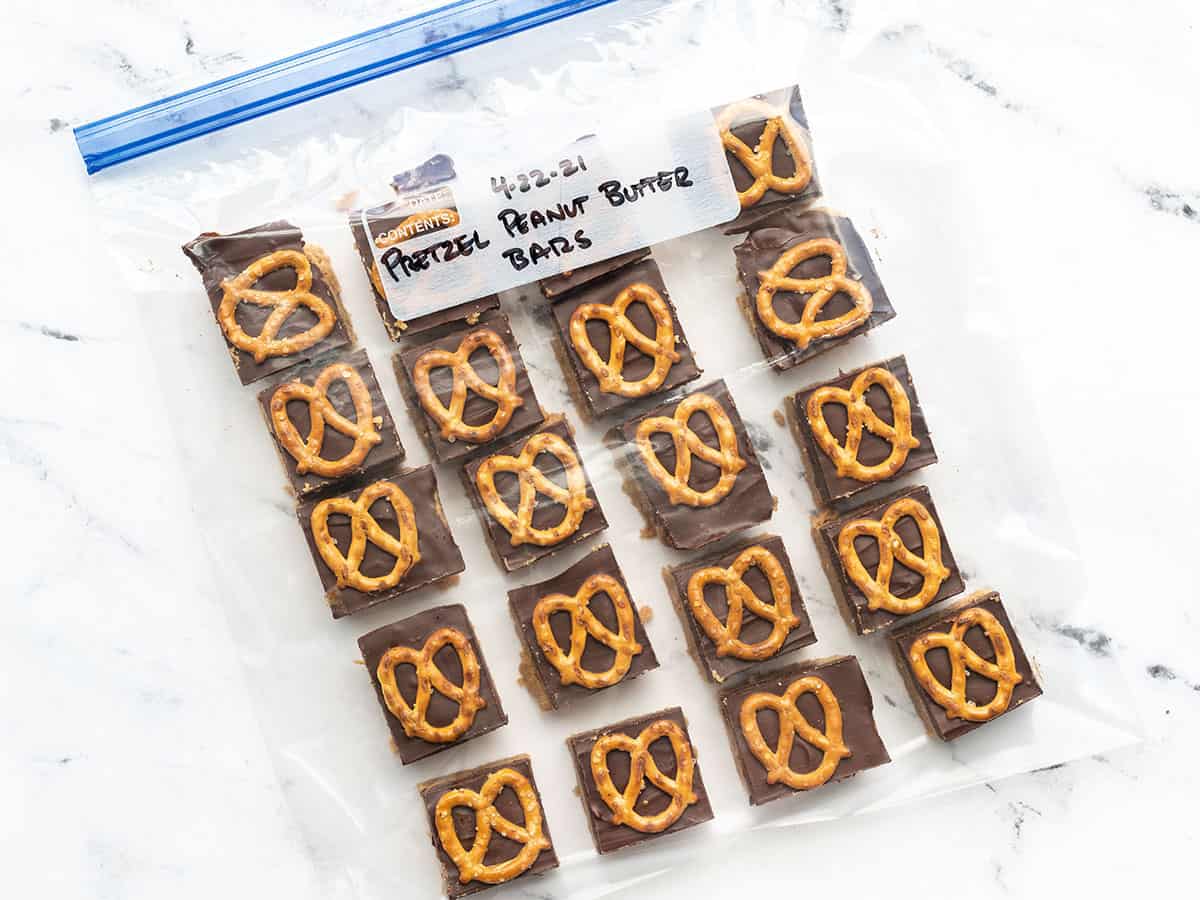
You can keep your peanut butter bars in the refrigerator for about a week, or freeze them for longer! They thaw pretty quickly at room temperature, so you can get that peanut butter chocolate fix whenever you’d like. ;)
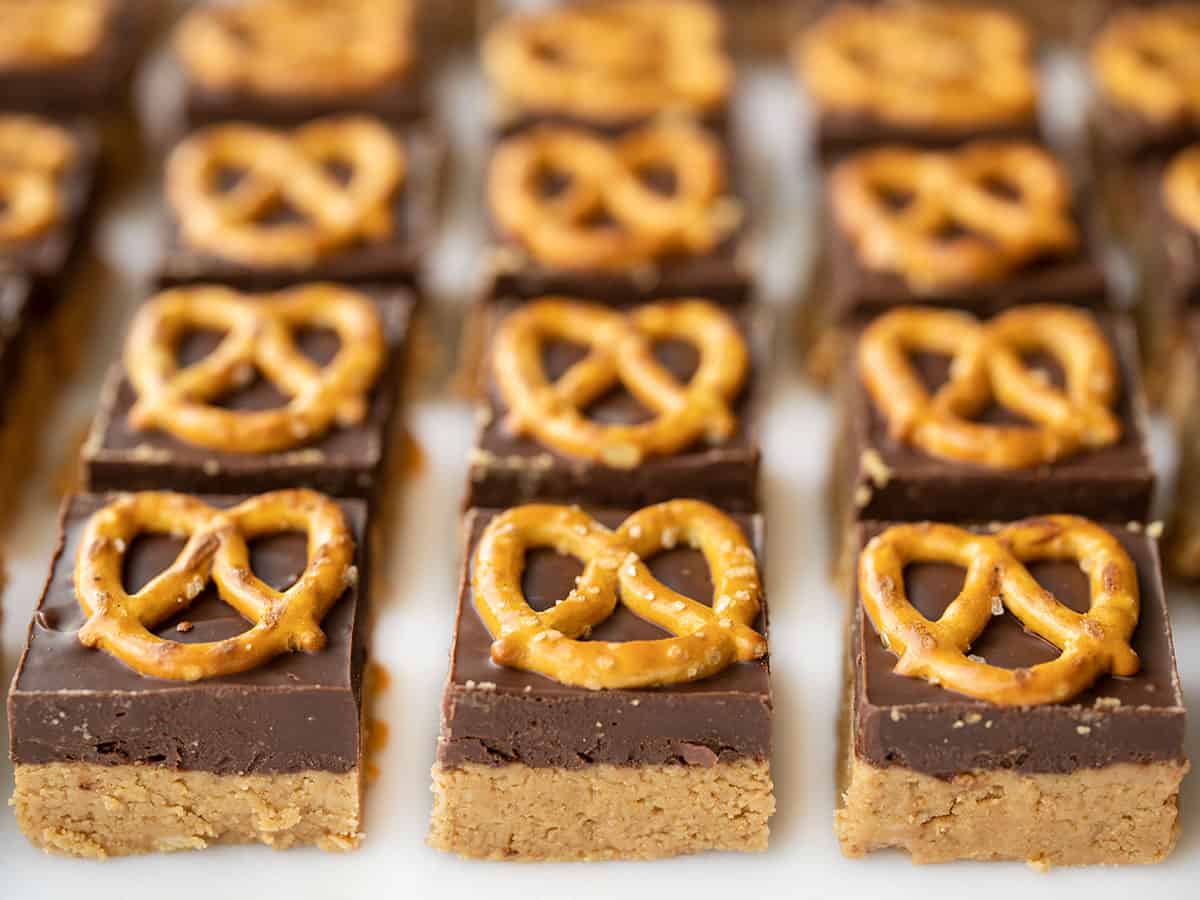



We make these so often and love them! So quick and easy and incredible!
Would adding some pretzels to the food processor with the graham crackers throw off the flavor or texture of the base too much? I thought it might be nice to have a little pretzel flavor in the actual bar too as well as on top
I don’t think it would! As long as the pieces are uniform and there are no big chunks of pretzel. Sounds delish!
Can you use a stick of margarine instead of butter?
We don’t use margarine, Holly so I’m not sure how it would work!
These were a hit! I loved how easy they were. I used crushed pretzel sticks instead of traditionally shaped pretzels since that’s what I had on hand. I’ll add this to my list of easy desserts!
I just made these for a group of 20 Elementary children and they loved it So Much that they all asked for the recipe, which I will give them! This is the BEST and most loved snack I’ve ever made for them!!! Thank you so much for such a great recipe!
I made these yesterday using bittersweet chips that I had on hand. Followed the instructions but left off the pretzels. Really, really GOOD! Two hours in fridge & it fully set up, a bit on the hard side. I trimmed the edges off & brought to some pals for test tastes to rave reviews. I have since left it out overnight & I gotta say the texture is better than right out of the fridge & it kept its shape. I will def make again & feel this would be a nice addition to any holiday platter IMO. BTW, I used the SS bowl over simmering water hack to melt the PB and butter & the same bowl to melt the chocolate topping. Worked great! Thanks for posting….great snack nibble!
This is my new favorite! I didn’t have pretzels, so I just sprinkled some extra graham cracker crumbs.
I put my own twist on this recipe and the result was seriously so good, shoulda been illegal.
I used white chocolate instead of milk chocolate and buttery pretzel balls instead of mini pretzels. I placed the buttery pretzel balls on the graham cracker crust and pressed them in lightly before smothering with the white chocolate+pebu mixture. The result was beyond anything I had imagined, I call them BPBPB buttery pebu pretzel bars and they are now a regular occurrence in my house!!
So yummy! Made the recipe exactly as suggested and it tasted so good!
This was such an easy and quick treat to make. Thank you for the recipe!
Made these last minute and didn’t have any graham crackers, so I used gluten free pretzels instead. I am not mad about it!
I impressed myself and the kiddos today with these. The pretzels were the cutest addition! We love everything PB and chocolate. Some bars cracked a bit during the cutting process. I attribute it to using crunchy PB. Will try with the smooth one next time. Thank you for another show-stopping recipe.
I made this in paper-lined mini-muffin cups and they were awesome and adorable.
How did you get them out?!
had the same issue, I just ate the paper!! did you figure a solution? My kid had to get his stomach pumped
These PB/Choc/Pretzel Bars are OUTSTANDING!! I have made theses more than a few times already, and have brought to 2-BBQs this summer so far.
Absolutely amazing! I’m candy-addicted and was looking for a slightly healthier (or at least cheaper) alternative to snacking on Reese’s all the time. These are a LIFE CHANGER! I used half the butter to make it a little lighter, and they still turned out excellent in my opinion. Great snap on the chocolate, and they hold their shape even at room temp.