I know, man can not live on bread alone. So I’m a little obsessed with baking bread lately… humor me. There will be more “real food” soon, promise.
You may remember this video that I referenced in my very first no-knead bread recipe post. The recipe and technique in the video are a little different from the basic no-knead recipe. The dough is wetter, it ferments for 18 hours at room temperature and is shaped into a long, fairly flat, ciabatta shaped loaf.
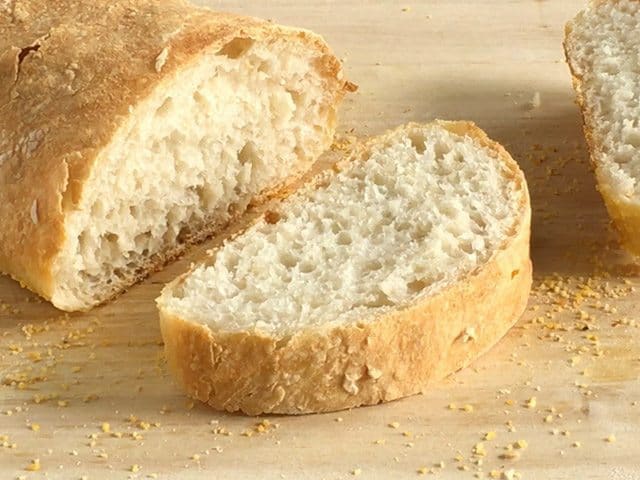
Well, I’m glad I decided to give this one a try. For some reason it seems easier than the original no-knead and the result so much better. The inside is lighter and fluffier. The flavor is wonderful. The shape, although flat, is perfect for sandwiches. PERFECT.
After making this bread countless times, I now make a “half batch” loaf and usually use 100% all-purpose, rather than using some whole wheat (I like the texture better). The ingredient amounts listed below are for a half batch sized loaf.
If you can’t time the dough just right to ferment for 14-18 hours, you can actually slow the fermentation by putting it in the refrigerator for a few hours. When I need to leave it for about 24 hours, I pop it in the fridge over night (8 hours), then let it come to room temperature before continuing.
(Updated 10-26-15)
No-Knead Ciabatta
Ingredients
- 2 cups all-purpose flour plus some for dusting ($0.26)
- 1/8 tsp instant or “bread machine” yeast ($0.02)
- 3/4 tsp salt ($0.03)
- 1 cup water ($0.00)
- 1/2 Tbsp olive oil ($0.08)
- 2 Tbsp cornmeal ($0.03)
Instructions
- In a large bowl combine the flour, salt, and yeast. Stir the dry ingredients well until they are evenly combined. Add the water and stir it until a wet, sticky ball of dough forms and no flour remains on the bottom of the bowl. Loosely cover and let sit at room temperature for 14-18 hours to ferment.
- After fermentation, the dough should be wet, sticky, very bubbly, and fluffy. Dust the top of the dough and your hands with flour. Carefully scrape the sticky dough from the bowl, adding a small amount of flour if needed to keep your hands from sticking.
- Turn the dough out onto a floured work surface and stretch it into a long, 12-16 inch loaf. It’s okay if the loaf is lumpy and uneven. The dough will be very soft and sticky, so don’t worry too much about the shape.
- Prepare a baking sheet by smearing olive oil over the surface and then sprinkling with cornmeal. Carefully pick up the loaf and transfer it to the prepared baking sheet, reshaping it as needed. Let the dough rise for 2 hours.
- Preheat the oven to 425 degrees and bake the loaf for 25 minutes, or until it is golden brown. Let the bread cool on a wire rack before slicing.
See how we calculate recipe costs here.
Nutrition
This post contains some affiliate links, which means that we make a small commission off items you purchase at no additional cost to you.
Step By Step Photos
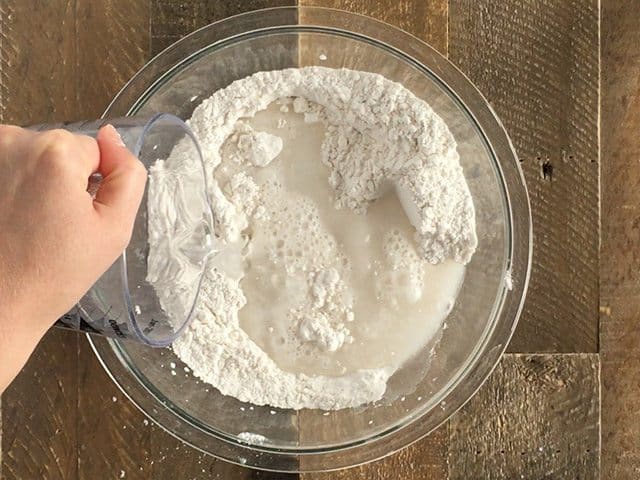
In a large bowl, stir together 2 cups all-purpose flour, 3/4 tsp salt, and 1/8 tsp instant or “bread machine” yeast. Stir until they’re well combined. Add one cup of water and stir until a soft, sticky ball of dough forms and no flour remains on the bottom of the bowl.
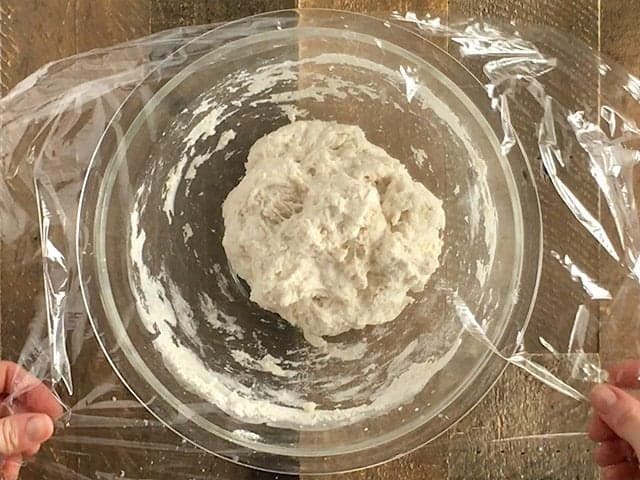
Loosely cover the dough and let it ferment for 14-16 hours. If you need to let it sit longer, it can be placed in the refrigerator for part of the fermentation to slow it down.
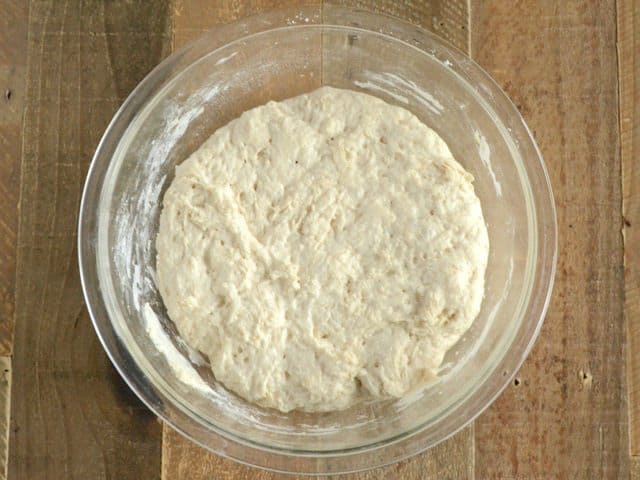
After fermentation, it should look like this. Big, fluffy, and full of bubbles. Oh yeah, it’s also sticky. Dust the dough and your hands with flour, then gently scrape it from the bowl. Turn it onto a lightly floured work surface and shape it roughly into a 12-16 inch rectangle.
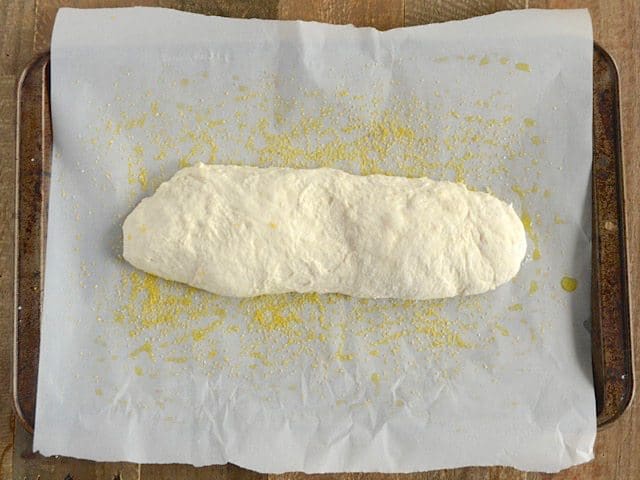
Prepare a baking sheet by spreading 1/2 Tbsp olive oil over the surface, then sprinkling with a tablespoon or two of cornmeal. I added parchment to my baking sheet just to make cleanup a lot easier. Transfer the shaped dough to the baking sheet (it’s okay, good even, if it’s unevenly shaped).
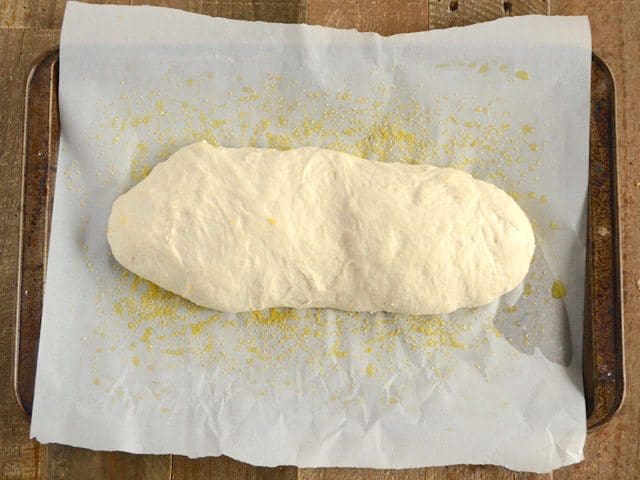
Let the dough rise for two hours. This is where all the nice, big internal bubbles come from, so don’t skimp on this step! Begin preheating the oven to 425 degrees.
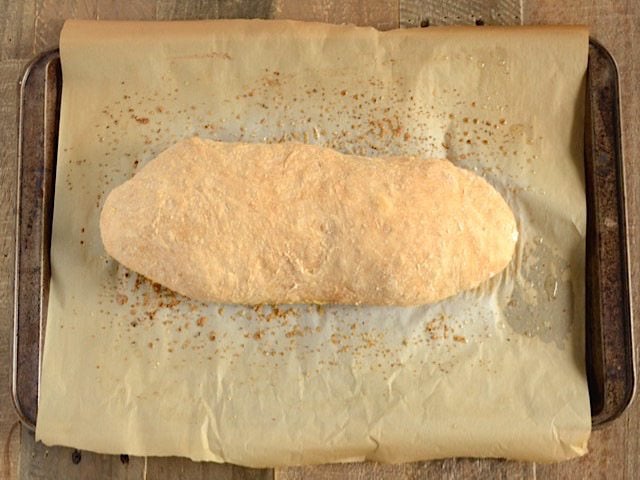
Bake the bread for 25 minutes, or until golden brown on the outside. Make sure the oven is fully preheated before the bread goes in, because it needs that sudden blast of hot air to really puff up.
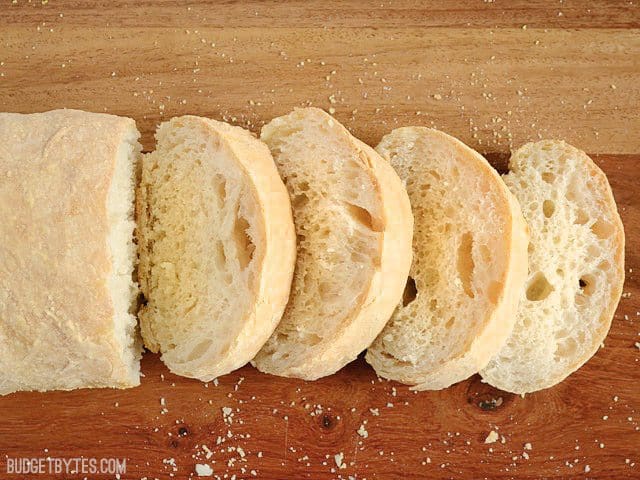
Let the bread cool before slicing (I know, it’s hard to wait, but you’ll avoid crushing the bread that way).
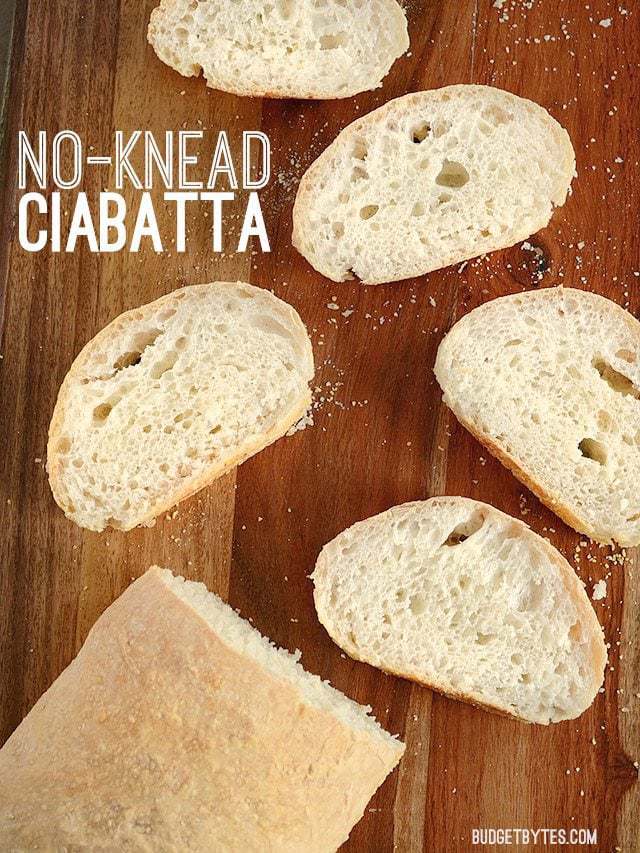
This bread is perfect for sandwiches. Light and fluffy inside with a good crust. YES!
Oh, my other favorite thing about this bread is that it only uses 1/8 tsp of yeast – TOTAL. Now I can make great bread every week and my yeast will last for-ev-er.




Hi Beth,
I’ve made this bread twice and the taste is delicious! However, I just can’t get it to rise. Second time I made it I tried doubling the yeast, allowing a couple extra hours of rise time, and making sure the temperature in my house is above 70. Unfortunately although it tastes great it still came out flat. Any suggestions?
This bread in particular tends to expand out instead of up. Is that what is happening to you? A little more flour in the mix might help make it more sturdy and rise up. The gluten should develop through fermentation enough to hold the structure, so long as the dough isn’t too-too wet.
Love this. Made it twice in two days! Crusty with giant air pockets….perfect with a bowl of soup….or for a ham sandwich ;) This will be a go-to recipe for sure.
Just made this for the first time, will definitely be making again! Super easy, and turned out one of the best breads I’ve ever made myself. I added some italian seasoning to give it a bit more flavor since I was pairing it with an italian pasta.
Do you freeze this?
It freezes well once baked and fully cooled. :)
Is the cornmeal absolutely necessary? I live in Korea and don’t have access to it, though I can special order. Can’t think of what else I would use the cornmeal for, however, so trying to determine if it’s a must-have.
No, it’s not a must have. :) It just gives a nice texture to the bottom, but you’ll be fine without it.
I made this bread yesterday/today and it is, quite possibly, one of the best bread recipes I’ve ever tried! I *do* think it could have used a tiny bit more salt, but otherwise it was perfect! Great texture! And because my kitchen gets a little chilly, on the second rise I put the pan on a heating pad and turned the pad on high – that made it raise really well!
Ok, I know this is supposed to be flatter than your average loaf of bread, but I’ve tired this recipe 6 or 7 times and I can’t figure out why it doesn’t rise the second time. I’d loooove for this to work, it would save me so much money on bread (and the flavor is delicious) but it refuses to rise for some reason. The only thing I can think of is maybe my house is too cold (66-69f usually)? Or my dough is too wet? Any ideas?
It does sounds like your house is a bit too chilly (I find that it can take twice as long when the room is below 70). The wetter the dough the flatter the bread will be, but that will also give you those great big holes that ciabatta is known for. If you notice that some of my new pictures the bread doesn’t have big holes, that’s because I made the dough a bit drier that time. The bread should puff quite a bit in the oven, too, even if it doesn’t rise “up” a lot during the rise time. To achieve that, you should make sure the oven is fully preheated before putting the bread in there. I hope those tips help!!
I realize I’m a bit late to the party lol, but I figured this may help someone in the future. When my dough isn’t rising a second time, it’s usually because my house is too chilly. I’d recommend preheating your oven to 200, turning it OFF, and then leaving the oven door open 1-3 inches for ~5-10 minutes. Imagine you’re taking your yeast to a nice day at the beach in the warm sunshine–that’s the level of warmth you’re going for. Haha hope that helps!
LOVE the video!! Thanks for taking the time to put that together. I will be making this bread soon!
Just found this recipe from the “Toasts” post for 4/23/15. I think I need to try this ciabatta recipe this weekend – ciabatta is one of the few breads that I have avoided because of the high hydration and difficulty handling the dough. But your instructions and pictures have really encouraged me to try this. I will report back with my results! Thanks!
I finally bought some fresh yeast and had an epic fail with your first no knead recipe (my fault for not reading through the instructions completely!). I’ll be trying this one next. One suggestion for you: could you please adjust the total recipe time to include the initial rise time? This recipe faked me out with the 40 minute total time. :-)
All your bread recipes look wonderful and easy, too! I love rye bread, esp. Jewish or Russian rye with caraway seeds and I am NOT paying upwards of $4 for a loaf. Not a lot of recipes that aren’t labor-intensive for this. Do you think I could sub rye flour for the wheat? Or might it be too heavy? Also, can I continue to use regular granulated RedStar yeast, or buy the bread machine variety? Thanks, again.
You know, I’ve never baked with rye flour so I’m not really sure. The yeast needs to be “instant” or “bread machine” or “rapid-rise” yeast. Those varieties can be added to a recipe dry without mixing with water first. Regular yeast or “active dry” needs to be proofed in warm water before adding to a recipe.
I’m sorry, but what kind of yeast is used in this recipe? I’m a noob to this bread-making thing, so…
Thanks for noticing that! You should use instant or bread machine yeast. I’ve updated the recipe, thanks!
Round two- I added a small amount of vital wheat gluten, but otherwise followed the recipe using white whole wheat flour. It worked great.
-Maia
I made this yesterday and it came out pretty well considering I 1) halved the recipe 2) used all whole wheat flour and 3) let the second rise go for like four hours. I think I didn’t have enough water although I followed the recipe- maybe due to the whole wheat? Anyway, I will certainly be doing this again if it is this forgiving.
-Maia
I made this last night/today with multigrain bread flour. It turned out a bit dense because of the multigrain flour, but it’s full of flax and other goodness so we are devouring it happily anyways. Makes amazing sandwiches!