I haven’t baked any bread in a long time, mostly because I don’t eat bread very often lately. I do love to bake, though, so when I came across this recipe for No Knead English Muffin Bread on KitchenParade.com, I knew I had to make it, even if just for fun. If you’re a bread person and eat it often, making your own bread can be a huge money saver. An artisan loaf at the store will run you between $3-$4, but you can make it at home for less than a dollar. If you’re intimidated by baking bread, a “no knead” recipe like this is perfect to get you started and a little more comfortable with the bread making process.
All recipes are rigorously tested in our Nashville test kitchen to ensure they are easy, affordable, and delicious.
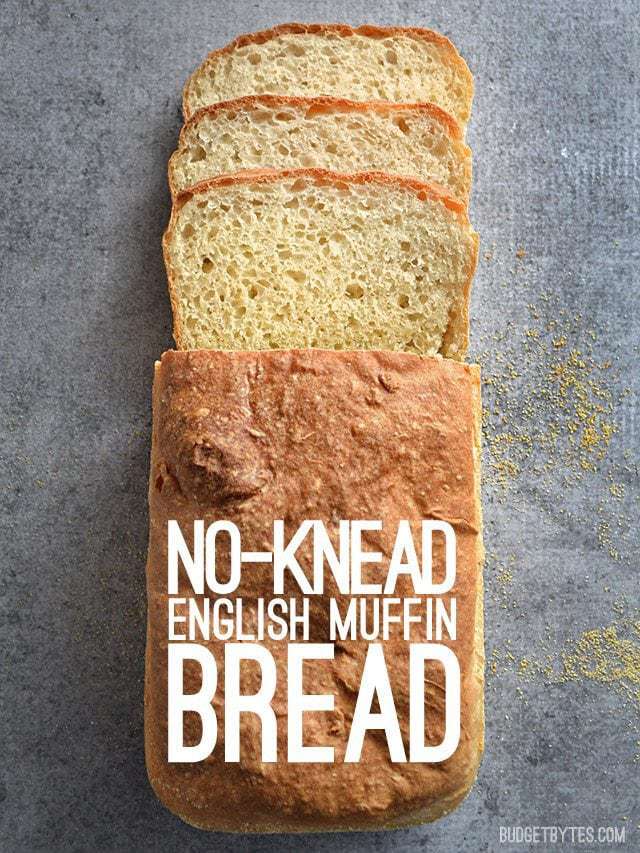
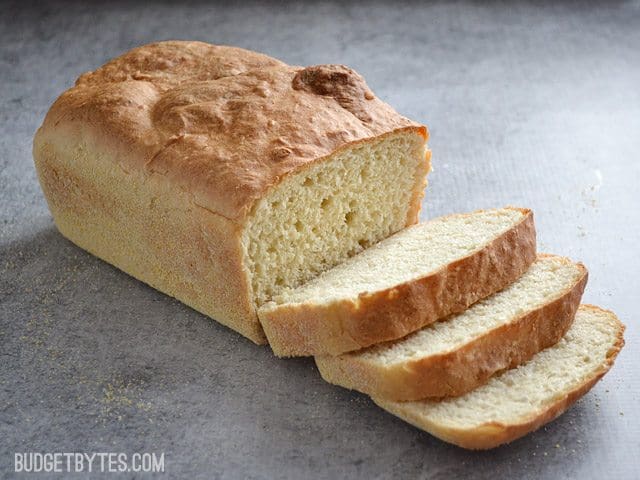
What makes this bread “English Muffin” bread? I dunno, just the heavy coating of cornmeal and delicate crumb, I guess. To me English Muffins are a bit more “eggy”, but this bread is still great all the same. So, we’ll just call it English Muffin bread for fun, deal?
Want to try making regular English Muffins? Check out my Homemade English Muffins recipe!
No Knead English Muffin Bread
Ingredients
- 2 1/4 cups flour (plus some for dusting) ($0.38)
- 2 tsp (or one 1/4 oz. packet) instant yeast ($0.19)
- 1 Tbsp sugar ($0.03)
- 3/4 tsp salt ($0.03)
- 1 cup warm water ($0.00)
- 2 Tbsp cornmeal ($0.08)
Instructions
- In a large bowl, combine 1 cup of the flour with the yeast, sugar, and salt. Add one cup of warm water and mix with a hand mixer on medium speed for three minutes. Use a timer to make sure it is mixed for a full three minutes.
- Begin to add the remaining 1 1/4 cups of flour, a small amount at a time, until you can no longer use the mixer. At that point, use a large wooden spoon to stir the rest of the flour into the dough. The amount of flour needed may be slightly more or less depending on the moisture content of your flour, but you should aim for a very soft, pliable, slightly sticky dough in the end.
- Coat a loaf pan with non-stick spray, then dust the inside heavily with cornmeal (about 2 Tbsp). Sprinkle a little extra flour onto the dough to keep it from sticking to your hands and mold it into a rough loaf shape. Place the loaf in the pan, cover with a damp paper towel, and let rise for one hour, or until the loaf has risen higher than the top of the loaf pan.
- Preheat the oven to 400 degrees. Bake the risen loaf for 30-45 minutes, or until it sounds hollow when tapped. If the top begins to brown too much before 30 minutes, cover with foil to reduce further browning (I covered mine after 20 minutes).
- Remove the loaf from the pan and let it cool completely before slicing.
See how we calculate recipe costs here.
Nutrition
How to Make No Knead English Muffin Bread – Step by Step Photos
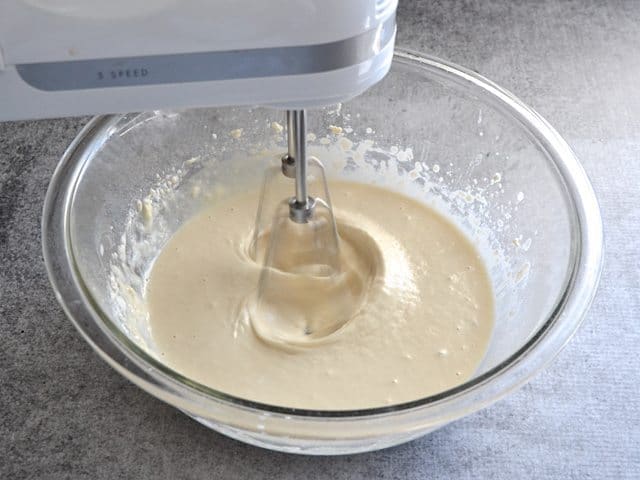
Start by combining 1 cup of flour, 2 tsp instant yeast (or one 1/4 oz. packet), 1 Tbsp sugar, 3/4 tsp salt, and one cup of warm water in a large bowl. Mix the ingredients using a hand mixer set on medium speed for three full minutes. A word to the wise, start the mixer on low then increase to medium once it starts to come together, so you don’t spray flour all over your kitchen. ;) This mixing action partially develops the gluten, which is a substitute for the kneading process.
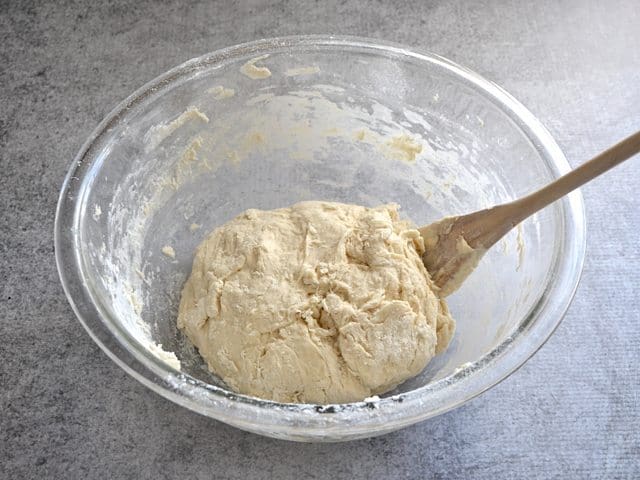
After mixing for three minutes, begin to add the remaining 1 1/4 cups flour, a little at a time. Once it becomes too thick to use the mixer, use a large wooden spoon to stir in the rest. The total amount of flour you need may be slightly more or less, depending on the moisture content of the flour. The end result should be a soft, pliable, slightly sticky dough (no piles of dry flour on the bottom of the bowl).
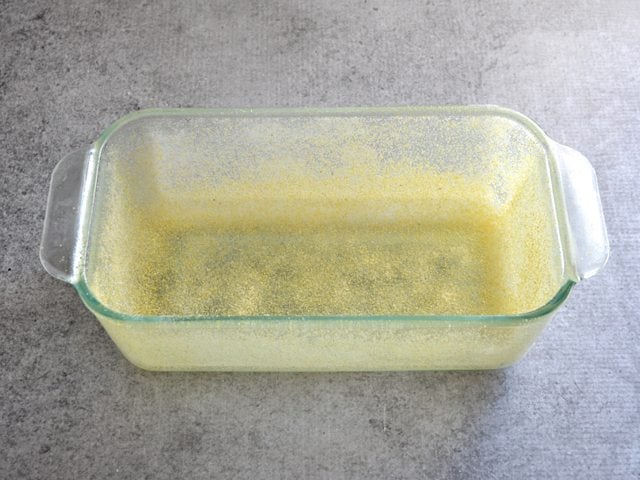
Prepare a loaf pan by coating it with non-stick spray, then using about 2 Tbsp of cornmeal to dust the inside. This creates a nice thick crust of crunchy cornmeal on the outside of the bread—just like an English Muffin!
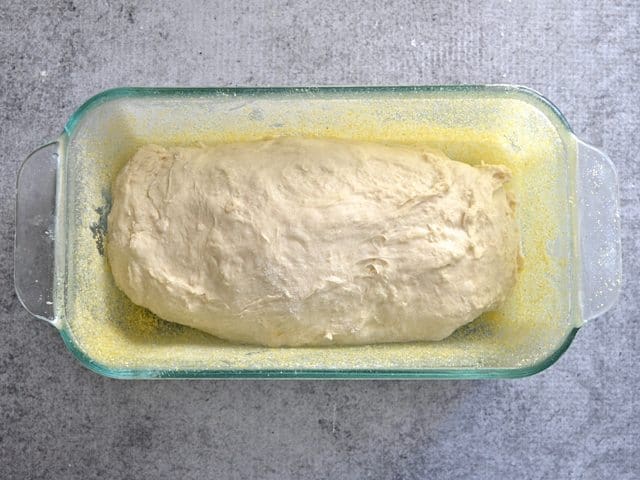
Sprinkle a little flour on the dough and your hands to keep it from sticking, then shape it into a rough loaf. It doesn’t have to be perfect. If you *want* to knead it a couple times, it will make the dough a bit more even and pretty, but it’s not necessary. Place the loaf in the prepared pan.
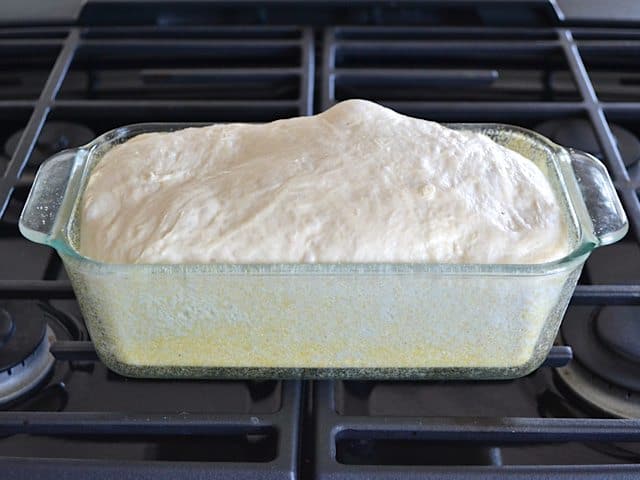
Cover the loaf pan with a damp paper towel and let it rise for one hour or until it rises up out of the top of the loaf pan. I let mine go for about 1 hour and 15 minutes because it was a tad chilly in my house. Again, the lumpy shape of the top can be eliminated by working the dough just a bit before shaping it into a loaf.
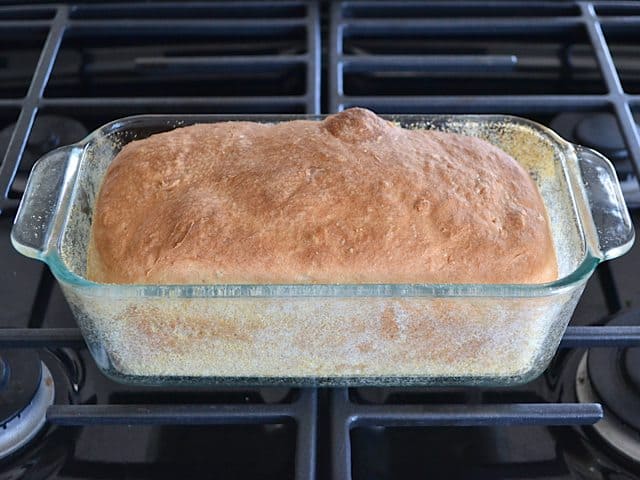
Preheat the oven to 400 degrees, then bake the English muffin bread for 30-45 minutes, or until it’s golden brown and sounds hollow when you tap the crust. If the top begins to brown too fast (it needs to be in the oven for at least 30 minutes), you can cover it with foil to slow the browning process. I ended up adding foil at about the 20-minute mark and baked for 30 minutes total.
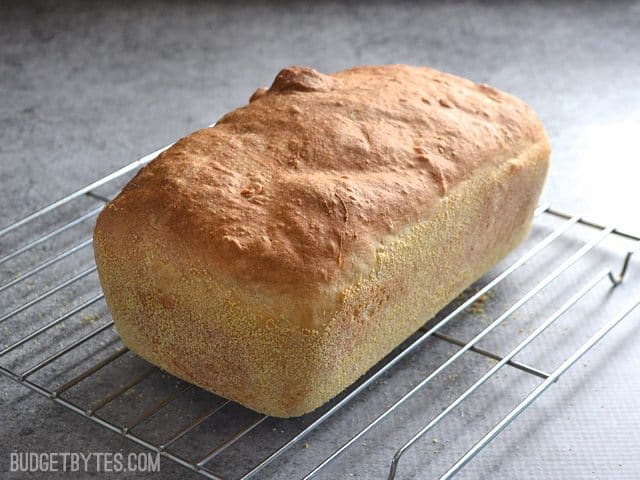
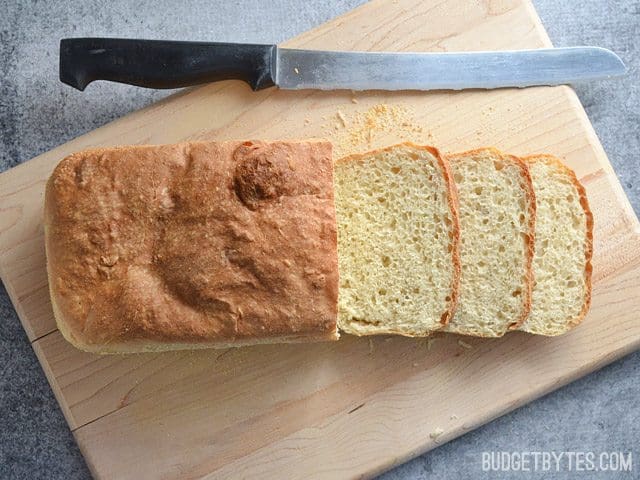
Letting the loaf cool completely before slicing it is one of the hardest things to do, but one of the most important. The english muffin bread is soft and squishy when warm and trying to slice it in that state will tear it apart or flatten it completely. Neither is good. So, let that bread cool!
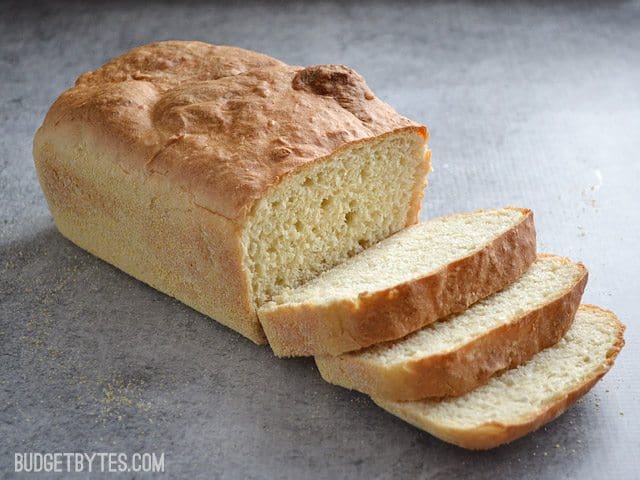
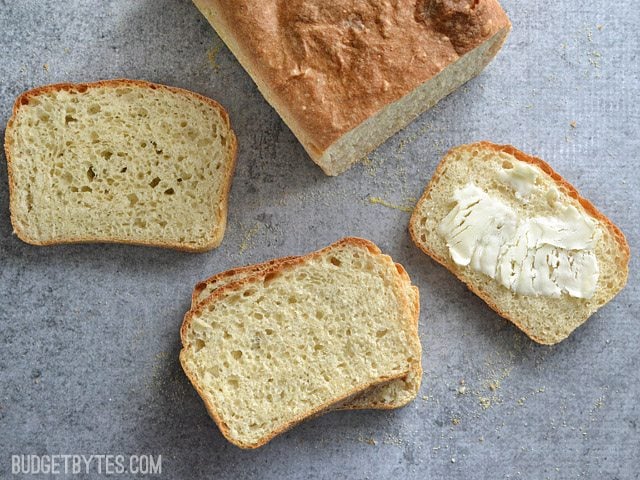
Once it’s cool, slice it, toast it, and slather it up with some butter and jam!
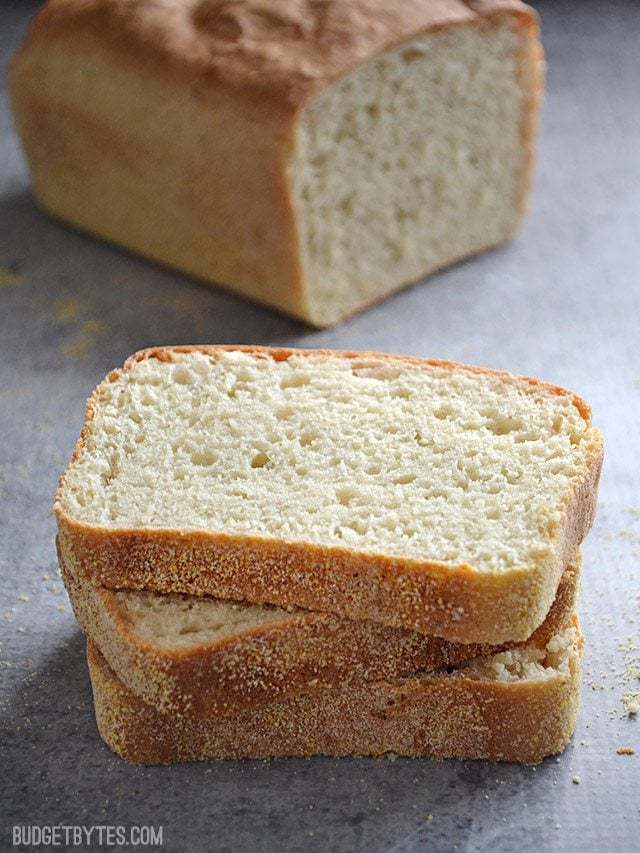
Homemade bread with no fancy machines and no fancy skills needed!



Mine didn’t rise like it should e and I don’t have all night to wait for it (I put it in a warm oven) since I have supper to put in the oven. I
My house is cooler in the winter. I didn’t like this recipe because the dough is fussy. Other recipes I’ve tried it came to a batter like consistency which I thought was great since I’m not good at making bread dough.. I tried this recipe instead of my go 2 recipe because this one didn’t call for milk & I’m out at the moment. I also just mixed it by hand for 3 minutes which might be why it didn’t proof well. Not enough gluten action happening?
I sounds like it wasn’t kneaded/mixed enough to me! Since you put it in a warm oven to proof, I would think you would definitely get a good rise out of it. The only other thing might be your yeast, but it sounds like you probably bake quite a bit so I bet your yeast is alive and well. :)
Do you use All Purpose Flour or Bread Flour? And could I use the dough hook attachment on my stand mixer instead of a hand mixer?
How do you store the bread?
I usually just wait until it’s completely cool, then store in an air-tight container in the fridge. Some people don’t like to store bread in the fridge, but I always do. :P
Does this English muffin bread make good french toast?
I haven’t tried that, unfortunately!
Brioche is eggy, English muffins are NOT eggy!!!
What is the reason for mixing the yeast for (no less) than 3 minutes and why with flour? Can I use a regular mixer?
Yes, you can use a regular mixer. Mixing the dough for three minutes develops the gluten a bit so you don’t have to knead it by hand. :)
I have made this several times, followed the directions exactly. It always has a tunnel down the middle. What am I doing wrong?
Hmm, not sure. It’s hard to say without watching exactly what’s happening when you’re making it and without seeing what you’re describing as a tunnel.
I made this and am really happy with the results! However, I dont see the point of the cornmeal? It just left a thick coating on my bread. If I am using a nonstick bread pan, is this step necessary??
Yes it’s helpful to create a non stick surface on the bread and more traditional. You could use less next time!
This was so easy and delicious. I needed a couple tablespoons extra flour to get it into sticky ball, and did knead it for a minute into a loaf shape. I let it rise in the warm oven (preheated for just a few minutes).
I used a dark metal 9×5 loaf pan and didn’t need foil, it was perfectly brown and hollow sounding after 30 min.
Thank you for this recipe! I’m on my 3rd attempt. My question: how do you get the paper towel off the dough? My first time, it came off okay ( i think i used plastic wrap, actually) but the loaf deflated and never rose back up. The bread was delicious, but small. The second batch I messed up with too-hot water, and now batch #3 I used a wet paper towel and it stuck sooo much but didn’t seem to deflate quite as much. I’m wondering if it might work better to tent it with sprayed aluminum foil??? But obviously, the wet paper towel works for you so I’m not sure what my problem is. ;
You try parchment.
Is this bread sweet or savory?
It’s really a savory but semi neutral bread. You can make it sweet with toppings once baked like a little bit of jam.
Thanks for the response. I actually wanted savory, so I decided to put less sugar and it tasted pretty good. Loved the recipe. I’m going to make it again today, but will put the amount you mentioned upon family request. Let’s see how it goes. Stay safe during these trying times.
I’d like to make a slightly bigger loaf for a 9×5 pan, do you think this would likely work? Just increase baking time?
Yes and keep your eye on it :)
How much more servings should I add for a 9×5 pan?
No need to add more servings. The recipe is already set for a standard loaf pan.
Delicious bread! We live at 7,000 ft above sea level in Colorado, so I think that screwed everything up as my bread was only about 3 inches tall after rising for 2 hours and baking! Any tips for tweaking this for high altitude baking?
Oh no! I live in Colorado too Erika, and I tend to add a bit more flour to some things. But then there are others who suggest more liquid. It may just need a little bit of playing with to get it right.
I would li!e to substitute some whole wheat flour for the AP flour. What ratio would you suggest?
I’d start with half and half and see what you think. I like that ratio best!
My timer quit during the three minute mix. I may have mixed longer. Is that going to mess it up?
Sorry we didn’t get to respond sooner. You should be just fine. How did it go?