I’ve had a few people ask for an oatmeal molasses bread recipe so I thought I’d break this good ‘ol recipe out of my vault of .txt files from about ten years ago. This recipe was one of my first forays into budget cooking. Back in the day, when I had first moved out on my own, I cooked a batch of this bread every couple of weeks. I’d eat one loaf that same week and the other would go in the freezer for the next week. I lived a very exciting life as a 21 year old, let me tell ya.
This is not a quick bread recipe by any means, it’s more of an all day event. Most of the time the dough is either resting or rising so it doesn’t take a whole lot of attention, just a lot of time. So, make it on a day when you’ll be at home doing other chores. Also, this might not be a beginners bread because the molasses makes it slightly more difficult to determine if enough flour has been kneaded in… but hey, I broke my bread making teeth on this recipe so maybe you can too!
This was literally the first time I’d made the bread in about ten years and it was slightly different than I remembered. But then, While writing an article about molasses, I realized the difference. Before, I used sorghum molasses and this time I used regular, dark molasses. Sorghum molasses is made from sorghum, while regular molasses is made from either sugarcane or sugar beets. Don’t get me wrong, they were both delicious, just slightly different. For more info about molasses, read What is Molasses?
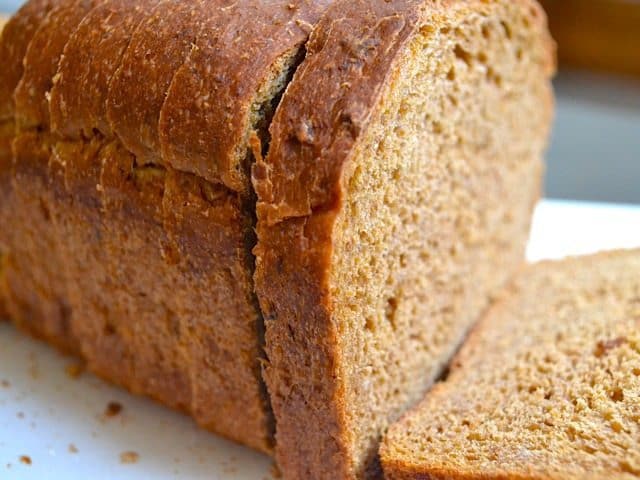
Oatmeal Molasses Bread
Oatmeal Molasses Bread
Ingredients
- 1 cup quick or old fashioned oats ($0.17)
- 1 1/2 Tbsp butter ($0.11)
- 2 1/4 tsp active dry or instant yeast ($0.18)
- 1/2 cup molasses ($1.10)
- 2 tsp salt ( $0.10)
- 2 cups whole wheat flour ($0.32)
- 4 cups all-purpose flour (more or less as needed) ($0.59)
Instructions
- Place the oats and butter in a large bowl and pour two cups of boiling water over top. Let rest for 1 hour to allow the oats to soften.
- In a small bowl, soak the yeast in 1/2 cup of warm water for 5 minutes. Add the molasses, salt, and dissolved yeast to the bowl of soaked oats. Stir to combine.
- Stir in two cups of whole wheat flour. Begin adding the all-purpose flour, 1/2 cup at a time, until you can no longer stir it with a spoon.
- Turn the dough out onto a floured surface and continue to knead in all-purpose flour until you have a soft, pliable, not sticky ball of dough. You want to knead for at least 5 minutes to properly develop the gluten and you should have added about 6 cups of flour total (whole wheat and all-purpose). The dough may be slightly tacky due to the sticky molasses, but it should not be super sticky.
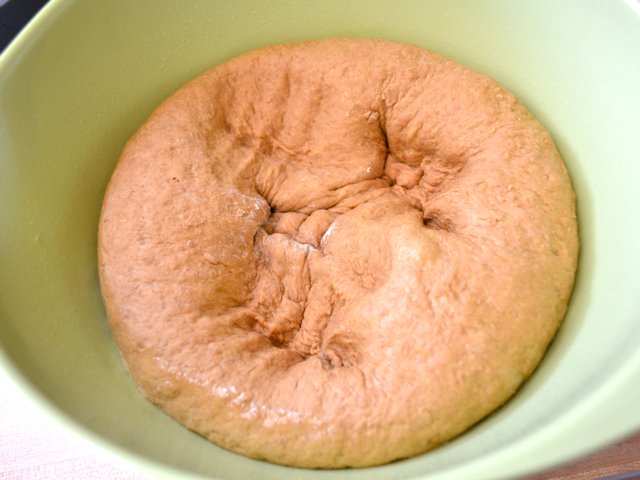
- Place the ball of dough in an oiled bowl, loosely cover, and let rise until double (1.5 hours). Punch the dough down, divide into two, and shape into loaves. Place the loaves in oiled bread pans, loosely cover and let rise until they are about 1-2 inches above the rim of the pan (another 1.5 hours).
- Preheat the oven to 375°F. Bake the risen loaves for 35-40 minutes or until deep brown on the surface. Turn the loaves out of the bread pans and onto a wire cooling rack. Let the loaves cool completely before slicing!
See how we calculate recipe costs here.
Nutrition
This post contains some affiliate links, which means that we make a small commission off items you purchase at no additional cost to you.
Step By Step Photos
Start by placing the dry oats in a bowl with the butter. You can use either quick oats or old fashioned. I’ve used both with success!
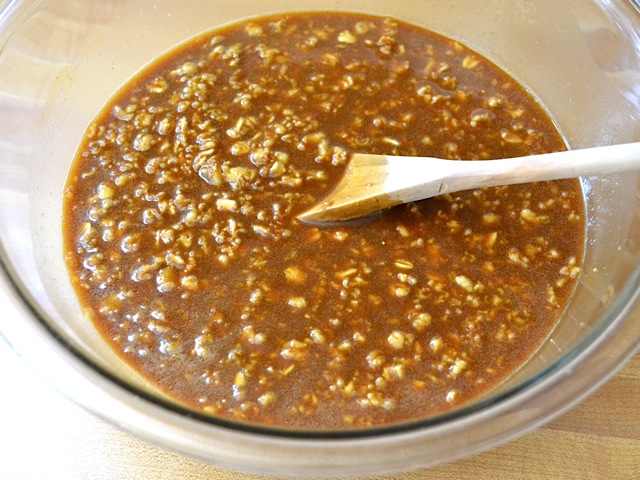
Pour two cups of boiling water over top and let it soak for 1 hour. After one hour the oats will be very soft and pretty close to room temperature.
Soak the yeast in 1/2 cup of warm water for five minutes.
To the bowl of soaked oats, add the soaked yeast, molasses, and salt.
Stir it all up.
Stir in two cups of whole wheat flour. It will be a very sticky mess at this point.
Begin stirring in the all-purpose flour, 1/2 cup at a time, until you can no longer stir it with a spoon.
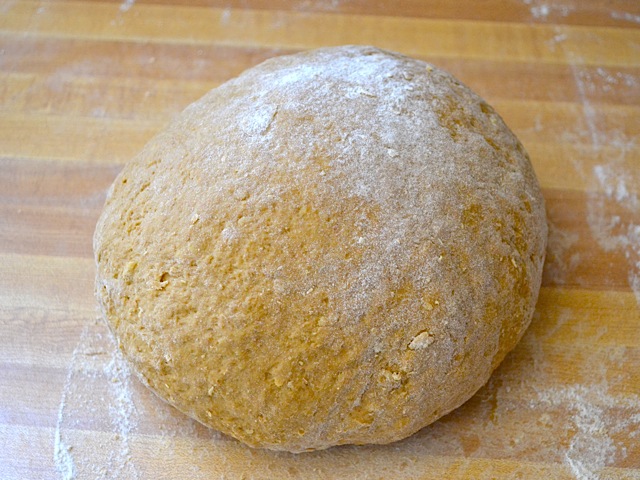
At that point, turn the dough out onto a floured surface and continue to knead in flour until you have a smooth, soft, ball of dough. Knead for at least 5 minutes.
This time, I used a total of almost 6 cups of flour whereas my notes from 10 years ago say 4 2/3 cups total… but I guess thats the difference between A) using a different kind of molasses and B) using old fashioned oats instead of quick oats. The point is that you have to use your judgement about how much flour is enough… which is why this may not be a beginners recipe. Also, due to the molasses, this dough tends to be stickier in general, which makes it even more difficult to gauge if enough flour has been added. But, anyway, somewhere around 5-6 cups total should do it!
Let the dough rise until double in size (about 1.5 hours) and then punch it down to deflate. Molasses is a slow fermenting sugar which is why it takes the yeast a little bit longer to do its job.
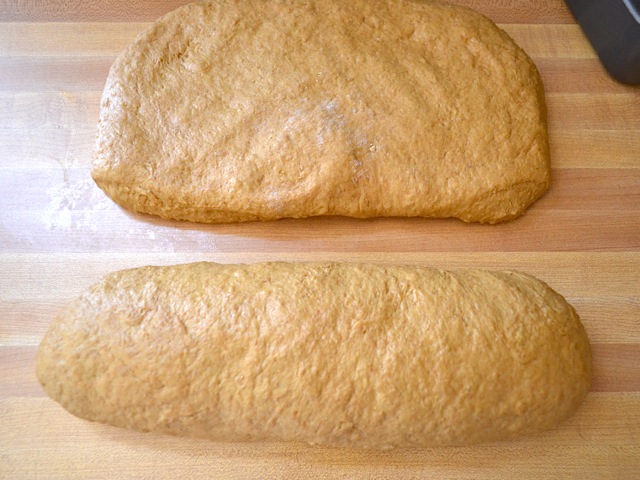
Cut the dough into two equal pieces…
And then shape each piece into a loaf. I did this by flattening each half into a rectangle (approximately the same length as my bread pan) and then rolling it up.
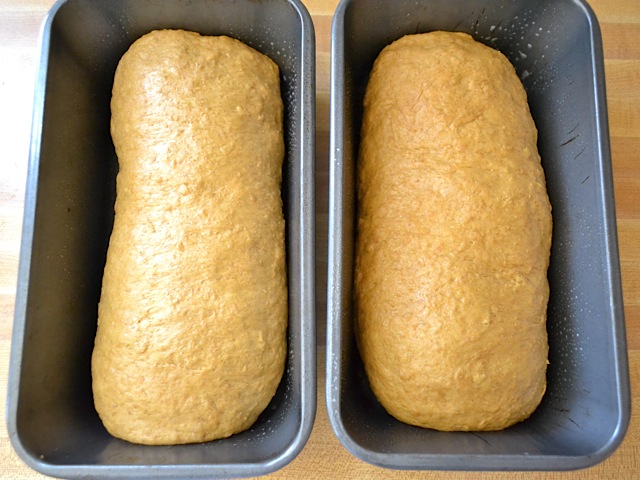
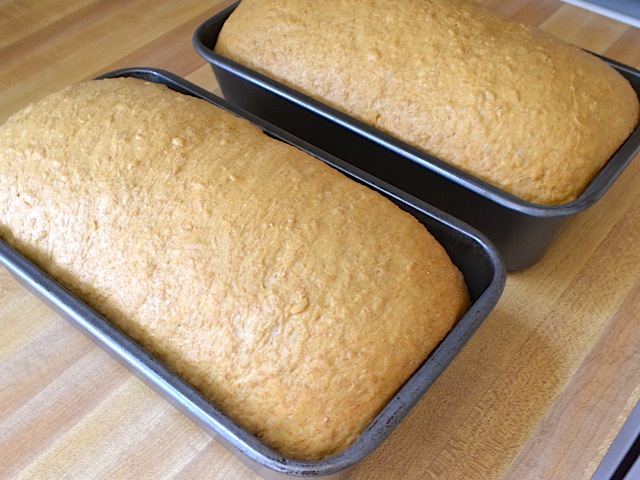
Place each shaped loaf into an oiled bread pan and let rise until it grows to about 1-2 inches above the top of the bread pan (another 1.5 hours)
When the loaves are nice and risen, preheat the oven to 375 degrees.
Bake the loaves for 35-40 minutes or until they’re a deep golden brown on the surface.
Turn the loaves out of the pan and onto a wire cooling rack. Let the loaves cool completely before cutting or else they’ll look like this…
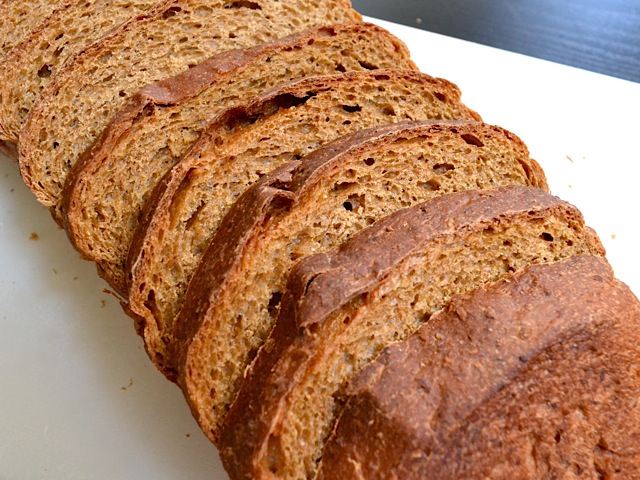
See, I didn’t wait until they cooled to cut them and so the hot, steamy bread gummed up on the knife and made a “pilled” surface. But, I was running out of daylight to photograph so I had to work quickly! Anyway, when I sliced up the rest of the loaf later, the crumb was beautiful and a perfect size. So let the loaves cool! I know it’s hard!
This bread is not super sweet as it may seem. It has a nice, deep, rich flavor with just a hint of sweetness. I love eating it for breakfast with either peanut butter or jam. It’s a very hearty, filling bread!







Works great in bread machine. A bit denser and not as developed in taste, but great to have a loaf of fresh bread in the morning. To adapt the recipe, I halved it and added 1 2/3 cups of water (no soaking of oats beforehand).
Thanks so much for this awesome recipe!
I finally got around to making this last week and it was wonderful! Got lots of compliments from my family and I’ve been eating it for breakfast all week. It’s good just warmed up a little with butter and maybe a bit of honey.
This came out sooo good. My first loaf of bread without the bread machine. Thank you Beth!
I love your website and so far this is the first recipe I’ve made. It’s easy with your step by step photos! I used 2 cups WWF and 2.5 cups of all purpose. I backed it in the oven the next morning after the second rising. It wasn’t nearly as poofy as yours as I think it “deflated” a bit overnight.
Overall a good recipe. Not too sweet, but a different take on squaw bread (my fave! Do you have a recipe?). Can’t wait to try your olive bread (DF loves olives!)
As a matter of fact… that loaf in the top picture was the frozen one after thawing. You can’t even see (or taste) a difference!
Michele – When I make this bread I keep one loaf in the refrigerator (it stays good for about a week in there) and the other in the freezer until the first loaf is gone (about a week). So, either would work! The bread holds up to freezing *really* well so if you did want to just freeze it for 3-4 days (or longer) until you’re ready for it, you can certainly do that. Glad you liked it! :)
OUTSTANDING! I haven’t tried making bread in, probably, 15 years. I made this recipe today and the results were AMAZING!!! I even goofed a little – and added a little extra flour – but still great results. A nice dense, but very tender, loaf with wonderful flavor. I will be making more next week – time permitted, I can’t imagine buying bread from the grocery store as a rule any more. I can’t wait to try some more of your bread recipes. One question – any suggestions on how to store the remaining loaf – to eat later in the week (so, probably not the freezer)?
This looks so amazing! Has anyone made this in a bread machine? I love homemade bread and make it every few days in my machine and I know I will never get to this making it by hand. :)
Starting to make the bread now. Anyone use there kitchen mixer dough hook to knead dough? Or is it best to knead bread by hand?
Is waiting ever to patiently for the second rise (in loaf pan) to finish so I can bake it. I saw this recipe while on vacation and couldn’t make it until now. I can hardly wait to eat it! (I’m making chili for dinner tonight, and a slice of sharp cheddar cheese on a piece of this bread is calling my name!)
ah, good call. i waited a couple hours so i thought it’d be cool enough but i guess not. Oh well, it still tastes good!
Harrison, those pictures are actually the *second* batch of photos that I took because my first slices were pretty awful :P The first time around I was running out of daylight so I had to try to slice it before it was completely cool – that never works. I took these a few days later after I had stored the loaf in the refrigerator. I think having the bread chilled made it a little more rigid and so it sliced easier. Plus, a good bread knife is a must!
Just wanted to say that I made this last night for the first time and it’s really good. I’d been wondering what to do with the jar of molasses and this was a perfect idea and not a very difficult recipe. Plus it makes the whole house smell wonderful. I added some oats to the top once the bread was in the loaf pan.
I have a question, though. How did you get such perfect slices for your photographs? Mine were really rough.
Anon- After the first rise, when you shape the loaves into logs, wrap one up tightly in plastic wrap and then seal it up tight in a ziplock bag. Freeze it like that and then when you’re ready to make it, unwrap it fully and place it in the prepared bread pan. Let it defrost and rise in the bread pan at room temperature for a few hours or until it has risen to the appropriate size. It’s just like buying the frozen bread dough logs (if you’ve ever done that). Hope that helps!
I can only bake one loaf of bread at a time and wanted to freeze the other. When would be a good time to freeze the dough?