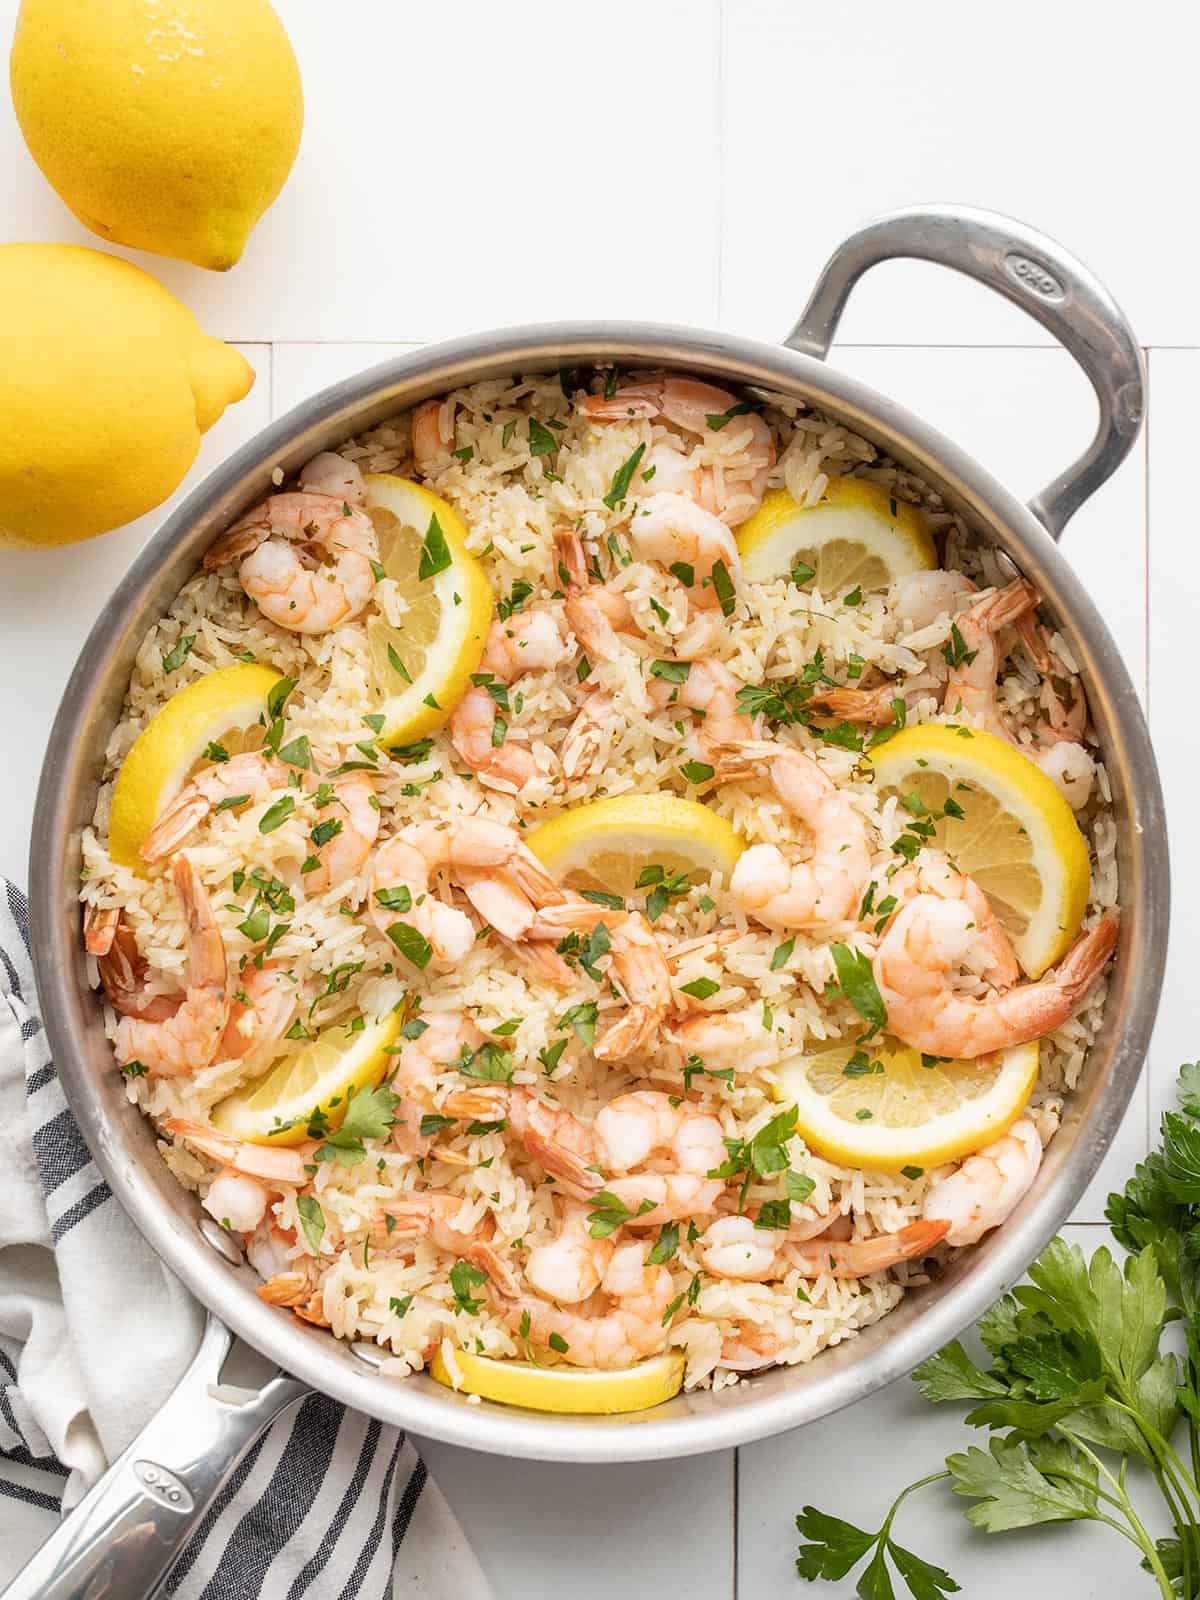
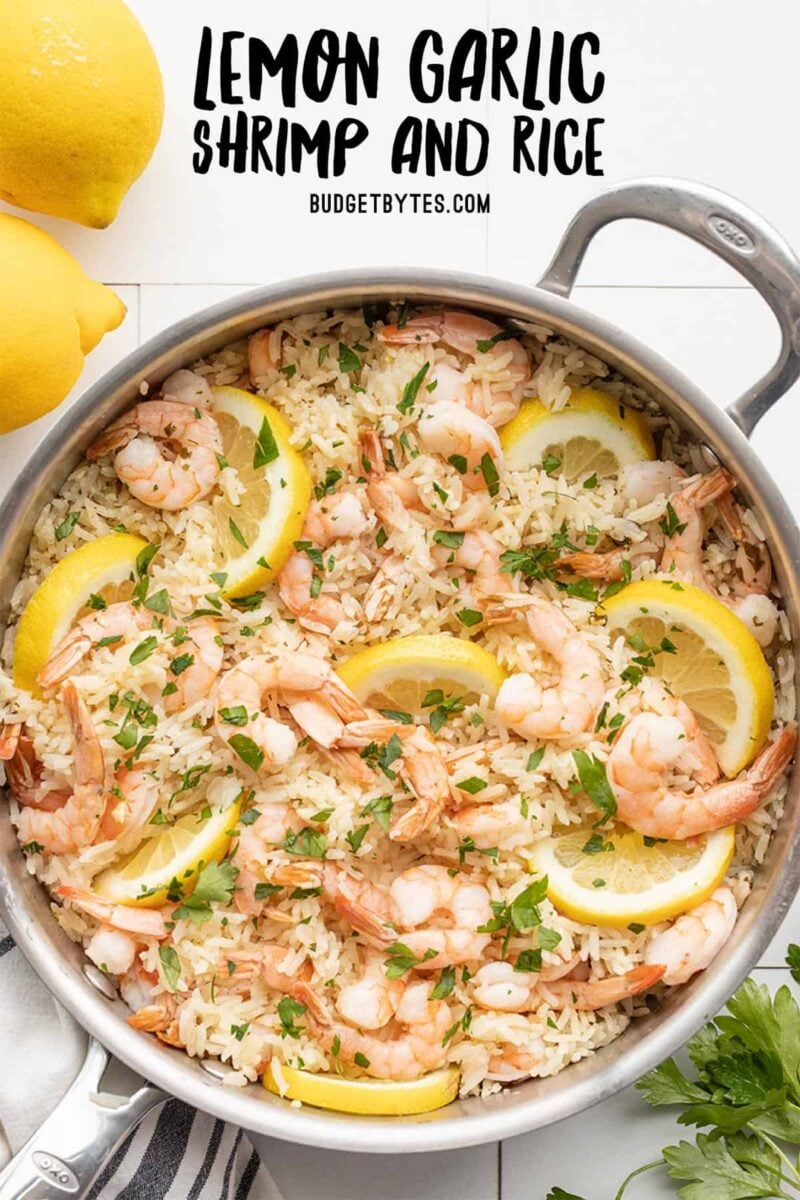
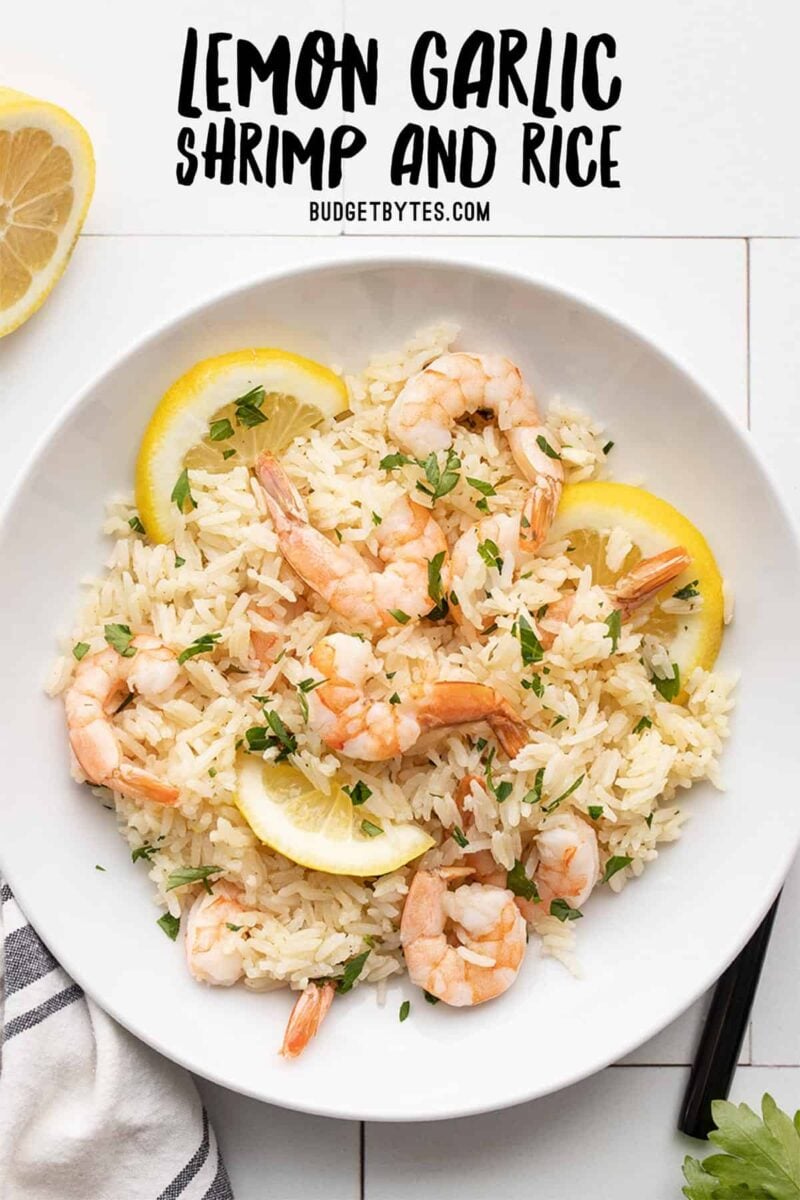
If you can cook rice, then you can make this stunning Lemon Garlic Shrimp and Rice. It’s seriously easy, and impressive enough for serving to company (or date night!). This is definitely one of those recipes where I can’t stop asking myself, “how do so few ingredients make so much flavor?” as I shovel forkful after forkful into my mouth. :)
This post contains some affiliate links, which means that we make a small commission off items you purchase at no additional cost to you.
What Kind of Shrimp to Use
You definitely want to purchase raw shrimp for this recipe rather than pre-cooked, and you can usually get the best price when buying frozen shrimp. You can buy them peeled or unpeeled, tail on or off, it doesn’t matter. Most frozen shrimp already comes deveined, which makes peeling super fast and easy. Here is a great tutorial on how to peel and devein shrimp from Simply Recipes, if needed.
I used a medium size shrimp for this recipe, which I feel is a good size for this type of dish, where you’ll want it to fit on your fork. The shrimp I used were 41-60 size, which means that at that size you’ll get about 41-60 shrimp per pound. Smaller numbers mean larger shrimp (it takes fewer shrimp to equal a pound), and higher numbers mean smaller shrimp (it takes more shrimp to equal a pound).
Tail On or Tail Off?
It’s completely up to you whether you want to remove your shrimp tails or keep them on. Removing them makes the dish easier to eat, but leaving them on makes it prettier. Keeping the tail on can inject more shrimp flavor into the rice as they steam together, but this might be more subtle than most people will notice.
Can I Make This in a Rice Cooker or Instant Pot?
Yes, this should work very well in a rice cooker or Instant Pot! For the rice cooker, just add everything (except the shrimp) to the cooker and cook as you would regular rice. After the rice has cooked, add the shrimp on top, close the lid, and keep it on the “keep warm” setting and allow the shrimp to steam for 5-10 minutes, or until the shrimp is opaque and cooked through. For an Instant Pot, you’ll want to do a quick release after your rice has cooked, add the shrimp, close the lid, and then keep it on the “keep warm” setting, allowing the shrimp to steam for 5-10 minutes or until opaque and cooked through.
For both machines, avoid leaving the lid open for more than a couple minutes when adding the shrimp. You want as much steam trapped in the unit as possible to continue cooking the shrimp.
What to Serve with Lemon Garlic Shrimp and Rice
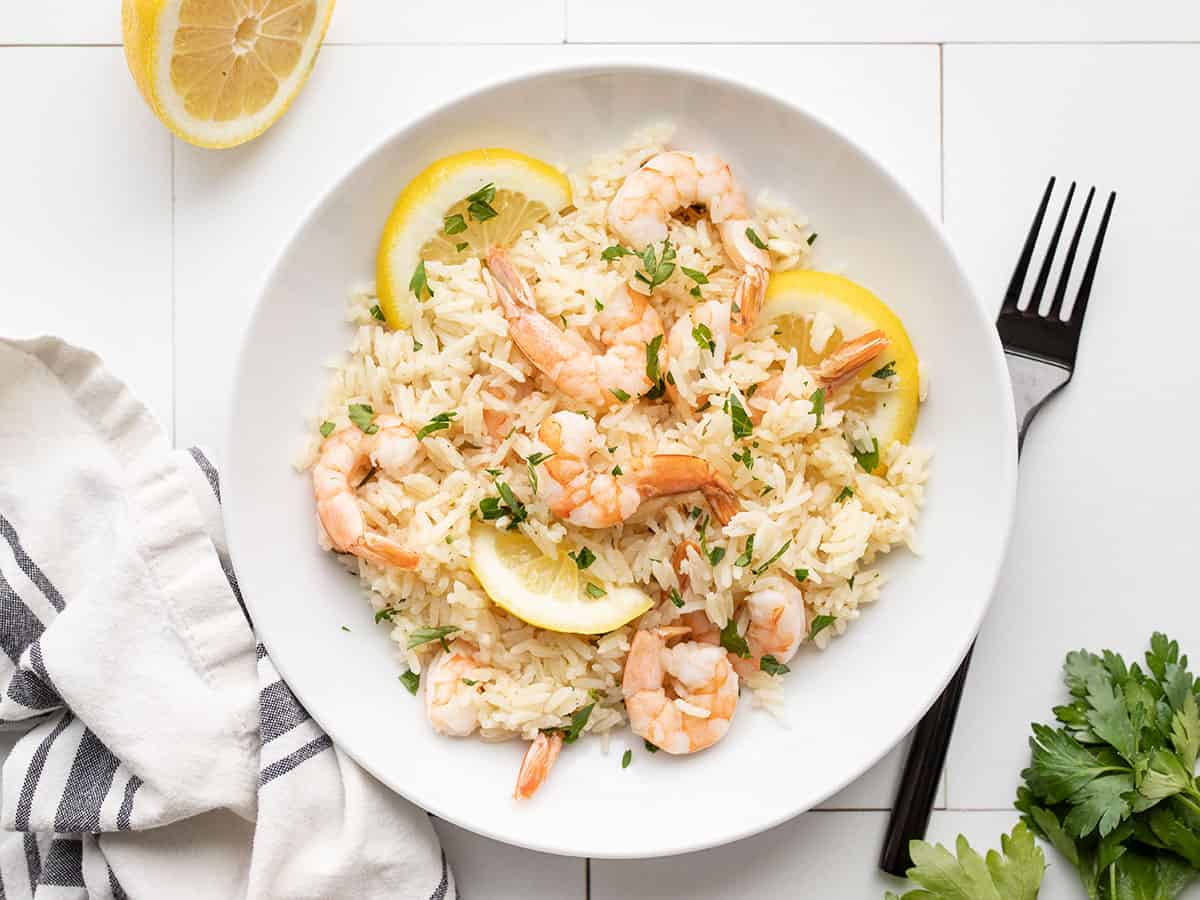
I like to make sure every meal has a variety of colors and at least a little veggie action, so here are some recipes that I think would make a great side to this dish and create a well rounded meal:
[np_shared_counts]
One Pot Lemon Garlic Shrimp and Rice
Ingredients
- 12 oz. shrimp (41-60 size) ($4.99)
- 1 fresh lemon ($0.60)
- 4 cloves garlic ($0.32)
- 2 Tbsp butter ($0.24)
- 1.5 cups long grain white rice ($0.93)
- 2 cups chicken broth ($0.26)
- 1/2 cup water ($0.00)
- 1 tsp Tony Chachere's seasoning* ($0.10)
- 2 Tbsp chopped parsley ($0.09)
Instructions
- If your shrimp is frozen or unpeeled, make sure you thaw and peel the shrimp before beginning. Juice half of the lemon (you'll need about 2 Tbsp juice) and slice the rest of the lemon for garnish.
- Mince the garlic. Add the garlic to a deep skillet along with the butter and sauté the garlic over medium heat for 1-2 minutes.
- Add the rice and continue to sauté for 1-2 minutes more. You should hear the rice begin to snap and crackle a little as it sautés in the hot butter.
- Carefully add the chicken broth, 2 Tbsp lemon juice, water, Tony Chachere's (or seasoning salt), and chopped parsley. Stir to combine.
- Place a lid on the skillet and turn the heat up to medium-high. Allow the broth to come up to a full boil. Once it reaches a boil, turn the heat down to low and let it continue to simmer for 10 minutes.
- After simmering for 10 minutes, most of the broth should be absorbed by the rice. Lift the lid briefly in order to scatter the shrimp over the surface of the rice. Replace the lid and allow the skillet to continue to cook over low for an additional 5 minutes.
- Remove the skillet from the heat and allow it to rest, lid in place, for an additional five minutes. After resting, lift the lid. The shrimp should be opaque and pink.
- Use a fork to carefully fluff the rice and partially stir the cooked shrimp into the rice. Add the leftover lemon slices and sprinkle with extra chopped parsley, if desired. Serve hot.
See how we calculate recipe costs here.
Equipment
- Deep Stainless Steel Skillet
Notes
Nutrition
Video
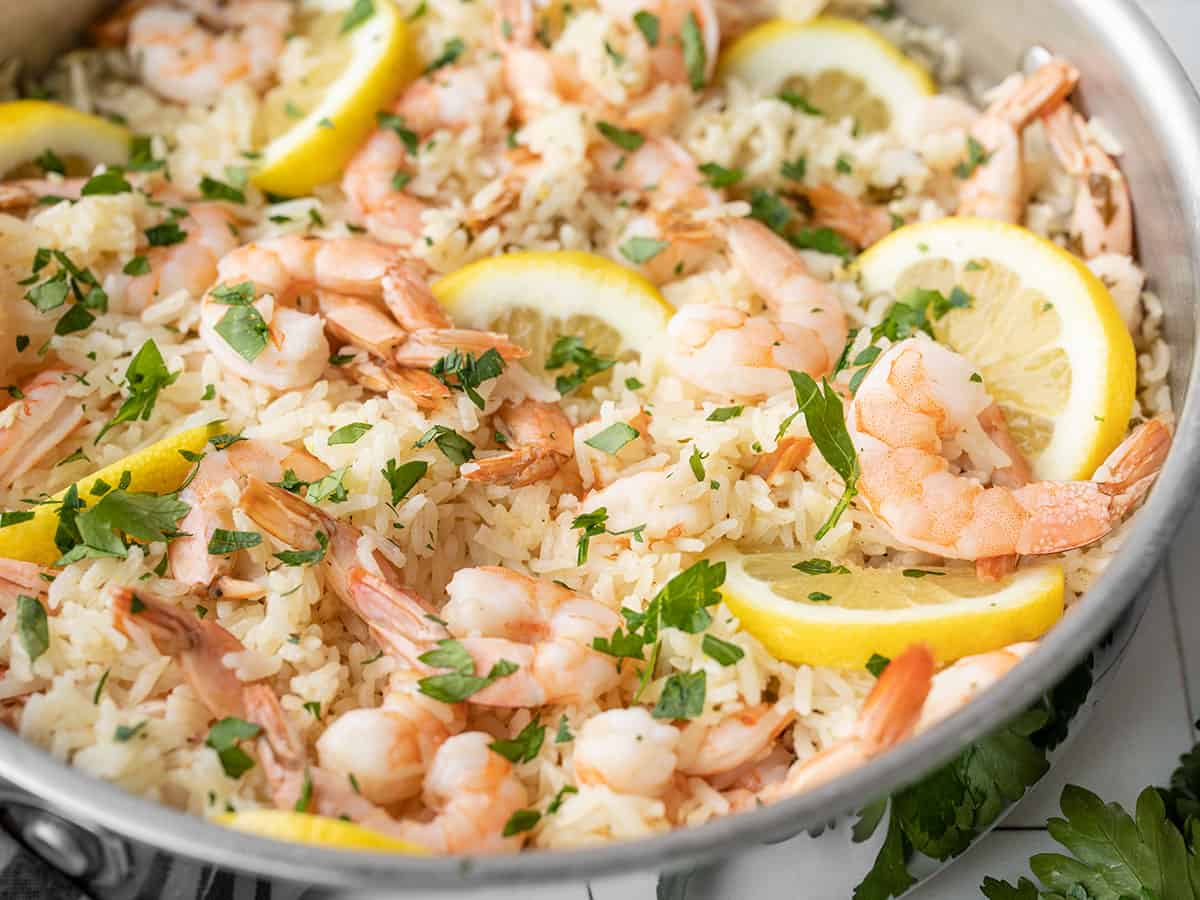
How to Make Lemon Garlic Shrimp and Rice – Step by Step Photos
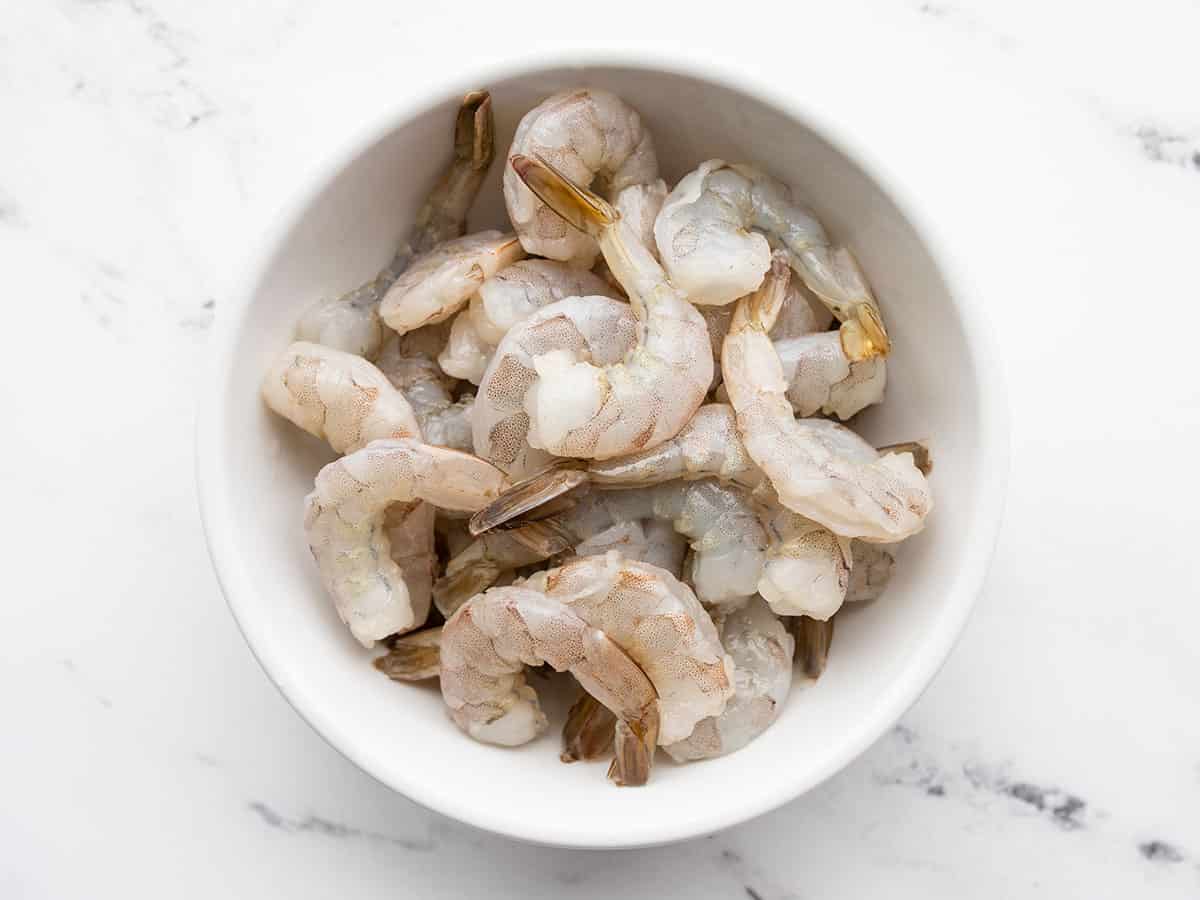
Thaw and peel 12oz. shrimp. You can leave the tails on or remove them if you prefer. Juice half of a lemon (you’ll need 2 Tbsp juice) and slice the remaining lemon for garnish.
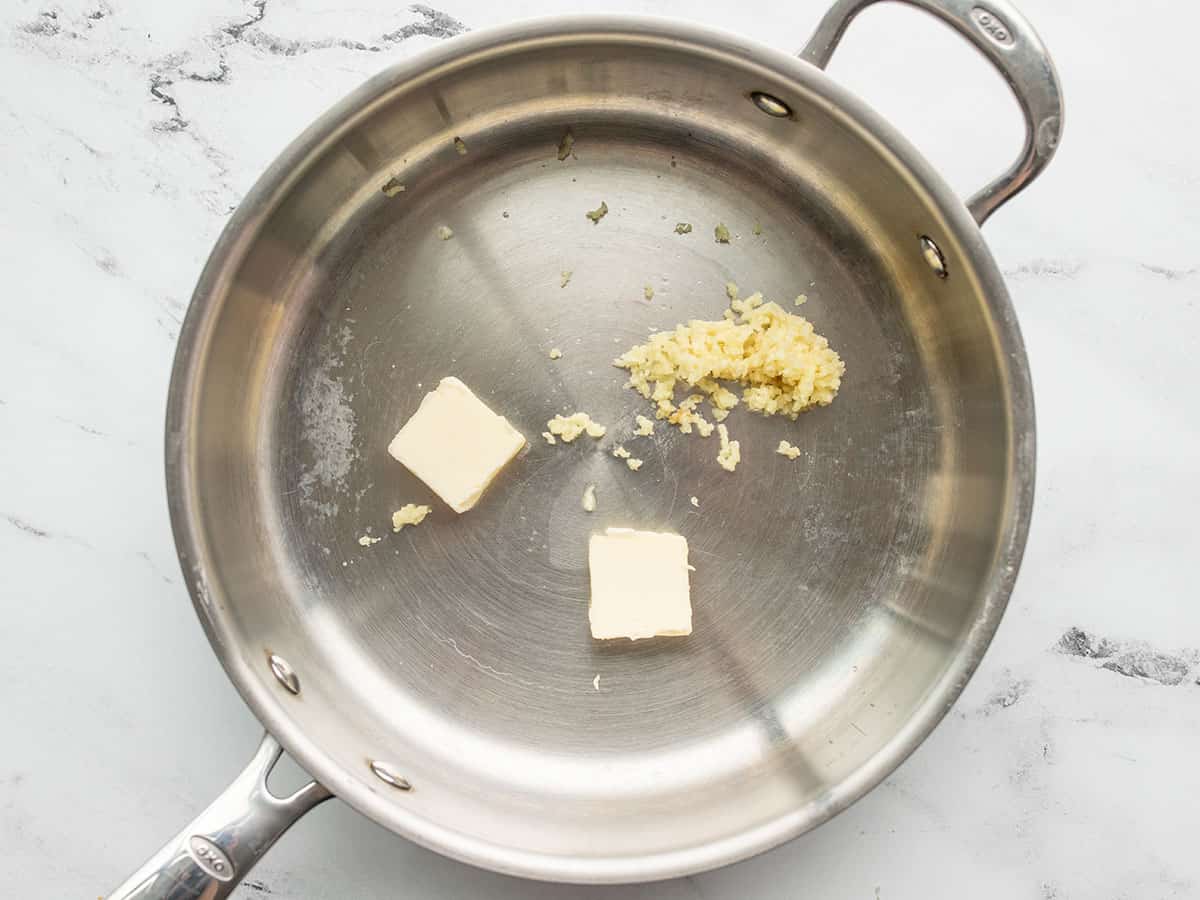
Mince four cloves of garlic and add them to a deep skillet along with 2 Tbsp butter. Sauté the garlic in the butter over medium heat for 1-2 minutes. Add 1.5 cups long grain white rice and continue to sauté for 1-2 minutes more. You should hear the rice kind of making a snap-crackle sound as it cooks in the butter.
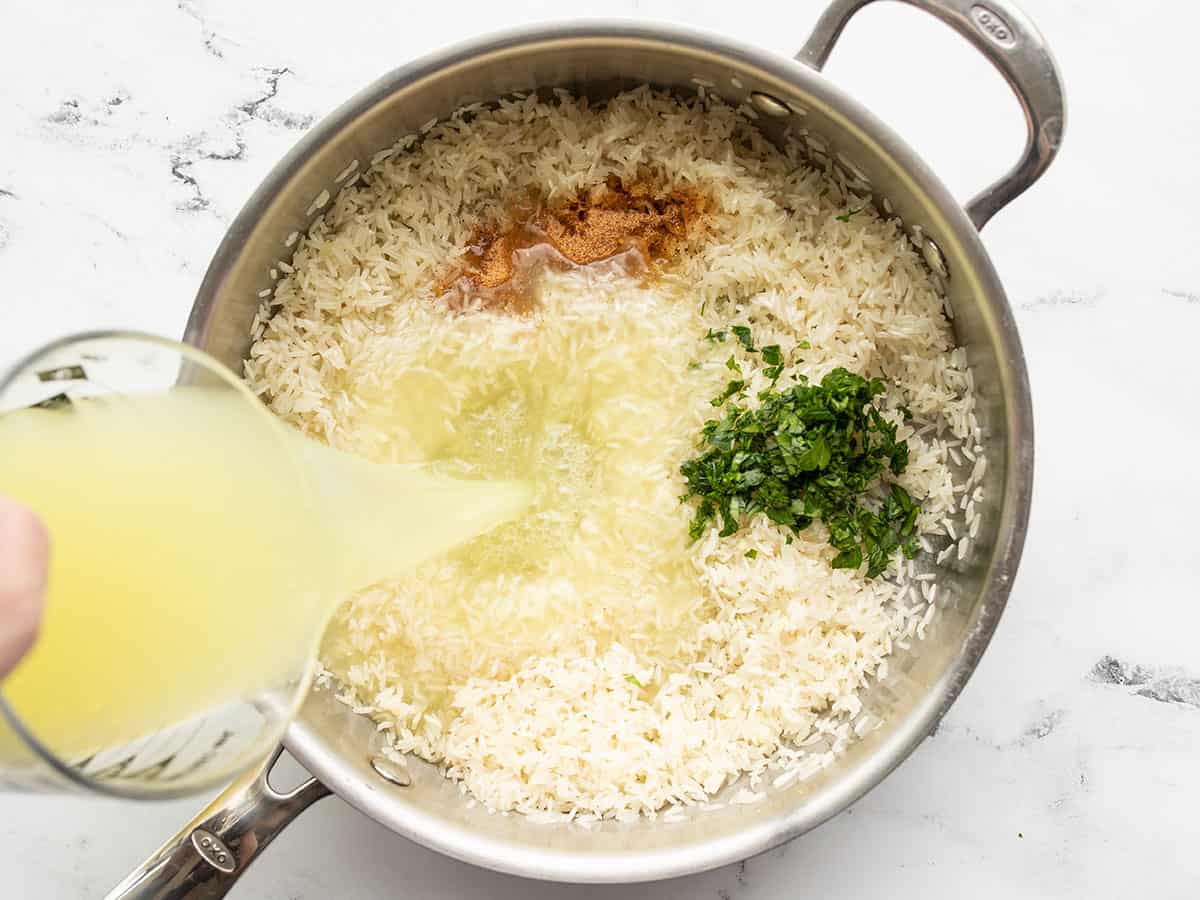
Add 2 cups chicken broth, 2 Tbsp lemon juice, ½ cup water, 1 tsp Tony Chachere’s seasoning (or your favorite seasoning salt), and 2 Tbsp chopped parsley to the skillet. Stir to combine.
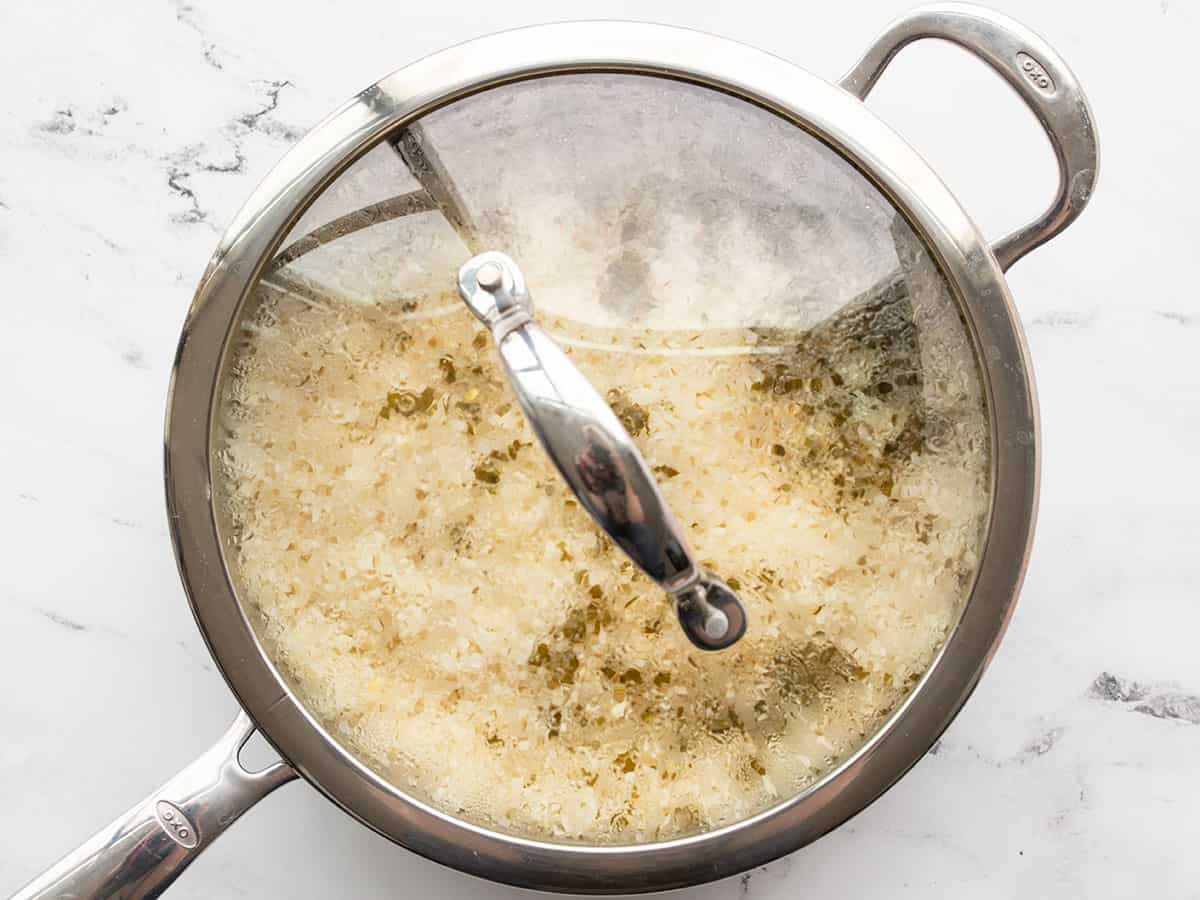
Place a lid on the skillet, turn the heat up to medium-high, and allow the broth to come to a full boil. Once boiling, turn the heat down to low and let the rice simmer on low for 10 minutes. After ten minutes most of the broth should be absorbed.
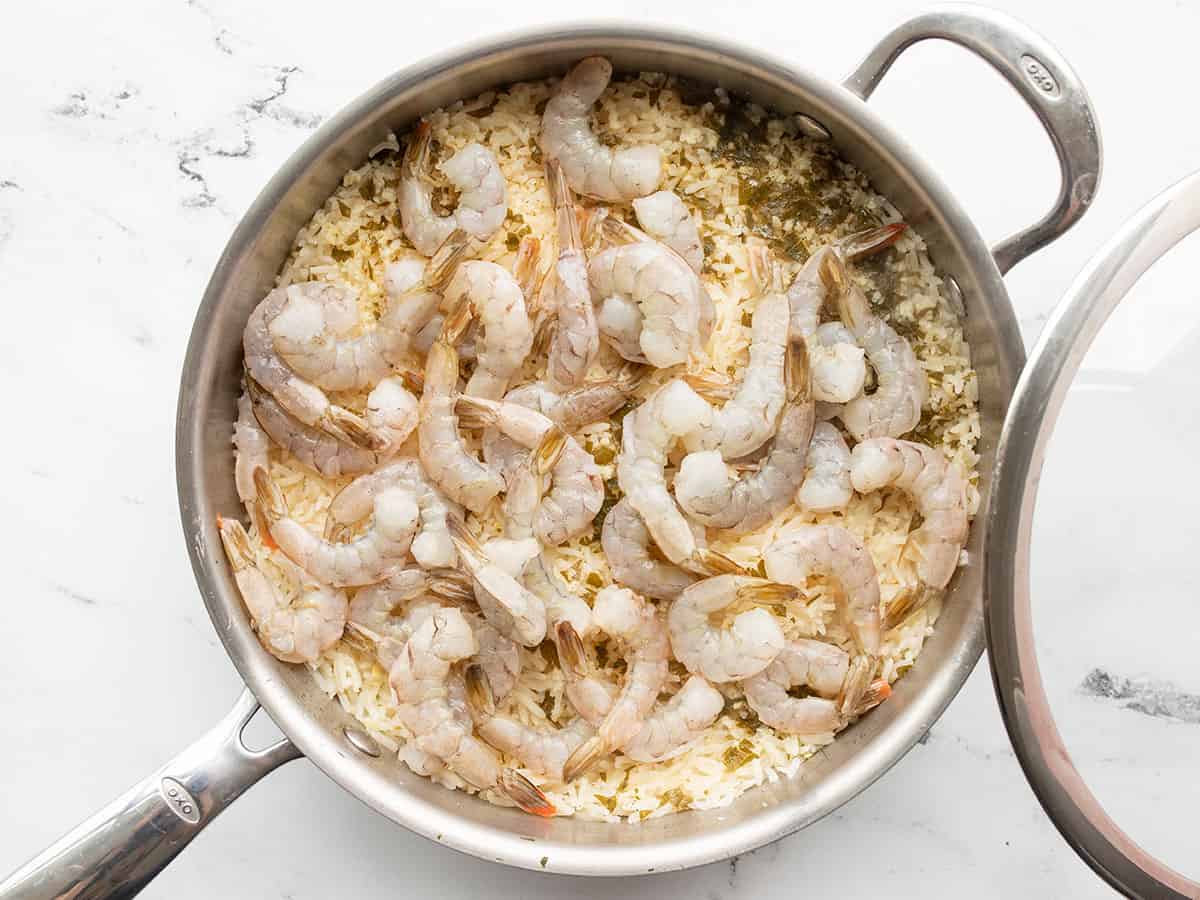
Lift the lid just briefly enough to scatter the shrimp over the surface of the rice. Replace the lid and continue to simmer over low for 5 minutes. After 5 minutes, remove the skillet from the heat and let it rest, lid in place, for 5 more minutes.
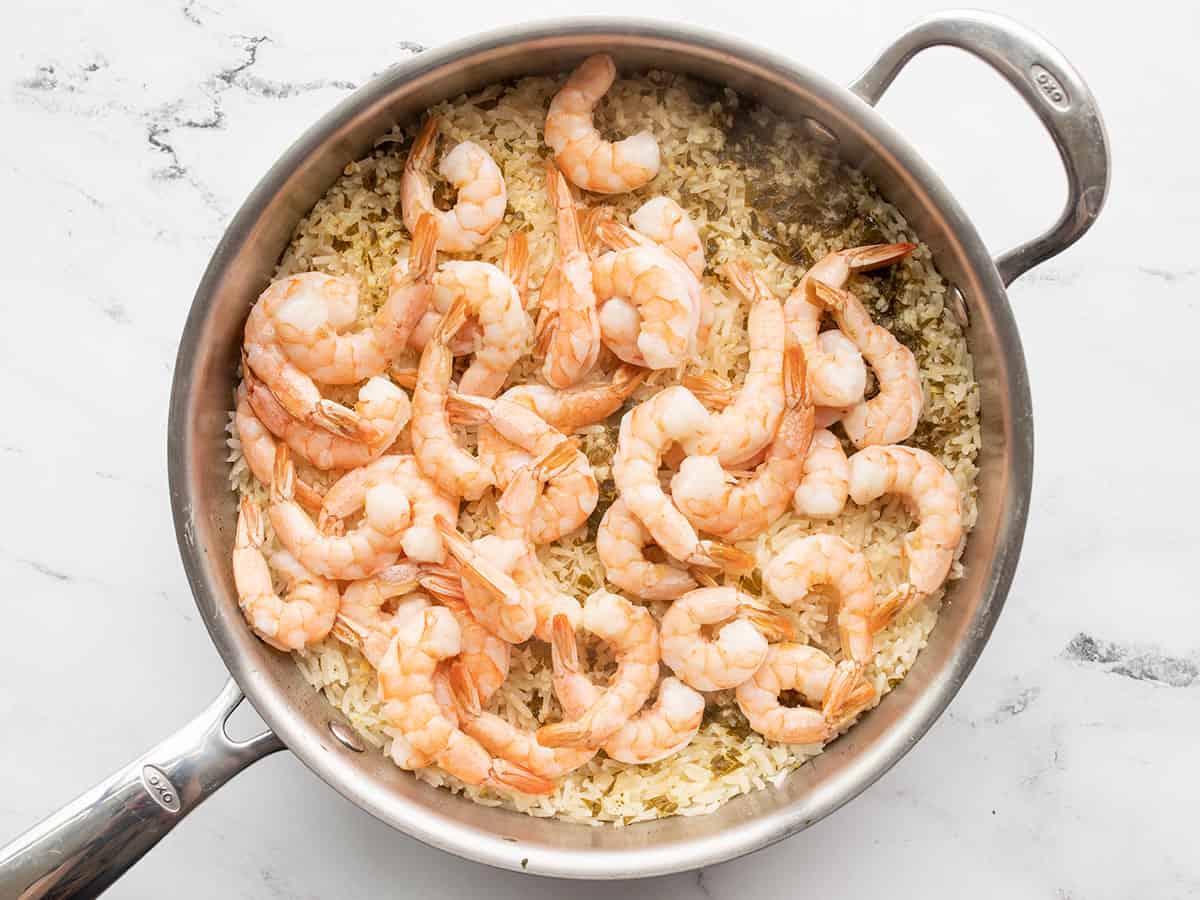
After resting, the shrimp should be pink, opaque, and cooked through.
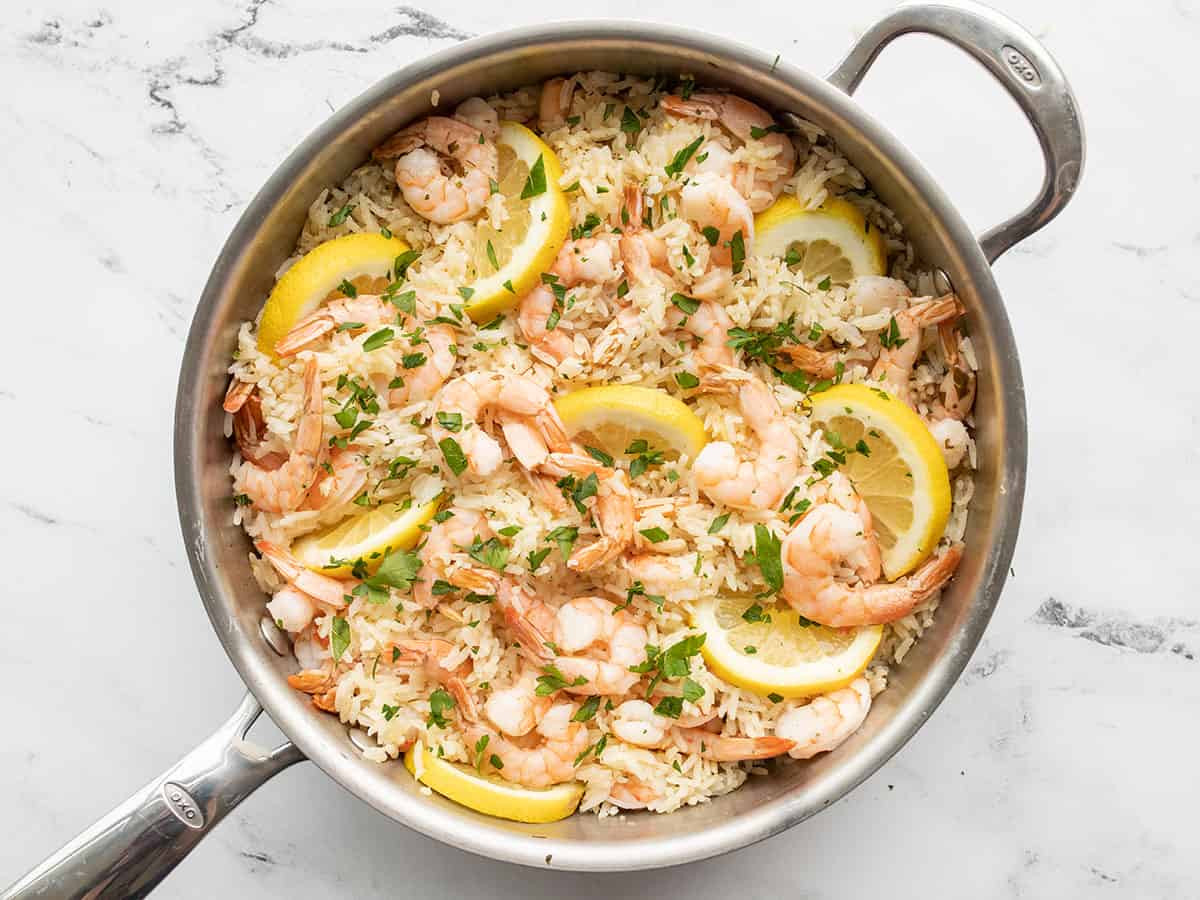
Use a fork to gently fluff the rice and partially stir the shrimp into the rice. Add the remaining lemon slices and an extra pinch of chopped parsley.
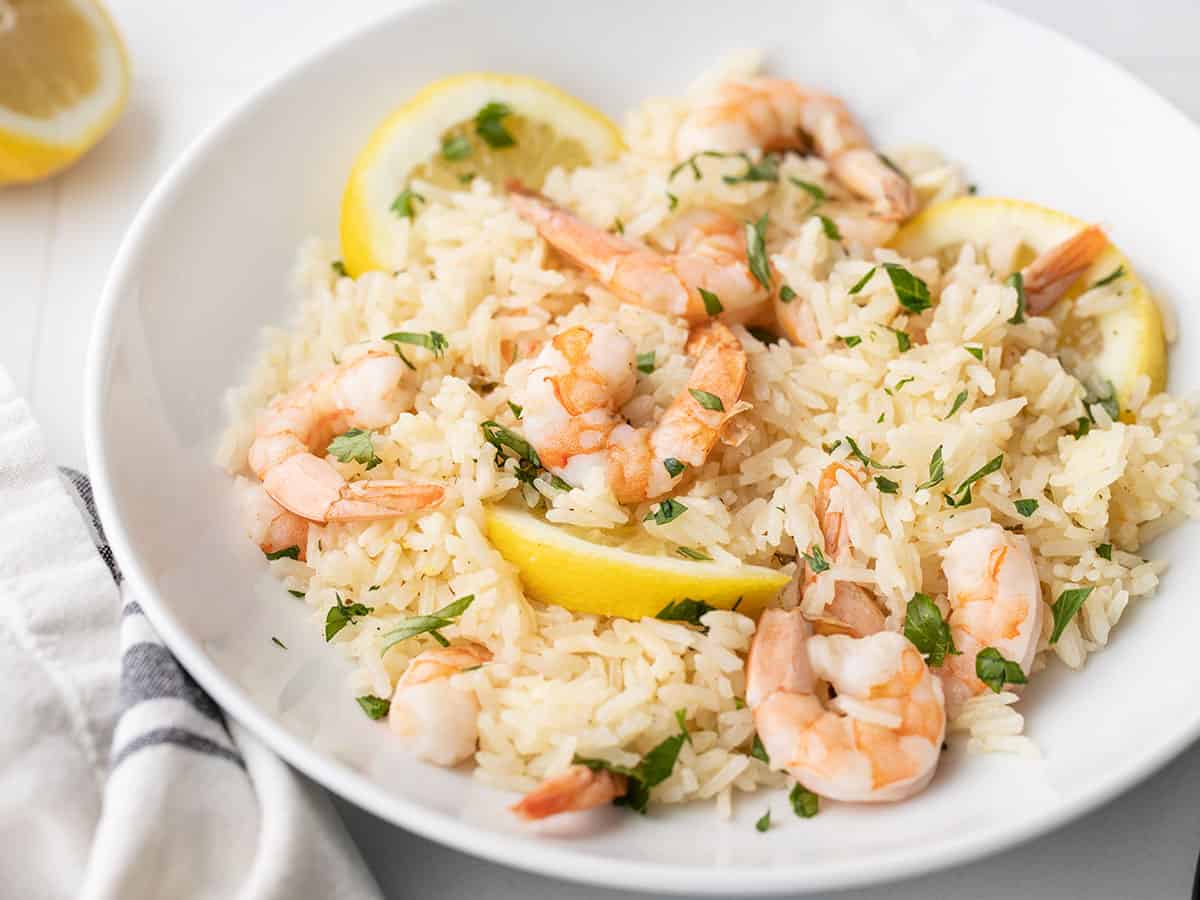
Serve hot and enjoy!





What a terrible recipe! The shrimp didn’t cook. After I cooked the shrimp in a separate skillet, it tasted good. Don’t claim it can cook in one pan. It can’t.
Hi there — they can absolutely cook in the same pot. This was a staple dinner for me last winter. Love this recipe!
Do we need to season the shrimp before adding them to the rice?
Hi, Danie! Seasoning the shrimp isn’t necessary (since the seasoning blend Beth uses is very salty), but if you want to season them a few minutes before cooking, you totally can — especially if you have large or jumbo shrimp — it will make them that much more delicious! However, you may want to scale back a bit on the Tony Chachere’s you add, taste the finished dish, and then potentially add some more — just so the final dish doesn’t end up overseasoned.
— Marion :)
This dish looks delicious! You can also add some mix from A Touch Of Luck Seasonings and make it Authentic New Orleans Barbeque Shrimp. They sell it online at https://diycookin.com/shop/ols/products/new-orleans-barbeque-shrimp. Really Good! And spicy too!
Is this recipe still possible to follow if you accidentally bought pre-cooked shrimp rather than raw?
Absolutely, If they are still in their shells, remove the shells and place them in cheese cloth, to create a satchel. Then allow them to cook with the other ingredients, where they will impart loads of flavor. Add the cooked shrimp at the very end, just to warm. Just do the last step if they are already shelled. XOXO -Monti
Awesome! I threw some snow peas in when I added the shrimp for a little extra green. A keeper!
I just made this for the first time and it won’t be the last! Very easy to make, I didn’t make any alterations to the recipe and it was perfect. Served with a simple side salad, this was the perfect easy dinner that still felt fancy.
And two tablespoons of seasoning salt is way too much. This recipe was a dud and now I have to throw expensive shrimp away.
The recipe does not say two tablespoons of seasoning salt. When following the recipe, it is definitely not a dud.
The recipe calls for only one teaspoon of the seasoned salt, right?
Followed the times and ingredients exactly and the rice is undercooked and the shrimp is still gray. When you say ‘Low Heat’ do you mean the setting that says ‘Low’ which would be one notch to turn that burner on? How do I fix this so the rice and shrimp get cooked so I don’t have to throw this away?
I’m sorry you had that experience. If it’s undercooked, keep cooking it. Your stove settings might not be the same as ours. XOXO -Monti
Loved it! Being a Marylander (and having a huge can of it on hand), I used Old Bay for the seasoning.
Big on flavor and filling! There was a little too much broth left at the end for my liking but overall it was a solid recipe.
I found this recipe about a month ago and made it for the 5th this evening. The End
Love this recipe, we also found out if you sub in Coconut oil, Cilantro instead of Pursley and, lime instead of lemon. It just amd good.
I’ve made this for dinner guests 5 times now. That’s an anomaly since I usually cook something new every time, and use my dinner guests as guinea pigs!
This is hands down one of the best and easiest spectacular meals ever. My only change has been to add lemon zest since I love deep citrus flavor.
ZEST FTW!!! Always. Thanks for the compliment!
Just made this for dinner- absolutely delicious! Both the rice and the shrimp were cooked to perfection following the recipe. I did end up putting extra lemon juice and salt all over at the end of cooking- but that’s just what I prefer! Thanks for another knock out recipe!!
Do you have any advice for switching out the white rice for brown rice? Any idea of what the timings should be? I’ve made this before exactly following the recipe and it’s SO GOOD! But I’d love to make it even healthier with brown rice. Thanks!
Brown rice requires more liquid and needs to cook for nearly 3x as long as white rice, so I’d really want to test it before offering concrete suggestions for that swap.
I used brown rice, added about 2 more cups of liquid as needed, and cooked about 30 minutes longer until the rice was done. It turned out great!
I don’t know why but reading through the recipe had me a little confused at times. Regardless, it turned out really well! I even used basmati rice because it’s what I had and is my preferred rice for basically everything. I did add extra lemon juice and cayenne pepper to my plate alone – which I think made it all the more tasty!