Chicken legs are often one of the least expensive cuts of chicken. Coincidentally, they are also my favorite part on a rotisserie chicken because that dark meat is just so juicy and tender! Since I loooove rotisserie chicken, I decided to try to make Oven Roasted Chicken Legs that were close in texture to the moist and tender rotisserie chicken that I so love. How would I accomplish that? Low and slow heat, my friends. Low and slow.

This post contains some affiliate links, which means that we make a small commission off items you purchase at no additional cost to you.
How to Keep Roasted Chicken Moist
When meat is cooked slowly at a low temperatures it stays juicy and tender. The connective tissues soften and break down into a tasty gelatin. The whole process is meat magic. You’ll also want to cover the meat tightly to prevent moisture from evaporating, and baste once or twice while the chicken legs baste. Easy enough!
What Temperature Do you Roast Chicken Legs at?
The method I use requires two phases: a low 300ºF for one hour (that’s the “low and slow” part), and then finishing off the chicken without a cover at 425ºF for about 30 minutes to crisp up the skin. This two phase method gives you the best of both worlds–tender juicy insides and crispy brown skin.
Can I Use Boneless, Skinless Chicken Breasts?
This low and slow roasting method is designed for bone-in, skin-on chicken pieces only. Boneless, skinless chicken breasts cook much faster and will dry out using this method. For instructions on how to cook boneless, skinless chicken breasts, see my recipe for Garlic Herb Baked Chicken Breast.
How Do You Season Roasted Chicken Legs?
As far as seasonings go, you can use just about anything! I used my favorite blend du jour, lemon pepper seasoning, but you could also use any of these seasoning blends:
- Poultry Seasoning
- Chili powder
- Steak seasoning
- Curry powder
- Taco seasoning
- Cajun seasoning
- Chipotle pepper
- Herbs de Provence
- Za’atar
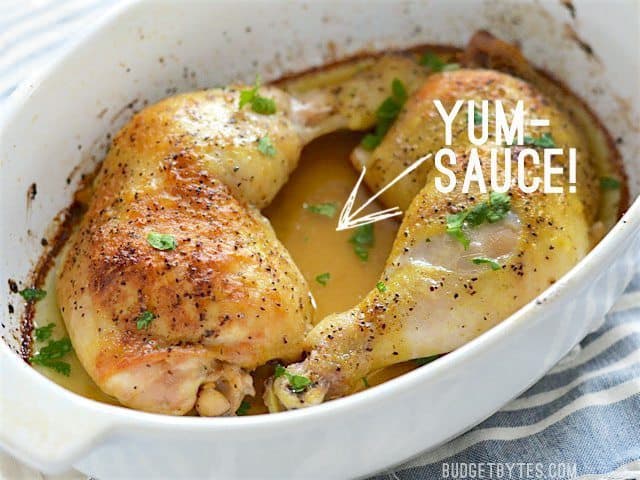
There are so many options. I smeared my chicken skin with a little butter first, which also makes a huge difference. That little bit of creamy butter mixed with the chicken juices made the most incredible sauce ever. Sure, you can use olive oil or coconut oil instead, but butter… yeah, butter is just special.
What Do You Serve With Roast Chicken?
These Oven Roasted Chicken Legs go great with: Vinaigrette Slaw with Feta, Spinach and Feta Mashed Potatoes, Broccoli Cheddar Casserole, or Lemony Cucumber and Couscous Salad, Roasted Carrot and Feta Salad.

Oven Roasted Chicken Legs
Ingredients
- 2 bone-in, skin-on chicken legs ($4.20)
- 1 Tbsp butter (room temperature) ($0.11)
- 1/2 Tbsp lemon pepper seasoning* ($0.15)
Instructions
- Preheat the oven to 300 degrees. Lightly coat the inside of a casserole dish with non-stick spray.
- Pat the chicken dry with a paper towel, then smear butter over the surface of the skin. Sprinkle the lemon pepper seasoning liberally over both sides of the chicken pieces. Place the seasoned chicken in the casserole dish.
- Cover the dish with aluminum foil and bake for one hour at 300ºF. Baste the chicken once half way through. After one hour, remove the foil, baste again, and turn the heat up to 425ºF. Continue to bake the chicken at the higher temperature for 20-30 minutes, or until the skin has achieved the desired level of brownness. Serve with the juices spooned over top or with bread for dipping.
See how we calculate recipe costs here.
Notes
Nutrition
Scroll down for the step by step photos!
How to Make Oven Roasted Chicken Legs – Step by Step Photos
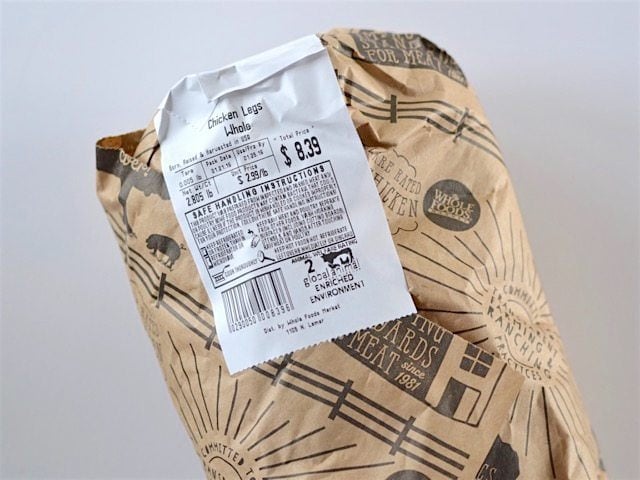
Since I’m trying to buy higher-quality meat while staying in budget, I have to be really careful about what cuts I buy. These chicken legs were $2.99/lb., which is good for this particular store. I bought four whole legs (thigh and drumstick connected), and froze two for later.
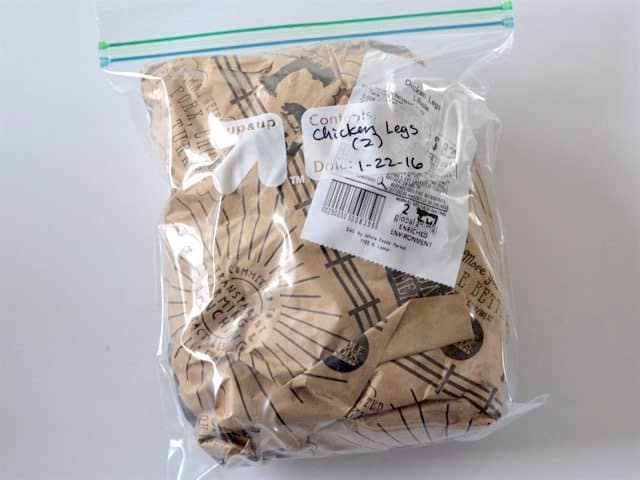
The two that I froze I simply wrapped back up very tightly in the plastic and wax paper that they came in, then sealed it off in a quart sized freezer bag (labeled and dated, of course).
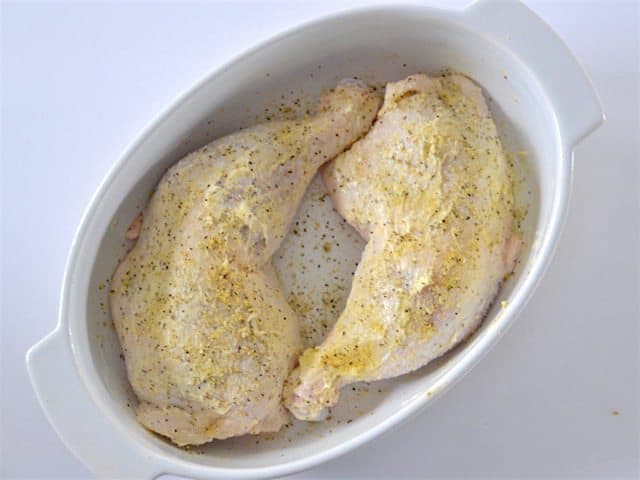
Anyway, back to the two that I cooked for the Oven Roasted Chicken Legs… Preheat the oven to 300ºF and pat the chicken dry with a paper towel. Smear about 1 Tbsp of room temperature butter over both pieces (1 Tbsp total, not per piece). Then season each side liberally with lemon pepper seasoning, or your favorite seasoning blend. Place the seasoned chicken in a casserole dish coated with non-stick spray.
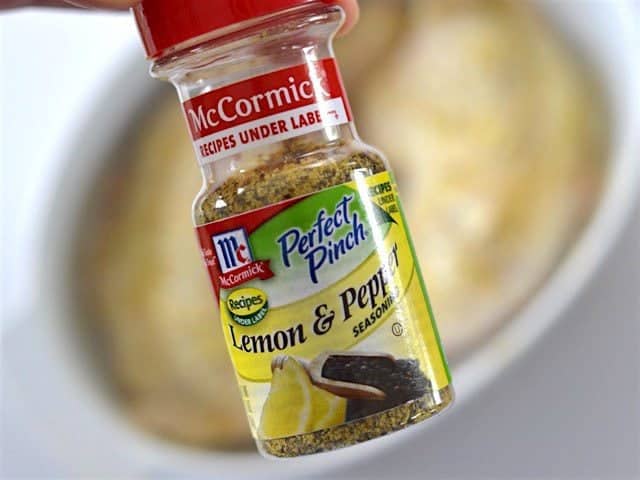
I love this stuff because it’s kind of a one-stop-shop. It has salt, pepper, and lemon, which is my FAVORITE. Anyway, regardless of what seasoning you use, make sure to be aware about whether or not it has salt. If the seasoning is salt-free, you’ll want to add a pinch or two to the meat.
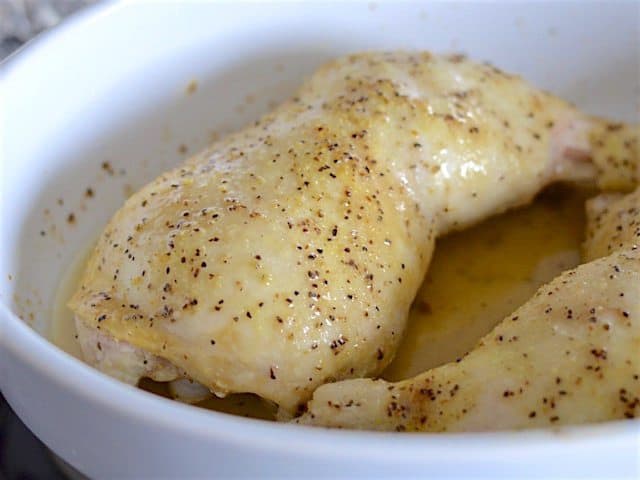
Cover the dish tightly with foil, then bake in the preheated 300ºF oven for one hour. Baste the chicken half way through (spoon the juices over top). After an hour, the meat should be quite tender, but the skin will be soft and blonde, like the photo above. To achieve that nice brown crispy skin, remove the foil and turn the oven temperature up to 425ºF.
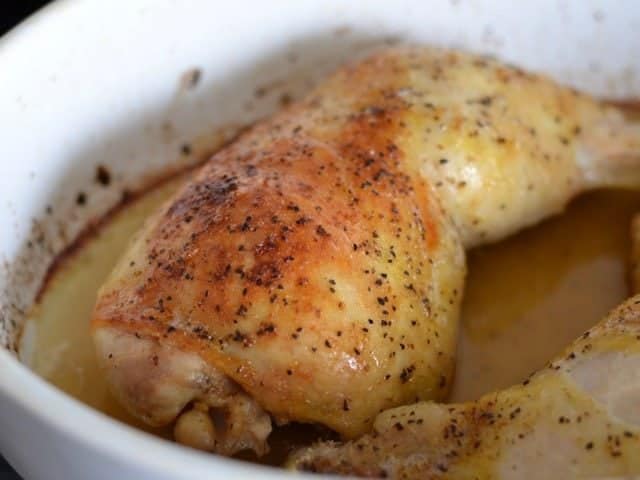
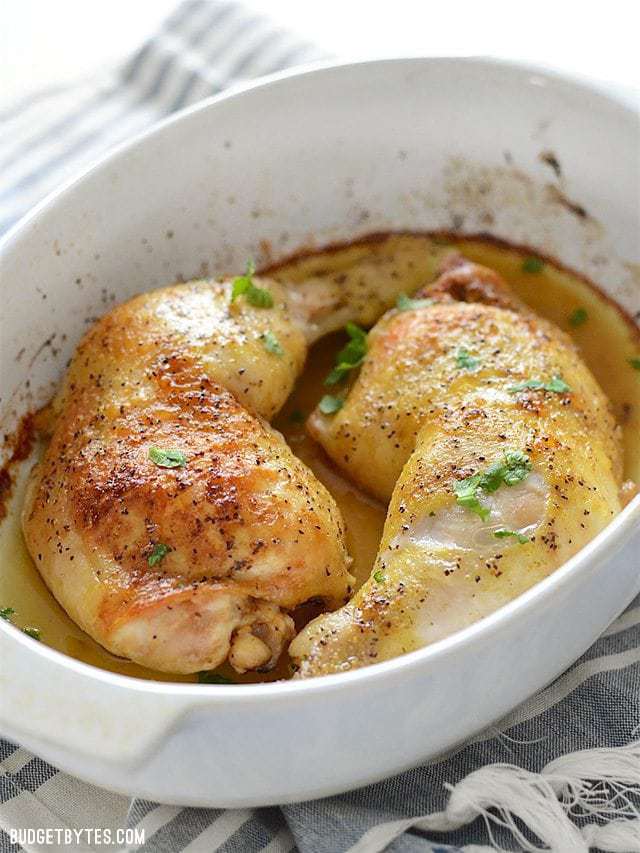
Bake the chicken for an additional 20-30 minutes at the higher temperature (you can leave it in the oven as it heats up to the higher temp), or until it develops the level of brownness that you like on the skin.

The liquid that ends up in the bottom of the casserole dish is PURE GOLD. It’s like, one of the best things I’ve ever tasted, so don’t let that go to waste. I like to spoon it over whatever I’m serving the chicken with (if serving with rice or pasta), or serve some bread to sop it up. You can also pour it into a skillet, add a little white wine, and simmer it until it’s reduced to make a delicious pan sauce. Something about that butter, lemon, and pepper is just per-fect.



An easy, delicious dinner ! All you need is a veggie and maybe a biscuit and dinner is done ! This would also make a nice company dinner without too much fuss.
Sooo good! super easy thanks for the recipe 👌🏽
Came across your recipe trying to change things up!!Looks fabulous!! Making this weekend, I always buy hind quarters instead of drums or thighs if I can most of the time, I find them in bulk at a cheap price.
Wow! Just made it! I used olive oil instead of butter as I am lactose intolerant plus i try to eat healthy as possible. Was fantastic.!..sooooo Good! Better than bought rotisserie plus i control the salt. Only made one leg as I live alone but would have eaten more had I made it! LoL thank you for this wonderful easy recipe! I love the internet!
What is the nutritional info?
I’m preparing this for the 4th or 5th time. It’s delicious! Just the bomb. And simplicity as well.
The cooking temp and time is terrible! After 1 hour the Chicken was not even touch by the temp. Plus, the recipe calls for Chicken Legs but in the comments you say it for Chicken Breasts!
Which is it? Make up your mind.
Actually turned out good. Had to change up the cooking time a little bit, most likely due to the High-Altitude I live in. Sorry, spoke too soon. 😁
Made this last week, turned out great! I have 2 separate dishes In The oven now with different seasonings.
Will I need to change the cooking time if I am making more than two?
As long as they’re not really crowded in the dish, you shouldn’t need extra time. Each piece will still get the same amount of heat exposure as if you were doing just two.
Will the baking time and temp change if I use chicken thighs?
Yes, these instructions are for bone-in breasts with skin only. I haven’t tried this with thighs yet, so I’m not sure how long or what temperature they would need.
I thought these were legs/thighs still attached
Me too. I’m totally confused now. I thought this recipe WAS for legs/thighs (quarters).
I just made this chicken recipe this evening for the first time and used thighs because the store did not have what the recipe called for and the thighs turned out PERFECT! I have always struggled with chicken (usually overtook it no matter what) and I wanted to cry at how amazing this turned out! I also took the thighs out and added some flour and chicken broth to the juices to make a pan gravy. Oh. My. Goodness. In case it helps, for the second part of the cooking (raising the temp to 425) I left the thighs in while the temp increases and cooked 20 mins from the time I upped the temperature. Perfection and I can’t wait to make it again!
We love this! The kids call it the “chicken sauce: YUM” recipe, and my 10-year-old chose it as her meal to make this week. Easy and SO very good.
I really like it. It’s convenient and yummy!
This cooking method stinks! tried it twice and both times chicken was overdone.
Dun – you have got to figure out what’s wrong with your oven. I am a chicken-idiot with a shitty, old gas oven and I’ve made this 3 times already with the best results. I checked back in because I only have thighs this time, and another commented that this method still works. Were you using breasts? I’m just saying…there is nothing wrong with the method here. If it sucked for you, it’s got to be your oven or you weren’t paying attention. This is THE BEST method I have ever found after consistent failures cooking chicken. I’m sorry it failed for you, but you gotta figure it out.
This is one of my favorite recipes – it is quick and easy to put together, and turns out tender and delicious! I did not baste (missed those directions – oops!), but it was still fantastic!
Just made this recipe and it’s amazing!! Simple, inexpensive but it takes chicken to the next level! Already looking forward to making it again and playing around with seasonings!