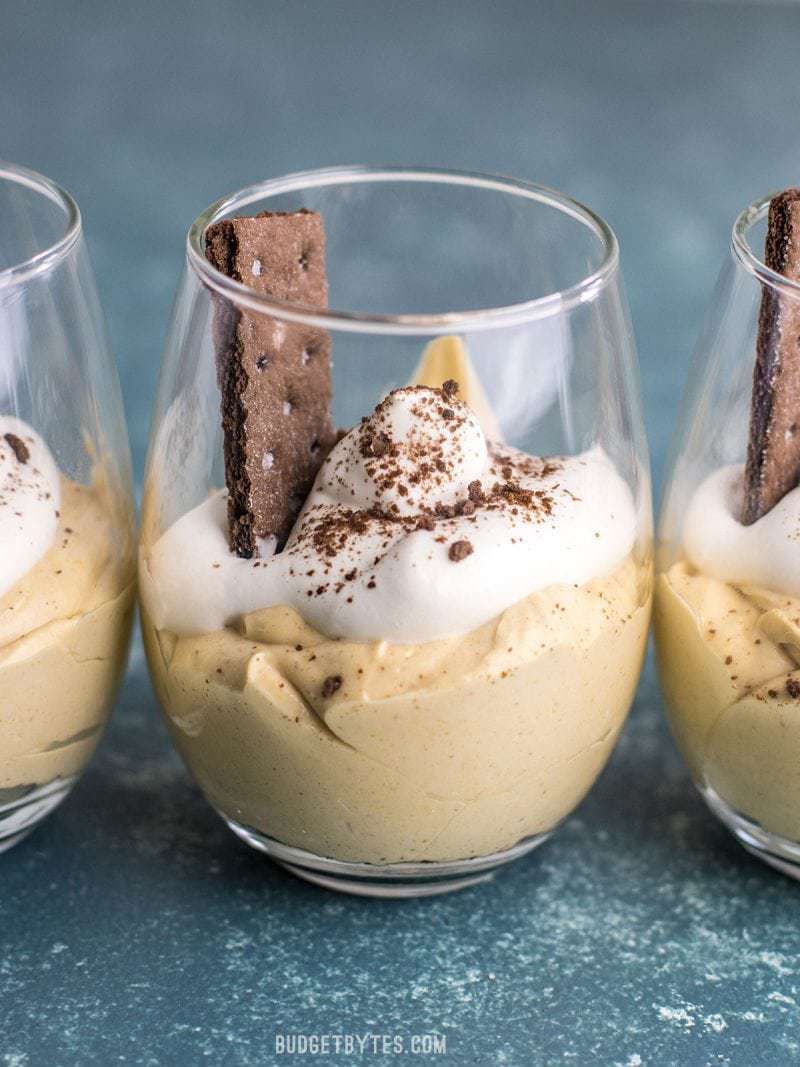
I apologize ahead of time for showing the easiest and probably the most decadent dessert ever. These Peanut Butter Fluff Cups are a smaller batch version of the popular no-bake peanut butter pies. It’s basically like a peanut butter flavored no-bake cheesecake, with a little whipped cream on top and crushed chocolate grahams in place of an actual crust. Basically, it’s DANGEROUS.
This post contains some affiliate links, which means that we make a small commission off items you purchase at no additional cost to you.
Want Just Two Peanut Butter Fluff Cups?
You could probably scale this recipe down even further to make just two servings, provided you have bowls small enough that allow you to whip the ingredients together (if they’re too shallow in a larger bowl you won’t be able to whip them together). BUT, these guys hold up really well in the fridge, so might as well make four, right? Right.
I won’t keep you from bliss any longer…
[np_shared_counts]
Peanut Butter Fluff Cups
Ingredients
- 1 cup heavy whipping cream ($0.92)
- 2 Tbsp granulated sugar ($0.04)
- 1 tsp vanilla extract ($0.28)
- 1/2 cup creamy natural peanut butter ($0.55)
- 4 oz. cream cheese ($0.60)
- 3/4 cup powdered sugar ($0.15)
- 1/4 cup milk ($0.09)
- 4 chocolate graham crackers ($0.23)
Instructions
- Make the vanilla whipped cream first by placing the heavy whipping cream, granulated sugar, and vanilla extract in a bowl. Use a whisk or a mixer to beat the cream until it forms soft peaks (when you lift the whisk it form a peak that droops over to the side). Set the whipped cream aside.
- In a separate bowl, whip together the peanut butter, cream cheese, powdered sugar, and milk until it is light and creamy. A hand mixer or bench mixer is suggested for this, since the mixture will be quite thick. Start on low power to prevent the powdered sugar from spraying, and increase to medium once the powder sugar has incorporated.
- Add 1/3 of the whipped cream to the peanut butter mixture and gently fold them together. Once incorporated, gently fold in about 1/3 more of the whipped cream, leaving the last 1/3 to top the cups. Fold the whipped cream and peanut butter mixture together until smooth and fluffy.
- Place three of the four graham crackers in a zip top bag and crush with a rolling pin, or place them in a food processor and process until they are in crumbs.
- Divide the graham cracker crumbs between four cups or containers, saving a small amount to sprinkle on top. Divide the peanut butter fluff between the four cups, then top with the remaining vanilla whipped cream. Sprinkle a pinch of the graham cracker crumbs on top of each, then break the last graham cracker into four pieces and place one piece in each cup.
- You can serve the cups immediately, or refrigerate until chilled, which will give you a more solid, cheesecake-like texture (they’re more like mousse when freshly made).
See how we calculate recipe costs here.
Equipment
- Hand Mixer
- Mixing Bowls
- Rolling Pin
Notes
Nutrition
Video
Love peanut butter and chocolate? Check out my No-Bake Pretzel Peanut Butter Bars and “The One” Chocolate Mug Cake.
How to Make Peanut Butter Fluff Cups – Step by Step Photos
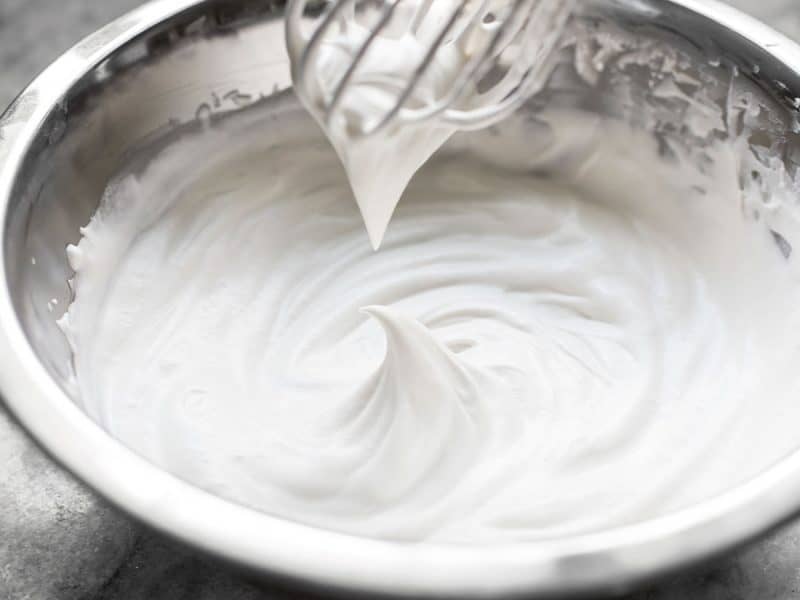
Start by making the vanilla whipped cream. Homemade whipped cream couldn’t be any easier, especially if you are using a mixer (doing it by hand does take a little elbow grease, but that’s how I always do it!). Place 1 cup heavy whipping cream in a bowl along with 2 Tbsp granulated sugar and 1 tsp vanilla extract. Whip or beat with a mixer until soft peaks form. Soft peaks are when you lift the whisk out of the whipped cream it creates a peak that gently slumps over to the side, like in the photo above. Set the whipped cream aside.
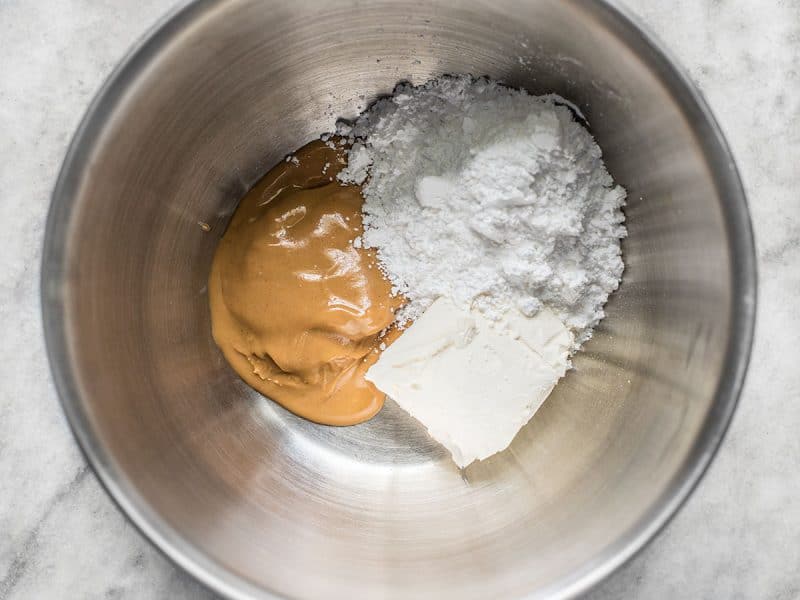
Next, add 1/2 cup peanut butter (creamy), 4 oz. cream cheese, 3/4 cup powdered sugar, and 1/4 cup milk (not pictured) to a separate bowl. Use a mixer to whip the ingredients together until smooth and creamy. Start with low power to prevent the powdered sugar from spraying into the air, then increase to medium once it has incorporated.
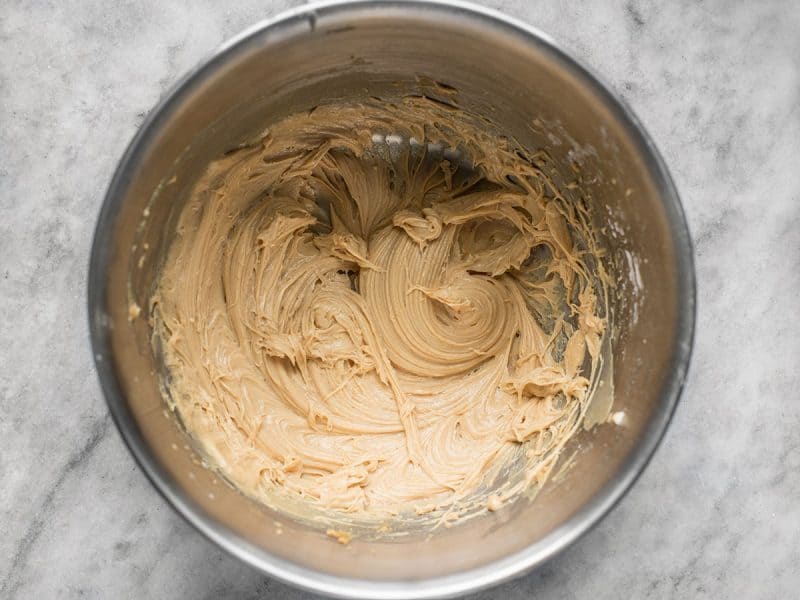
This is what it should look like once whipped. It’s light and creamy, but still quite thick, so we’ll use some of that whipped cream to lighten it up…
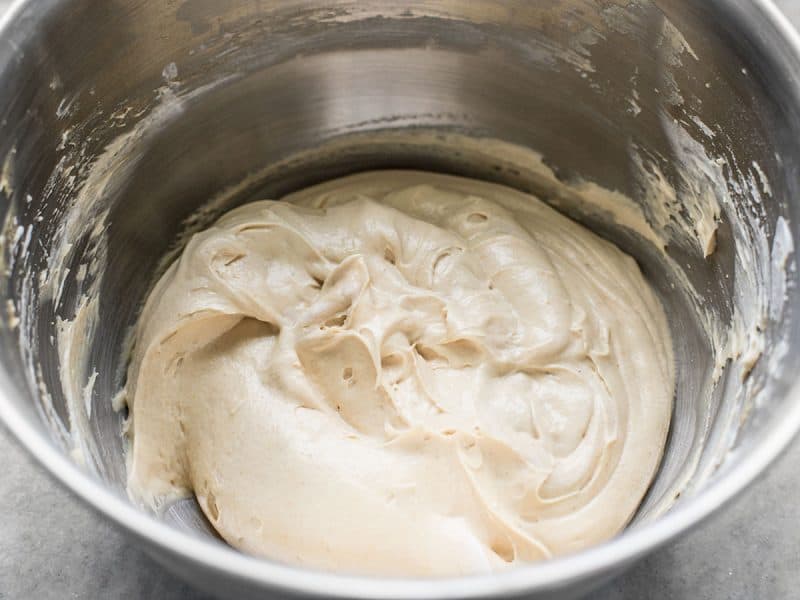
First add 1/3 of the whipped cream and gently fold it in until incorporated. Add another 1/3 of the whipped cream and fold in until incorporated again. It’s very important to GENTLY fold and not stir the two together. If you need an example of how to fold as opposed to stir, here is a youtube video demonstrating the technique. At that point it will look like the photo above. You’ll save the rest of the whipped cream to top the cups.
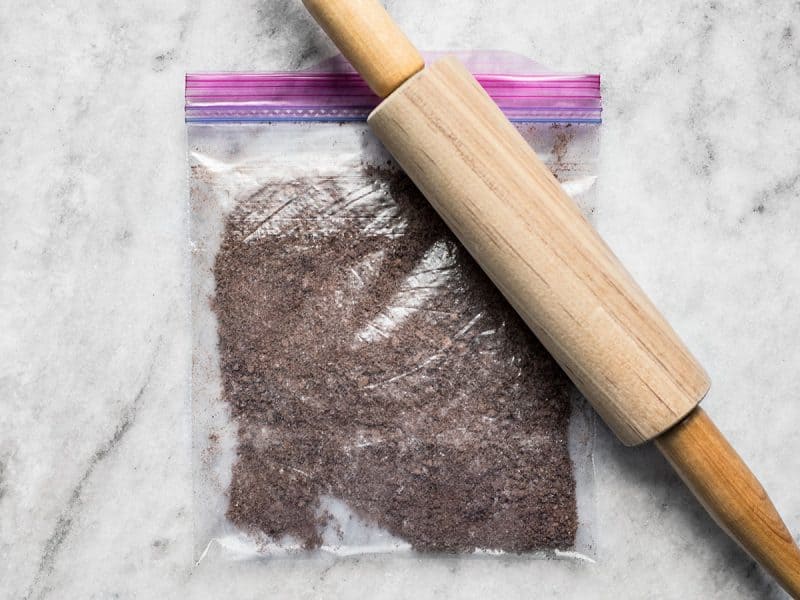
Add 3 of the 4 chocolate graham crackers to a zip top bag and crush them with a rolling pin (or you can use a food processor and pulse until they are crumbs).
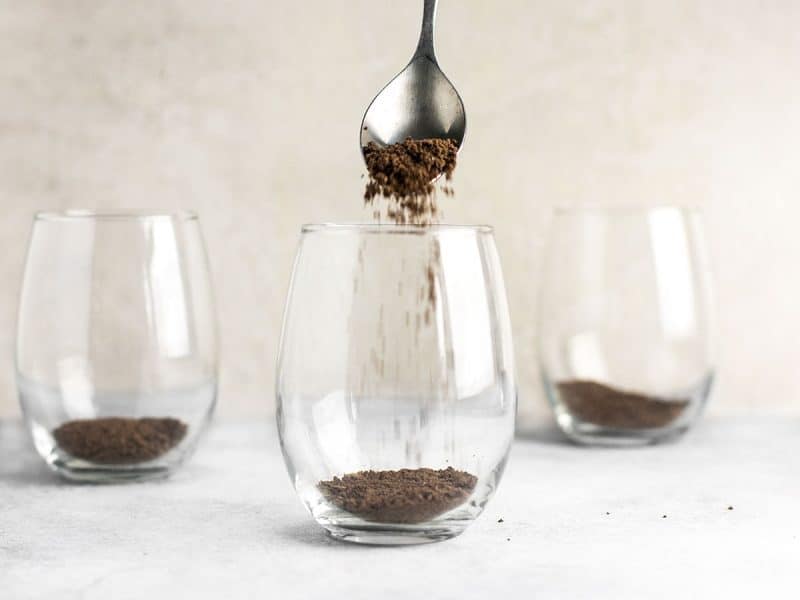
Divide the crushed graham crackers between four cups or containers (I had four, one is just out of the frame). Save just a little of the crumbs to sprinkle over top when they’re done.
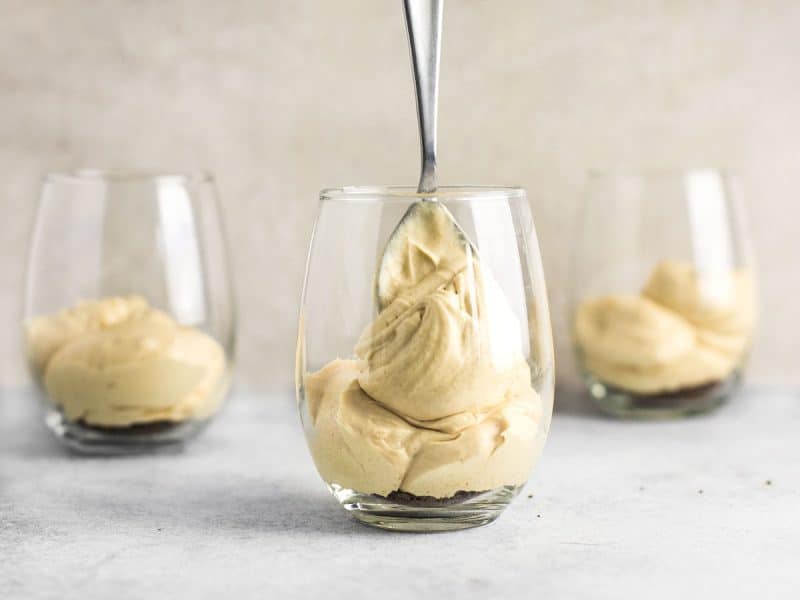
Next, divide the peanut butter fluff between the containers…
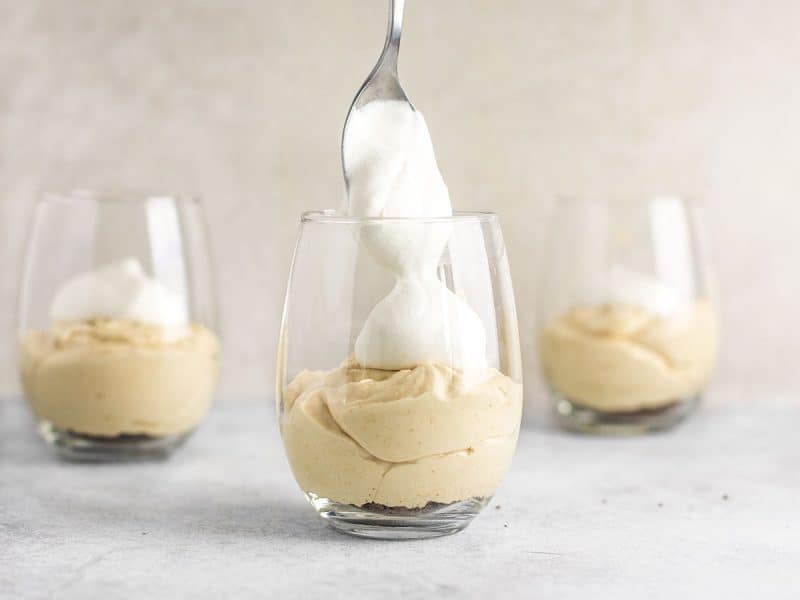
And then add the rest of the whipped cream on top of each. MMMmmmm
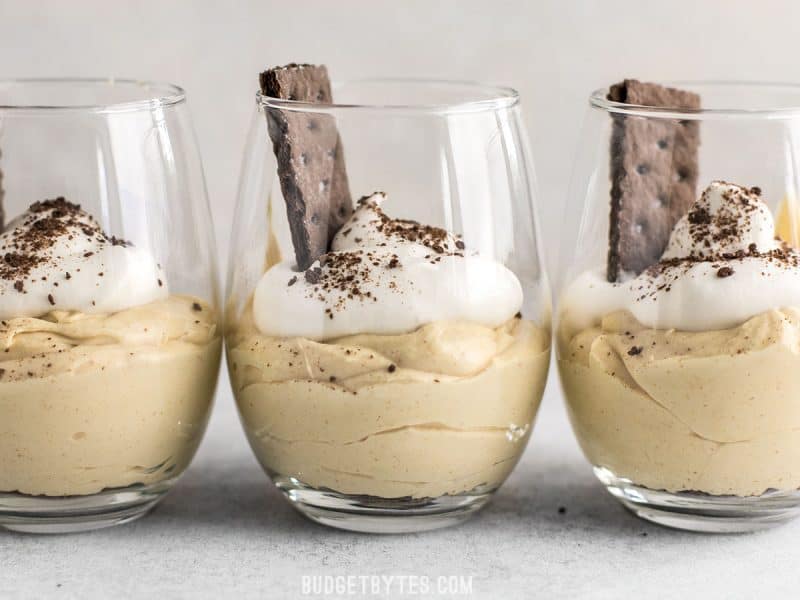
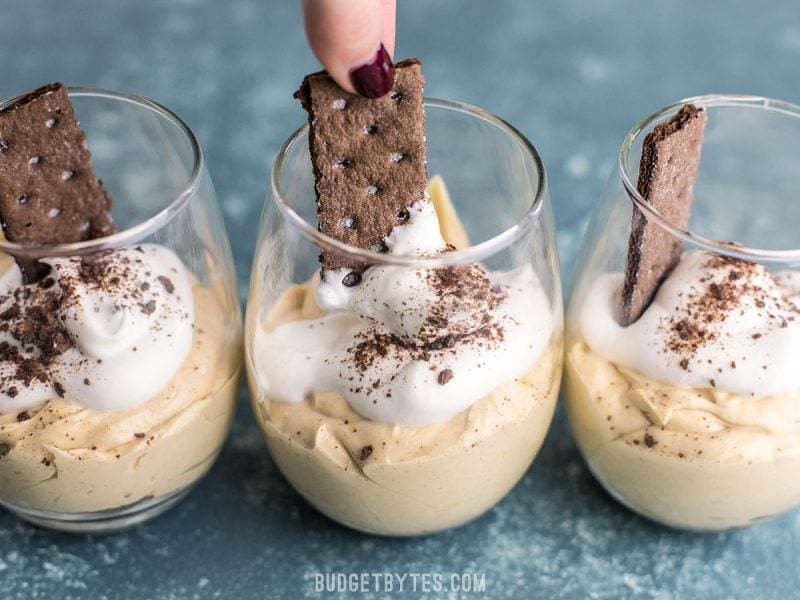
And then to garnish, sprinkle a pinch of the graham cracker crumbs on top of each, then break the last graham cracker into four pieces and stick one piece down into each cup.
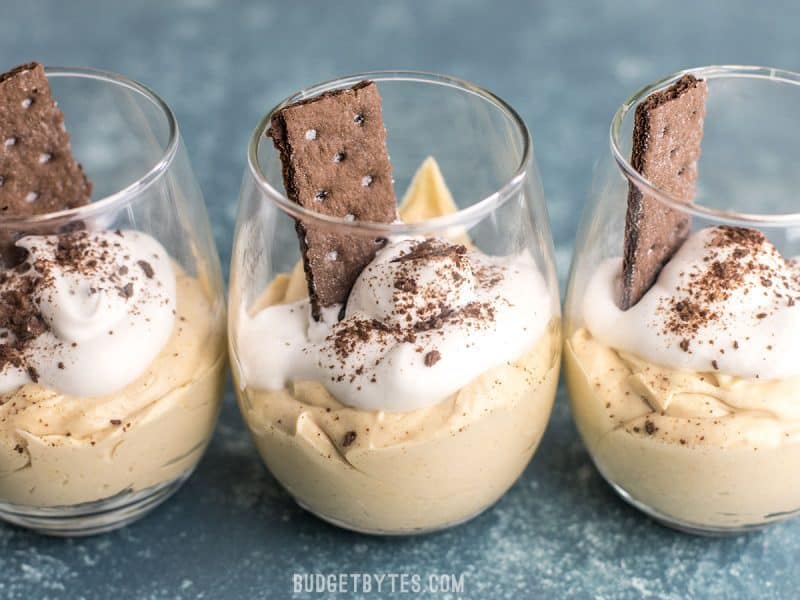
And that’s it! You can eat the Peanut Butter Fluff Cups right away, or refrigerate until later. I had one the next day and I have to say I think I like them refrigerated better! They firm up to a cheesecake-like texture and are just to-die-for. I even like how the graham cracker crumbs get a little moist. 🤷♀️ What’s not to love, though.


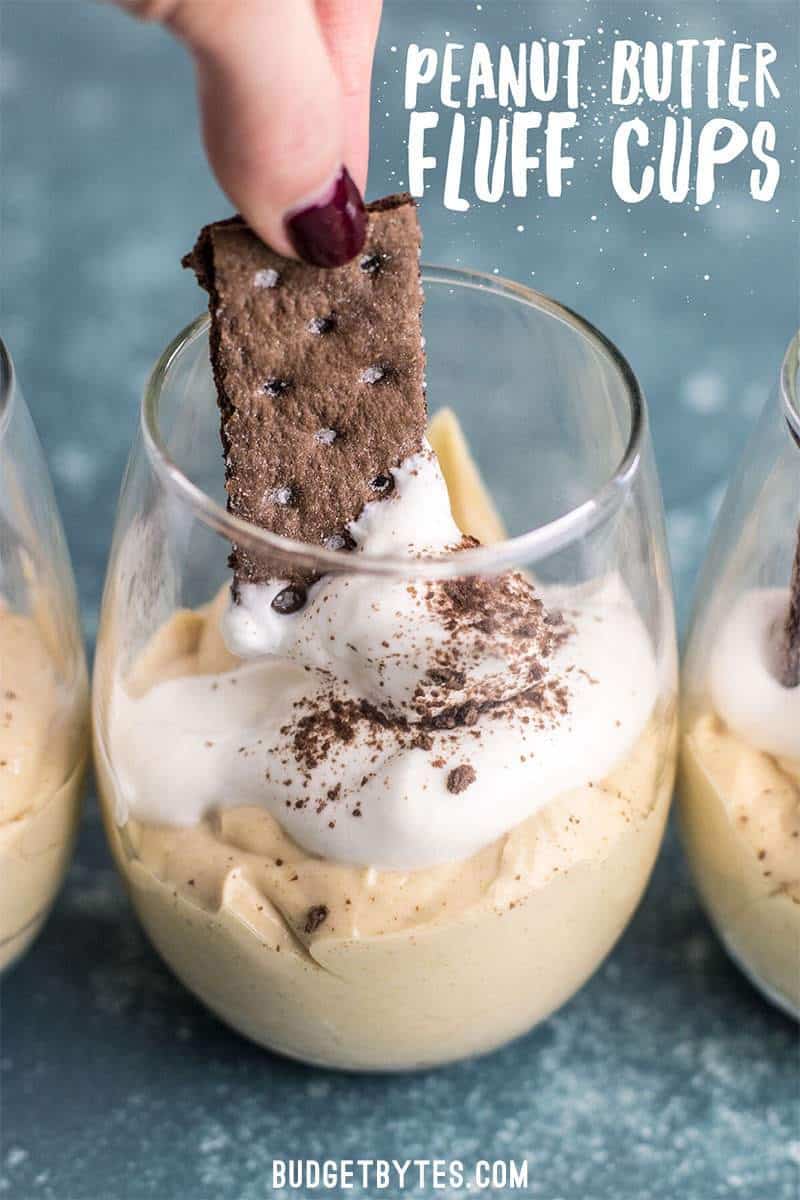
These peanubutter fluff cups were delicious! They were a huge hit at a party I brought them to. I made miniature cups, instead, to feed a crowd. I set the recipe to 8 servings and was able to divide them between 24 (5 oz.) plastic cups. I whipped an extra cup of cream because I wanted more whipped cream topping. For easier carrying, I put each cup in a 12-muffin tin. I live in the Caribbean and it’s getting to be summer, so it’s very hot. I wanted them to stay cool and refreshing, so I froze them. They were able to defrost, but still stay cool, during the transport time and the time it took the guests to eat from the pot luck. The only real recipe change I made was to crush Oreos instead of chocolate graham crackers because Oreos=yum!
this has been on my “try” list for forever, can’t wait to finally make this later today! quick question: we have a small household – how long can the extra fluff keep in a refrigerator? is it possible to freeze the leftovers? thanks!
We recommend keeping for 3-5 days in the refrigerator. But it could go longer if you prefer. And we haven’t frozen them yet, but I think they’d be delicious!
Thanks so much for an excellent recipe! My six year-old daughter and I are enjoying cooking through your desserts during the quarantine, and this has been our absolute favorite – so delicious and creamy!!
Just as delicious as it looks! The whole family loved their super yummy treat! Thank you Beth for another winner :D
AMAZING! We only had Oreos on hand, so crushed those up instead of the graham crackers— so good! Easy enough to get my little sister involved and she loved it! Beth, thank you for making such perfect recipes for a newbie chef/poor college girl like myself!! Can’t thank you enough for your website!!
So great! Made this tonight for a special quarantine dessert. I didn’t have chocolate graham crackers, but had regular graham cracker crumbs, so ended up making/baking a simple graham cracker crust and using that as garnish (I love graham cracker crust so much, so I didn’t mind the extra effort). Love this for a really quick dessert that spreads across 2 days for 2 people.
Man, these were good, but a bit rich. Next time I might split them into five dishes instead of four. I used chocolate animal crackers because they were on sale, and chunky PB since that’s what I had in the pantry.
Okay — so I went to make this for my husband to bring to a night with the guys, and then I discovered 6 people would be there (this serves 4). Yikes: I made some immediate (successful!) changes. First, unable to find chocolate graham crackers at ALDI, I had purchased Nilla Wafers. So I crushed them into the bottom of a flat crystal bowl. Then I topped them with all the fluff from this recipe. Then I made another batch of whipping cream and added a layer of that. Then I sprinkled more crushed wafters on top and shook a few chocolate sprinkles on it to make it pretty.
The boys devoured it. And, they asked that my husband bring it again.
Super awesome recipe – thank you so much!!!!!!!!!!!!!!!!!
I love how you improvised! Great job!
This look so good! Just wondering if you have any tips or ideas for saving money on vanilla extract these days. The price has skyrocketed!
Oh wow, I haven’t noticed! I buy a big bottle and it lasts me a couple years, so I haven’t looked at the price lately. It might be worth looking online to see if you can get it for a better price somewhere else? I know you can make vanilla extract at home, but I’m guessing that if the price of extract went up the price of vanilla beans probably did too.
Hey Beth the music in this recipe video is dope as hell, what track is it?!?
It’s called Other Way by Otis McDonald, from the Youtube music library. :)
Could you use natural almond butter? Would it need a some almond extract?
Hmm, it’s hard to say without testing it. Almond butter is a lot more mild than peanut butter, so extract might be a good idea, but again, it’s hard to say.
When I click on the gluten free recipe link, this recipe appears, and it is not gluten free. Although it looks delicious otherwise.
Thanks for catching that error! It’s fixed now.
Do you guys think whole fat plain yogurt could stand in for the cream cheese? I didn’t want to make a special trip for cream cheese that I’ll only use for this one recipe. Thank you!.
I don’t think that would work well, flavor or texture-wise. :(
Beth, I’ve made your delectable Peanut Butter Fluff Cups several times with whole fat plain yogurt before I saw your response to Sarah’s query. I rarely buy cream cheese anymore.
I’m pleased to report that – both flavor and texture-wise – it absolutely works.
Friends can never get enough of this dessert.
The trick is to drain the whey out of the yogurt (if you’re using non-Greek yogurt) by placing the yogurt in a colander lined with a coffee filter or cheesecloth, over a bowl.
[I then use the whey as a buttermilk substitution in pancakes.]
Thanks for a fantastic recipe…and website, Beth.
Made this twice so far, so good!
I followed the exact recipe the first time, and halved the cream cheese the second time (wanted it to be lighter). Both turned out delicious! definitely a keeper. Thanks!
I simply made these and they are amazing! I like that you can modify the sugar to your own particular taste, as well. I will absolutely be making this once more.