Oh the fascinating world of flat breads… Although the ingredients for this Homemade Pita Bread are different from my Homemade Naan, the execution is almost exactly the same. The only difference here is that you bake the pita bread in a super hot oven instead of in a skillet on the stove top.
The extra hot oven (500ºF) creates a pocket of steam inside the bread that leaves a very convenient cavity once cooled. Stuff the bread full of your favorite sandwich fillings, wrap it around some falafel, or even cut them up and bake them for a tasty treat. And don’t worry if you can’t eat them all right away. Leftovers can be frozen! Just pop them into a gallon-sized freezer bag once fully cooled.
I used a little bit of whole wheat flour in my recipe but feel free to use only all-purpose flour if you wish. The only change I’d make if I were to make this pita bread again is to divide the dough into 6 rounds rather than 8 to yield a thicker pocket. But, hey, who needs all that thick bread anyway? What you stuff inside of it is the real prize.
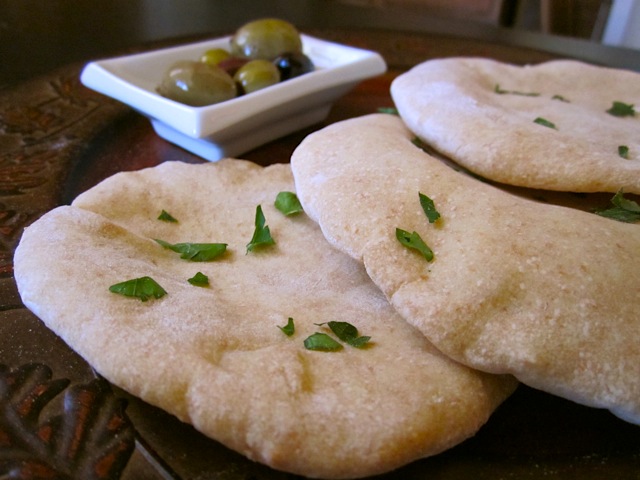
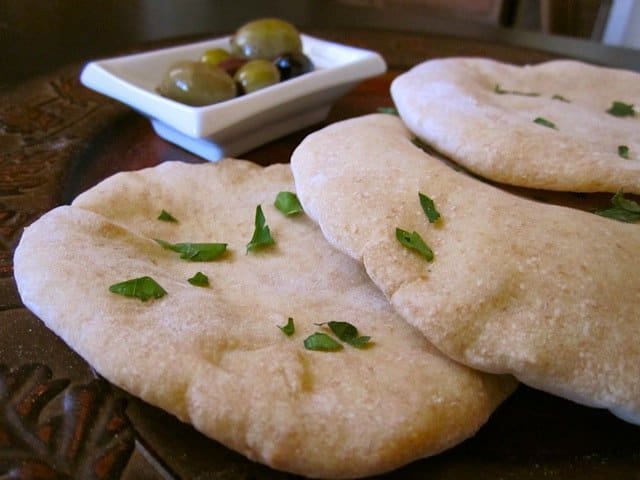
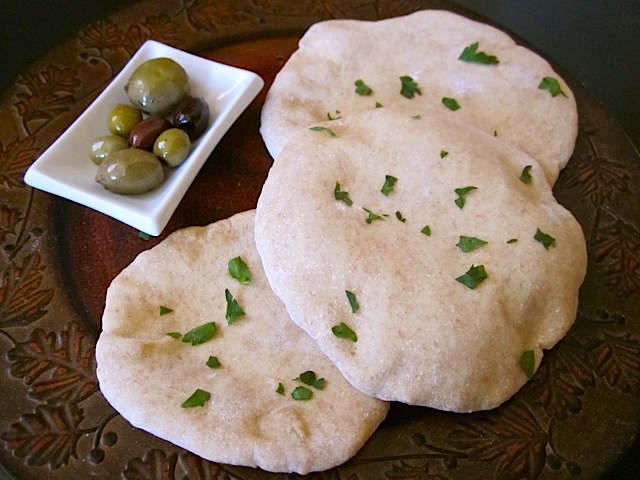
Homemade Pita Bread
Ingredients
- 1 1/8 cup warm water ($0.00)
- 1 1/2 tsp yeast ($0.15)
- 1 1/2 tsp sugar ($0.03)
- 1 Tbsp olive oil ($0.10)
- 1/2 cup whole wheat flour ($0.08)
- 2 1/2 cups all-purpose flour ($0.37)
- 1 tsp salt ($0.05)
Instructions
- In a small bowl combine the warm water, sugar and yeast. Stir to dissolve and let sit for 5 minutes or until a foam develops on top. Once a foam develops on top, add 1 Tbsp of olive oil.
- In a large bowl, combine 1 cup of flour (half whole wheat in my case) and the salt. Stir them so they are evenly combined. Add the small bowl of liquid to the bowl with the flour. Stir to combine.
- Continue mixing in flour until it forms a loose ball that you can no longer stir with a spoon. Turn the ball of dough out onto a floured surface and continue to knead in more flour until a soft and pliable (but not sticky) ball forms. You should have used around 3 cups of flour total and kneaded the dough for at least 3 minutes.
- Place the ball of dough in an oiled bowl, cover loosely and let sit to rise for one hour or until doubled in size.
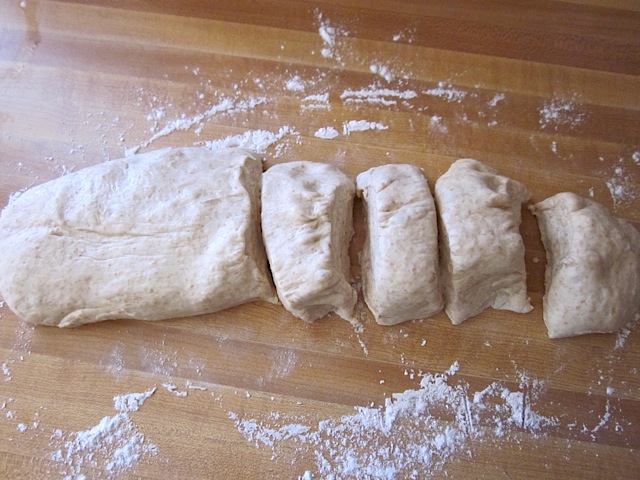
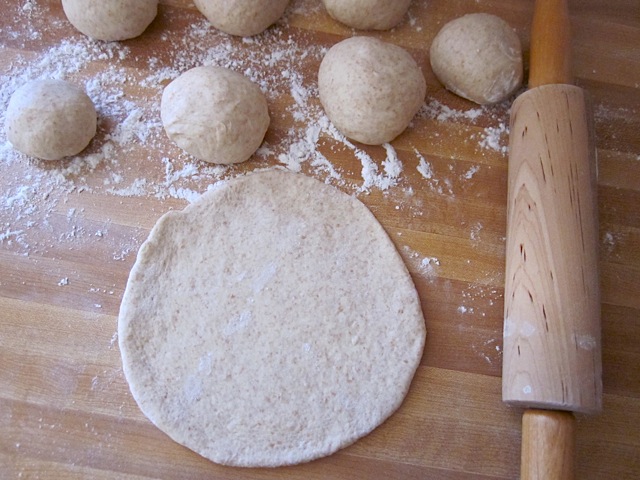
- Punch down the risen dough and turn it out onto a floured surface. Stretch the dough into a log and cut it into 8 (or 6) equal sized pieces. Shape each piece of dough into a smooth ball and then roll it out into a flat, 6 inch diameter circle.
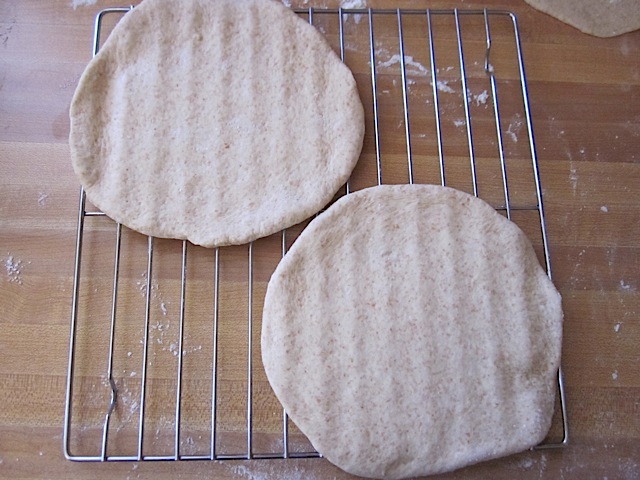
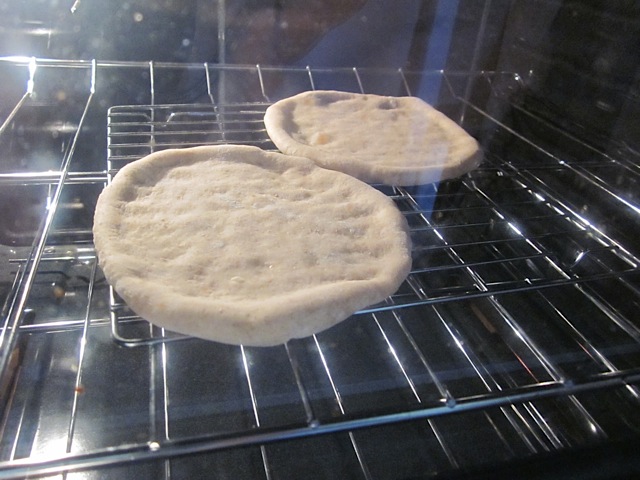
- Preheat the oven to 500 degrees and let the dough circles rest as the oven comes up to temp. Place a damp cloth over the dough circles so they do not dry out. When the oven is hot enough, place the dough circles on a wire rack (a couple at a time) and place the rack in the oven. Watch the circles puff up as they bake. When the circle has completely inflated but not yet turned brown you can remove it from the oven and put in the next batch. If you let the pitas cook until golden brown they will be crispier and may retain the inflated shape as they cool.
- As you remove the pitas from the oven, stack them on a plate and cover with a damp cloth. The trapped steam will soften them as they cool. Once completely cooled, store the pitas in an air tight container in the refrigerator.
See how we calculate recipe costs here.
Nutrition
Step By Step Photos
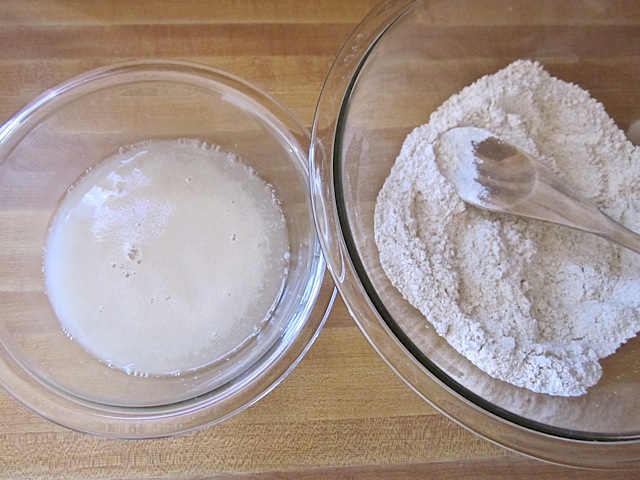
Combine the water, yeast and sugar in one bowl and one cup of flour plus the salt in a larger bowl.
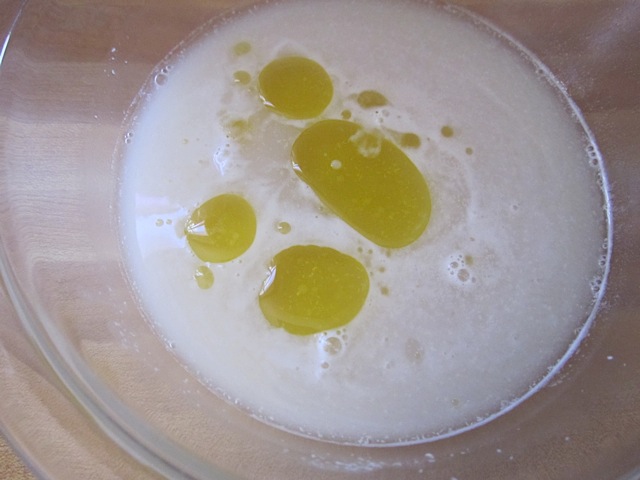
When the yeast water becomes frothy, add the olive oil.
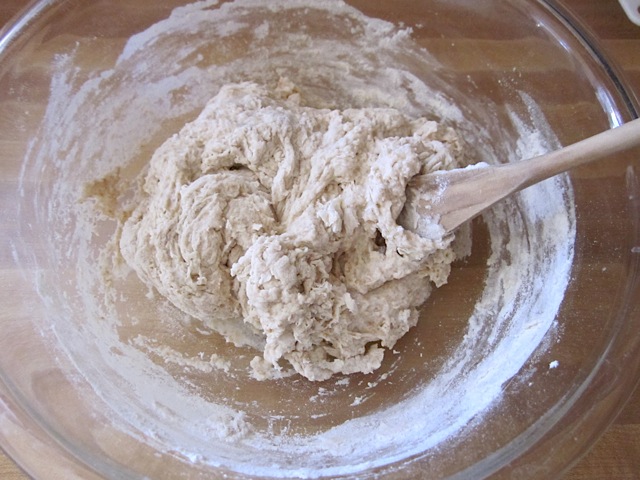
Pour the bowl of wet ingredients into the bowl with the flour and salt. Stir to combine then continue adding flour until it forms a loose ball that you can no longer stir with a spoon.
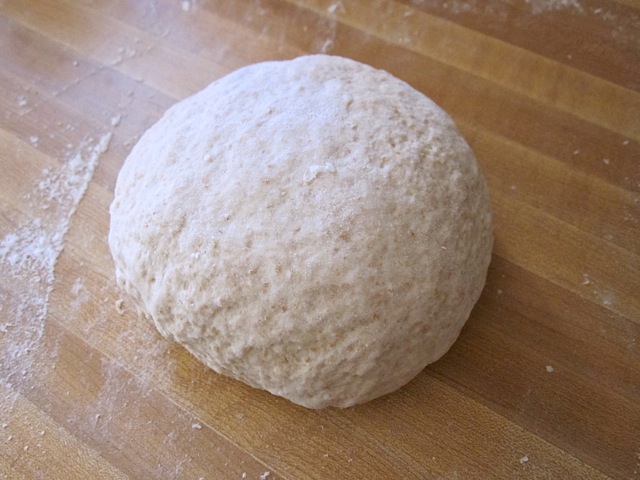
Turn the dough out onto a floured surface and continue to knead in flour until it forms a soft, pliable, not sticky ball. Use approximately 3 cups of flour total and knead for at least 3 minutes.
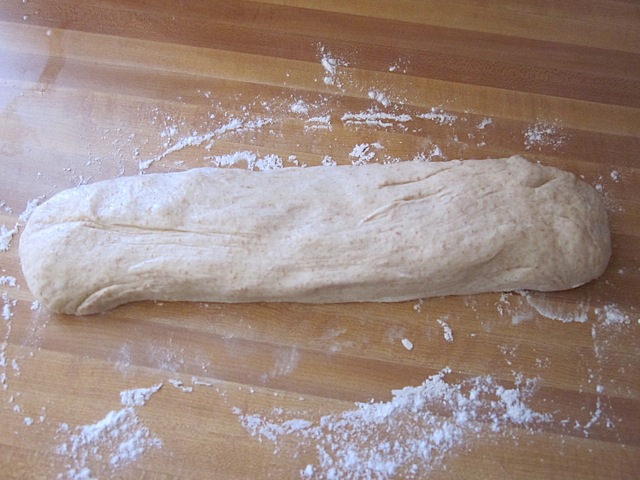
Let the dough rise for one hour or until double then punch down and stretch into a log.
Cut the dough into 8 pieces.
Form each piece of dough into a ball and then roll it out into a 6 inch circle.
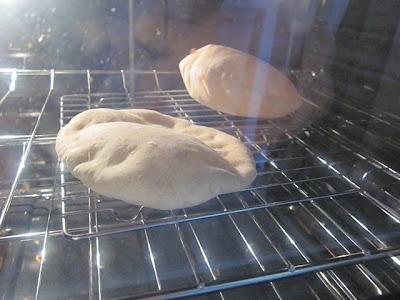
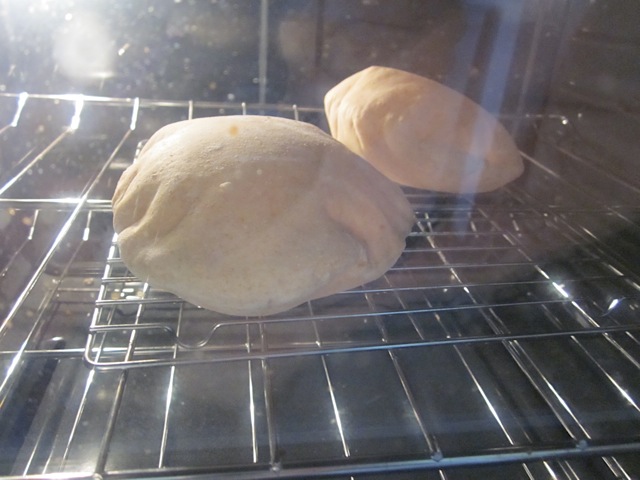
Preheat the oven to 500 degrees and let the dough rest as the oven warms. When it’s hot and ready, place a couple dough circles on a wire rack. Place the rack in the oven and watch them inflate…
Very fun to watch… Pull the pitas out and put in the next batch (be careful with the hot rack). Stack the cooked pitas on a plate and cover with a damp cloth as they cool.
This really was a fun project but I’ll admit, I think the naan is still my go-to flat bread. The flavor of the naan is so much more complex because of the yogurt and it’s texture is so pillowy soft… Mmmm.
That being said, I’m not going to have a hard time eating these pitas. I had actually bought a pack of pita last week ($1.99 per pack of 6, $0.33 each) and the home made has a much better flavor and texture. The fresh pita made the store bought taste and feel like cardboard. Ick.
One thing that I do love about pita bread is it’s unique ability to help me scoop large quantities of hummus into my mouth. Something about the pocket shape… it just forms the perfect hummus shovel :)



Hi! I’ve been making this pita bread for several years and realized I’ve not left a comment to thank you! This is my go-to pita recipe. It’s soooo good! At the beginning my pitas didn’t puff up consistently so if anyone else is having that problem, after your dough ball is rolled out you just press your thumb in the middle of each pita and voila they will puff up in the oven.
The recipe is GREAT as is! Sometimes I sub spelt flour for the whole wheat and my family also likes it if I add fresh rosemary. All this to say if anyone else is wondering you can flex a bit and make it your own but it is excellent as is!
Hey, did you leave something out of the recipe? I got to the kneading part and kept kneading it and adding flour, but it never formed a ball and it only got shredded. I followed the recipe exactly as I should of and I was kneading for 10-20 minutes. What gives?
No, nothing has been left out. It’s hard to say what happened with yours without being there to actually see the process, but is it possible something got measured incorrectly? It sounds like your flour to water ratio might have been off.
Howdy Beth,
Your recipe looks great. I’m particularly interested in how to bake them into chips. Do you think you could tell me how you do it? I’d love to know how to do it.
With thanks,
William J
Hi William, you can see the technique I use in this recipe for Cinnamon Pita Crisps (you don’t have to do cinnamon flavor). :)
Awesome! Thank you so much!
False advertising. It says it will take an hour and fifteen minutes to prep. Only took me five. Turned out pretty bad but since it’s for a school project i don’t care.
Conner, it sounds like you missed the step where the dough is supposed to rise for one hour. The hour rise time is most of the prep time listed. If you do not let the dough rise, it will turn out pretty bad.
Per Beth’s suggestion, I cut mine into 6 to have a bigger pocket. I’m really glad I did because they still seemed on the smaller side.
Two tips: I rolled mine as thin as possible, which worked well. They still came out really thick and fluffy afterward. Also, I would lightly grease the wire rack, I had to pry a few off.
I only have AP flour- is the whole wheat essential? Could you do all AP or would this turn out poorly? Thanks!
You should be okay!
My husband and I have been wanting to make this for a while but were slightly intimidated and this wasn’t warranted. The recipe was so easy and the ingredients came together so seamlessly.
Make this recipe, you will be proud of yourself. Nothing better than fresh bread!
Thank you for your amazingness yet again, Beth!
I know I’m years late to the party, but I have to add my affirmation to how simple and nearly fool-proof this recipe is. Tried it last night to accompany hummus, shawarma chicken, and other Middle Eastern eats. OMG. Between this recipe and the BB naan recipe, my husband thinks I’m a CIA-trained chef. So much better than store bought…like so much better that you can’t even imagine it. I was a competent from-scratch chef before I found BB, but Beth, your website has upped my game 100%. Thanks!
Thank you! That’s an amazing compliment! <3
This recipe could not have been any easier! The dough was a dream to work with and the instructions, as usual, were so easy to follow. I have been making your Naan recipe for years and, for some reason, assumed that pita would be harder to make. I was so wrong. I made 8, and they puffed BEAUTIFULLY in about 2 1/2 minutes. Such beautiful, fluffy rounds, without preservatives; I can’t wait for the family to get home and taste them with the hummus I made this morning!
I got this website from my buddy who told me about this site and now this time I am browsing
this web site and reading very informative content at this time.
just wanted to say that these were fantastic! I made them last night and they turned out great. They were very easy to make and very light and fluffy. Never wasting money on the store-bought ones again.
These came out beautifully and in our climate the dough doubled in less than an hour. Typing this as Mr S and I sir down to eat!
I used maybe 2 3/4 cups of flour total, half whole wheat, and made 8 small pitas. Let them rise 45 minutes and then 45 minutes again after dividing the dough. My oven does not have a window but I made 2 at a time for 2-3 minutes at 500 degrees and they turned isn’t burn but they also didn’t puff up at all. I think I rolled them too thin, but they taste good.
They are better when you let the yeast get really frothy in the beginning which takes more than five minutes. I give the initial rise a little bit longer to get really puffy and I keep the bowl in a warm sunny area of my house. After dividing into eight pieces I let the individual balls sit and rise for an extra hour or so. I tried making the recipe with six pieces but they didn’t rise, eight is better because they are thinner. When it’s time to bake them, I think a light dusting of flour on top makes them look pretty after you cook them and I put a piece of aluminum foil on the rack to prevent any sticking or falling through the holes.
I made this for the first time yesterday- delicious, even after messing up a little bit (I forgot the olive oil, and had a little disaster after rolling them out). I typically like naan better than pita, but I really, really enjoyed this, which surprised me.
I actually used this pita to make pita chips… Yum! Another winner from budget bytes, delicious, easy, and inexpensive. Thanks!