I know it sounds cheesy, but pizza really is my favorite food. It has endless possibilities and usually includes my favorite things: bread, tomatoes, and cheese. And when you make your pizza crust from scratch, pizza is one of the cheapest dinners you can make. The best part? All of the ingredients for homemade pizza dough are pantry staples, so you can make this whenever without planning ahead. AND it’s freezer-friendly so you can always have some stashed and ready to thaw on a moment’s notice.

This post contains some affiliate links, which means that we make a small commission off items you purchase at no additional cost to you.
What is in Homemade Pizza Dough?
While there are several styles of pizza dough out there in the world, this particular recipe is super simple and only includes:
- Water
- Yeast
- Sugar
- Salt
- Flour
- Olive Oil
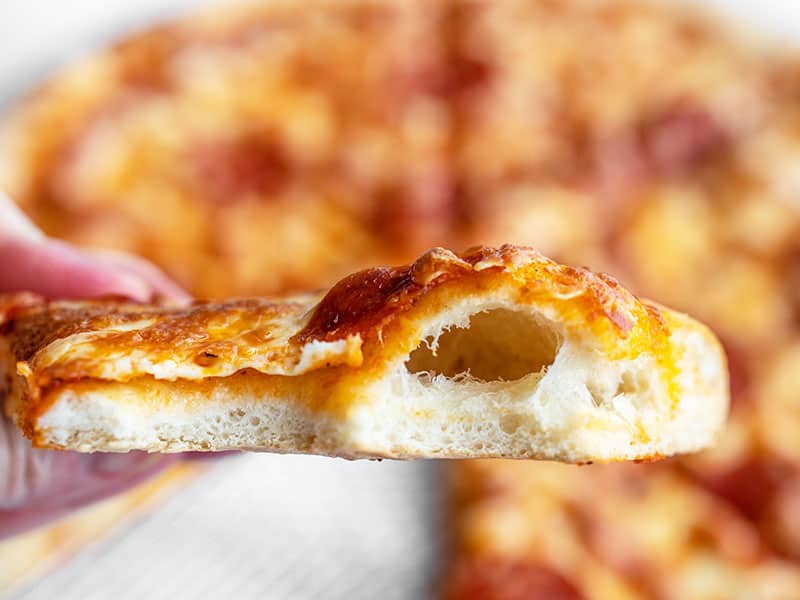
That’s it! Really! This particular recipe creates a crust that is crispy on the outside, but still tender on the inside. If you use a rolling pin to really compact the dough and roll it thin, you’ll get a result that more closely resembles a crispy thin-crust pizza. Toss the dough by hand, gently stretching the dough and leaving some thickness will give you that crispy-yet-tender finish, with a few of those awesome big bubbles.
What Kind of Yeast Can I Use?
The instructions below will work with active dry or instant yeast. If you’re looking for a pizza crust without yeast, check out my No-Yeast Pizza Dough Recipe.
How to Freeze Pizza Dough
After kneading the pizza dough, form it into a ball, coat the dough ball with a little oil to keep it from sticking to the plastic, then wrap tightly in plastic wrap. Place the plastic wrapped dough ball in a heavy duty freezer zip top bag, label, date, and place it in the freezer!
How to Thaw Pizza Dough
To thaw your frozen pizza dough, place it in the refrigerator the night before you intend to bake the pizza. The dough will rise slightly as it thaws. The other option is to allow the dough to thaw at room temperature, which will take about two hours. You’ll want to unwrap the pizza dough from the plastic before letting it thaw. Place the frozen dough in an oiled bowl and cover loosely with a clean towel as it thaws.
Try These Homemade Pizza Flavors:
- BBQ Chicken Pizza
- Breakfast Pizza
- Garlicky Kale and Ricotta Pizza
- Ultimate Portobello Mushroom Pizza
- White Pizza with Parsley Pesto Drizzle
- Spicy Hawaiian Pizza
- Hummus and Grilled Vegetable Pizza
- Stromboli

Make some homemade pizza sauce to go with your pizza crust!
Homemade Pizza Dough

Ingredients
- 3/4 cups warm water ($0.00)
- 1 tsp yeast* ($0.08)
- 1 Tbsp sugar ($0.05)
- 2 cups all-purpose flour ($0.30)
- 1 tsp salt ($0.03)
- 1 Tbsp olive oil ($0.16)
Instructions
- Dissolve the yeast and sugar in the warm water. Allow the yeast water to sit for about 5 minutes, or until a thick layer of foam develops on top.
- While you’re waiting for the yeast, add 1 cup of the flour and the salt to a large bowl, then stir well to combine.
- Add the olive oil to the yeast water, then pour the mixture into the bowl with the flour and salt. Begin adding more flour to the bowl, ¼ to ½ cup at a time, until it forms a ball of dough that can no longer be stirred with a spoon.
- Turn the dough out onto a lightly floured work surface, then knead for about 5 minutes, adding a little flour as you go to keep it from sticking.
- At this point you have three options: use the dough tonight (one hour after kneading), use it tomorrow (allowing it to rise in the refrigerator over night) or within a month (freezing the dough).
To Use the Pizza Dough Same Day
- Place the kneaded dough back into the mixing bowl, drizzle with a little oil, then turn the dough to coat it with oil. Cover the bowl loosely and let the dough rise in a warm place for one hour, or until it is double in volume.
- Once risen, stretch or roll the dough out to a 14 to 16-inch circle, place on a pizza pan, and top with your favorite sauce and toppings. Bake the pizza in a preheated 450ºF oven for 10-12 minutes or until the edges are brown and crispy.
To Use the Pizza Dough the Next Day
- Allowing the dough to proof (rise) slowly in the refrigerator for 18-24 hours gives the dough even more flavor. Form the dough into a ball and coat with oil. Place the dough in a covered container and refrigerate for 18-24 hours. Allow the dough to come to room temperature before stretching, topping, and baking.
To Freeze the Dough for Future Use
- Form the kneaded dough into a ball, coat it with oil, wrap tightly in plastic wrap, then place in a freezer bag and transfer to the freezer. When you are ready to use the dough, simply place it on the counter for one hour prior to use. The dough should be at room temperature before stretching, topping, and baking.
See how we calculate recipe costs here.
Notes
Nutrition
How to Make Homemade Pizza Dough – Step By Step Photos
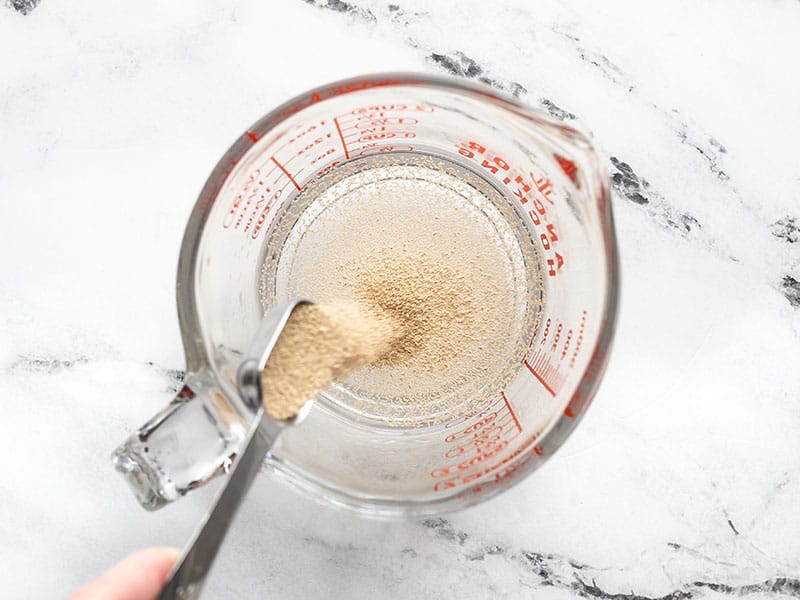
Start this classic pizza crust recipe by dissolving 1 tsp active dry yeast (or instant yeast) and 1 Tbsp sugar in ¾ cup warm water.
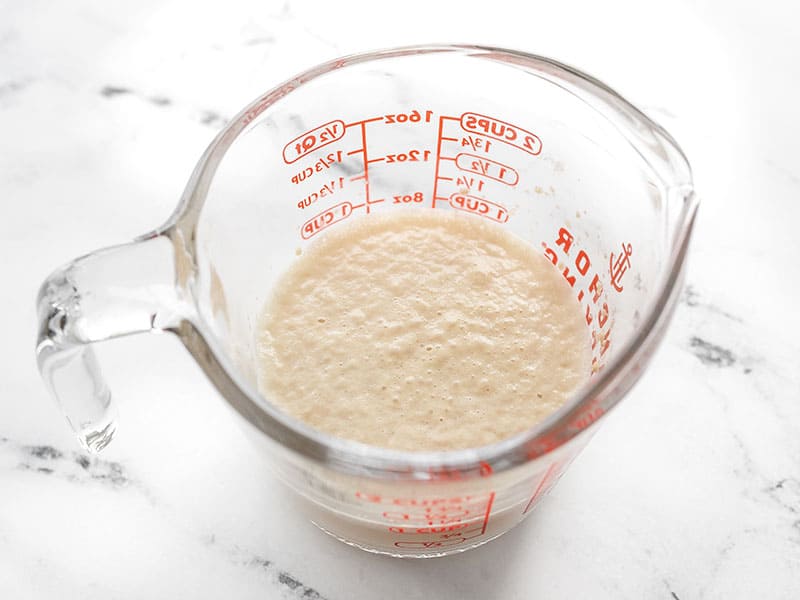
Let the yeast water sit for about 5 minutes, or until a thick layer of foam develops on top.
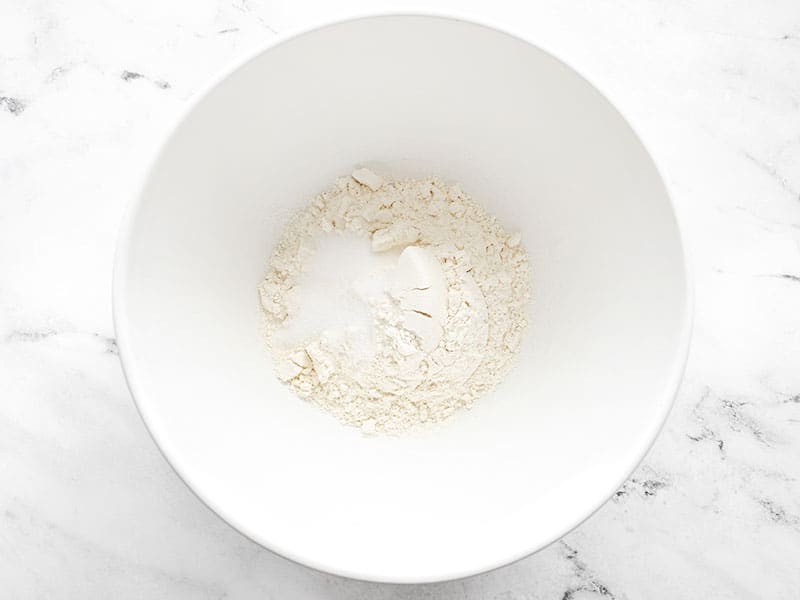
While the yeast is blooming, combine 1 cup all-purpose flour and 1 tsp salt in a mixing bowl. Stir until combined.
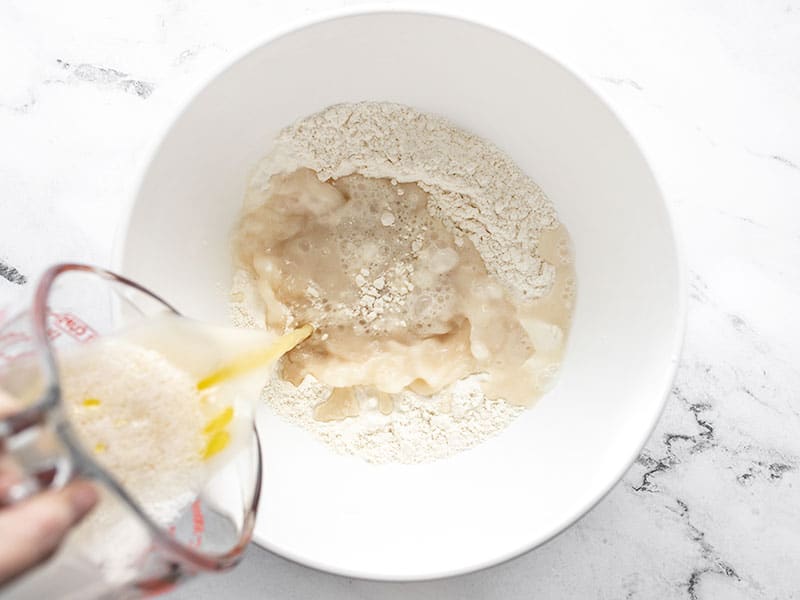
Add 1 Tbsp olive oil to the yeast water, then pour it into the bowl with the flour and salt. Stir until the mixture is fairly smooth.
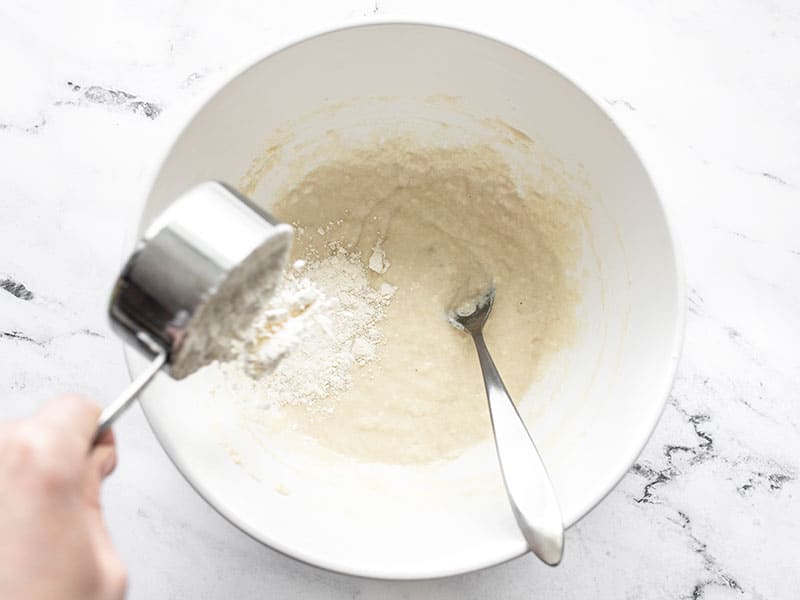
Begin adding more flour, about ¼ to ½ cup at a time, until you can no longer stir the mixture with a spoon.
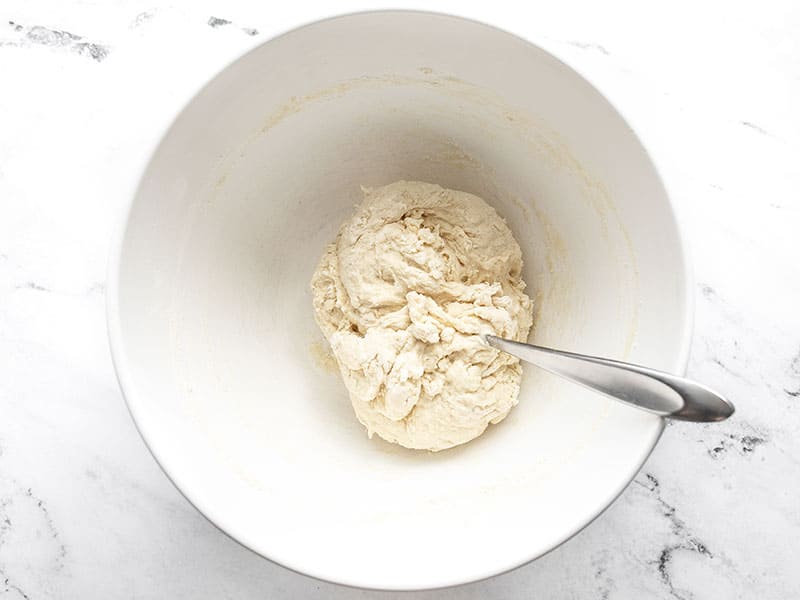
Once it forms a ball that you can no longer stir with a spoon, turn it out onto a clean, lightly floured work surface.
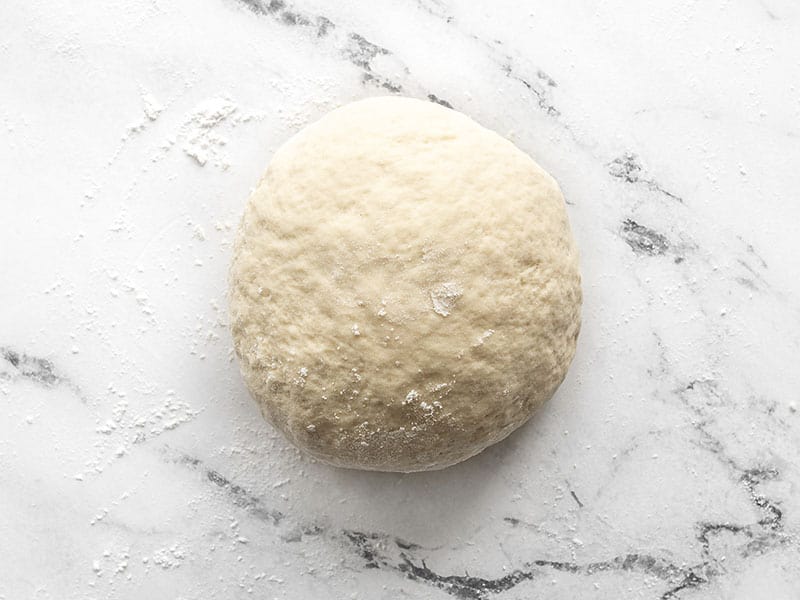
Knead the dough for about 5 minutes, adding a little flour as you go to prevent it from sticking. Once kneaded, you should have used about 2 cups flour total, since the first step of stirring salt into the flour. Total flour amount can vary depending on humidity and other factors. At this point you can let the dough rise and make a pizza same day, refrigerate the dough and make pizza with it the next day, or freeze the dough for future use.
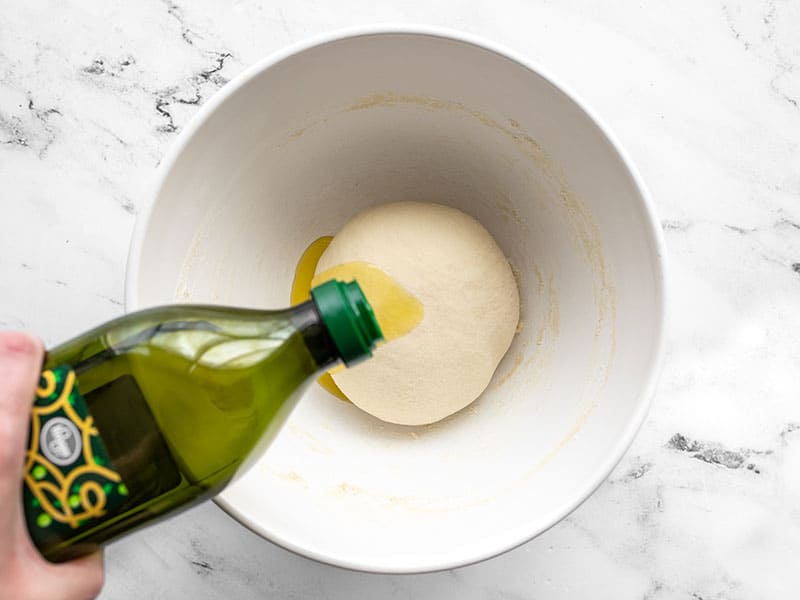
To make a pizza same day: Place the dough ball back into the mixing bowl, add just a small drizzle of oil, and turn the dough to coat it in the oil. The oil will keep the dough from drying out as it rises.
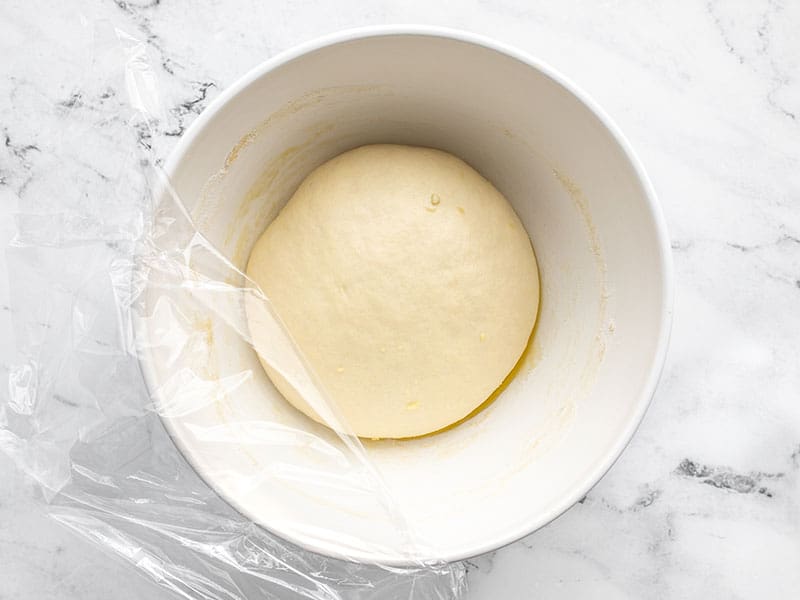
Loosely cover the bowl with plastic wrap and let the dough rise for about an hour, or until it is double in size.
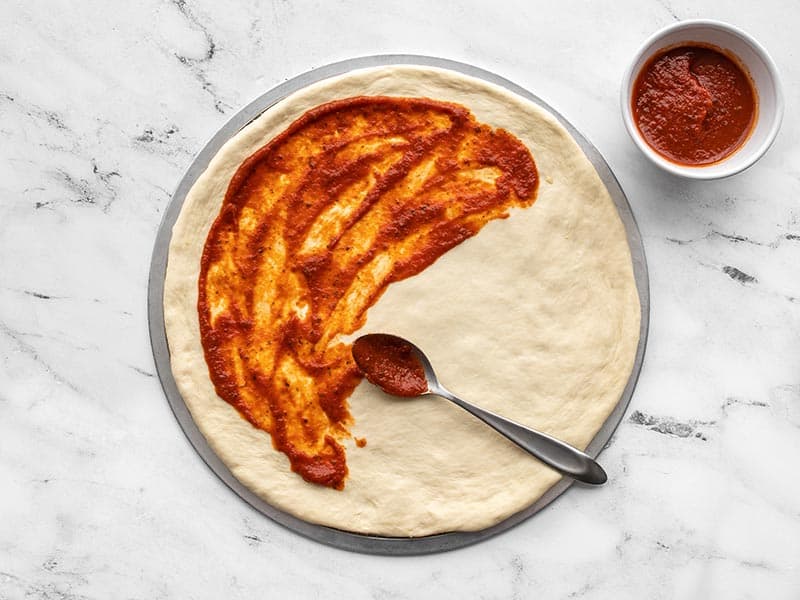
Preheat the oven to 450ºF. Stretch or roll the pizza dough out to 14-16 inches and place on a pizza pan. Add your favorite pizza sauce…

And your favorite pizza toppings…

Bake in the fully preheated oven for 10-12 minutes, or until the crust and toppings are browned.

Slice and enjoy!



This was my first attempt at making pizza dough from scratch. I used this dough recipe for a Hawaiian pizza that we had for dinner tonight and it was awesome! I especially appreciated the link on kneading…I never knew about that 2 finger poke trick. So handy!
Hi Beth!
I’ve used this recipe many times and I’ve found that even though I follow the recipe, the crust does not always turn out the same. Is there a reason you can think of why?
I also watched the video for kneading and followed the instructions, but my ball is never as smoth as the video or your picture…can you help me out!
We still love the crust, every time! I have not bought pizza dough for almost a year now!
Try adding the flour very slowly as you knead. If you add it too quickly, the dough will be stiff before you’ve been able to knead very long. That’s by best guess! :)
Omg, this is such a good recipe! So easy and foolproof. Thank you Beth for all your advices and pictures, it really helped me. I had tried 3 recipes before but none succeeded. I began to think I was unfit for doughs… But yesterday was a hit! Wonderful dough, chewy inside and crispy outside, even without a pizza stone :)
Hi Beth,
Just curious if you knew if this recipe would work using Splenda instead of sugar? Also, will “highly active yeast” work? Thanks so much for all your hard work – your recipes are fantastic!
Hmm, unfortunately I have never cooked with splenda, so I don’t know. :( I haven’t heard of “highly active” yeast, but this recipe works with regular yeast, so that sounds like it would work too!
Thank you, Beth. We tried this recipe and it was perfect! The dough was the best combination of crispy to chewy and the recipe was very easy to follow. (The hardest part was waiting over night)… I’m a long time follower of your blog and you never disappoint. We did use our pizza stone and topped with olive oil, garlic, mozzarella, tomato, basil, spinach, left over rotisserie chicken and feta… Yum!!!
On another note… I love your site photos. ;) thanks again!
This is the first time I’ve been able to get pizza dough to work the way it’s supposed to! We’ve used the recipe several times and it always turns out. Thanks!
I absolutely adore your site because I can find inexpensive recipes that fit our tight budget that my husband will actually eat and want again. I currently have the pizza dough rising and I really hope it works since its my first attempt at dough.
Just posting a follow up now that I’ve actually cooked the dough. It was so good and so easy to do! My husband loved it and we’ve already talked about making a few batches on my next day off and freezing some so thanks again Beth for the amazing recipe that my husband actually wants to eat again. :)
Hi Beth! I hope you’re doing great! Congrats on the site! I loved this recipe (we made it last night and was meant to last for today’s brfst but did not make it). But I was looking for your recipe of thick pizza dough. I remember you even wrote how your boyfriend and you messes up the toppings by not cooking them ahead, I specially liked that tip because my husband and I were about to do the same!…do you know what I’m talking about? Is it the same recipe that was edited? Or I just could not find what I was looking for?
Best regards and congratulations again! <3 from Recife, Brazil
Hmm, I don’t remember writing anything about my boyfriend, and I know I don’t have one that I called “thick”, so that might be from another blog? I have three pizza dough recipes, though, the original recipe, honey wheat, and this overnight version that I used in the kale & swiss pizza. They’re all good! :)
Anon – You definitely want to knead this by hand – it’s the only way you can judge if you have the right amount of flour. The amount of flour needed will vary depending on relative humidity and other factors. It sounds like it needed more flour and perhaps more kneading. I wouldn’t suggest using a food processor for this.
Also, did you let it rise in the refrigerator over night or at room temperature? This dough definitely needs to be in the refrigerator to slow it down (it has a lot more yeast than “no-knead” recipes that rise at room temperature over night). In my experience, doughs that rise at room temperature over night do get pretty soft in the process, so sometimes if you just sprinkle on enough flour to shape it without it sticking to your hands, it still bakes up quite nice (see this recipe). I hope those tips help!
Sadly this was a disaster. I used the food processor to mix it all up and then let it rise overnight. I was actually concerned that I had overworked it in the processor. But when it came time to roll it out tonight, it was just a wet gluey mess that wasnt remotely workable. Any thoughts?
Kim – That is an amazing technique! Thank you so much for sharing it! I can NOT wait to try it :D
Hi Beth! Thank you for giving a really straight forward pizza dough recipe with measurements! My brother uses practically the same pizza dough recipe(but without the measurements) and he taught my mom and I a unique to cook pizza. We’re fans of thin crust, so get our large cast-iron skillet, drizzle a little oil in it, and put over a medium-high stovetop. Then after you rolled out your dough as thin as you can without it breaking, put it into the skillet and let your skillet toast the bottom. Then as the dough is “frying” on the bottom, put on your toppings. Once you’re done, check the bottom of the pizza by lifting it with a spatula to see the leopard spots.
Then we plopped our cast-iron pizza into an oven on broil for a few minutes, just enough to get the cheese all melted and golden and the crust to get golden.
If you have a cast-iron skillet, I HIGHLY recommend baking it this way =). Thank you for doing such amazing work on Budget Bytes
DK – You can freeze the dough raw. Wrap it tightly in plastic to keep it from drying out. Then just let it thaw, either at room temperature or in your refrigerator, stretch it out, top it, and bake!
Hi, you mentioned freezing this dough – do you do that as a dough (before baking) or as a pre-baked crust?
Ok thanks, it’s on the menu for next week :)