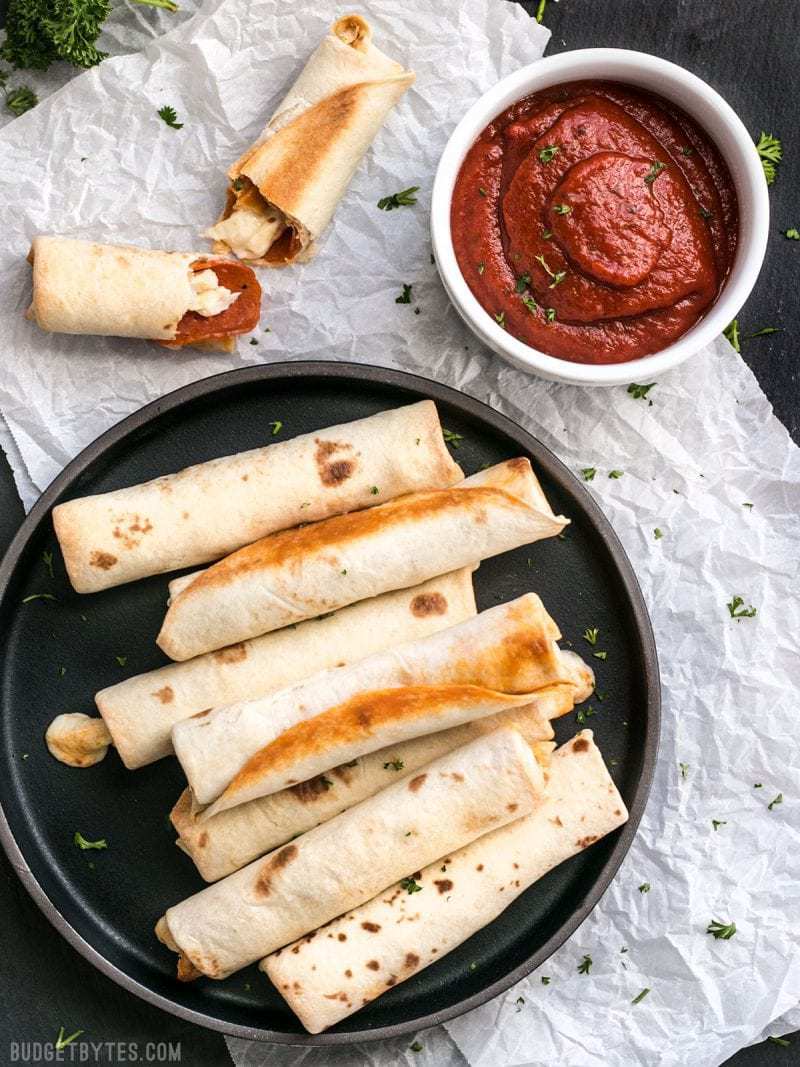
Hey you! Are you looking for a last minute NYE appetizer? Maybe you’re just looking for one last pizza splurge before you begin working on your new year’s resolutions. Or perhaps you’re like me and just want a new way to get your pizza fix as fast and easily as possible. Wellll, if there’s one thing I’m good at it’s coming up with new ways to eat “pizza.” These Pizza Roll Ups are the perfect homemade alternative to those classic 90’s frozen pizza bites.
Plus, you don’t have to keep them in your freezer because I’m pretty sure that tortillas, pepperoni, and mozzarella sticks stay good in the fridge for pretty much forever (I’m being hyperbolic), so you can roll up a small batch whenever you want. PIZZA PARTY!
All recipes are rigorously tested in our Nashville Test Kitchen to ensure they are easy, affordable, and delicious.
Get Creative with Your Pizza Roll Up Fillings
I kept these Pizza Roll Ups simple with just mozzarella and pepperoni, but I suppose you could experiment with adding different pizza toppings inside the roll, like black olives, onions, or green pepper. The trick will be to dice those ingredients very finely so they don’t poke out, tear the tortillas, or just make them difficult to roll. And I’d probably go sparingly on the extras. You don’t want the rolls to get so bulky that they don’t stay shut.
Keep the Tortillas Warm for Rolling
Speaking of staying rolled, the most important trick with these Pizza Roll Ups is to microwave the tortillas for a few seconds with a damp paper towel before rolling. This makes the tortillas soft and pliable so you can get an extra tight roll on that mozzarella stick and it helps keep them from wanting to snap back to their flat position. So, don’t forget to soften ’em up first!
Love fun variations of pizza? Try my Pizza Melts, Pizzadillas, or Homemade French Bread Pizza.
Pizza Roll Ups
Ingredients
- 8 small flour tortillas* ($1.03)
- 40 slices pepperoni ($1.32)
- 4 mozzarella cheese sticks ($0.83)
- oil, as needed ($0.05)
- 1/2 cup pizza sauce (for dipping) ($0.48)
Instructions
- Preheat the oven to 400ºF. Lightly spritz a baking sheet with spray oil or brush a thin layer of your favorite cooking oil onto the baking sheet.
- Stack about 4 tortillas at a time on a plate and cover with a damp paper towel. Microwave for 20-30 seconds, or until they are steamy and pliable. Microwave the second batch when you’re ready to roll more.
- Slice each of the mozzarella sticks in half, lengthwise. Place about 5 pepperoni on each tortilla in the bottom 1/3 o the circle, then place the halved mozzarella stick on top. Fold the sides of the tortilla in to cover the ends, then roll them up tight light a burrito.
- Place the tightly rolled Pizza Roll Ups on the baking sheet, seam side down. Leave them slightly apart from one another to allow hot air to surround the rolls. Either spritz the top with spray oil, or brush a thin layer of oil on top of the roll ups.
- Bake the Pizza Roll Ups for 12-15 minutes, or until they’re lightly browned and the cheese is just beginning to ooze. Because every oven is different, begin checking on the Pizza Roll Ups at about 10 minutes, then check ever two minutes or so until they’re done.
- Serve immediately, with pizza sauce for dipping.
See how we calculate recipe costs here.
Notes
Nutrition
Video
Also try our Pesto Mozzarella Roll Ups!
How to Make Pizza Roll Ups – Step by Step Photos
Okay, first step, and perhaps the most important, despite the fact that I forgot to get a photo: Microwave the tortillas with a damp paper towel! They only need 20-30 seconds and I suggest only doing a few at a time so they stay steamy and pliable as you roll these guys up. Oh, also, preheat the oven to 400ºF.
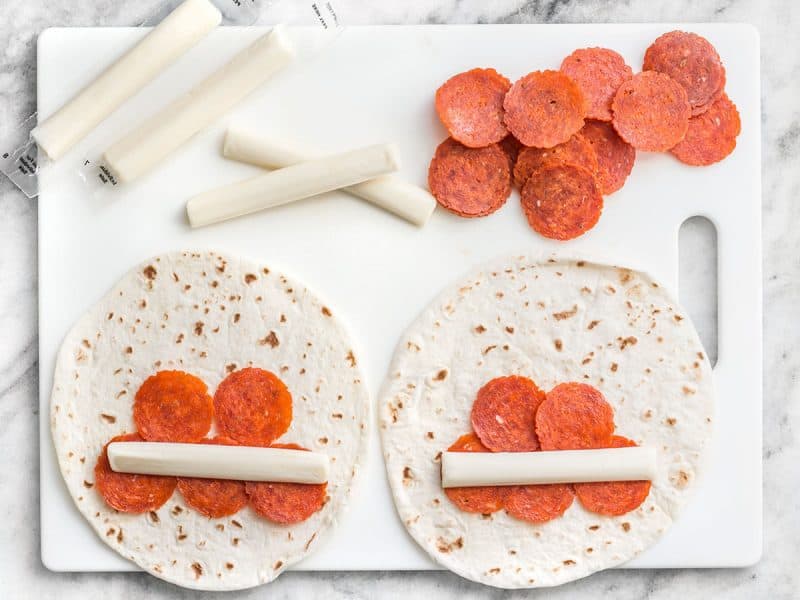
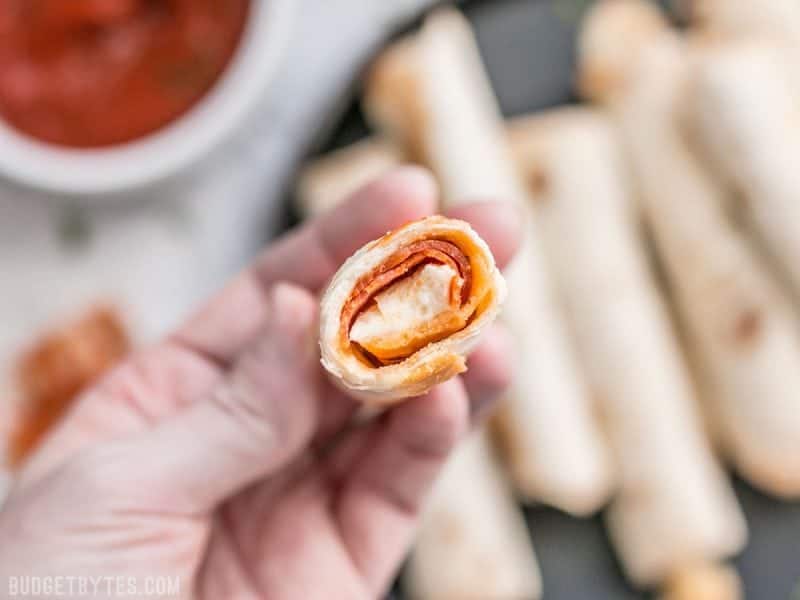
Once the tortillas are nice and soft, lay about 5 pepperoni on each, then top that with HALF of a mozzarella stick. I mean, you could do a whole one if you want, but that’s a LOT of cheese. I prefer the cheese:pepperoni ratio of half a stick and five pepperoni, but you do you. Place the pepperoni and mozzarella in the bottom 1/3 of the tortilla to facilitate rolling.
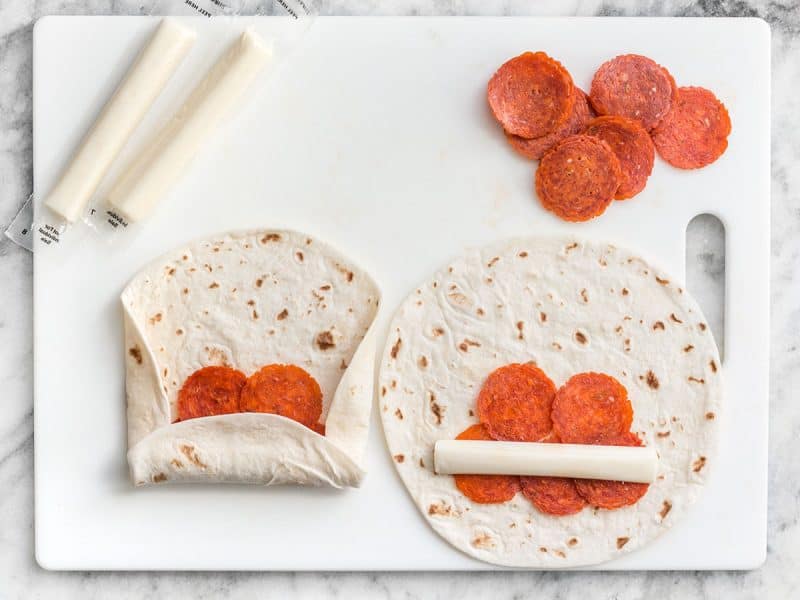
Now here’s the trick: fold the sides in before you start rolling them up! That will help hold in the cheese as it bakes. Make sure to roll them up tightly and you can even press down on them after rolling to help crease the tortillas and keep them closed.
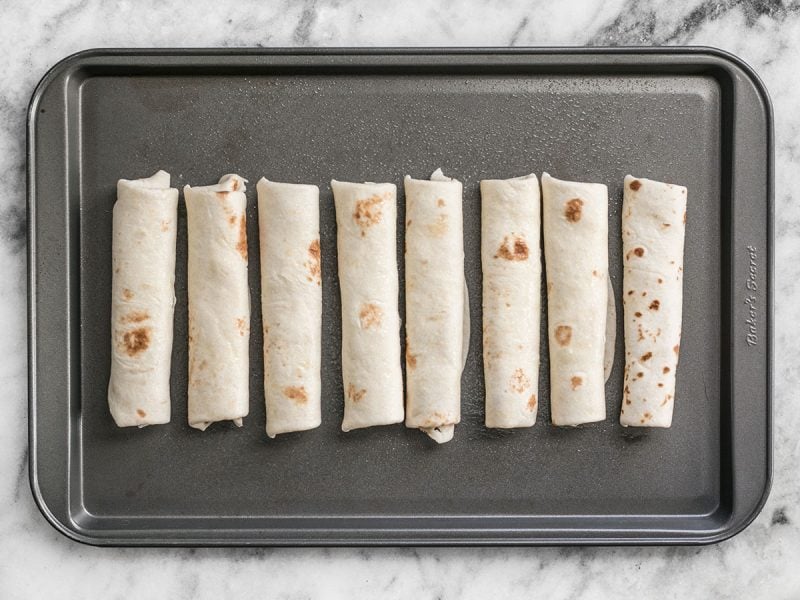
As you roll them up, place them on a baking sheet seam side down. For extra crispiness, spritz a little spray oil or brush a little oil onto the baking sheet first. Also give the tops of the Pizza Roll Ups a little bit of oil love. Make sure to space them out a bit to allow hot air all around the roll ups.
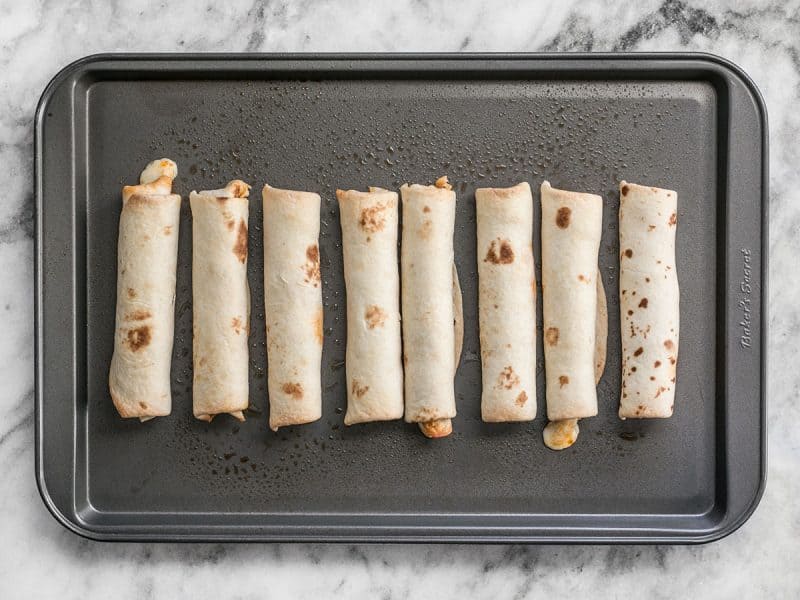
Bake the Pizza Roll Ups in the fully preheated 400ºF oven for 12-15 minutes or until they are golden brown and the cheese *just* begins to ooze out the sides. Watch them closely starting at about 10 minutes and check every couple of minutes or so, since every oven is a little bit different.
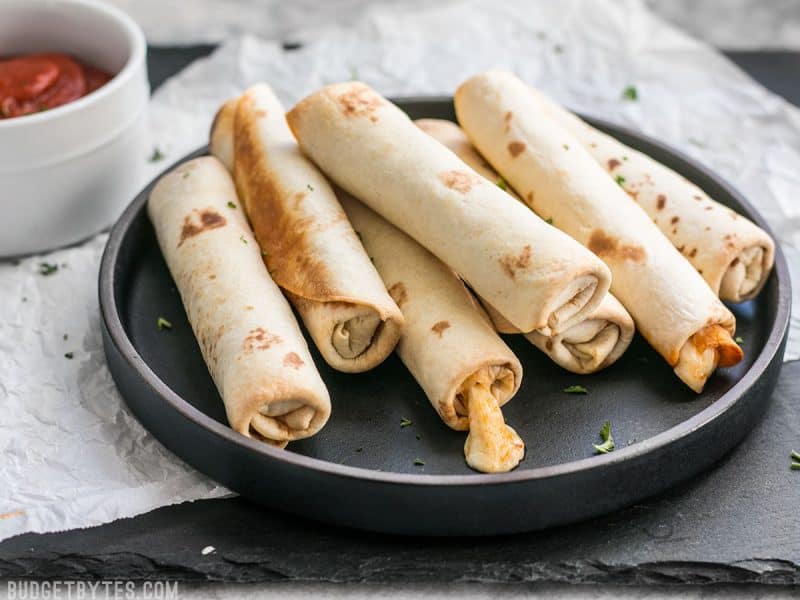
Did I mention how the grease from the pepperoni soaks into the tortilla and makes them extra delicious? Yeah, it’s good.
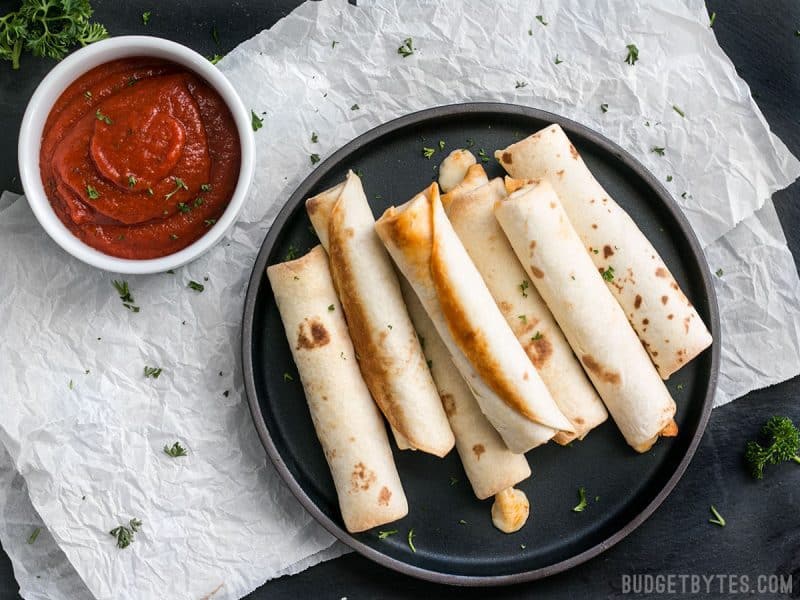
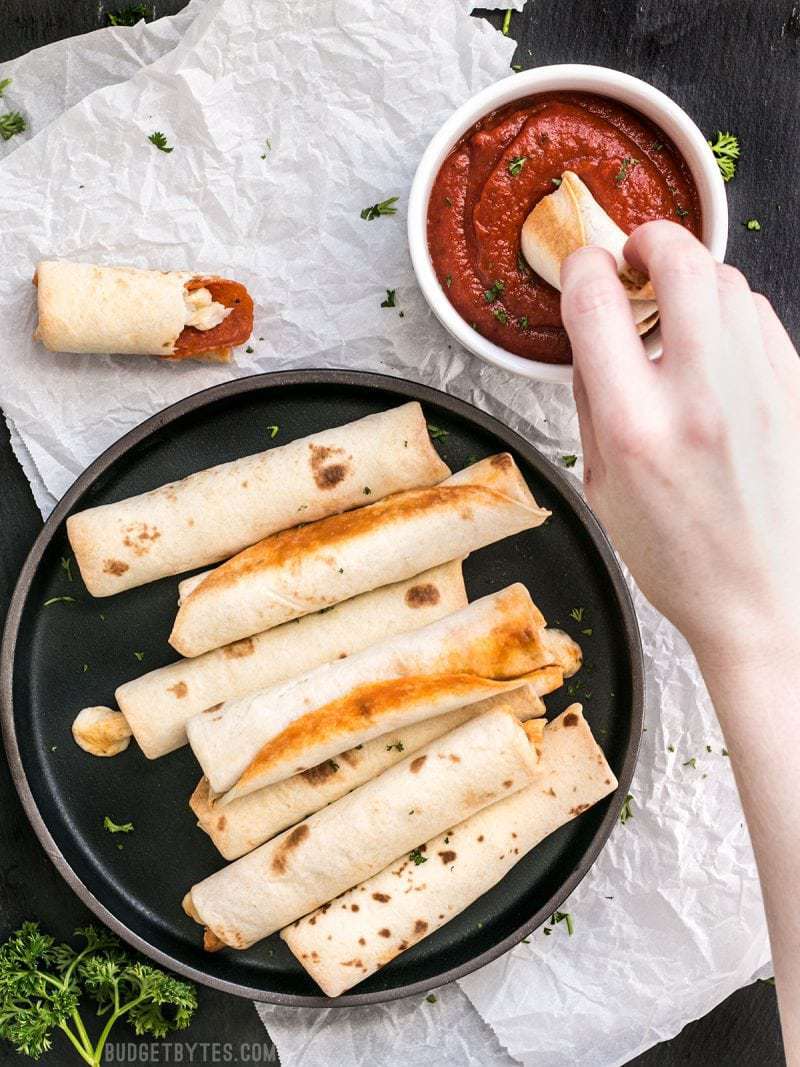
Make sure to serve them with some pizza sauce for dipping!! This time around I used store-bought, but I have a really awesome recipe for Thick & Rich Pizza Sauce if you want to make your own. :)


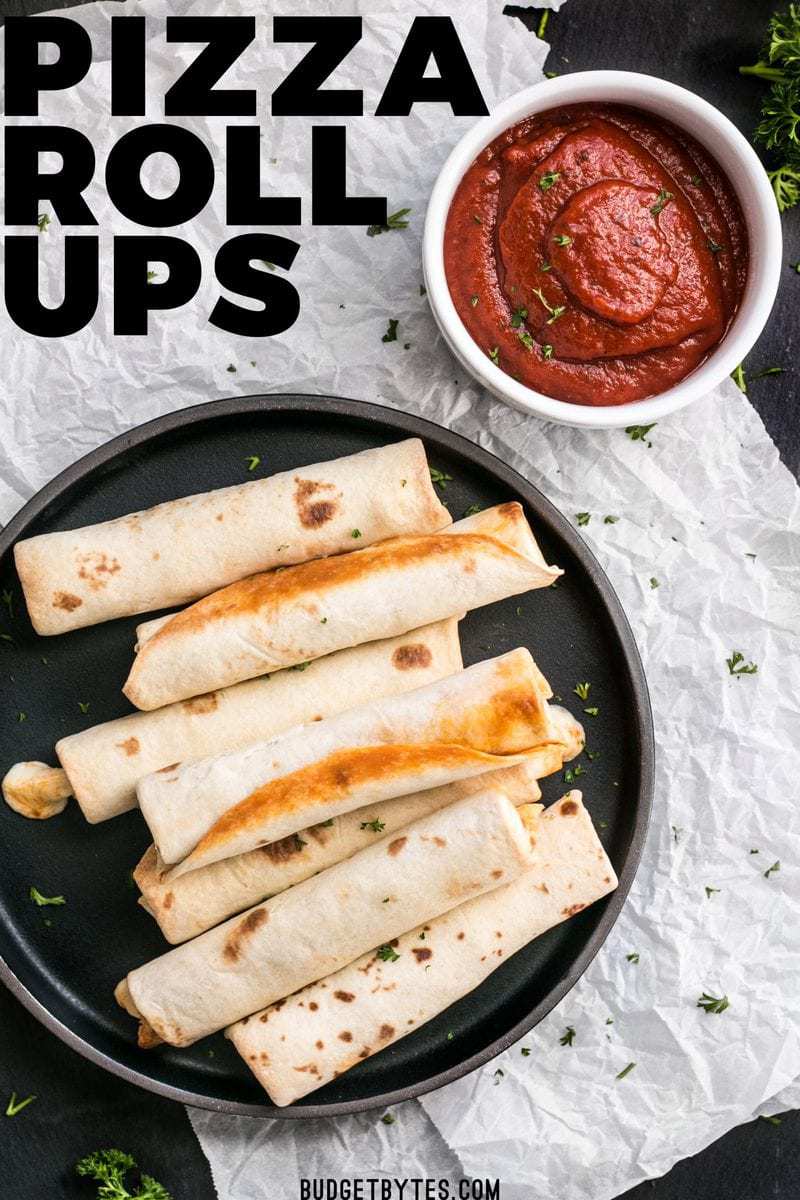


I made them for my brother and I., he decided to add banana peppers to his, and I added some extra cheese with ham. This was amazing! We made it 2 days ago and were making it again today. I love BB’s recipes! They never fail.
Hi Beth,
I recently bought an air fryer and wondered if you have any recipes that can easily be converted or are made specifically for the air fryer. Haven’t noticed any comments in the recipes that interest me. Thanks
There are so many that could be made in the air fryer, it’s hard to point them out! If you search ‘air fryer’ in the search bar, we’re starting to add more air fryer recipes all the time!
Just follow the directions has written and then brush oil on outside and put in your air fryer at 375 for about 4 or 5 minutes.
I love these, they’re super cheap, fast, and delicious.
Oooh — these will be perfect in the air fryer!
Mom of 3 under 5 here. Cannot rave enough about this recipe. As others have stated, I put a little pizza sauce inside the tortilla, and they were both delicious and a huge hit. I’ve also made these in my toaster oven/air fryer, and they were extremely successful.
I’ve also branched out and used this technique with other ingredients, all with a lot of success.
– hot dogs w/ shredded cheddar, dipped in ketchup & mustard
– Finely chopped cooked broccoli mixed with shredded cheese and a homemade dijonaise-type sauce, rolled up with ham lunchmeat
I’m looking forward to trying them with taco meat & salsa.
Thanks again, Beth, for another flexible recipe that my family loves. BB is always my first stop when meal planning for the week, and it never disappoints. (Also, the Chicken Stew of 2021 is the best thing I’ve ever made!)
Anybody tried these with different ingredients yet?
I made them with tortillas, pasta sauce and sliced mozzarella or muenster, whichever I had on hand. Just smeared sauce on the tortilla, added the sliced cheese, rolled it up and microwaved (one) for 45 seconds. My kids loved it, said they were better than the ones they had at school.
Yes , I have been doing this for 6 years with many ingredients. Down to anything “sandwich”. Even a slice of cheese/lunchmeat is awesome. Or simply tomatoes, cuces, and onion.
Always remember a dipping sauce. Ranch dressing works for nearly everything.
Somebody….please…please…try and cook these on a hotdog roller grill and tell me how they turn out!!
I tried it on a hotdog roller grill at my grandad’s place, After the cheese melted, It started pouring out the sides. It tasted amazing though!
So good!!! Love these easy meals for when you don’t really feel like cooking. Will definitely be making again and again and again
I plan on making these for a quick and fun dinner tonight (throw together a salad and you’ve got a meal!), using some of the same modifications I use to make your Creamy Black Bean Taquitos.
I’ll use corn tortillas since those are naturally gluten-free. I tried your “microwave under a damp paper towel” trick before but it didn’t really work that well for me, but I’ve since found that just warming them in a pan on the stove (med-low heat) for about 20 seconds on each side seems to work beautifully. They soften first, but crisp up quickly so you’ll want to work fast!
Because the corn tortillas are generally smaller than flour tortillas (especially if I’m folding in the sides to keep the cheese in), I may end up with more small roll ups instead of fewer large ones. More fun to eat!
I think I might add a small dollop of pizza sauce to the inside of the roll too, to help everything come together inside.
Thanks for a fun recipe!
Just looking at these makes me hungry haha. They look delicious AND nice and easy to make, which is perfect, heh. Stores around here don’t sell Morarella sticks but I’m sure I can improvise on that front somehow, heh. The bigger question I have is: How important is it to use a Microwave on the tortillias? I don’t own one, so would there be a way to get a similar result with a stovetop or oven? Thanks in advance and thanks for all the wonderfull recipes =D
Depending on the strength and pliability of your tortillas, you may not need to. I suppose you could wrap them in foil with a damp paper towel and place them in the oven to steam, but I have no idea how long or what temperature you’d need. :P
My husband keeps raving how good these were . I followed the recipe and allowed mine to cook for 10 minutes. I plan to make it again with shrimp and other items. Thanks for posting! The pizza sauce is so delicious. I think marinara could suffice as well.
These were a great dinner for my 6 year old to help me with and super easy. The only complaint I got was that I didn’t heat up the dipping sauce. I also made quite a bit extra for our family but glad we had more than enough rather than not enough
These were a great dinner for my 6 year old to help me with and super easy. The only complaint I got was that I didn’t heat up the dipping sauce. I also made quite a bit extra for our family but glad we had more than enough rather than not enough.
Everything and the detail you post on here is incredible. You are a culinary beam of light sent to help 20 something year olds like my self who previously believed my turkey and cheese sandwich with spinach was a work of art.
I was hesitant about using only half a cheese stick, so I made a few with a whole stick. The half-stick ones were better because the pepperoni sang more. Yum!
My first thought was to use the whole stick so I’m glad to see your comment!
Could you make these and freeze them?
Yes. Cool after baking, store in a freezer-safe container and freeze for up to 2 months.