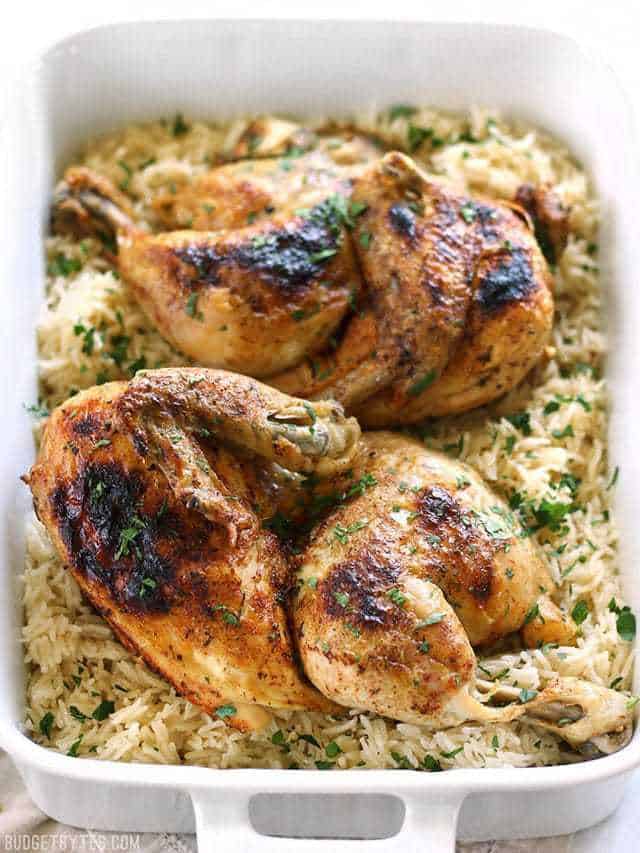
Okay, so I made this Pressure Cooker Chicken and Rice for myself the other day just as an experiment and not for the blog. Luckily, I decided to snap some photos of the process “just in case” it turned out good. Well, let me tell you, it turned out better than good. This Pressure Cooker version of the Chicken and Rice is “stuff your face” good. Like, I wanted to eat it ALL.
All recipes are rigorously tested in our Nashville Test Kitchen to ensure they are easy, affordable, and delicious.
What Pressure Cooker Did You Use?
I used the Instant Pot 7-in-1 cooker for this recipe, but there are several other manufacturers that make similar multi-function pressure cookers (Magic Mill, MaxiMatic, Power, GoWise). If you have a single function pressure cooker, but still want to make the rice in the pressure cooker instead of on the stove top, here are some directions from HipPressureCooking.com.
Pressure Cooker Alternative
I know pressure cookers can be expensive, but this recipe can also be made with a slow cooker and I’ve provided those instructions right along side the pressure cooker instructions below. The only difference between the two methods is the type of cooking vessel and the amount of time needed. The pressure cooker is simply faster.
How Long Does it Take to Cook Chicken in a Pressure Cooker?
Boneless cuts of chicken only take about 10-15 minutes (not including pressurizing and depressurizing time) to cook in a pressure cooker. Bone-in chicken takes longer to cook, whether in a pressure cooker, in an oven, or on a stove top. In a pressure cooker, you’ll want to cook bone-in chicken for about 30 minutes to make it fall-off-the-bone tender. That doesn’t include the time needed for the vessel to pressurize and depressurize.
Other Spice Blends
Not only is this one of the easiest and best tasting things I’ve ever made, you can use just about any spice blend you like with this method. I used a Creole seasoning blend this time, but you could do a curry powder, Greek seasoning blend, lemon pepper, Caribbean jerk, or even a dry BBQ rub. Just take note of whether or not your seasoning blend contains salt. Mine contained a decent amount of salt, so I did not need to add any additional salt along the way.
What Type of Chicken Should be Used?
Split or whole chickens are usually some of the least expensive cuts of chicken at the grocery store, but they also happen to give the most flavor to this dish. You can use any cut, but whichever cut you decide to use, make sure it is bone-in and skin-on. That’s where the flavor is.. I bought cage-free organic chicken because my budget allows it and that’s important to me, so my prices may be higher than what you’re used to.
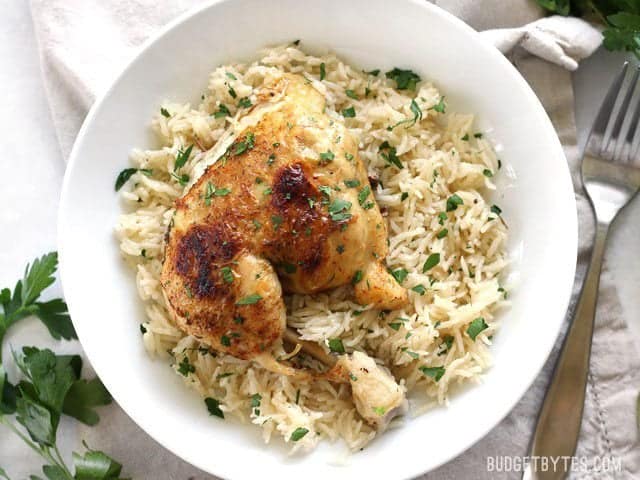
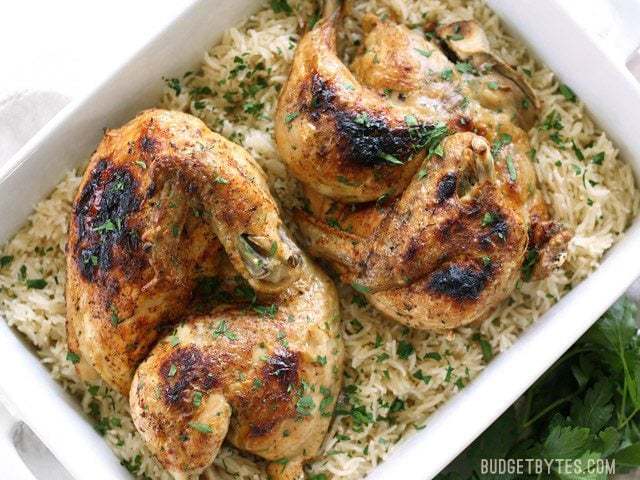
Pressure Cooker Chicken and Rice
Ingredients
- 1 whole split chicken (3-4 lbs. total) ($10.79)
- 2 Tbsp (approx.) seasoning blend of choice* ($0.60)
- 2 cups water ($0.00)
- 1.5 cups long grain white rice ($0.72)
- Handful parsley (optional) ($0.20)
Instructions
- Season the chicken well on both sides with your favorite spice or seasoning blend. If your sblend blend does not contain salt, season the chicken liberally with salt as well.
- Add two cups of water to your pressure cooker or slow cooker, then add the chicken pieces (they do not need to be fully submerged).
- Secure the lid, set the pressure cooker to high pressure. Once it reaches full pressure, cook for 30 minutes. Allow the pressure to release naturally. If using a slow cooker, cook on low heat for 8-9 hours or high heat for 4-5 hours.
- Once the chicken is finished cooking, carefully lift it out of the cooker and place it on a baking sheet. Adjust your oven rack so that the top of the meat will be 6-8 inches from the broiler. Turn the broiler on to high, place the chicken in the oven, and let it broil for 5-7 minutes or until the chicken skin is brown and crispy. Keep a close eye on the chicken while it’s under the broiler, as it can burn quickly.
- While the chicken is broiling, pour the remaining liquid (broth) from the pressure cooker through a sieve to strain out any bone or skin fragments. Measure the broth to see how much was left behind. You’ll want three cups of broth. If you have less, simply add enough water to make three cups of broth total. Taste the broth and adjust the salt if needed.
- Add the broth plus 1.5 cups of uncooked long grain white rice back to the pressure cooker. Secure the lid and select the rice function. Once the rice had finished cooking, allow the pressure to decrease naturally, open the cooker, then fluff with a fork. If your pressure cooker does not have a “rice” function, you can find manual instructions here. If using a slow cooker, simply cook the rice in the broth on the stove top, following the package instructions.
- Serve the tender chicken pieces over the cooked rice, with chopped parsley as a garnish (optional). The pressure cooker (or slow cooker) creates extremely tender meat, so the split chicken can be easily broken into pieces (breast, legs, thighs, wings) for serving.
See how we calculate recipe costs here.
Equipment
- Instant Pot
Notes
Nutrition
Scroll down for the step by step photos!
How to Make Chicken and Rice in an Instant Pot – Step by Step Photos
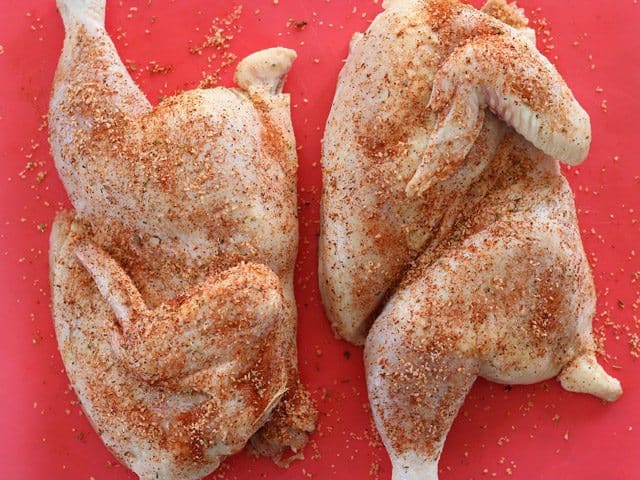
This recipe starts with a split chicken weighing about 3-4 lbs. total. I used a split chicken because I find them a little easier to handle than a whole chicken. You can definitely use this same technique on a whole chicken or even chicken pieces (breasts, legs, etc.). Season the chicken liberally on both sides with your favorite spice blend. If your spice blend does not contain salt, you’ll want to add salt at this point (just sprinkle it on liberally).
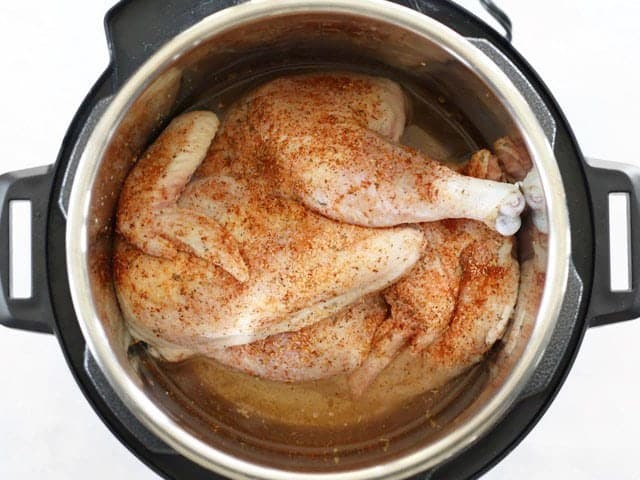
Place two cups of water in your pressure cooker or slow cooker, then add the seasoned chicken pieces (they do not need to be fully submerged). Secure the lid on the pressure cooker, then cook on high pressure for 30 minutes, and allow the pressure to decrease naturally. If using a slow cooker, cook the chicken on high for 4-5 hours or on low for 8-9 hours.
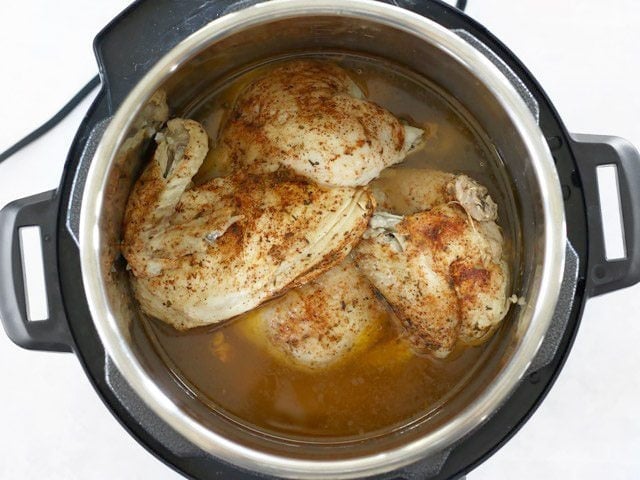
At this point the meat is fall-off-the-bone tender and a lovely seasoned broth has been created in the bottom of the pot. Carefully lift the chicken out of the cooker and transfer it to a baking sheet.
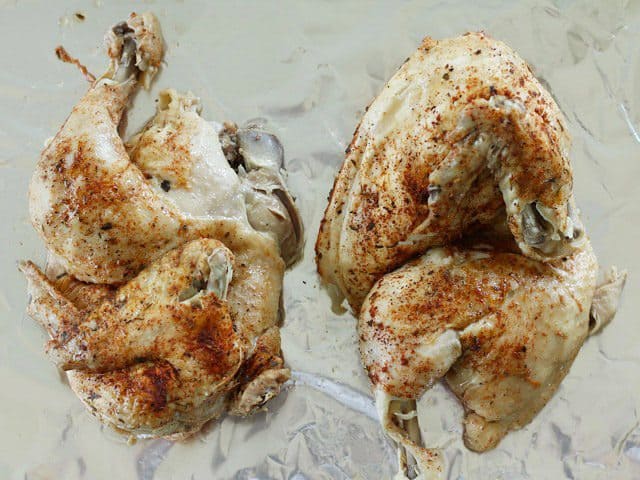
I like to cover my baking sheet with foil for easy cleanup. Now adjust your oven rack so that the top of the chicken will be 6-8 inches from the broiler. Turn the broiler on to high, place the chicken in the oven, and broil for 5-7 minutes or until the chicken skin is brown and crispy…
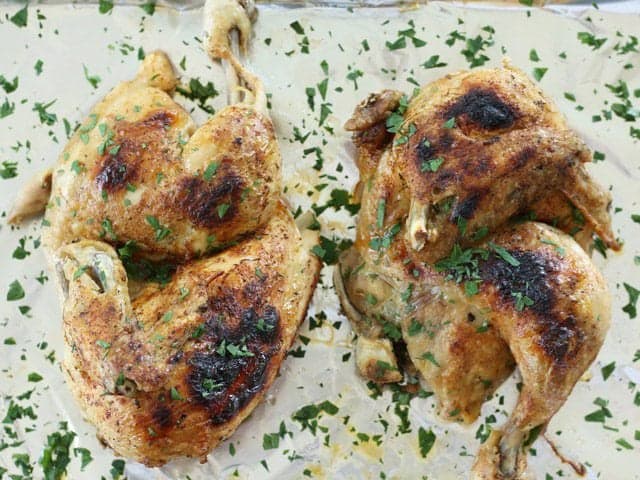
Like this. Keep a close eye on the chicken while it’s in the broiler because broilers use an open flame that can quickly burn food. You may want to rotate the chicken half way through to make sure it browns evenly. (I also added my parsley garnish at this point.)
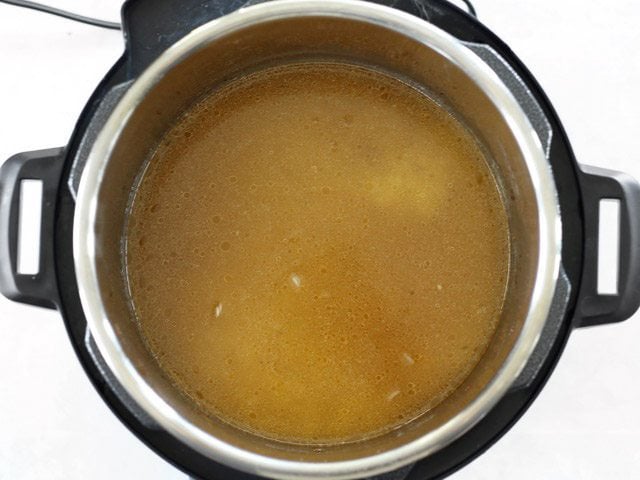
Meanwhile, you’ve got this insanely delicious broth left in the pot that you will NOT want to throw away. Strain the broth through a mesh sieve to remove any pieces of skin or bone that may have fallen off the chicken. Measure the broth to see how much you have. I started with 2 cups of water, but ended up with three cups of broth. If you don’t have 3 cups, you can add a little water to make up the difference. Now taste the broth and make sure it is adequately salted. Add it back to the pressure cooker along with 1.5 cups long grain white rice. Secure the lid and turn on the “rice” function. If you don’t have a rice function on your pressure cooker, here are instructions for making rice with single function pressure cooker. If you have a slow cooker, you’ll simply need to make the rice with the broth on the stove top according to the directions on the rice package.
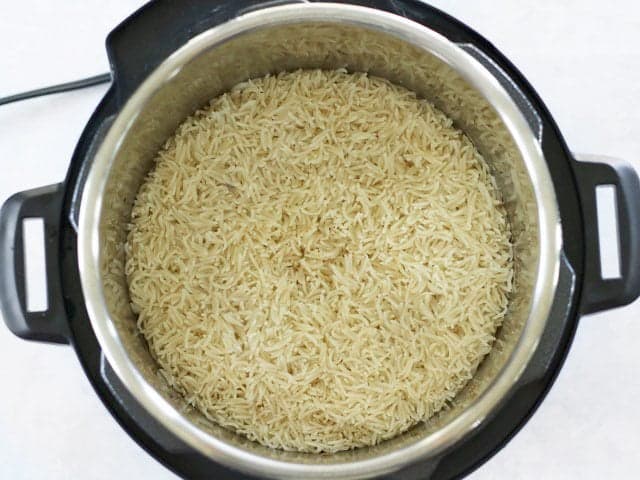
Once the rice is finished and the pressure in the pressure cooker has come down, remove the lid and fluff with a fork. This is seriously the best tasting rice I’ve ever eaten. It’s already fully seasoned and even has a little chicken fat which gives it a rich flavor and great texture.
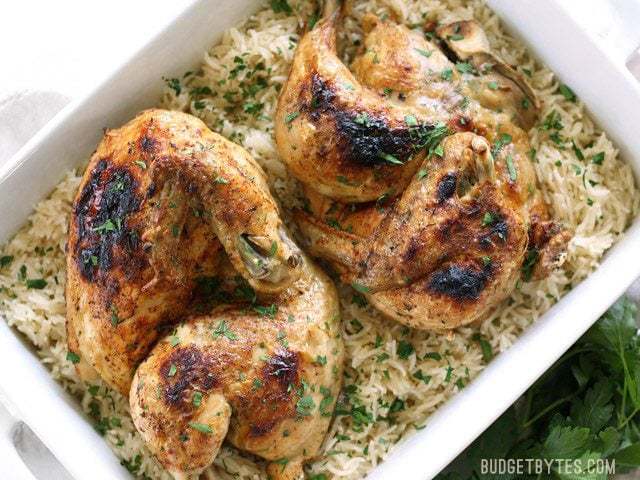
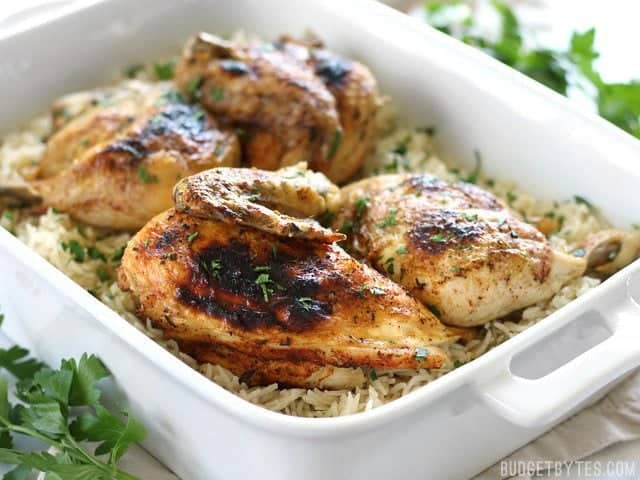
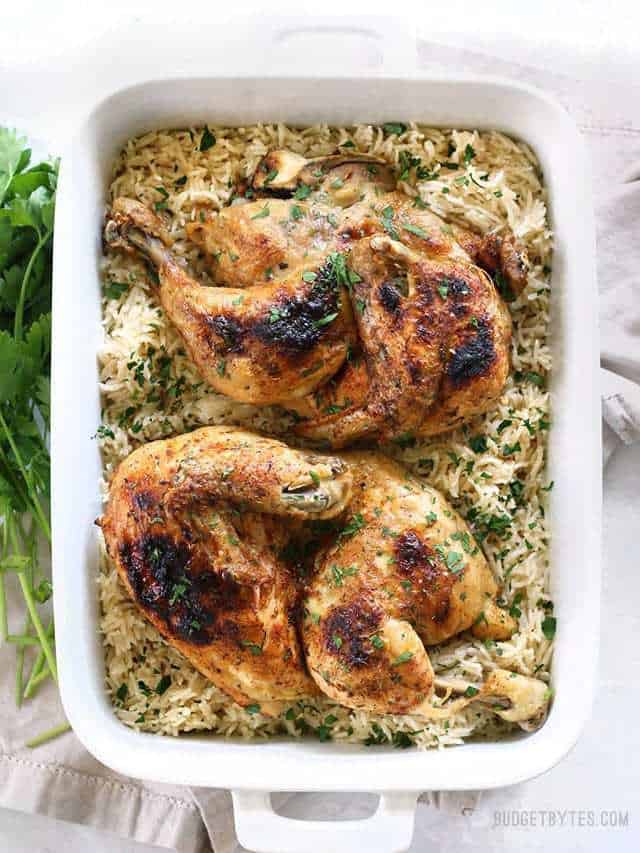
And that’s it! Just serve the chicken pieces over the rice and add some chopped parsley for garnish, if desired.
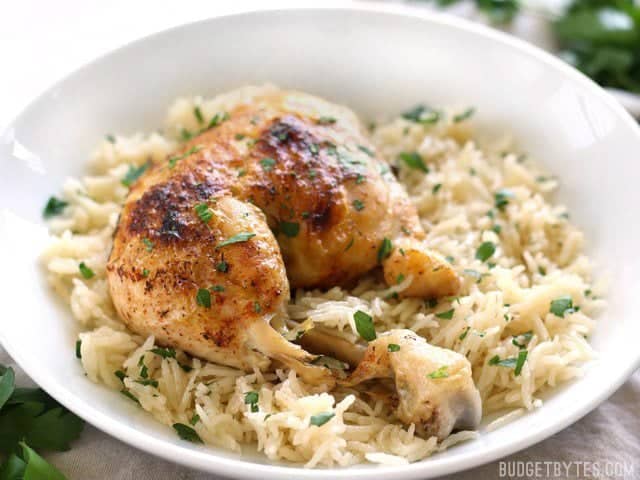
I’m not kidding when I say that I’ll probably make this pressure cooker chicken and rice once per week and try a new seasoning each time. It’s just so delicious and too easy to not make it often. :)


Long time user of this site, absolutely LOVED the results of this recipe! I did it with chicken quarters and it was perfect. My only star has been knocked off for not including how long the natural release might take- this really increases the cooking time. Same comment for the rice function- overall the time taken for the natural release is about 30-40 mins. Totally worth it though, will make again!
Cannot wait to try more recipes!
A tip I figured out is to use the metal trivet in the bottom of the pot. It still cooks perfectly but pieces are a little more consistent in their tenderness and it’s so much easier to transfer to the baking sheet for broiling as the pieces don’t fall apart as bad.
My chicken turned out a bit dry because I didn’t know how long to naturally release the pressure. From what I’ve read, the chicken continues to cook while the pressure is being naturally released. Same with the rice. Those are important details that weren’t included in the recipe. Otherwise the flavors were great and the moisture of the delicious rice made up for the dryness of the chicken.
Easy and tasty but be warned, the time does not take into account the time for natural pressure release of your pressure cooker.
I don’t own a pressure cooker or slow cooker- how would I make this recipe in the oven? Thanks!
Unfortunately, I haven’t tested this recipe in the oven so I can’t offer instructions.
Try poaching it on the stove. Keep boiling it until it’s fork tender and then proceed with the recipe. This might take longer and will definitely require attention.
This was absolutely incredible. Perfection. My new favorite comfort food. I used several spices to create a light schwarma / Mediterranean flavor: cumin (not too much!), paprika, cinnamon, onion powder, garlic powder, sumac, S&P, Emeril’s Essence, dried parsley and ground mustard. I also cut up a small onion and tucked it around the chicken for the broiling step. Squeezed fresh lemon juice over the chicken and in the rice before serving. Both the chicken and the rice were very rich in flavor and wonderful!!
Can I make this with chicken tenders ?
Sure if that’s what you have on hand.
Absolutely amazing recipe! I’ve never left a review on a recipe before, this one definitely deserves it! I followed most of it exactly as the recipe states, except for I used chicken broth instead of water, and 2 cups of rice and 3 1/2 cups of the chicken broth. I used a pepper/paprika/garlic powder/salt seasoning mix on the chicken. The rice was definitely the best rice I’ve ever made and my kids agree! This will definitely be in our weekly rotation!
Thank you leaving a review Niki! We love hearing from readers! Even better when it’s a hit with the kids. :)
I’ve honestly made it five times so far and it’s not getting old! Thank you sharing this great recipe :)
I made this the way Niki suggested and wow, it is AMAZING!!!
I made this last night, and it was so good! It’s really easy with the instant pot, but you do need to factor in that natural pressure release timing. The chicken took about an hour in the instant pot before I broiled it. This might be the best chicken and rice I’ve ever made. I did a seasoning blend of onion powder, garlic powder, smoked paprika, oregano + salt. The chicken was super juicy and the rice cooked in the broth was too good…couldn’t stop eating it.
This is fabulous!! I used a garlic and herb seasoning on my cut whole chicken. I cooked mine for 25 minutes because mine was pieced out and I used chicken broth instead of water.
After the chicken finished it was perfection and I broiled it. I decided to use couscous instead of rice. I poured out the liquid into a mixing bowl, put 2 cups couscous in and 2 1/4 cups juices then put lid back on with it set to “keep warm” for 5 minutes.
Both couscous and chicken finished at the same time… Awesome dinner. What a keeper!!
Hi – Can this recipe been made with frozen Cornish hens? Thanks!
Probably! I’m not sure how the cook time would need to be adjusted, though.
Hi I have the new ninja all in one its called ( NINJA FOODIE ) it is so awesome my hubby got it for me for Christmas I love it it dose EVERYTHING in one pot . My question is how can I do the rice n chicken at one time do I still use # 2 cups of water for # 1 cup of rice I’m wandering because the exes water frome the steam will make it watery so how would I do it if anyone can help I would appreciate any ideas please ty to all Nancy
This is a great recipe! I also substituted bone in skin on chicken thighs and only cooked them in the instapot for 20 min and they turned out perfect, the meat was falling off the bone. I didn’t season them as much as I could have, I’m always worried about over-spicing something, but it still tasted amazing.
The rice was a bit too rich for my taste, but it was still very good. Next time I would probably do 2 cups of broth and one cup of water to cut the richness. This takes a while to come together (cooking the chicken, then cooking the rice, letting the instapot come to pressure and the natural release) but it’s all worth it in the end because you don’t have to clean ANYTHING up! It’s all in the instapot and IMO that’s a perfect dinner.
I’ll definitely be making this again!
If you use frozen chicken, does it change the cook time?
It won’t change the amount of time that you have to set the pressure cooker for, it will just take longer for the pressure cooker to come up to the correct temperature and begin the set cooking time.
I just got an up & want to try this. Can I use brown rice instead? I made a or roast first thing but the bottom was burned. I think I didn’t have enough liquid. Even though I followed a recipe that came with it.
If you use brown rice you may need to increase the amount of liquid and cooking time.