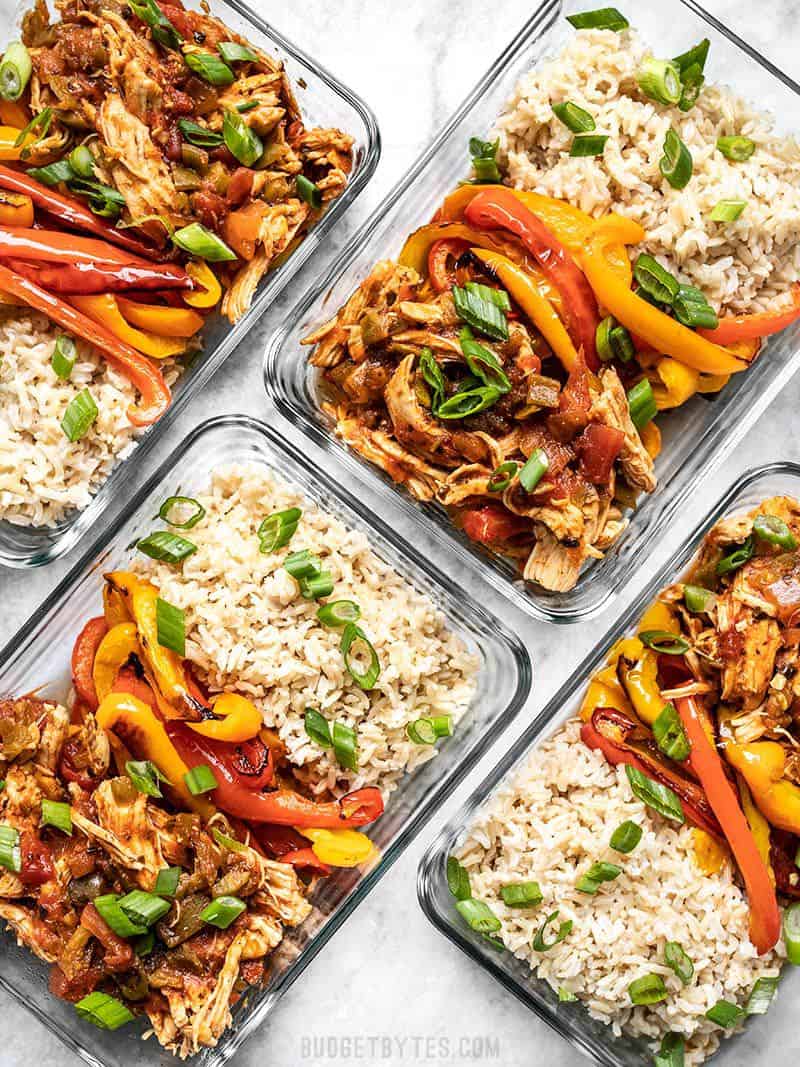
I went down the rabbit hole of looking at diet or macro-friendly meal delivery services online the other day. It’s a booming business these days and I was really curious about what kind of food these services offered. What I found were incredibly simple meals offered at a super high price (IMHO) for the convenience of not having to prepare them yourself. So, I wanted to offer a DIY option for those that can’t afford $9-$12 per meal to have them delivered. These Salsa Chicken Meal Prep Bowls area really easy to make, super satisfying, and customizable to fit your tastes (or macros). ;)
And hopefully I’ll have a few more options like this in the coming weeks!
This post contains some affiliate links, which means that we make a small commission off items you purchase at no additional cost to you.
The Simple Meal Prep Formula
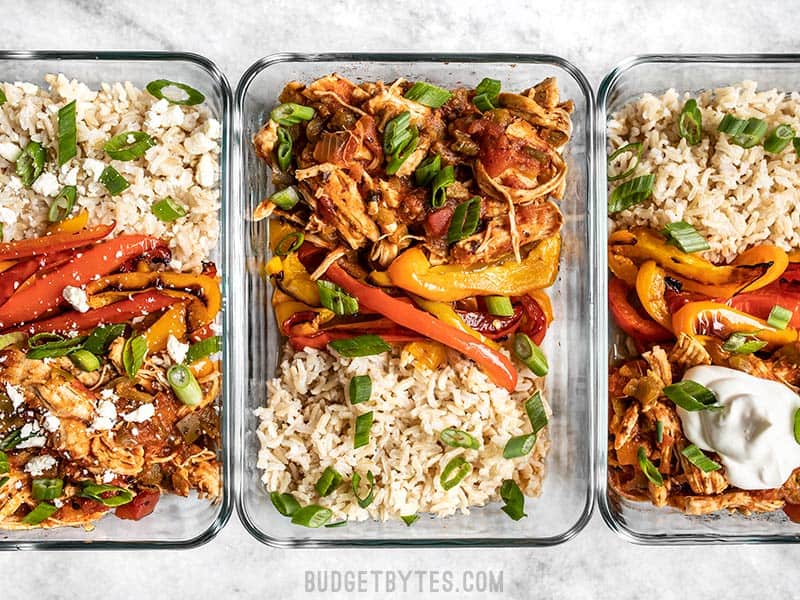
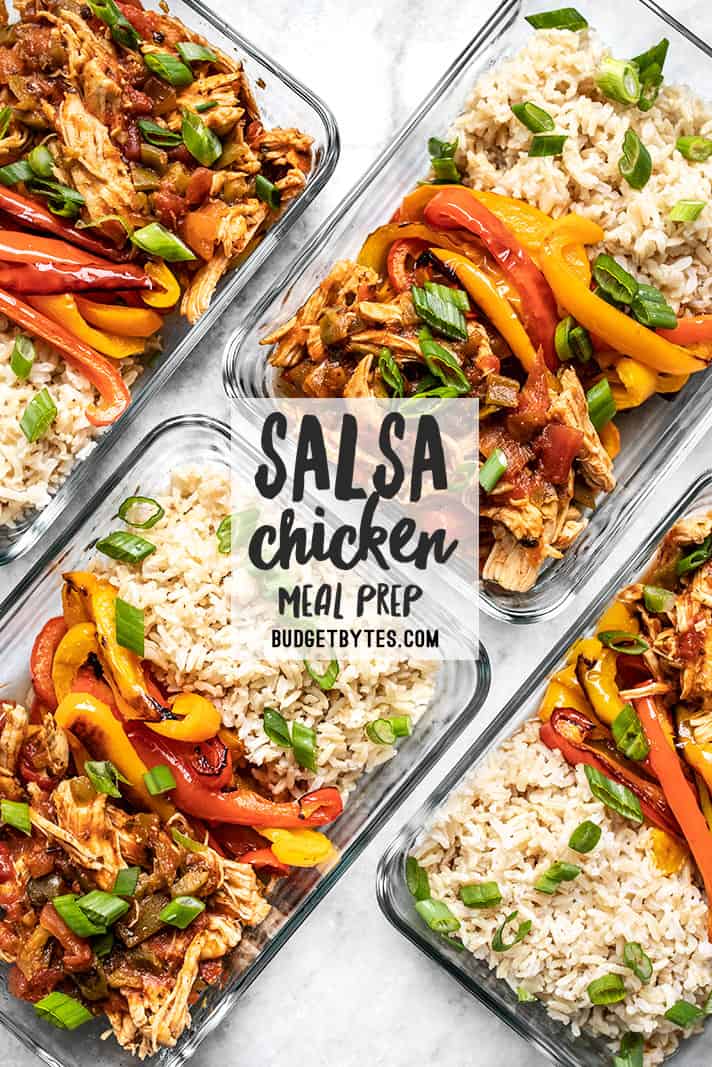
Meal prep is super easy. Just pick a protein, pick a vegetable, pick a carb (or a second vegetable), and add a fat or sauce if desired. For this southwest inspired meal prep I combined shredded chicken cooked in salsa, roasted bell peppers, brown rice, and a dollop of sour cream. You can adjust the quantities of any of these four components to make the meal fit your preferred macro ratio.
Make Your Salsa Chicken Meal Prep Fancy
I kept this meal simple to mimic the type of meals that you’d get with the meal delivery services, but you could always make this more fancy, if you prefer. Try adding more toppings like fresh jalapeño, pickled red onions, or even some tortilla crisps. I added a dollop of sour cream to the top of mine, but you could also do a little cheese.
Salsa Chicken Meal Prep Bowls
Ingredients
Brown Rice
- 1 cup brown rice ($0.60*)
- 1/2 tsp salt ($0.02)
- 1.75 cup water ($0.00)
Salsa Chicken
- 2 boneless, skinless chicken breasts (about 1.3 lbs. total) ($5.62)
- 16 oz. salsa ($1.99)
- 1/2 cup chicken broth ($0.07)
- 1 tsp chili powder** ($0.10)
Roasted Bell Peppers
- 3 bell peppers ($2.99)
- 1 Tbsp oil ($0.04)
- pinch salt ($0.02)
Toppings
- 2 green onions, sliced ($0.22)
- 4 Tbsp sour cream ($0.11)
Instructions
- Preheat the oven to 425ºF. Cook the brown rice according to the package directions. (Add rice, salt, and water to a pot, cover, bring to a boil over high heat, then turn the heat down to low and simmer for 35 minutes.)
- While the rice is cooking, begin the chicken. Add the chicken breasts to a medium sauce pot along with the salsa, chicken broth, and chili powder. Give everything a brief stir.
- Place a lid on the pot and bring it to a boil over high heat. Once the liquid starts boiling, turn the heat down to low and let the chicken simmer over low for 30 minutes. Make sure it’s simmering the whole time, adjusting the heat slightly if needed.
- While the rice and chicken are cooking, prepare the bell peppers. Slice the bell peppers into 1/2-wide strips. Place them on a baking sheet and drizzle with cooking oil. Toss the peppers to coat them in oil, then sprinkle with a pinch of salt.
- Roast the peppers in the preheated oven for 20-25 minutes, or until they are browned on the edges, stirring once half way through.
- After the chicken has simmered for 30 minutes, remove it from the salsa mixture and use two forks to shred the meat. Return the shredded chicken to the pot of salsa and stir to combine.
- Once the rice has rested, the chicken has been shredded, and the peppers have finished roasting, it’s time to build the bowls.
- Add about 3/4 cup rice to each container, followed by 1/4 of the roasted peppers, and 1/4 of the shredded chicken. Spoon the salsa mixture from the pot over the shredded chicken in the containers. This will act as a sauce to help moisten the entire dish. Top with sliced green onions and a dollop of sour cream and serve immediately or refrigerate for up to 4 days.
See how we calculate recipe costs here.
Equipment
- Chef’s Knife
- Color Cutting Boards
- Enamelware Sheet Pan
- Pyrex Glass Meal Prep
Notes
Nutrition
How to Make Salsa Chicken Meal Prep – Step by Step Photos
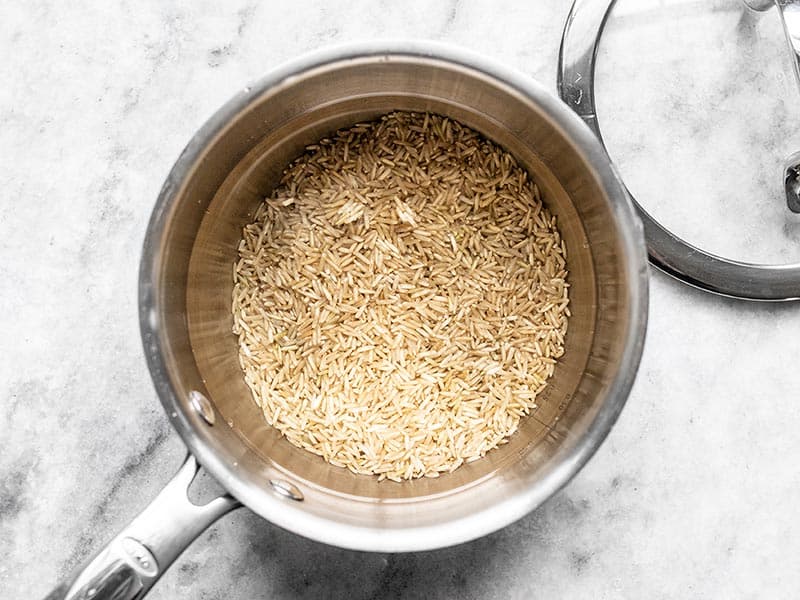
Preheat the oven to 425ºF. Begin cooking 1 cup brown rice according to the package directions (the rice I am using specified 1 cup rice, 1.75 cups water, 1/2 tsp salt, simmer for 35 minutes).
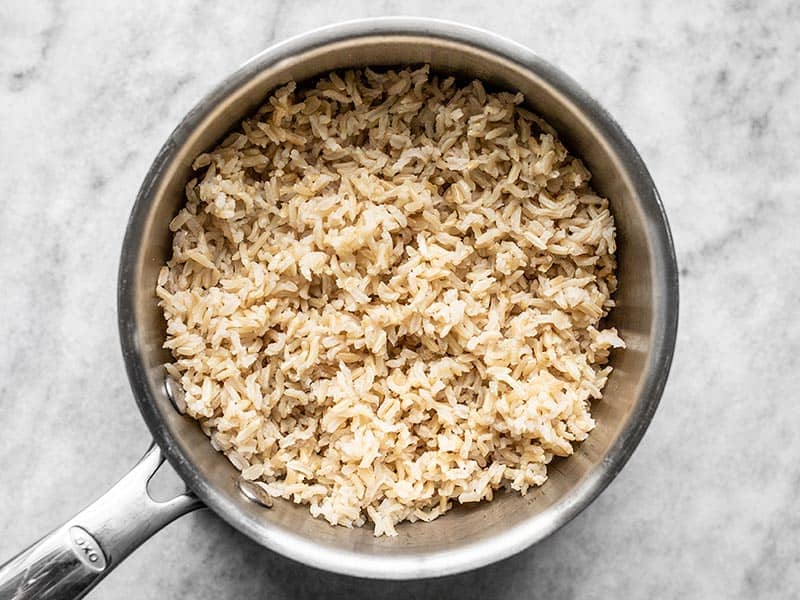
Once the rice has cooked, turn the heat off and leave it on the stove with the lid in place until the chicken and peppers are finished cooking (they should finish soon after the rice finishes).
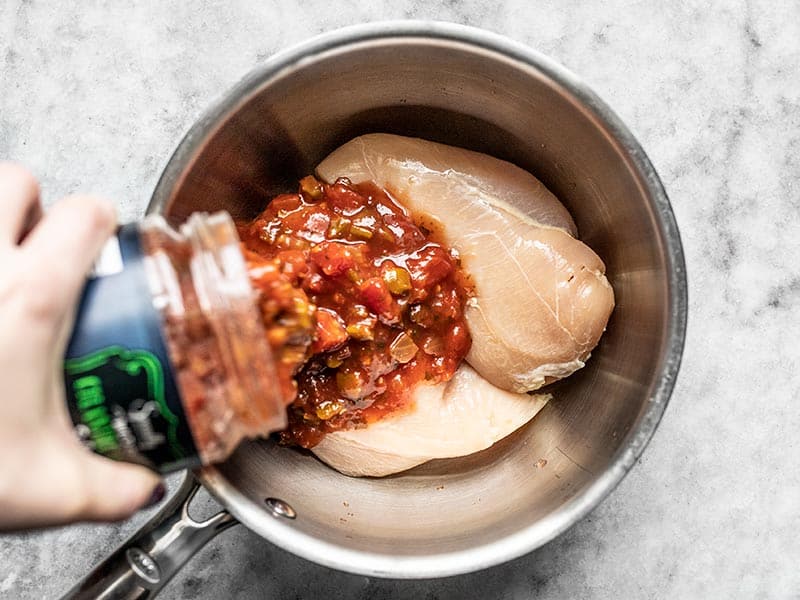
While the rice is cooking, begin the chicken. Place two boneless skinless chicken breasts (about 1.3 lbs. total) to a medium sauce pot and add a 16 oz. jar of salsa (I’m using cilantro lime salsa from Aldi).
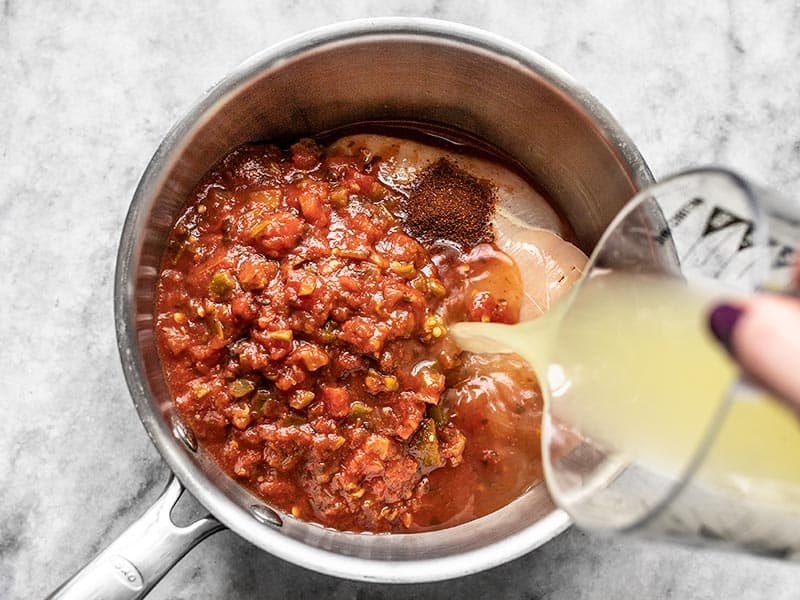
Also add 1/2 cup chicken broth and 1 tsp chili powder to the pot with the chicken and salsa. Give everything a brief stir, place a lid on the pot, and bring it up to a boil over high heat. As soon as it reaches a boil, turn the heat down to low and let it simmer over low for 30 minutes. Make sure it’s simmering the entire time, adjusting the heat slightly if needed.
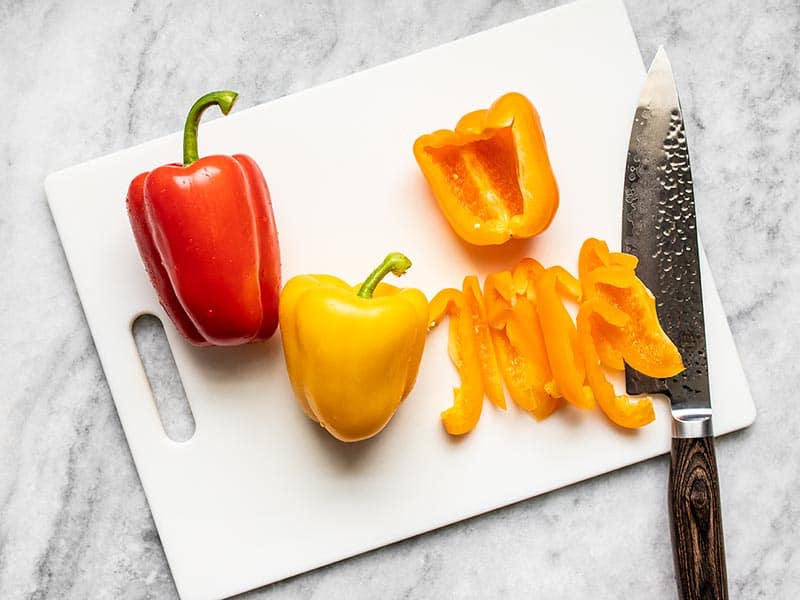
While the rice and chicken are cooking, begin working on the bell peppers. Slice three bell peppers into 1/2-inch wide strips.
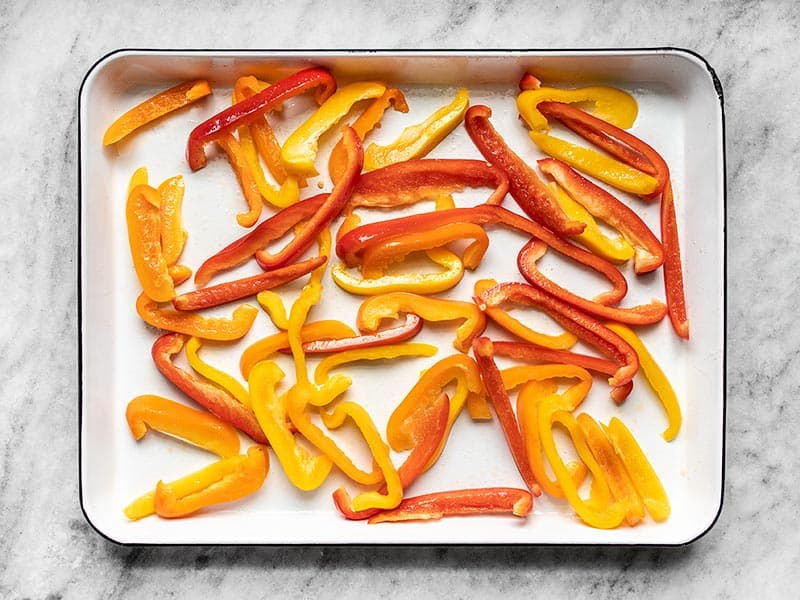
Place the sliced bell peppers on a baking sheet, drizzle with 1 Tbsp oil, and toss until the peppers are well coated in oil. Add a pinch of salt, then transfer the peppers to the oven.
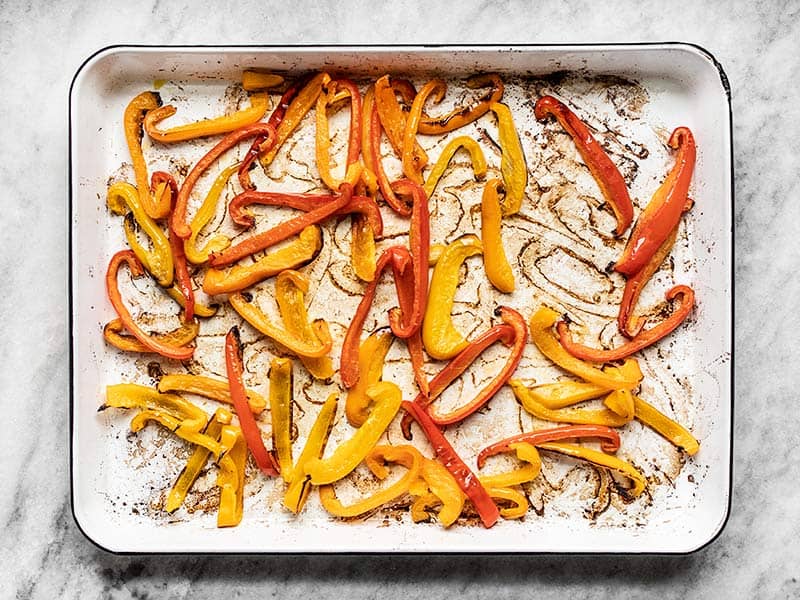
Roast the bell peppers for 20-25 minutes, or until they’re browned on the edges, stirring once half way through.
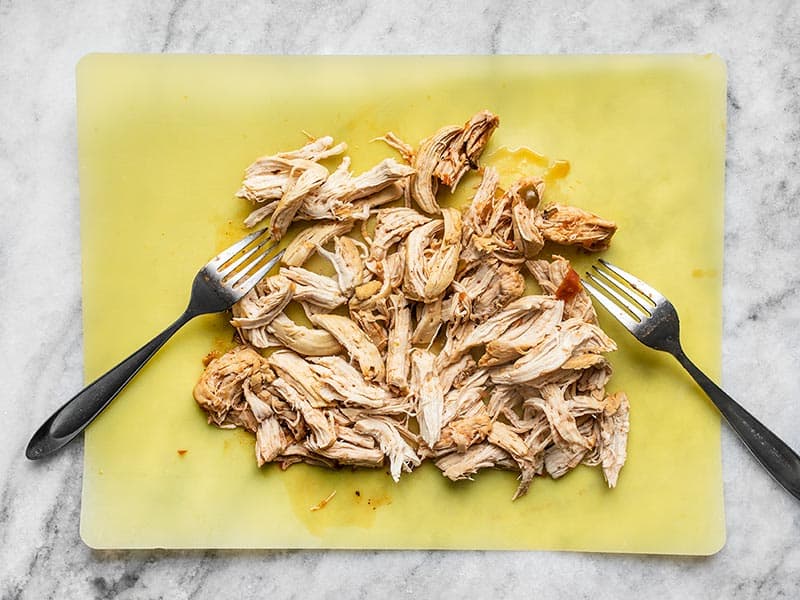
After the chicken has simmered for 30 minutes, remove the chicken to a cutting board and use two forks to shred the meat.
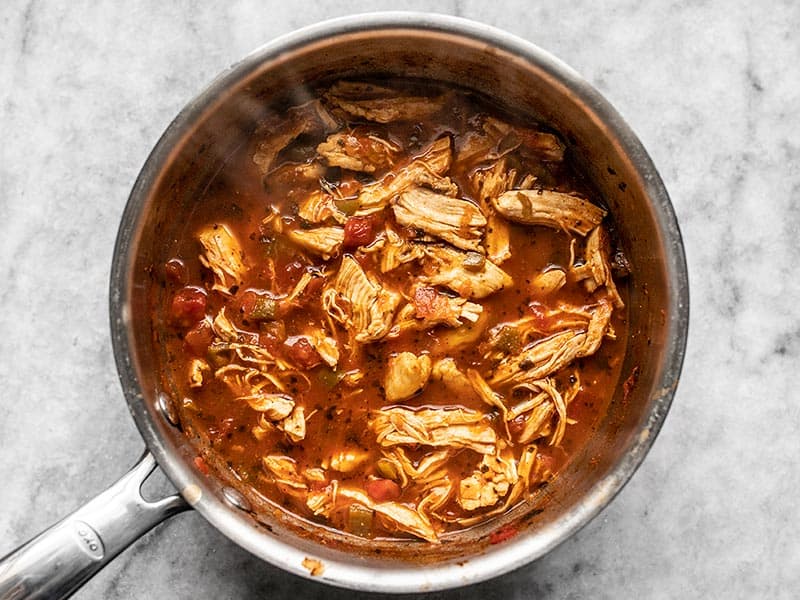
Return the shredded chicken to the salsa in the pot and stir to combine.
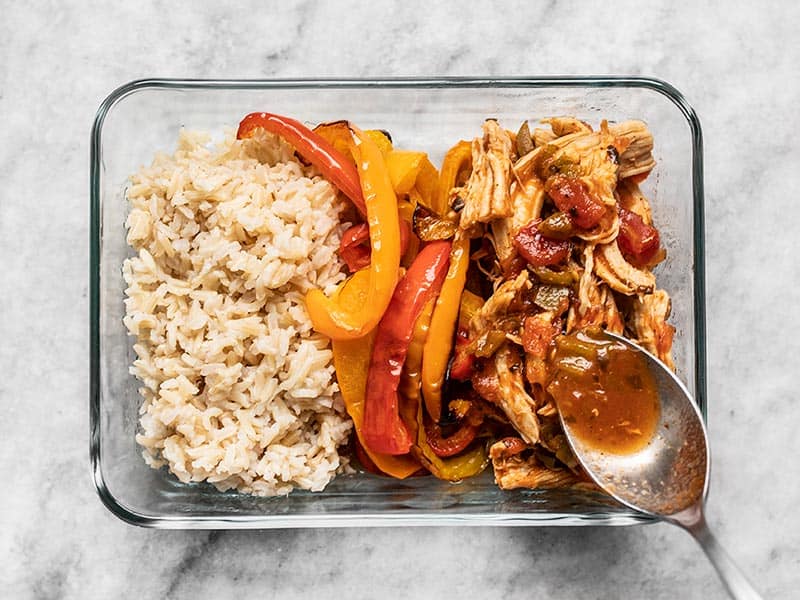
To build the Salsa Chicken Meal Prep Bowls, place about 3/4 cup cooked rice in each container, followed by 1/4 of the roasted bell peppers, and 1/4 of the shredded chicken. Spoon the salsa liquid from the sauce pot over the chicken in each container.
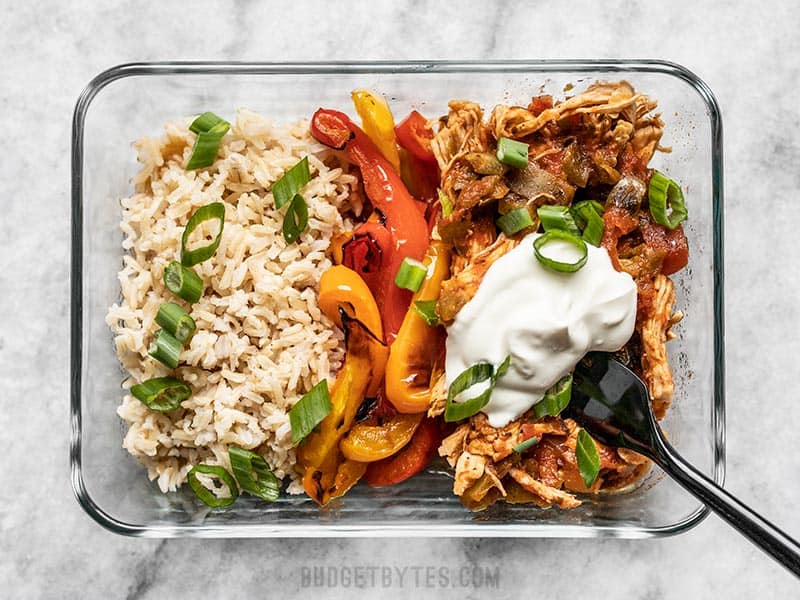
Finish the Salsa Chicken Meal Prep Bowls by topping with sliced green onion and a dollop of sour cream (or the toppings of your choice).


How many servings does this recipe make?
This makes four servings. You can find the serving information in the top of the recipe, and it’s also adjustable. So if you want to increase or decrease the serving amount just change the number in the box and it will adjust the ingredients for you. :)
The chicken is super tasty cooked this way! I also love how the chicken stays nice and chewy even after being in the refrigerator for several days.
Be mindful when you pick your salsa from the store as some cheap brands will have a ton of sodium in them.
After the meal in the 3 cup glass container has frozen, I take it out and put it in a quart freezer ziplock and then in a gallon freezer ziplock, I put masking tape on the gallon bag and label and date it.
This lets me make & freeze multiple meals so I have a choice when I go to grab a meal from the freezer.
I have been doing this for years with my homemade soups. I cook 1 soup a week in the fall, winter and spring. I eat 1 immediately, save 2 to eat for the week and freeze 3 or 9 (My veggie soup is 12 servings.)
This way when I take the food from the freezer, it is already in the shape of the dish I want to reheat it in.
Yes love that trick Jane! Thank you for sharing.
The easiest and tastiest I’ve made so far! Can’t wait to make this again
Happy to hear it Alexa!
What are the nutritional facts for this recipe per serving ?
We do get that request a lot, but unfortunately we don’t have a reliable source for the nutrition information. The calculators and databases that most bloggers and websites use to calculate the info can be extremely inaccurate, and for something that can so severely impact the health of people with health conditions, we just don’t feel comfortable publishing unreliable numbers. We prefer to leave it up to the reader to use the database or calculator they trust. I’m sorry and I wish accuracy were easier than shipping the food off to a lab for analysis! 😅
Hi. Would you eat this cold or reheat? Thanks
You could certainly do either!
Can you freeze this?
You certainly could. I would omit the toppings though.
this is an incredible recipe, and perfect for what I was looking for.
I just have a slight issue. I dont have an oven at home, is there any alternative you could suggest for cooking the capcicums in the pan as well?
I think the best alternative would be to cook them in a very hot skillet so they can still get some caramelization on the edges. If you add them to the pan with the chicken they’ll just kind of break down and disappear. :)
Have to comment, my boyfriend has requested for me to make this twice now, it’s just that good! To make it an ever quicker meal, I stir fry the peppers in a big pot, add the salsa, then shred up a rotisserie chicken from a grocery store and simmer all that together. Still cheap and delicious!
We love to hear when it’s a crowdpleaser!
This was so easy and so good! I accidentally bought a pretty liquid-y salsa, so I had to let it simmer an extra 15-20 minutes without the lid on to really reduce the broth. Otherwise this was insanely good and so, so easy to make. Next time I’ll probably aim for a chunkier, less liquid-y salsa though. Thanks for another winner!
How much ingredients should I put for one person
Very tasty!
However, I feel like I’m doing something wrong. I put the 16oz of salsa and the 1/2 cup broth, and simmer the chicken as indicated. I always end up with a ton of leftover broth and salsa in the pan, which is way too much to put over the top of the chicken when I portion it out into bowls. Is this normal?
If you feel like you have too much liquid, you can let it simmer for an additional ten minutes or so with the lid off after the normal simmer time. That will allow some of the liquid to evaporate away while concentrating the flavors. :)
This was so delicious. Thank you.
I wish I had seen this recipe sooner. I went freezer/pantry diving to see what I had and made my own version of this. I used ground turkey instead of chicken (Inspired by your burrito bowl recipe) and I added Cumin and chilli powder to the rice (Inspired by your make ahead burritos). I substituted plain greek yogurt for sour cream (because I had it on hand). I also added some frozen diced avocados to boost the veggie macros. (Not sure if that ruins the budget part of it but I got a big bag of prediced avocado from Costco). I love your recipes Beth, but as I dive into my fitness I need to boost my veggie macros and unfortunately many of your recipes are grain heavy. I’ll have to look more on the macros of beans and lentils. Thanks again Beth.
More like this please!!