Homemade Sugar Cookies are budget-friendly, simple to make, and a delicious way to create memories that will last a lifetime. Whipping up a batch of this sugar cookie recipe and spending the afternoon decorating them with family and friends is my favorite thing to do during the holidays! These cookies bake up firm, but are still perfectly soft and chewy, and hold their shape well when cut into shapes. I love making these for holiday parties, cookie exchanges, or as simple DIY gifts!

This post contains some affiliate links, which means that we make a small commission off items you purchase at no additional cost to you.
“I’d say this is the best sugar cookie I’ve made, and it came out pretty professional-looking for my first try! I did find the icing easy to spread with a knife and didn’t need to bother with the piping and filling method. We used edible markers to decorate. Terrific, and I’ll make these again!”
TB
Ingredients
Here’s what you’ll need to make these homemade sugar cookies:
- Salted Butter: I use softened, salted butter to make the dough. Your butter must be softened to cream well with the sugar. I’ve shared some of my favorite methods for softening butter below!
- Sugar: Regular granulated sugar sweetens the cookies without making them too delicate or crisp.
- Egg: Add one large egg to bind the dough together and add richness.
- Vanilla Extract: Adds a subtle vanilla flavor that makes these sugar cookies irresistible.
- All-Purpose Flour: I use all-purpose flour to create a soft and pliable cookie dough.
- Baking Powder: Helps to create a delicious, chewy texture. It also helps the cookies rise slightly and hold their shape in the oven.
- Royal Icing: In the photos shown here, I used a simple royal icing recipe made from powdered sugar, cream of tar tar, and egg whites. Royal icing is perfect for decorating these cookies because it dries hard and shiny. You’ll also need some food coloring and sprinkles if you want to add some extra festive touches!
How to Soften Butter
Perfectly softened butter will form an indentation when you gently press a finger into it—like play dough. Here are three methods I use to achieve this consistency:
- METHOD #1 Pick a warm spot in your kitchen and leave the butter out at room temperature for an hour or two.
- METHOD #2 Fill a large glass with boiling water. After a minute, carefully dump the water out. Stand the stick of butter (still in its wrapper) straight up on your work surface and cover it with the heated glass for five minutes.
- METHOD #3 Chop the stick of butter into four pieces and place it in a microwave-safe dish. Microwave the butter in 5-second increments, being careful not to melt it. Press your finger into the butter after every five-second increment. As soon as there is any give to it, pull it from the microwave.
Use one of these methods for any recipe that calls for softened butter—not just these sugar cookies! Our strawberry sheet cake, oatmeal cookies, and snickerdoodles all require softened butter.
7 Tips For The Best Sugar Cookies
- Cream softened butter with sugar until it doubles in size and lightens in color. This creates air pockets in the dough, giving you a light and airy cookie.
- Roll the dough out to 1/4 inch thickness. Any thicker and the cookies will lose their shape. Any thinner, and they won’t be able to hold the weight of the icing. Trust me on this one!
- Chill the dough after you roll it out, and then cut it. Giving the butter time to harden will make the cookies easier to cut out and help them keep their shape as they bake.
- Use simply shaped cookie cutters. Anything too intricate will likely break off or lose its shape as it bakes. While metal cutters are the most popular, I prefer plastic cutters, as they don’t bend or rust. Or, you can use the mouth of a glass or the ring of a mason jar lid to create a simple circle shape—easy!
- Bake the cookies just until they’re set. You’re not looking for golden brown; as they bake, the cookies will lighten in color. Overbaking them leaves you with a dry, rock-hard cookie.
- Don’t worry if your cookies spread too much in the oven, it can be an easy fix. Let them cool on the sheet pan for a minute, then reshape them by pressing the cookie cutter into them and using a butter knife to separate the trimmings. Work quickly; the more the cookie cools, the more likely it is to shatter. Don’t throw out those trimmings! They’re crispy and a total delight.
- Cool your cookies completely before decorating them with icing. Spreading icing on warm cookies will melt the icing, so it doesn’t hold its shape and drips all over. I always let mine cool on a wire rack before decorating with the royal icing.
Decorating Sugar Cookies
You can eat plain sugar cookies, but decorating them is always so much fun. Traditionally, royal icing is dyed with food coloring and piped onto the cookies to decorate them. This is the technique I used here. When making royal icing for decorating these sweet treats, there are three textures you should make:
- Flooding consistency: When you drip a line of icing across the surface, it will take 15 to 10 seconds to disappear. Use flooding consistency icing to fill in the cookie quickly.
- Stiff consistency: When you dip a spoon into stiff icing and lift it out, the icing will form a stiff peak that won’t disappear. Use this icing to pipe flowers, leaves, or ruffles.
- Piping consistency: When you drip a line of icing across the surface, it will take 20 to 25 seconds to disappear. Use this icing to outline the cookie and prevent flooding consistency icing from spilling over.
But if you prefer a simpler method, you can also garnish the cookies with a bit of icing, a sprinkle of cinnamon sugar, or a pinch of zest. I think they still look and taste amazing. If you want to steer clear of food coloring, grate freeze-dried raspberries or blueberries into a powder and sprinkle them into the icing to create a vibrant pink or purple hue.
How To Store
Store sugar cookies in an air-tight container for up to a week at room temperature. You can also freeze them in a freezer-safe container, separated with parchment or wax paper layers, for up to 3 months. I don’t recommend refrigerating them, as it can dry them out and dull their flavor.

Sugar Cookies Recipe

Ingredients
Sugar Cookies
- 12 Tbsp salted butter, softened* ($1.59)
- 1 cup sugar ($0.34)
- 1 large egg ($0.33)
- 1 tsp vanilla ($0.65)
- 2 cups all-purpose flour ($0.24)
- 3/4 tsp baking powder ($0.03)
Royal Icing
- 1 lb. powdered sugar* ($1.78)
- 1/4 tsp cream of tartar ($0.03)
- 2 large egg whites ($0.66)
Instructions
- In a large bowl, use a hand mixer to whip the softened butter & sugar until fluffy.
- Add the egg and vanilla to the creamed butter and mix to incorporate.
- In a separate bowl, mix the flour and baking powder.
- Add half the flour to the creamed butter and mix just until a wet dough forms. Add the second half of the flour and mix gently until a stiffer dough forms.
- Place the dough between two sheets of parchment paper and roll the dough ¼ inch thick. Cool for thirty minutes in the fridge. Preheat your oven to 350°F.
- Once the dough has hardened, cut out the cookies, remove the scraps from the cookie sheet, and leave the cookies behind. Roll any scraps out on a separate piece of parchment, and chill before cutting them into cookies.
- Place the sheet of parchment paper with the cookies on a sheet pan. Bake the cookies at 350°F for 3 minutes. Next, rotate the sheet pan, so the front faces the back—then bake for 3 to 4 minutes.
- Cool the cookies in the sheet pan for a few minutes before transferring them to a cooling rack. Decorate when cookies have cooled completely.
- To make the royal icing, combine half of the pound of powdered sugar and all of the cream of tartar in a large bowl. Add the egg whites and whip the mixture to soft peaks.
- Add half the sugar and mix it at a lower speed to keep the powdered sugar in the bowl. Next, increase the speed to medium-high and whip until the icing is stiff and fluffy, about 1 minute.
- Thicken the icing with as much powdered sugar as necessary to create a piping consistency for outlining—thin the icing with a bit of water for flooding.
- If coloring your icing, separate it into as many bags as necessary to create your palette. Then, follow the directions on the food coloring package to make your palette. Next, close the bag and squeeze and press it to disperse the food coloring throughout.
- Remove as much air as possible and twist the top of the bag to close it. Secure the twisted end with a rubber band. Snip off the tiniest bit of the bottom corner of the bag.
- Next, gently squeeze the top of the bag while moving it steadily to outline the cookie with the stiffer icing.
- Then flood your cookie with the thinner icing. Allow the icing to dry before enjoying your sugar cookie!
See how we calculate recipe costs here.
Equipment
- Enamelware Sheet Pan
- Parchment Paper
Nutrition

How to Make Sugar Cookies – Step by Step Photos
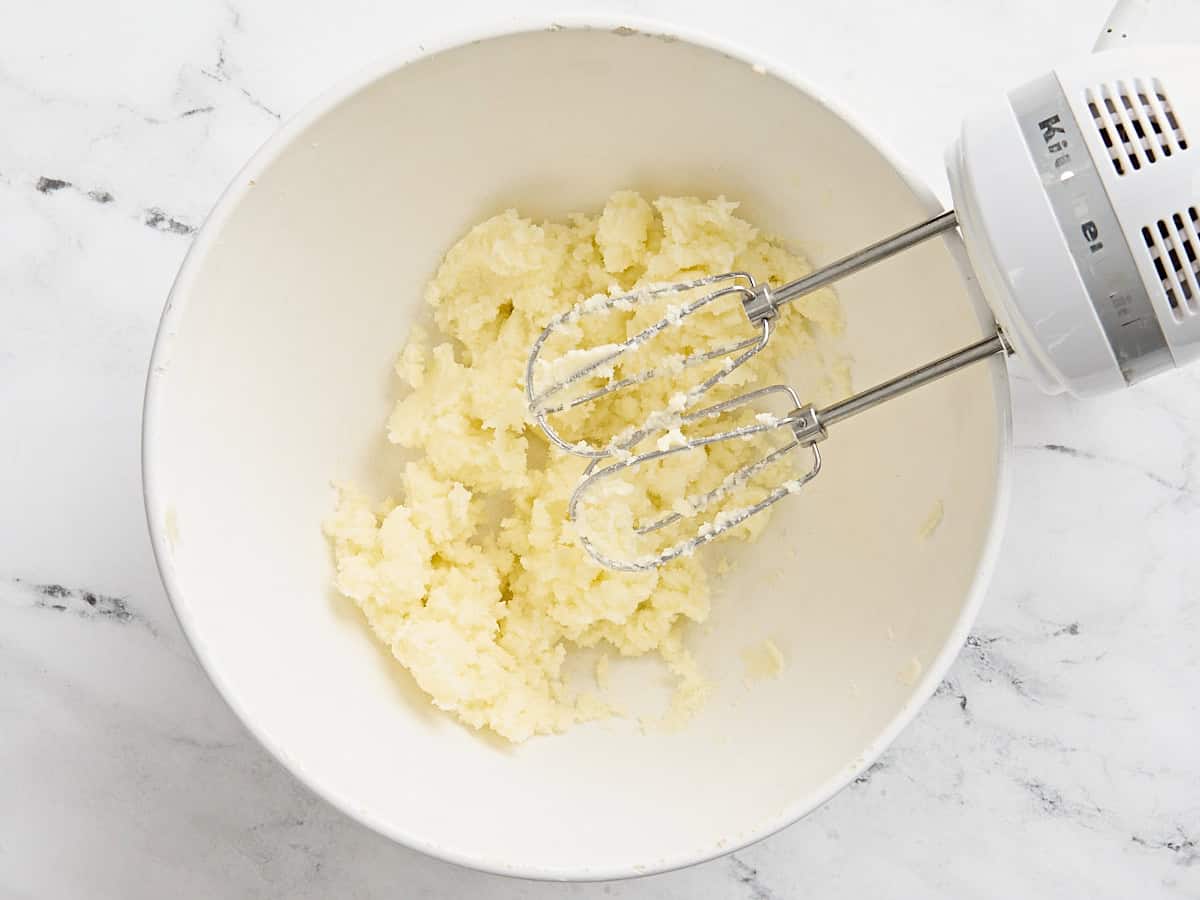
Add 12 Tbsp of softened salted butter and 1 cup of sugar to a large bowl. Use a hand mixer to whip them together well.
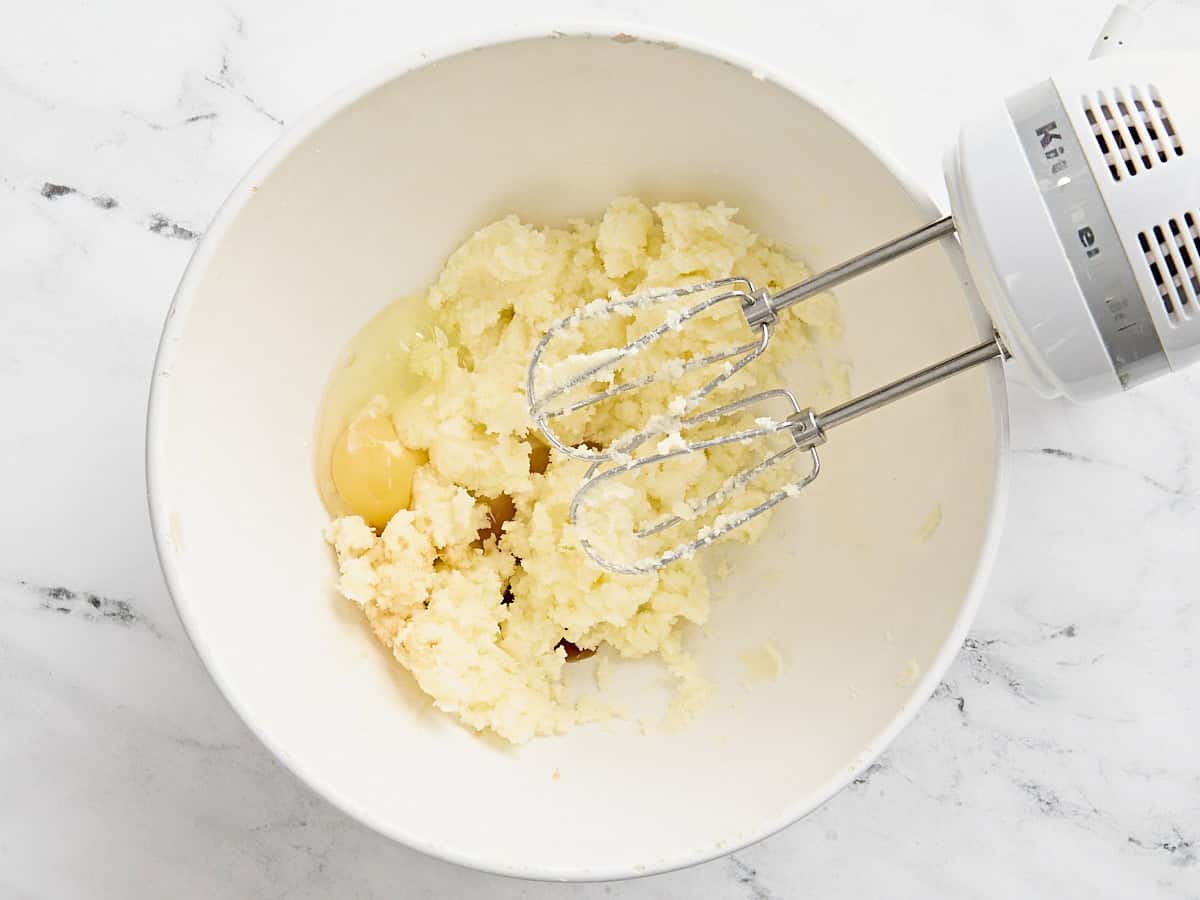
Add 1 large egg and 1 tsp of vanilla to the creamed butter and use your hand mixer to combine them.
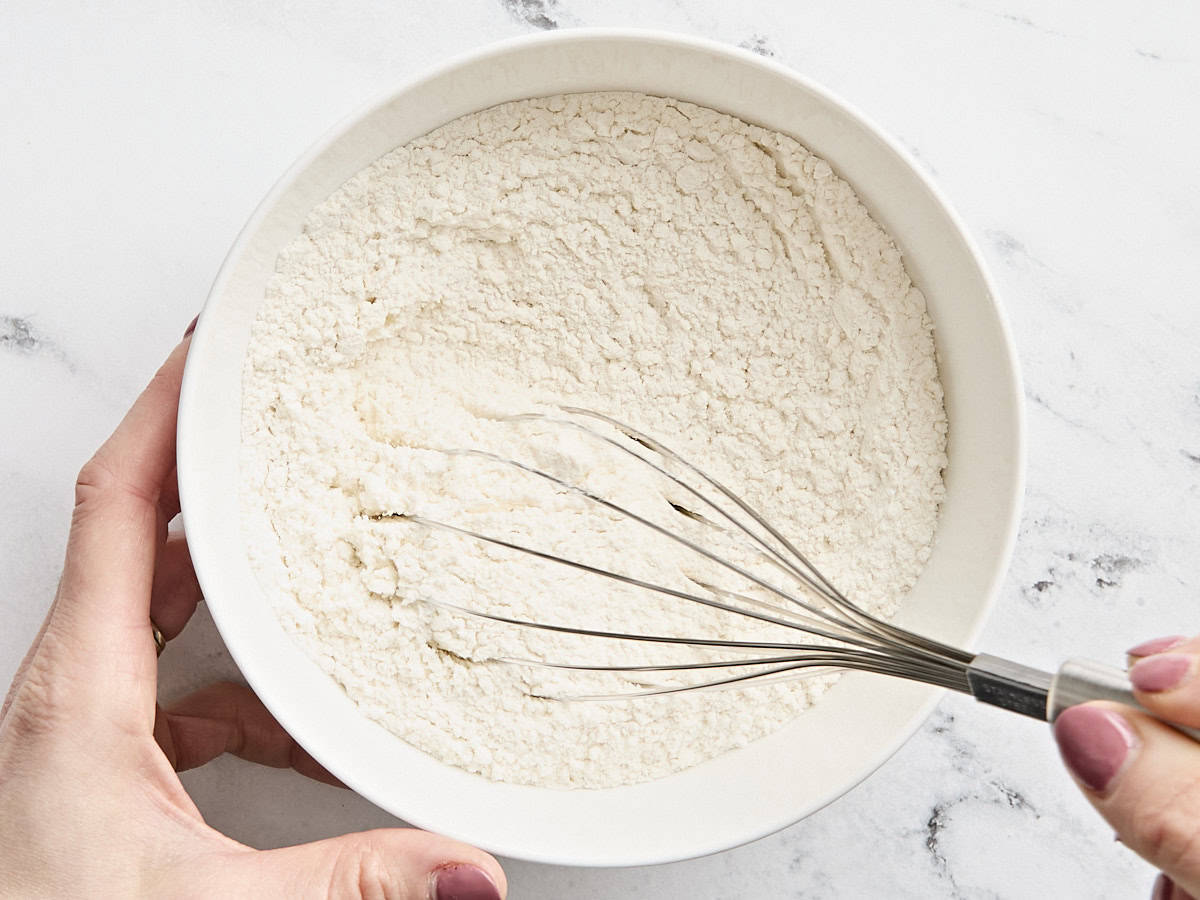
In a separate bowl, whisk 2 cups of all-purpose flour and 3/4 tsp of baking powder together until well combined.
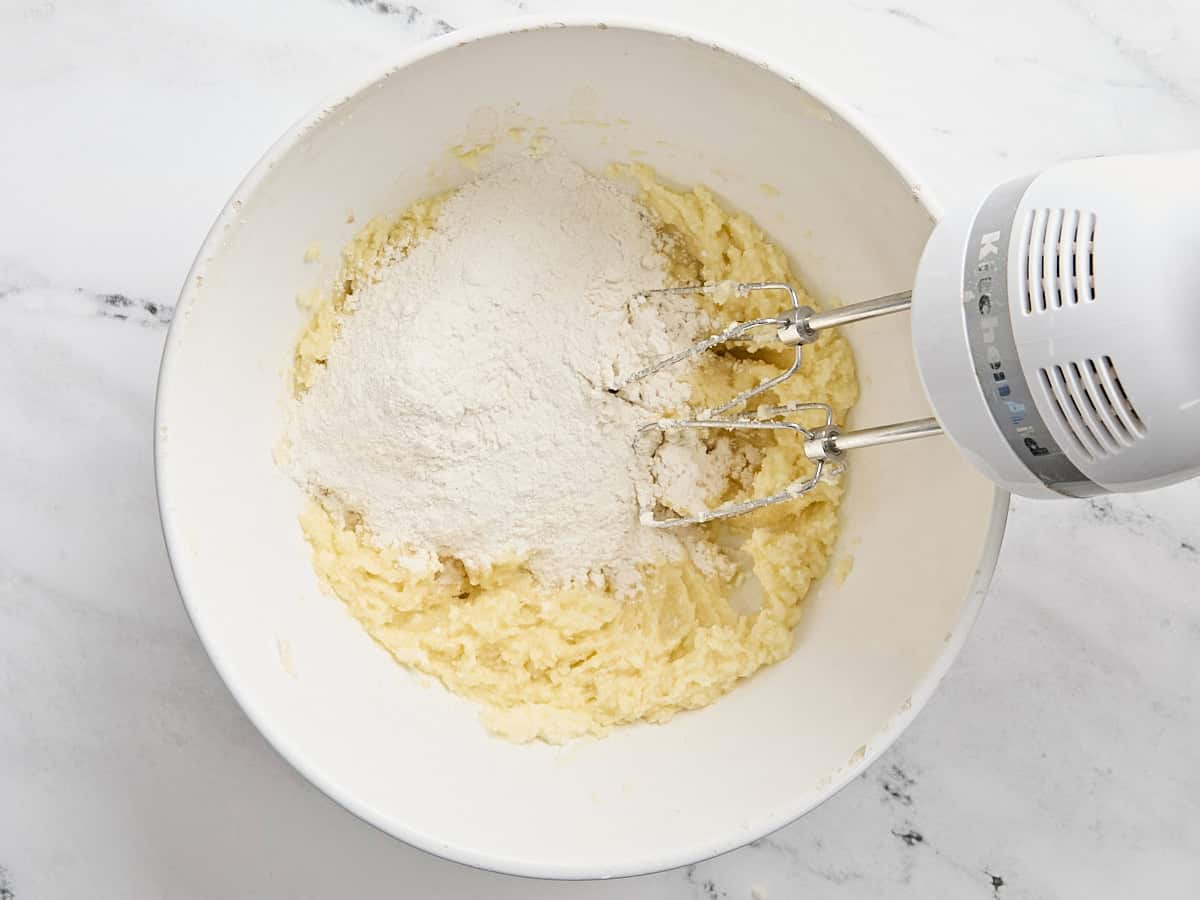
Add half the flour mixture to the creamed butter and mix just until a wet dough forms.
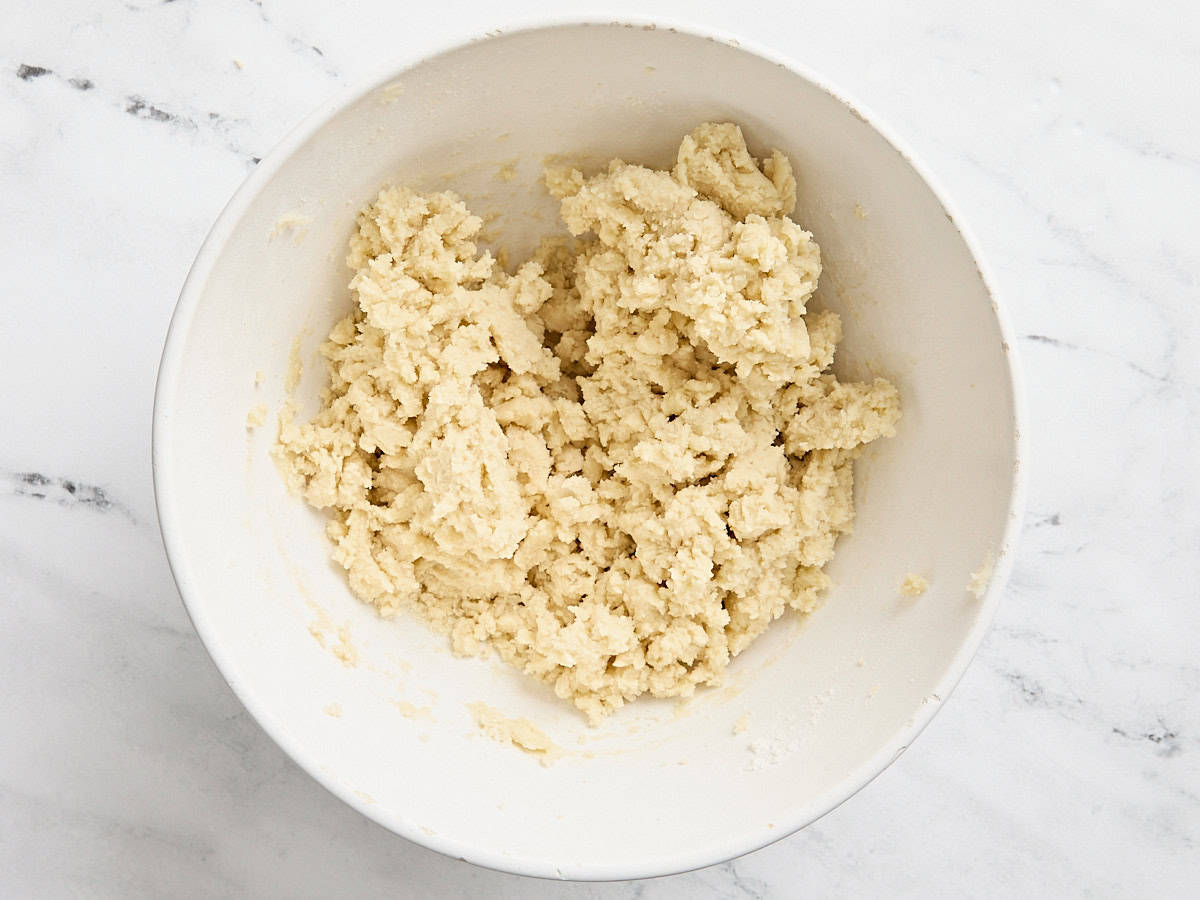
Add the second half of the flour and mix gently until a stiffer dough forms.
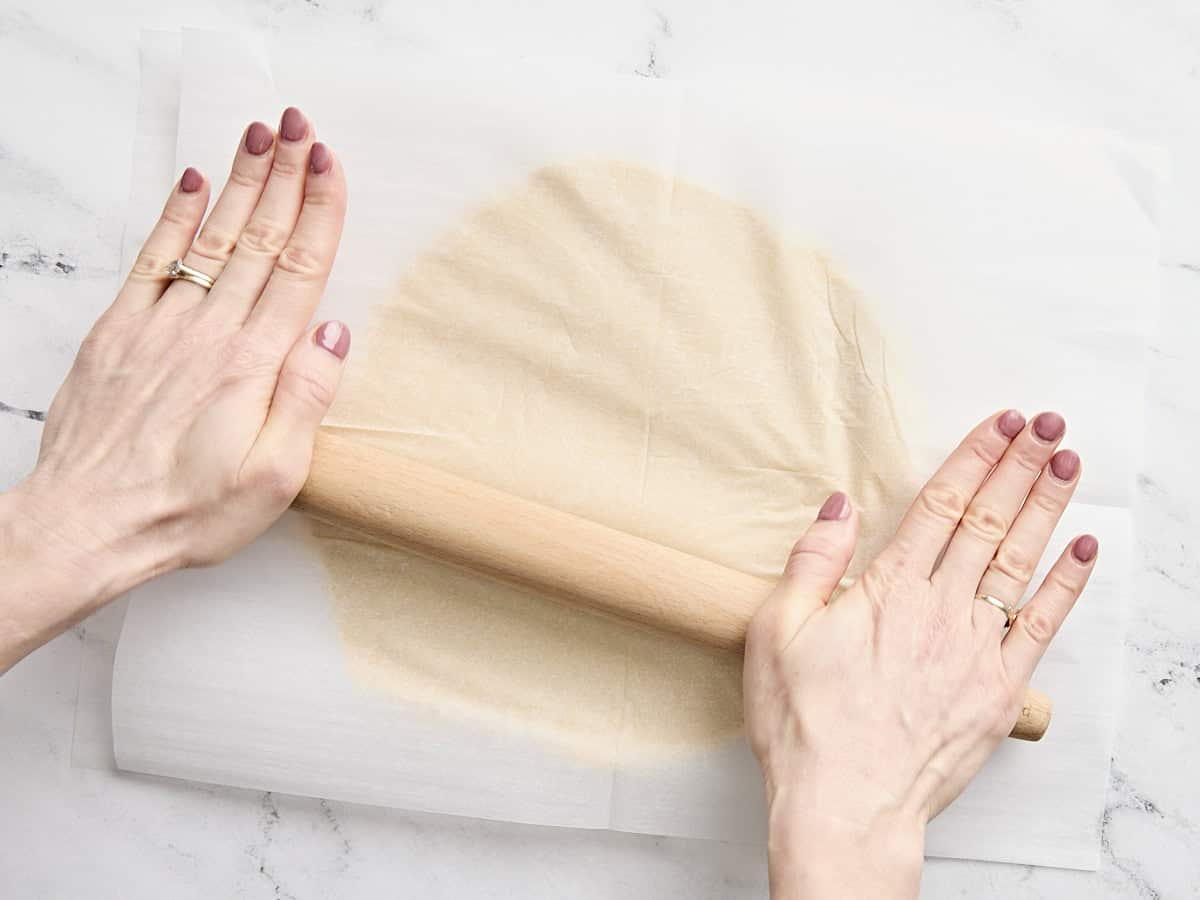
Place the dough between two sheets of parchment paper and roll the dough ¼ inch thick. Cool for thirty minutes in the fridge. Preheat your oven to 350°F.
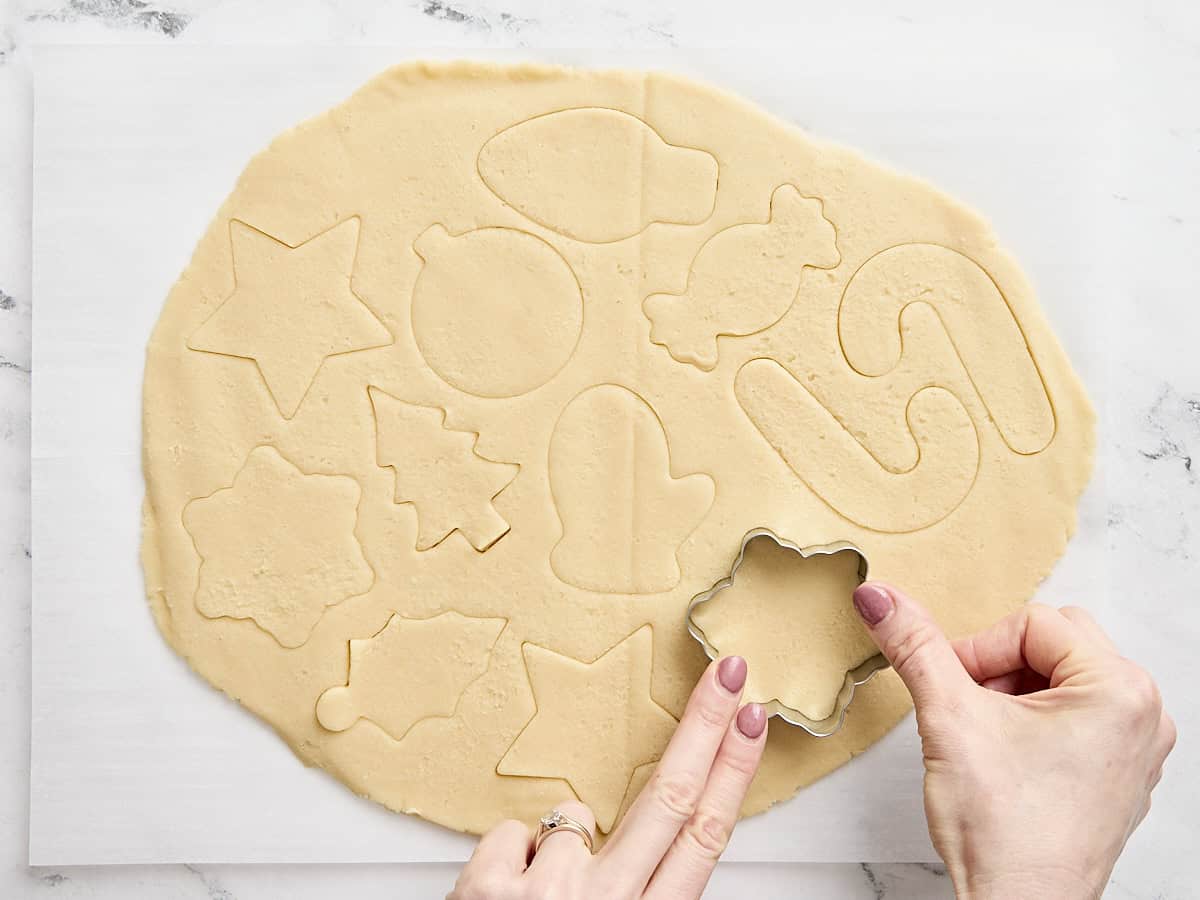
Once the dough has hardened, cut out the cookies. Remove the scraps and leave the cookies behind. Roll any scraps out on a separate piece of parchment, and chill before also cutting them into cookies.
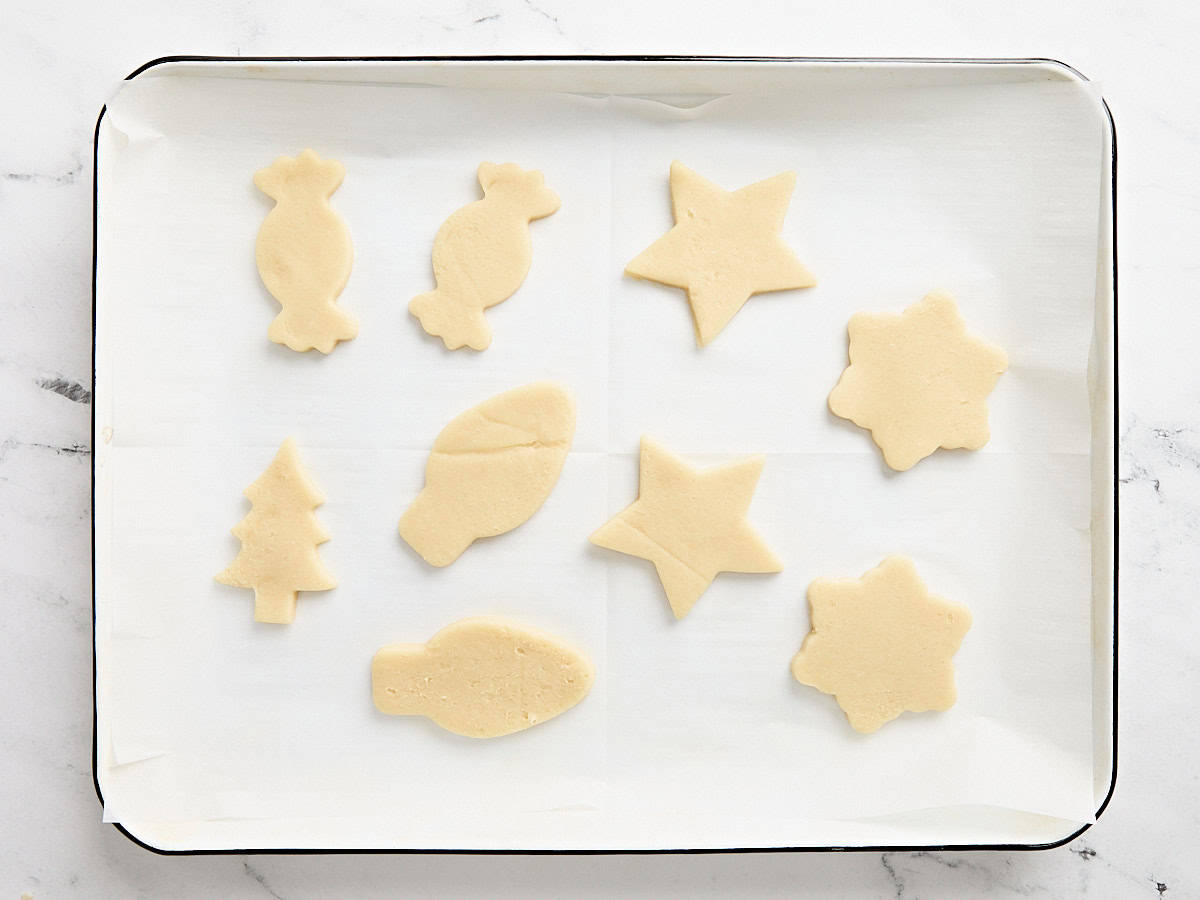
Place the sheet of parchment paper with the cookies on a cookie sheet or sheet pan.
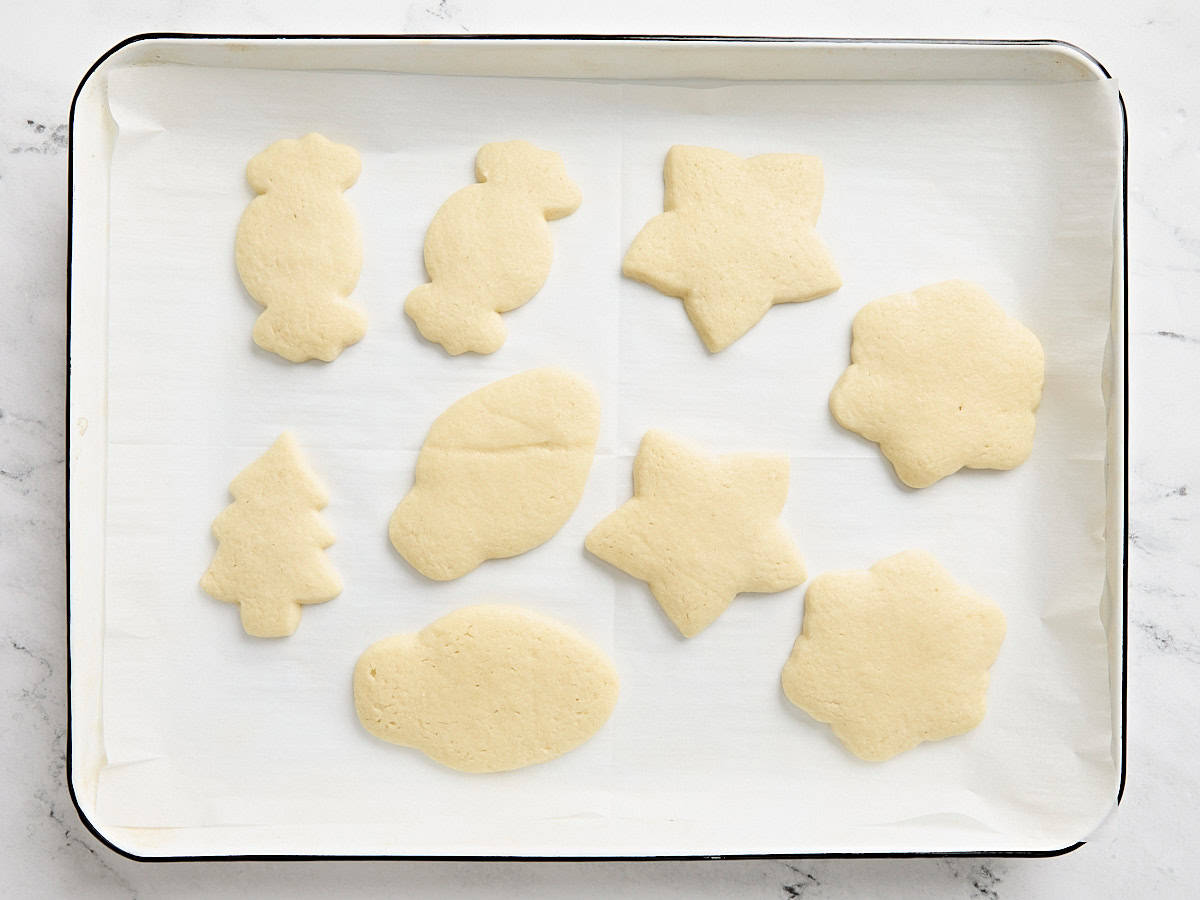
Bake the cookies at 350°F for 3 minutes. Next, rotate the sheet pan, so the front faces the back—then bake for 3 to 4 minutes.
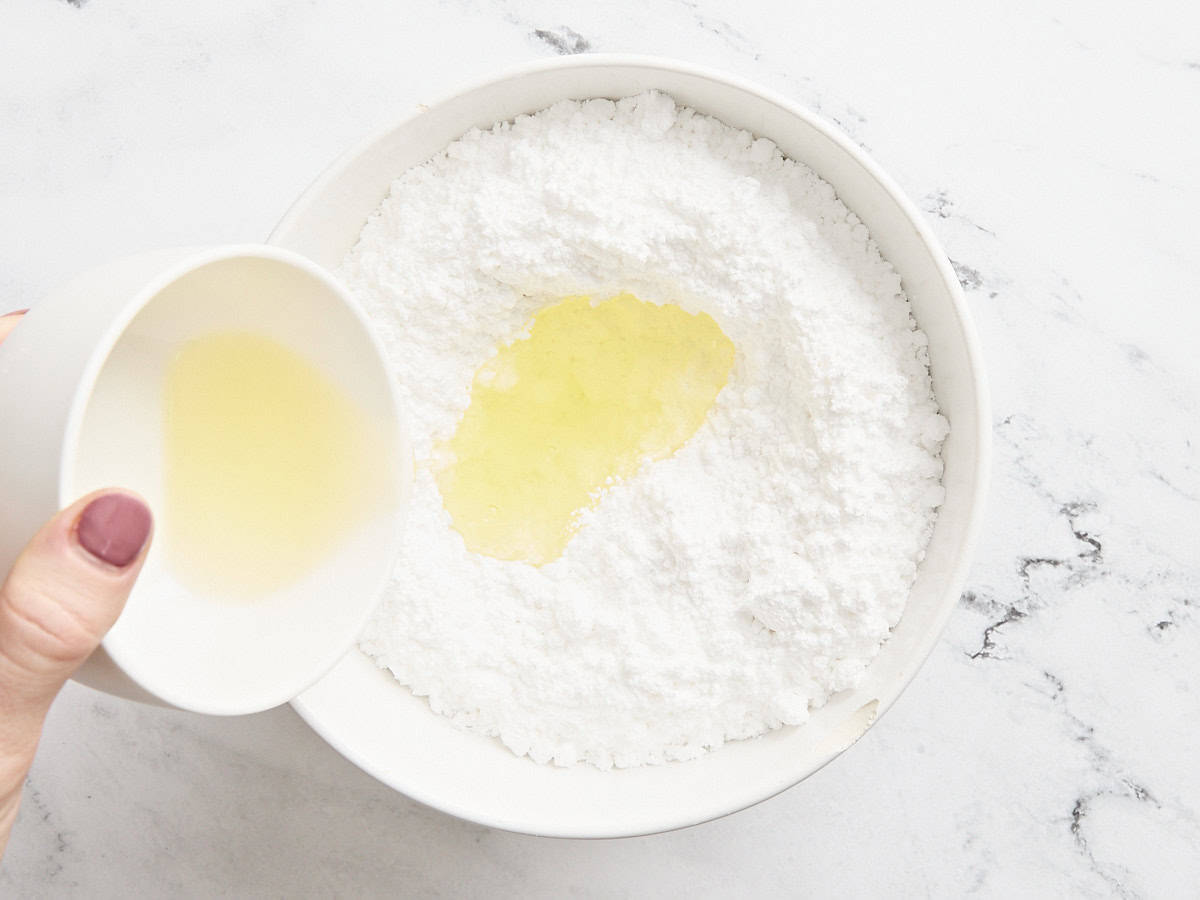
To make the royal icing, combine half of the pound of powdered sugar and the 1/4 tsp of cream of tartar in a large bowl. Add 2 large egg whites and whip the mixture to soft peaks. Add the other half of the powdered sugar and mix it at a lower speed to keep the powdered sugar in the bowl. Next, increase the speed to medium-high and whip until the icing is stiff and fluffy, about 1 minute.
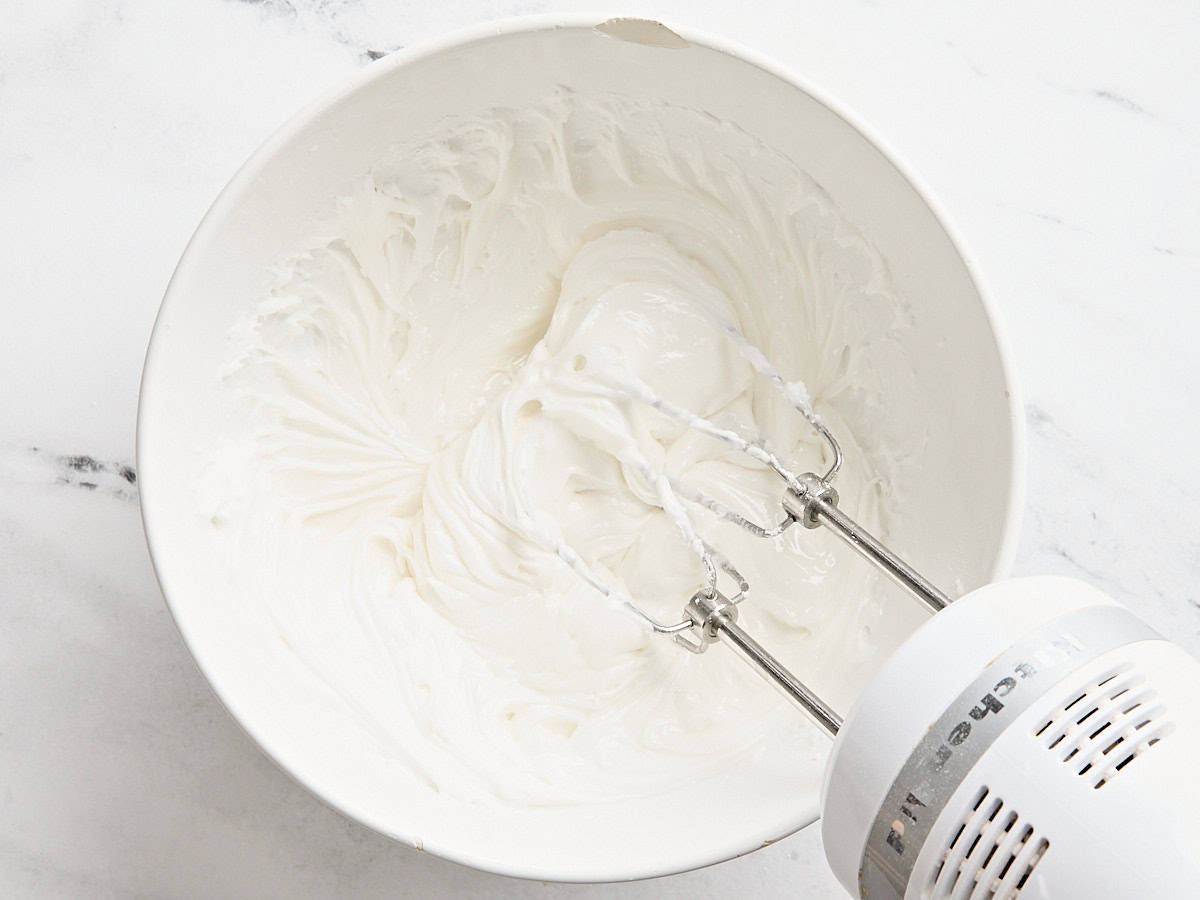
Thicken the icing with as much powdered sugar as necessary to create a piping consistency for outlining. Then, once you’ve piped your outlines, thin the icing with a bit of water for flooding.
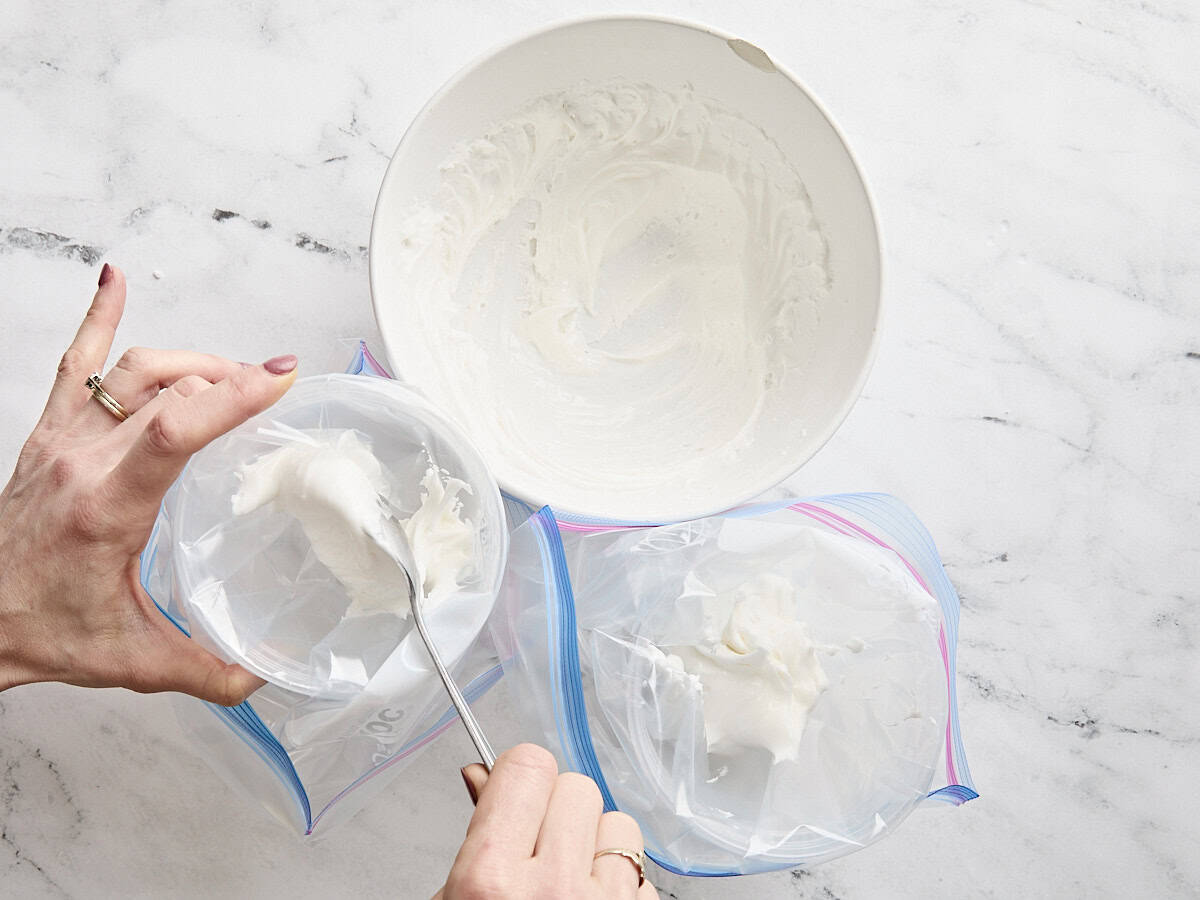
If coloring your icing, separate it into as many bags as necessary to create your palette. Then, follow the directions on the food coloring package to make your palette. Next, close the bag and squeeze and press it to disperse the food coloring throughout. Remove as much air as possible and twist the top of the bag to close it. Secure the twisted end with a rubber band. Snip off the tiniest bit of the bottom corner of the bag.

Next, gently squeeze the top of the bag while moving it steadily to first outline the cookie with the stiffer icing.

Then flood your cookie with the thinner icing. Allow the icing to dry before serving!

With this easy recipe, you can create sugar cookies for ALL the seasons! Christmas trees and stars for the holidays, hearts for Valentine’s Day, bunnies and eggs for Easter, and pumpkins and ghosts for Halloween—whatever you want!


First, I love budgetbytes.com and have been using your recipes for years. So…I’m really puzzled that this recipe was an epic fail for me and wondering where I went wrong. The dough chilled nicely, but I had a really hard time removing the scraps from around the cut patterns (similar to fellow commenter Kelly). Also, my royal icing was way too dry, so I added milk to thin it. I used a kitchen scale to measure the flour and sugar (translating cups to grams) and I’m wondering if this might be the problem. Would it have turned out better if I had just used measuring cups?
It think that could be the issue, Lyn! There can definitely be complications doing that since you need to not only convert from imperial to metric, but you also need to convert from volume to weight, which requires knowing the density of that particular ingredient. When the team tested the recipe, they did so only using cups, since that’s consistent with what the website has done since the beginning. I’m sorry they didn’t work out this time!
Great cookie recipe! Thanks for this.
Hi:
Where is the approximate nutritional breakdown for the cookie?
Thank you in advance. 🙂
Fixed it!
Why salted butter? How much salt would I add if using unsalted butter?
Salted butter has around 1/4 tsp of salt per 1/2 cup of butter. (1 stick)
I’d say this is the best sugar cookie I’ve made, and it came out pretty professional-looking for my first try! I did find the icing easy to spread with a knife and didn’t need to bother with the piping and filling method. We used edible markers to decorate. Terrific, and I’ll make these again!
We skipped the icing, but otherwise followed the recipe. They came out very soft and not overly sweet, and yielded the best results when compared to other recipes I’ve tried. This will be my new go to sugar cookie recipe!
These are really delicious! They’re soft and hold up well for making other cut outs too. FYI, I swapped out King Arthur 1 for 1 gluten free flour and they still turned out great. Even non-GF folks loved them. Thank you!
I made these sugar cookies and they’re pretty good! My husband really liked them so I’m glad I took a chance. I wanted to do the royal icing with meringue powder but I tasted it and it didn’t taste very good so I just stuck to the plain sugar cookies. This will definitely probably be a repeat recipe from now on 😊
Wow this is a very sticky dough. Very hard to work with. I had difficulty removing extra dough from parchment after cutting. Back into the fridge for now, not sure it’s going to work for me.
Do I have to buy pasteurized egg whites? I eat raw cookie dough so no qualms about that. Just didn’t know how the icing holds up safely
Hi, Donna! That’s a great question! Since the royal icing does contain egg whites, it should be consumed fairly quickly, and the icing (and any leftover cookies) should be stored in the fridge. They will keep in an air-tight container for 2 days. While using pasteurized egg whites [or an egg-free binder/stabilizer] in place of the egg whites would be an added expense, it would help you to increase the shelf life of the icing to 10 days (However, any leftovers should still be stored in the fridge). ~Marion :)
Hi Donna! Just a follow-up with more accurate information. The high concentration of sugar in egg white-based royal icing makes it nearly impossible for bacteria to thrive. If you want to use unpasteurized egg whites or are concerned about bacteria, cook your icing over a water bath. Place the bowl you are beating the icing in over a pot of boiling water. Heat the icing while stirring it to 150°F for three minutes to pasteurize the egg whites. Please do not store the cookies in the fridge. Like the post says, storing these (or any) cookies in the fridge, will dull their texture and their flavor. You can also use meringue powder instead of egg whites in this recipe. You can keep meringue powder-based royal icing at room temperature for weeks. Use 4 cups of powdered sugar, 3 tablespoons of meringue powder, and as much water as you need to create the right consistency. (Start with a half cup.) Happy baking! XOXO -Monti