It’s fall, and that means that I’m working sweet potatoes and pumpkin into everything. Why? They provide a subtle sweetness, a vibrant orange color, and a dose of extra nutrients. And in the case of these Sweet Potato Biscuits, the sweet potatoes keep the biscuits deliciously moist and tender. I think you’ll love these Sweet Potato Biscuits because they’re still super simple to make, and are a fun twist on the usual for your weekend breakfast, or even Thanksgiving dinner.
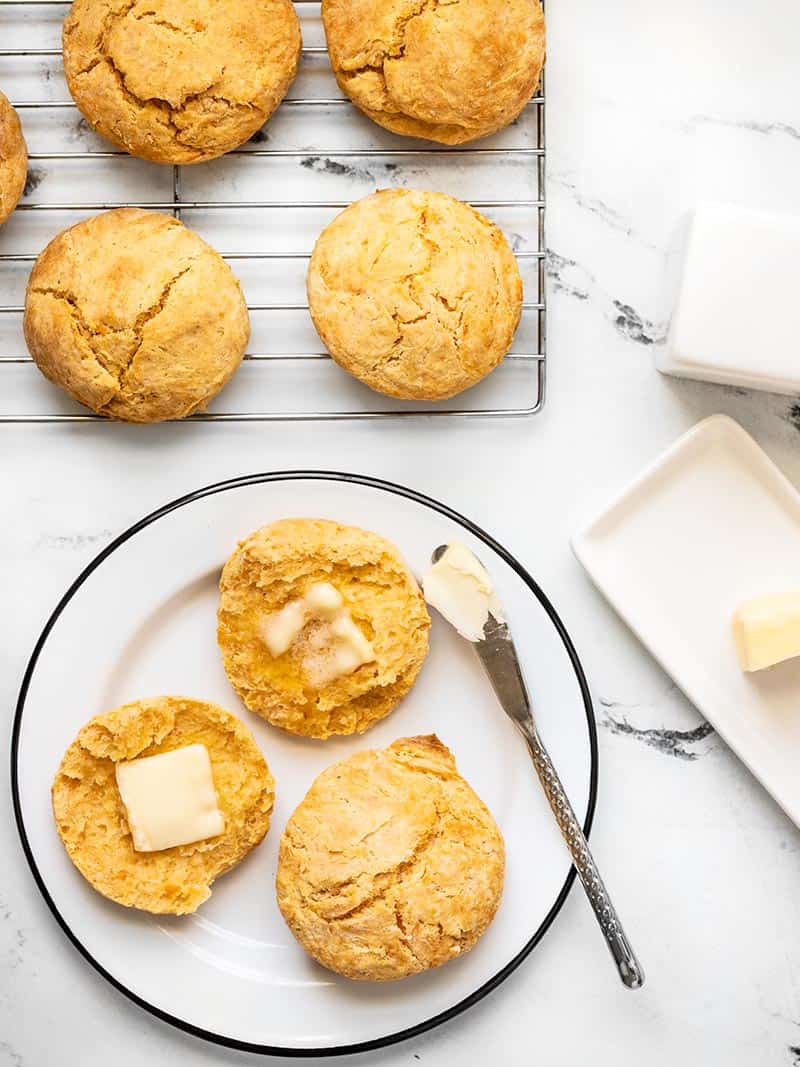
What do They Taste Like??
They taste like classic biscuits, but with a very subtle earthy sweetness. The small amount of nutmeg in the dough also gives the biscuits a warm, autumn flavor. They’re like regular biscuits, but extra special.
What Do You Serve with Sweet Potato Biscuits?
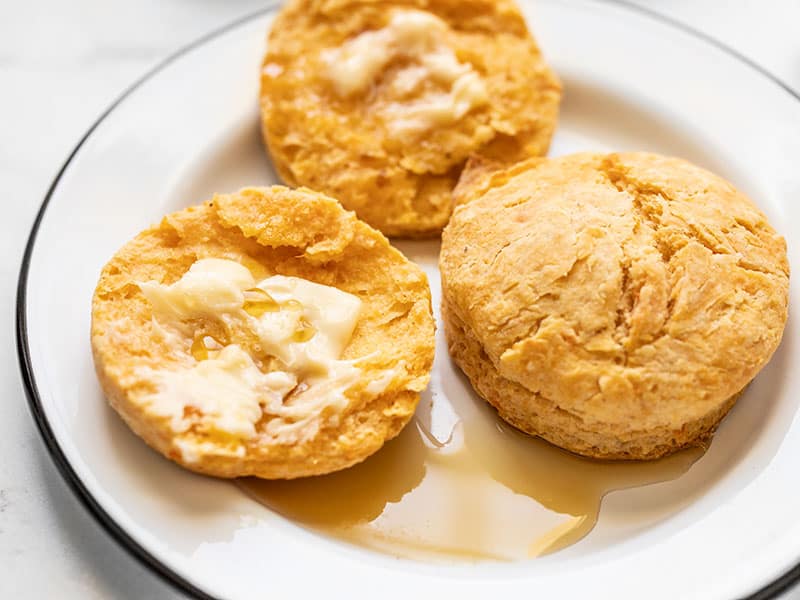
Because these biscuits are not overwhelmingly sweet, I think they’d go great served in either a sweet or savory meal. They’re great for breakfast, with eggs and sausage, or just smeared with butter and maple syrup (or honey). But they’d also be great as a side dish with a pot roast, chili, pumpkin soup, or even with Thanksgiving dinner.
Can You Freeze Sweet Potato Biscuits?
Absolutely! Biscuits are great for freezing. If you are cooking for yourself and don’t want the challenge of eating ten biscuits in the next few days, feel free to freeze half. You can freeze your sweet potato biscuits either before or after baking.
To freeze before baking, freeze them first on a parchment lined baking sheet, then transfer to a freezer bag once solid. You can then bake one or more as needed, straight from the freezer. They’ll just need a few extra minutes of bake time.
To freeze after baking, make sure they cool completely to room temperature first. Once cooled, place them in a freezer bag, then toss them in the freezer. They’ll be good in the freezer for about three months.
Do I have to Use a Microwave for the Sweet Potato?
Nope. I used the microwave to cook the sweet potato because it was fast and easy. You can definitely bake the sweet potato, if you like, but that will add about 45 minutes to the time needed to make this recipe (bake 400ºF for about 45 minutes, or until it is soft all the way through). You can also peel, dice, and boil the sweet potato, but keep in mind that this will add a lot more moisture to the biscuit dough, so you may need less milk to make the dough the correct consistency.
Sweet Potato Biscuits
Ingredients
- 1 lb. sweet potato (1 cup mashed) ($1.29)
- 2.25 cups all-purpose flour, divided ($0.23)
- 1 Tbsp baking powder ($0.12)
- 1 Tbsp sugar ($0.02)
- 3/4 tsp salt ($0.02)
- 1/4 tsp ground nutmeg ($0.02)
- 8 Tbsp butter, frozen (1 stick) ($1.04)
- 1 cup whole milk ($0.32)
Instructions
- Use a fork to prick the skin of the sweet potato several times. Place the sweet potato on a microwave safe plate, then microwave on high for 5 minutes. After five minutes, use the fork to pierce the sweet potato in the thickest part. If it's not very soft all the way through, microwave for an additional 1-2 minutes, or until the center is very soft.
- Carefully remove the sweet potato from the microwave (the plate will be VERY hot). Use a towel to grasp the sweet potato as you cut open the skin and scoop out the flesh. Scoop out one packed cup of sweet potato and place it in a medium bowl. Use the fork to mash the sweet potato until smooth. Set it aside to cool further.
- Preheat the oven to 400ºF. In a separate large bowl, combine 2 cups of the all-purpose flour (reserving the last 1/4 cup for later), baking powder, sugar, salt, and nutmeg. Stir until these ingredients are very well combined.
- Use a cheese grater to grate the frozen butter into the bowl with the flour mixture. Take care to guard your fingers and knuckles when you get down to the end of the stick of butter. Stir the grated butter into the flour mixture until they are evenly combined.
- Add the milk to the bowl with the mashed sweet potato. Stir or whisk the sweet potato and milk together until they are well combined. A few small chunks of sweet potato are okay.
- Finally, pour the sweet potato and milk mixture into the bowl of flour and butter. Stir to combine the wet and dry ingredients until one cohesive ball of dough forms. Because sweet potatoes can vary in moisture content, you may need to add extra flour or milk to the dough to get the right consistency. The biscuit dough should be slightly sticky, but not so wet that it is glossy, and no dry flour should remain on the bottom of the bowl. If the dough is too dry (not forming a single ball of dough) add a couple tablespoons of milk. If it's too wet, dust it liberally with the reserved flour.
- Turn the dough out onto a well floured surface. Press it down into a flat circle, about 1-inch thick. Use a biscuit cutter or a drinking glass to cut biscuits from the dough. Gather up the dough scraps, reshape them into a 1-inch thick circle, and cut more biscuits. Repeat this until no more dough remains. Place the cut biscuits on a parchment lined baking sheet.
- Bake the biscuits for about 20 minutes, or until they are golden brown on top. Serve warm, with butter or maple syrup.
See how we calculate recipe costs here.
Equipment
- Enamelware Salad Plate
Nutrition
Love sweet potatoes? ME TOO! Check out some of my other favorite sweet potato recipes: Baked Sweet Potato fries with Peanut Lime Dressing, Streuseled Sweet Potatoes, Chorizo Sweet Potato Enchiladas, Sweet Potato Casserole Baked Oatmeal, or Sweet Potato Tacos with Lime Crema.
How to Make Sweet Potato Biscuits – Step By Step Photos
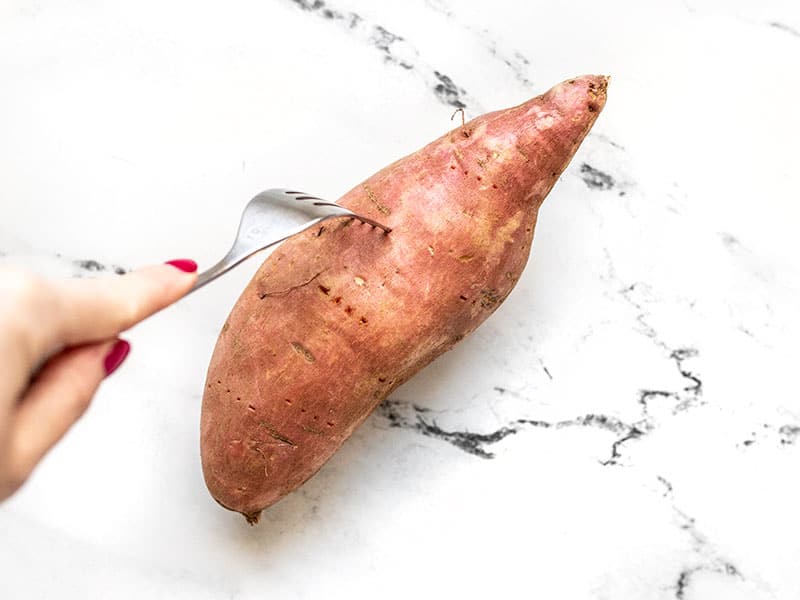
Start by pricking a one pound sweet potato several times with a fork. This allows steam to escape the sweet potato as it cooks, which will prevent it from exploding in the microwave.
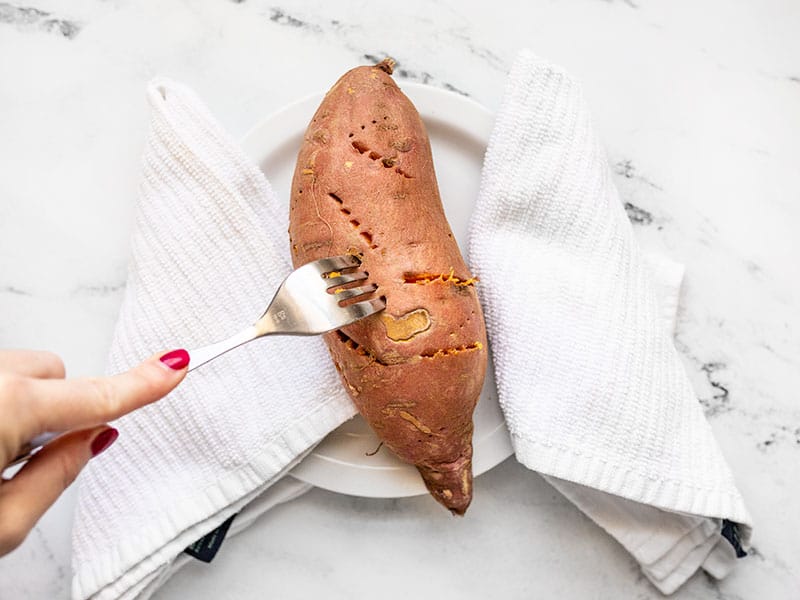
Place the sweet potato on a microwave-safe plate and cook on high for 5 minutes, or until it is tender all the way through. You can test the sweet potato by poking it again with the fork in its thickest spot. The fork should pierce the sweet potato easily. If it’s still hard in the center, microwave for 1-2 minutes longer. Carefully remove the sweet potato from the microwave (the plate will be HOT). Let it cool slightly.
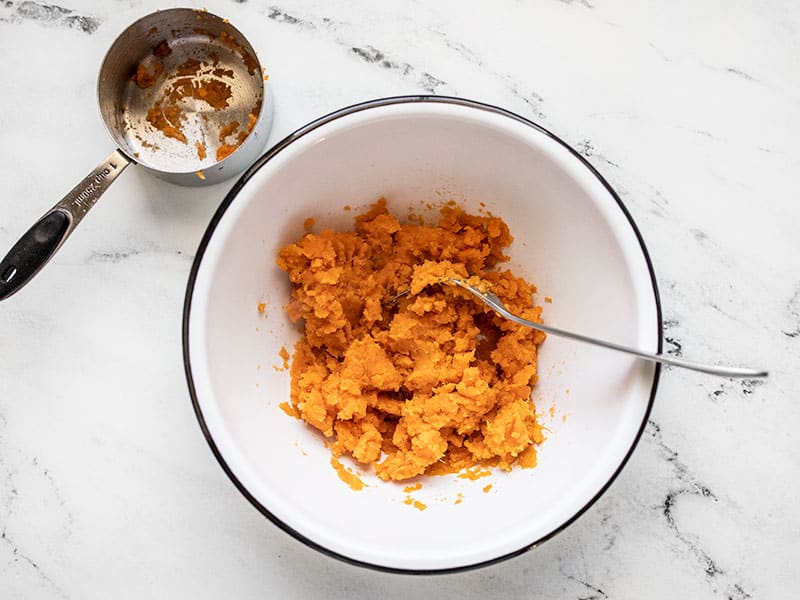
Carefully scoop one cup of the sweet potato flesh out into a bowl (use a towel to hold the hot sweet potato as you scoop). Mash the sweet potato until it is mostly smooth.
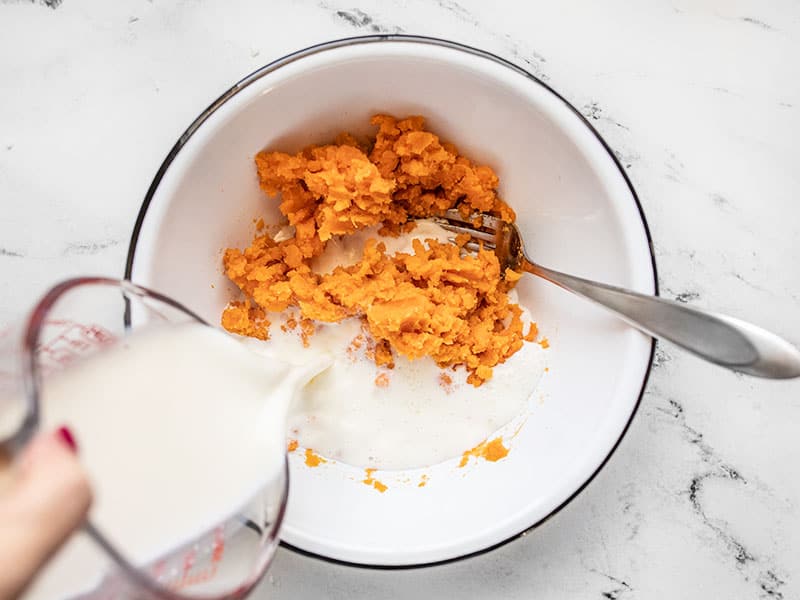
Add one cup of whole milk to the mashed sweet potato, then stir or whisk until it is mostly smooth. A few small chunks of sweet potato are fine.
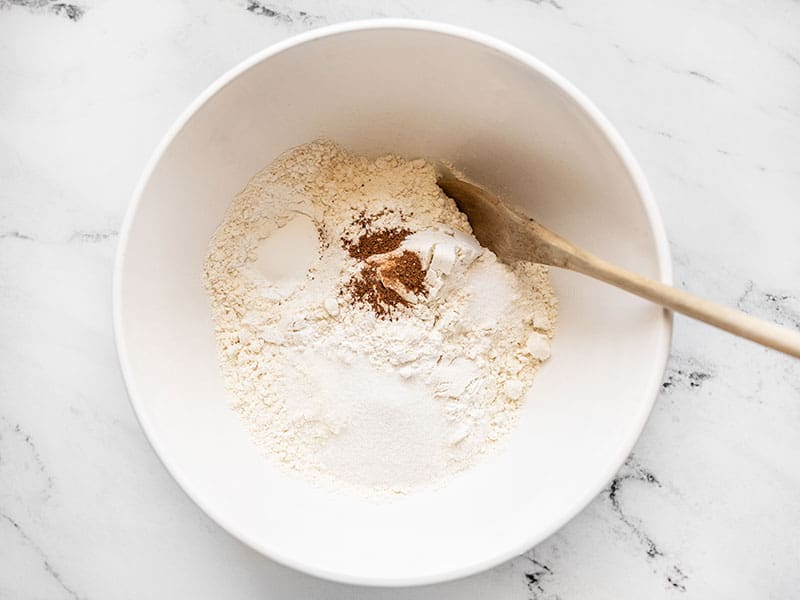
Begin preheating the oven to 400ºF. In a large bowl, combine 2 cups of all-purpose flour, 1 Tbsp baking powder, 1 Tbsp sugar, 3/4 tsp salt, and 1/4 tsp ground nutmeg. Stir the ingredients together until they are very well combined.
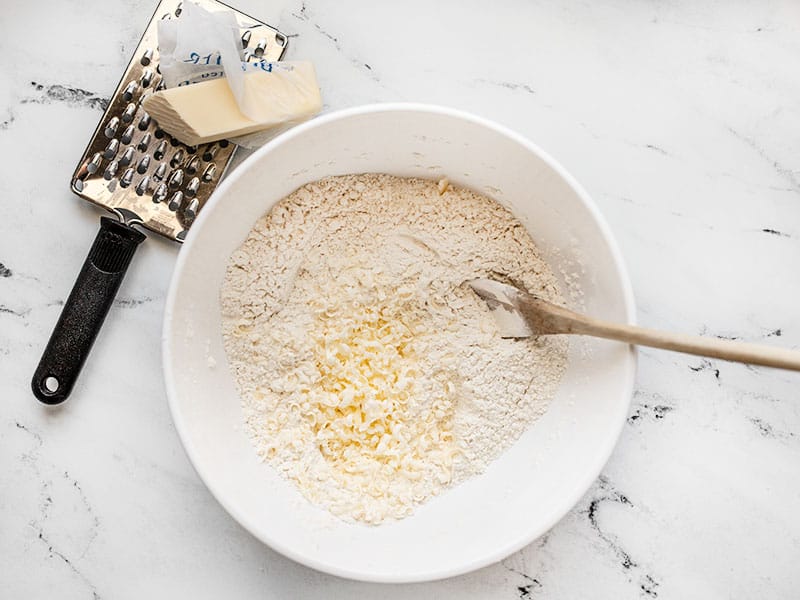
Grate one stick (8 Tbsp) of frozen butter into the flour mixture. Stir until the grated butter is well combined with the flour mixture. The small pieces of butter throughout are what will make the biscuits a little flakey.
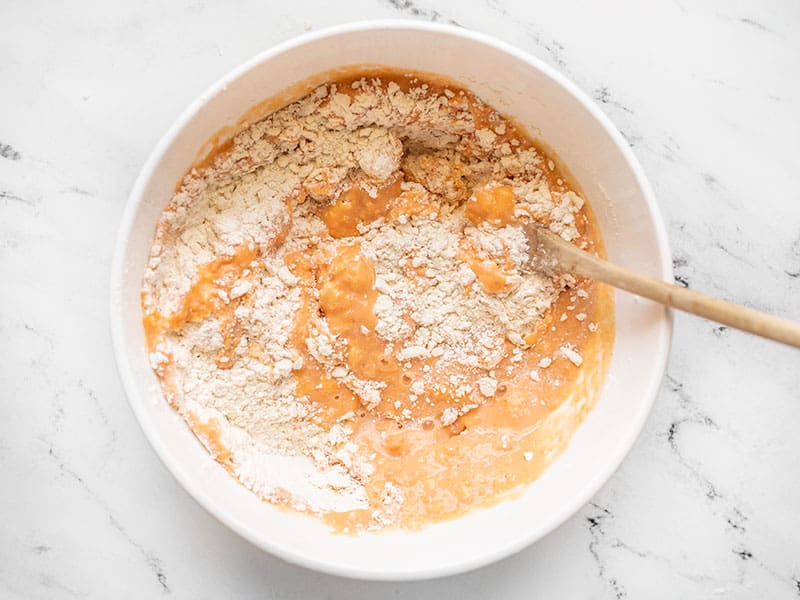
Pour the milk and sweet potato mixture into the bowl of dry ingredients and stir until a cohesive ball of dough forms. Sweet potatoes can vary in their moisture content, so you may need to adjust the flour or milk to get the right texture dough.
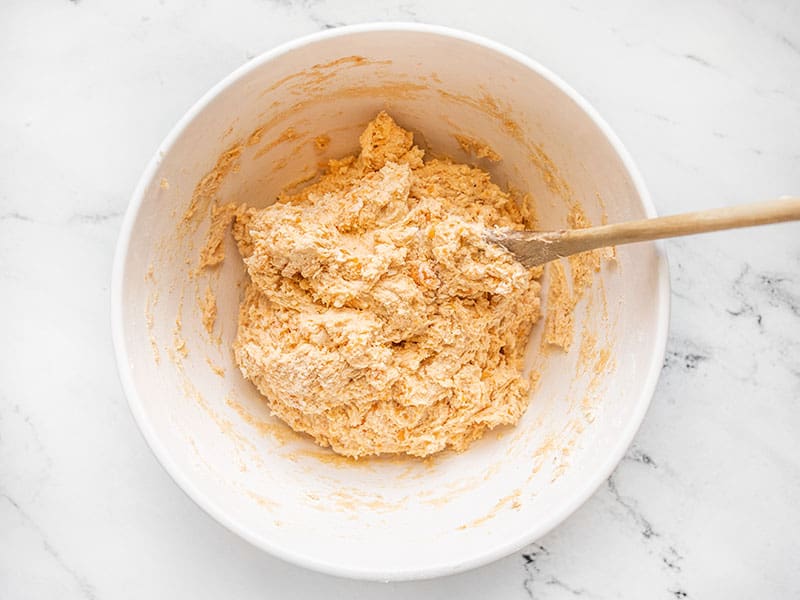
The sweet potato biscuit dough should look like this. Shaggy, sticky, but not glossy and wet. No dry flour should be left on the bottom of the bowl. If the dough is too dry (lots of little pieces, dry flour left in the bowl), add a tablespoon or two of milk. If the dough is too wet (very sticky or glossy), add some of the reserved flour.
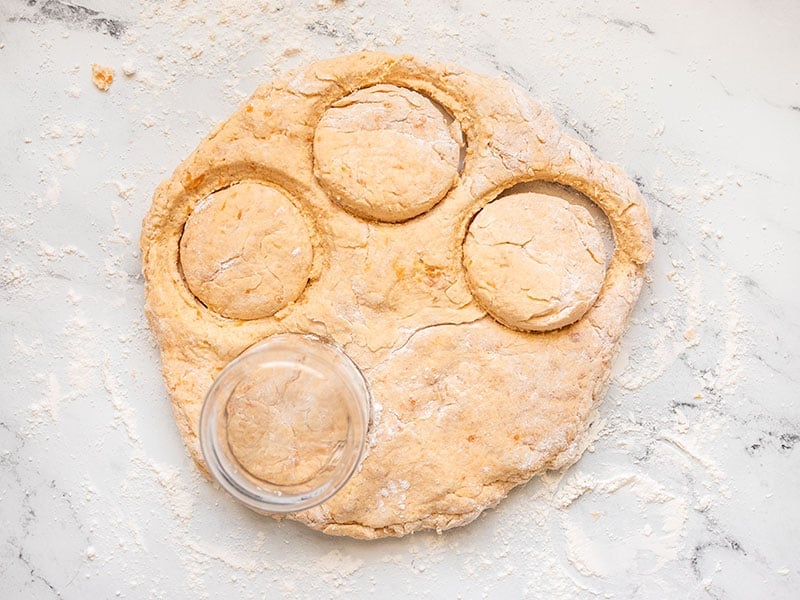
Use some of the reserved flour to liberally dust a work surface. Turn the dough out onto the floured surface and press it down into a 1-inch thick circle. Use a biscuit cutter or glass to cut biscuits out of the dough (my glass was 3 inches in diameter). Gather up the scraps, press it down again, and cut more biscuits. Repeat until no more biscuits can be cut.
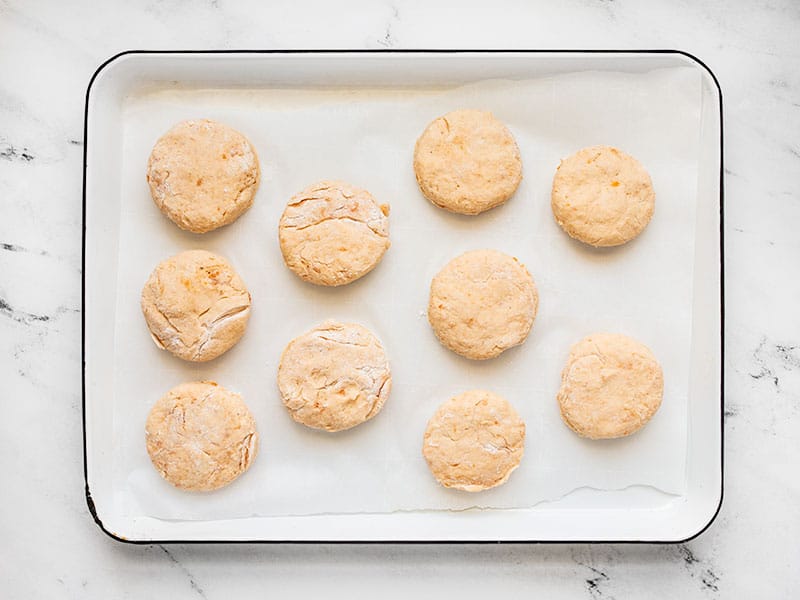
Place the biscuits on a parchment-lined baking sheet. Transfer to the oven and bake for about 20 minutes, or until they are golden brown.
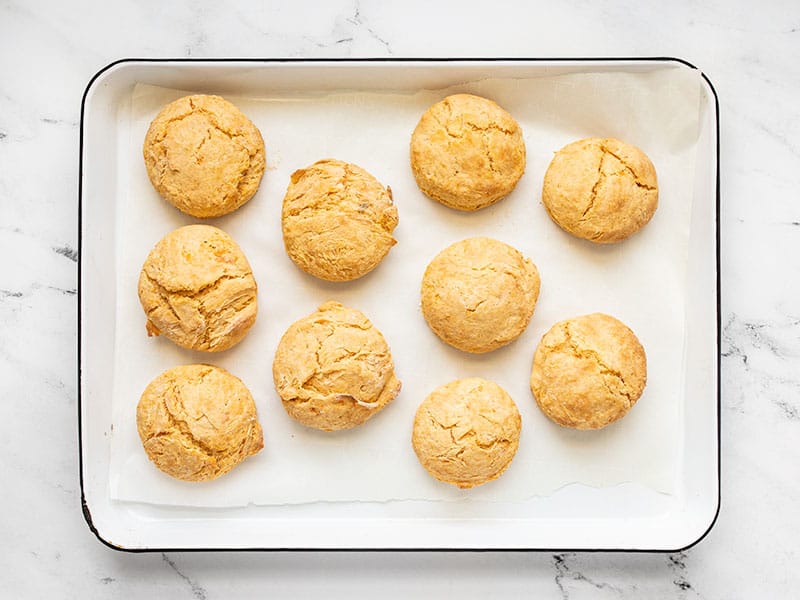
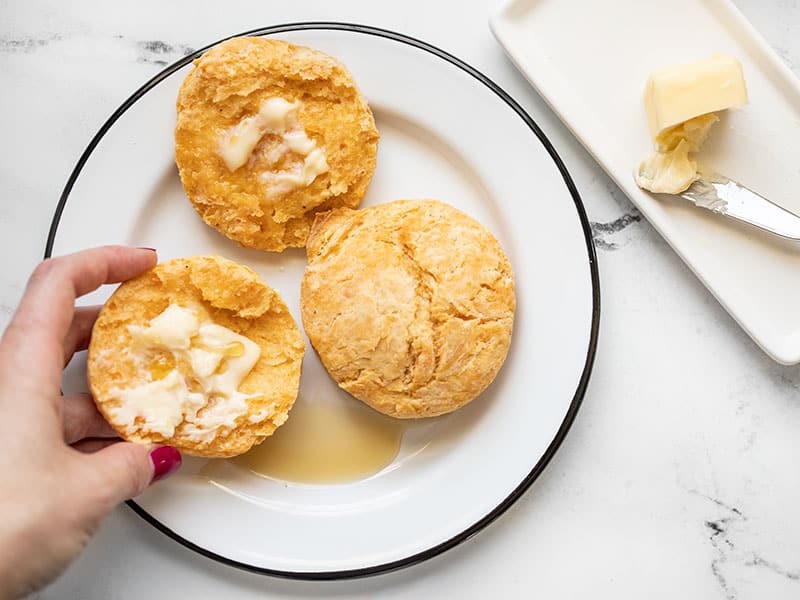
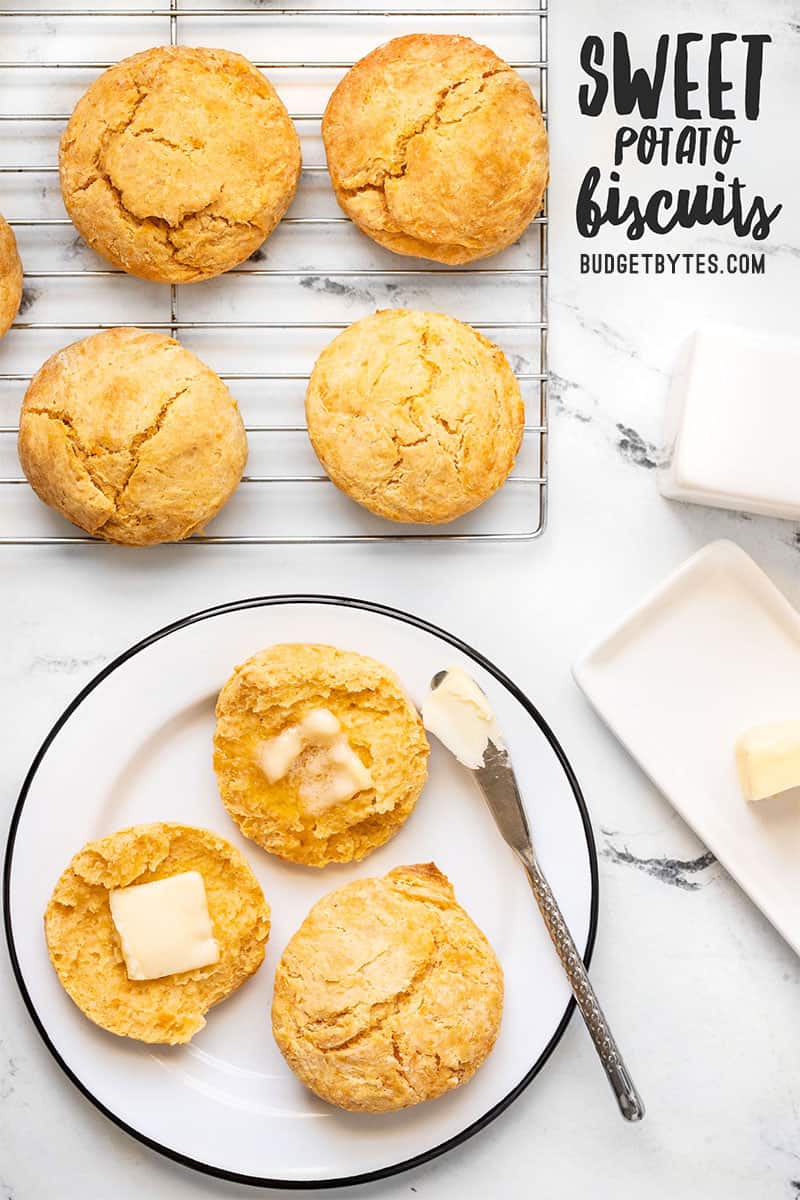
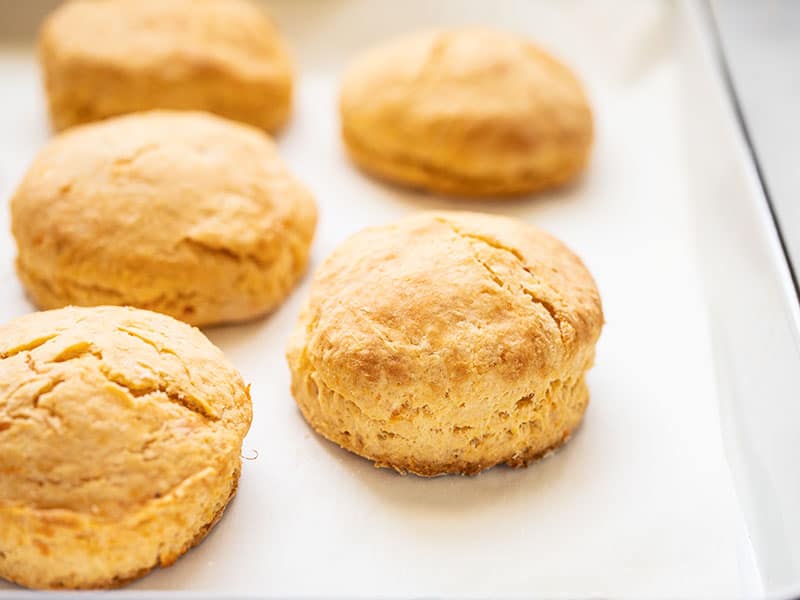
Serve the sweet potato biscuits while warm. The golden brown color can be kind of masked by their orange hue, so make sure to check closely as you get close to 20 minutes!
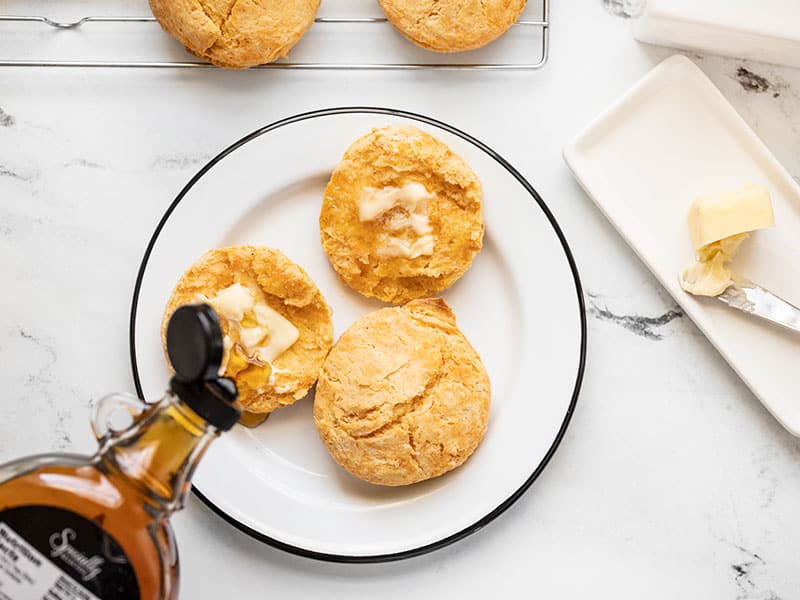
I like mine with butter (yes, more butter) and just a little maple syrup for extra autumn-y goodness.





Do you think it would work if I subbed some of the sweet potato with pumpkin for a different flavor?
Yep! Sweet potato and pumpkin purée are very similar, so I think that would also work in this recipe.
These were really yummy with maple syrup and butter. Thanks for the awesome recipes!!
Very nice biscuits, and like all biscuits, quick an easy to make. My dough was vey wet and sticky with just the two cups of flour, so I added the other 1/4 cup, and then probably at least 2 more tbsp. You just have to play it by ear. Served these with your black bean soup and it was a great pairing. Thanks for a good recipe!
Oooh that IS a great pairing. Thanks for sharing Vivian.
I have used this recipe for years.
Works great every time. Moist, tender and oh so good.
Thank you Susan!
These are great!
I’ve made them a couple of times and end up book folding them a few times to build up layers because that’s the way I tend to make biscuits. Does give a really nice layered biscuit.
Also, just tried using refrigerated butter that I cut the butter and work it in with my fingertips. Doesn’t seem to make a difference which is good because I really don’t want to have to clean the grater,
Good to know! Thank you for sharing. Happy to hear it’s a favorite.
Nice color. Didn’t rise much. Bland and tasteless
Waste of a good stick of butter
I’m sorry to hear that Michele! Are there any questions about the recipe I can maybe help you to troubleshoot?
Just tried my hand at making these and mine didn’t really flake or get that puffy looking as yours did? Could I have missed something?
It’s hard to say without having been there to watch your process, but my best guesses are that perhaps they were rolled out too thin, or the dough wasn’t quite wet enough.
I tried this recipe swapping out the flour for gluten free flour. They had a good taste, but even after 25 minutes the insides were still a little gooey. Not sure what I did wrong or if the gluten free flour made a difference. Anyone else try it and have an issue?
Is there any way to make these dairy free? I’m trying to find options for my Daughter who has milk and egg allergies.
Thanks!
Hi there! Luckily there’s no egg in this recipe! But do you have a go to for your dairy swaps? You could use a vegetable based margarine or vegan butter. Then you could swap an unsweetened almond milk or coconut milk for the milk. We haven’t made it dairy free, so it’d be worth experimenting some! Let us know :)
Just made these and holy crap they’re good! Did make 2 slight modifications and they still turned out beautifully:
1) Used half-and-half instead of whole milk
2) Instead of rolling them out, used a greased ice cream scoop then slightly flatted them out. Bake for an extra 3-5 minutes while avoiding the mess of rolling them out :)
Glad to hear it worked Haley! Thanks for sharing!
These have outstanding flavor, so unique to any biscuit I’ve tried and perfect for fall. I’m so glad I took a whack at them, although I definitely left too many chunks of sweet potato in there.
Thanks Becky!
I’m wondering about a GF substitution. Sometimes they aren’t 1:1. I don’t know if that depends on the type of GF flour (amaranth, almond, etc) I swear I saw a question where someone asked that, but I can’t seem to locate it…. Thank you.
Yes you definitely could use a gluten free all purpose flour, such as Cup4Cup or Bob’s Red Mill All Purpose Gluten Free, to swap.
I was going to ask the exact same question Laura did. I recently had to go gluten-free so I am always looking for gluten-free baking options.
I’ve been a fan of your blog for a while but sadly I don’t see a ‘gluten-free’ category in your recipes drop-down menu.
Yes you definitely could use a gluten free all purpose flour to swap. And there is a gluten free category! https://www.budgetbytes.com/category/recipes/gluten-free/
Could you substitute all purpose flour for a gluten-free option?
Yes you definitely could use a gluten free all purpose flour to swap.
Ooh, these look amazing! Do you think they could be made using the method from your 5-ingredient freezer biscuit recipe?
Do you mean freezing them before baking?
Oh not the freezing, but could you use the method with the heavy cream like in those biscuits instead of the frozen butter.
While I haven’t tried the heavy cream method with this, I suspect it would work. I want to try it soon!