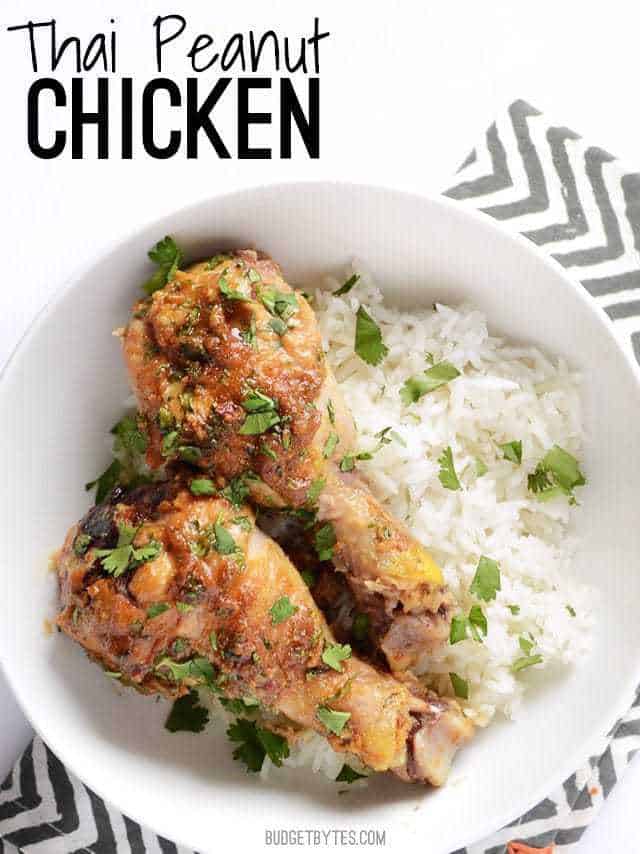
While I was scrolling through Pinterest last week I saw a photo of Chicken Satay with Peanut Sauce and my mouth started to water. I knew that’s what I had to cook next. But when I got to the grocery store I spotted a sale on chicken drumsticks for a shocking $0.59/lb. You bet I snatched those up. Instead of dipping the cooked chicken in peanut sauce, why not just cook the chicken in the sauce and make it into Thai Peanut Chicken? Taking advantage of sales is all about being flexible!
All recipes are rigorously tested in our Nashville Test Kitchen to ensure they are easy, affordable, and delicious.
This also brings up a great point that one of my savvy readers, Craig, reminded me of this week. Whenever grocery stores have excess inventory, they’ll drastically drop the price in order to sell it off before having to spoil it out at 100% loss. It’s tricky to spot these sales, but if you make sure to keep your eyes open, it’s worth the extra browsing. Often times these items are a bit closer to their expiration date, but if it’s something you can freeze or use right away, it’s totally worth it.
Anyway, back to the Thai Peanut Chicken…
I used a slightly modified version of this Thai Peanut Sauce recipe that I made years ago as the marinade. I skipped the coconut milk because it was too expensive this time (I need to stock up to Trader Joe’s!) and I wanted the mixture to be a bit thicker so it would stick to the chicken. Also, because I’m modifying my sugar intake at the moment, I used honey instead of brown sugar and subbed chili garlic sauce instead of Sriracha. Feel free to sub brown sugar and Sriracha if desired.
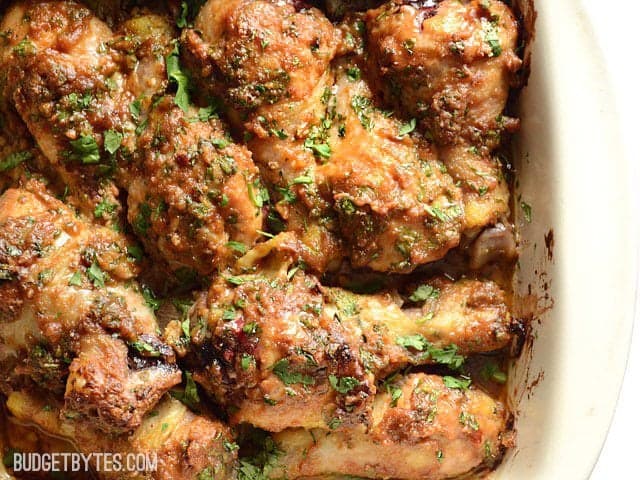
You can use this same recipe for other types of chicken pieces as well. Chicken thighs? YES, that would be so good. Chicken breasts will be a bit dryer, but will work. The total cooking time will depend on the size of your chicken pieces, how packed they are in your baking dish, and whether they are bone in or boneless. I suggest starting with 30 minutes for boneless and 45 minutes for bone in chicken. Use a quick read meat thermometer to test the internal temperature of the thickest piece of meat and add more time if needed (it should reach 160℉). That’s really the only good way to tell if it’s done. I have a basic model (like this), which is very inexpensive and can be found at most stores that carry kitchen gadgets. I consider it a kitchen “must have” item.
Oops, back to the Thai Peanut Chicken! (again)
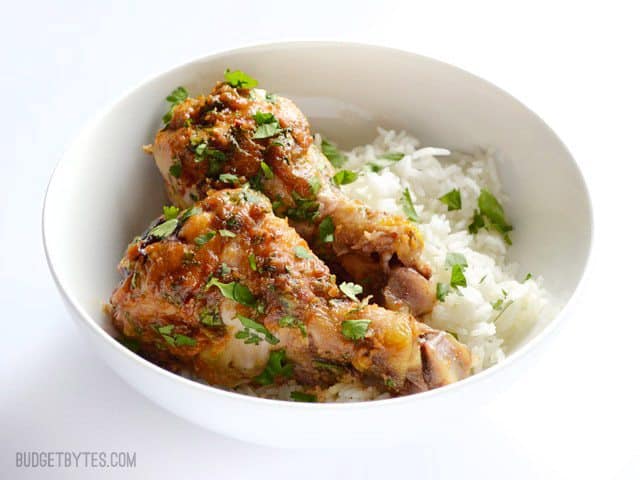
Thai Peanut Chicken
Ingredients
- 1 clove garlic ($0.08)
- 1 inch fresh ginger ($0.24)
- 1/2 fresh lime (1.5-2 Tbsp juice) ($0.25)
- 1/2 Tbsp chili garlic sauce (or Sriracha) ($0.17)
- 1 1/2 Tbsp soy sauce ($0.15)
- 1 Tbsp honey (or brown sugar) ($0.12)
- 1 tsp toasted sesame oil ($0.57)
- 2 Tbsp vegetable oil ($0.04)
- 1/2 cup natural peanut butter ($1.11)
- 3 Tbsp hot water ($0.00)
- 1/2 bunch fresh cilantro ($0.50)
- 3 lbs chicken pieces ($1.86*)
Instructions
- Mince the garlic. Peel the ginger with a vegetable peeler or by scraping the skin with the sharp side of a spoon. Use a small holed cheese grater to grate the ginger. Add the garlic, ginger, the juice from half the lime (1.5-2 Tbsp), chili garlic sauce, soy sauce, honey, sesame oil, and vegetable oil to a medium bowl. Whisk together. Add the peanut butter and hot water, then whisk again until fairly smooth. Roughly chop the cilantro. Save a handful of the cilantro to top the dish after baking, and stir the rest into the peanut sauce.
- Set aside 1/2 cup of the peanut sauce for later. Add the remaining peanut sauce to a gallon sized zip top bag along with the chicken pieces. Remove as much air from the bag as possible, close it up tightly, and massage the bag to mix the marinade with the chicken. Marinate the chicken in the refrigerator for at least 30 minutes, or up to overnight.
- When you’re ready to cook the chicken, preheat the oven to 375 degrees. Place the chicken pieces and all the marinade from the bag in a casserole dish so that the pieces are in a single layer. Bake the chicken in the preheated oven for 30 minutes, then use a brush to add the reserved peanut sauce to the top of the chicken. Cook for an additional 15 minutes, then use a meat thermometer to test the internal temperature. If it’s not up to 160 degrees Fahrenheit, bake 10-15 minutes more and then test again. Repeat until the internal temperature reaches 160 degrees Fahrenheit.
- Top the baked chicken with the reserved cilantro and serve.
See how we calculate recipe costs here.
Notes
Nutrition
Want to cook these on the grill? Sure, why not! Take advantage of that beautiful summer weather. :)
How to Make Peanut Chicken – Step by Step Photos
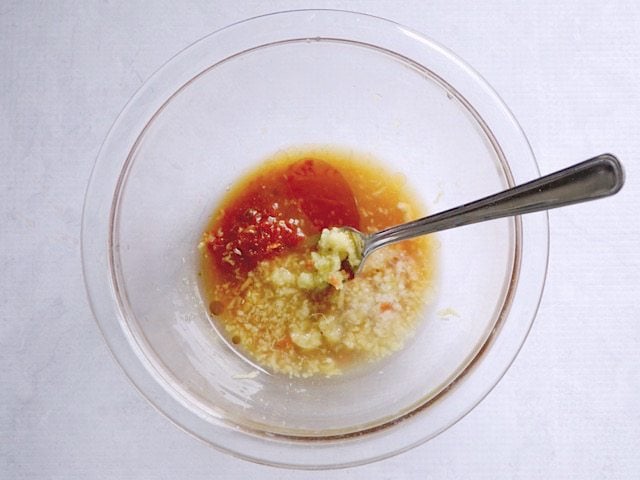
Start making the peanut sauce by mincing one clove of garlic and grating about one inch of fresh ginger. You can peel the ginger with a vegetable peeler or the side of a spoon before grating it on a small holed cheese grater. Add the garlic and ginger to a bowl with the juice of half a lime (1.5-2 Tbsp), 1/2 Tbsp of chili garlic sauce or Sriracha, 1 1/2 Tbsp soy sauce, 1 Tbsp honey (or brown sugar), 1 tsp toasted sesame oil, and 2 Tbsp regular vegetable oil.
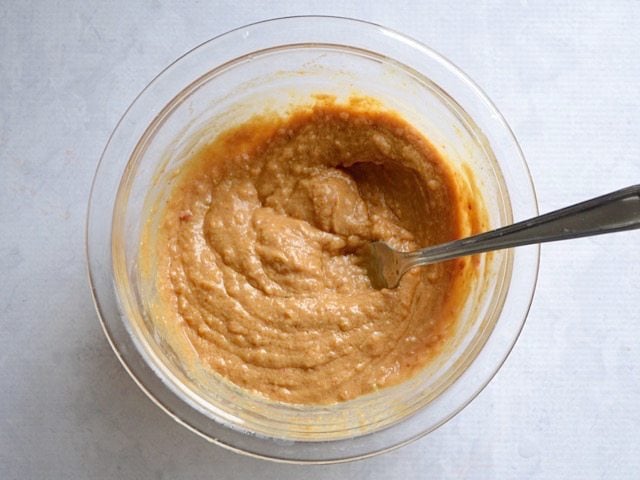
Then add 1/2 cup natural peanut butter and a few tablespoons of hot water to help thin it out a bit and loosen up the peanut butter. Stir until it’s fairly smooth (it will have some chunks from the garlic and ginger).
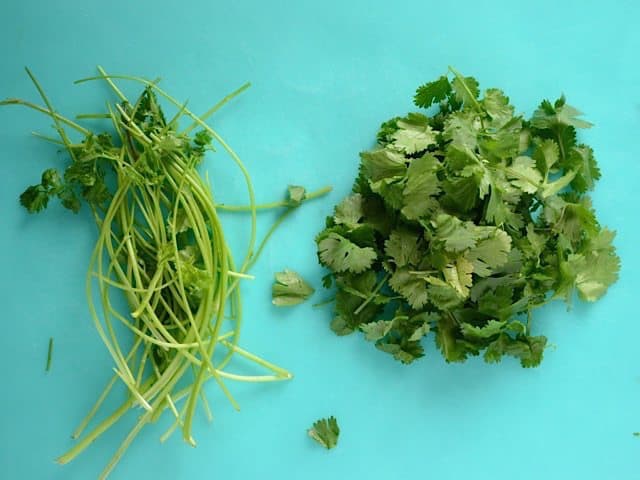
Remove the leaves from about a 1/2 bunch of cilantro, then roughly chop the leaves.
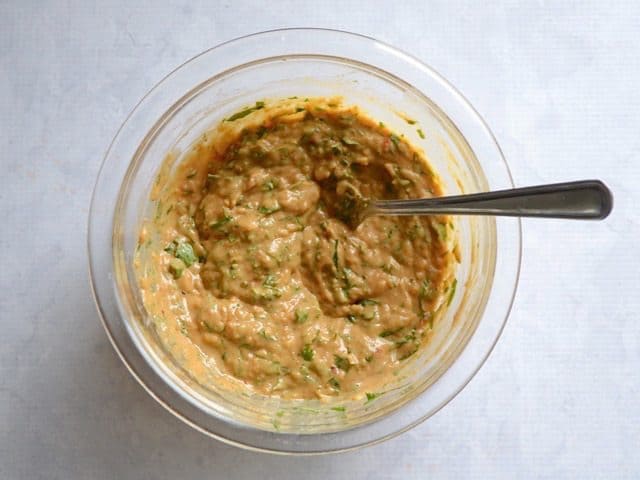
Stir most of the chopped cilantro into the peanut sauce, but save some to sprinkle over top of the finished dish.
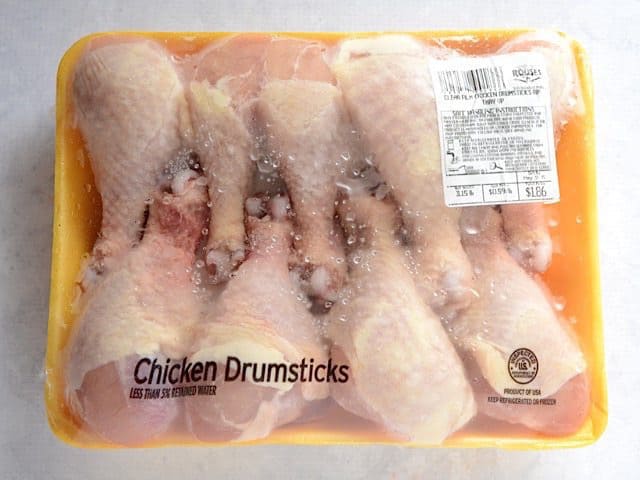
I was lucky enough to find this pack of drumsticks for $0.59/lb., but you could use other types of chicken, if desired. Just keep in mind that cooking time will vary with the size of your chicken pieces and whether or not they are bone in or boneless. I used about 3 lbs. of chicken.
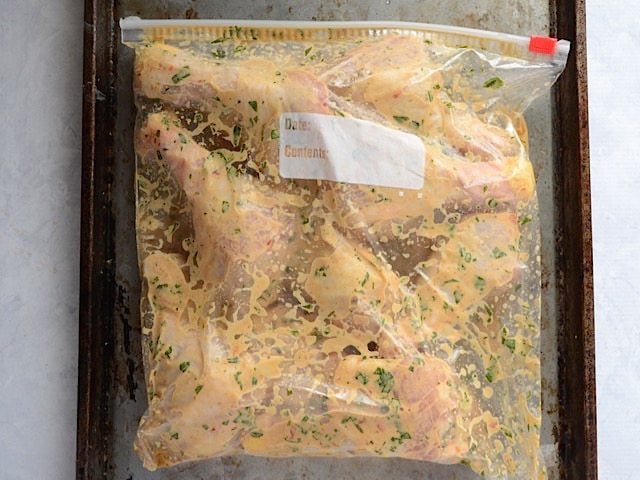
Save about 1/2 cup of the peanut sauce to brush onto the chicken later and add the rest to a large zip top bag. Add the chicken pieces, remove as much air as possible, then massage the bag to coat mix the chicken with the sauce. Marinate the chicken in the refrigerator for at least 30 minutes, or up to over night. I like to put a baking sheet under the bag in the refrigerator just to be extra careful. You don’t want any of that raw chicken juice dripping in your fridge.
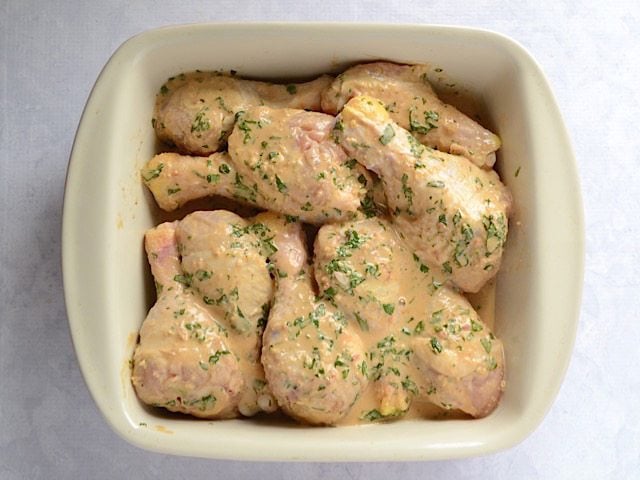
When you’re ready to cook the chicken, preheat the oven to 375 degrees. Place the chicken and all the sauce from the bag into a casserole dish big enough for the chicken to lay in a single layer. Bake for 30 minutes…
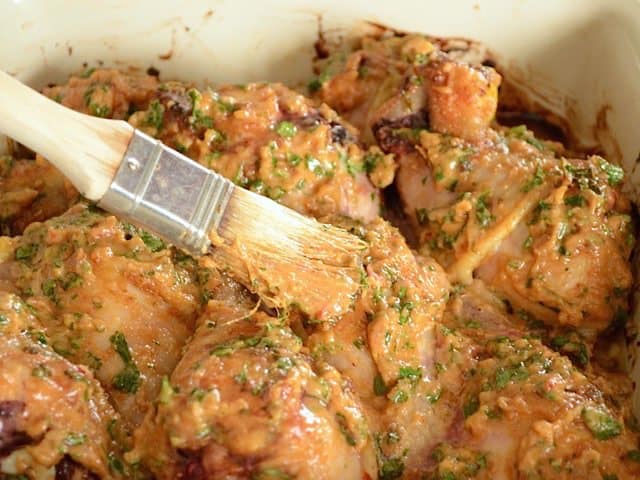
At 30 minutes, brush the remaining peanut sauce over the top of the chicken. Bake for an additional 15 minutes, then use a meat thermometer to test the internal temperature of one of the largest pieces. The internal temp should be 160 degrees Fahrenheit. If it’s not, bake for another 10-15 minutes then test again. Mine were pretty packed in there and might have been close to frozen in the center, so they needed another 10 minutes.
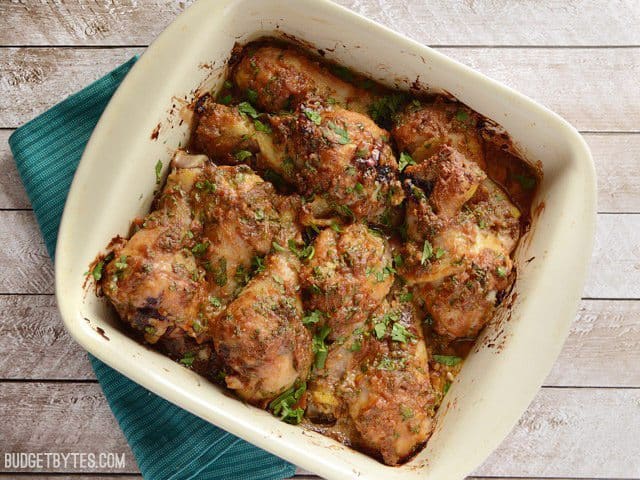
When they’re cooked through, top with the remaining chopped cilantro and serve.
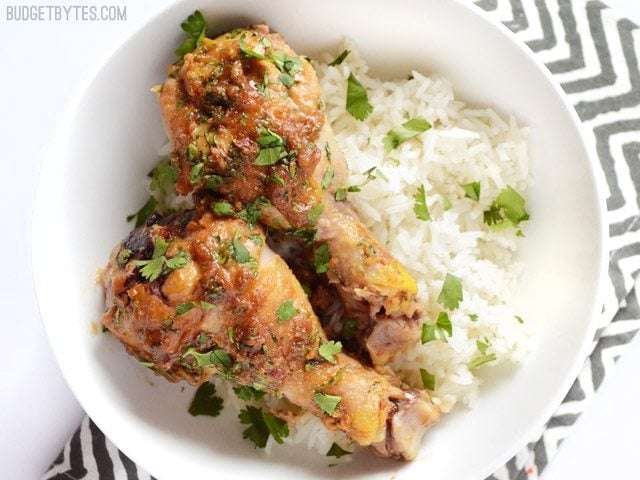
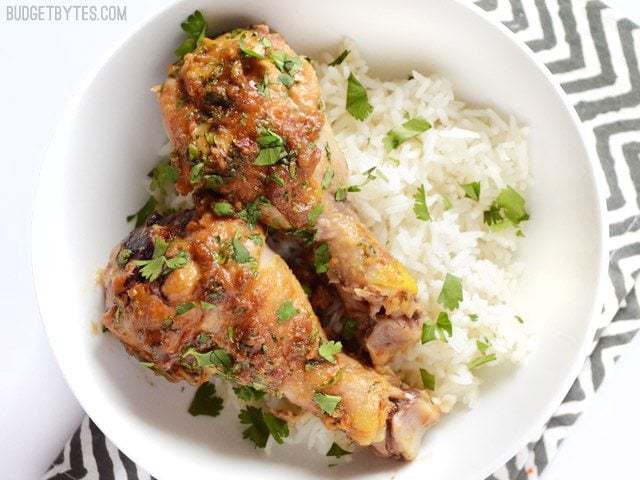
I served my Thai Peanut Chicken over jasmine rice, but if you want to get fancy, you could serve it with some Savory Coconut Rice.
Right after I took that photo I was all like…
via GIPHY
Mmmmm Thai Peanut Chicken!
This post may contain affiliate links which won’t change your price but will share some commission.


This is so good! I skip the brown sugar/honey, and add extra ginger and sriracha. We’re putting this on the grill for dinner tonight.
A side note: Honey does not save you any sugar. It is simply sugar processed by the bee. As a Type 1 (auto-immune) diabetic, I use honey as a quick rescue when my blood sugar drops dangerously low.
This is the best ever…I didn’t have time to marinate it but used it as a coating and baked it, so good!!!
The flavors were good but it wasn’t very saucy, what could I add going forward to make them saucier?
Yes, this one was not meant to be saucy. I’d need to try out some different things to figure out how to create a saucy version. Some coconut milk might work.
Yum yum yum! I ended up preparing these on the grill and they were delicious. Note for others interested in preparing on the grill: make sure to shake off as much marinade as possible or it will char.
Thank you for a delicious and flavourful chicken recipe. Used drumsticks that are marinated for several hours. And while baking…the whole house smelled wonderful.
I made this tonight with two big changes (based on whatbI had on hand and my growing aversion to using my oven lol).
I used breasts, sliced up thin. Then I noticed my costco-sized pb was close to empty, so I actually just mixed up the sauce in the jar and then threw my chicken in and shook it all up and stuck it in the fridge.
I cooked on the stove top in a pan and it turned out great. The only flaw was that the sauce separated a bit, but that was totally on me. I managed to scoop enough out, whisked it up, and then poured it back on the chicken to cook. Still really delicious and would totally make again, either with the original oven method, or with a few little adjustments to the stovetop method.
Simply. The. Best. Make sure you spoon up that pan sauce when it’s done and use it with your rice/chicken/side. Even my sister, a doctor with (overly)high standards loves this one! Pull it out when company’s coming :)
This was SO good! The chicken was moist and flavorful. Great Thai flavors! Thanks for another fantastic recipe, Beth!
Another great weeknight recipe that can be marinated beforehand. The flavour of the chicken is so good! I also did as suggested – I made the savory coconut rice to go with it and the combination was heavenly! I scraped off the extra sauce bits from the pan and ate it with rice.
We loved this recipe, although we made some slight alterations, we doubled the amount of sauce ingredients minus the peanut butter and added a teaspoon of fish sauce, a tablespoon of oyster sauce, two finely chopped thai chilies and substituted honey for palm sugar.
Additionally, the drumsticks you can buy in Germany are much smaller than those in the US, so our chicken only required 40 minutes of baking so we added the rest of the sauce after 25 minutes.
It was great served over coconut rice. Thanks for the recipe!
First of all this site is a lifesaver! Thank you Beth! It brought back my love for cooking. This recipe is soooo yummy, and I just made it tonight of my hubby and I. Theres only very minimal changes I made to the recipe, like one person said that the flavor is not absorbed, I adjusted to that by slicing the chicken legs a few cuts before marination. It will also ensure that the chicken is cooked in the oven. I decided to mince the ginger along with the garlic since we both enjoy the taste of ginger. I only marinaded for 60 min and putting on the other half of the peanut sauce after 30 min of baking is genius! it adds so much flavor to the dish. As for peanut butter i just used the regular creamy peanut butter.
The sauce was really good, but I didn’t care for the final product. My husband and two kids agreed this would have been better with small pieces of chicken cut up (thighs or breasts) as opposed to drumsticks and the served over rice. The flavor did not soak into the chicken even though I marinated in the fridge for 6+ hours. The drumsticks were really sticky and messy to eat, and not like hot-wings messy. I’m not sure why my drumsticks were so wet at the end. Everything was cooked through, but they definitely didn’t turn out like the picture above.
Please inform me where I can purchase a 3-pound chicken for a dollar 86
There is a note in the recipe that the drumsticks were purchased on sale for $0.59/lb. This was at my local grocery store and it’s not a price that is always available.
I’m very excited about this flavor and just tried to cook the recipe. Unfortunately I think I should have added more water to the peanut sauce. Mine was too thick to really cook well and crisp up on the chicken. Word to the wise, a “few” probably means more than two tablespoons of hot water.
The sauce doesn’t crisp up on this one. It stays soft. :)
My sauce seems a lot thinker than yours and it burned up in the oven. :( 20 mins into cooking I opened the oven and the tops of all the chickens were burnt… any advice?
Hmm, maybe your oven is running hot? Or is the oven rack up on a higher level than the center of the oven? Covering the dish with foil is a good way to prevent browning, but it will also hold in moisture. I’m not sure if you meant your sauce was thicker or thinner than mine (there was a typo), but you can adjust the thickness by how much hot water you stir into the mix.
Hi can I use bone in and skin on chicken thighs for this recipe
Yes you can. Baking time may differ slightly depending on their size, though. Drumsticks tend to be a bit smaller, so the thighs might take more time.