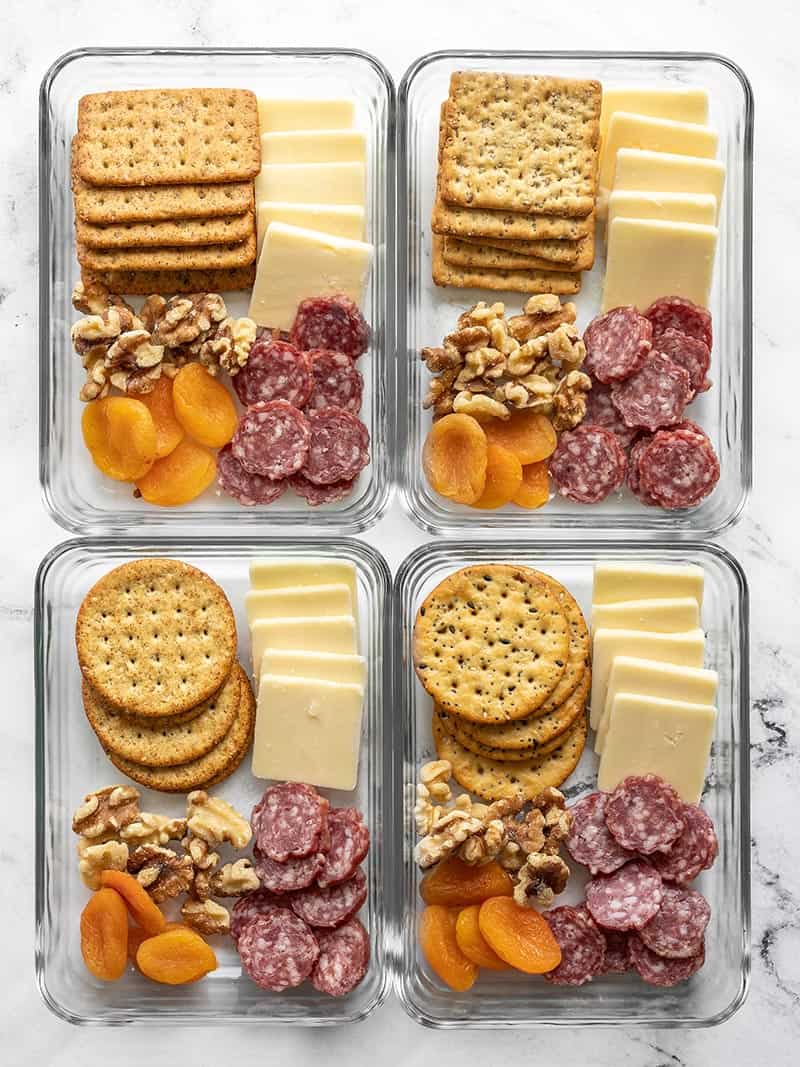
Continuing on with my no-cook lunch box series, today I bring you The Cheese Board Lunch Box! This one goes out to everyone who is perfectly happy nibbling on a charcuterie board for dinner, instead of as an appetizer to dinner. ;) Just be careful, this lunch box is going to tempt you to drink a glass of wine with lunch!
All recipes are rigorously tested in our Nashville Test Kitchen to ensure they are easy, affordable, and delicious.
Where Are the Vegetables??
I know, I know. I’m usually a vegetable-with-every meal type of person, but I think it’s entirely possible to have a cheese board lunch box and still keep balance in your day. Try eating a veggie heavy breakfast bowl, like my Vegetable Breakfast Scrambles, and make sure you include a veggie heavy dinner, like a stir fry, soup, or meal-worthy salad. Or hey, you can always just pack a side salad to go with this box for lunch. :)
What Else Can I Add to My Cheese Board Lunch Box?
As with all of these no-cook lunch box ideas, this Cheese Board Lunch Box is very flexible! Here are some other items you can include with or in place of any of the ingredients I put into my box:
- Pickles
- Grapes
- Apple slices
- A small container of your favorite jam
- A small container of jam
- A small container of pesto
- Olives
- Almonds
- Dried cherries or cranberries
- Sliced bell peppers
Other Meat Options
I used salami in my cheese board lunch box, but there are so many options with this one. You can use other cured meats, like prosciutto, capicola, soppressata. If all of that is too fancy or too hard to find, regular deli meat is just as great in this box! Roll up the slices into little “cigars” to make the presentation extra pretty and you’ll still feel like you’re eating an extra special lunch.
Wrap the Crackers for Freshness
To keep your crackers nice and crunchy, you’ll probably want to wrap the crackers in an extra fold-top sandwich bag or waxed paper to keep the moisture from the other ingredients out. I didn’t do this (because I’m lazy) and my crackers got a little soft, but I still enjoyed the box quite a bit over the next four days.
What Containers Do You Use?
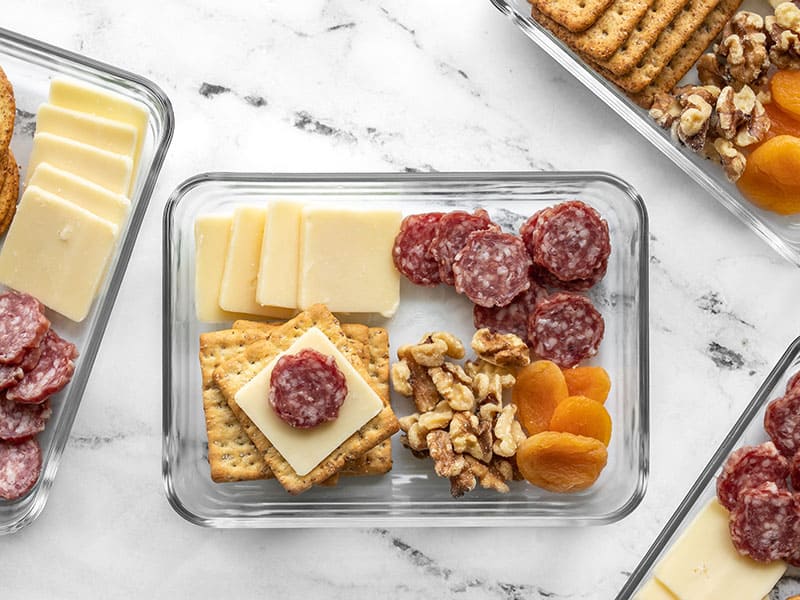
These containers are made by Pyrex and are my favorite meal prep containers. While they’re not divided, the single compartment makes them very versatile. Also, the lid is simple, snaps on, and has no moving parts to break. There is a link to these containers in the bottom of the recipe card below.
The Cheese Board Lunch Box
Ingredients
- 8 oz. cheese ($2.12)
- 4 oz. salami ($1.99)
- 20 crackers ($0.74)
- 16 dried apricots ($1.40)
- 1 cup walnuts ($1.20)
Instructions
- Slice the cheese. Wrap sets of 5 crackers in fold-top sandwich bags or waxed paper.
- Divide the cheese salami, wrapped crackers, dried apricots, and walnuts between four containers. Refrigerate until ready to eat, or up to five days.
See how we calculate recipe costs here.
Equipment
- Pyrex Glass Meal Prep
Nutrition
Check Out These Other No-Cook Lunch Ideas:
How to Make The Cheese Board Lunch Box
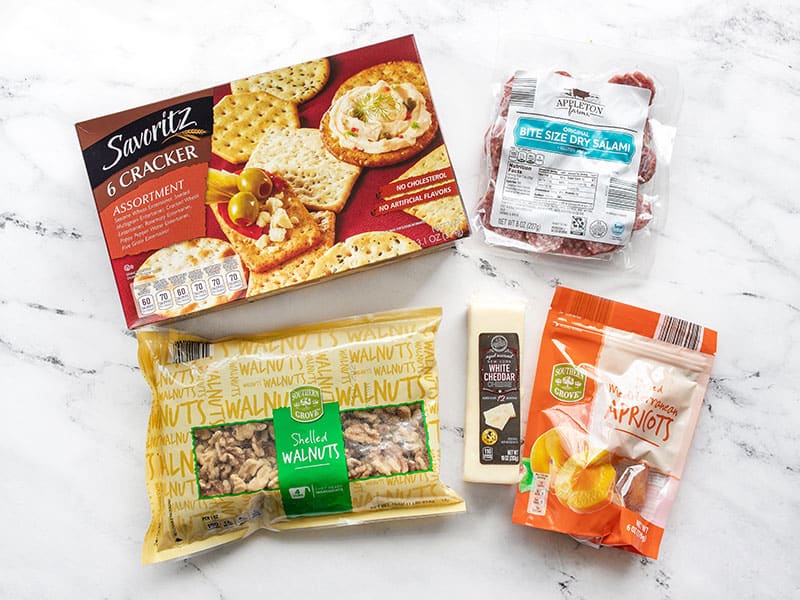
These are all the ingredients I used for the cheese board lunch box (this is all from ALDI). You can use whatever type of cheese or crackers that you like. I chose sharp cheddar and got a box of assorted crackers. Check the list earlier in the post if you want ideas for other items to include.
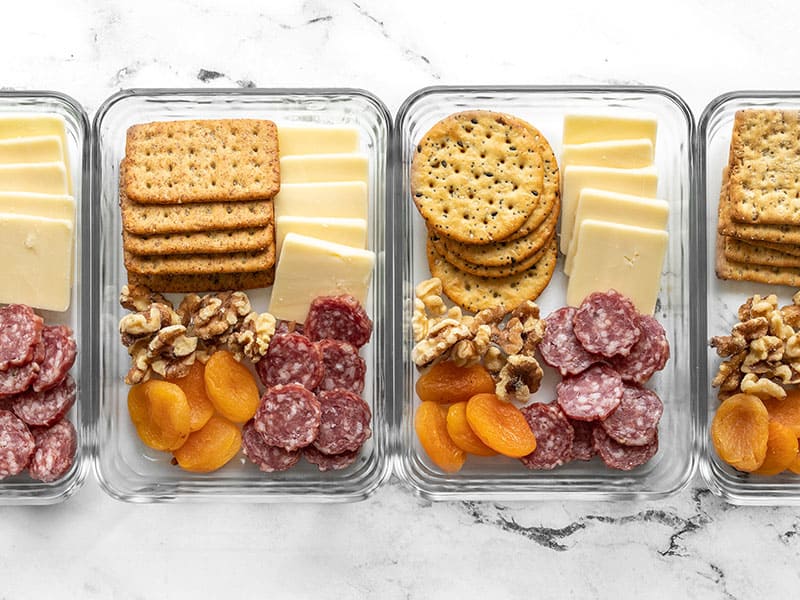
Slice the cheese and wrap groups of five crackers in a sandwich baggie or waxed paper (I skipped wrapping my crackers). Divide all the ingredients between four containers.
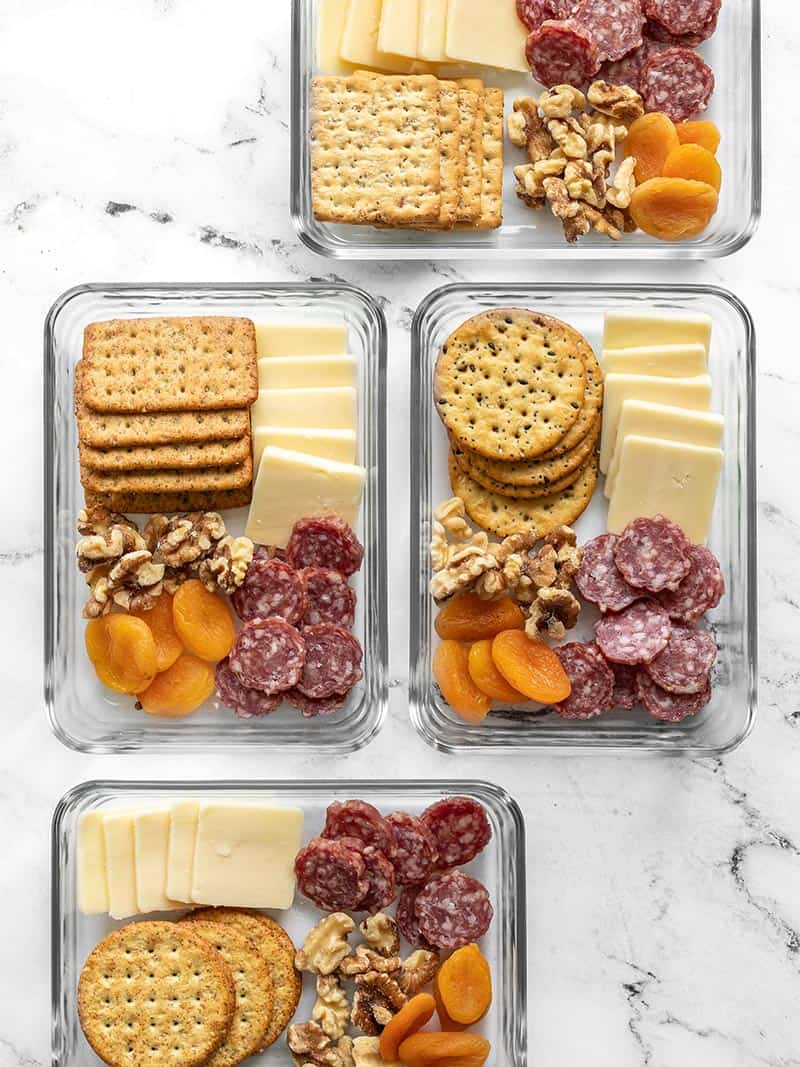
Refrigerate your cheese board lunch boxes until you’re ready to eat, or up to five days! Enjoy!


This is my fave airplane meal and breezes through security. I tend to use prosciutto as it’s less fragrant than pepperoni or salami, and a luxury treat–plain deli ham or salami are fine if toting for work. Dried apricots or dates are my faves, but dried cranberries are good, too. A dryish cheese such as the suggested sharp cheddar travels best, but if it’s just for work or home, I vote for bleu cheese. If there’s still space, I add cherry tomatoes, blueberries, or grapes to fill up the container. It’s easy enough to construct something similar for the trip home. While I love spreadable things, I keep the airplane version free of anything I might spill or dribble.
I couldn’t find the link for the bowls.
Hi! Which bowls are you looking for? Since we only use the pyrex meal prep containers linked in the Equipment section of the recipe card, I am unsure. We do have some mixing bowls linked on our shop page! https://www.budgetbytes.com/shop/
~Marion :)
This is how I’ve been feeding my kids lunch since they were little, though I usually add a raw veg like cucumbers or cherry tomatoes. (Better than a Lunchable!) They’re teens now, and we still do meat and cheese plates for lunch sometimes.
I love all of your ideas. Keeps things so cheap and simple.
I’ve learned from a lot of toddler meal prep that reusable silicone muffin cup liners also work really well for separating foods you don’t want to touch!
so easy
I can’t believe I never thought of this sooner. I made five boxes and I think this will take the pressure off of trying to cook enough for dinner to have lunch the next day. Instead, we can have the dinner leftovers for dinner the next day and free up a little more time some evenings. Also, I love all the foods. I’m sure you could mix it up by throwing in some olives, pepper slices, etc. I’ve been in such a slump and really needed this inspiration. Thank you :)
I love this lunch! I’ve been really using your no-cook lunch ideas and meal preps because my life has gotten crazy. I’m working three jobs, and I don’t have much time, money, or energy to prepare good meals. Super easy stuff like this makes me feel great knowing I have something tasty and at least medium-healthy just waiting for me. I used fresh grapes and cashews in mine.
I love this kind of meal for lunch and dinner.
Apparently food supply chain issues have had an impact on preserved meats. Pizza places are struggling to get enough pepperoni!
In addition to jams, consider chutneys like Branston pickle.
I made these for a light dinner over the past few days (primarily because I COULD have a glass of wine with it then) and I’m so happy I did; I found the same cheddar at my Aldi and it’s ridiculously delicious.
I love this, they sell these at Whole Foods for like $8 a pop. This is a much better idea.
This kind of thing is perfect for my job. I work traffic control on the road, and we don’t always get to “break” for lunch. So we need easy things to munch on during the day.
Cute, love this idea! So clever.
My kids would probably beg for this lunch, especially my youngest. Gravesend cucumbers would be a nice addition. I don’t like buying these because they’re filled with junk you don’t need, but I could stand by this homemade version. Keep these lunch ideas coming, please!
This is not a recipe. Are you running out of material?
it’s not a recipe, but it’s a neat idea. Sometime it’s all you need to come up with something amazing on your own.
I often make something like this for lunch and I can’t tell you how many coworkers have told me it’s “genius” or “wow, I never thought to do a cheese board for lunch!”. It may seem obvious to you, but a lot of people, especially people new to cooking for themselves (one of the target audiences for Budget Bytes) need ideas like this to get them started.