I’m an equal opportunity pizza lover. I love fancy hand tossed pizza as much as I love a $3 frozen pizza. I love thick pizza crust, thin and crispy pizza crust, and everything in between. And I love trying to make them all at home. This super fast, 30-minute thin and crispy pizza crust has quickly become one of my favorites because it’s just so fast and easy. No rise time means I get my pizza fix FAST.

This post contains some affiliate links, which means that we make a small commission off items you purchase at no additional cost to you.
My love for thin crust has grown over the past few years and I’ve been on the hunt for a good thin and crispy pizza crust recipe. I’ve tried a few with less than stellar results, but when thekitchn.com claimed that their recipe was the result of “years of very meticulous testing,” I couldn’t help but trust their word. I tried their recipe with two small variations, the use of more yeast (one standard 0.25 oz. packet) and a little sugar to help super charge the yeast. I was very happy with the results!
This crust is crispy, but not dense (thank you, yeast), and has just enough “give” to keep you from thinking you’re eating off of a saltine cracker.
Can I Make the Pizza Dough Ahead of Time?
Yes, you can make this dough ahead of time and keep it in the refrigerator up to two days, or freeze it for about three months. To thaw the frozen dough, place it in the refrigerator the day before, or place it on the counter top for about an hour to thaw at room temperature.
What Kind of Pizza Pan is Best?
The more heat that hits this thin and crispy pizza crust, the crispier it will be, so try to use a pizza pan that is perforated, or a preheated pizza stone.
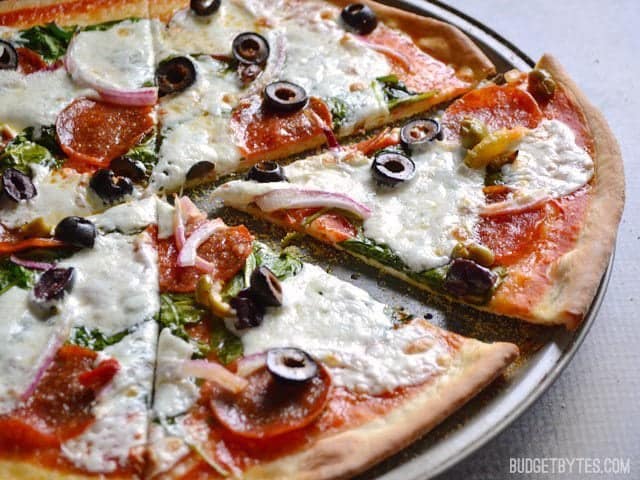
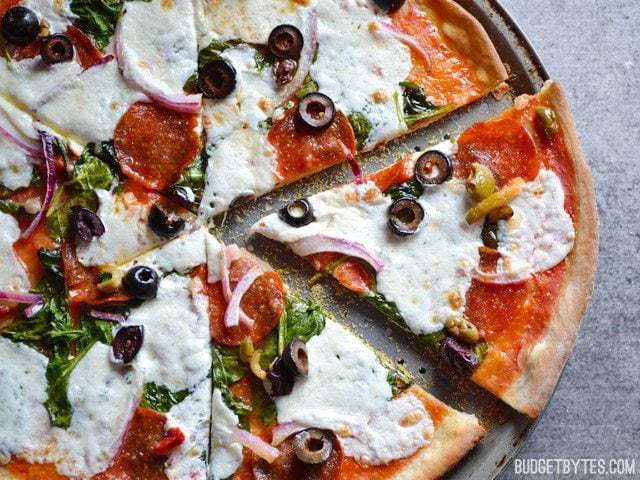
My pizza is topped with fresh mozzarella, a few vegetables from the salad bar, and leftover pepperoni from my Three Pepper Pasta with Crispy Pepperoni. It’s important not to choose toppings that are very wet when working with a thin crust.
Thin and Crispy Pizza Crust
Ingredients
- 3/4 cup warm water ($0.00)
- 1/2 tsp sugar ($0.01)
- 2 tsp active dry or instant yeast (or one 0.25oz. packet) ($0.19)
- 2 cups all-purpose flour (plus more for dusting) ($0.34)
- 1 tsp salt ($0.05)
Instructions
- Adjust the oven rack to its highest position. Preheat the oven to 500 degrees, or its highest setting.
- Dissolve the sugar and yeast into the warm water and let it sit until foamy (about 5 minutes).
- While the yeast is soaking, combine 1 cup of the flour and the salt in a separate large bowl. Stir until the salt is evenly mixed into the flour.
- Pour the yeast water into the bowl of flour, then stir with a wooden spoon until fairly smooth. Stir in an additional 1/2 cup flour. Turn the dough out onto a floured surface and knead for 5 minutes, slowly adding up to 1/2 cup more flour as you go. Be sure to add the flour slowly as you knead to prevent it from becoming too dry and stiff.
- Let the dough rest for 5 minutes. Divide it into two equal portions and form each piece into a ball. If you do not wish to make two pizzas immediately, the second ball of dough can be wrapped in plastic and stored in the refrigerator for up to two days, or frozen for up to 3 months.
- Press the dough down into a flattened circular disk, then use a rolling pin to roll it out into a thin circle, about 12 inches in diameter and 1/8 inch thick.
- Prepare a pizza pan with either non-stick spray or a combination of spray and cornmeal, then carefully place the dough onto the pan. Spread a thin layer of your favorite sauce over the surface, then bake in the preheated oven for 5 minutes, or just until the edges develop a hint of color.
- Remove the crust from the oven, add the rest of your toppings, then bake for an additional 7-10 minutes, or until the cheese is bubbly and the crust is a medium golden brown.
See how we calculate recipe costs here.
Equipment
- Liquid Measuring Cup
- Mixing Bowls
- Rolling Pin
- Bench Scraper
Nutrition
How to Make Thin and Crispy Pizza Crust – Step by Step Photos
Begin by preheating your oven to 500 degrees, or as close to 500 as you can get it. It may take a while to get up that high, so start preheating as soon as possible. Also, move your oven rack to the highest position because that’s where the air will be hottest. Hotter is better when it comes to pizza.
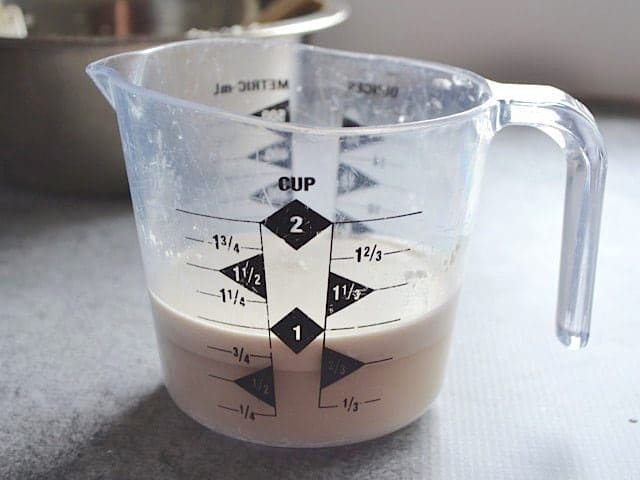
Next, dissolve 1/2 tsp sugar and 2 tsp (or one 0.25oz. packet) of yeast into 3/4 cup warm water. Let that sit until it forms a thick layer of foam like the photo above (that should take about 5 minutes).
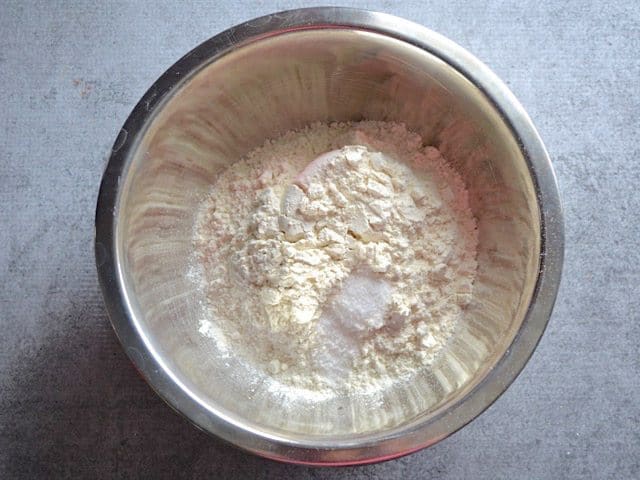
While you’re waiting on the yeast, combine 1 cup all-purpose flour and 1 tsp salt in a large bowl. Make sure to stir them until the salt is evenly distributed throughout (or as best you can tell).
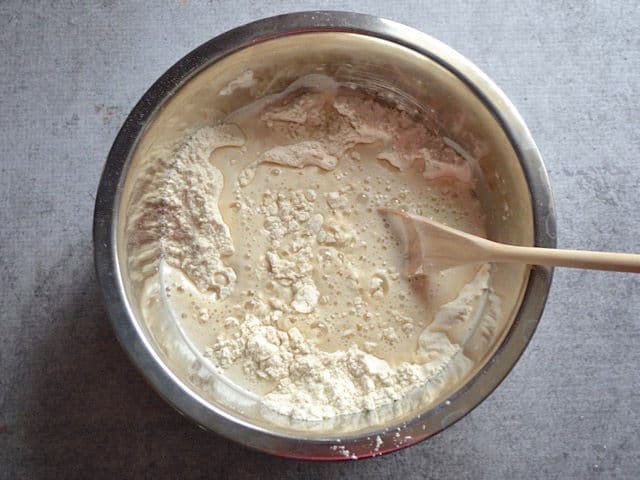
Pour the foamy yeast water into the bowl of flour and stir until fairly smooth.
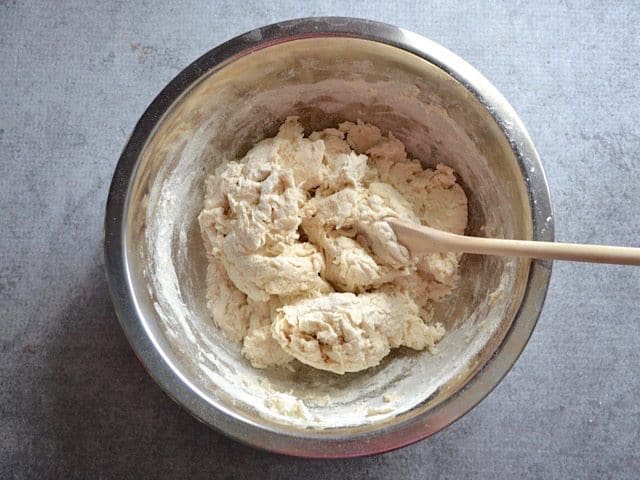
Stir in an additional 1/2 cup flour, then turn the shaggy dough out onto a floured surface and knead for about 5 minutes. Slowly add up to 1/2 cup more flour as you knead. Add the flour slowly so that the dough does not become dry and stiff. It should remain soft and supple.
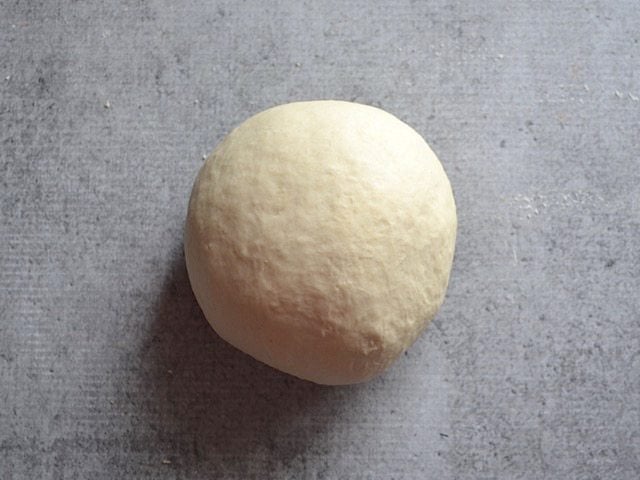
Let the dough rest for at least five minutes. This helps the gluten relax a bit, which will make it easier to roll out.
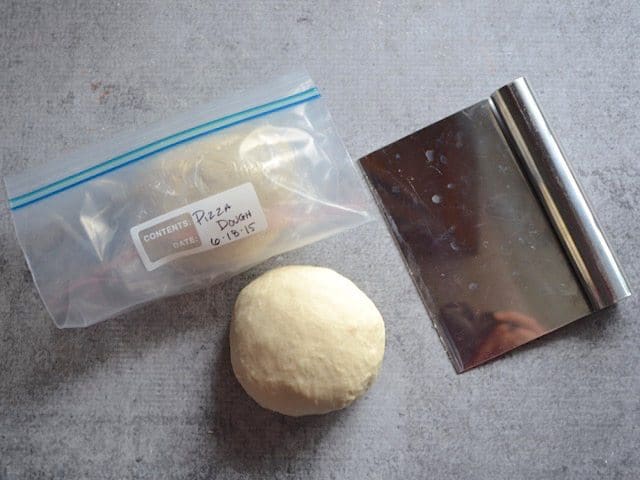
Divide the dough into two pieces and form each into a smooth ball. If you’re not going to make two pizzas at this time, wrap one in plastic and store it in the fridge for a couple of days or in the freezer for up to a few months.
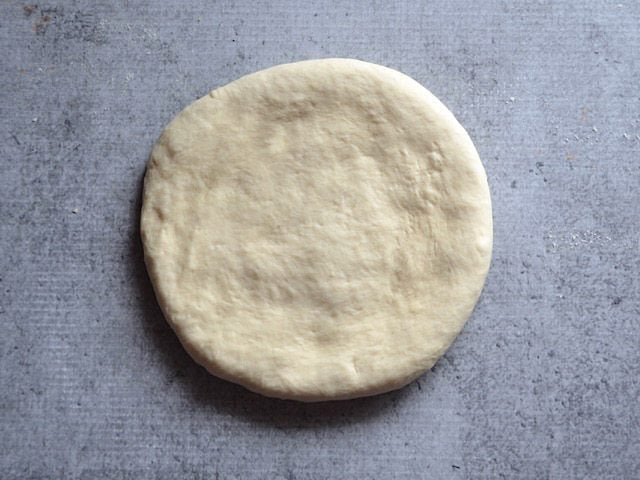
Flatten the ball of dough into a circular disc with your hands. People always ask me how I get my pizzas so round and the answer is (in addition to having YEARS of pizza making experience) this first “pat down” step. This is where the shape begins. If it’s not a circle before you start rolling, good luck making it into one later! :P
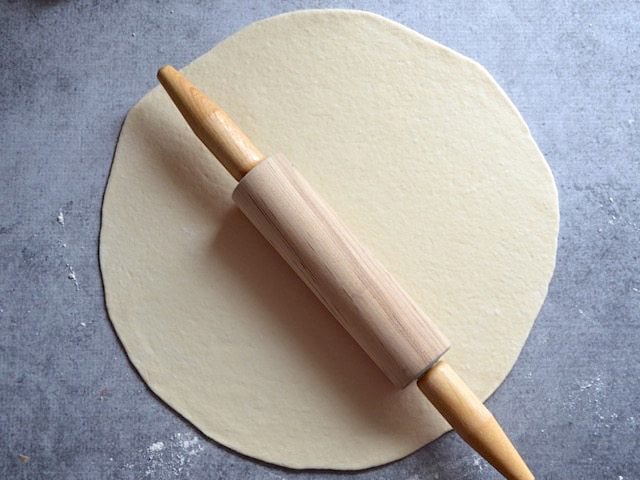
Use a rolling pin to roll the dough out into a 12 inch circle, about 1/8 inch thick. Using a rolling pin is very important to making the crust thin and crispy. It flattens out the tiny air pockets and kind of compresses everything down. If you simply stretch it with your hands (like hand tossed crust), it remains more pliable and will become more fluffy when baked.
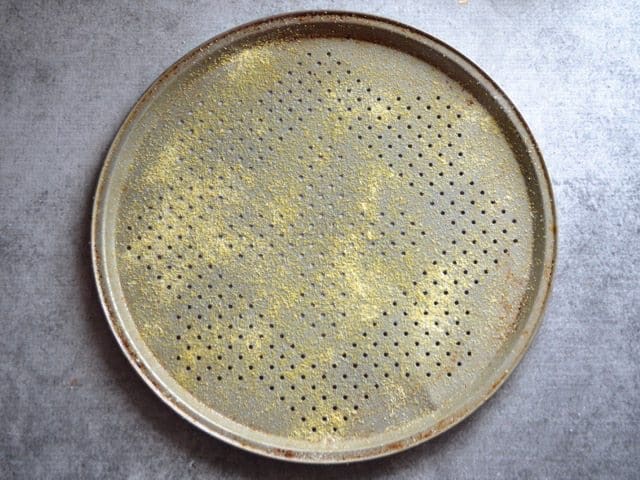
Prepare whatever pizza pan you prefer to use. I highly suggest using a perforated pan if you don’t have a pizza stone because it allows air to get up under the crust to make it crispy. I like to use a thin layer of non-stick spray and then a generous sprinkle of cornmeal, but that’s just my preference.
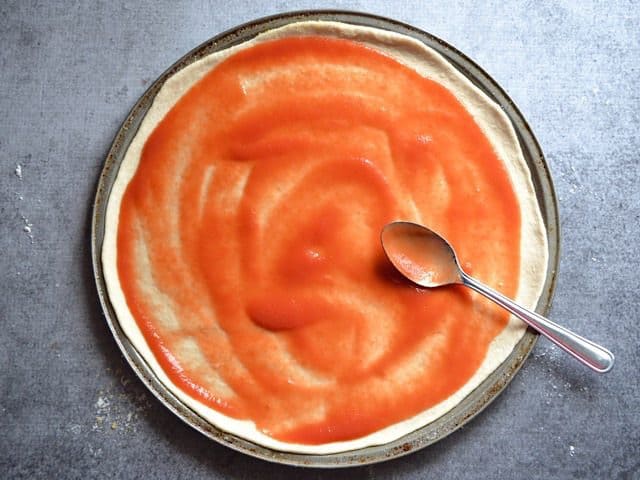
Carefully transfer the dough to the pizza pan. Folding it in half before picking it up will help it maintain its shape without further stretching. Then once it’s on the pan, you simply unfold the dough. Spread a thin layer of your favorite sauce over the crust.
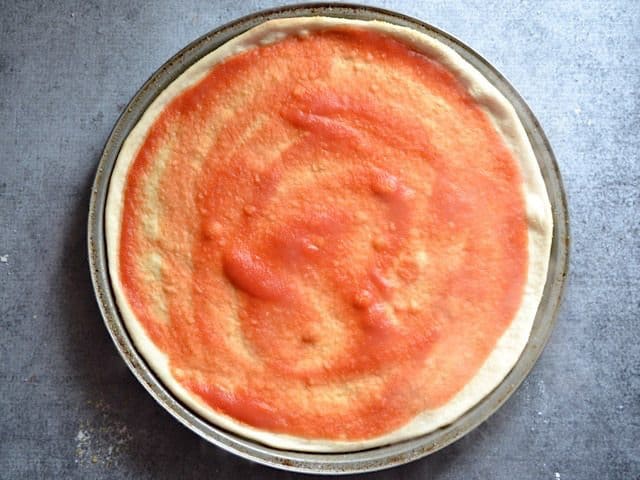
Bake the crust in the fully preheated oven for five minutes. This helps dry it out and prepares it for it’s final crispy form. If you top it with everything first, it probably won’t get enough heat and air exposure to fully crisp, so partially bake the crust and sauce first.
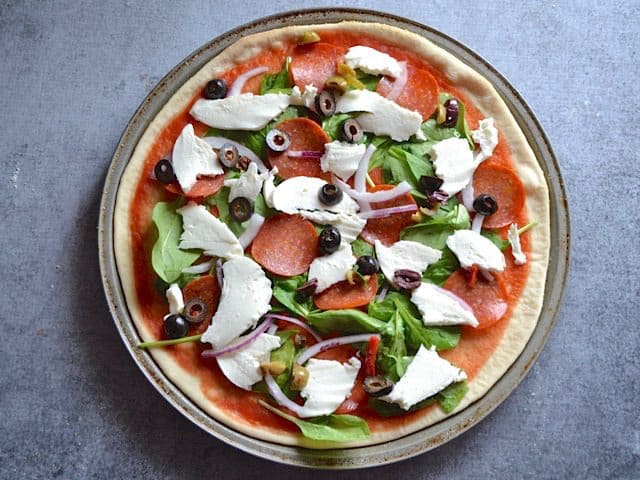
After baking for five minutes, add the rest of your toppings. Remember not to use anything too wet or heavy (like fresh tomatoes) because you don’t want lakes to form on the pizza.
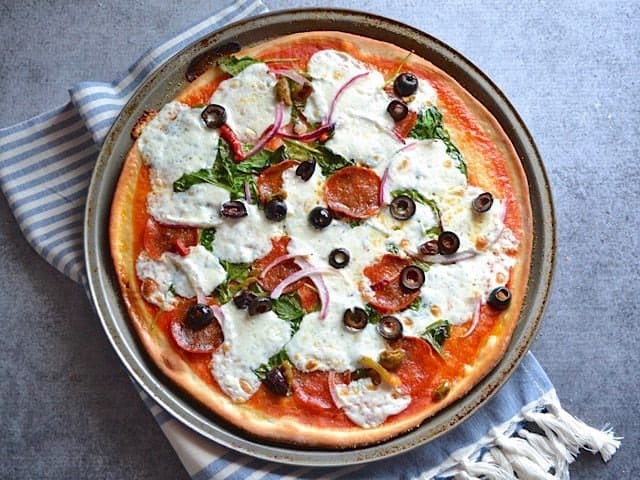
Pop the pizza back into the oven for 7-10 minutes more, or until the crust is nicely browned and the cheese is bubbly. When cooking at such a high temperature, the time will vary quite a bit from oven to oven, so just keep an eye on it and use those visual cues to tell you when it’s done.
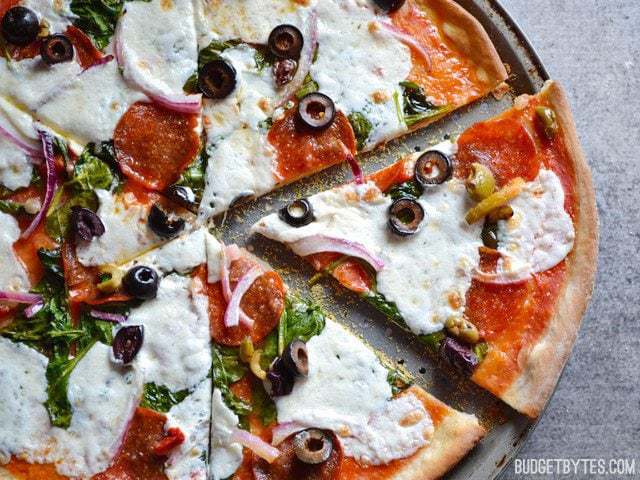
The edges have a nice crispy texture and the interior has a nice crunch on the bottom. Thin and crispy pizza crust heaven!
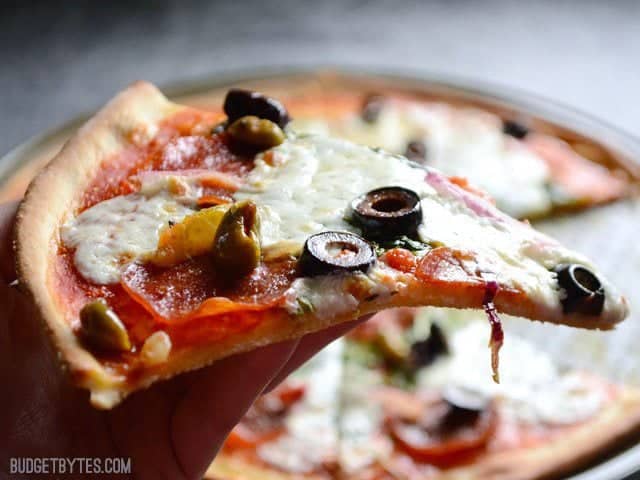
Super thin, but strong enough to hold up to toppings!


Perfect. Will not change a thing. Easy and exactly what i looking for.
I use this recipe every time I make home made pizzas now. Quick and easy!
So we made the pizza the week you shared this recipe, usually I tweak here and there. I never have for this one..ok I will add oregano from the garden to the crust sometimes..we have always thrown it on the grill and it is never failed to be Awesome. When you have your teenagers friends coming by to ask for this even when your teen isn’t at home, ya got a winner. They love it buffalo chicken style and Italian sausage with peppers. This along with the dragon noodles and overnight no sugar oatmeal should be in some recipe Hall of Fame.
I don’t have a pizza pan so I was wondering can I still make it without one? Oh and what can I use instead? Thank you!
You can actually just use a regular baking sheet. The pizza doesn’t have to be round, or you can just make it round but small enough to fit on the baking sheet. :)
Perfectly crispy, slightly sweet crust. This will be my only pizza crust recipe.
Beth,
Have you ever used a stand mixer with a dough hook for this recipe? Do you have to alter the time spent kneading it?
Thanks!
I haven’t used a mixer, unfortunately.
Hi from Malaysia!! I just made 3 pieces of 10 inch pizzas with your recipe. This is my third time making pizzas for the family but everyone including the kids agreed this is the best pizza dough they have tasted!! It’s thin but still chewy. The texture and taste is just right. Thank you so much for sharing your recipe and your hints on prebaking the crust before adding the topping. Your recipe will be the only pizza dough recipe I’ll refer to from now on.
Ok, so I just made this crust (for a pizza margherita) and it is seriously amazing! Super thin and delicious without being too crunchy. And it’s so fast and easy! It’ll be part of the weekly rotation now, along with your dragon noodles, crispy tofu method, and lots of other goodies from BB – thanks Beth!!!
I love this recipe!! So quick and easy. The only thing I did differently was prebake my crust for a few minutes before I put the toppings on. Thanks!
I have a huge bag of bread flour that I once bought to make pizza dough and haven’t gotten around to using it again! Do you think I could sub this for the regular flour?
I figured there wasn’t much difference between the two, so I used to try to use the bread flour in place of regular flour for gravies, thickening sauces, etc. Turns out the bread flour really doesn’t dissolve into liquid like regular flour does! Do you think I would need to change the measurements at all?
Thanks Beth. This looks delish!
You might need to adjust the amount of flour some, but that’s always going to vary just a little bit. You just have to feel it out as you’re kneading and make sure not to add too much. :)
I don’t know if I’ve ever had a pizza crust..this bad. Ever.
Reviews are misleading. Sad.
Too dry. Then too fluffy for a thin crust. No alterations done except the ones I needed to even make this dough not so utterly dry.
-10/5
Hmm. If I were the only person in a group of fifty or so with a bad outcome, I don’t think I’d call their reviews “misleading”. I’d just try to figure out where I went wrong and probably just keep my unfortunate experience to myself. But that’s just me.
Just wondering what kind of sauce you used in the pictures; My daughter hates tomato seeds and that looks very plain.
It was actually just a plain canned “tomato sauce” and not a pizza sauce at all :) I find that it does the trick in a pinch, and sometimes I add a few Italian herbs on top to kick it up a bit.
I followed this exactly as written. It was absolutely fantastic
We are now making pizza about 4 times a week— Regular pizza, thin and crispy pizza, thicker pizza (hubby and daughter like it thicker), White Pizza, Cast Iron Pan pizza…This pizza dough is SO versatile and SO super simple and SO FAST – who wouldn’t be making Pizza 4 times a week!!! I’m thinking Dessert Pizza coming soon! Thanks so much for ending our dependency on bland frozen pizzas and store bought dough that isn’t 1/10th as yummy as this!!!
Oh man, Beth, this is amazing! We got a new high-temp pizza oven for Christmas and I was really struggling to find a good crust that could be formed quickly and thinly enough to resemble traditional Neapolitan style pizza. I can’t tell you how FAST and EASY this was, and SOOOOOOO easy to work with. Add to that, the fact that it’s 1/4 of the price of my store bought dough, and this will be THE crust going forward. Thank you, thank you, thank you!