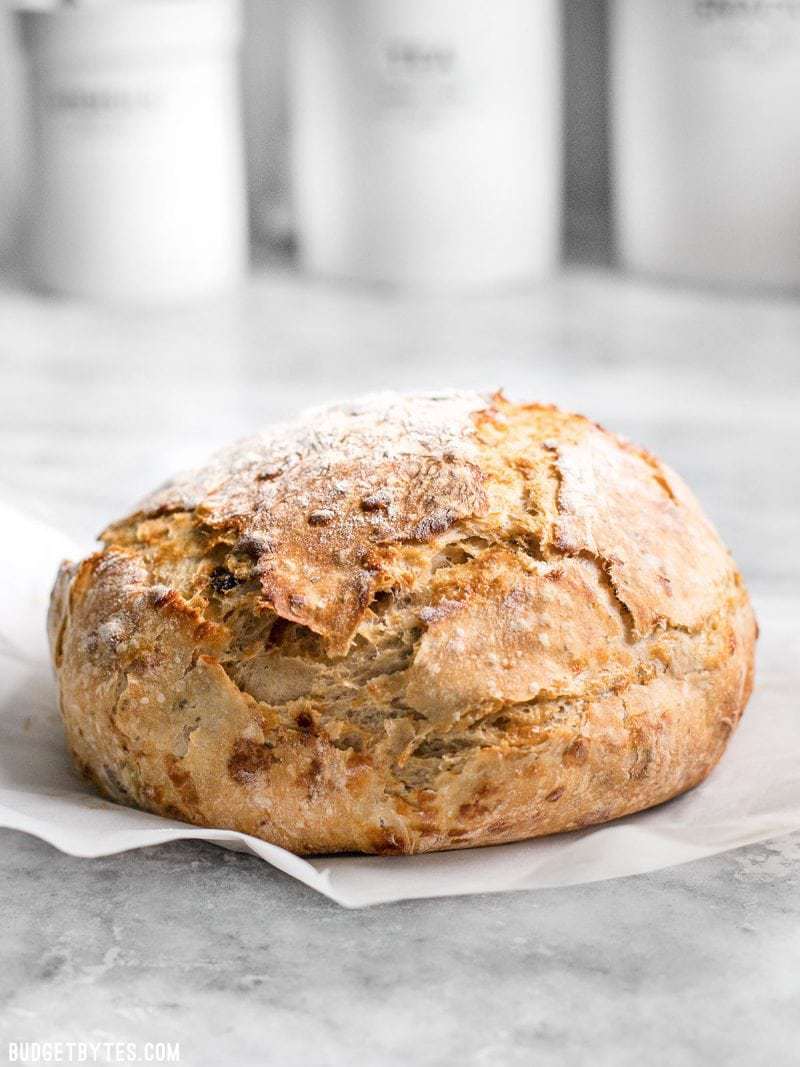
Alright, we’ve all been on our New Year’s diets for two weeks now, so it’s time for a little splurge, right? I mean, it’s all about balance. If you’re going to give yourself one splurge, you need it to be this Tomato Basil No Knead Bread! I’m serious. It’s divine.
This post contains some affiliate links, which means that we make a small commission off items you purchase at no additional cost to you.
Serving and Storage
This bread has a wonderfully subtle tangy flavor thanks to a handful of sun dried tomatoes and a little tomato past dissolved into the water. It’s the perfect easy bread for serving with your hearty winter soups and stews. This recipe does make a rather large loaf, but if you don’t think you can eat it all up within a few days, I suggest slicing it in half (after it has completely cooled), popping half of it into a freezer bag, and storing it in your freezer until you need more bread. This bread freezes beautifully and thaws quickly at room temperature.
2 Hr. Rise vs. 12 Hr. Rise
I decided to do a “quick” no knead bread this time, meaning it only rises for about 2 hours instead of 12-18. If you prefer to do a long dough ferment to get that really deep flavor, you can, just make sure that you reduce the amount of yeast in the bread to 1/4 tsp instead of 2 tsp. The reason the long ferment doughs use such little yeast is because as the dough sits out for 12-18 hours the yeast has time to reproduce and ends up with the same yeast power as if you had done a short rise with 2 tsp yeast.
For Best Results, Use a Dutch Oven
Using a Dutch oven produces the BEST results with this bread because it holds in steam as it bakes, which is what gives that crust it’s amazing crispy, crackle-y qualities. If you don’t have a Dutch oven it can be baked on a baking sheet, but it may expand more in an outward direction rather than up and the crust will have a slightly different texture. I am using a Lodge 5-quart Dutch Oven (affiliate link).
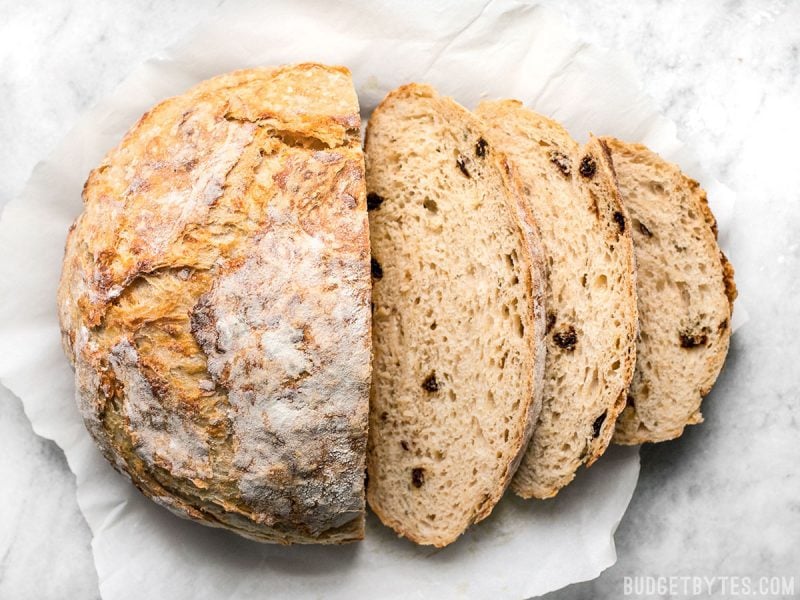
Tomato Basil No Knead Bread
Ingredients
- 1/3 cup sun dried tomatoes* ($1.00)
- 3 cups all-purpose flour ($0.29)
- 2 tsp instant or bread machine yeast ($0.16)
- 1/2 Tbsp salt ($0.02)
- 1/2 Tbsp dried basil ($0.15)
- 1.5 cups warm water ($0)
- 1 Tbsp tomato paste ($0.06)
- 4 oz. mozzarella, shredded (optional) ($0.89)
Instructions
- Chop the sun dried tomatoes into smaller pieces. In a large bowl, combine the flour, yeast, salt, dried basil, and chopped tomatoes. Stir until they are evenly combined. Stir the shredded mozzarella into the flour mixture.
- Dissolve the tomato paste into the warm water. Pour the tomato and water mixture into the flour mixture, and stir until a sticky ball of dough forms. You may need to add slightly more or less water to achieve the correct consistency. The dough should be fairly wet and sticky, but not so wet that it’s glossy or slimy. There should be no dry flour left on the bottom of the bowl.
- Cover the bowl with the dough loosely, and let it rise for one hour, or until it is double in size.
- Once risen, sprinkle the dough liberally with flour and scrape it off the sides of the bowl. Turn the dough out onto a well floured surface and fold it over on itself 5-6 times, or just until the dough looks smooth.
- Place the dough on a piece of parchment paper and allow it to rise for another half hour. While the dough is rising, place your Dutch oven in the oven and set it to preheat to 425ºF.
- After 30 minutes, very carefully remove the Dutch oven from your oven, and remove its lid. Lift your risen dough by picking up the parchment paper and then place it in the hot Dutch oven, paper and all. Place the lid back on the Dutch oven and return it to the hot oven.
- Let the bread bake with the lid on the Dutch oven for 30 minutes, then carefully remove the lid and let it bake for another 15-20 minutes, without the lid, to allow the crust to brown.
- Once baked, carefully remove the hot Dutch oven from the oven, lift the bread out using the parchment, and allow it to cool before slicing and serving.
See how we calculate recipe costs here.
Equipment
- Cast Iron Dutch Oven
- Liquid Measuring Cup
- Parchment Paper
Notes
Nutrition
Step by Step Photos
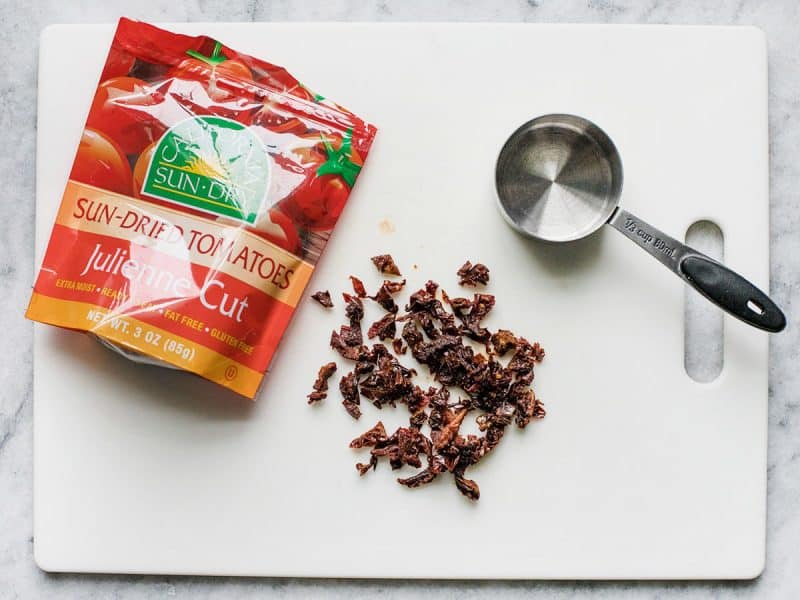
Chop about 1/3 cup sun dried tomatoes into smaller pieces, so you’ll get little bits all throughout the bread. I suggest the dry pack sun dried tomatoes rather than oil pack for this bread.
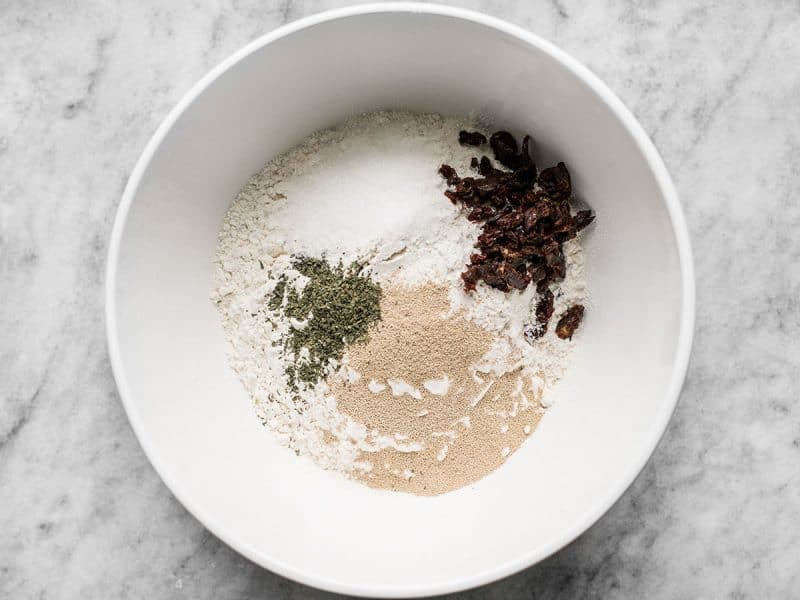
Add 3 cups all-purpose flour to a large bowl along with 2 tsp instant or bread machine yeast, 1/2 Tbsp salt, 1/2 Tbsp dried basil, and the chopped sun dried tomatoes. Stir until everything is evenly mixed.
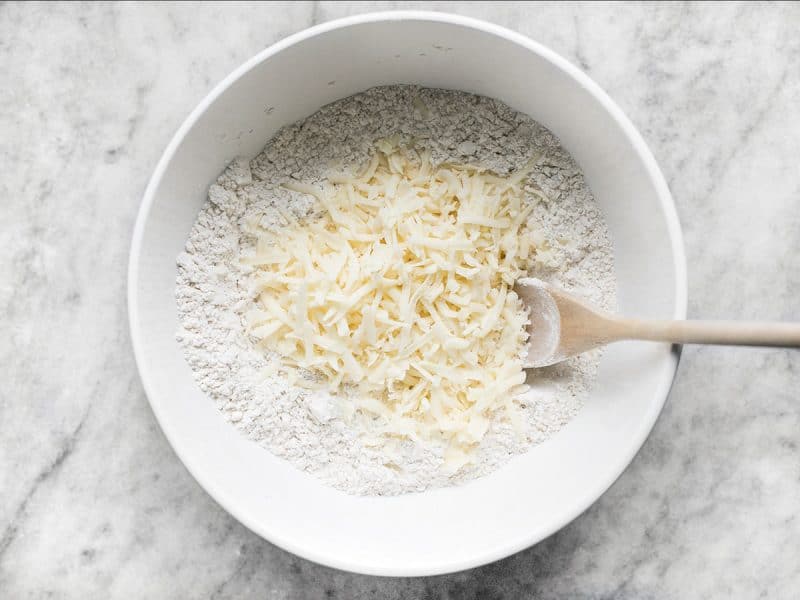
Stir in 4oz. mozzarella (shredded). The mozzarella is optional, and honestly it just kind of melted into the bread and I didn’t notice it much in the final product.

Stir one tablespoon tomato paste into 1.5 cups warm water. Since I rarely use an entire 6oz. can of tomato paste at one time, I freeze it in one tablespoon portions just for occasions like this. :) Read more about how I freeze tomato paste here.
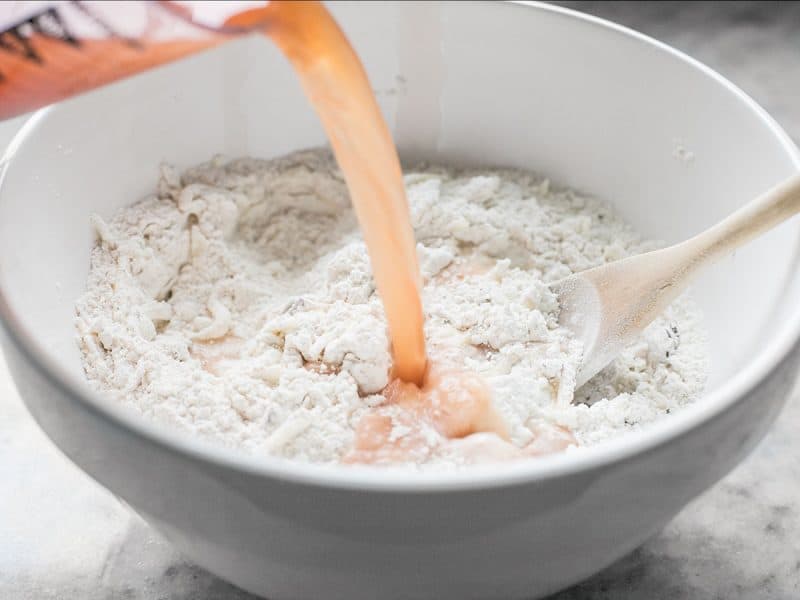
Pour the tomato water into the flour mixture. Because of slight differences in moisture content of flour or variations in measuring, you may need to use slightly more or less water each time, so I suggest going by the texture of the dough and not an exact measurement here. See the next photo for details on what you want the dough to look/feel like.
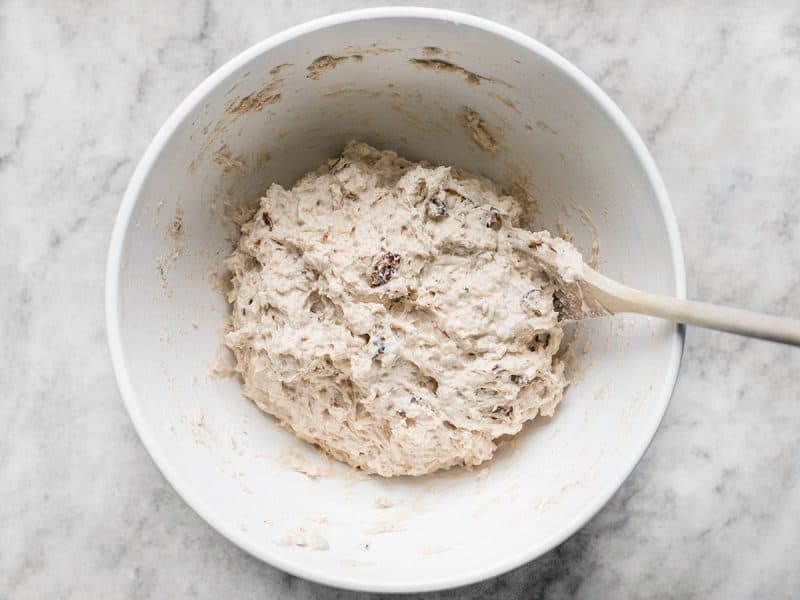
You want the dough to be fairly wet, sticky, and shaggy. It shouldn’t be so wet that it is glossy or slimy, but definitely too wet to handle with your hands. Also, it shouldn’t be so dry that there is dry flour left on the bottom of the bowl or on the surface of the dough. Cover the bowl loosely and let it rise for one hour, or until it’s double in size.
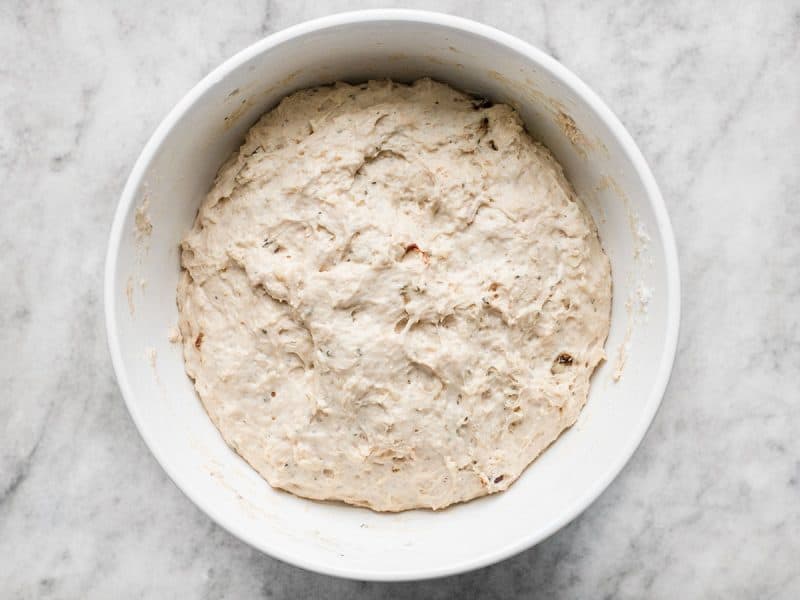
After it has risen for about an hour the flour will have soaked up some of that water so it won’t be quite as sticky (although still more sticky than a traditional kneaded bread dough). Sprinkle some flour on top of the dough and scrape it away from the sides of the bowl with your hand.
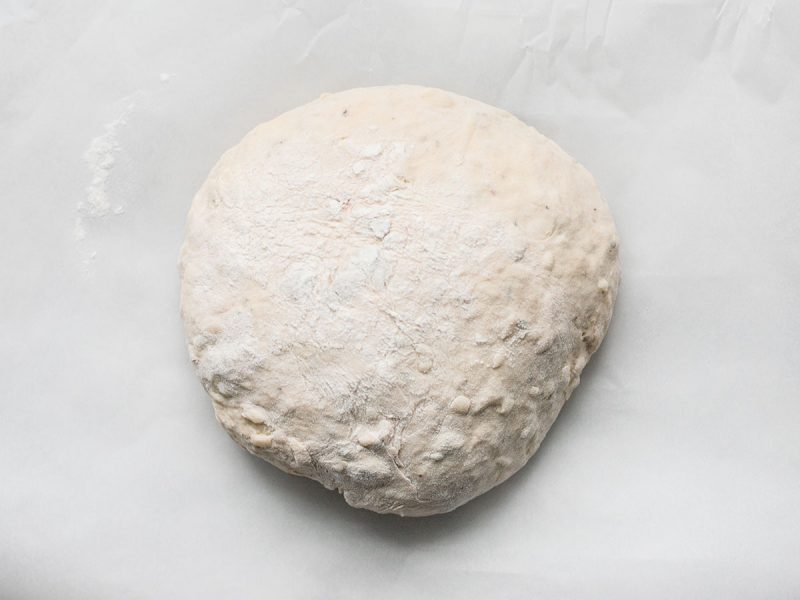
Turn the dough out onto a well floured surface and fold it over on itself 5-6 times, or just until it feels smooth. It should still be a very loose dough. Place the ball of dough on a piece of parchment paper and let it rise for another 30 minutes. Because the dough is so loose, it will rise more out than up, and that’s okay.
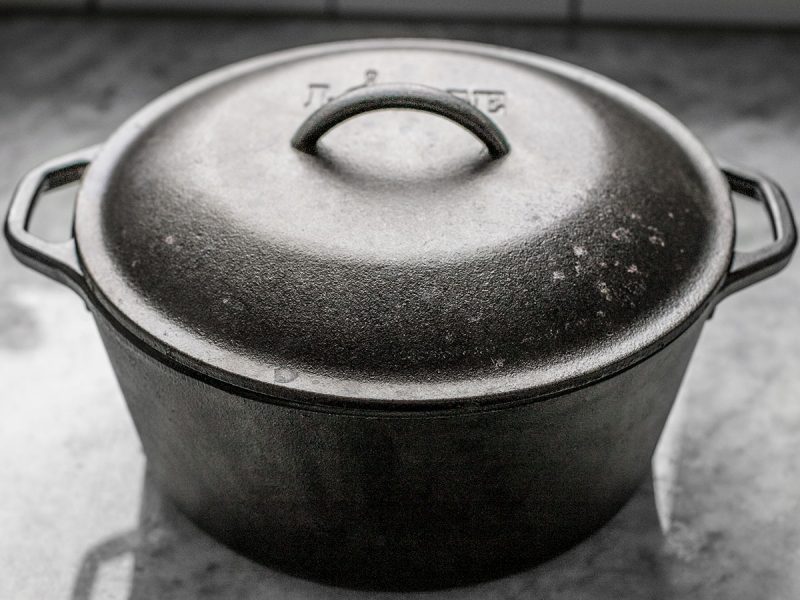
While the dough is rising, place your Dutch oven in the oven and begin to preheat it to 425ºF. Using a Dutch oven for this bread really makes a big difference in the texture of the crust and helps the dough be more of a dome shape, but if you don’t have one you can still cook the bread on a baking sheet.
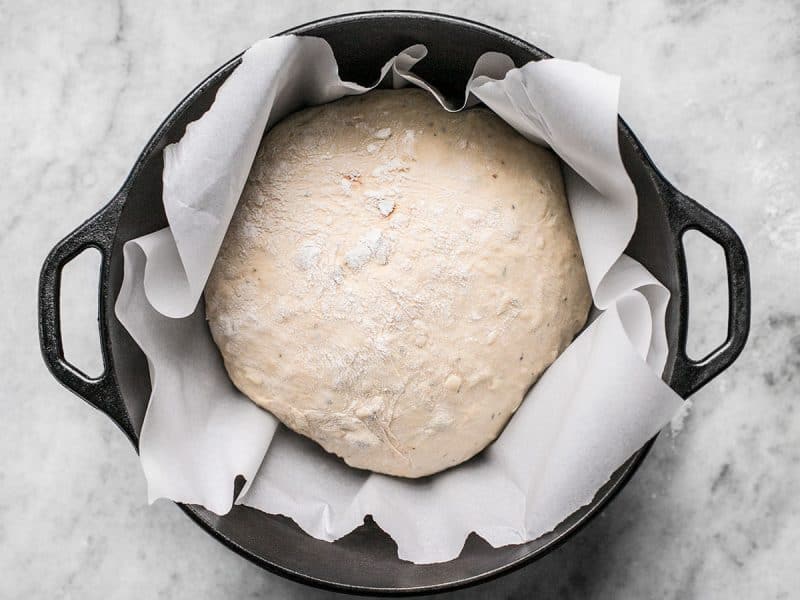
When the dough has risen for 30 minutes and the oven and Dutch oven are fully preheated, CAREFULLY remove the Dutch oven from the oven, take off its lid, and then lift the entire bread dough and parchment paper into the Dutch oven. Put the lid back on the Dutch oven, put it all back into the hot oven, and bake for 30 minutes.
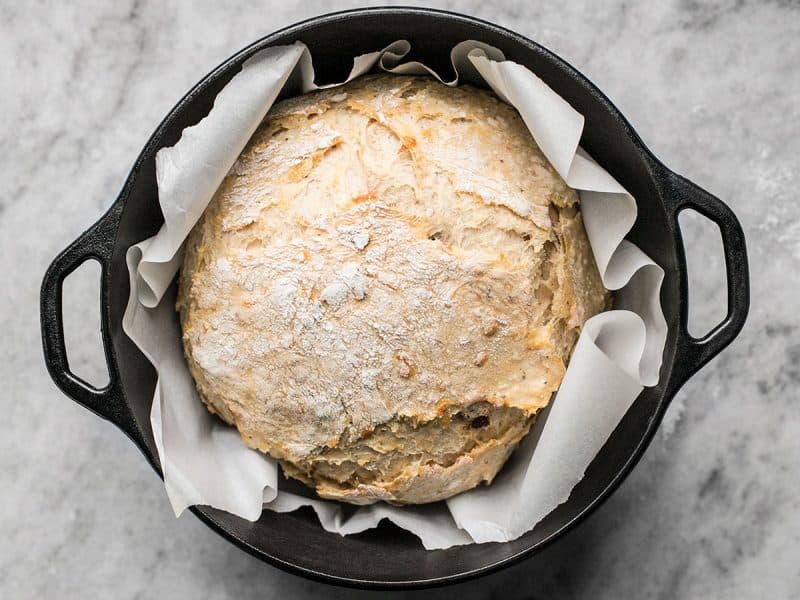
After 30 minutes of baking with the lid, it will look like this. Now remove the lid, return it to the oven, and bake for another 15-20 minutes to let the crust fully brown…
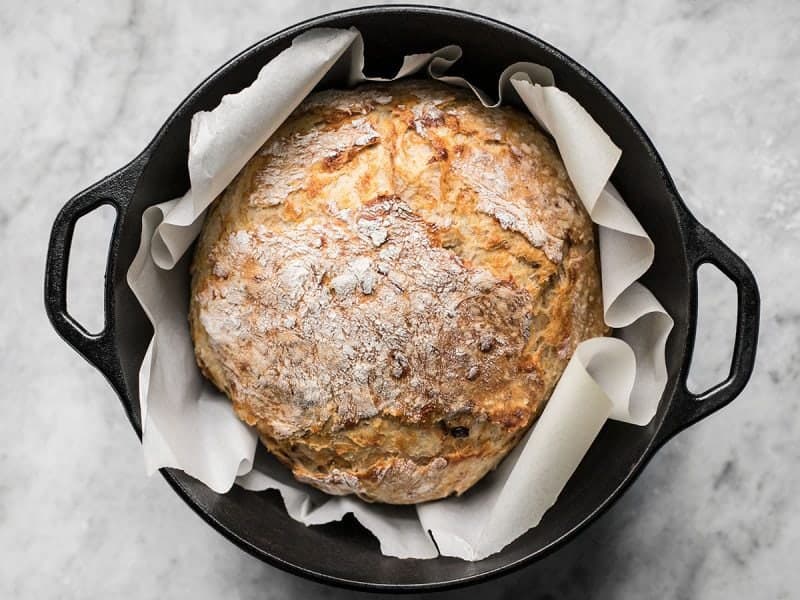
And at that point it should be absolutely GORGEOUS. I mean seriously. Look at that. 😍 Lift the whole thing out of the Dutch oven and allow it to cool before slicing.
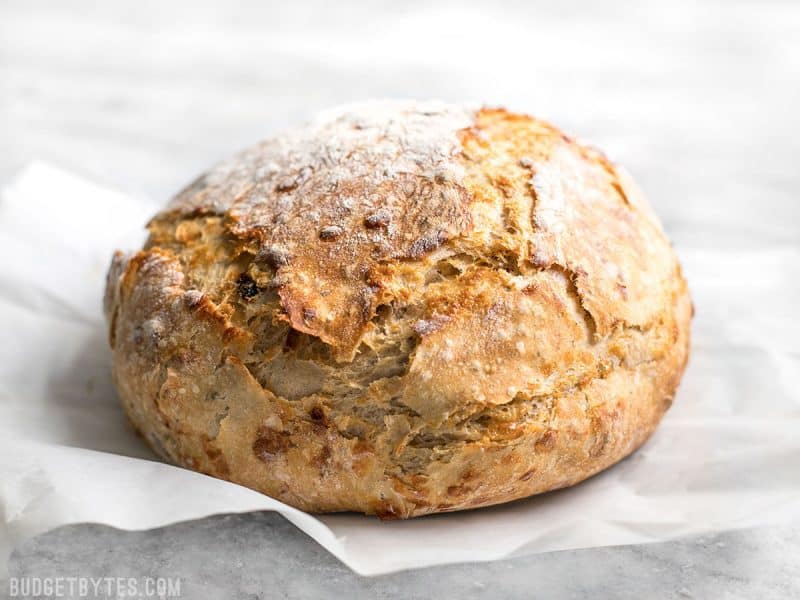
There really is “no knead” for any other type of bread. Har-har-har. 🙈


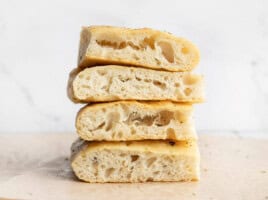
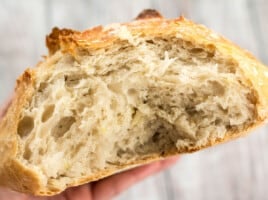
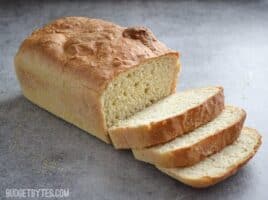

Also I should add that I shaped the loaf into a ‘log’ and baked on parchment paper on a baking sheet.
Worked great!
Excellent recipe with great instructions & images!
I made this bread but substituted sun dried tomatoes for chopped jalapeños (and added a little of the juice from the can to the water count), grated cheese for dried parmessan and increased the tomatoe paste to 2 tablespoons.
Delicious!
Can I use fresh basil? Does it change the cooking time? Thanks!
It wouldn’t change the cooking time, but I’ve never made it with fresh basil to know if it would change the recipe in other ways.
Delicious!
I made the bread with 1 cup reg flour and 1 cup almond flour and 1 cup, cup for cup also used sun dried tomato’s in oil. It smells amazing so I tried a slice as it cooled. I’m thinking to have it toasted with olive oil. Yummy!
So good thank you for the recipe even though I changed it. :)
Janet, thanks for sharing your tweaks to reduce the gluten.
I was wondering if anyone has made with gluten free flour replacement completely. As much as I love the recipe as is, I’m attempting to reduce my gluten intake.
Super easy to make. And super yummy!! Thank you for the recipe!!
This looks delicious. Did you use table, kosher, or sea salt?
Fine sea salt.
This looks amazing! If you were going to add a little rosemary to the dough, how much would you add? Thanks!
I’d probably do a half teaspoon or so. :)
How long to cook without a Dutch oven?
Probably around 40 minutes, but you’ll want to keep an eye on it. When it’s browned on top and sounds hollow when tapped it is done.
I’ve made this about 5 times as tomato and modified to jalapeno cheese bread.. All of the loaves have been great. Nice crust, soft delicious insides and really quick.
I made this for my roommates and they both really liked it! I’ll have to make to make it again for them soon with the way that they’re chowing down ;D
I used sun-dried tomatoes packed in oil and didn’t have any problems, although I did try to shake off some of the oil after I fished the tomatoes out of the jar. I might add chunks of artichoke heart next time.
I followed the directions to the letter and it turned out great. I think next time I will use fresh basil and add more sundried tomatoes to give it a stronger flavor.
Fantastic recipe!! Made this last night. I didn’t have tomato paste so just left it out and it still had a great flavor. Using 2 cups of white flour and 1 cup of whole wheat flour gave a beautiful texture to the bread. I used oil-packed sun dried tomatoes with herbs but drained off the oil and squeezed them in a paper towel to soak up the rest. It worked great. Also I used basil paste which I dissolved in the warm water. The bread got rave reviews from my husband and my friend. I will definitely make this again! Thanks so much for posting this recipe!!!
Can I use fresh basil?
Yes that would be delicious!
This bread was so easy to make an excellent! Thanks for the recipe!
How would this work in a bread machine?
We haven’t tried it using a bread machine yet sorry!
This is a keeper! The only change I made was to add a slight smear of roasted garlic when kneading.
Awesome! Can’t wait to pair it with our Paella someday!
Awesome! Can’t wait to pair this with Paella our someday.
What a great post! I love the step by step photos. I can’t wait to try this!
I think I need a smaller dutch oven for this. My Le Creuset is quite large, I think a bit too large for this recipe. My bread spread out quite a bit but didn’t rise as high as I thought it would. Still very tasty though. I’m not very experienced with making bread so I might have done something wrong, if I did it didn’t make it any less yummy.
Sounds great, dying to make it, but I dont have a dutch oven per say. I have some large stainless steel covered pots, for stews etc. Could I use this, or can I just bake it on a cookie sheet?
You can bake no-knead breads on a baking sheet, but the crust just doesn’t turn out as nice. I’ve never tried a lidded vessel other than a Dutch oven, though. :)
I bake my breads in a round, tall ceramic casserole dish (it looks like a giant ramekin) and a glass lid from another dish that fits it. I always get that crispy, crackly crust that the Dutch ovens make.
You can bake no knead bread in a butter greased glass pyrex bowl. (two 1-qt or 1.5-qt oven-safe bowls.)
Hi Beth,
I made this last night to go with Valentine’s Fondue dinner.
It was excellent, perfect directions. Easy and delicious.
Thank you for your hard work. I visit your website often.
Joanne
This bread was simple to make and looked just like the pictures. It was delicious too. If there had been some left over, I’m sure it would be great toasted too. Left out the mozzarella due to a dairy intolerance. Thanks for a great recipe!
Delicious, moist bread! I used only 1 tsp. yeast and let dough sit overnight-14 hours. Bread came out looking just like yours. Thanks for this recipe.
A nice simple recipe that produces a very good product. I’ve been told that if I keep on producing bread like this I’ll be banned from the kitchen.
OMG, this is so good. Mine came out looking as lovely as yours. Cooking on parchment paper in the dutch oven is the way to go. Now I need to go look at your other no knead bread recipes. Can’t wait to try more..Thanks!!!!
This was delicious! I left out the cheese, used oil-packed sun-dried tomatoes and it turned out perfectly. I make an overnight no-knead bread often and love that too, but it was great to be able to make this just a couple of hours before dinner. I want to try the overnight method with this recipe. Thanks so much for the great recipe!
Wow!ive never made one of these before. But I started this yesterday and then decided to switch it up for the extended fermentation time, like your no-kneed seeded bread. (I think I have a compulsion to change up recipes). Anyway. I think mine may have been a little wet. It really didn’t want to hold a shape at all, so I put it on parchment paper and then into a casserole dish for the second rise. Then I pulled it out to bake in the Dutch oven. It did seem a little moist on the inside (like, if I was being judged on one of those baking shows). But it smelled absolutely heavenly and we loved it. Maybe just a tad more flour in the beginning next time. But we can’t wait to finish it tomorrow night with spaghetti and meatballs.
Oooooooooh baby, come to momma! I keep hearing about no-knead bread but I haven’t made it before! Your amazing looking recipe is inspiring me to do so… STAT!
I don’t know if you’ve seen the Cook’s Illustrated take on no-knead bread. They substituted some beer and a tablespoon of vinegar for some of the water, and it gives a more complex flavor. That might help here with the shorter fermentation time. Of course, I guess adding beer would add to the costs, but it’s still delicious. I also recommend freezing in slices. It’s easy to take a slice out of the freezer and put it in the toaster in case you don’t want to use the whole chunk of the loaf that you froze.
Oooooh, beer would be SO GOOD in this!! I’m so glad you told me about that!
I just finished and it’s delicious!! Yum!!
Yum yum Beth! I’ll pin this and try it! Thanks.
I see that if we use the long proofing process we would use less instant yeast. What do you suggest if we used active dry yeast instead? Same as the original amount but otherwise let rise overnight if not including the mozza? Then bake for 10-15 mins longer?
Thanks!
-Bread newbie
You’d use the same amount of yeast and same rise time, but you’d need to dissolve the yeast in the water first instead of adding it to the flour like I did with the instant yeast. The difference between instant or bread machine yeast and active dry is that you don’t have to “activate” instant yeast by proofing it in warm water first, like you need to do with the active dry yeast. I hope that made sense!
OMG THANK YOU. That solves my mystery of why this bread didn’t rise enough for me (it was still yummy, though). I bought regular active dry yeast and didn’t proof it in warm water first!
I’m about to try another batch with thyme, oregano, chives, and a little parm. YUM.
If not using a Dutch oven, how long do you bake for?
I don’t have the exact bake time, but just keep an eye on it starting at about 30 minutes and take it out when it’s a deep golden brown.
If you want the bread to actually taste of cheese, you would need to use cheese with more flavor than mozzarella. Grated Romano would be a good choice – it has a stronger flavor than Parmigiano.
That looks delicious!
Kari
I don’t have a dutch oven – is there something you could recommend to use in its place?
In the past I have put a baking sheet and an extra oven-safe dish with a little water in it while the oven preheats. When it’s done preheating, you bake as directed but keep the water dish in the oven. It creates steam so you still get the crispy crust. Not sure how the actual texture compares to a dutch oven because I’ve never actually used on, but I think it’s good!
You could use a lidded casserole. I have used an oval Le Creuset casserole to make no knead bread for years. It works perfectly for a 3 cup loaf
Have you tried the smoked sundried tomatoes (same brand as the ones you used in this recipe)? I absolutely love them and use them in place of regular sundried tomatoes in almost all recipes that call for them! It’s a game changer for me – just like when I discovered smoked paprika and fire roasted diced tomatoes! They add such a great smoky flavor!
WOW. Now I have to find them!!
What size Dutch Oven did you use? This looks fabulous Beth! Beautiful pictures.
Strangely, there are no markings on the Dutch oven that says it’s capacity, but I’m pretty sure it’s this 5 quart model.
Do you think a 4 quart dutch oven would work or would it be too small?
Update: I just made this bread using a 4 quart dutch oven, and it worked just fine! The bread is delicious!
I think you would be fine with a 4 quart, it just may crowd the sides a bit.
This looks amazing! I will have to try this recipe out, thanks for sharing <3
https://www.myblackcloset.com/