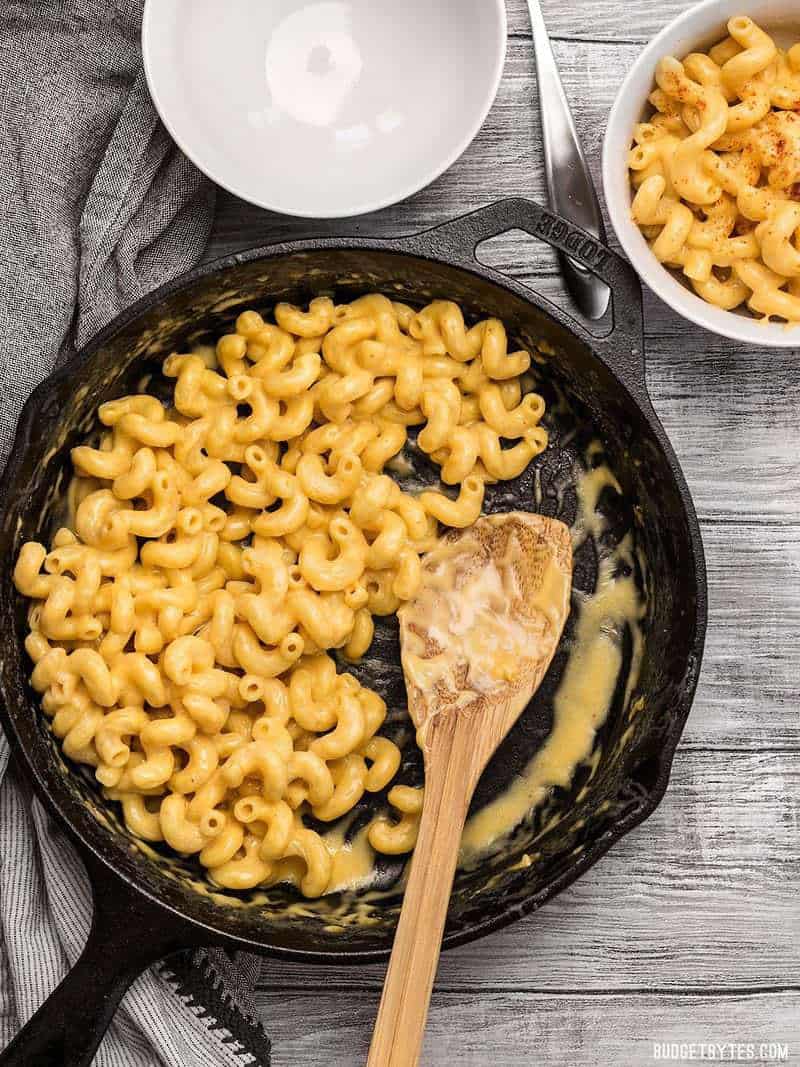
I have something really fun (and delicious) for you today!! I’m so excited about this, guys. My friend, Daniel Shumski, released his second book yesterday and it’s a gem! The book is called Will It Skillet? (a follow up to his first book, Will It Waffle?, LOL, I love his book titles!) and it contains 53 easy recipes that can be made in a cast iron skillet. Not only is this great for easy weeknight cooking, but if you’re an avid camper, this book will probably serve you well. Anyway, he’s letting me share one of the recipes from the book with you, so I chose the Mac and Cheese Recipe.
Let me just tell you, THIS is my new favorite mac and cheese. When you don’t quite have the time or energy to make a true cheese sauce with a roux, like in our extra cheesy Homemade Mac and Cheese recipe, this one skillet method is a winner! I’ve made it twice this week and already want more!
This recipe has been reprinted with the permission and generosity of Danial Shumski and Workman Publishing.
This post contains some affiliate links, which means that we make a small commission off items you purchase at no additional cost to you.
Why This is My New Favorite Mac and Cheese
So what’s so special about this mac and cheese? Wellllll let me count the ways.
- It doesn’t require making a roux or béchamel sauce, so it’s super fast, easy, and fool-proof.
- It’s incredibly silky and rich! And it doesn’t get grainy as it cools like other “miracle” or one-pot mac and cheeses. It’s just rich cheesy perfection.
- Because the cheese sauce doesn’t use a butter and flour based roux, you could potentially make this gluten free by using a gluten free pasta. Everyone can be in mac and cheese heaven!!
- Seriously, there are only seven ingredients. And that’s counting salt.
Just be careful, because like I said, this mac and cheese is just so easy and delicious that it’s also very dangerous. I can see myself keeping the very few ingredients needed to make this on hand and just making mac and cheese all the time. Pandora’s box has been opened.
P.S. You can absolutely make this in a regular sauce pot. You don’t need a cast iron skillet for this recipe. But for reference, I use this 10″ Lodge cast iron skillet.

Skillet Mac and Cheese
Ingredients
- 1/2 tsp salt ($0.02)
- 2 cups elbow macaroni* ($0.70)
- 2 Tbsp butter ($0.27)
- 3/4 cup evaporated milk ($0.55)
- 1/2 tsp Dijon mustard ($0.03)
- 1 pinch cayenne pepper ($0.02)
- 1.5 cups shredded sharp cheddar ($1.00)
Instructions
- Fill the skillet two-thirds full of water, add the salt, and bring to a boil over medium-high heat.
- Add the macaroni, turn the heat to medium, and cook, stirring occasionally, until just shy of al dente. This should take about 10 minutes, but check the pasta package for recommended cooking times and aim for the lower end if a range is given. (The macaroni will continue to cook a bit in the sauce.) When the macaroni is ready, biting into a piece should reveal a very thin core of uncooked pasta.
- Drain the macaroni and return it to the skillet. Turn the heat to low. Add the butter and stir until it melts.
- Add the evaporated milk, mustard, and cayenne and stir well to combine. Add the cheese in three batches, stirring frequently as each batch is added and waiting until the cheese has melted before adding the next batch. After about 5 minutes total, the sauce will be smooth and noticeably thicker.
- Serve hot. Leftovers can be refrigerated in a covered container for up to 2 days.
See how we calculate recipe costs here.
Notes
Nutrition

How to Make Skillet Mac and Cheese – Step by Step Photos
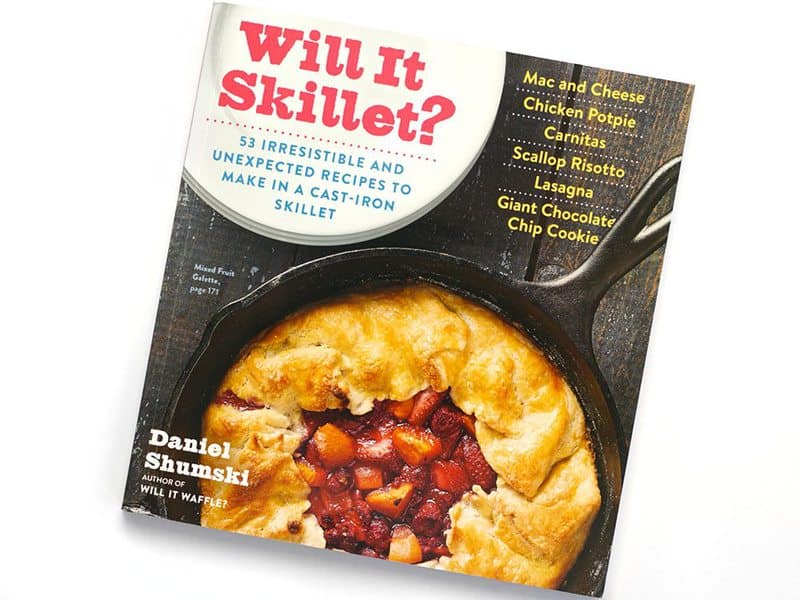
Here is Daniel’s book, for reference. Seriously so many yummy things in here!
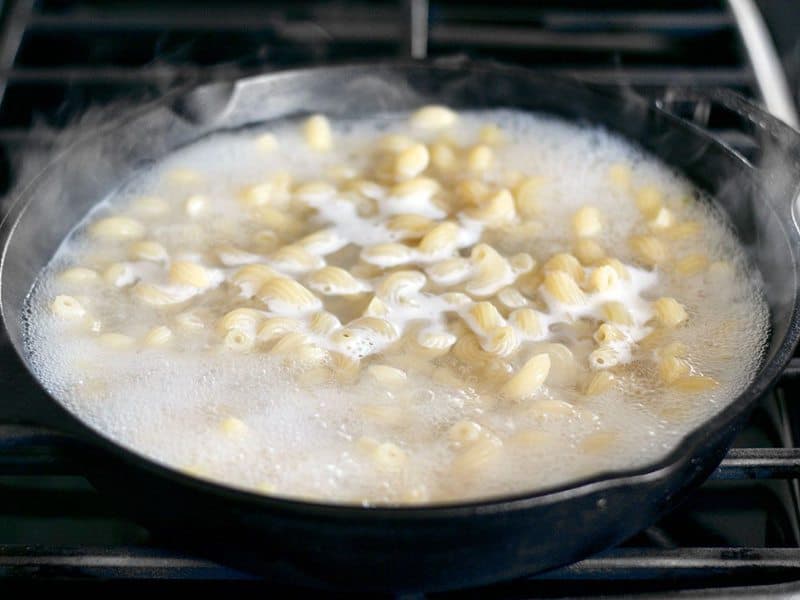
To begin the mac and cheese, fill your skillet about 3/4 full with water and add 1/2 tsp salt. Bring it up to a boil over medium-high heat. Add 2 cups (or about 1/2 lb.) of elbow macaroni or any shape of similar size. Boil the pasta just until it is al dente. Leave it slightly under done because it will continue to cook and soften in the sauce. Make sure to stir it often as it boils if you’re using a shallow skillet like this. Once cooked, drain the pasta in a colander.
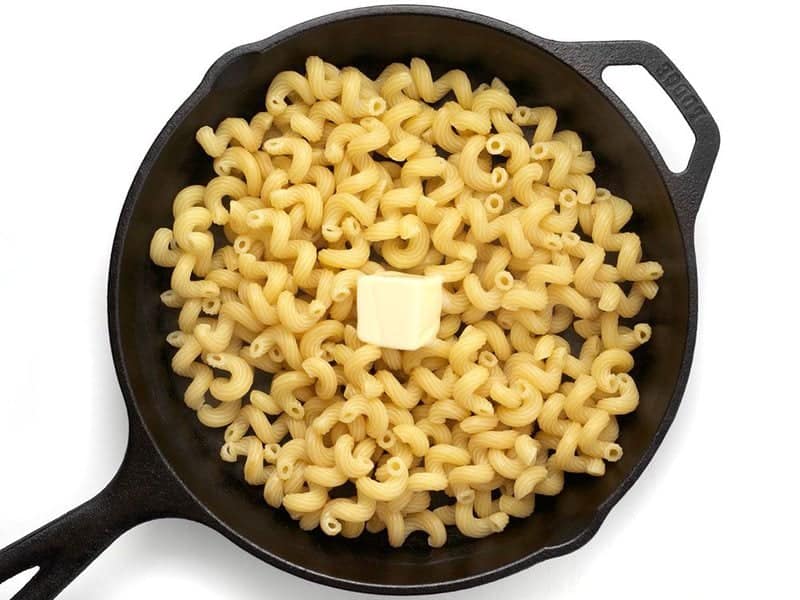
Turn the heat down to LOW and return the cooked and drained pasta to the skillet, along with 2 Tbsp butter. Stir the butter into the pasta until it is completely melted.
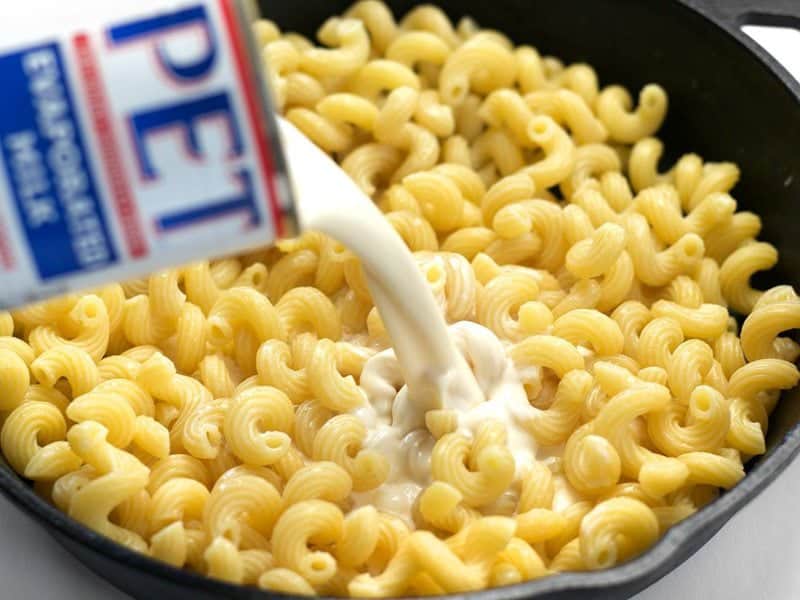
Add 3/4 cup evaporated milk and let it begin to heat through.
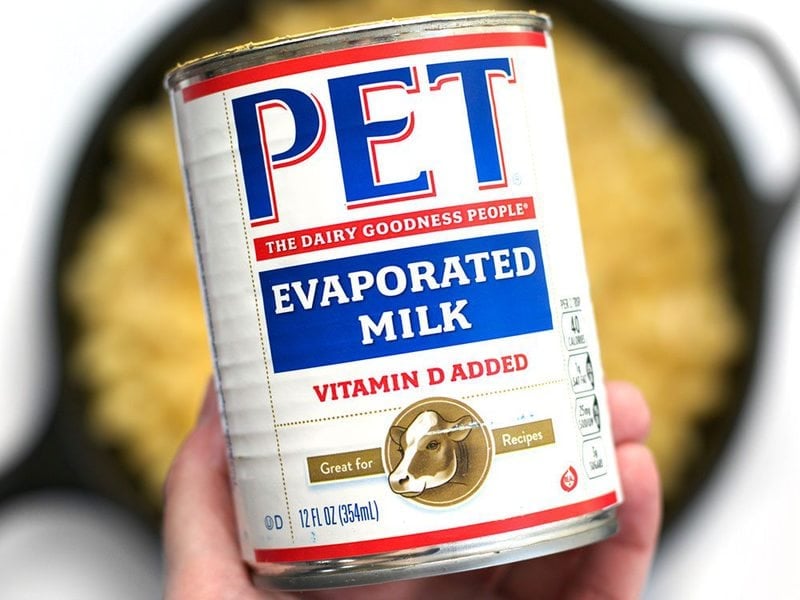
Make sure you buy “evaporated milk” and not “sweetened condensed milk” because they are two very VERY different things. ;) Luckily, the 3/4 cup needed for this recipe was 1/2 of this can, so I saved the other half to make a second batch a couple days later (see? DANGEROUS).
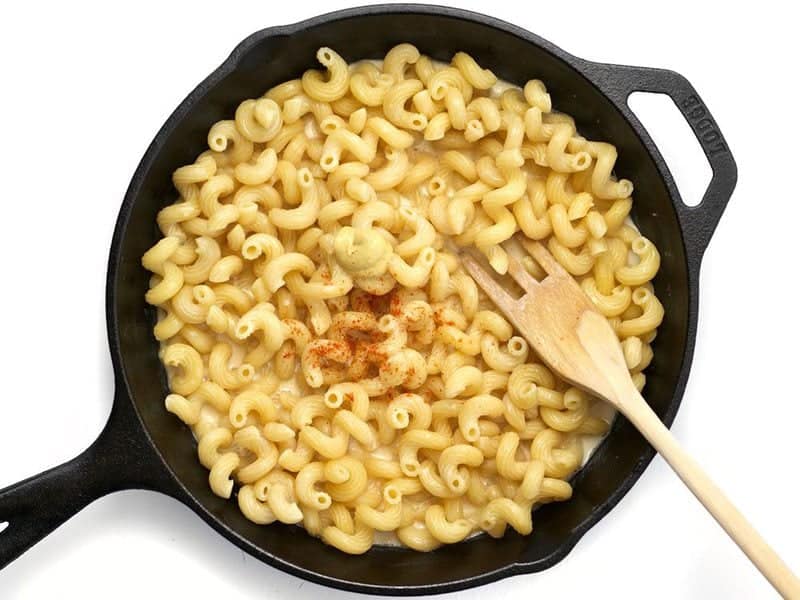
Also add 1/2 tsp Dijon mustard and a pinch of cayenne.
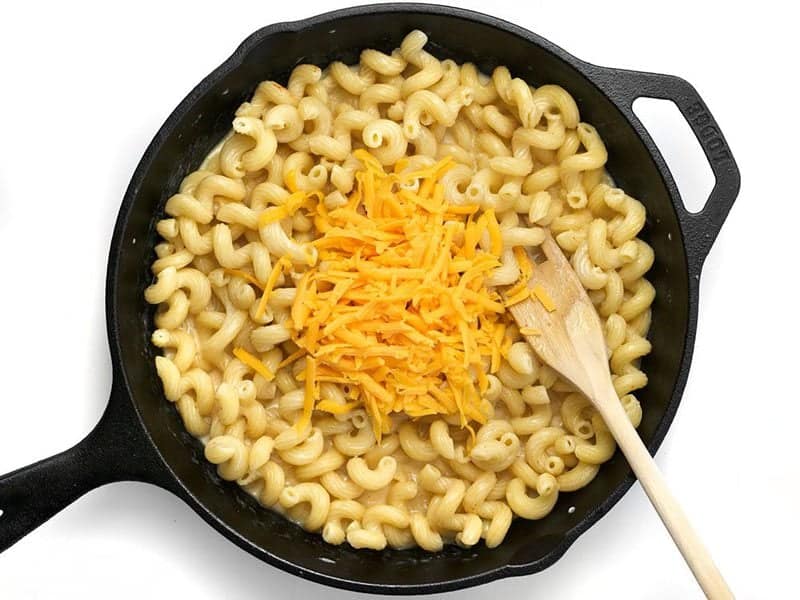
Once the evaporated milk has heated up a bit (this shouldn’t take more than a minute or so), begin adding 1.5 cups shredded sharp cheddar, one handful at a time. Make sure the cheese is fully melted in before adding the next handful. I added my cheese in three batches.
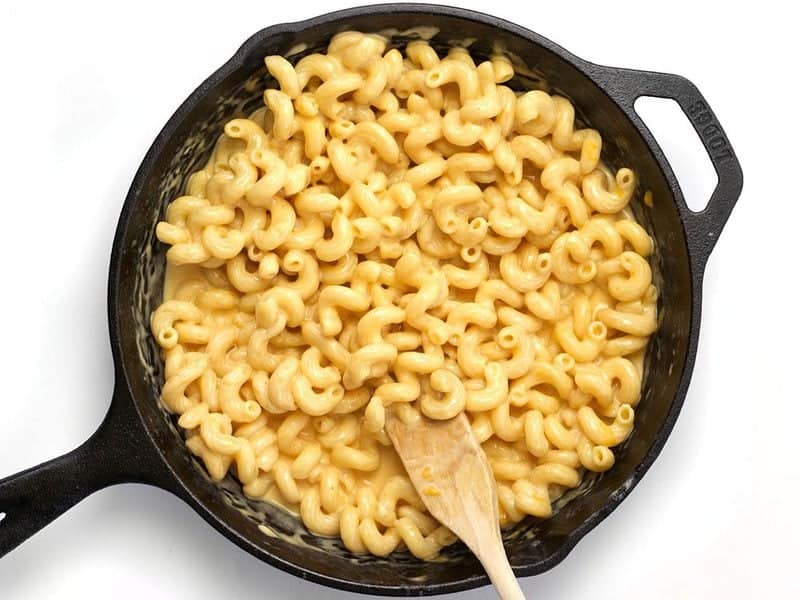
As the cheese melts in the sauce will thicken into the silkiest, cheesiest skillet of goodness you’ve ever eaten. It’s so perfect.

And that’s it! You’re done! Now just try not to eat it all yourself. ;)


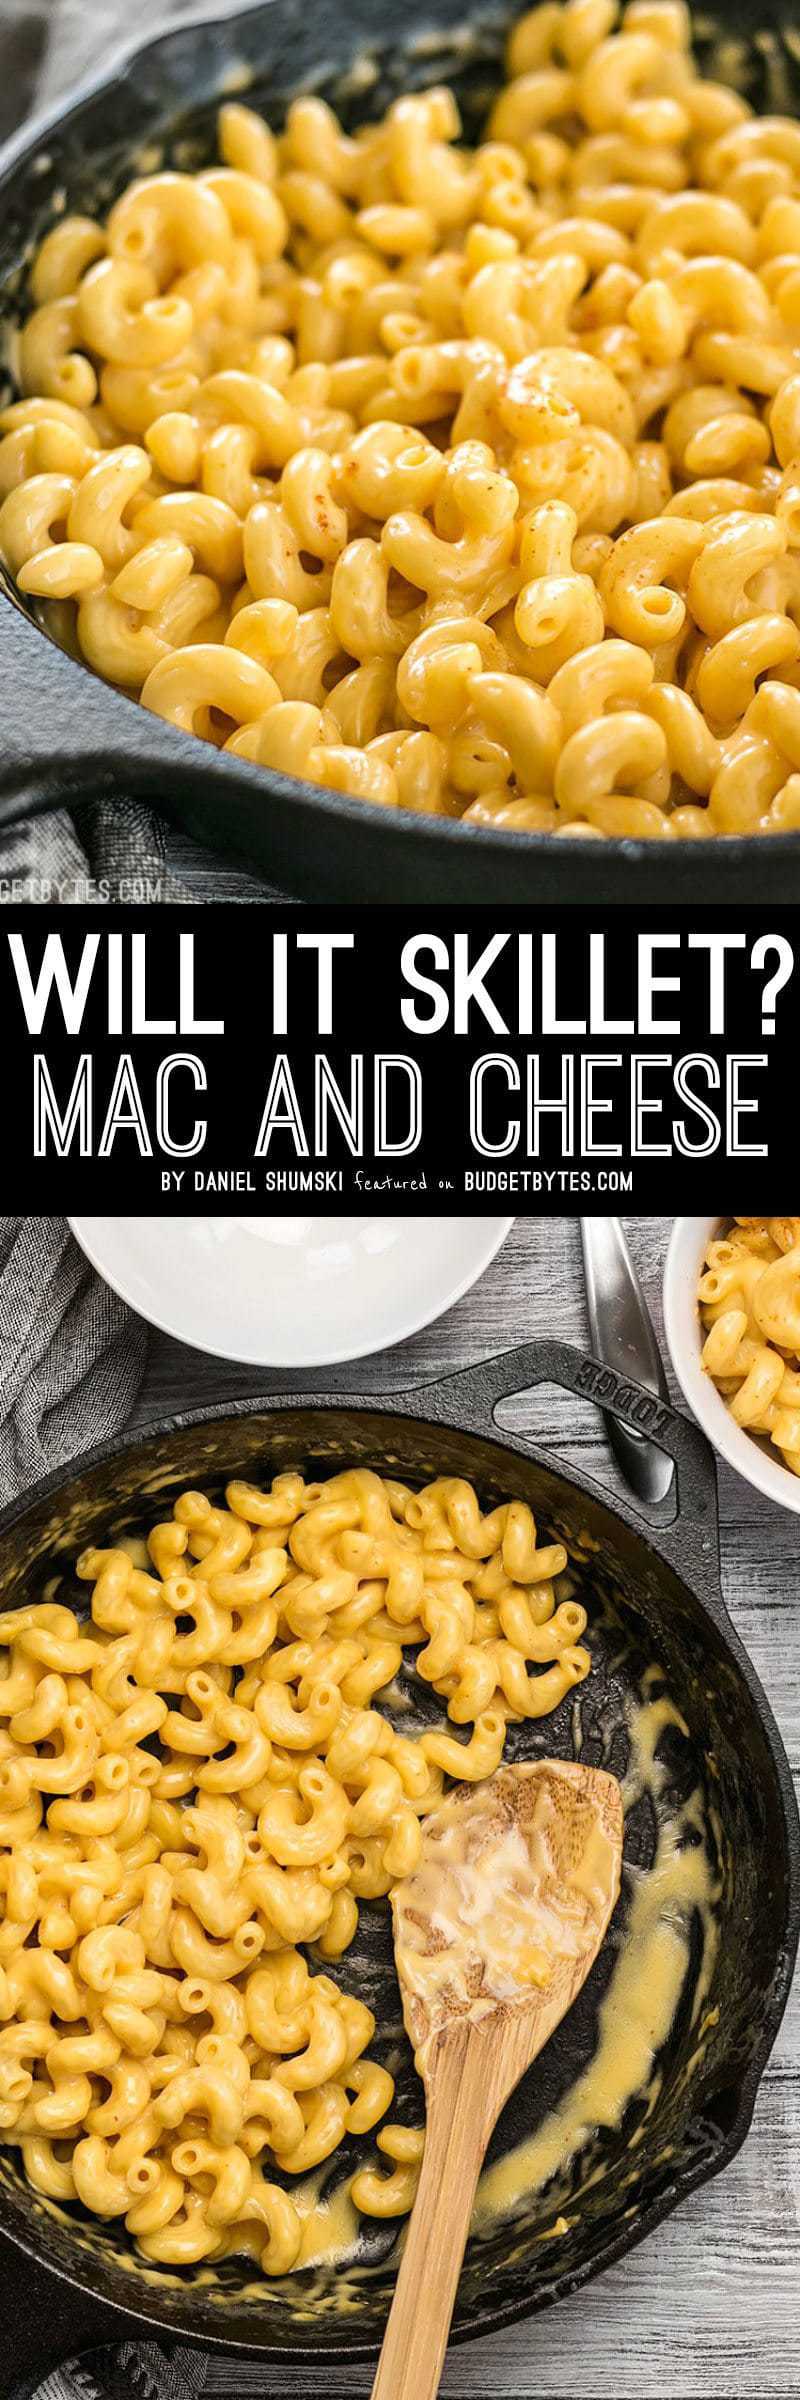
Add some roasted peppers, onion, garlic, and smoked sausage and it makes an excellent family meal. The sauce is still plenty, but you can add a bit of the pasta water if it needs some thinning/stretch.
Made this to go with some fishsticks as I had a craving for macaroni and cheese, but never keep the boxed stuff on hand. A few notes to help others:
1) As written, the recipe is bland. I added kosher salt, pepper, more cayenne, a little garlic salt, and some MSG. It kicked up that cheesy flavor well.
2) I used extra sharp cheddar, which is my go-to for any cheese sauces as I find it has more of a cheesy flavor once sauced. I didn’t measure, but ended up using almost an entire 8oz block (maybe 6-7oz? I added to taste).
3) I used a regular skillet pan, not my cast iron, and it worked perfectly. The cheesy build-up was easier to clean in the nonstick and, as others mentioned, didn’t ruin the cast iron’s seasoning.
Definitely going to make this again and keep evaporated milk in the pantry now.
I split this into four servings, and it was still enough for the main dish. Two servings would be a giant bowl of pasta per person.
I think I’ve made every mac and cheese recipe on this site but this isn’t a favorite. It dried out quickly. I think the Rice Cooker Mac recipe is the best, I just make it on the stovetop.
Hi Beth! just made homemade pasta for the first time using your recipe. It came out fantastic! Thank you so much for your fabulous tutorial and recipe. I am hooked!
Did not like at all. It has no flavor, no depth to it at all and making it with evaporated milk makes it tastes like boxed macaroni & cheese. Loose the evaporated milk and use regular milk and if using sharp cheddar you need another cheese to go with it or else it’s just blah. The 3 main Mac n cheese cheeses are mild cheddar, Swiss and mozzarella. You get the flavor, creaminess and stickiness that encase the pasta so it doesn’t dry out. If camping add a little paprika for smokiness. I use salt, pepper, garlic, onion, ground mustard and parsley
This is sooooo good! I kept skipping this recipe because evaporated milk seemed weird, but I’m glad I tried it! This will be my go to Mac from now on.
This was great and easy, as promised, but it also appears to have killed the seasoning on my cast iron skillet. I’ll make it again, but in literally any other pan. (A pot would have been way easier to stir, too).
Even better with a few cloves of garlic and a handful of peas.
Yum!!
This is one of my favourite mac and cheese recipes! It’s so easy to make (some might say dangerously easy). I think the texture is silkier and creamier than a roux-based mac and cheese which sometimes tastes a bit gluey.
I’ve made it a handful of times in a regular pot since I don’t have a skillet. Today, I have some extra assorted cheeses so I’ll see how well a 3-cheese mac and cheese turns out. I’ve also doubled the recipe with good results.
What happened to the original miracle Mac and cheese recipe? I do not like this version at all, please bring back the old recipe.
What was the old recipie
Miracle Mac is still on the site. Totally different recipe.
This was beyond delicious – so indulgent and so easy. I used half white cheddar and half yellow cheddar, and in the spirit of Budget Bytes, I cooked and crumbled a couple pieces of leftover bacon to throw in, which I would highly recommend as well.
ah so cheap and easy – thank you. Made this when I was home alone all week. topped it with roasted broccoli and was a happy gal.
This was great! I ended up using a little extra evaporated milk to get it nice and thin since my plan was on heating it up for lunches. I haven’t used mustard in mac and cheese before and the one I chose gave it a kind of odd taste but it’s fine.
Next time I’ll follow the recipe closer. Still love my roux based mac best but this is a good quick alternative!!! I made 6 servings out of it! More than enough for a meal with the garden veggie turkey meatloaf meal prep!
Not sure if I did something wrong as I have never had a bad recipe from Budget Bytes, but this turned out very odd. It tasted like chemicals and I was very surprised, because again, everything from this website is delicious. I think I would use different types of cheese next time. Not sure what happened here!
It’s the evaporated milk. Some people (I’m one of them) can really detect an off note when using it. Switch it out for milk, half and half, or cream. I wouldn’t use nonfat milk here.
Thanks for the tip about evaporated milk. I can’t stand the taste. I will sub out half and half.
I made it with almond milk & it tasted very good.
Do you think Homogenised milk would work well? Thanks!
Yes, that will be fine.
Thanks Beth, It did work well, I also added a bread crumb topping and baked it for a few minutes after and it was very good.
Glad to hear it turned out!
This was super easy and really tasty, but it ended up being a little dry. Do you know what I did wrong? Did I add too much cheese? Is there a way to help make it more saucy again if it gets thick?
You could probably stir in a splash more of the evaporated milk to help loosen it up a bit. :)