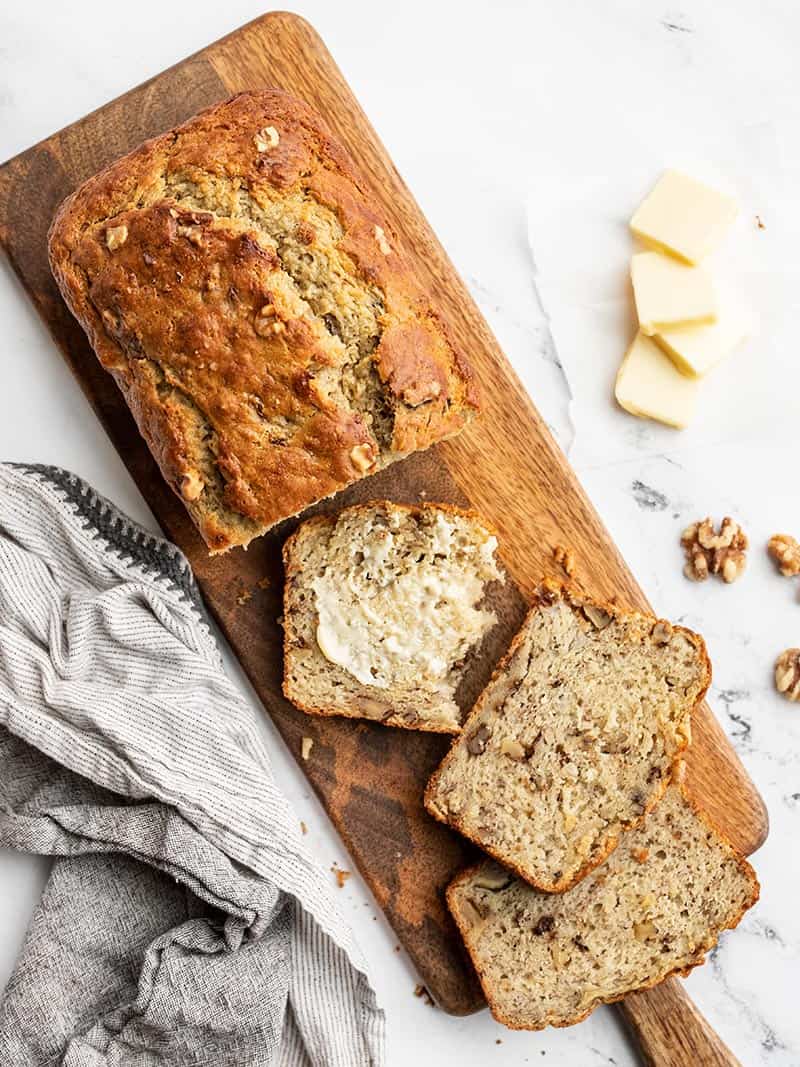
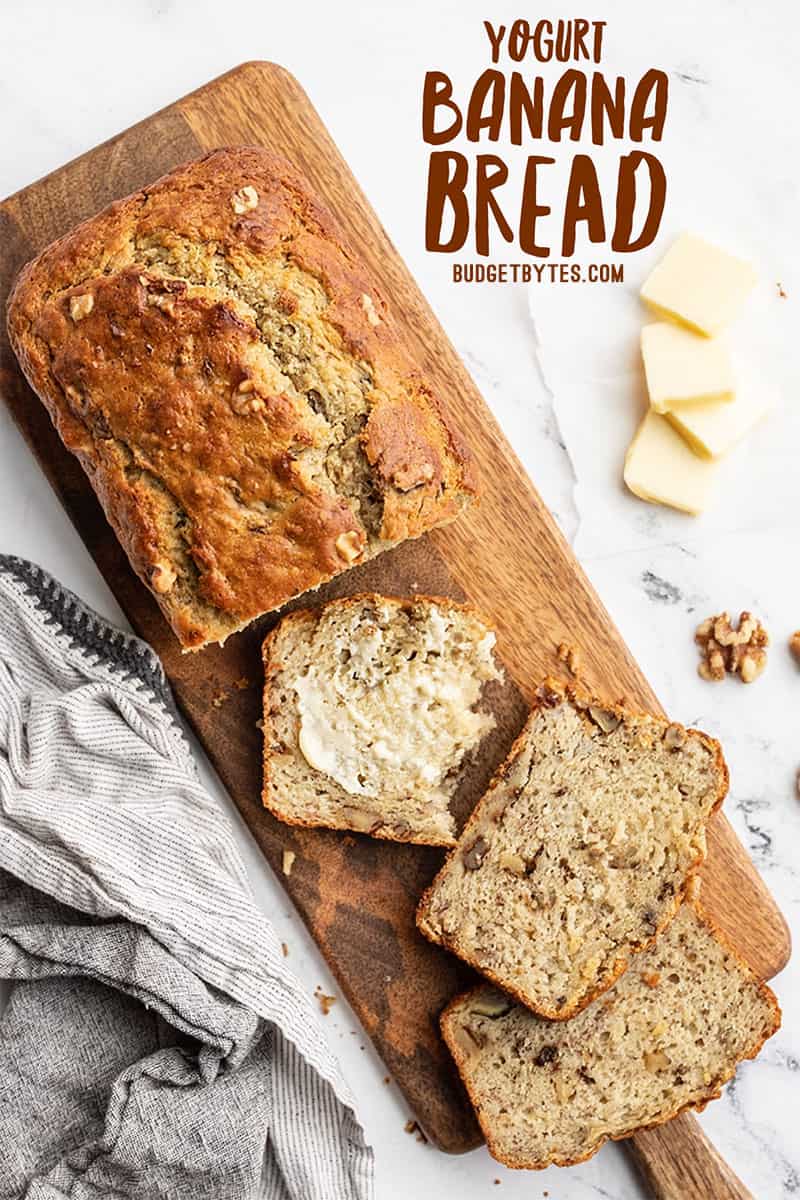
I’ve been even more diligent about keeping my food waste low since the pandemic started, since our visits to the grocery store are few and far between. So when I was taking stock of what was on hand the other day, the puzzle pieces started to move into place in my head, and I saw everything I needed to make a glorious loaf of banana bread. Yogurt banana bread, to be exact. Why yogurt? Read on to find out.
All recipes are rigorously tested in our Nashville Test Kitchen to ensure they are easy, affordable, and delicious.
Why Add Yogurt to Banana Bread?
Yogurt is a great ingredient for adding to banana bread and other baked goods. It keeps the bread moist, tender, and super delicious without using a ton of butter or oil. You’ll want to use plain yogurt for this recipe, not pre-sweetened. I have not tested Greek-style yogurt in this recipe, but would guess that it would make a slightly more dense loaf, since it has less moisture than regular yogurt.
How Ripe Should the Bananas Be?
The more ripe the banana, the better for banana bread. As bananas ripen the starches turn to sugar, so an un-ripe banana will not be as sweet or as soft (good for mashing). Try to wait until your bananas have NO green left and are about half spotted. If your bananas get to the perfect banana bread ripeness, but you’re not quite ready to make banana bread, simply peel them, toss them into a freezer bag, and freeze them until you’re ready.
Can I Bake These As Muffins?
Yes, this batter works great for banana muffins, too! Just divide the batter between 12 wells of a muffin tin and bake for about 40 minutes at 350ºF.
What Else Can I Add to Banana Bread?
Banana bread is fun because you can add all sorts of stuff to it. I used walnuts here, but they’re completely optional. You can do other nuts, like pecans or even shredded coconut. Chocolate also pairs really well with bananas, so you can add ½ cup chocolate chips, or melt the chocolate and swirl it into the batter once it’s in the bread pan. A little bit of well-drained canned crushed pineapple would also be fun!
How to Store Banana Bread
After baking the banana bread, let it cool completely to room temperature, then transfer it to a gallon-sized zip top bag and store in the refrigerator. It will last in the refrigerator for about five days. I like to slice mine before refrigerating, so I can just take one slice out at a time to have with my coffee. About 15 seconds in the microwave and it’s warm and delicious, just like fresh baked!
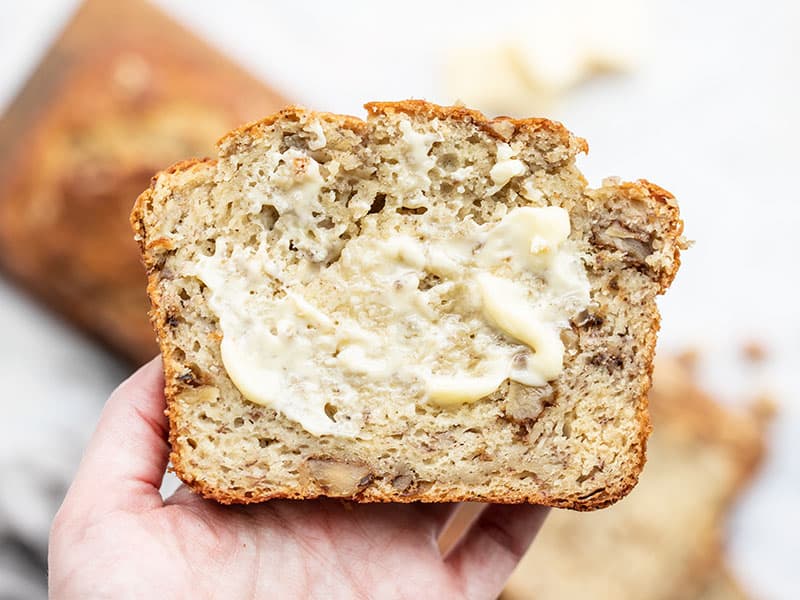
P.S. Banana bread is really good with a little peanut butter or almond butter drizzled over top!
Yogurt Banana Bread
Ingredients
- 1 cup mashed bananas (about 3 bananas) ($0.42)
- 1 cup plain yogurt ($0.67)
- 2 large eggs ($0.46)
- 1/2 cup sugar ($0.40)
- 4 Tbsp butter, melted ($0.52)
- 1 tsp vanilla extract ($0.30)
- 1.5 cups all-purpose flour ($0.23)
- 1 tsp baking powder ($0.02)
- 1/2 tsp baking soda ($0.02)
- 1/2 tsp salt ($0.02)
- 1/4 tsp nutmeg ($0.02)
- 1/2 cup chopped walnuts ($0.60)
Instructions
- Preheat the oven to 350ºF. Rub a little butter on the inside of a loaf pan to coat the bottom and sides.
- Mash the banana well, then add it to a large bowl along with the yogurt, eggs, sugar, melted butter, and vanilla. Whisk these ingredients until they're well combined.
- In a separate bowl, stir together the flour, baking powder, baking soda, salt, and nutmeg until well combined.
- Pour the dry ingredients into the bowl of wet ingredients and stir together just until there is no dry flour left on the bottom of the bowl (a few lumps are okay, just be careful not to over stir). Gently fold in the chopped walnuts.
- Pour the batter into the prepared loaf pan, then bake in the preheated 350ºF oven for 60 minutes, or until the bread is brown, cracked open on top, and a toothpick inserted in the center comes out clean (a few moist crumbs are okay, just no raw batter).
- After baking, let the banana bread cool in the pan for about 15 minutes. Once it's slightly cooled it will have pulled away from the bread pan slightly. Run a knife along the sides between the bread and pan, then gently turn the loaf out onto a wire rack to finish cooling. Once cool, slice and serve.
See how we calculate recipe costs here.
Equipment
- Glass Loaf Pan
- Mixing Bowls
- Whisk
- Measuring Cups Spoons
Nutrition
Video
You might also like my Banana Flax Muffins!
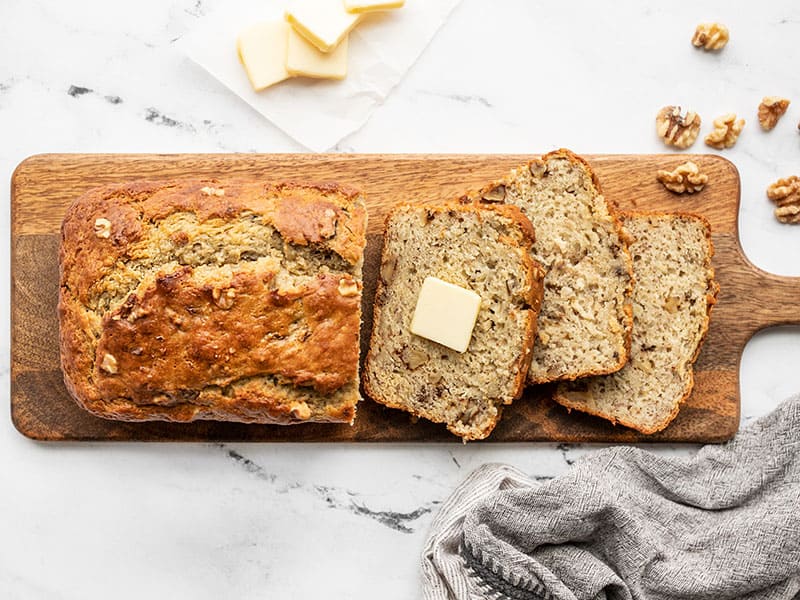
How to Make Yogurt Banana Bread – Step by Step Photos
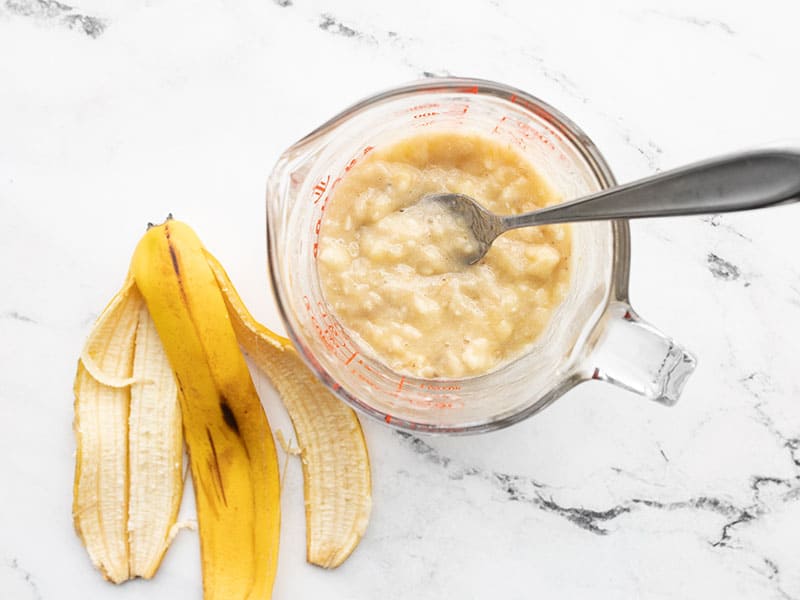
Preheat the oven to 350ºF. Rub a little butter inside a loaf pan to coat the bottom and sides. Make 1 cup mashed bananas (about 3 bananas). I do this in a glass measuring cup with a fork. It should only take about 30 seconds.
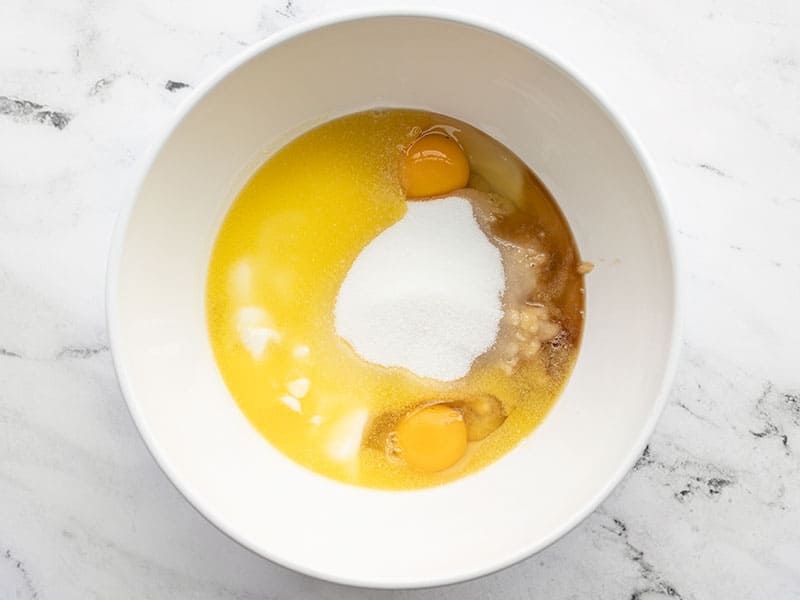
Add the mashed banana to a large bowl along with 1 cup plain yogurt, 2 large eggs, ½ cup sugar, 4 Tbsp melted butter, and 1 tsp vanilla extract. Whisk these ingredients together until they’re well combined.
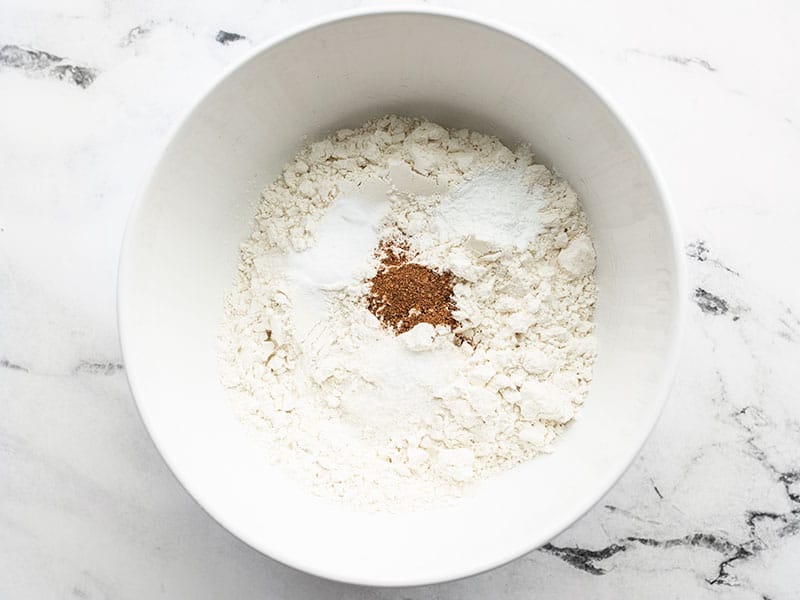
In a separate bowl, combine 1.5 cups all-purpose flour, 1 tsp baking powder, ½ tsp baking soda, ½ tsp salt, and ¼ tsp nutmeg. Stir until well combined.
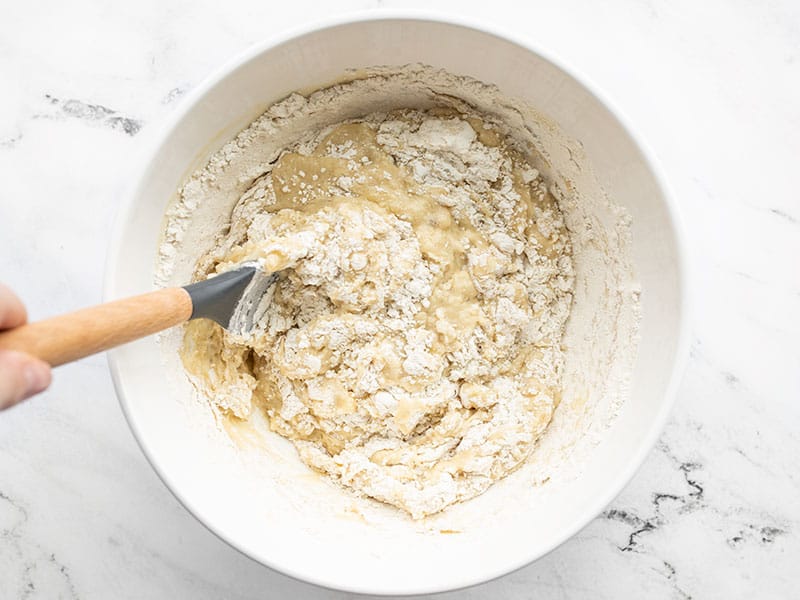
Pour the bowl of dry ingredients into the bowl of wet ingredients and stir just until they are combined and no dry flour remains on the bottom of the bowl. A few lumps are okay, but make sure there are no pockets of dry flour left. Avoid over stirring. (photo is half-way through stirring)
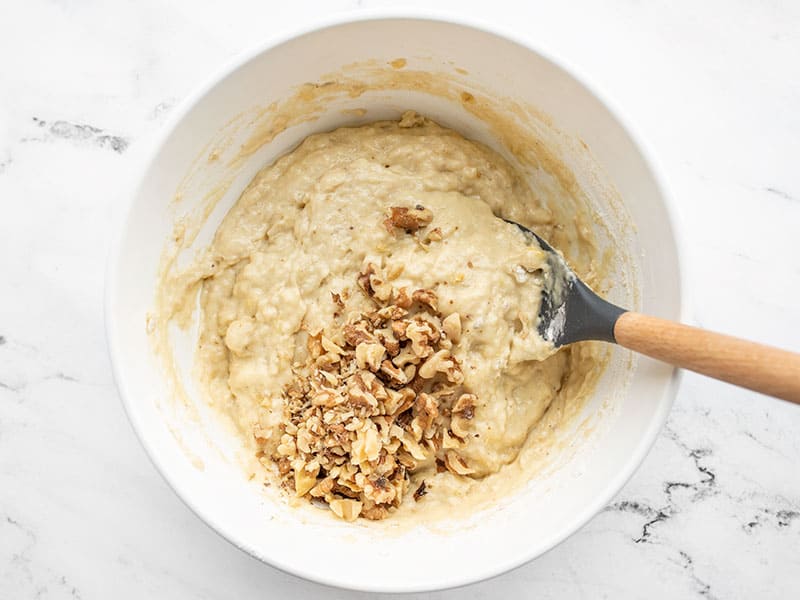
Fold ½ cup chopped walnuts into the batter.
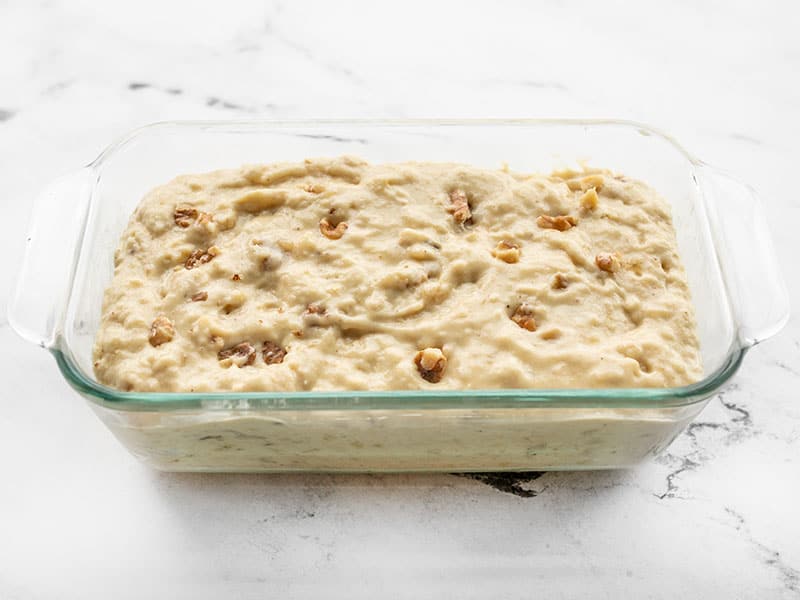
Pour the batter into the prepared loaf pan.
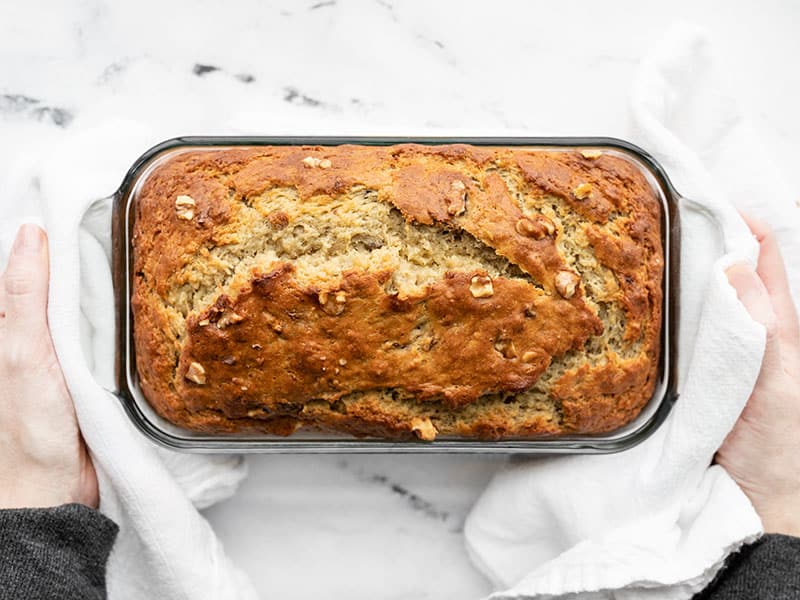
Bake the bread in the preheated 350ºF oven for about 60 minutes, or until the bread is browned, the top is cracked open, and a toothpick inserted into the center comes out clean (“clean” means no raw batter, a few moist crumbs stuck to the toothpick are okay).
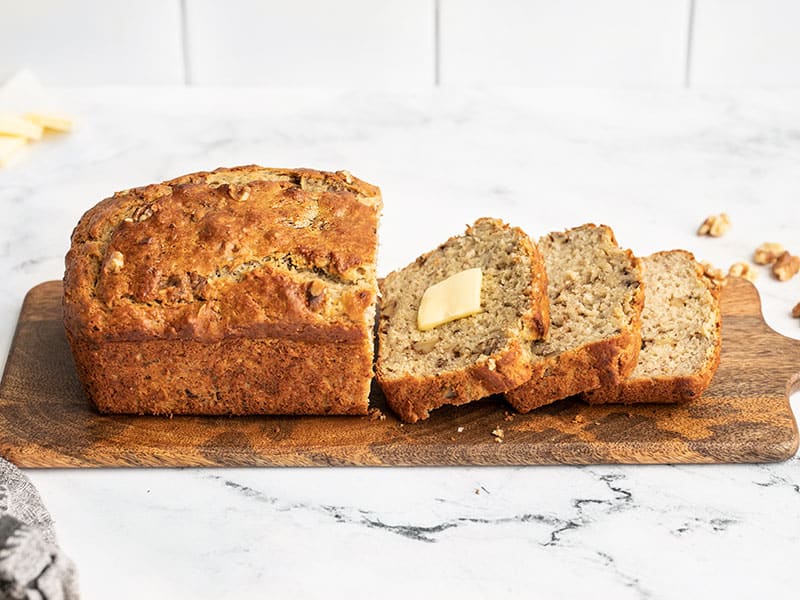
Allow the bread to cool for about 15 minutes in the pan. It will pull away from the pan slightly as it cools. Run a knife along the sides between the bread and loaf pan, then gently turn the bread out onto a wire rack to finish cooling. Once cooled, slice and serve.




More like bread pudding, took much longer to cook, despite following the instructions.
Won’t make it again.
This tasted good, but did not come out like banana bread. Was the consistency of bread pudding. Not what I expected, but not totally mad at it.
I made this last week with vanilla yogurt. The bread was a BIG HIT.
Thus last week i went shopping and bought maple yogurt…this made a huge difference…i mean, the recipe was already GREAT…NOW ITS FABULOUS!
Due to me having diverticulitis, I had to grind the nuts.
Absolutely hands down the BEST recipe for banana bread EVER!
OH, Also added cinnamon.
I’m sorry to report that this is the worst banana bread recipe I’ve ever made/tried. I don’t normally leave ratings or comments on recipes, but with the cost of groceries right now, this made me angry because it was such a waste of ingredients. Absolutely ridiculous that this is even a published recipe in my opinion….
Turned out very well. Used Chobani Zero Sugar Vanilla Yogurt to reduce sugar content. Omitted sugar & vanilla. Added 1/2 tsp. cinnamon, 1/4 tsp. nutmeg, & 1/8 tsp. cloves. Not super sweet, but did this on purpose for diabetics. You may want to add a small amount of additional sugar or artificial sweetener if it’s not sweet enough for your tastes.
I followed this recipe perfectly. It rose nicely in the oven but once it was out, it sunk within minutes of cooling and became concave. The taste was good, it cooked well inside and was moist too. I made the recipe twice and both times it sunk. Anyone know why this happened?
I love this one. A few notes:
Yes, it’s very wet and the loaf sometimes turns out wet/undercooked in the middle and scorched on the outside. But I get great results making this as muffins with the 40 minute bake time (adjust as needed for temperamental ovens). I just treat this like a muffin recipe in disguise.
I make this gluten free with Bob’s Red Mill 1-to-1 GF flour. The muffins come out slightly flat on top, but the texture and taste is great!
I also like using pecans instead of walnuts.
One of these muffins fresh from the oven, with a cold glass of milk, is perfect.
Mine came out doughy also even after baking it longer. Not a fan of this recipe.
I wish I had read the comments before I tried this recipe! I was looking for a moist banana bread. What I got was a super dense loaf that looks awful 😖
I followed the recipe exactly. Really disappointed but you live and learn.
Burnt outside and undercooked inside. Could not be saved, unfortunately. I followed the recipe to a T.
I really wish there was a weight measurement for this. I probably used too much yogurt and had the same problem quite a few people here said, having the bread fall flat, be undercooked and doughy. I’ll put it in for maybe 10 more minutes, but it’s already been cooked way past the one hour mark…
Thank you for replying so quickly to my question about the kind of sugar I used. You confirmed my suspicions. I truly appreciate how you share your knowledge about what transforms ordinary ingredients into something wonderful that brings happiness to others. ❤
Thank you, Barbara! ❤️
This is Barbara again. Forgot to add that I made muffins (regular size) and used cupcake papers, instead of baking it in a loaf pan.
Made these but they turned out doughy. Ended up baking them longer but it didn’t help much. After a couple of days sitting on the counter in an air tight container, my husband said they firmed up & lost the doughy consistency. I used Miss Jones Smartsugar which has 50% less sugar. Could that be why? They certainly tasted sweet enough & the flavor is good.
Yes, that probably did affect the texture of the muffins. Sugar is important in baked goods not only for the flavor, but the texture. Sugar attracts moisture, so it keeps them soft and moist.
This is the first banana bread recipe that I’ve tried that the bread comes out moist. This is now the only banana bread recipe I’ll be using. So tasty!